Oil the ST-1501 Before First Use: Seven Lubrication Points

Overview
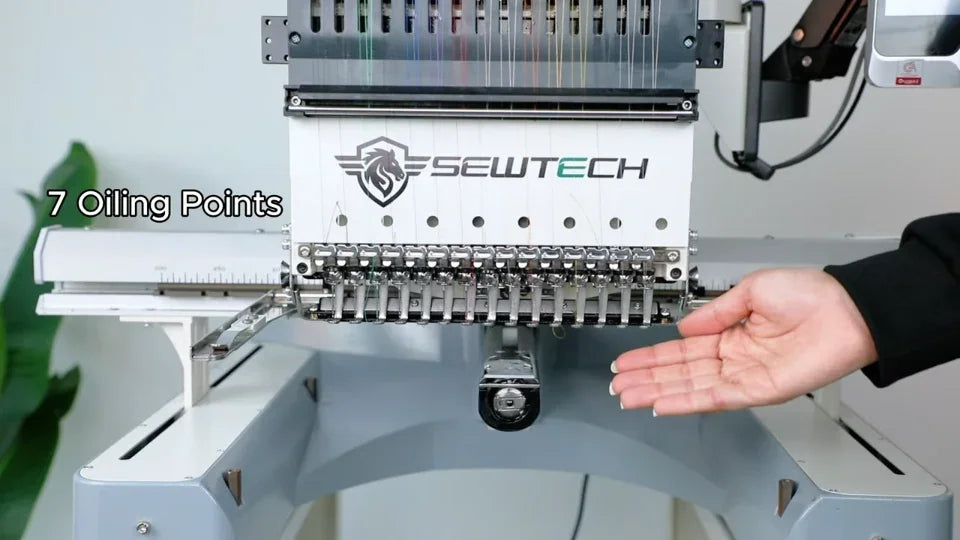
Oil the ST-1501 before its first run. Follow the seven points shown on this machine and compare the openings with your own head. Have clear embroidery machine oil with a narrow nozzle, a soft brush, a small screwdriver that fits the cover screws, a soft cloth and scrap fabric ready. The second main oiling hole is present only on some versions.
Step-by-step guide
1. Prepare and switch off the machine
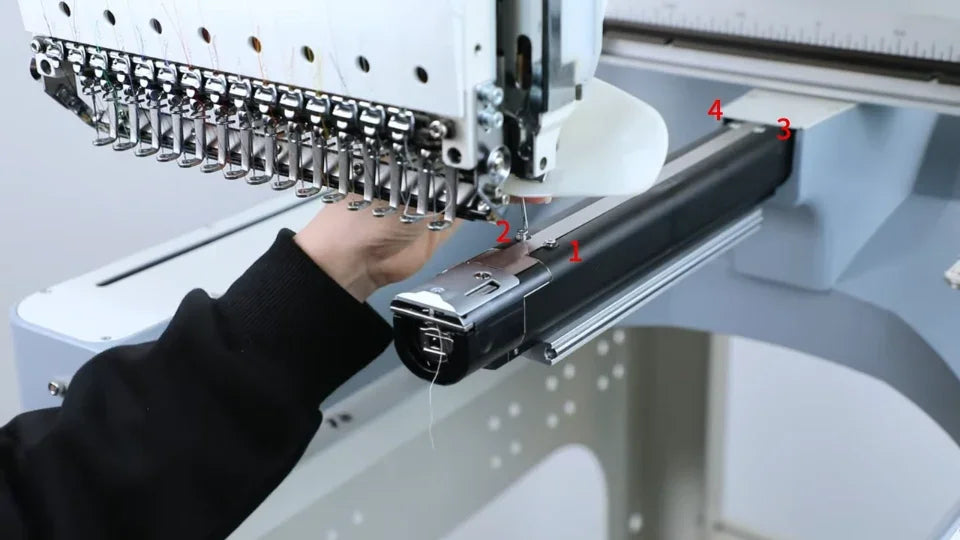
Watch at 00:14Switch off the ST-1501 before opening any covers or applying oil. Points 1–3 are around the rotary hook assembly, points 4–5 are on the front of the head, and points 6–7 are the main oiling holes. The head is powered briefly later to select needle 1.
2. Clean and oil the rotary hook
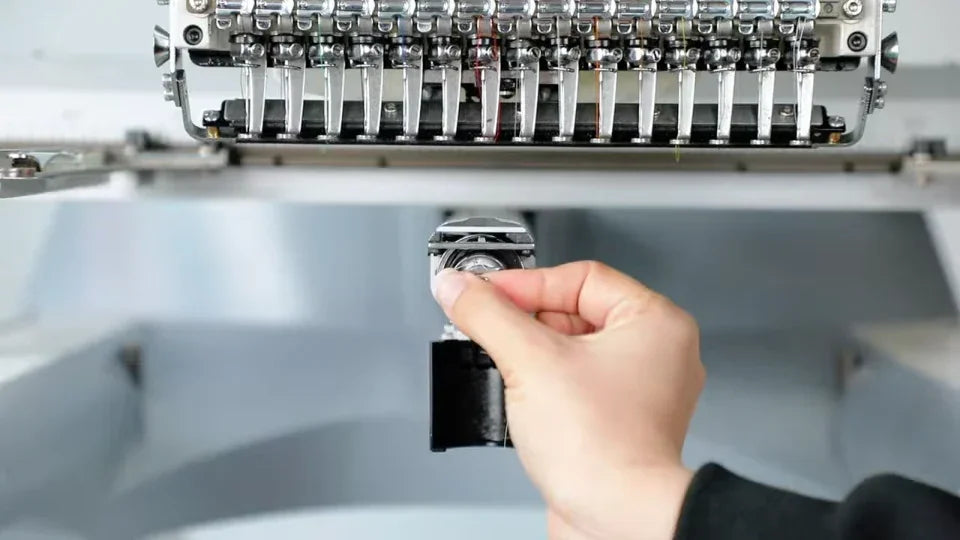
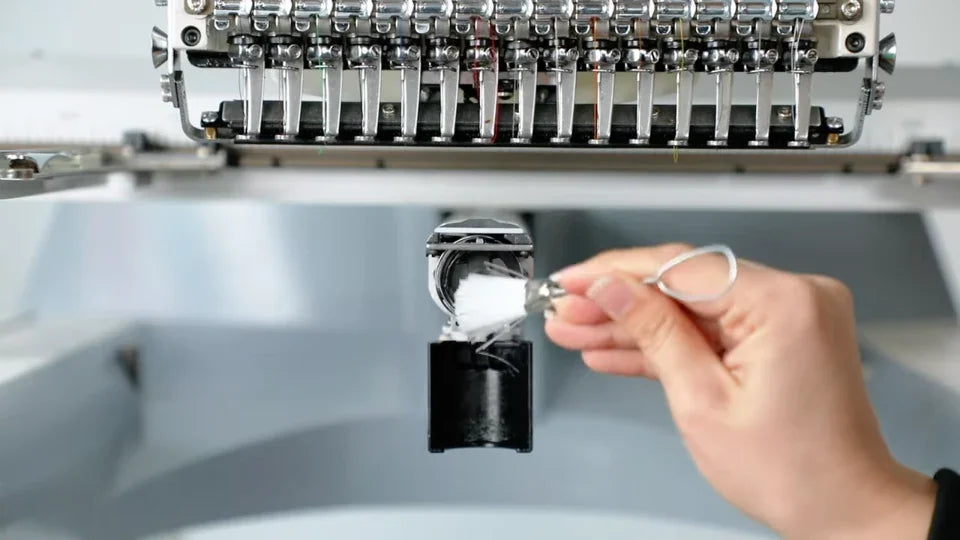
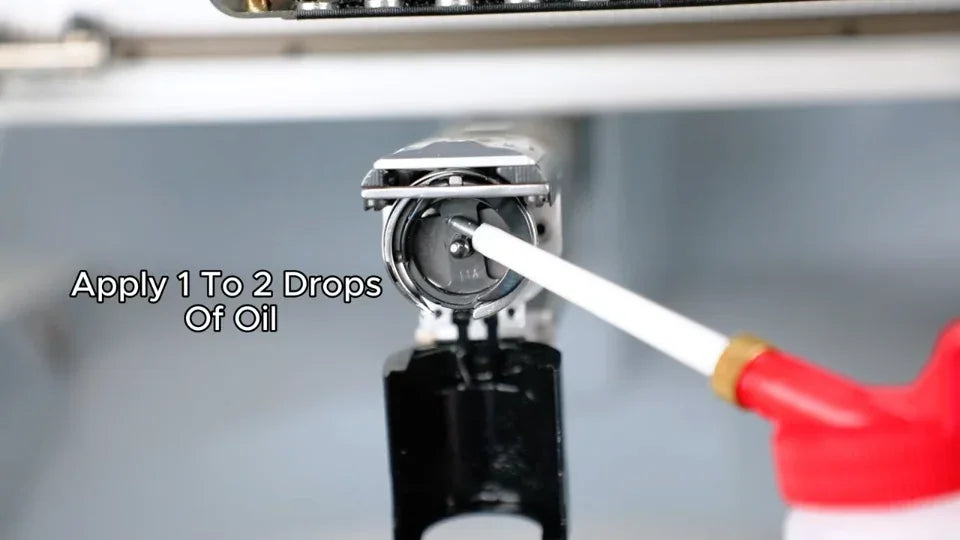
Watch at 00:51Flip down the black bobbin cover under the needles. Lift the bobbin-case latch and pull out the case with the bobbin inside. Brush loose lint and thread out of the exposed hook, then apply 1–2 drops where the nozzle points inside the hook. For daily use, the video recommends doing this at the end of each workday.
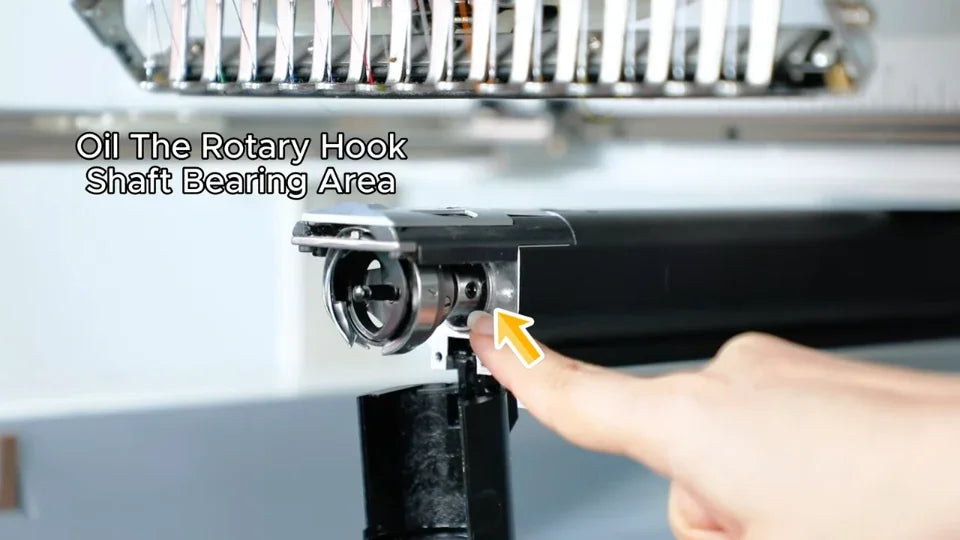
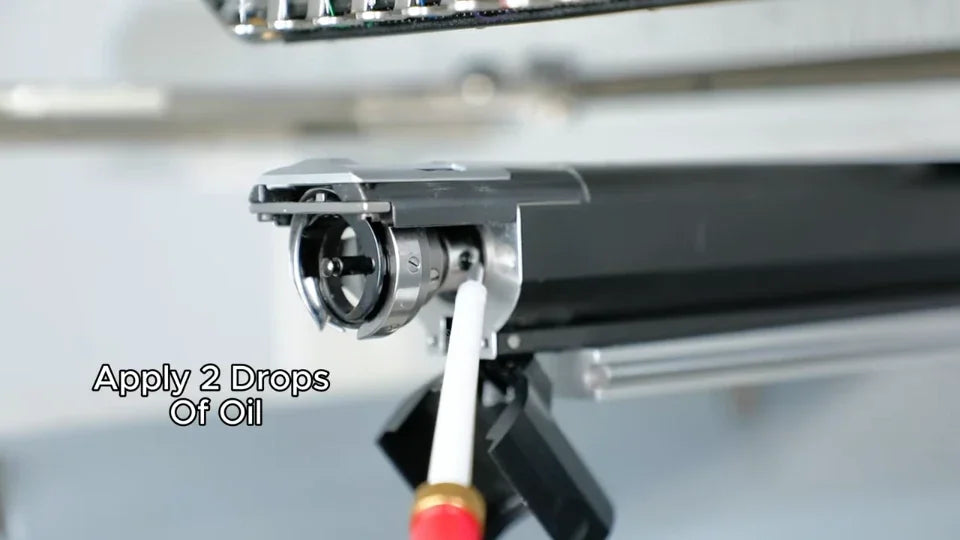
3. Oil the rotary hook shaft bearing
Watch at 01:16Keep the bobbin cover open and look at the right side of the circular hook from the angle shown. Place the nozzle at the shaft-bearing point in the side of the hook housing. Apply 2 drops. The recommended interval in the video is once a week.
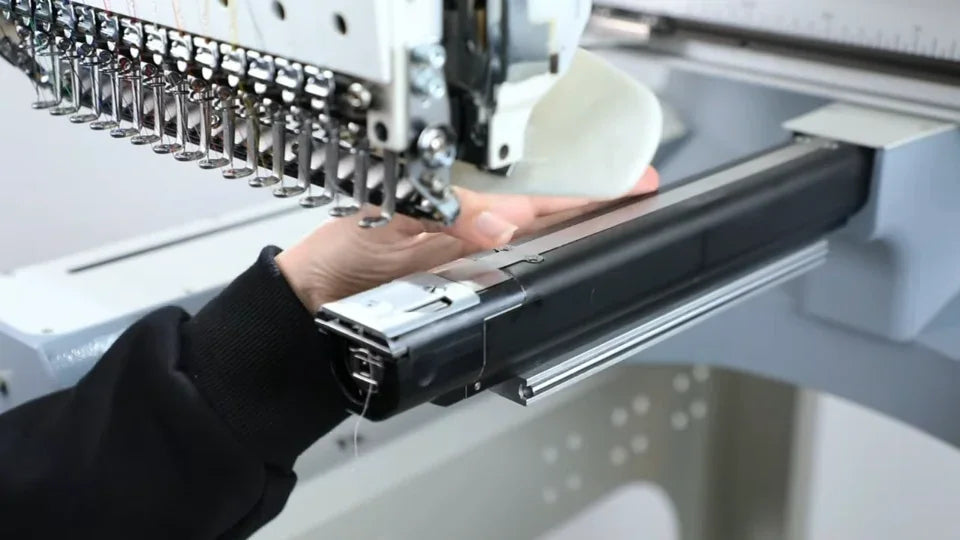
4. Remove the rotary hook box cover
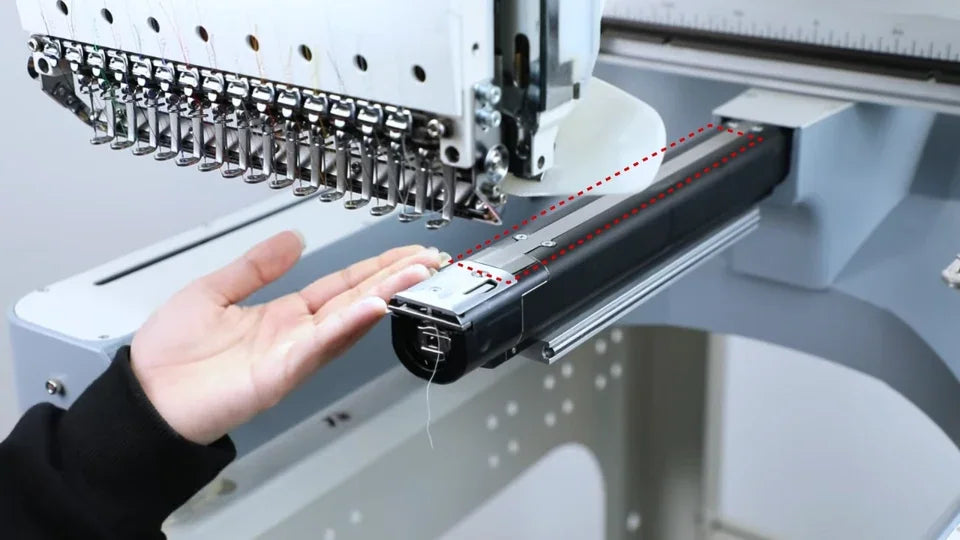
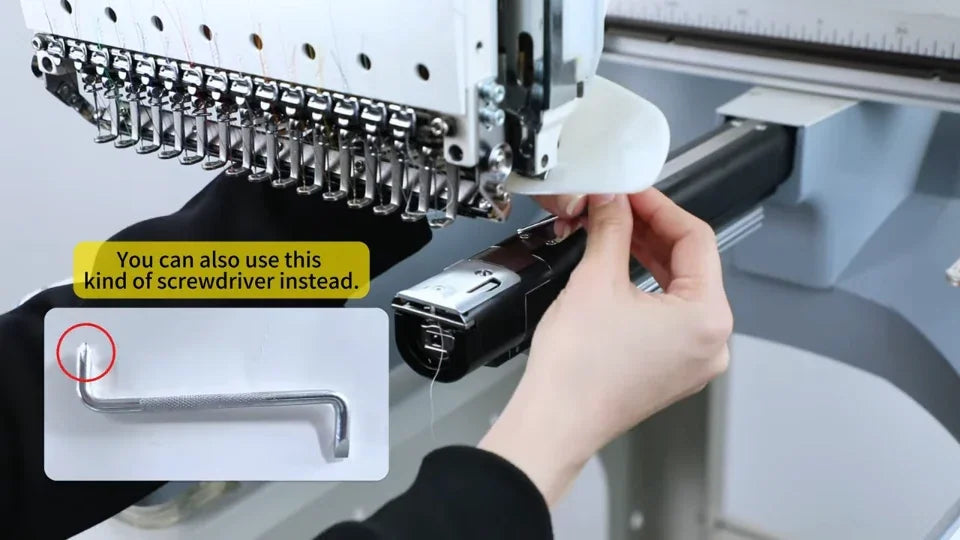
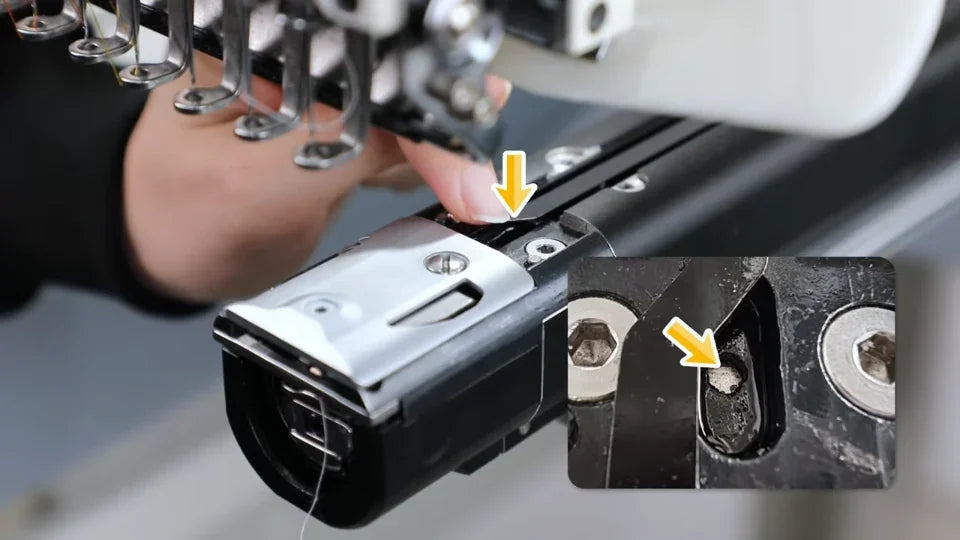
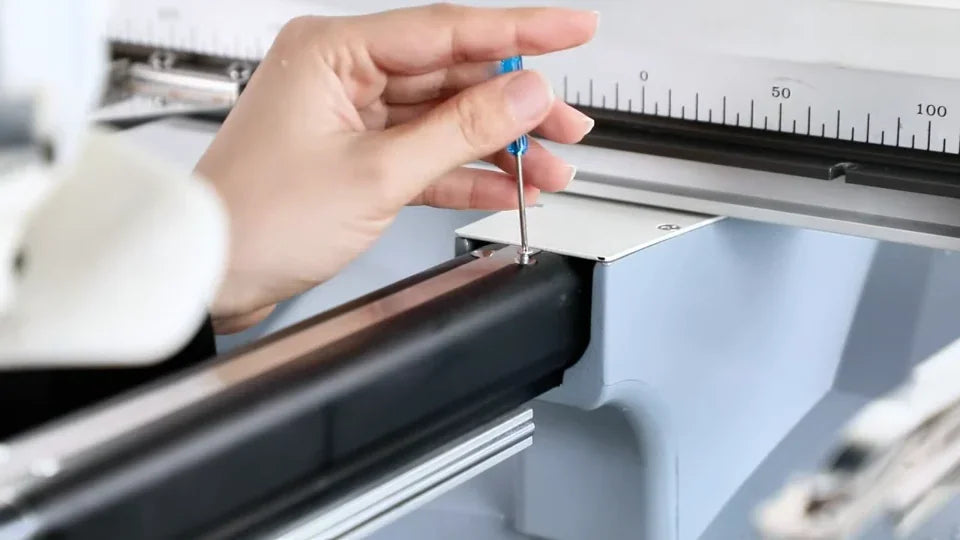
Watch at 01:31With the machine still off, locate the long, narrow top cover of the rotary hook box behind the hook. Remove the four screws marked in the video, two near the hook and two toward the back. A small straight screwdriver is shown, followed by a right-angle option for tight clearance. Lift off the narrow cover to expose the opening just behind the silver front plate.
5. Let the oil soak into the felt
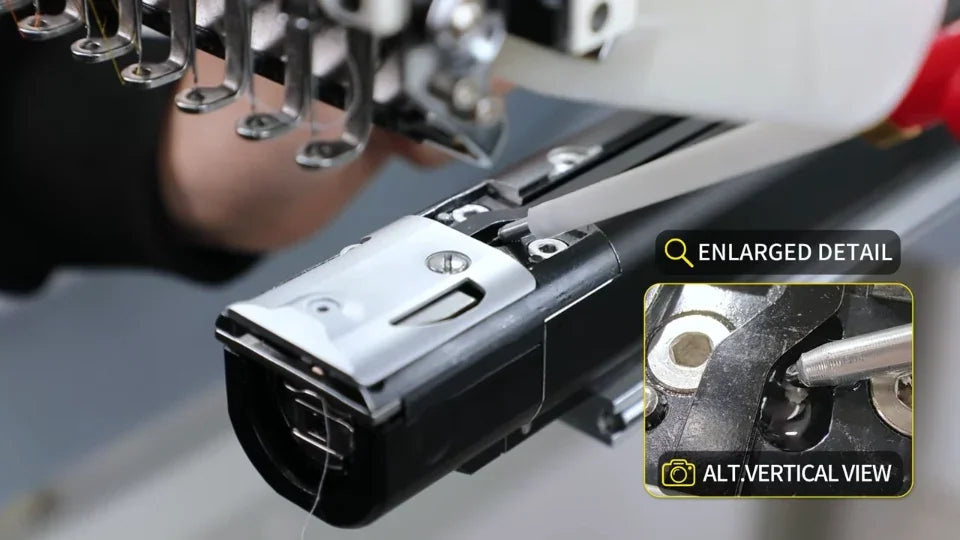
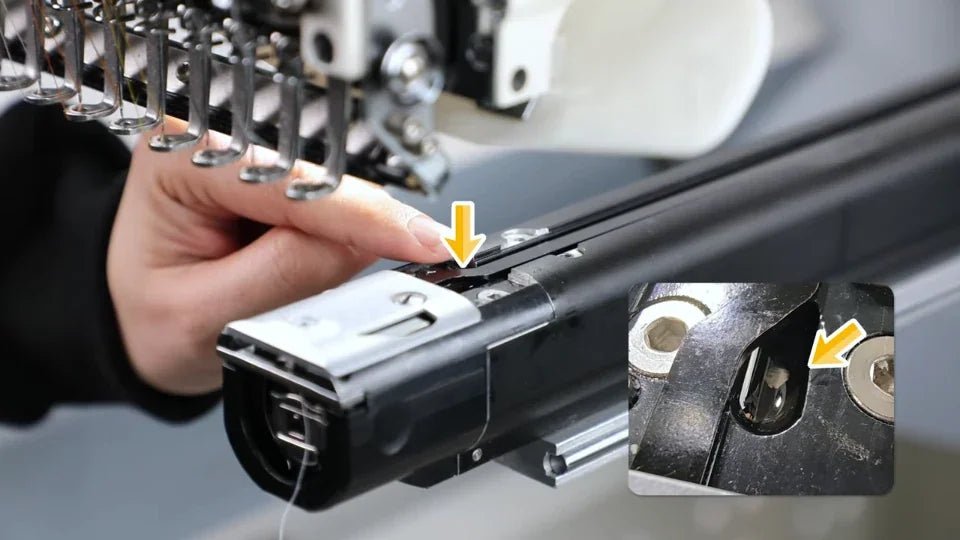
Watch at 02:06Apply a little oil directly into the small opening with the felt. Wait about 10 seconds and check whether the oil has soaked in. Add a little more only while it is still being absorbed. Stop once oil remains visible on the surface. Use that visual check for this hole.
6. Refit the cover and secure the four screws
Watch at 02:34Set the long cover back onto the hook box, align the original screw holes and fasten all four screws. Check that both ends are secure before moving to the needle bars. The video recommends oiling beneath this cover every two weeks.
7. Oil the needle bar holes
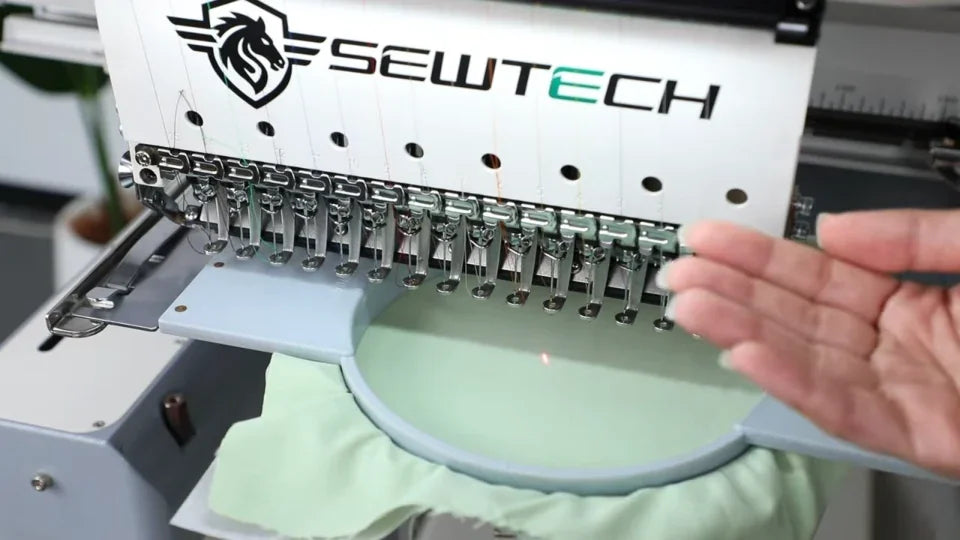
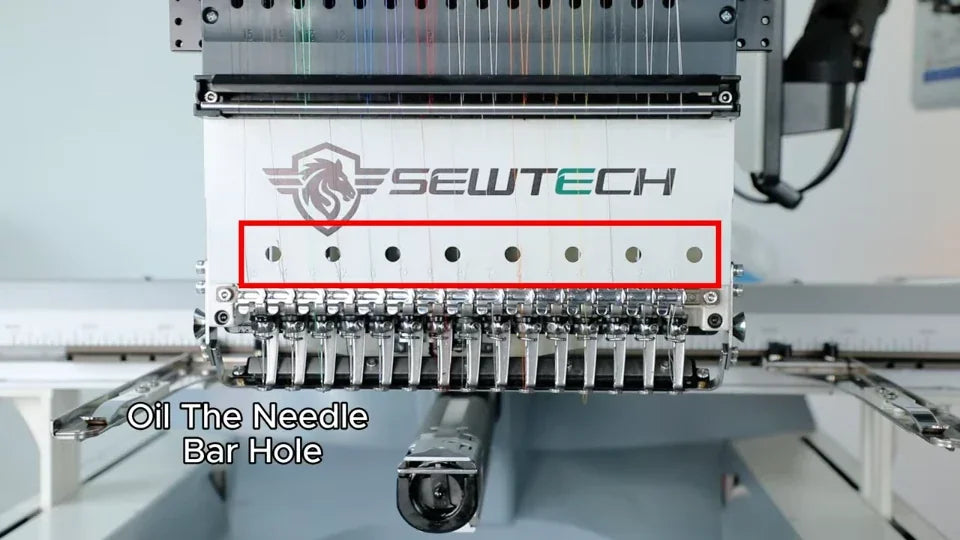
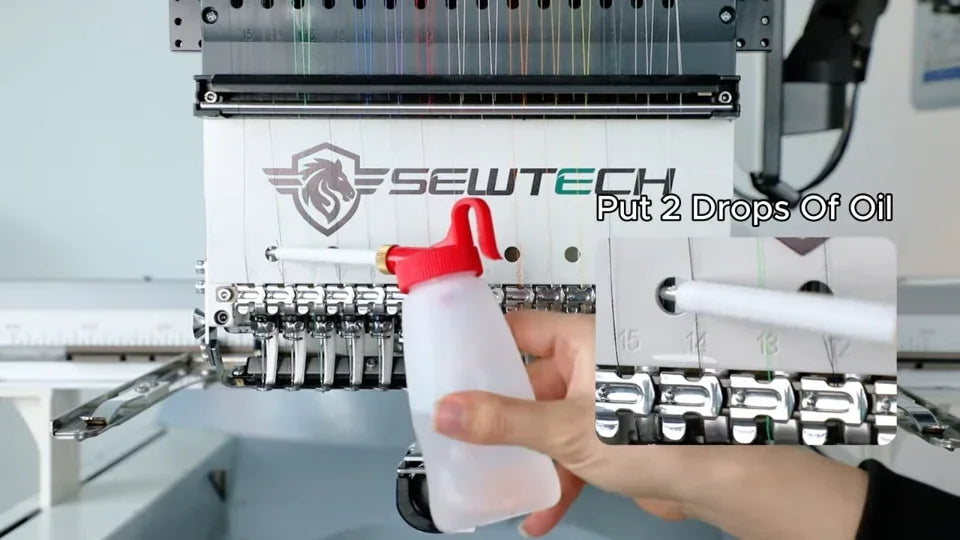
Watch at 03:06Find the horizontal row of round holes on the white SEWTECH plate above the needles. Align the narrow nozzle with each hole and put 2 drops into each one. The video recommends oiling these holes once a week.
8. Oil the needle bar slots
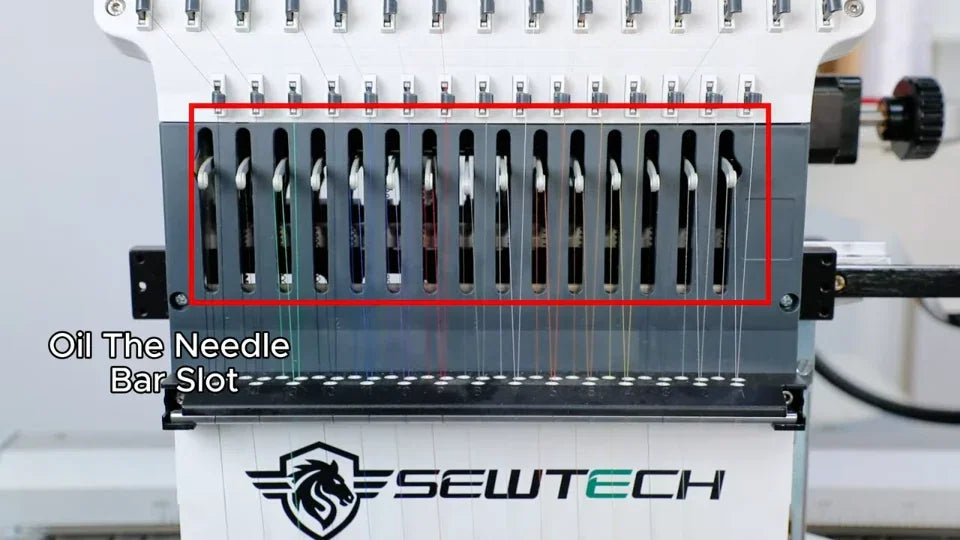
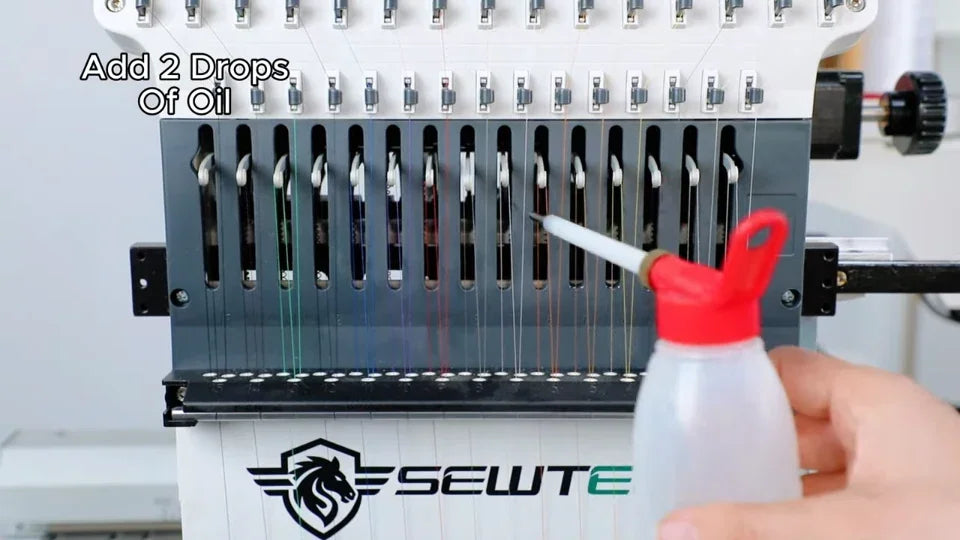
Watch at 03:18Locate the vertical slots in the dark panel above the white plate. Aim through each slot at the vertical needle bar visible inside. Apply 2 drops to each slot as shown. The recommended interval is once a week.
9. Select needle 1 to expose the main felt
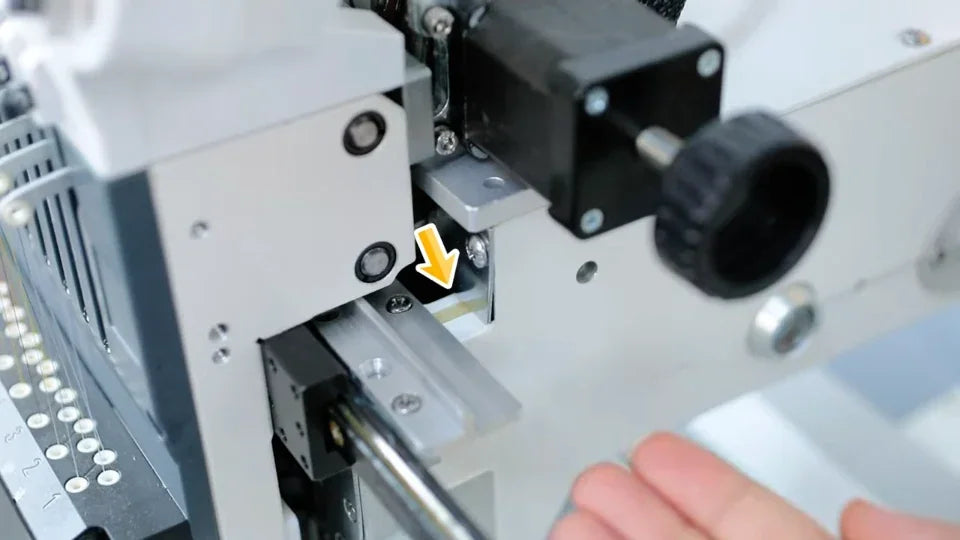
Watch at 03:41Switch on the machine for the needle change. Open the numbered needle selector on the touchscreen and tap 1 at the right end of the upper row. Check that 1 is highlighted and the head has stopped moving. Switch off before reaching behind the needle bar assembly. Look for the felt in the exposed gap by the side bracket below the large black knob. The video recommends inspecting it every two weeks.


10. Oil the first main hole if the felt is dry
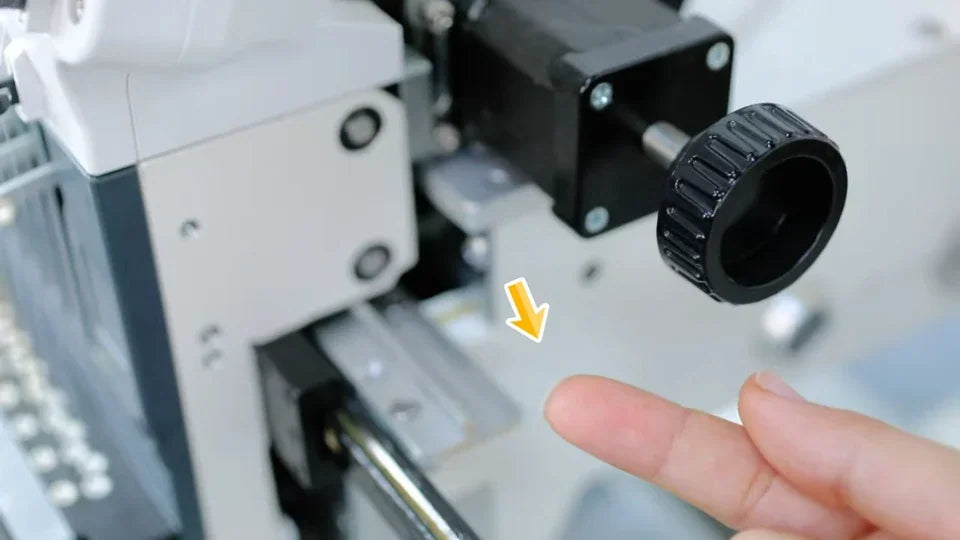
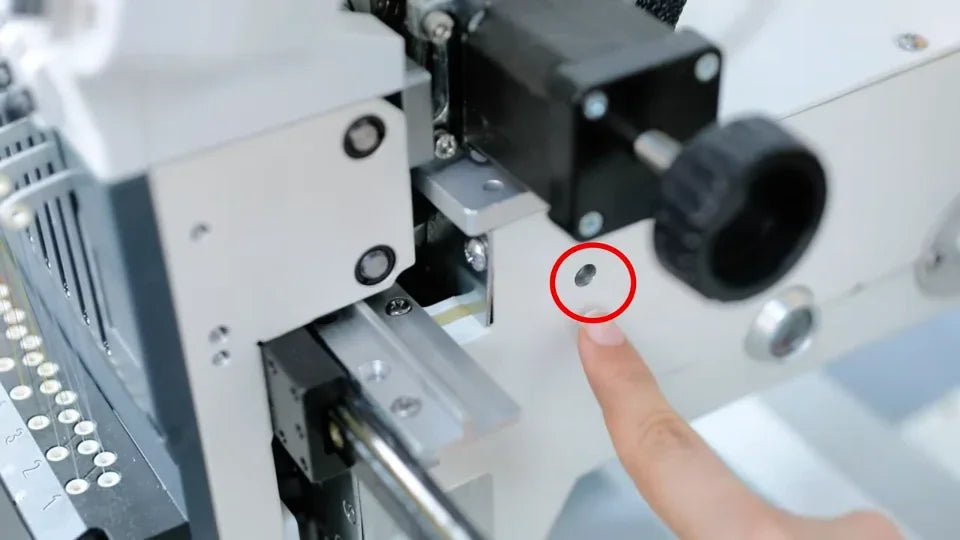
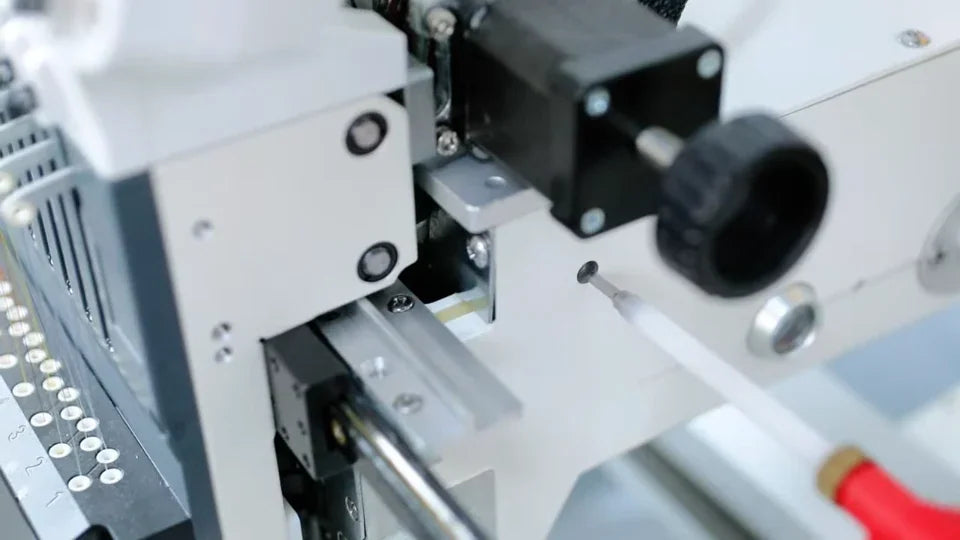
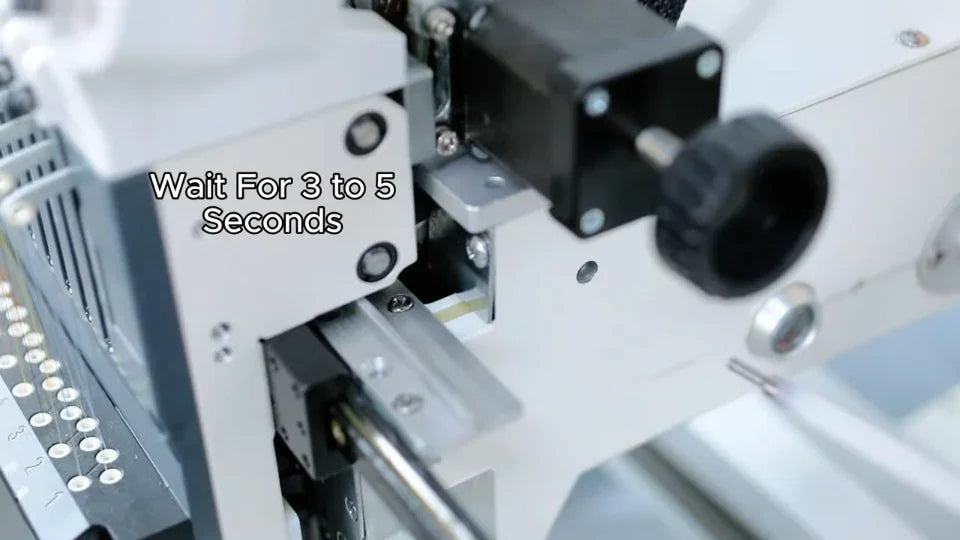
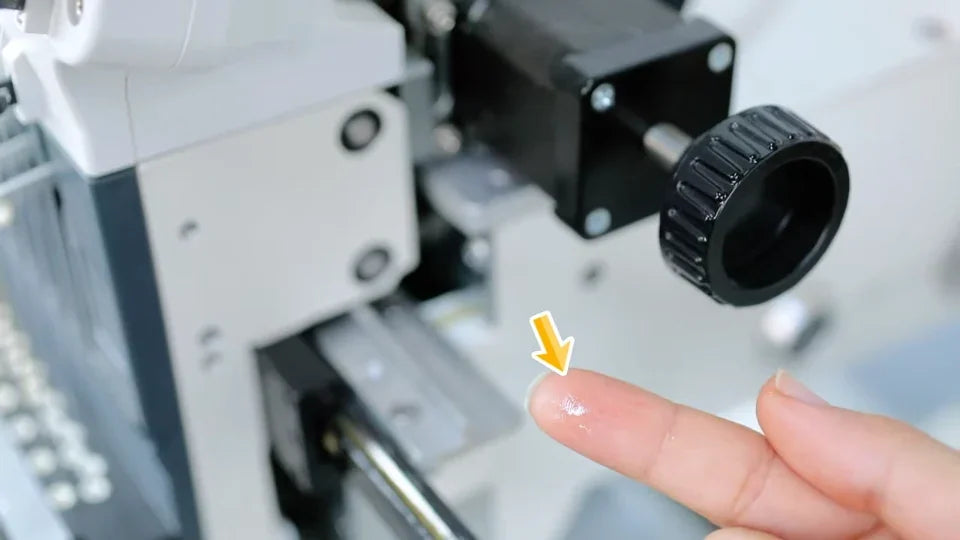
Watch at 04:03If the felt is dry, use the small round hole just below and to the left of the large black knob. Add one drop, wait 3–5 seconds, then repeat. The dry-felt example uses 10 drops in total, one at a time. Check the felt again. It should have absorbed the oil and feel moist.
11. Use the second main hole if fitted
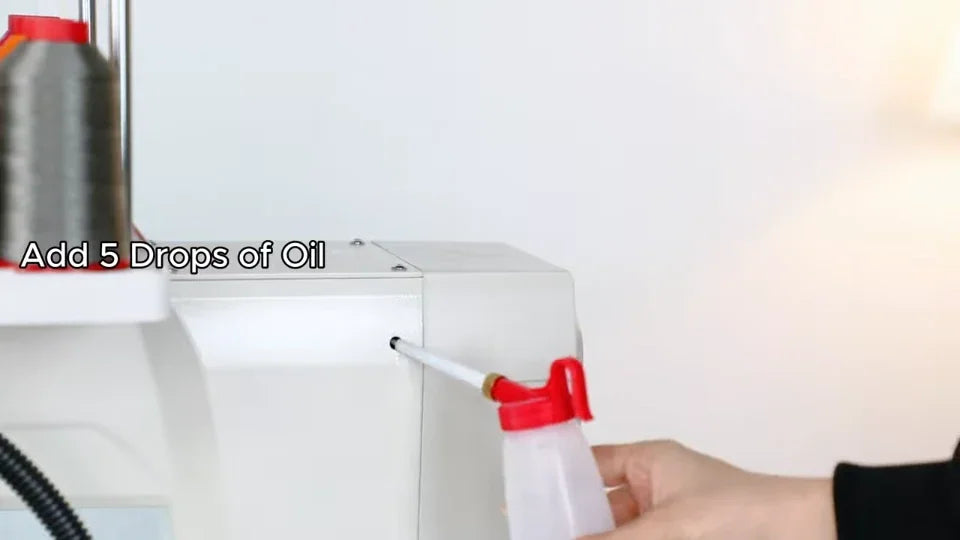
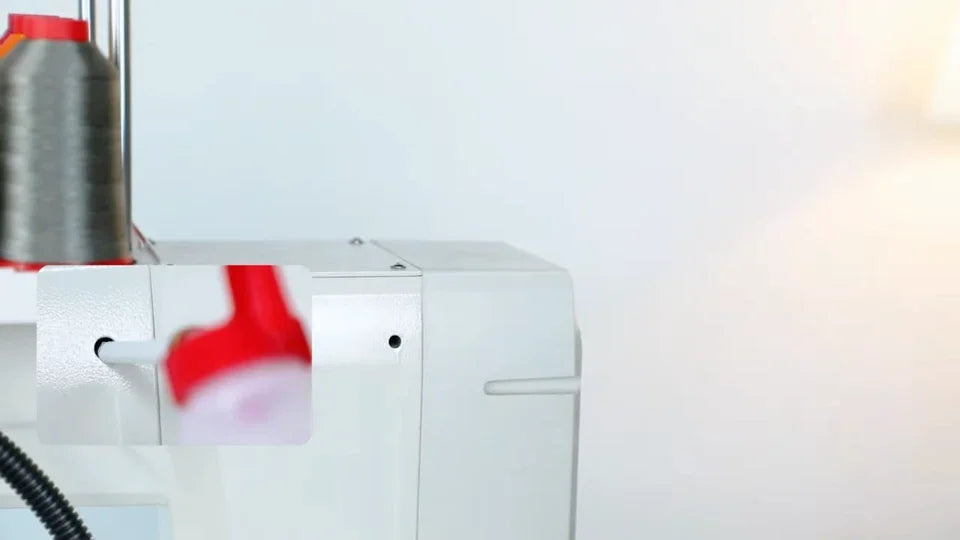
Watch at 04:42Look for the small round oiling hole on the upper rear housing, below the thread spools. If your machine has that hole, apply 5 drops. The video recommends doing this weekly. Skip this point if your housing has no second hole.
12. Wipe off excess oil and prepare a scrap sample
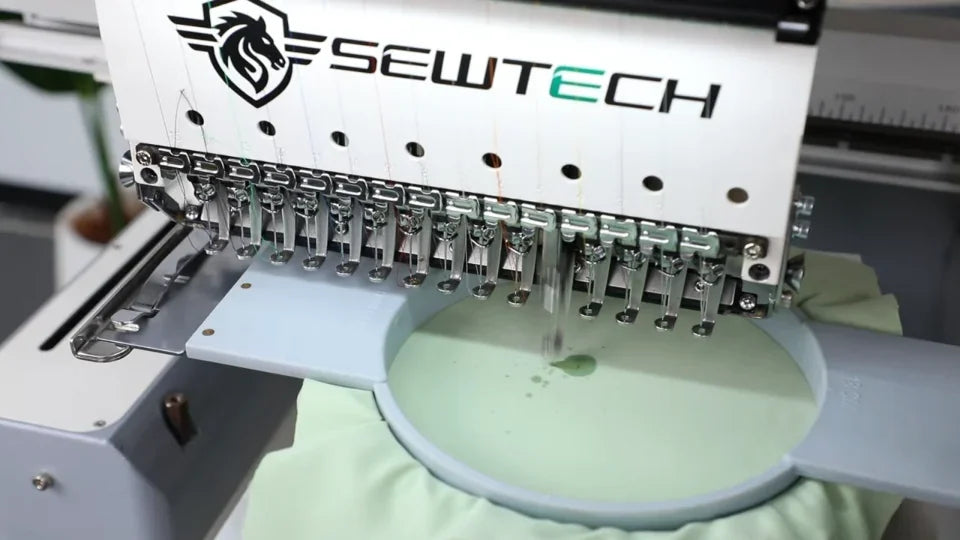
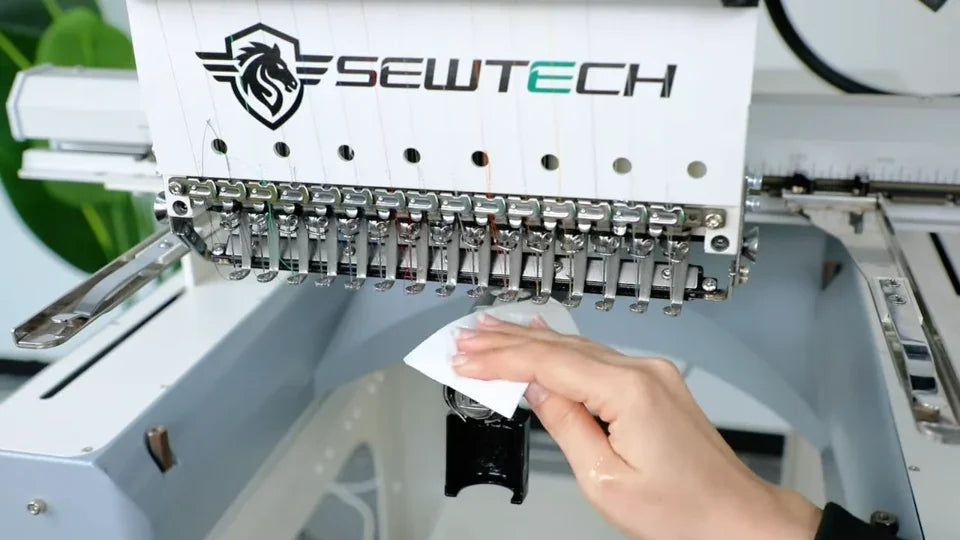
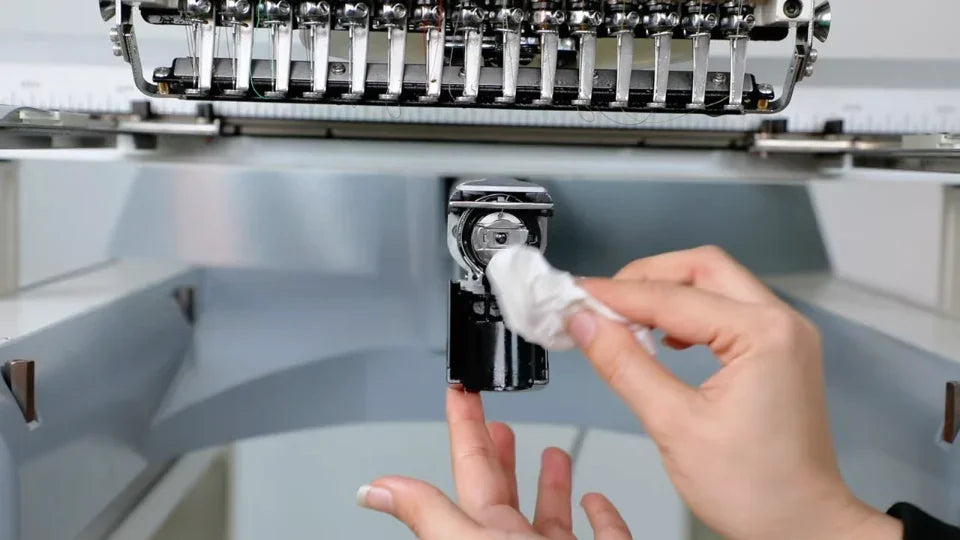
Watch at 04:56With the machine off, use a soft cloth to wipe visible excess oil from around the hook box and rotary hook. Before running the machine, seat the bobbin case, close the bobbin cover and secure a hoop with scrap fabric.
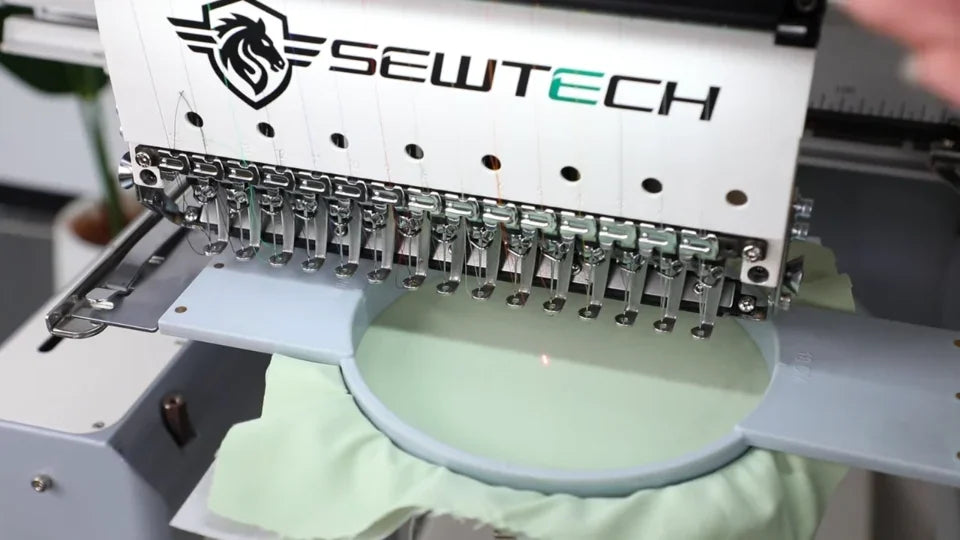
13. Run a short test and check for fresh oil marks
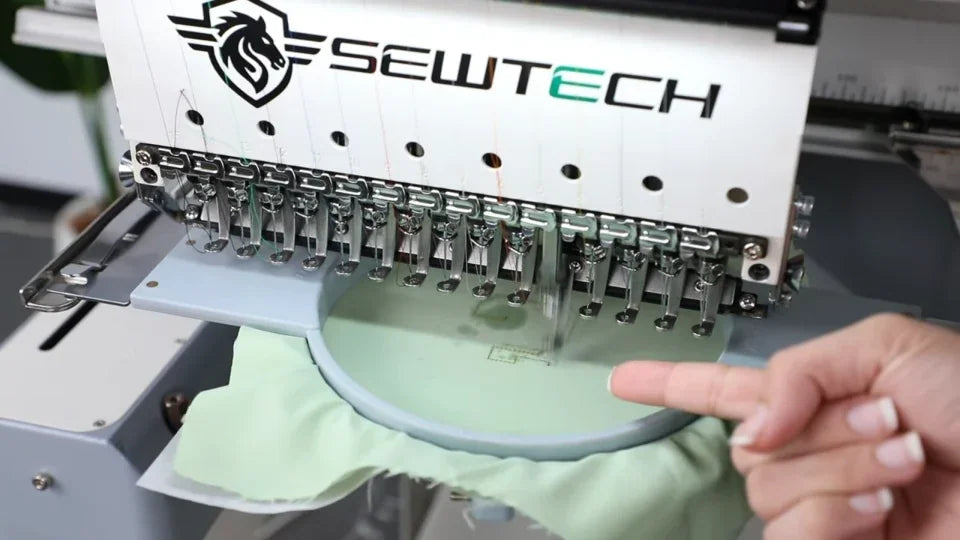
Watch at 05:07Run a test on the scrap fabric for about two minutes. Stop and inspect the area below the needles for fresh oil marks. If you see any, as the video shows, continue testing on spare fabric and check again. Start your project only after the machine stops leaving new oil marks.