SEWTECHSupport Center 简体中文

Unbox the SEWTECH ST-1201 and SC-1501

Applies to ST-1201 / SC-1501 Demonstrated on ST-1201

Watch on YouTube ↗

Overview

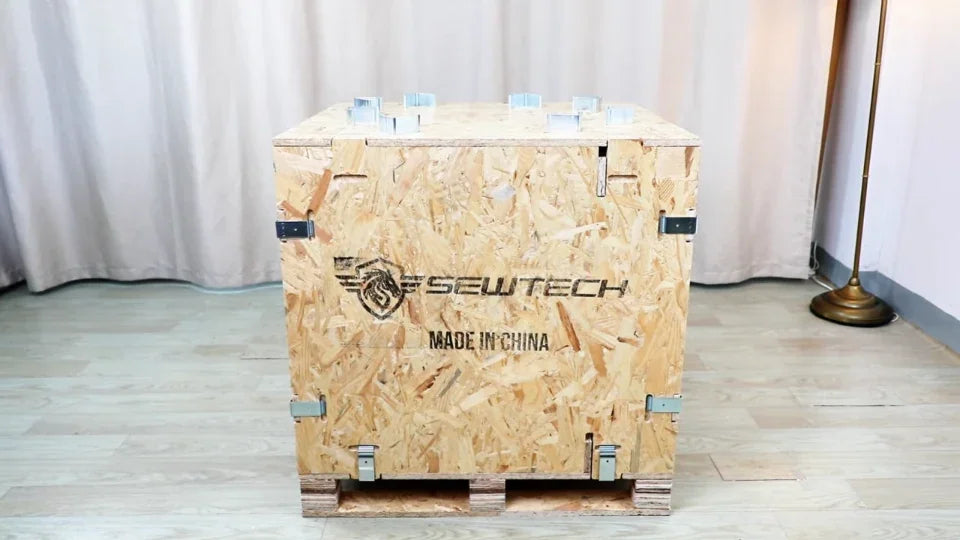
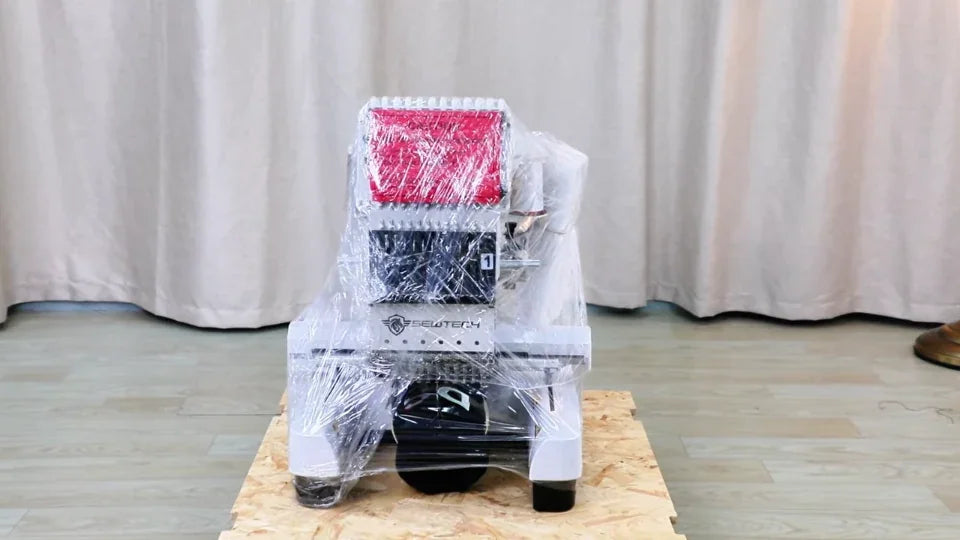
This guide covers the ST-1201 and SC-1501. The video shows an ST-1201 packed in a clip-fastened wooden crate. Compare the clips, packing compartments and pallet fasteners with the ones supplied with your machine. The walkthrough ends with the machine unwrapped on its shipping pallet.

Step-by-step guide

1. Prepare the screwdriver and gloves

Watch at 00:25

Set the crate on a level floor with room to work around it. Have a large flat-blade screwdriver and work gloves ready. Ask a second person to help handle the wooden lid and panels. Keep the machine on the pallet throughout the unboxing shown here.

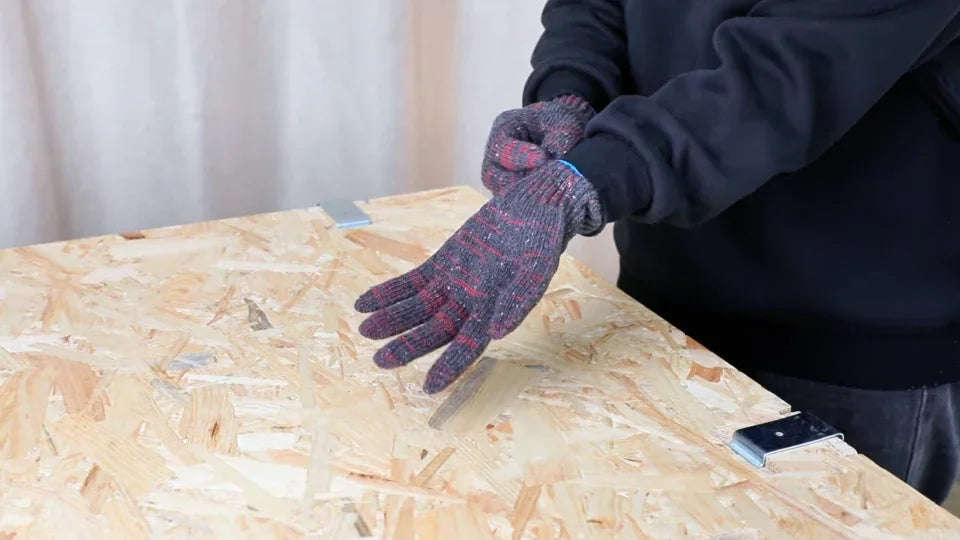
The wide, flat tip fits behind the metal crate clips.
Put on work gloves before handling the clips and rough board edges.

2. Release the lid clips

Watch at 00:35

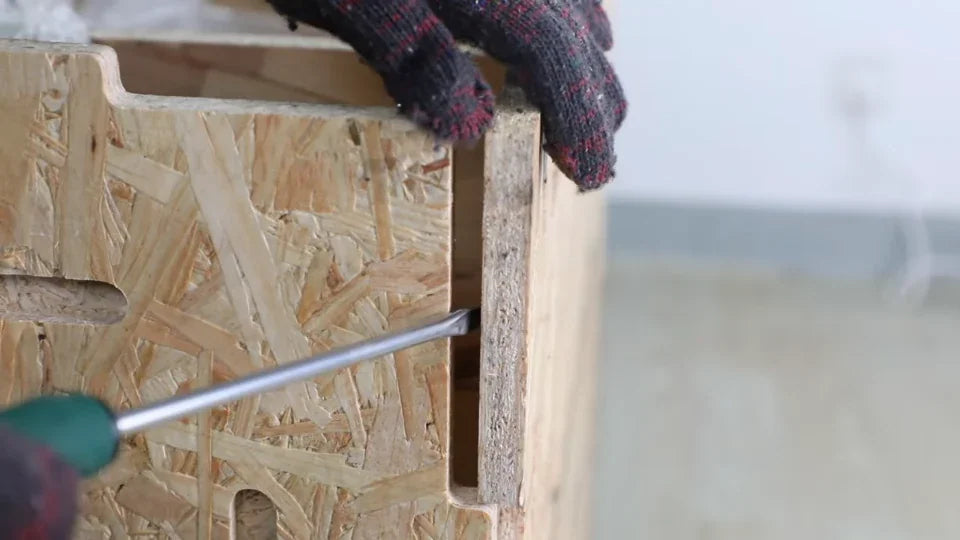
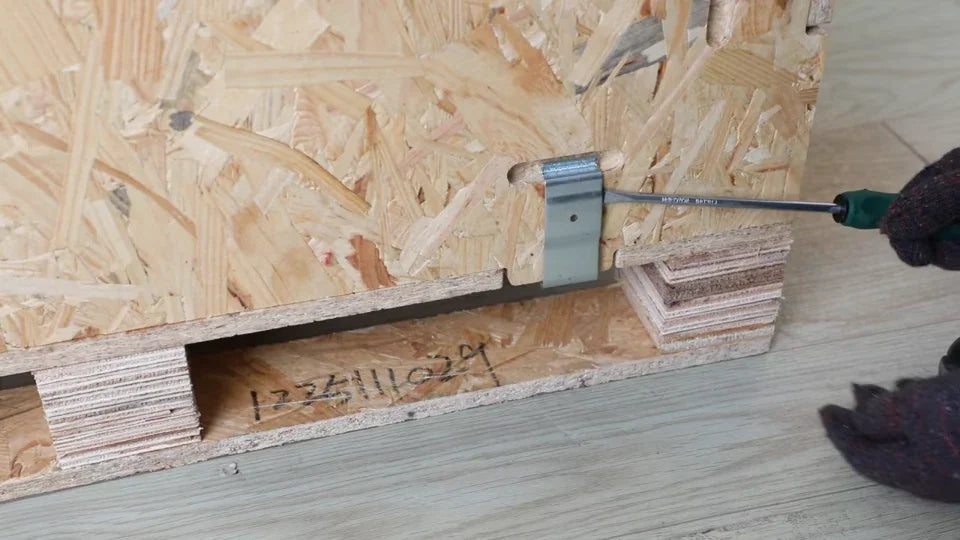
Hold the lid down with one gloved hand. Slide the flat tip behind a metal clip spanning the lid and wall, then lever it outward until the hooked end clears the slot. Lift the clip away. Work around the lid and check that all of its edge clips are off before opening it.
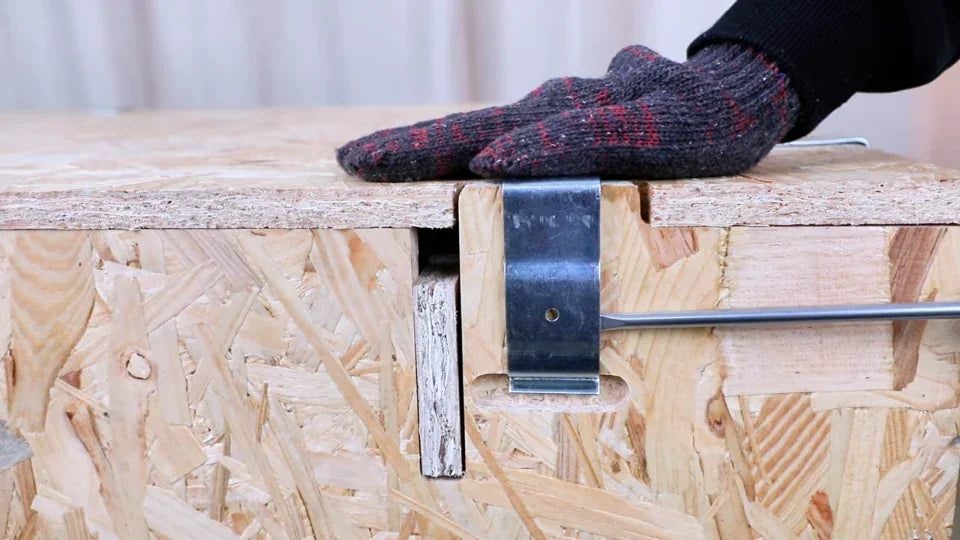
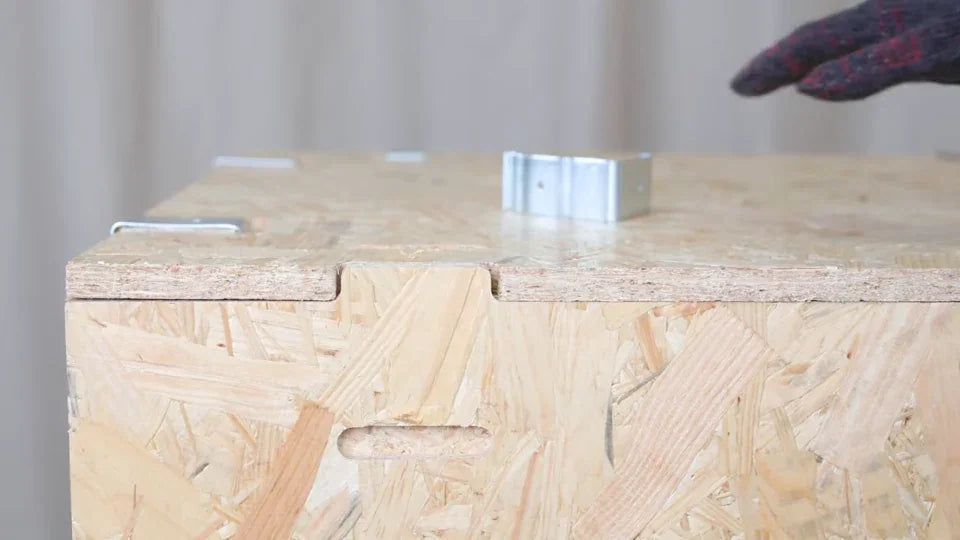
Brace the lid and insert the flat tip behind the bracket.
The empty slot and the loose clip on the lid show that this clip is free.
The lid clips have been removed. The wall and pallet clips are still fitted.

3. Free and lift off the lid

Watch at 01:06

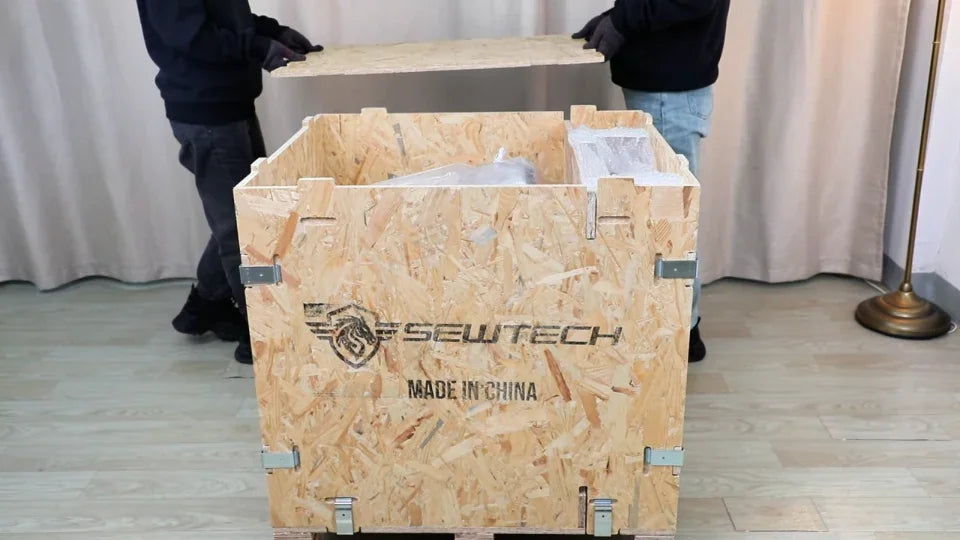
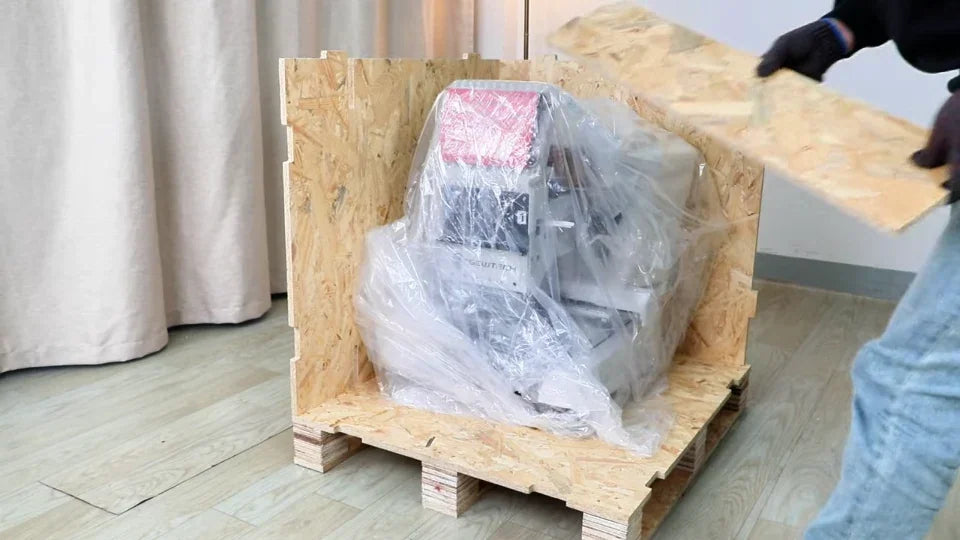
Slip the flat blade into the seam under the lid edge and gently open a gap. Work along the edge to free the lid from the wall tabs. With a person at each end, grip the lid and lift it clear of the crate.
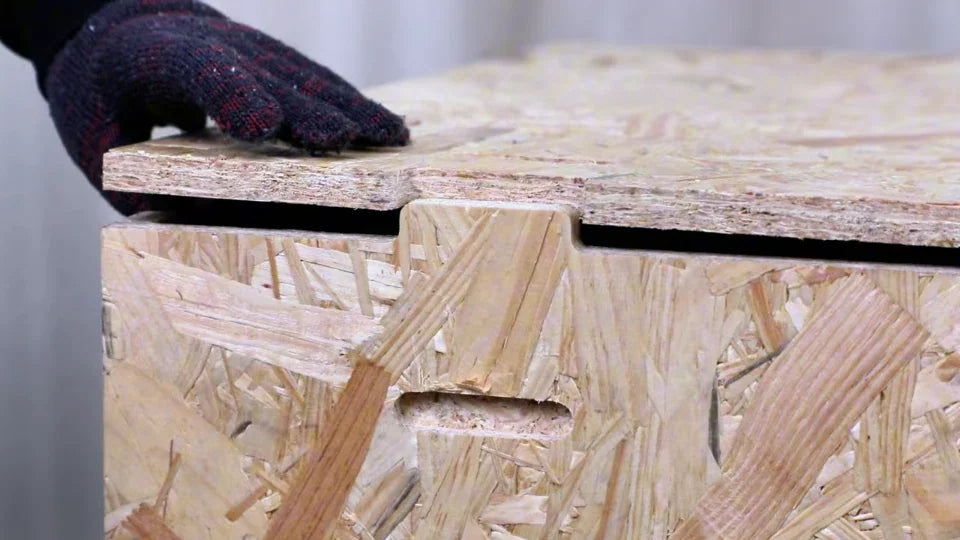
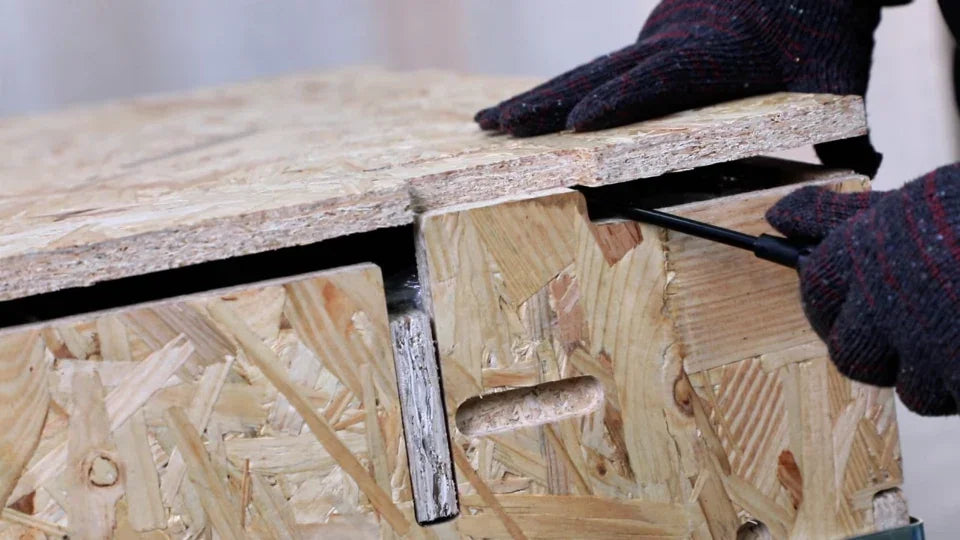
A gap has opened between the lid and the top of the crate wall.
The screwdriver frees the edge beside a wooden tab.
Two people lift the lid clear, exposing the top of the crate.

4. Take out the loose items from the top

Watch at 01:24

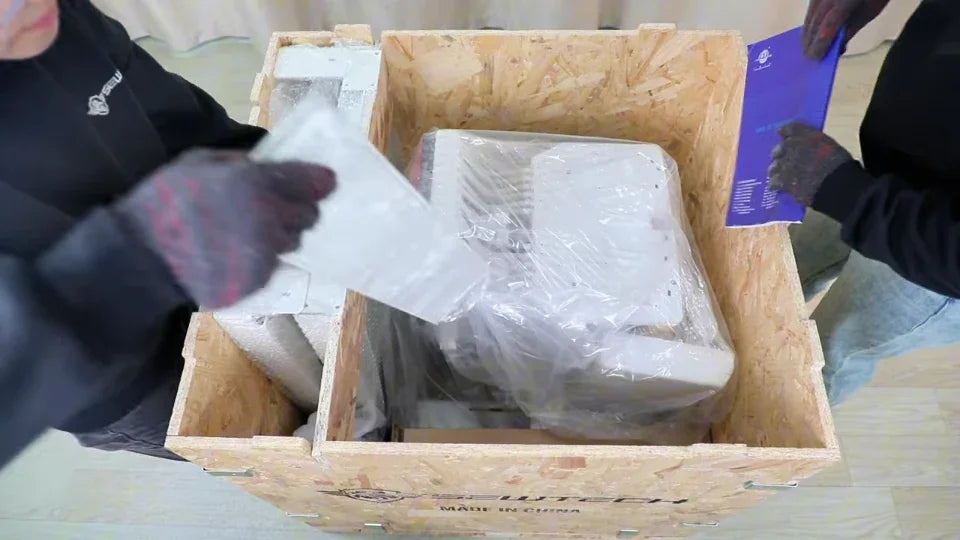
Lift the loose cartons out through the top. The video shows brown cartons followed by a smaller blue carton and flat packed items. Set these pieces aside for the packing-list check. The wrapped machine and the large upright packages stay in place at this stage.
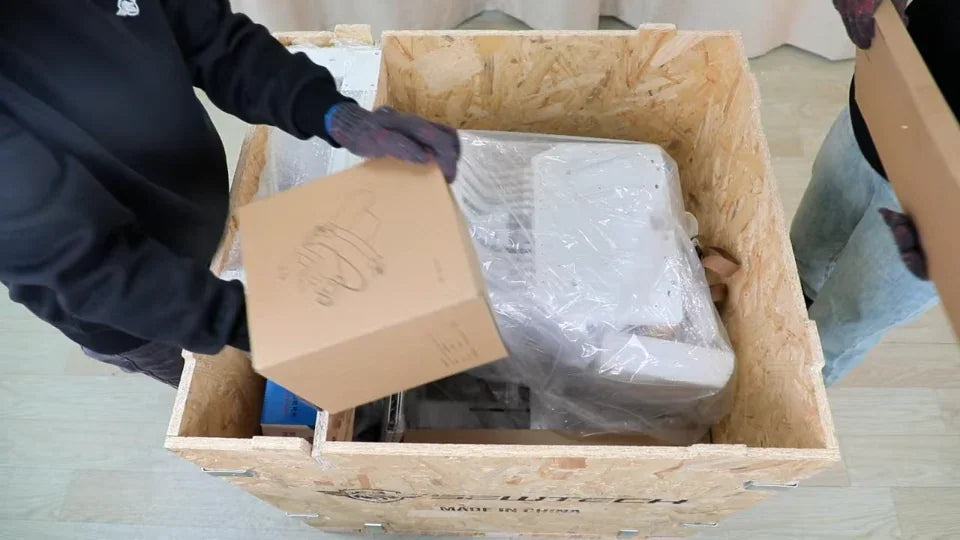
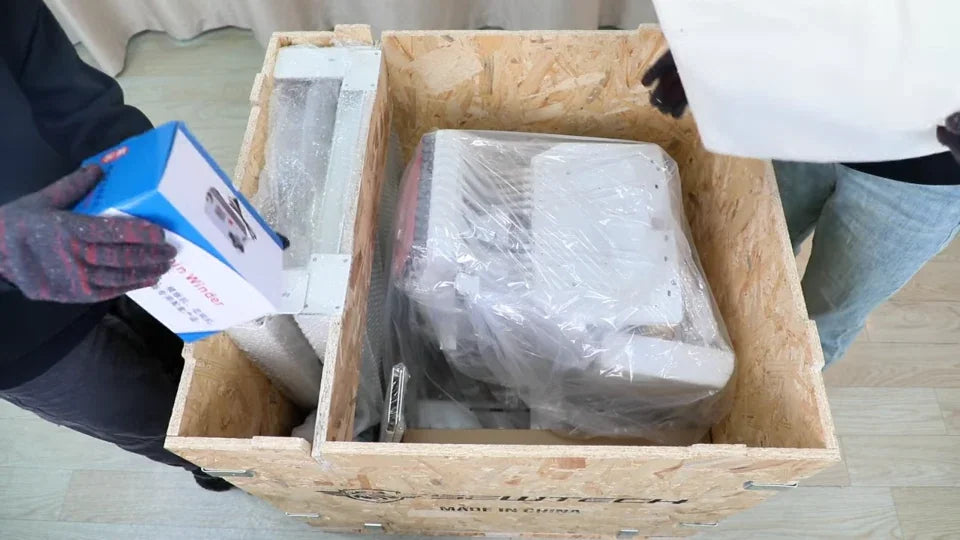
Lift the loose brown cartons from above and beside the wrapped machine.
A small blue carton comes out of the narrow side space.
The flat items are within reach from the top opening.

5. Release the front panel clips

Watch at 01:31

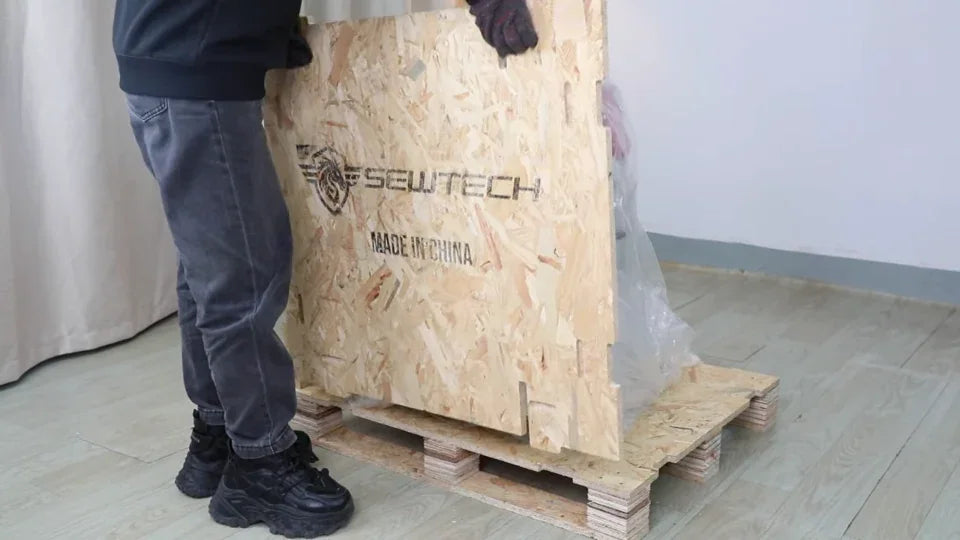
Start at the vertical joints on both sides of the front panel with the SEWTECH logo. Pry those clips free, then release the clips along the bottom where the panel meets the pallet. Support the panel as you finish. Check for empty clip slots and gently free the wood joint if it still holds the panel.
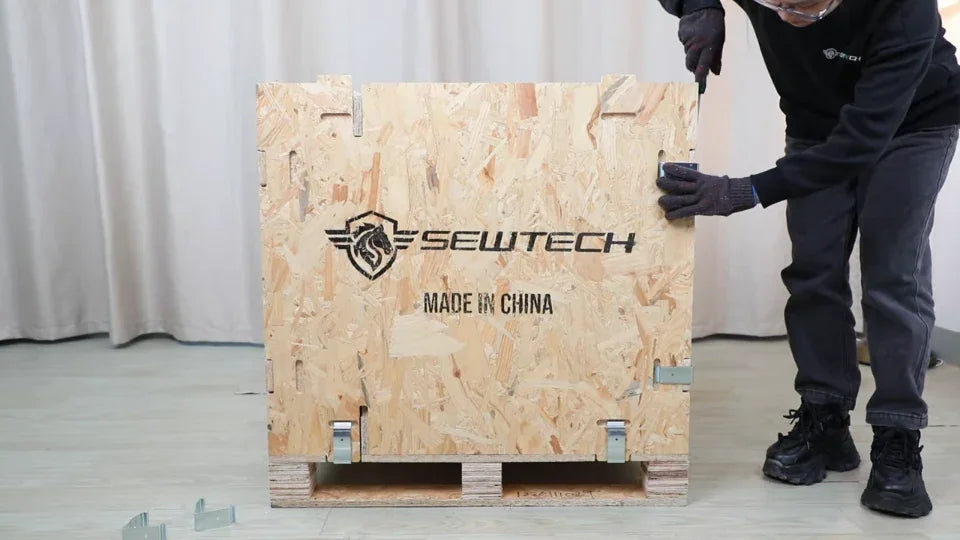
The upper-right corner clip bridges the joint between two walls.
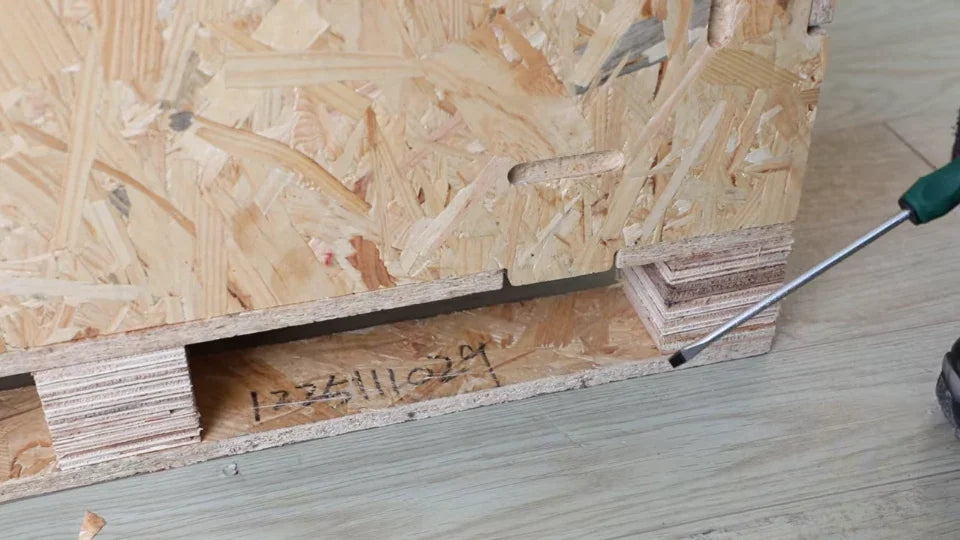
The lower clips connect the front panel to the pallet edge.
An empty lower slot shows where the clip came off.
Once the clips are off, free the tight vertical wood joint.

6. Lift off the front and clear the opening

Watch at 01:52

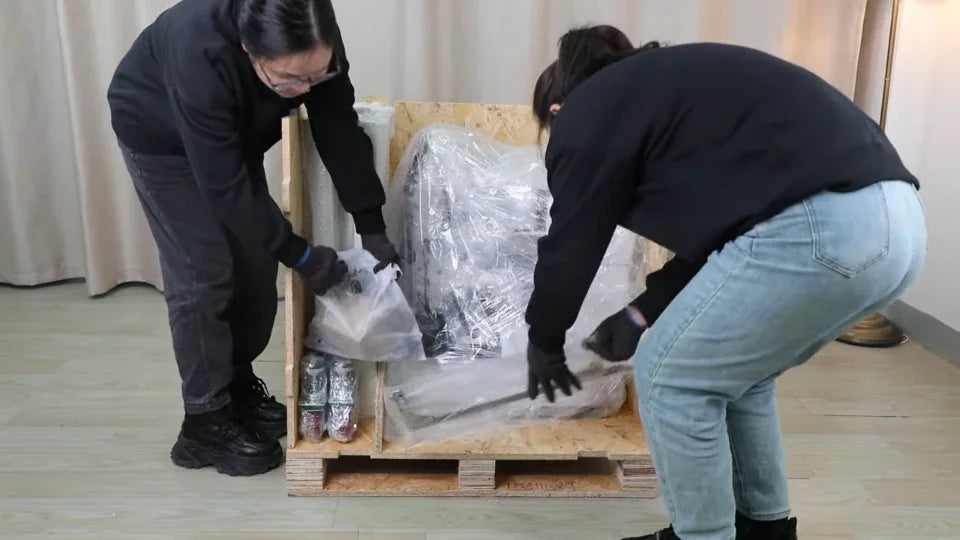
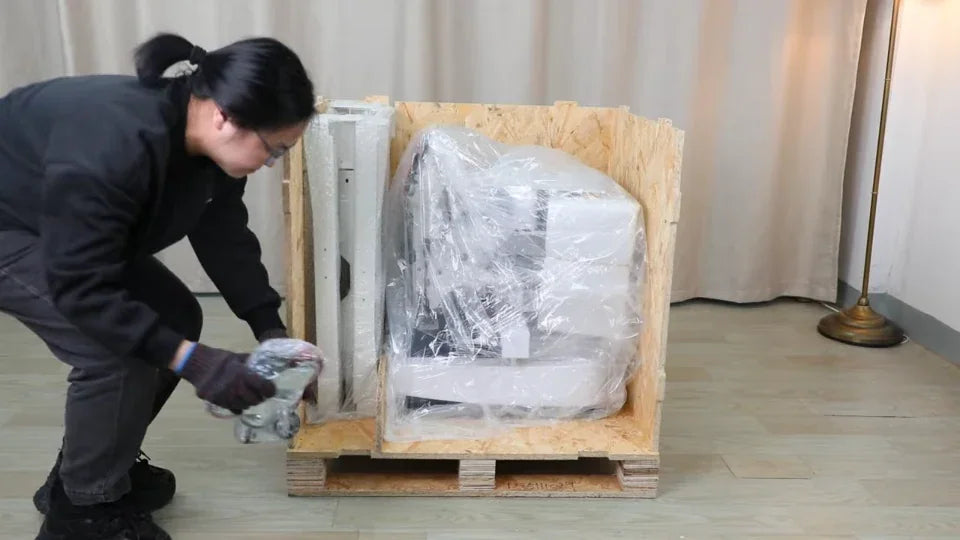
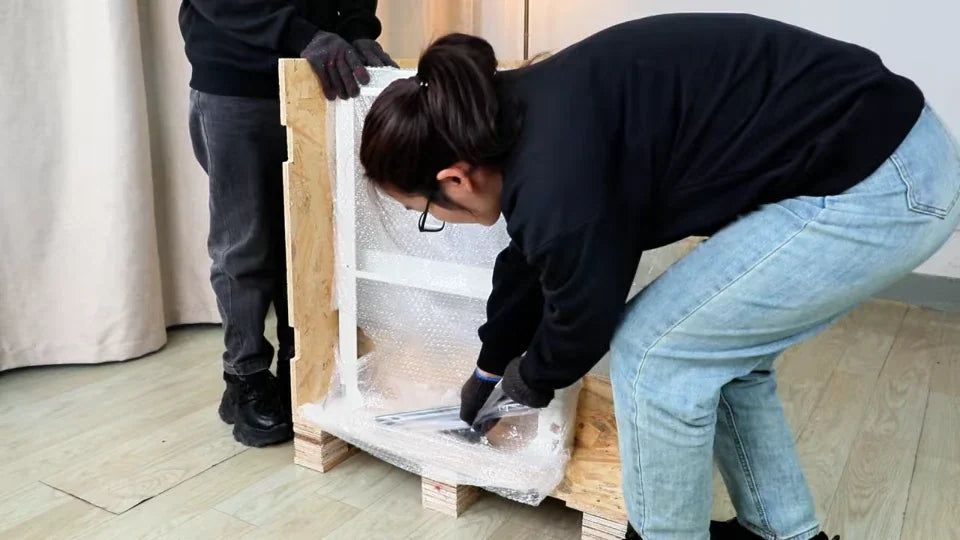
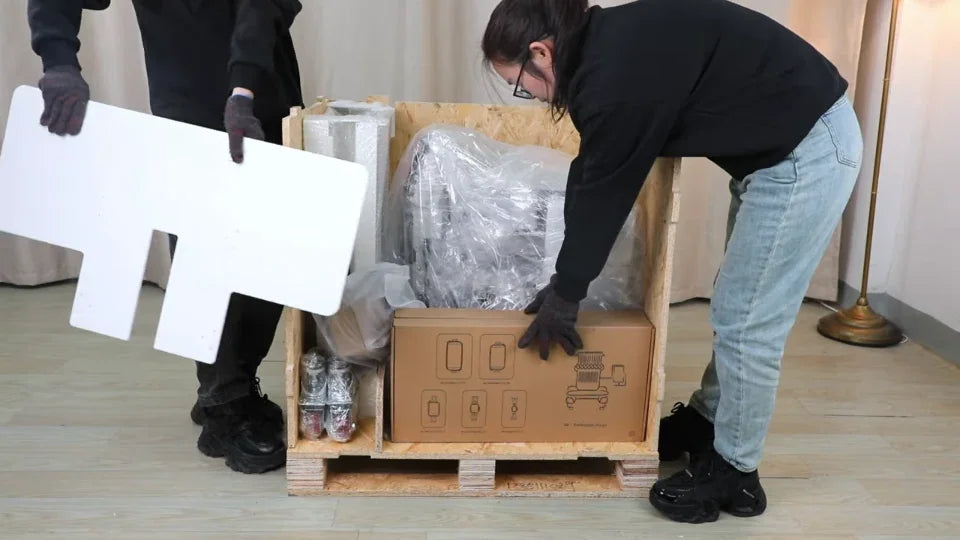
With a person at each side, lift the front panel clear. Remove the shaped white foam and the carton behind it. Take the loose wrapped pieces from the bottom opening and the narrow side bay. The wrapped machine stays on the pallet.
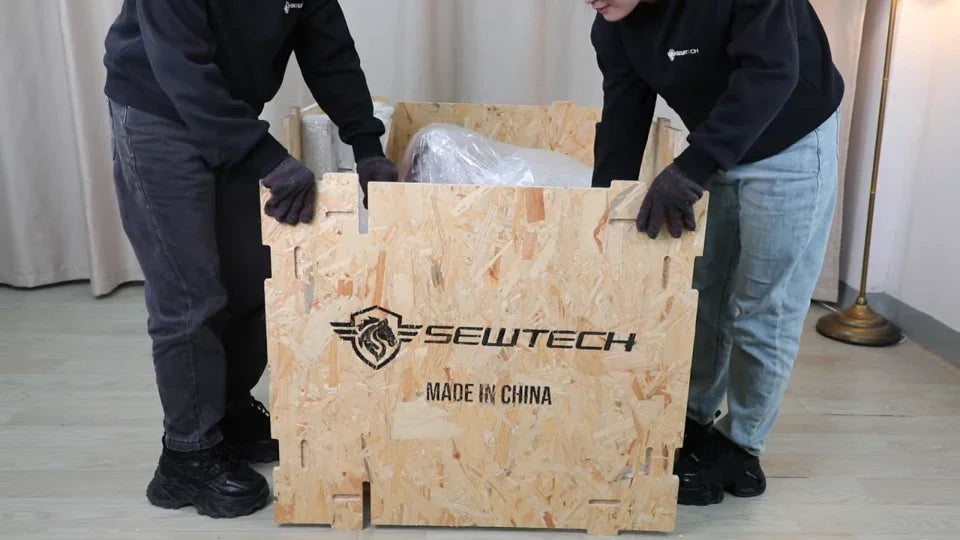
Both people hold the released front panel as it comes clear.
Removing the shaped foam makes the low carton accessible.
The front opening gives access to the loose bag and long wrapped piece.
Lift the small bundled pieces out of the narrow bay beside the machine.

7. Remove the marked side panel

Watch at 02:06

On the panel with the handling symbols, undo the clips at the vertical joint and along the pallet edge. Use the same flat-blade screwdriver and support the board as it frees. Lift the panel aside to expose the tall wrapped pieces beside the machine.
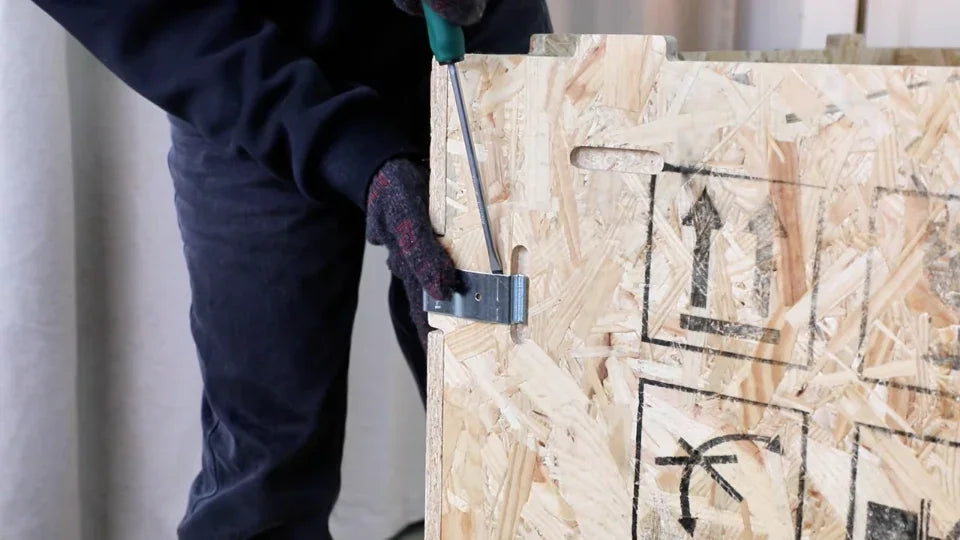
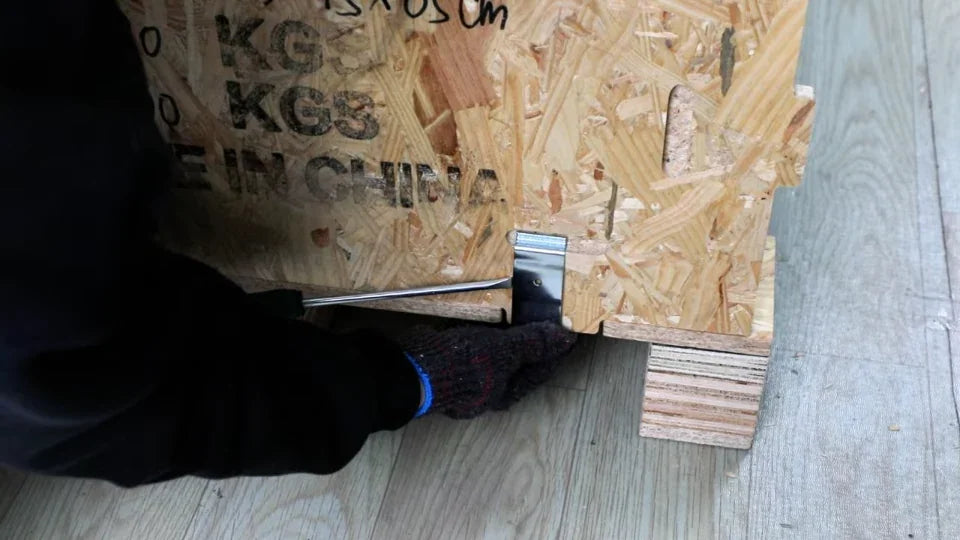
The screwdriver is behind a clip on the vertical edge of the marked panel.
Free the clip at the bottom edge above the pallet block.
The marked panel lifts away and reveals the wrapped pieces stored behind it.

8. Remove the tool kit and upright packages

Watch at 02:29

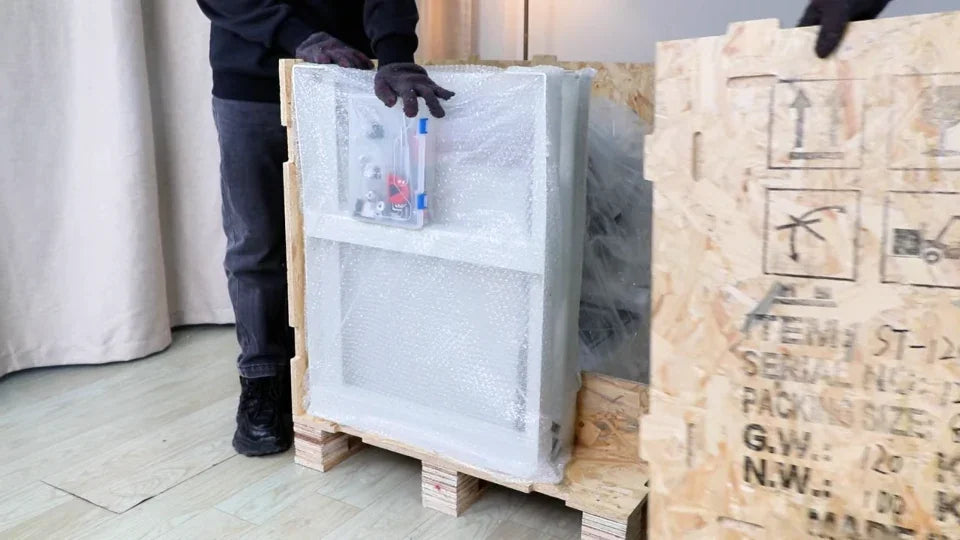
First take the clear tool case from the upper part of the wrapped pieces and keep it nearby for the pallet screws. Support each piece as you lift out the large wrapped parts, the flat package and the small hardware bag. Remove the short wooden divider exposed along the pallet edge after the compartment is empty.

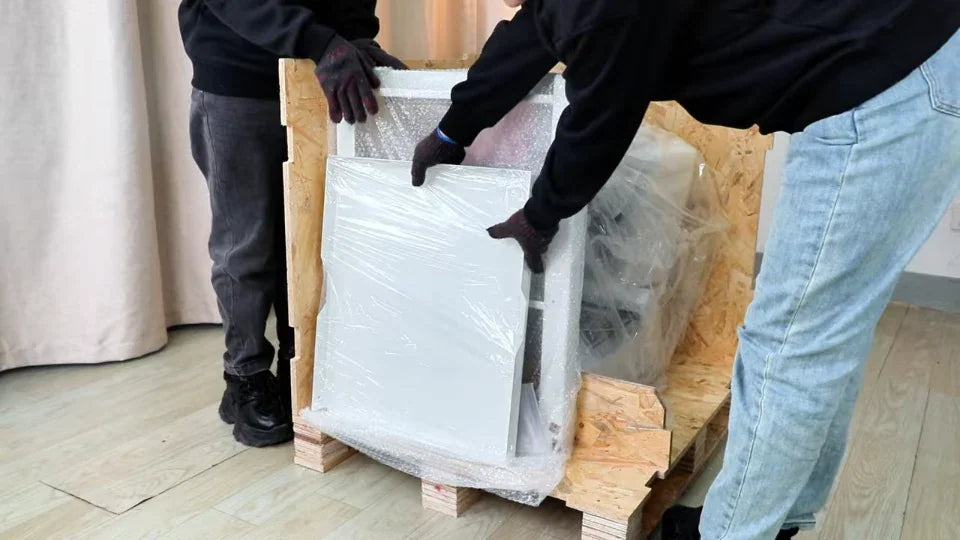
The clear case with blue latches is the tool kit used later.
The flat package sits in front of a larger upright piece.
The small hardware bag is tucked low inside the compartment.
With the packages out, the short wooden divider lifts away from the base.

9. Remove the remaining crate walls

Watch at 02:43

Work around the two boards still standing. Release the clips along their lower edges and at the corner joint. Support each board as its clips come free, then move it aside. Check for clips along the bottom of the final board. When both boards are clear, only the wrapped machine and the pallet remain.
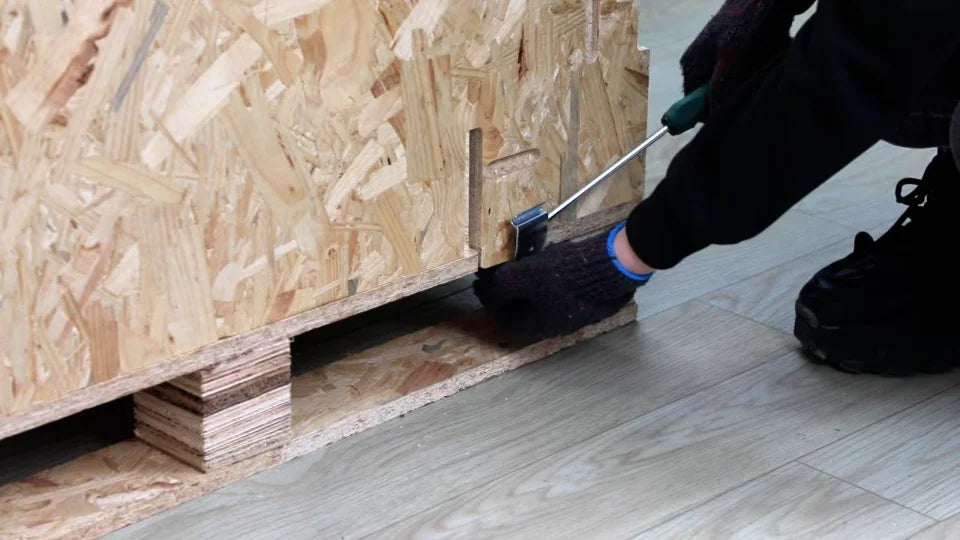
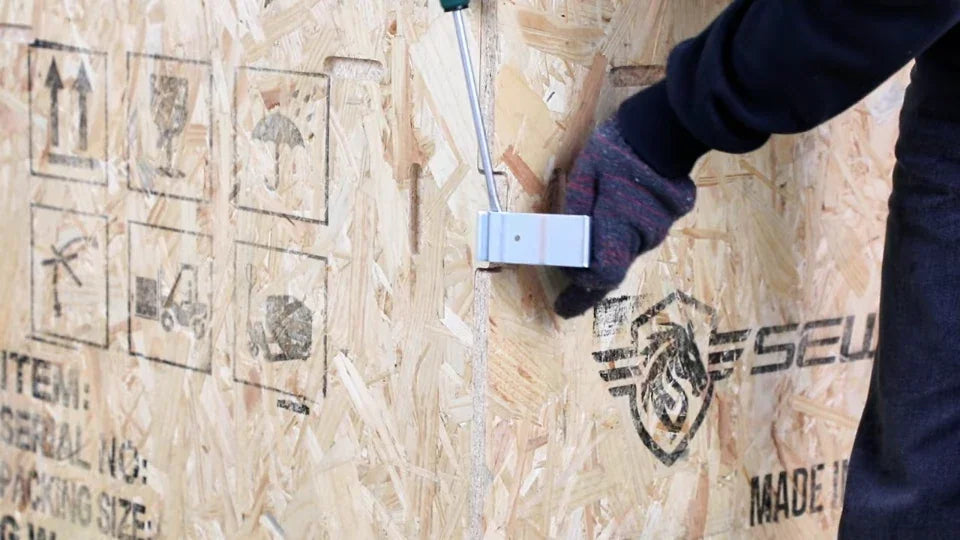
The screwdriver releases a clip along the base of a remaining wall.
Remove the metal clip bridging the corner joint.
One of the remaining panels is being lifted away once it is free.
The final board still has a clip at the lower edge.

10. Find the pallet screws and select the hex key

Watch at 03:13

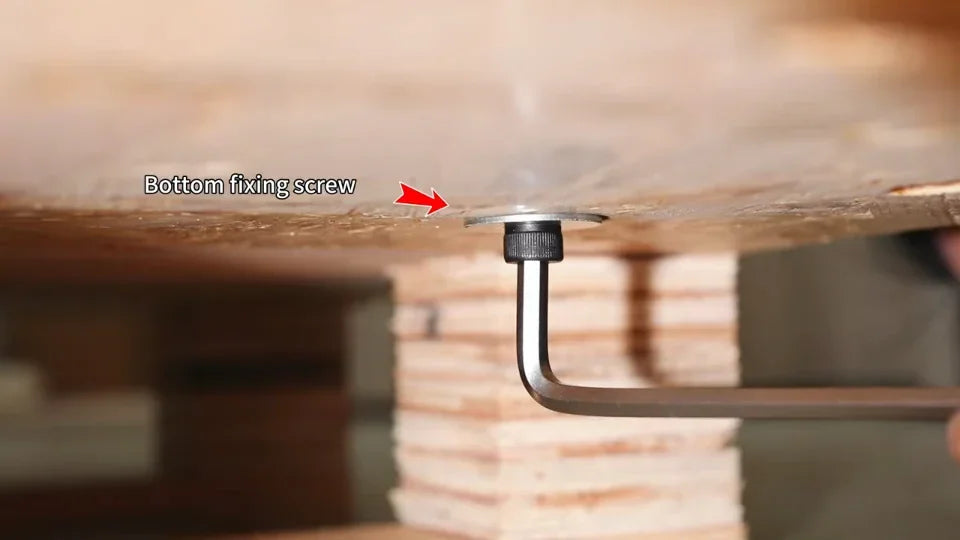
The red arrows show the shipping-screw locations on the demonstration pallet. Look underneath through the openings between the pallet blocks for the socket-head screws and flat washers. Open the clear tool case and choose the L-shaped hex key that seats fully in the screw head. Check the fixing points and tool fit on your own machine.
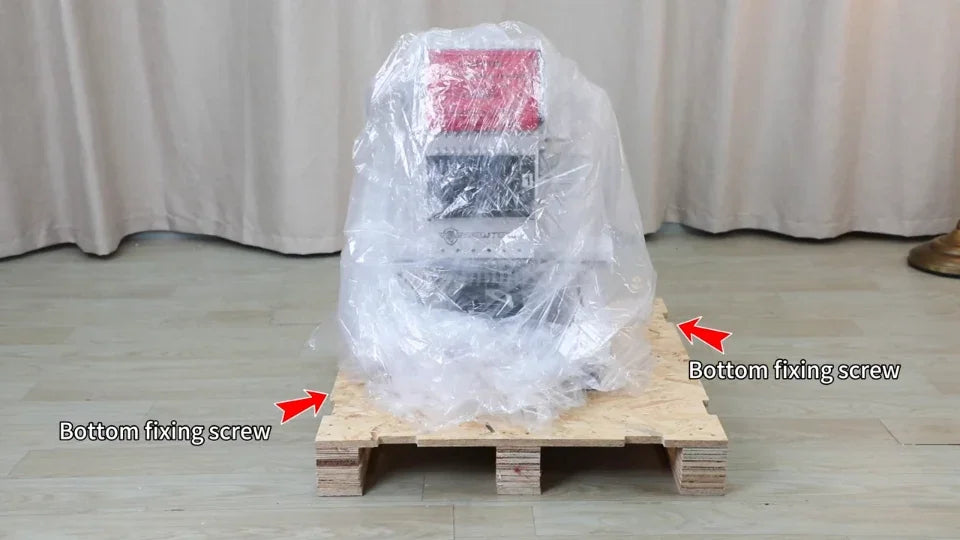
The arrows point to the two fixing areas shown on this pallet.
The long L-shaped hex key comes from the clear tool case.

11. Remove the screws and washers from below

Watch at 03:24

From the pallet opening, insert the short end of the hex key upward into the shipping screw and turn the long arm to loosen it. Finish unscrewing by hand while supporting the washer. Repeat at the fixing points on your pallet. Confirm the screws and washers have come clear while the machine stays upright on the pallet.

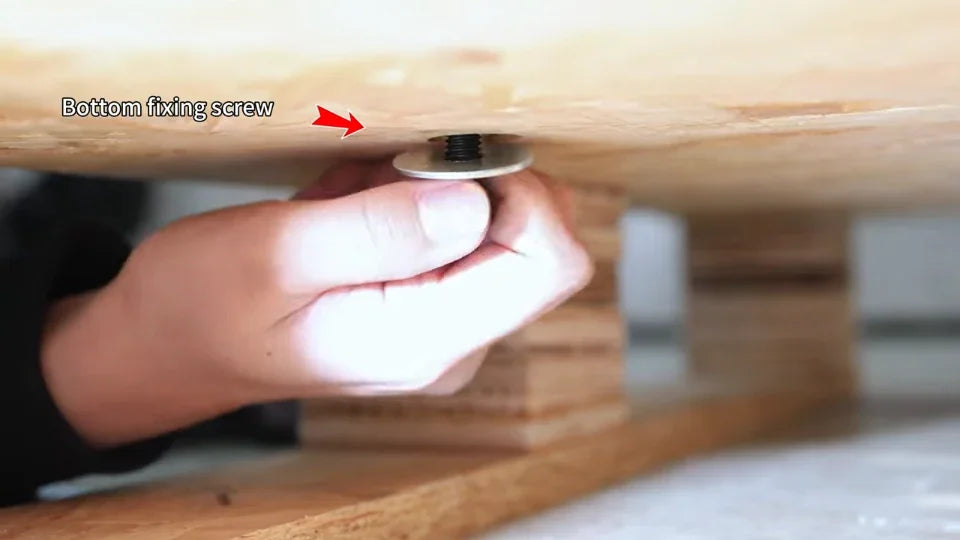
The short leg sits in the screw head under the pallet deck.
Turn the loosened screw by hand while supporting the flat washer.
Use the same access from below at the other location shown.
The screw and flat washer are both out of the pallet.

12. Pull away the loose outer bag

Watch at 03:44

With a person on each side, hold the loose outer plastic clear of the machine head and work it down and away, as shown. Clear the loose sheet from around the feet and pallet. A layer of tightly wound film is still visible around the machine.
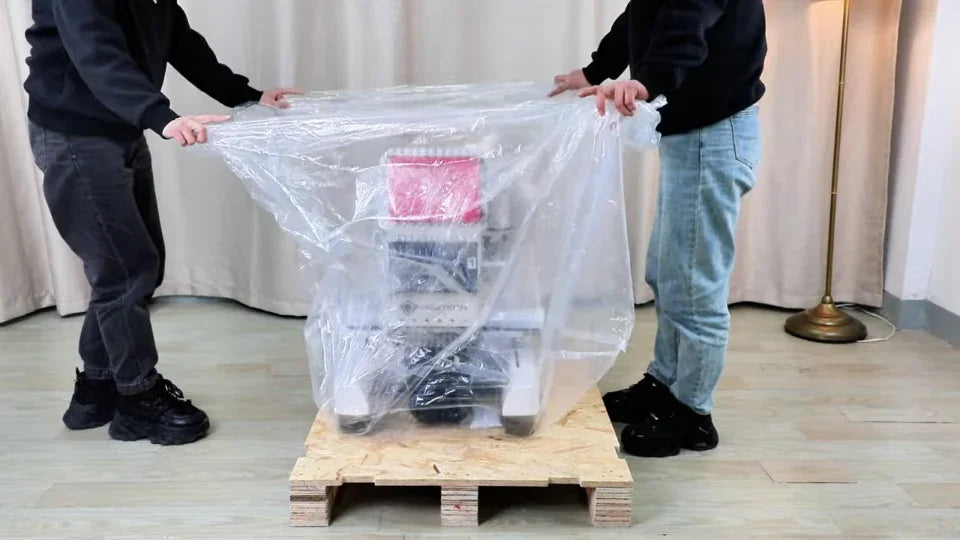
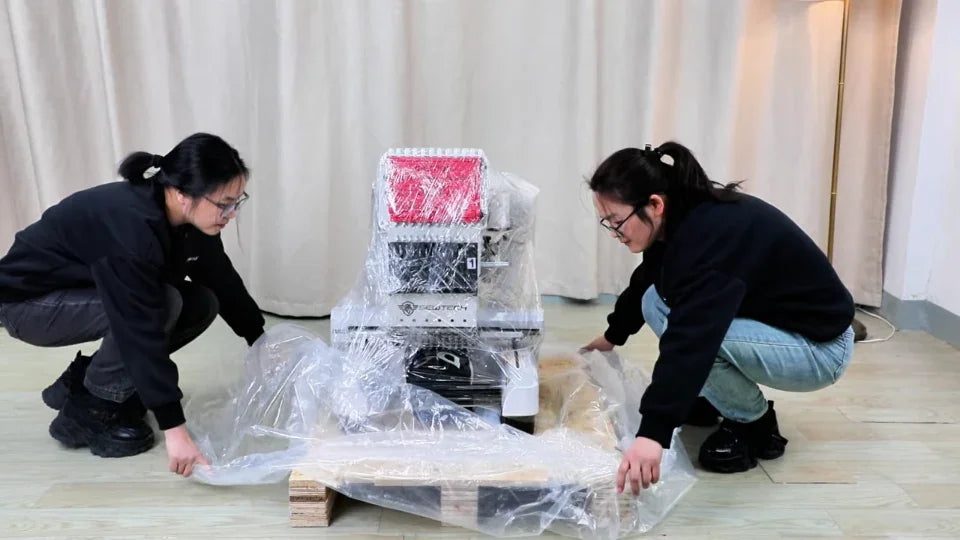
Both people hold the loose outer plastic away from the head.
The loose plastic has been lowered to pallet level.
The outer bag is off and the tight film remains visible.

13. Slit the tight film and remove it

Watch at 03:50

At the side of the machine head, pull the tight film away from the body before snipping it with scissors. Keep the blades away from the machine parts. Remove the loosened wrap. In the next shot the tension knobs and needle area are visible, with the machine still on the pallet.

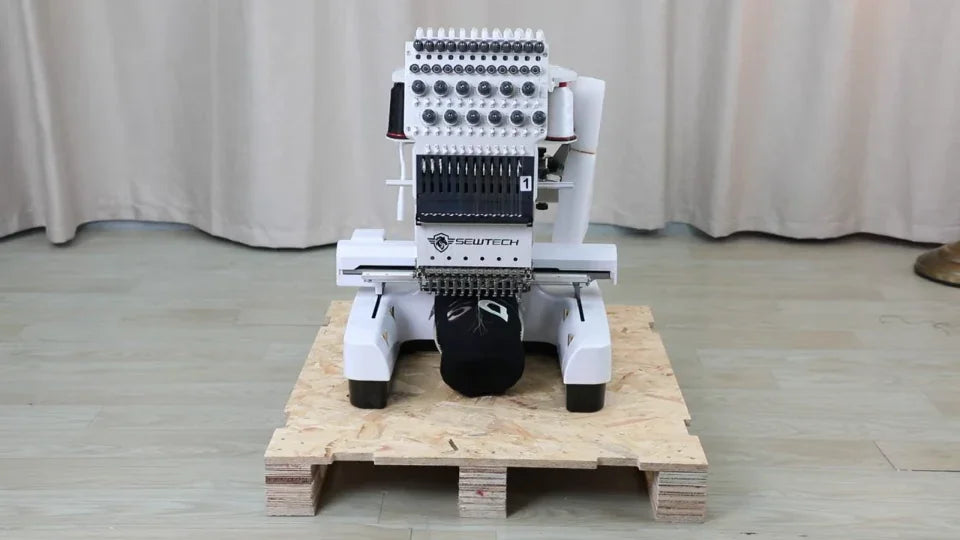
Lift a loose edge of film and cut at the side of the head.
With the wrap off, the tension knobs and needle area are visible.

14. Check the unboxed machine before setup

Watch at 03:56

At the end of the video the crate walls and outer wrap are clear, and the machine stands upright on its pallet. Before moving it, check your pallet fixing points, look for shipping damage and compare the unpacked pieces with your packing list. Follow your model’s handling and installation instructions for lifting, assembly and power-up.
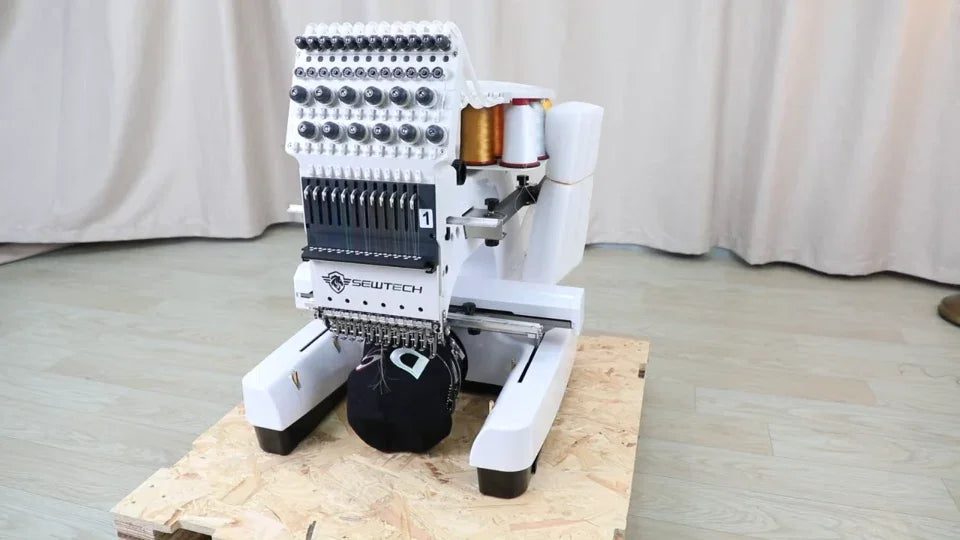
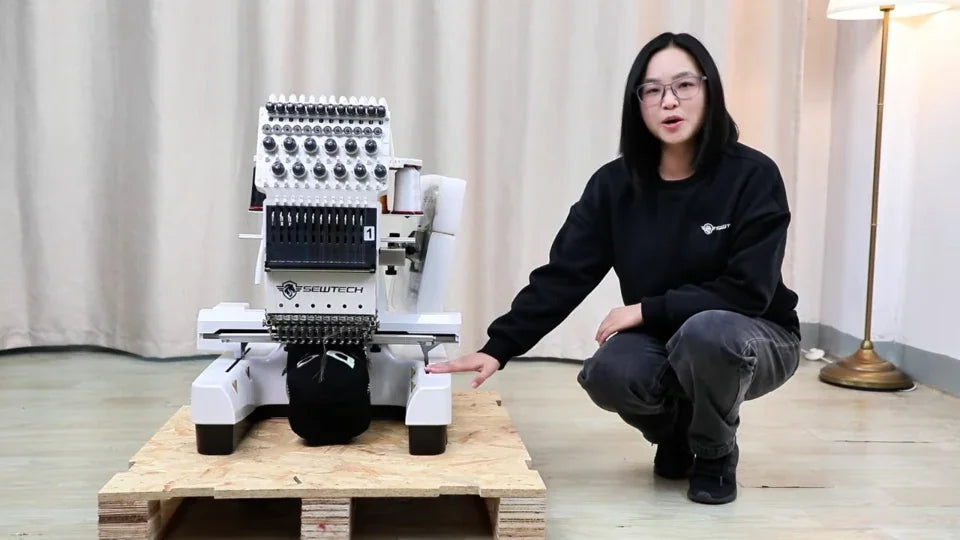
The unwrapped ST-1201 remains upright on its original pallet.
The presenter shows the unboxed machine at the end of the walkthrough.