Thread the ST-1201 and SC-1501

Overview
Use this guide to thread the upper thread with the machine stationary. Have your spools, the long hooked wire threader from the toolbox and small scissors ready. The ST-1201 demonstration follows two of its 12 positions, from the spool rack to the needle and the tail holder. Use the position numbers on your machine to keep each thread on its own route.
Step-by-step guide
1. Match the spool to its needle number
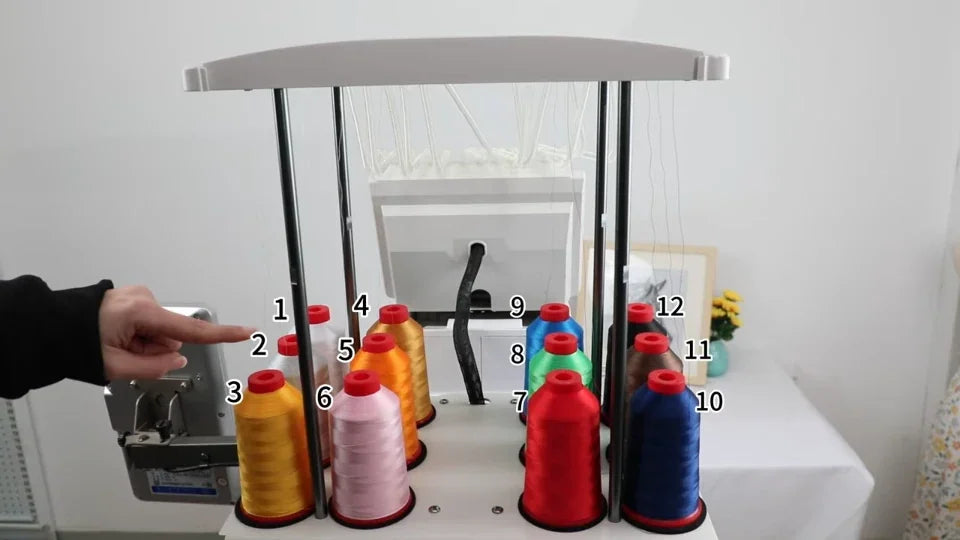
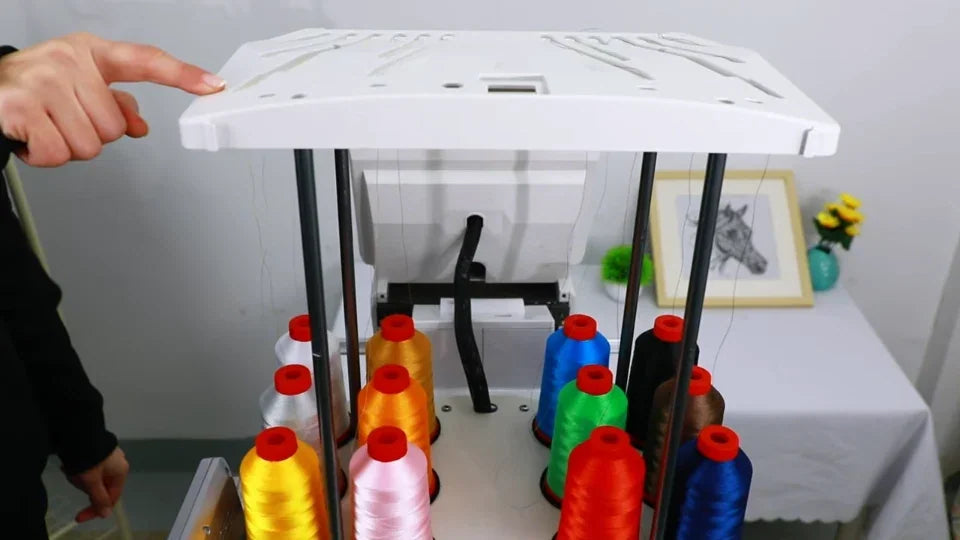
Watch at 00:13The ST-1201 in the video has 12 spool positions. Start with the number of the needle you want to thread. On the rack, use the guide hole directly above that spool. The video uses yellow for No. 1 and green for No. 2 so you can follow the two routes.
2. Find the matching slot on the guide plate
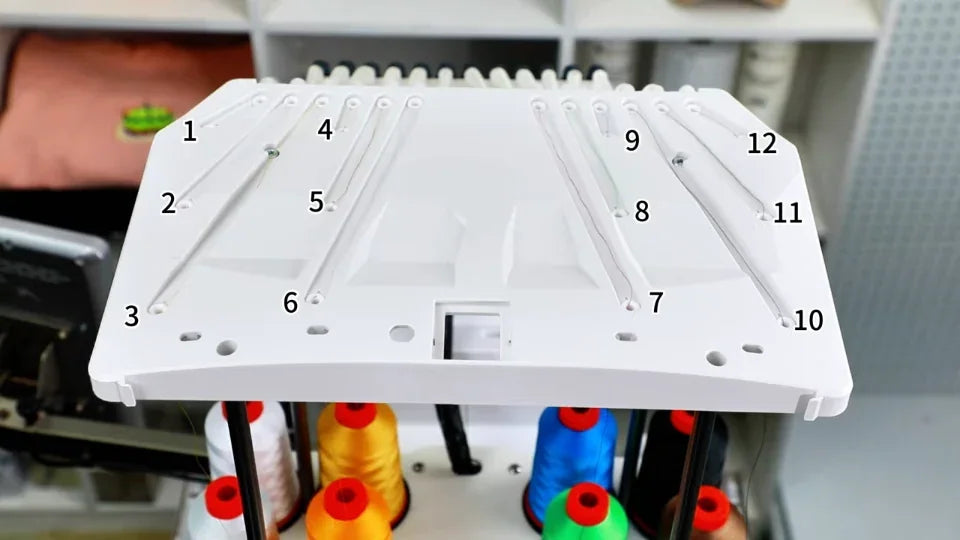
Watch at 01:20Look down at the guide plate above the spools. The plate has a separate slotted path for each position. Match the spool, guide plate path and needle by number. In the following close-ups, No. 1 is the far-right path when you face the front of the machine.
3. Bring the thread up and back down through the plate
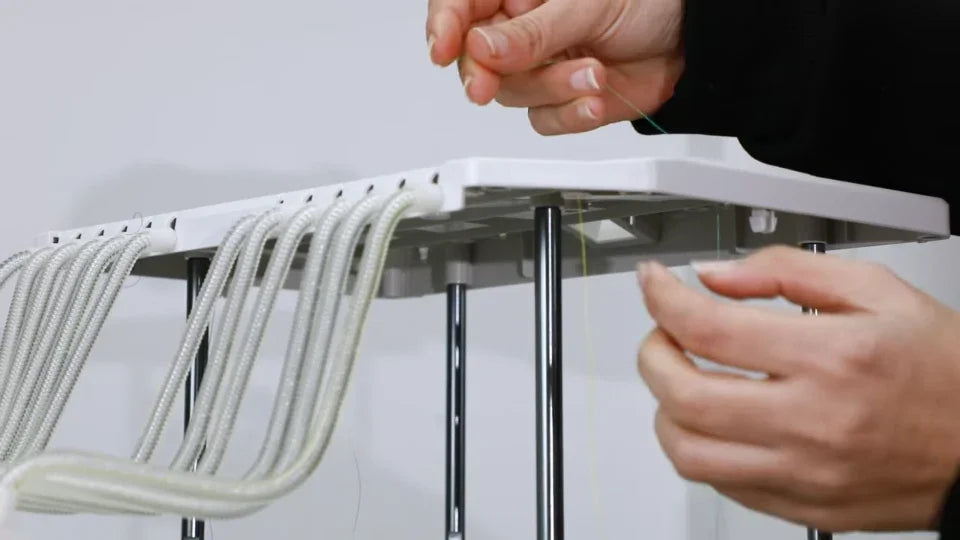
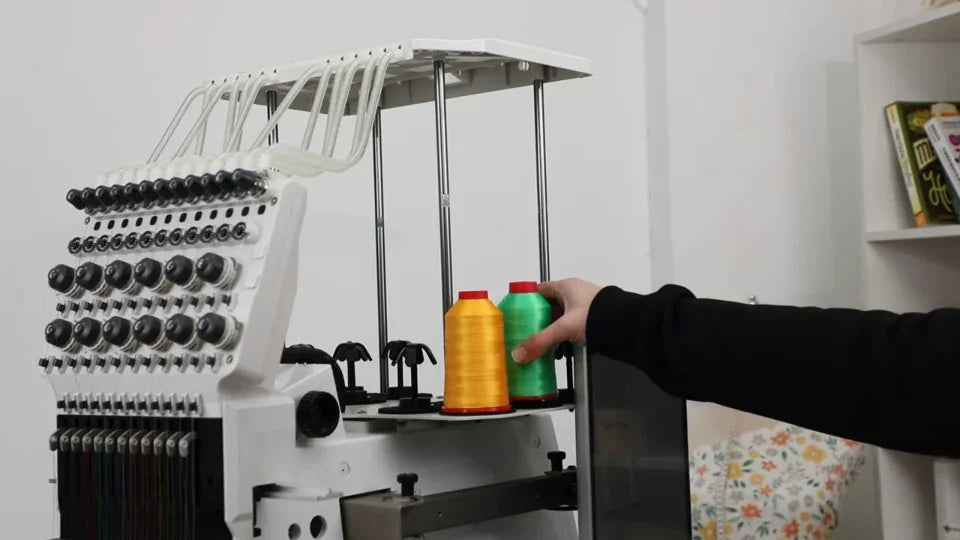
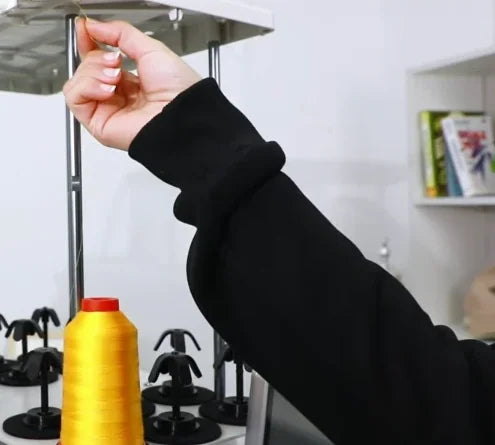
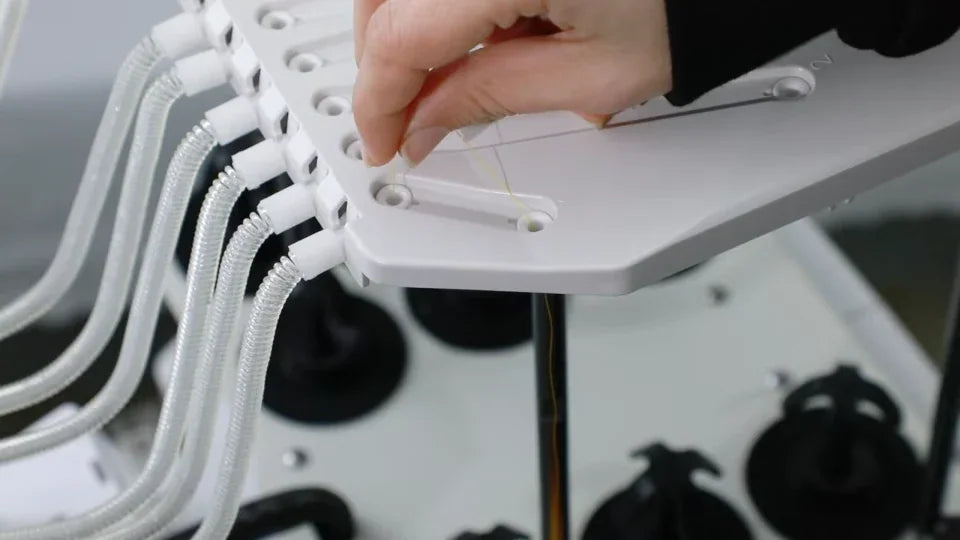
Watch at 01:52Pull the end from spool No. 1. Feed it up from underneath through the first No. 1 hole above the spool. Lay the thread in the connecting slot on top and pass it down through the second hole at the other end of that same slot. Reach underneath and pull the end down.
4. Free the tube and feed the thread through the inlet
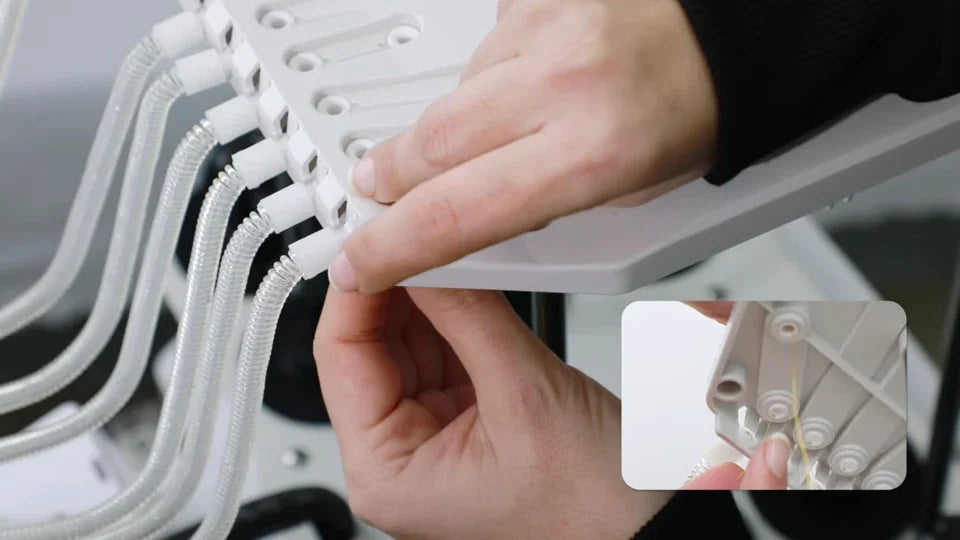
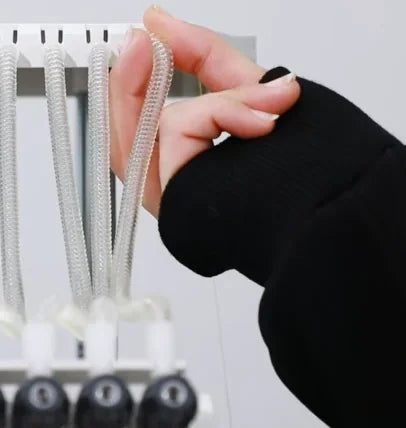
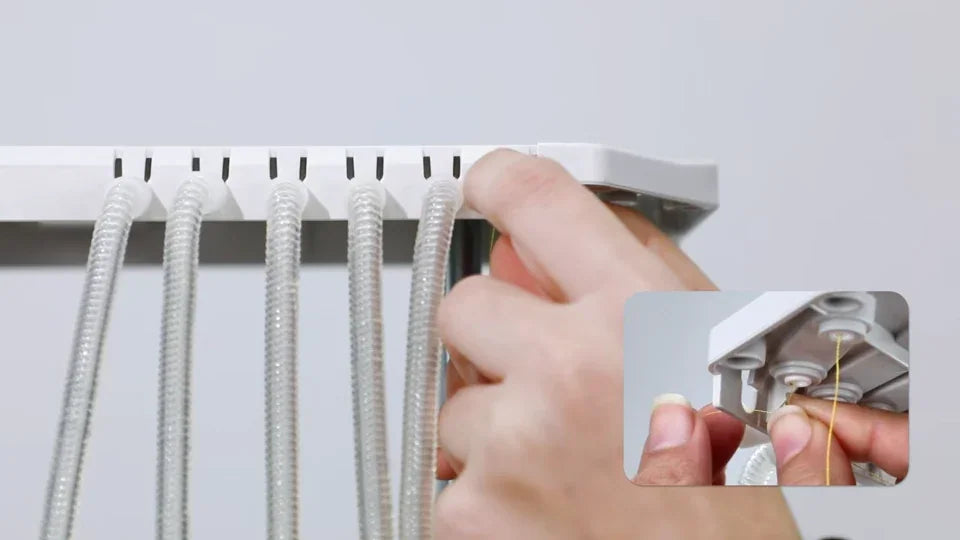
Watch at 02:25Take the matching flexible tube out of its mounts so you can hold it in your hands. With the upper tube end out of the guide-plate mount, lead the loose end through the exposed opening at that position. The underside close-up shows the line coming out of the second hole and turning toward the tube mount.
5. Pull the thread through with the wire threader
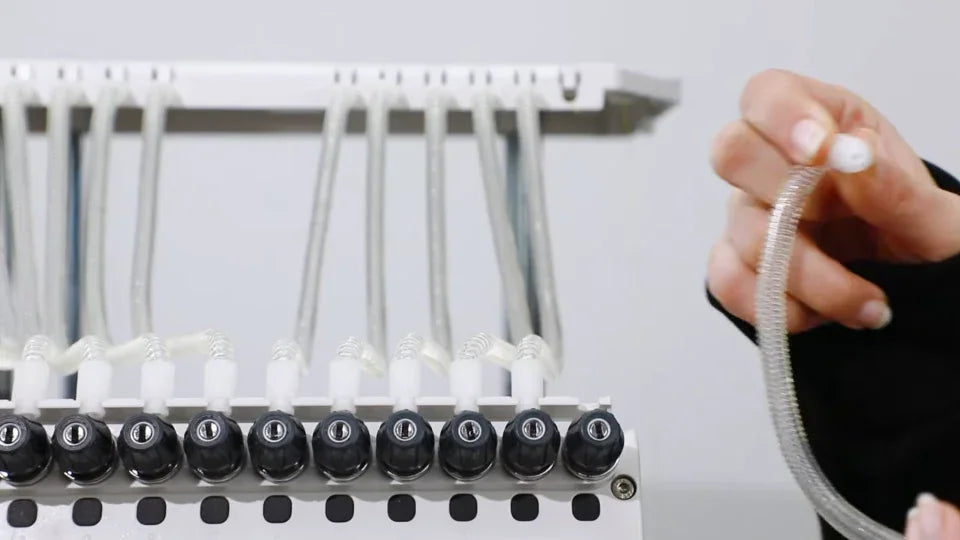
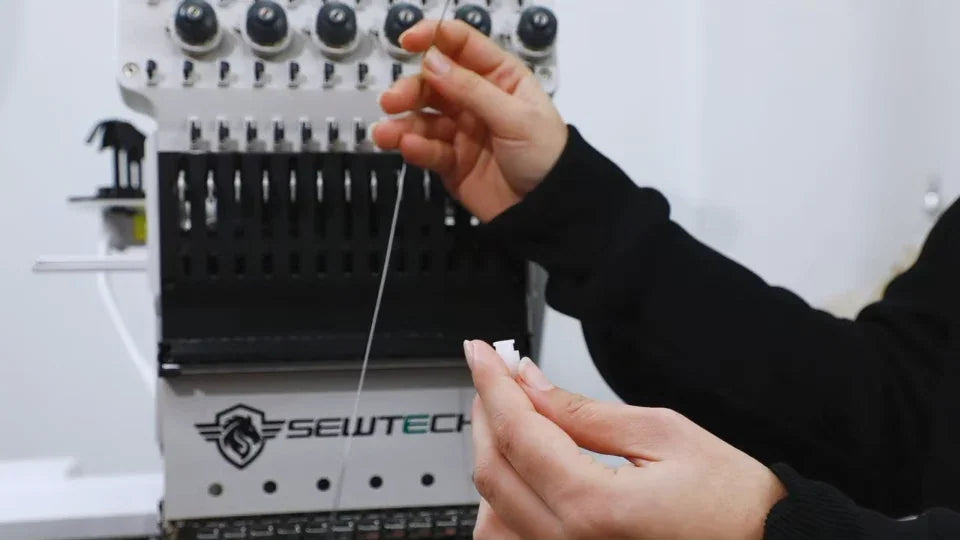
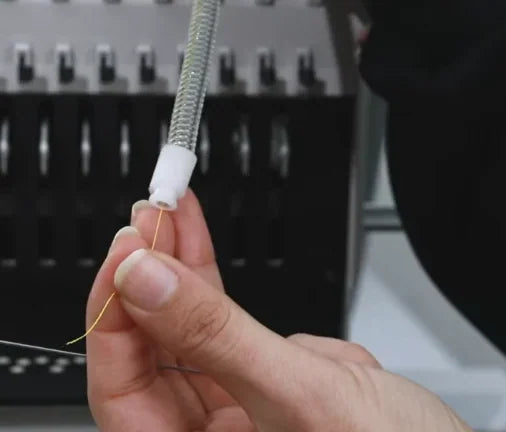
Watch at 02:44Take the long wire threader with a hook from the toolbox. Feed it into the loose tube until its hook comes out of the other end. Catch the yellow thread on the exposed hook, then draw the wire back through the tube slowly. Check that the yellow thread has come out of the opposite white fitting before unhooking it.
6. Refit the tube to the same position
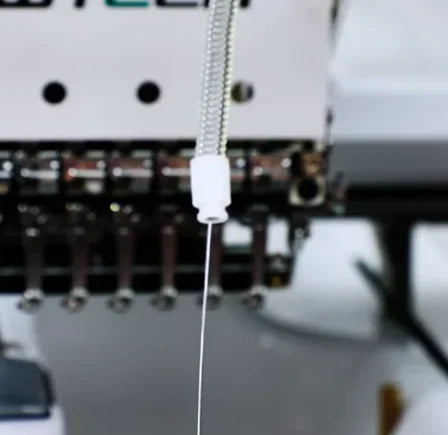
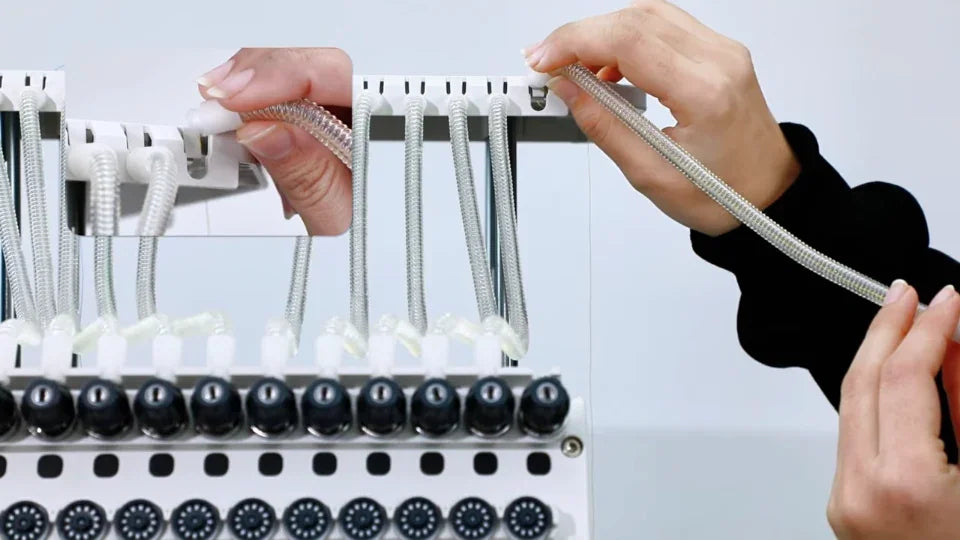
Watch at 03:18Put the upper fitting back into its slot at the guide plate and return the lower fitting to the same position above the pre-tension discs. Keep hold of the free end. Check that the tube is seated at both ends and that the thread still extends from the lower fitting.
7. Seat the thread between the pre-tension discs
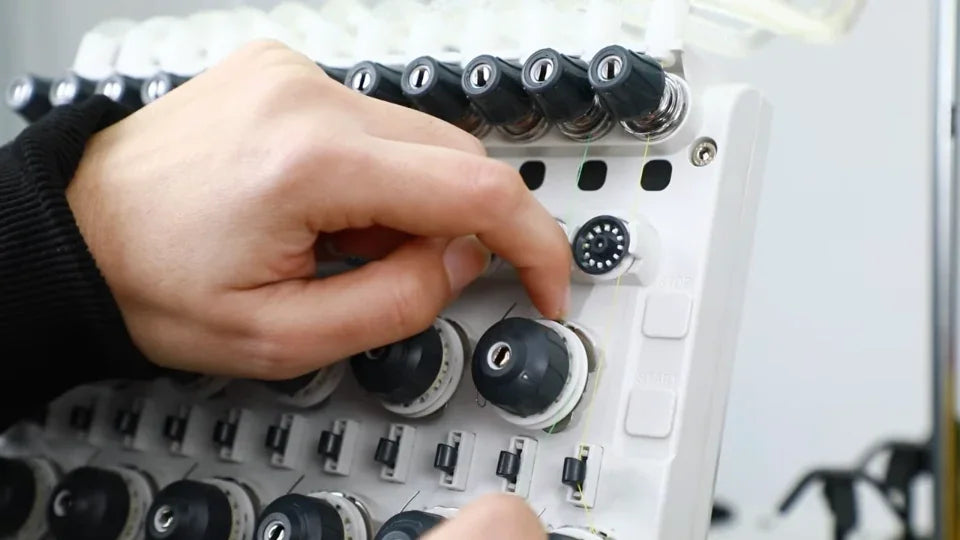
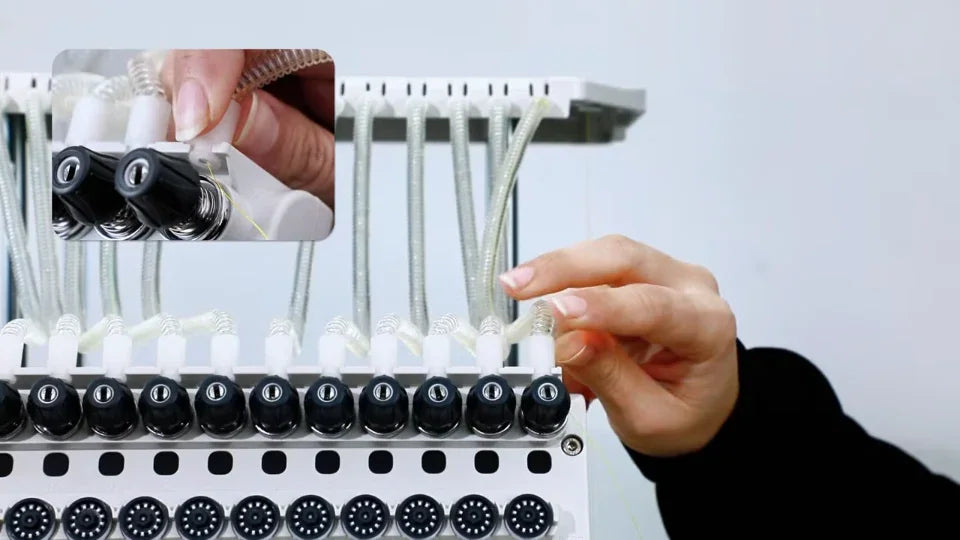
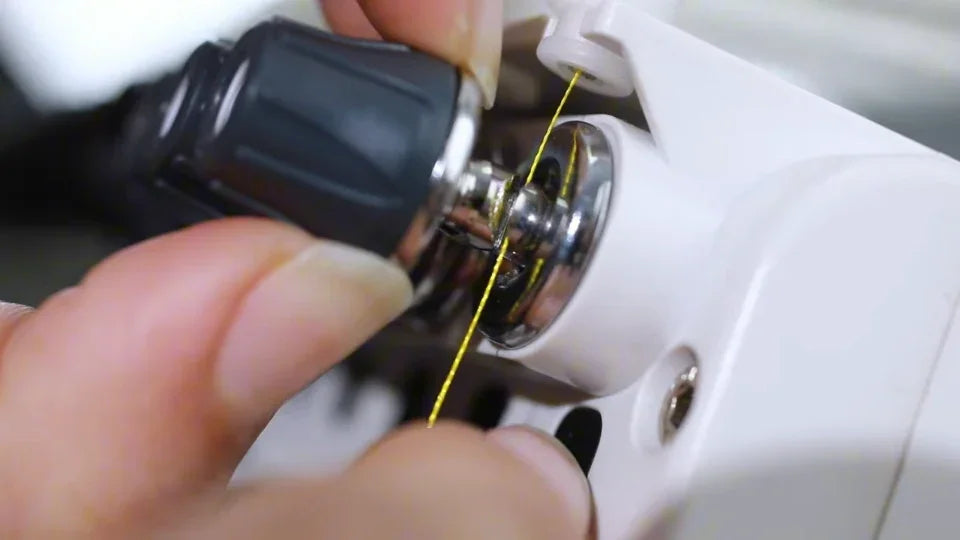
Watch at 03:25Directly below the tube outlet, bring the thread behind the small black knob in the top row. Hold the two sides of the thread and draw it into the gap between the shiny discs. Check from the side that the thread sits in the gap before leading it to the small wheel below.
8. Wrap the small wheel once clockwise
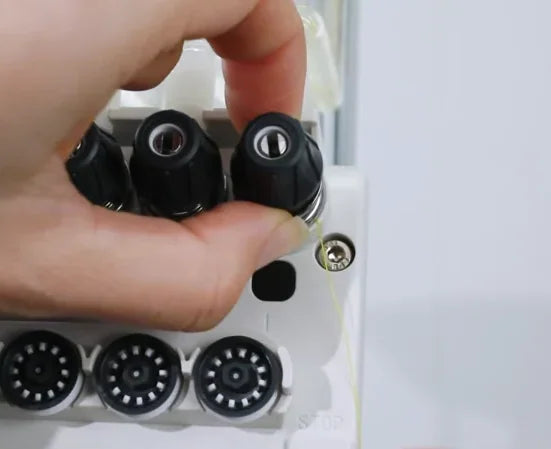
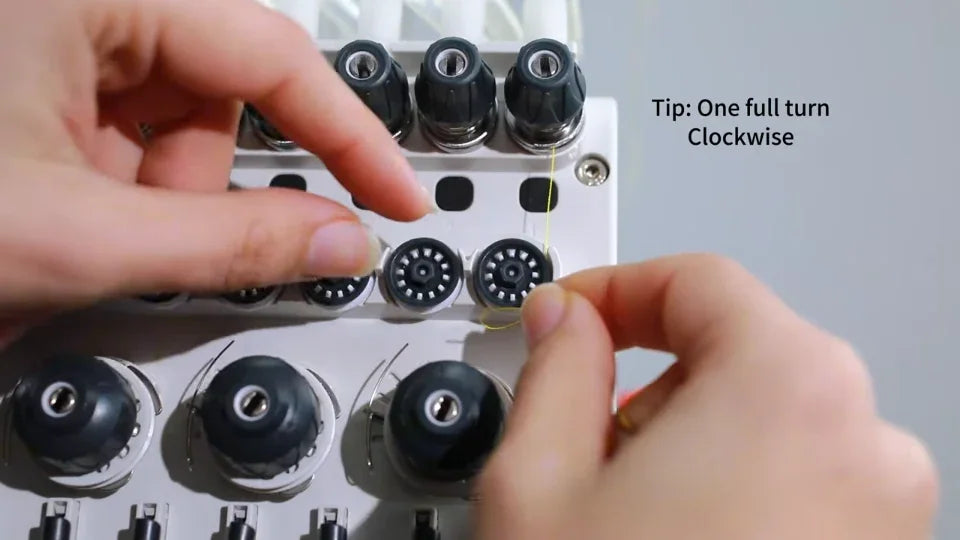
Watch at 03:33Facing the front of the machine, take the thread around the small dotted wheel directly below the pre-tension discs, one full turn clockwise. Keep it seated in the rim and bring it down to the small guide hook above the main tension wheel.
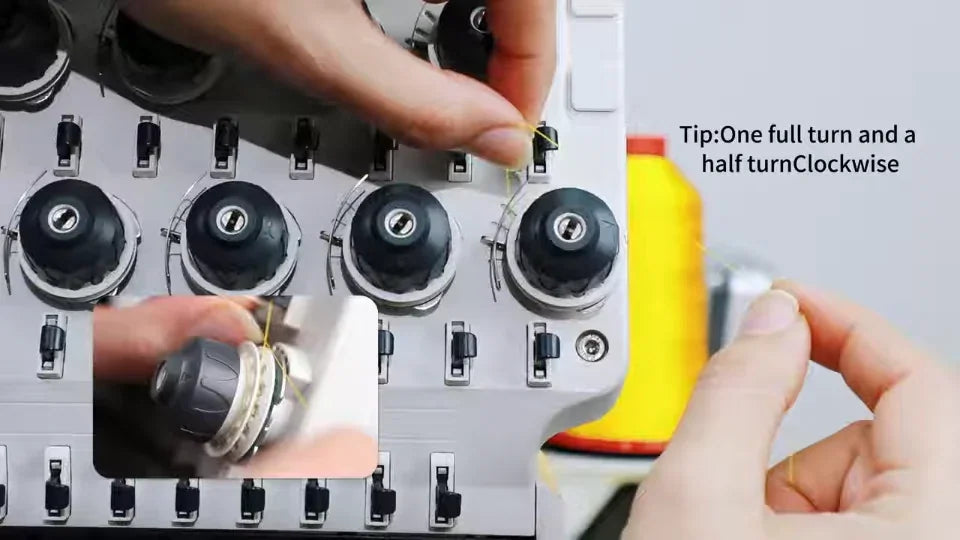
9. Wrap the main tension wheel one and a half turns
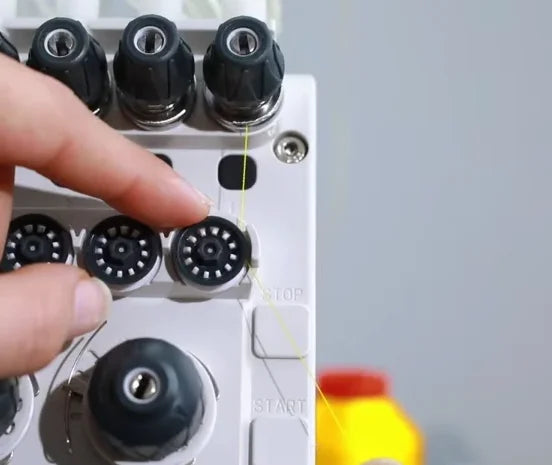
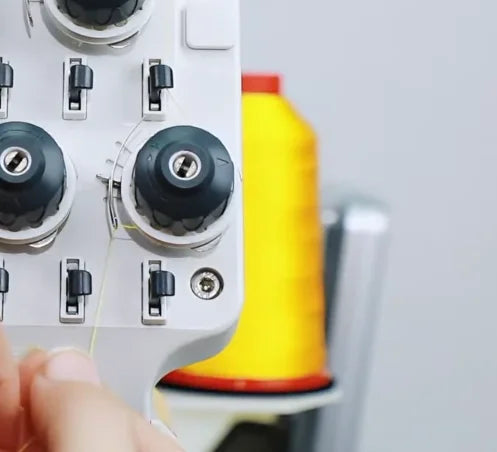
Watch at 03:39After passing through the guide above the larger wheel, wrap around the rim behind the large black tension knob. Looking from the front, make one full clockwise turn and then another half turn. Bring the thread into the wire hook at the left of the No. 1 wheel as shown.
10. Follow the two lower guide hooks
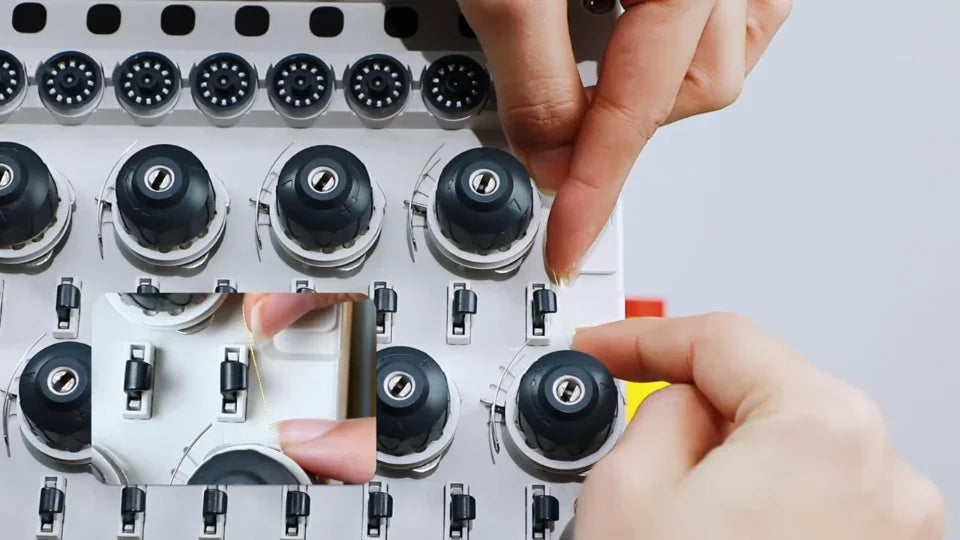
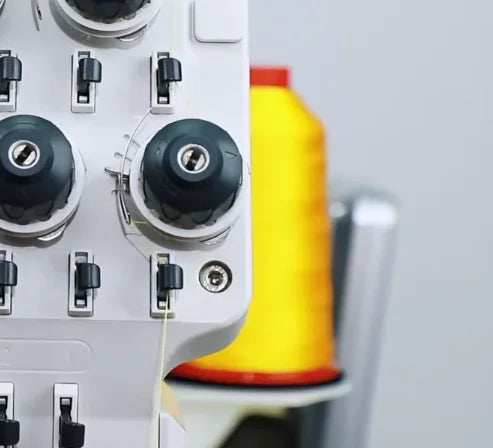
Watch at 03:55From the wire hook beside the main wheel, lead the thread through the black guide immediately beneath the knob. Continue down through the matching black guide on the row just above the slotted black cover. Follow the same needle position all the way down.
11. Go down one hole, around the steel bar and up the next
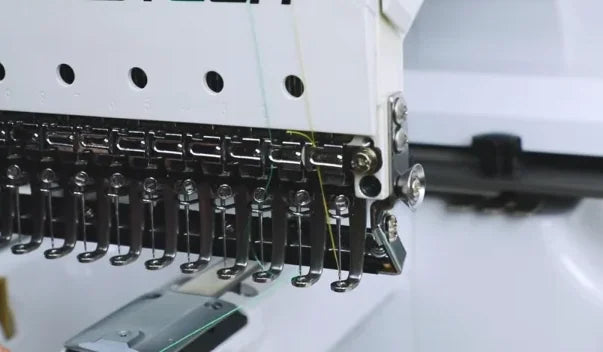
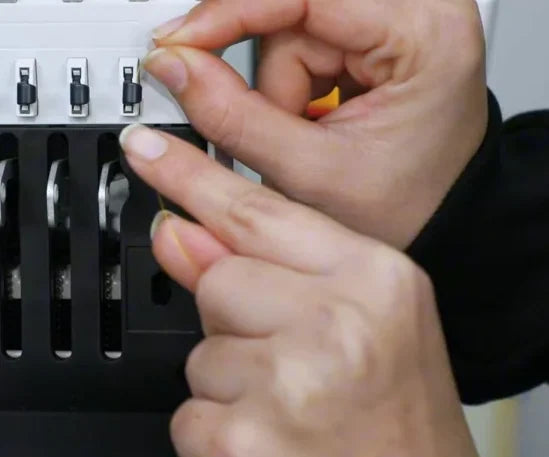
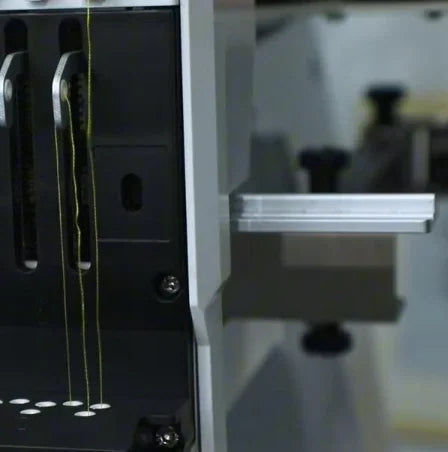
Watch at 04:02At the ledge below the take-up levers, feed the thread down through the first hole for your position. Reach under the ledge and take the thread around the steel bar. Bring it back up through the next hole for that position. In the No. 1 close-up, you can see the thread entering one hole at the right end and the free end reappearing beside it.
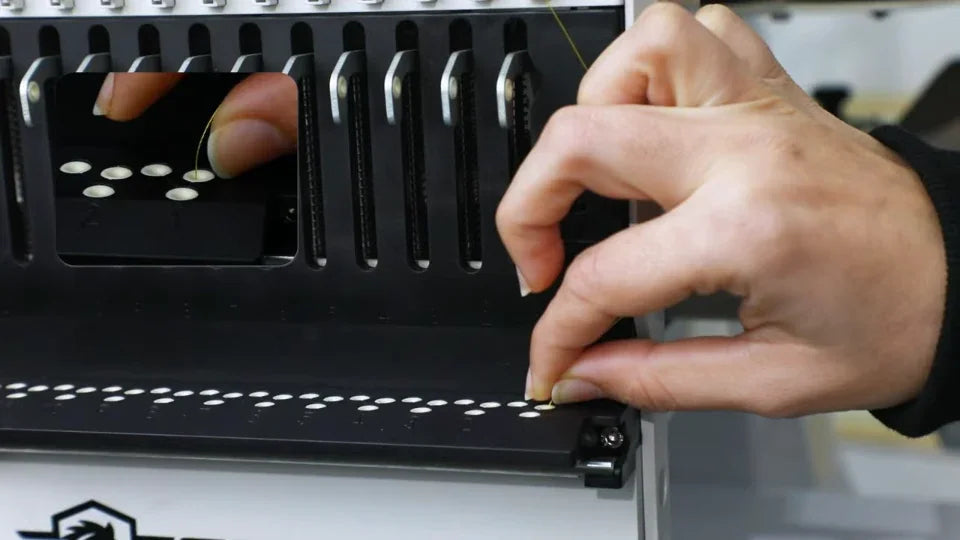
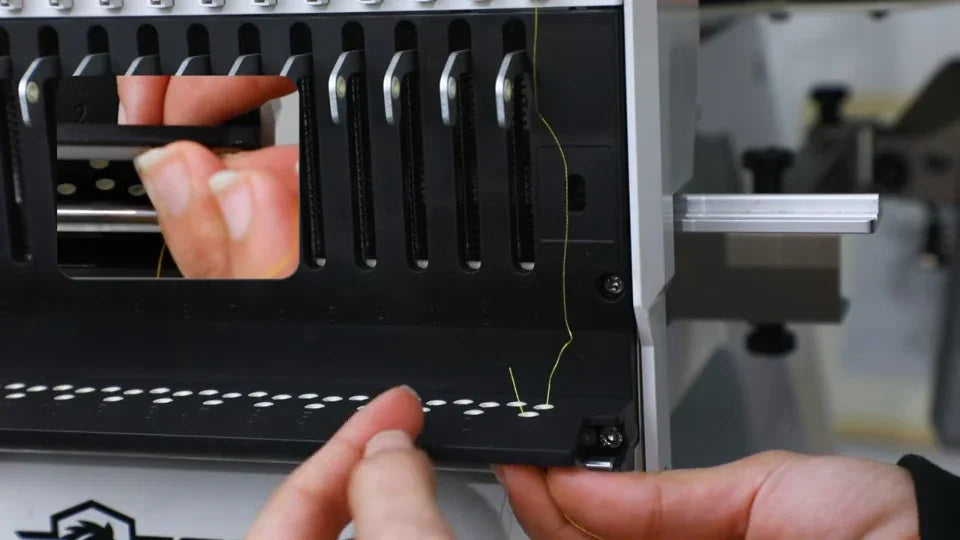
12. Thread the take-up lever and return to the lower hole
Watch at 04:12Lift the emerging end to the eye in the silver take-up lever for the same needle position. Pass the end through the eye, then bring it down through the return hole on the ledge below. Verify that the thread runs up to the lever and back down through the guide toward the needle.
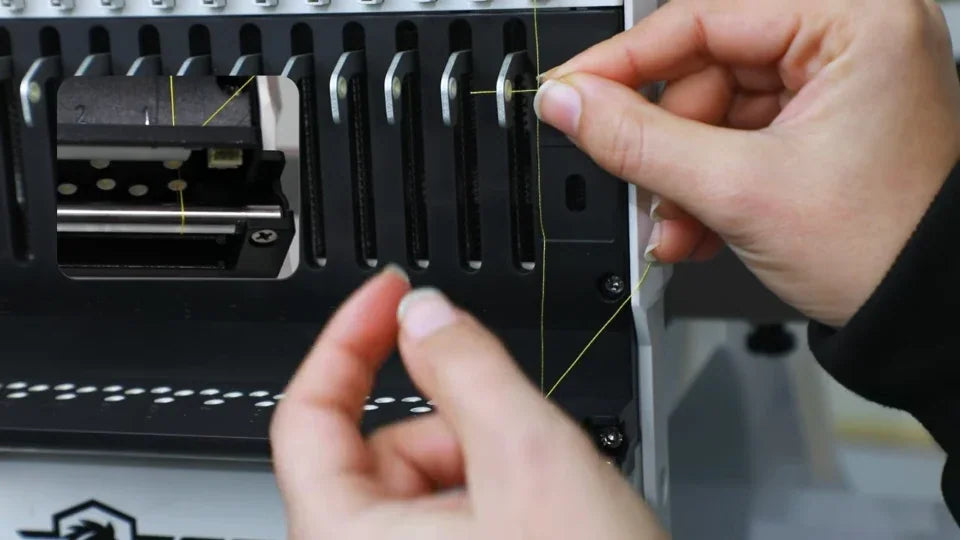
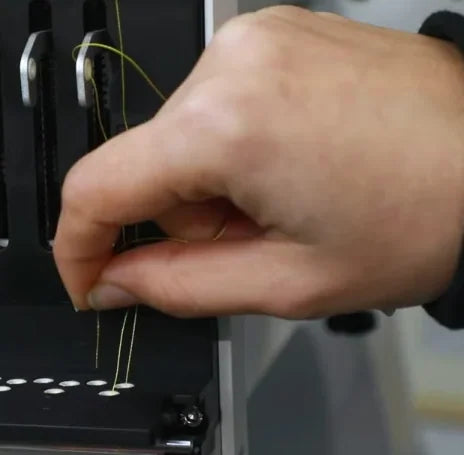
13. Guide the thread under the bar and through the needle
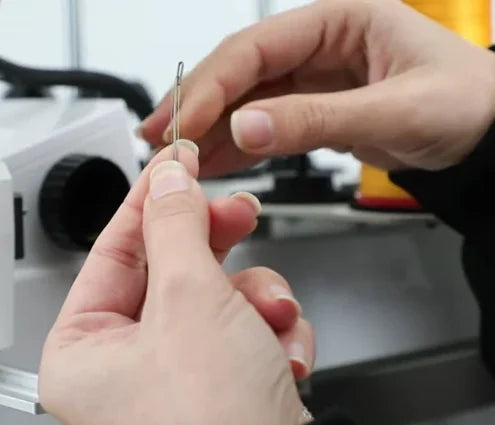
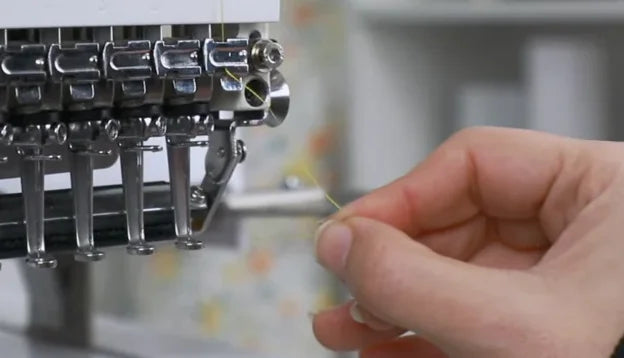
Watch at 04:23At the corresponding needle, slip the thread under the small presser bar shown in the close-up. Lift the bar slightly with a finger to make room, then draw the thread toward the needle. Insert the end into the needle eye from front to back and pull it through.

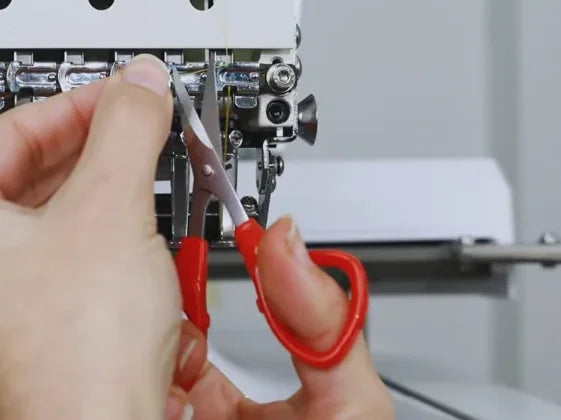
14. Tuck the tail under the bar and trim the excess
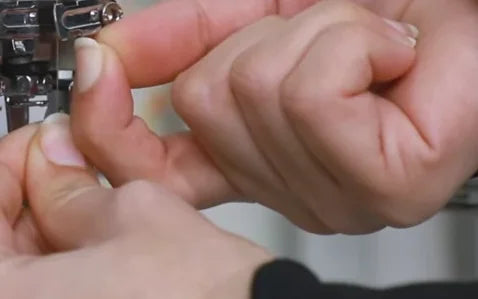
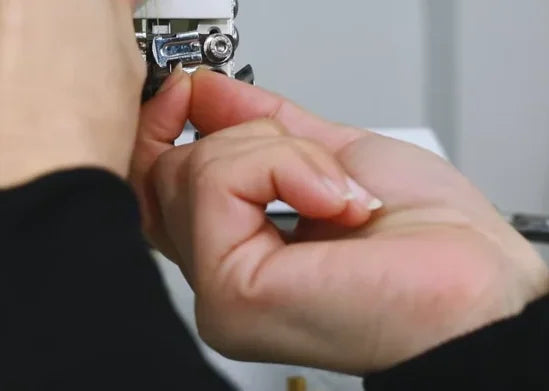
Watch at 04:38After the needle is threaded, bring the tail back up to the same bar. Lift it slightly, slide the tail underneath and pull it through. Use the small scissors to trim the excess beyond the bar. Check that the remaining tail is held and that the thread is still through the needle.
15. Repeat on No. 2 and check each completed path
Watch at 04:50Repeat with the green spool using the No. 2 guide hole above it and the matching tube, discs, wheels, hooks, lever and needle. The video gives a faster second demonstration on No. 2. Before stitching, trace each color from its spool to its own needle. Check that both ends of the tube are seated, wraps are in the wheel grooves, the guides hold the thread and the thread passes through the needle eye.