Import Frame Parameters Only on the ST-1501

Overview
This ST-1501 procedure imports the Frame settings from a machine-specific parameter file. Have SEWTECH technical support or an authorized technician confirm the file and guide the import. An incorrect file or selection can cause machine errors. Check that Frame is the only selected option before starting and wait for the controller to confirm success before removing the USB drive.
Step-by-step guide
1. Prepare the approved file and insert the USB drive
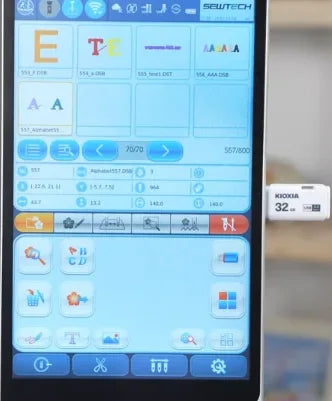
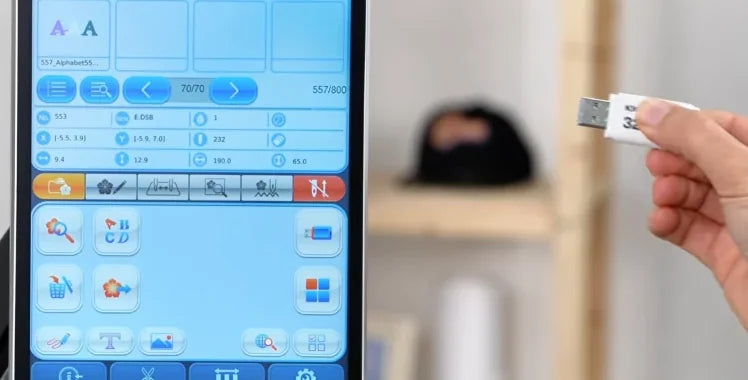
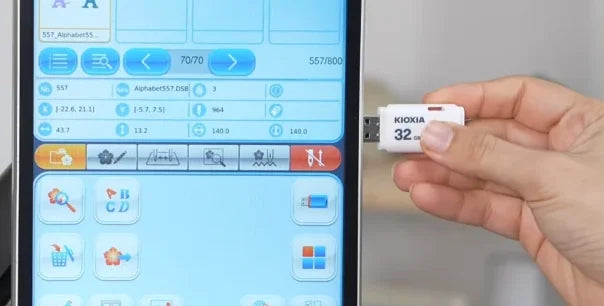
Watch at 00:11Under SEWTECH technical support or an authorized technician’s guidance, confirm the parameter file is for your exact ST-1501 and machine configuration. Put only that file on the USB drive. Insert the drive into the port on the right edge of the touchscreen and leave it connected until the import finishes.
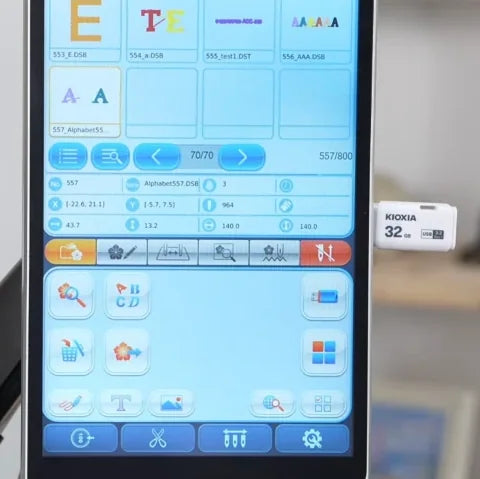
2. Open Other Functions
Watch at 00:25On the main screen, tap the gear at the far right of the bottom blue toolbar. The Other Functions grid opens.
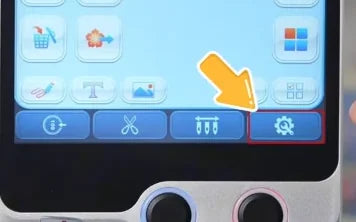
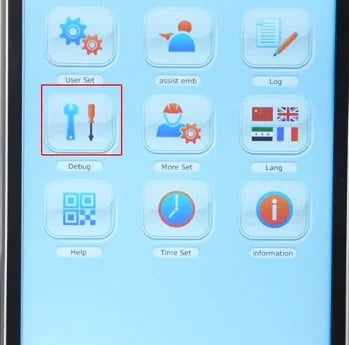
3. Open Debug with technical support
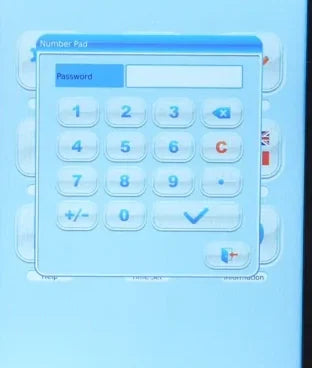
Watch at 00:29Tap Debug, the wrench-and-screwdriver tile at the left of the second row. In the Number Pad window, enter the Debug password confirmed by your technician, then tap the blue check mark to open the service menu.
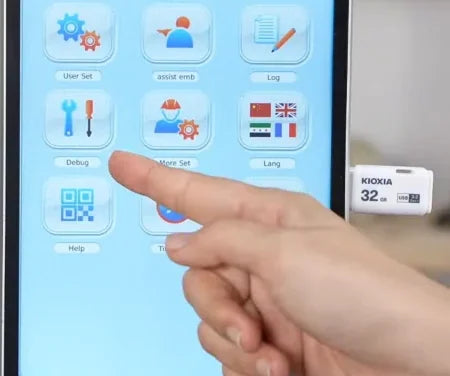
4. Open Param(+driver) Import/Export
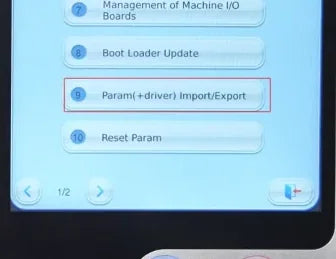
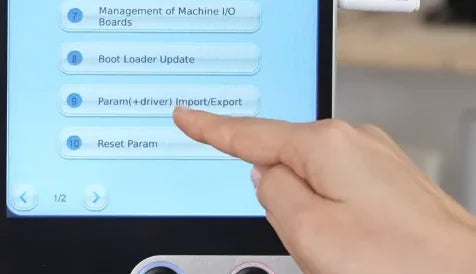
Watch at 00:39On page 1/2 of the Debug menu, tap row 9, Param(+driver) Import/Export. It is near the bottom of the list, just above Reset Param.
5. Choose Param Import
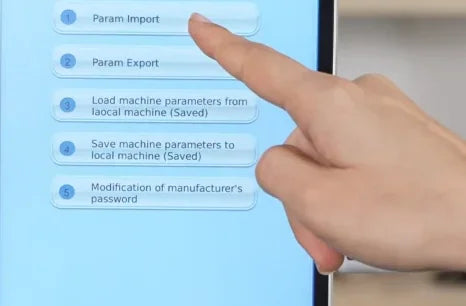
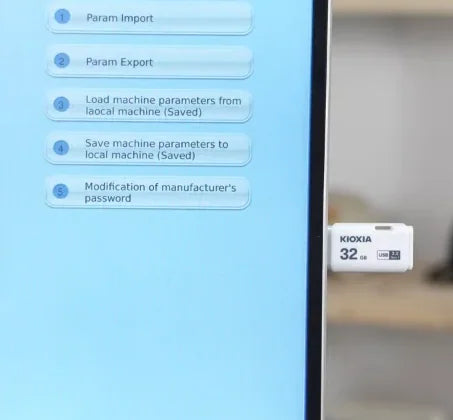
Watch at 00:44Tap Param Import at the top of the submenu. The USB file list opens. Param Export is the separate second item in this menu.
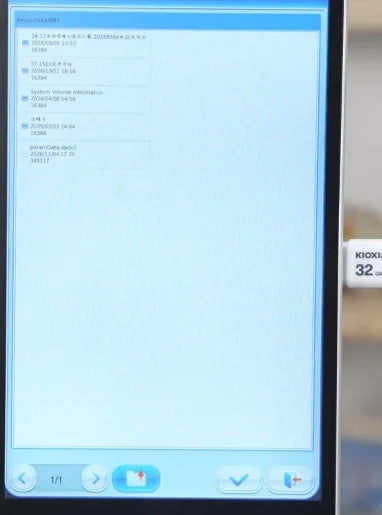
6. Select and confirm the machine’s parameter file
Watch at 00:47Tap the approved parameter file in the list. The video highlights paramData.dpdv2 as an example. Verify your file with support, then tap the check mark on the lower-right side of the file browser to open the import options.
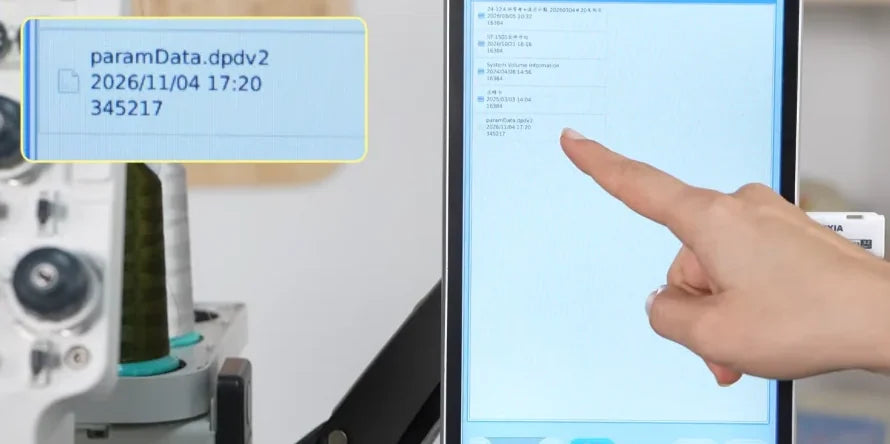
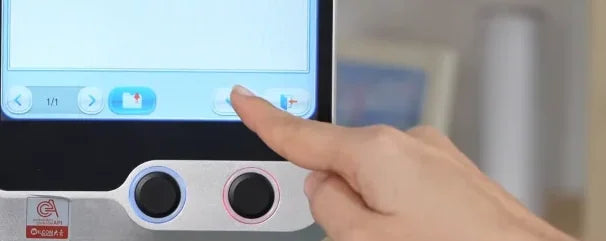
7. Check which import options are selected
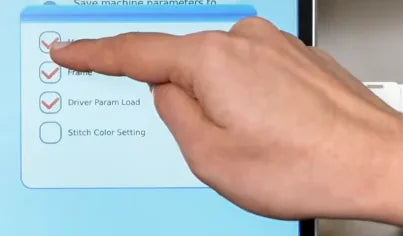
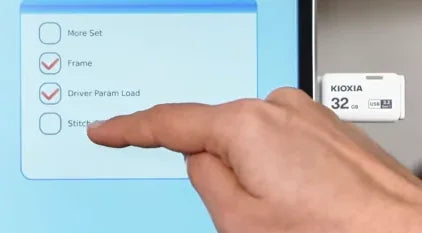
Watch at 00:53The file-list check mark opens a second dialog. In the video it initially shows checks beside More Set, Frame, and Driver Param Load. Stitch Color Setting is already clear. Check this dialog before touching its lower-right check mark, which starts the import.
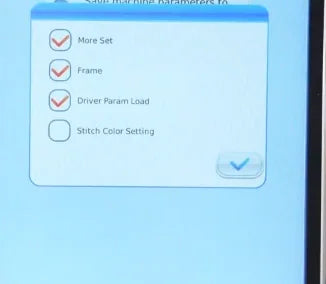
8. Leave only Frame checked
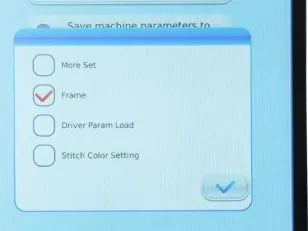
Watch at 00:58Clear More Set and Driver Param Load if they are selected. Leave Stitch Color Setting unchecked. Verify the four rows from top to bottom: empty, checked, empty, empty. Frame is the second row and should carry the single check mark.
9. Start the import and wait
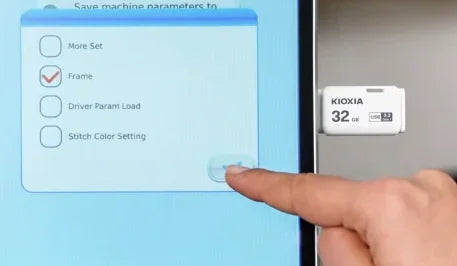
Watch at 01:07With only Frame checked, tap the blue check mark at the bottom right of the options dialog. The dialog closes and the parameter submenu is visible again. Leave the drive plugged in and wait for the success message.
10. Verify the import success message
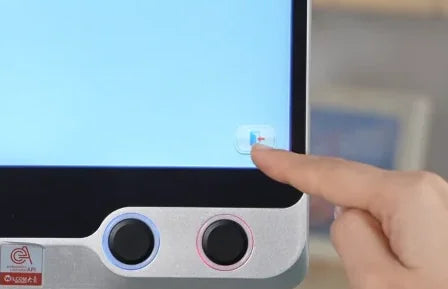
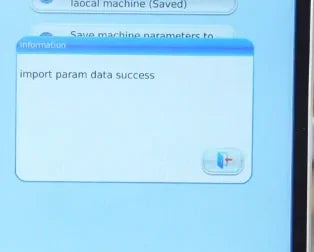
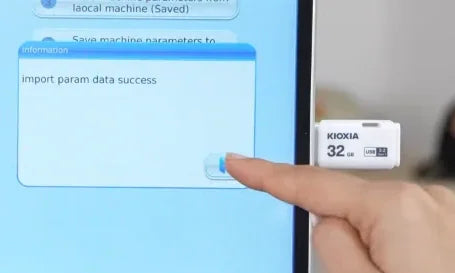
Watch at 01:12Wait for the Information dialog to display “import param data success”. This is the controller’s confirmation in the video. Tap the door-shaped Exit icon in that dialog to close it. If the message is missing or the controller reports an error, pause and check with the technician before trying again.
11. Return to the main screen and remove the USB drive
Watch at 01:19After closing the message, use the Exit icon at the lower-right corner of the parameter submenu to return to the main screen. When the normal design thumbnails and bottom toolbar are visible again, unplug the USB drive from the right side of the touchscreen.