SEWTECHSupport Center 简体中文

Create Custom Lettering on the ST-1501

Applies to ST-1501

Watch on YouTube ↗

Overview

Create and save a name as an embroidery design on the ST-1501 touchscreen. The video starts with the machine connected to Wi-Fi and points to its description for Wi-Fi setup. Have the exact wording ready and know which hoop and thread color you will use before stitching.

Step-by-step guide

1. Open the lettering tool

Watch at 00:24

On page 1 of the controller, tap T in the lower row of icons, just above the blue bottom bar. The lettering editor opens with an empty preview above the editing controls.
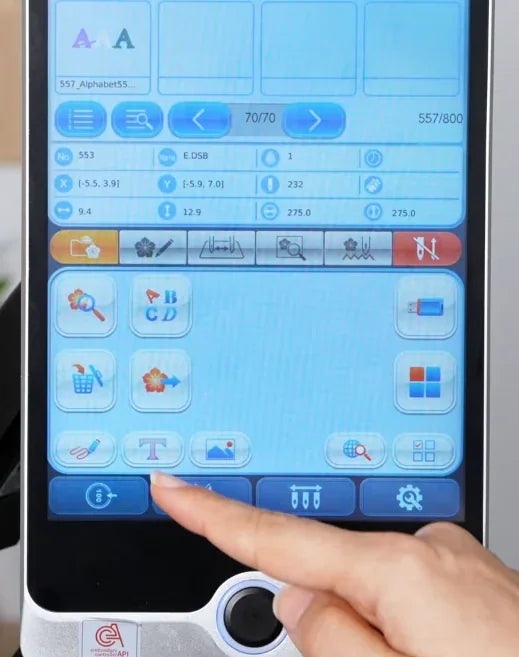
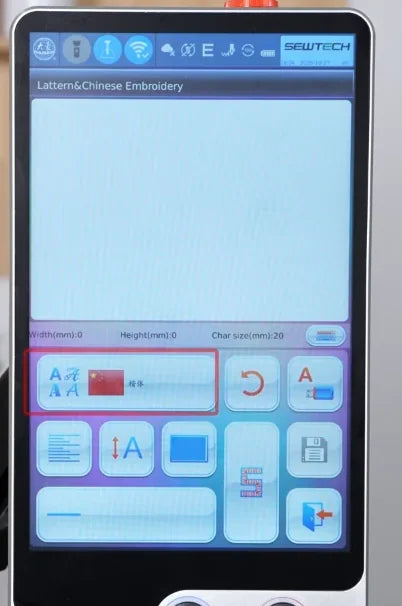
T sits above the blue bottom bar on page 1.
The editor opens with a blank preview. Its language and font selector is highlighted below it.

2. Choose a language and font

Watch at 00:28

Tap the wide language and font button directly below the preview. For the example, choose the UK flag for English, then tap Arial Rounded. Check that the flag and font name appear together on the editor button.
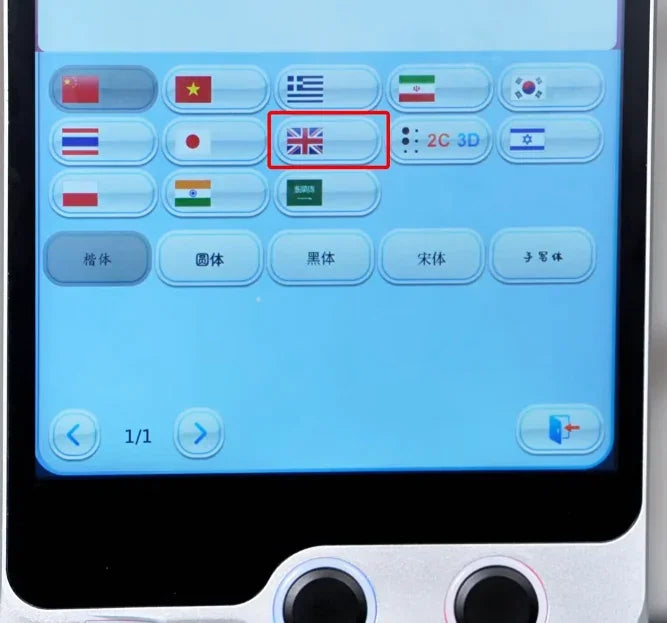
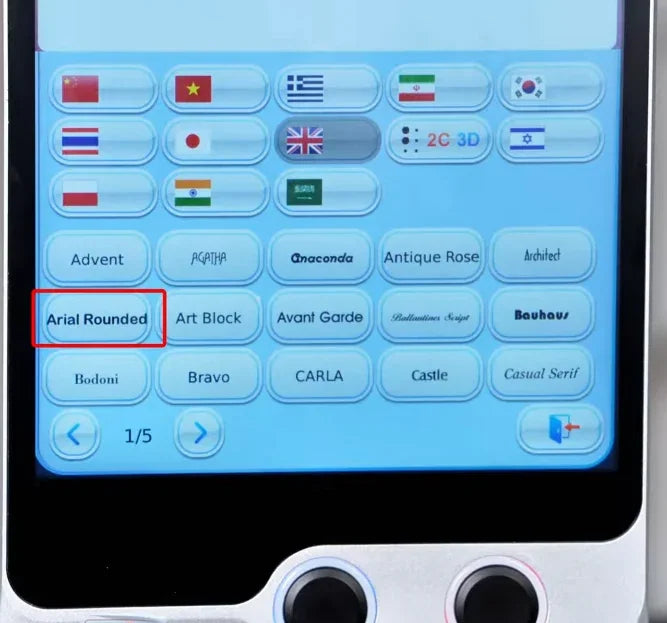
Tap the UK flag in the second row to select English.
The selected language displays its font list. Arial Rounded is at the left of the second font row.

3. Enter the name on the keyboard

Watch at 00:38

Tap the small keyboard toggle at the right end of the dimensions strip. Enter the wording using the on-screen keys. The example builds the name Claire in the preview above the keyboard. Check the spelling and capitalization before changing the layout.
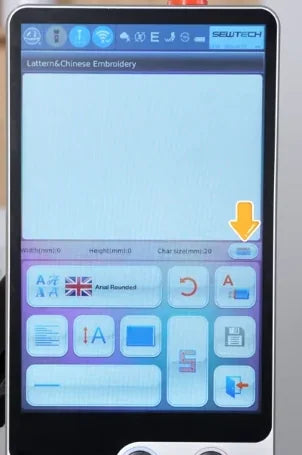
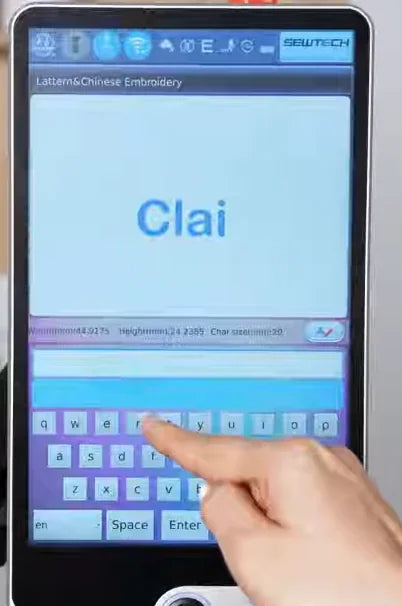
The arrow points to the keyboard toggle at the right end of the dimensions strip.
The upper preview updates as letters are entered on the keyboard below.

4. Undo the last edit

Watch at 00:48

Use the orange curved arrow beside the font selector to reverse the last edit. In the example, Claire becomes Clair. Use the keyboard to re-enter the final e if you want to restore it.
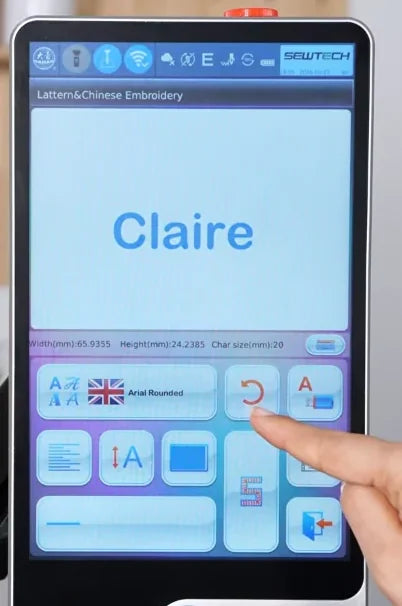
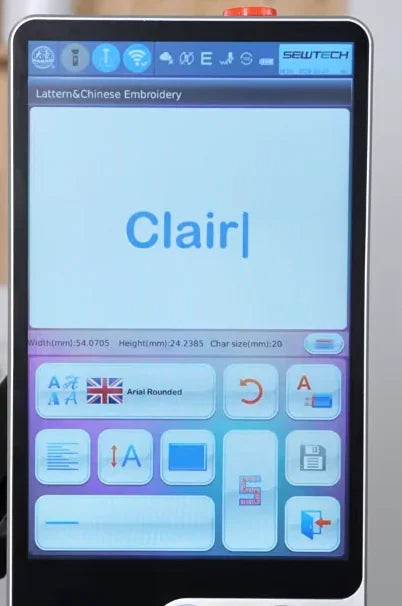
The orange curved arrow undoes the last edit.
After undo, the final e is gone and the cursor follows the r.

5. Set text alignment

Watch at 00:55

Tap the stacked horizontal lines on the left of the editing controls to cycle through the alignment choices. Watch the lettering above and stop when it aligns as intended.
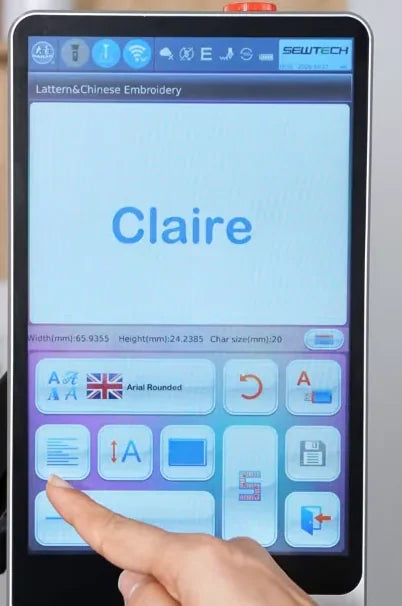
The stacked-lines button controls alignment. The editor shows the result above.

6. Set character size and read the overall dimensions

Watch at 01:05

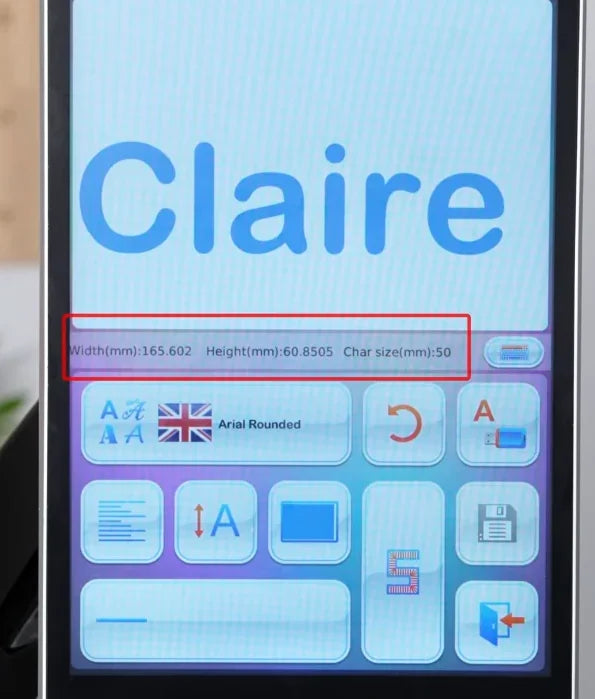
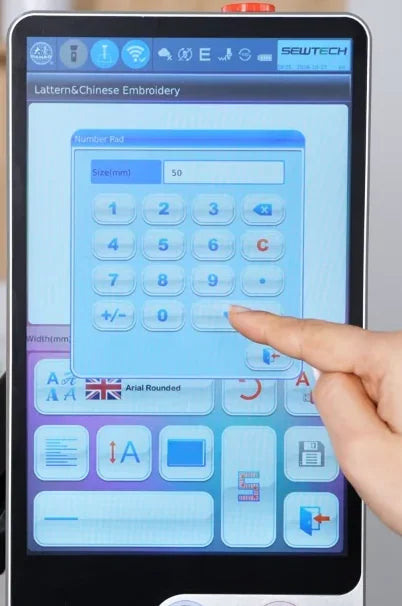
Tap the A with the vertical double arrow. Enter the character size in millimeters on the number pad, then tap the check mark. The maximum shown is 50 mm. Read Width and Height under the preview for the whole design. At a character size of 50 mm, Claire measures about 165.6 × 60.9 mm in this editing preview.
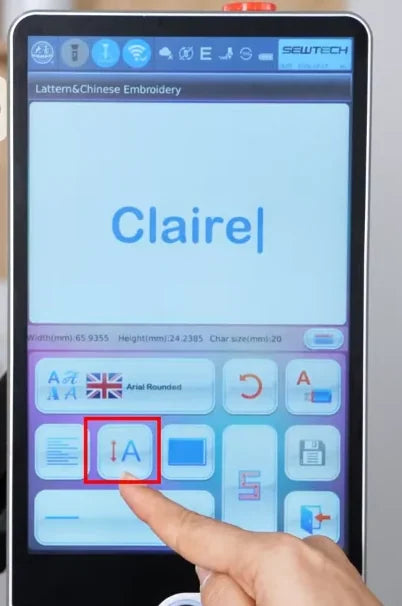
The A with a vertical arrow opens the character-size entry.
The number pad shows 50 mm. Tap the blue check mark to apply it.
The highlighted strip shows Width, Height and Char size separately.

7. Choose a color for the editing preview

Watch at 01:22

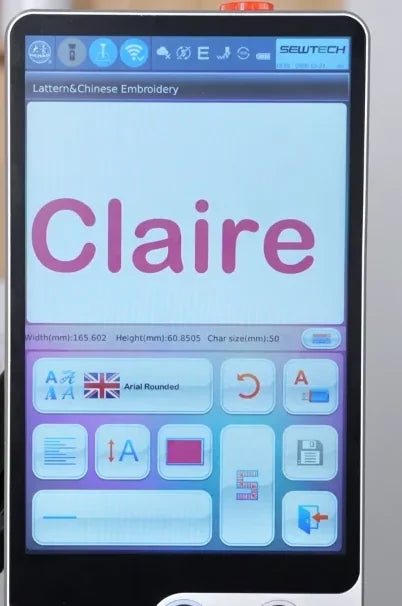
Tap the colored square next to the size button and choose a swatch. The video changes the lettering on screen from blue to pink. Assign the actual needle and thread color after opening the saved design.
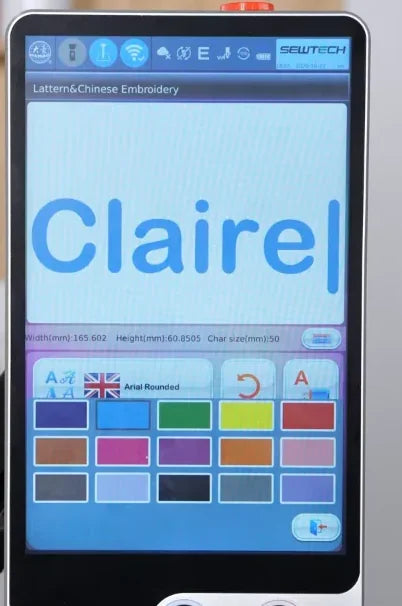
Tap a swatch in the palette that opens below the preview.
The editor shows the lettering and its preview swatch in pink.

8. Switch between straight, vertical and curved lettering

Watch at 01:40

Tap the line or curve icon in the wide control at the bottom left. It cycles through layouts, including straight horizontal text, vertical text and curved baselines. Check the preview as you switch. This control changes how the letters are arranged; the stacked-lines button above controls alignment.
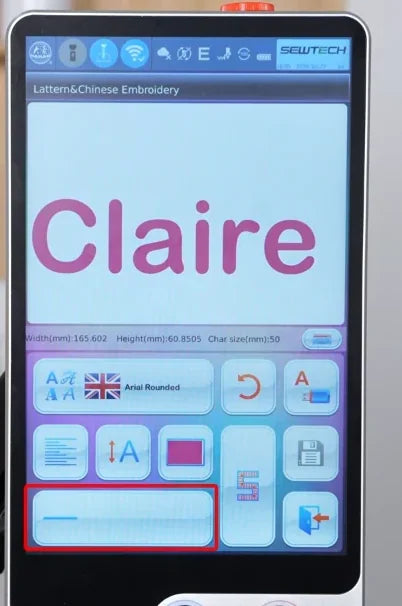
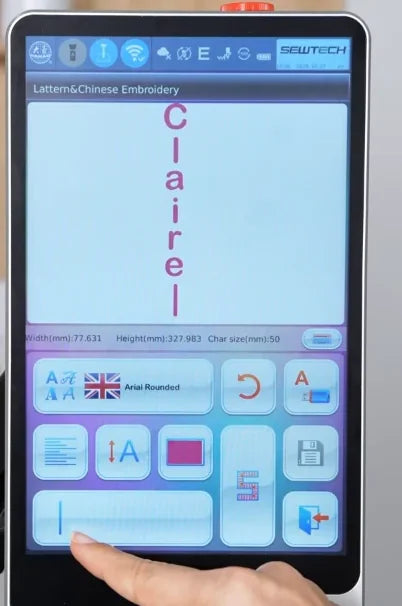
The highlighted control shows a horizontal baseline.
The vertical icon stacks the letters from top to bottom.
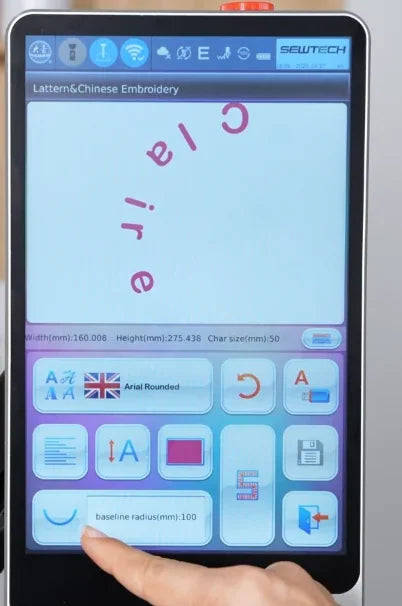
The curved icon places the letters along an arc and displays the radius beside it.

9. Adjust the baseline radius and check legibility

Watch at 01:50

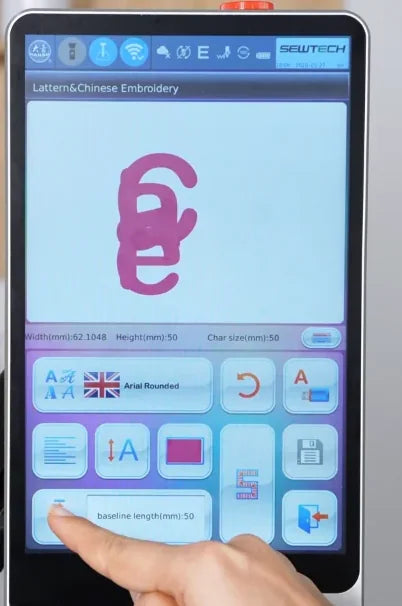
With a curved layout selected, tap the baseline radius value and enter a new value in millimeters. Tap the check mark and look at the curve, letter spacing and dimensions. The video changes the radius from 100 to 30 mm. One later layout with a 50 mm baseline length makes the letters overlap. The final example returns to a straight horizontal line before generating stitches.
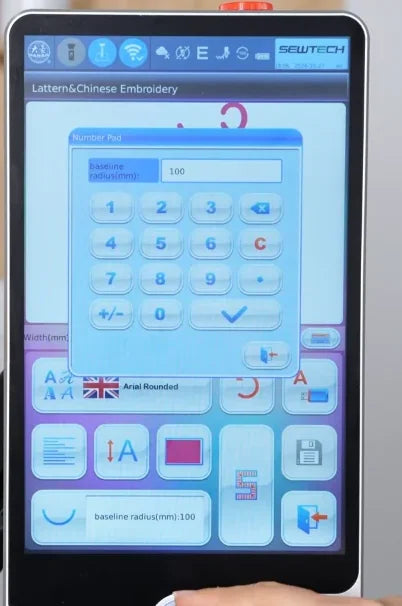
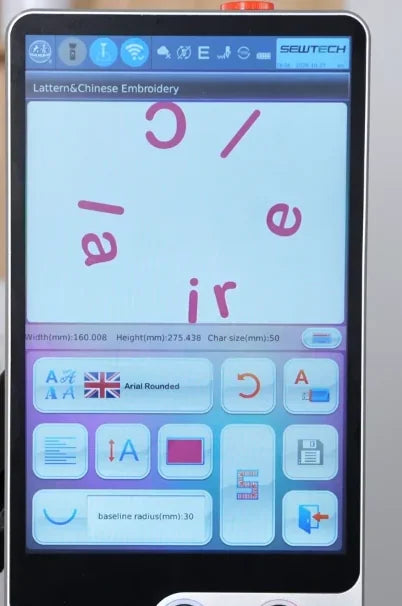
The number pad opens with the current baseline radius of 100 mm.
The curved preview updates and the radius control reads 30 mm.
In this layout option, the displayed baseline length of 50 mm causes the letters to overlap.

10. Generate and inspect the stitches

Watch at 02:08

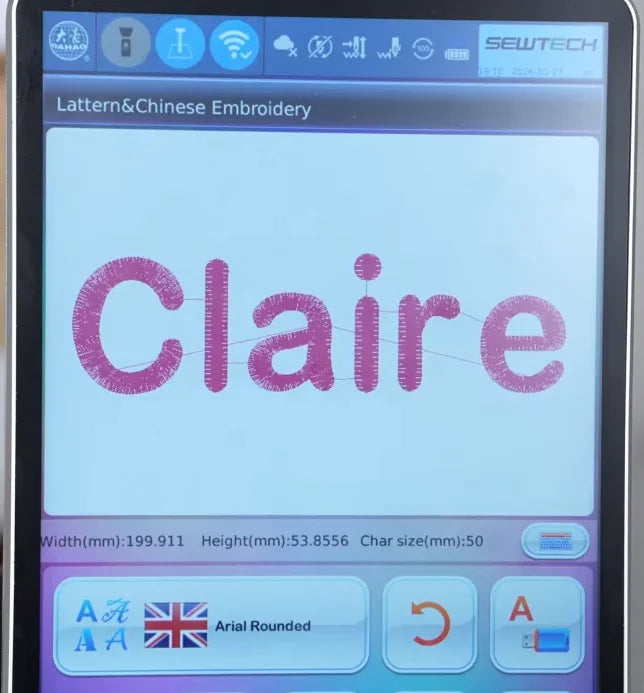
Check the wording, font, alignment, size, preview color and layout, then tap the large S near the lower right. Wait for processing to finish and for the stitch preview to appear. Verify spelling, spacing and the generated dimensions again. In the example, the generated design measures about 199.9 × 53.9 mm.
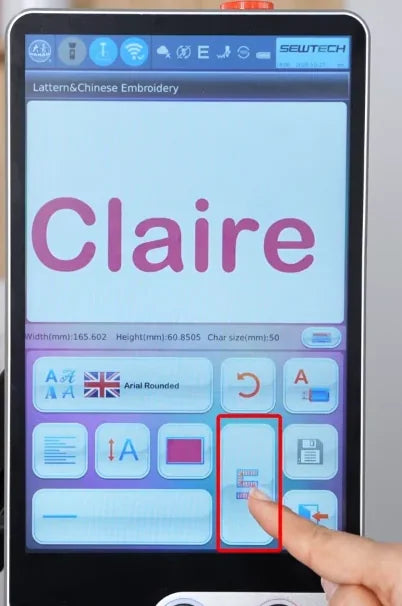
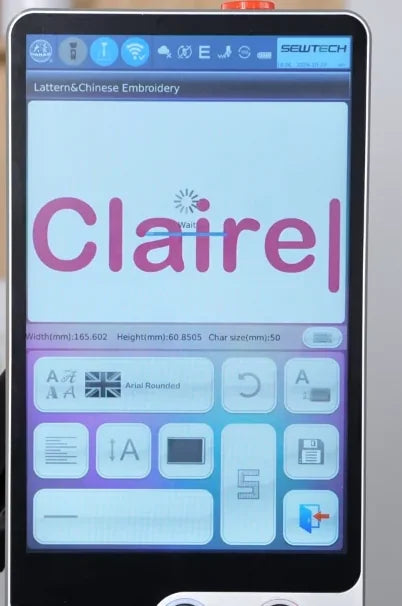
Tap the large S between the layout control and the right-hand buttons.
The spinner indicates that the controller is generating stitch data.
Check the textured stitch preview and read the updated width and height below it.

11. Save the pattern in machine memory

Watch at 02:22

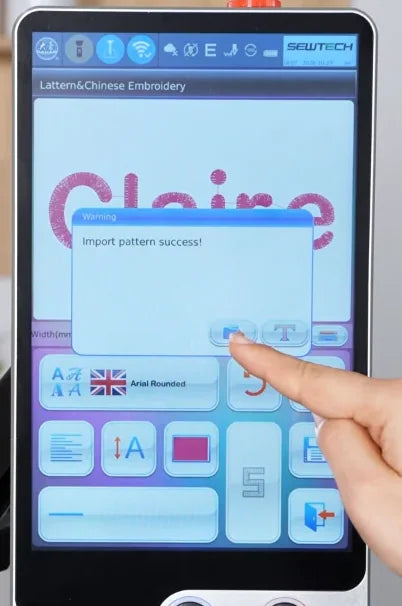
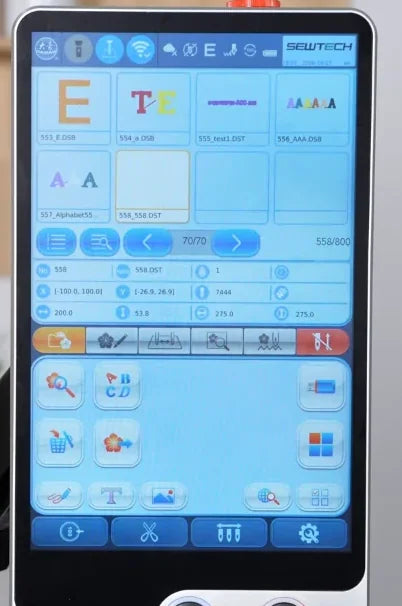
Tap the floppy disk icon to the right of S. In Data Import, enter Pattern Num and Pattern Name, then confirm with the check mark. Look for “Import pattern success!” Tap the left button in that message to return to page 1 and check that the saved entry is listed. The example uses pattern number and name 558.
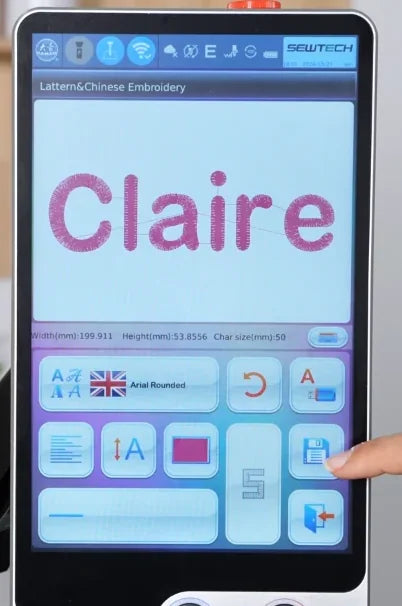
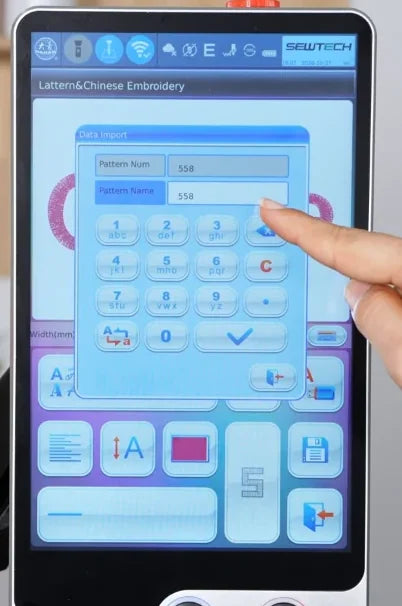
The blue floppy disk icon opens the save dialog.
The dialog has separate number and name fields and a blue confirmation check mark.
The success message is visible. Tap its left button to return to the pattern list.
The new 558 entry is listed on page 1. Select yours by its saved number or name.

12. Select the saved design and assign the needle

Watch at 02:45

Select the saved entry on page 1, then open the third tab for the color sequence. Select the needle position carrying the thread you want and verify the assigned color on the left. The saved Claire preview turns green in this example.
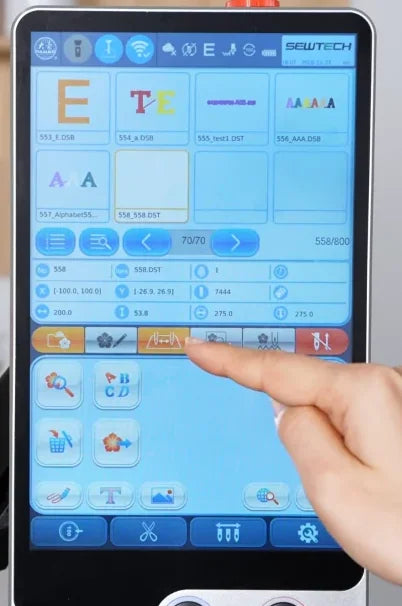
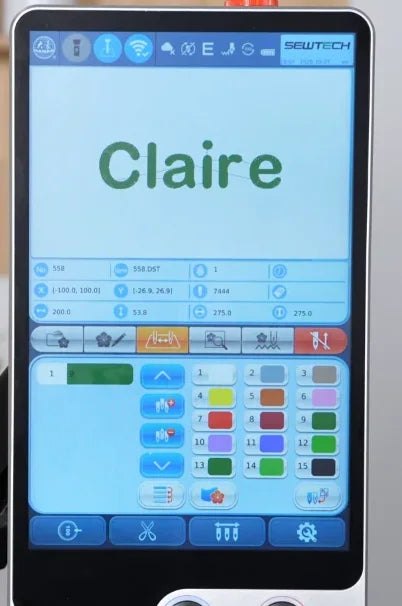
With the saved design selected, open the third tab in the row beneath the design details.
The assigned color and the saved design preview both show green.

13. Position the design and trace its border

Watch at 02:51

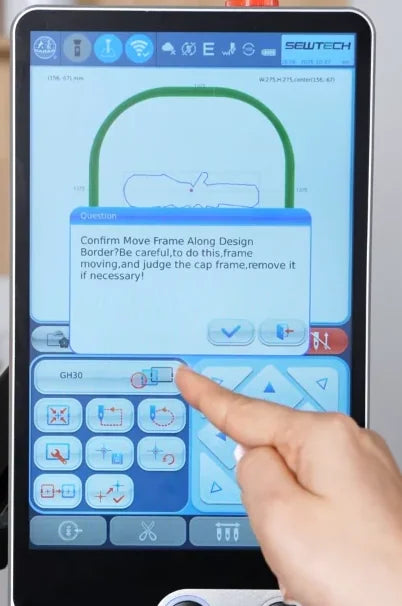
Open the hoop-positioning tab next to the color tab. Match the on-screen hoop to the hoop fitted to the machine. Use the directional controls to place the design inside the hoop outline. Tap the dashed-rectangle trace icon at the upper middle of the left control group. The movement prompt asks you to check the cap frame and remove it if necessary. Confirm only when the frame can move freely. Watch the full trace to check that the needle path stays safely inside the hoop before stitching.
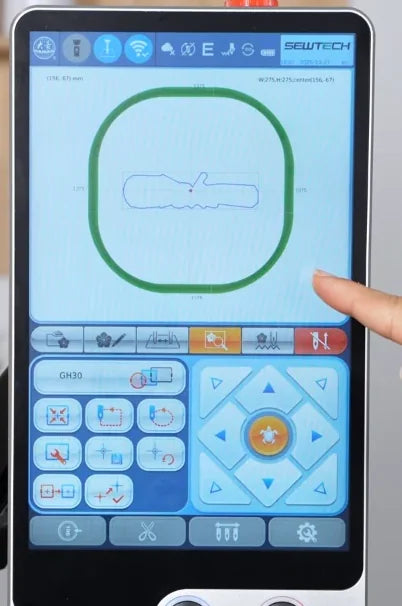
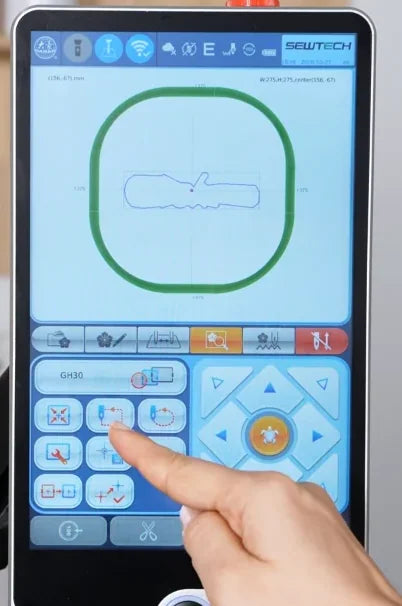
The design outline is shown inside the green hoop outline. Use the directional controls to position it.
The finger points to the dashed-rectangle trace button.
The controller asks for confirmation before moving the frame along the design border.