Lion Embroidery Stitch-Out on the ST-1501

Overview
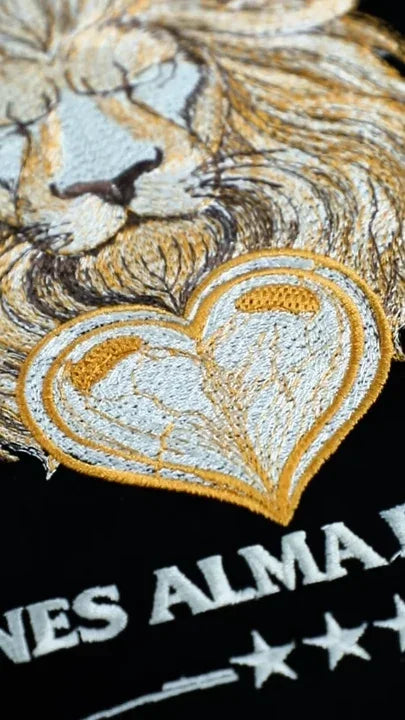
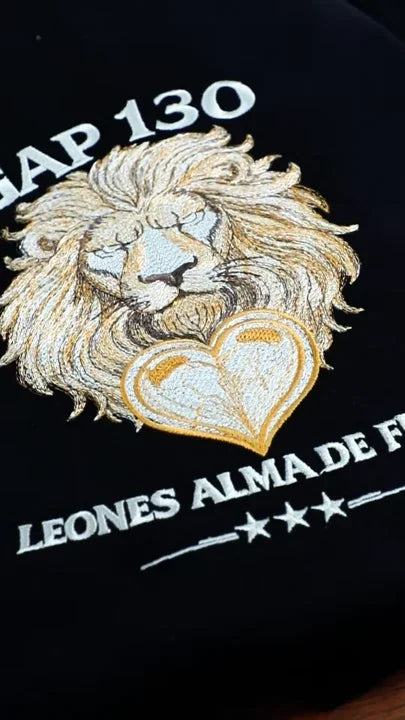
Follow the ST-1501 stitch-out of a lion design digitized by GOCA Embroidery. The clip previews the finished design, then shows how the black hoodie is backed and clamped in a green magnetic hoop, how the lion and lettering build up under the needle, and how the embroidery looks out of the hoop.
Video highlights
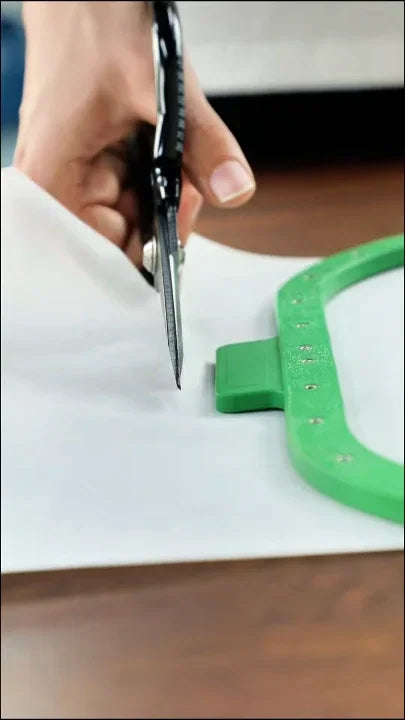
1. Cut the stabilizer to cover the hoop opening
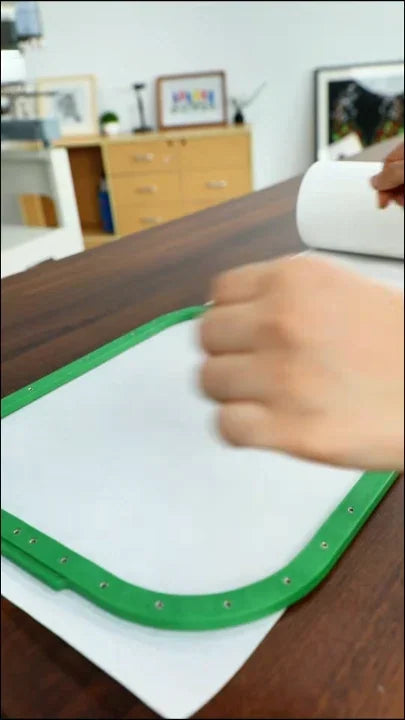
Watch at 00:02Unroll the white stabilizer on the table. Use the green hoop as a size reference and cut a sheet with enough overlap for the hoop to grip it all the way around.
2. Set the lower hoop and backing on the station
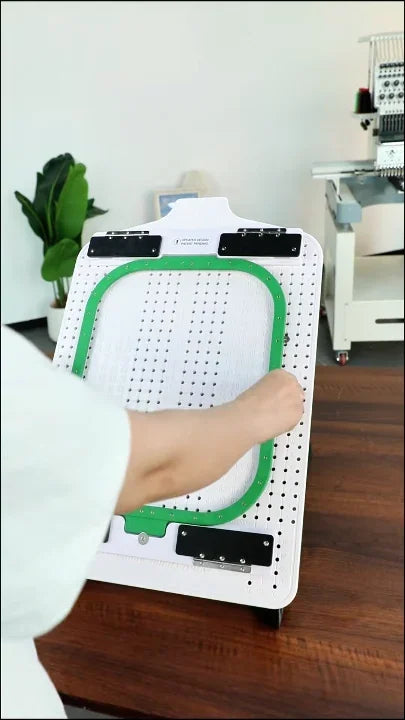
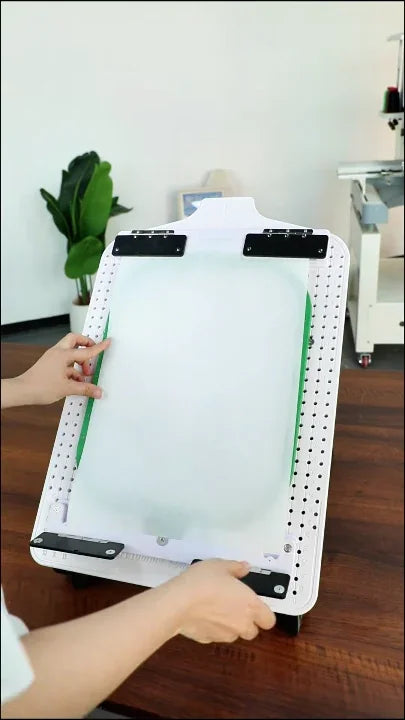
Watch at 00:05Set the white perforated hooping board upright on its stand. Place the green lower hoop between the black holders, then lay the cut stabilizer over the opening and smooth it across the frame.
3. Lay the hoodie flat and clamp the top hoop
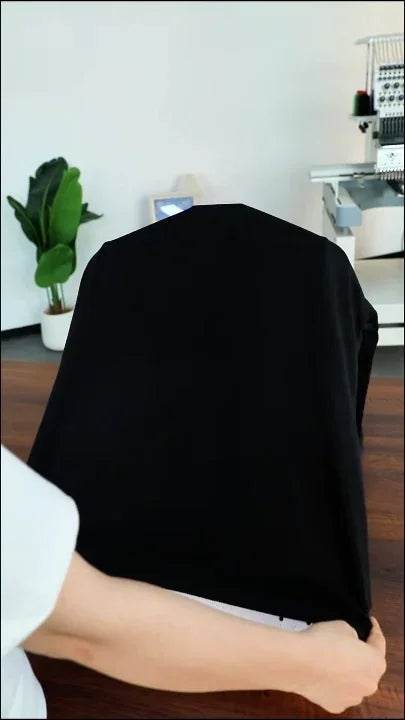
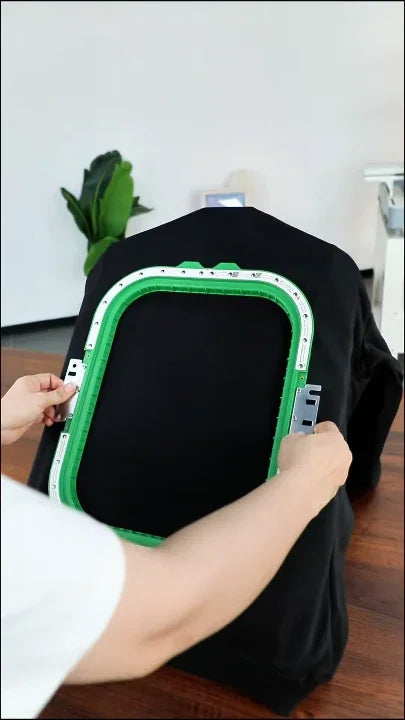
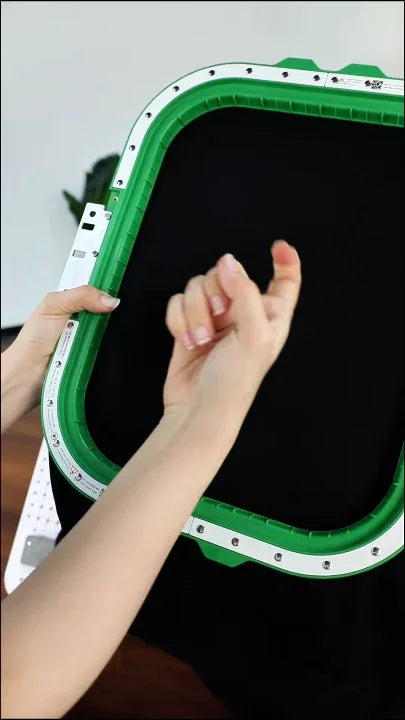
Watch at 00:08Slip the hoodie over the board so the panel to be embroidered lies flat over the stabilizer. Line up the green top hoop with the lower hoop and let the magnets clamp the panel and backing together. Lift the assembly off the station and check that the fabric is flat inside the opening.
4. Fit the hooped garment under the ST-1501 head
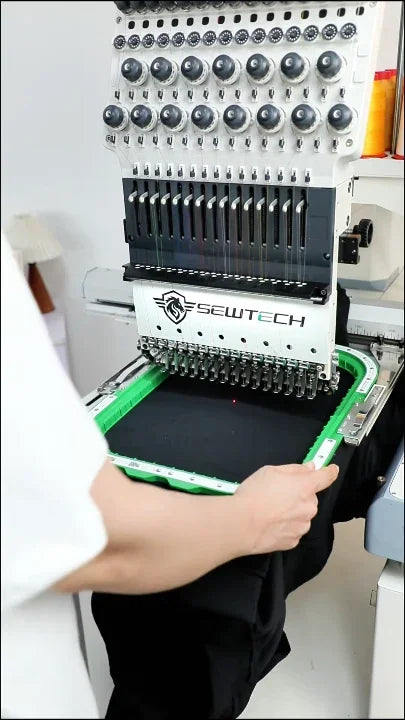
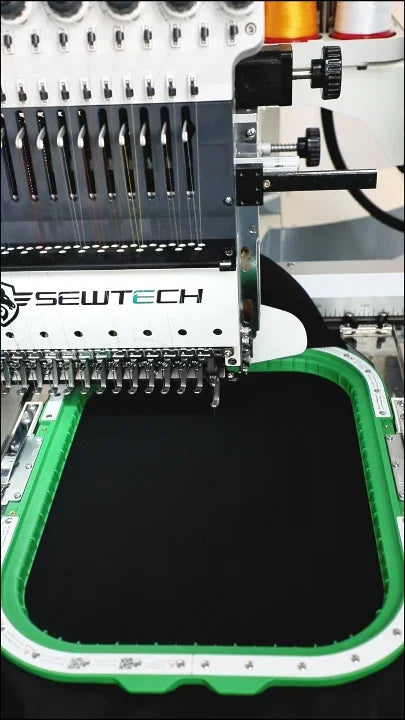
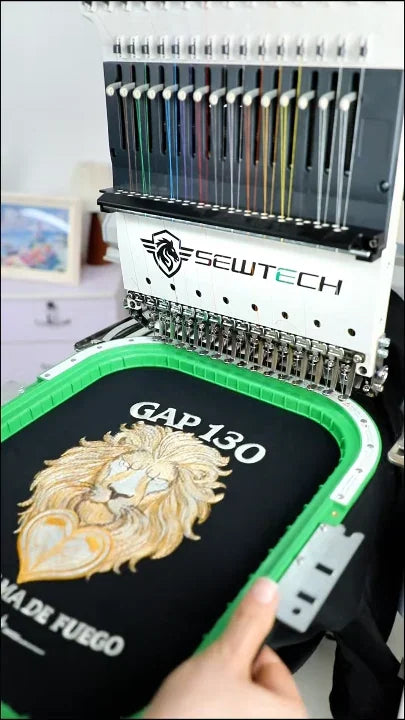
Watch at 00:11Hold the green hoop at the sides and guide its two metal mounting tabs onto the machine's frame holder. The black embroidery panel sits flat under the needle head while the rest of the hoodie hangs outside the hoop opening.
5. Watch the first stitch passes and light fill
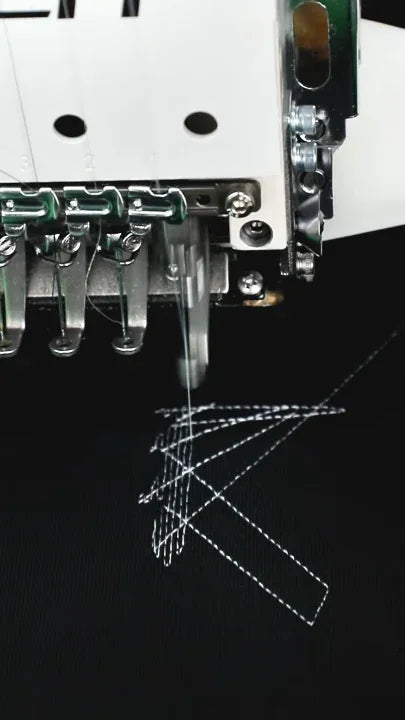
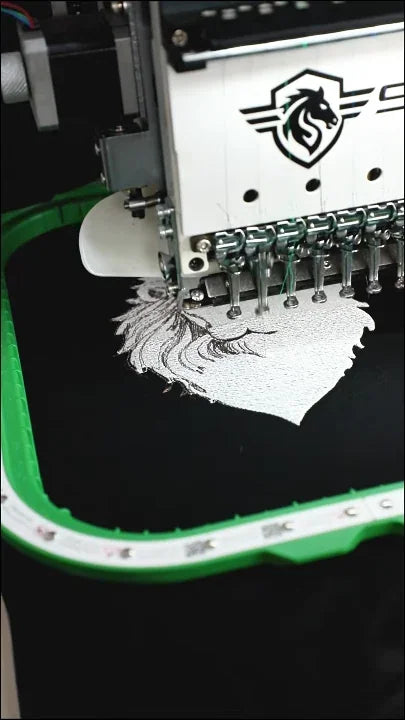
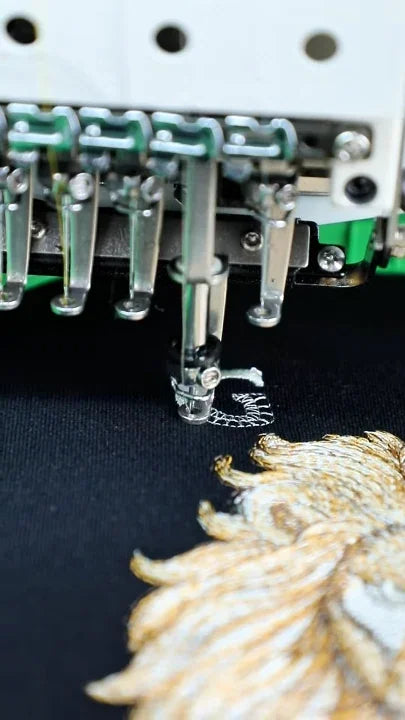
Watch at 00:12Watch the needle at the right side of the head in the first close-up. Sparse light stitches appear on the black fabric. Later cuts show the light fill covering larger areas while the same green frame holds the garment.
6. Follow the layered mane and white lettering
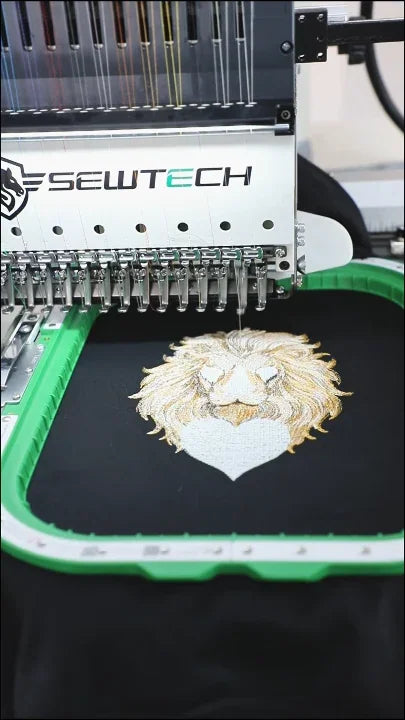
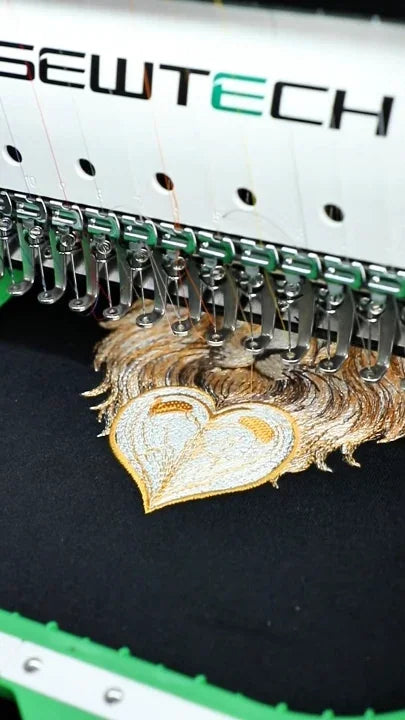
Watch at 00:16The later stitching shots show tan and gold tones building over the light areas and outlining the heart beneath the lion. The camera then moves close to the needle as it adds the white lettering. The clip cuts between stitch stages.
7. Lift the completed stitch-out off the machine
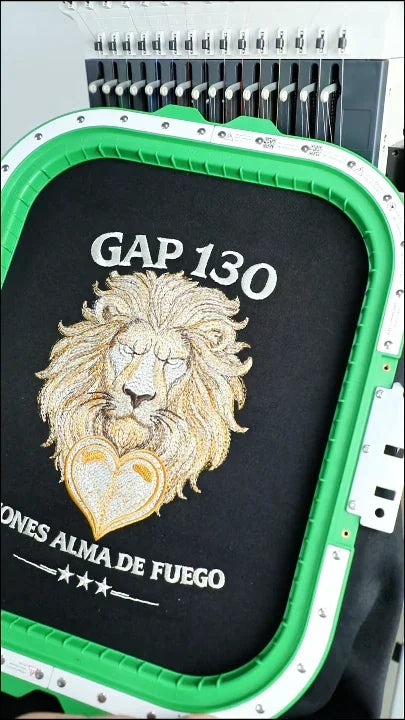
Watch at 00:21Once the needle is clear of the work in the finished shot, the operator holds the sides and brings the whole hoop forward out of the frame holder. The completed design is shown with the garment still clamped, so you can see the lion, heart and white lettering together.
8. Release the magnetic hoop on the table
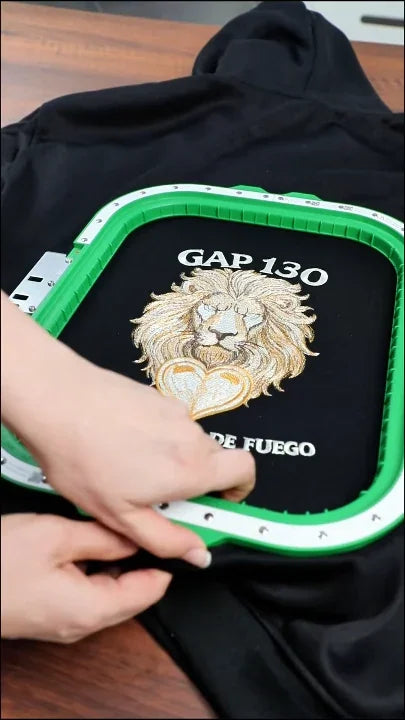
Watch at 00:26Lay the hooped hoodie on the table. The operator grips the lower edge of the green frame to separate the magnetic halves. The next shot shows the embroidery out of the hoop.
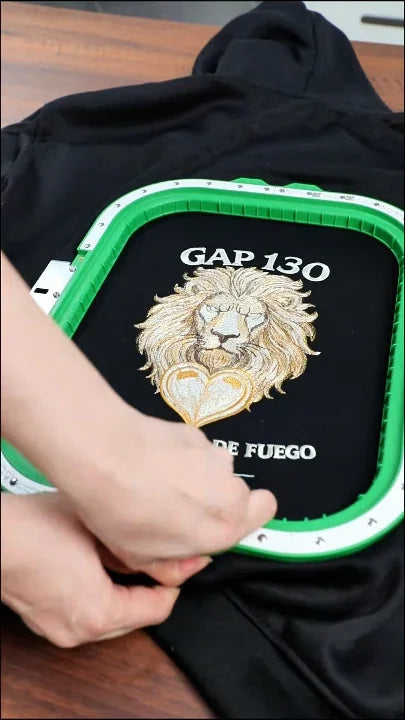
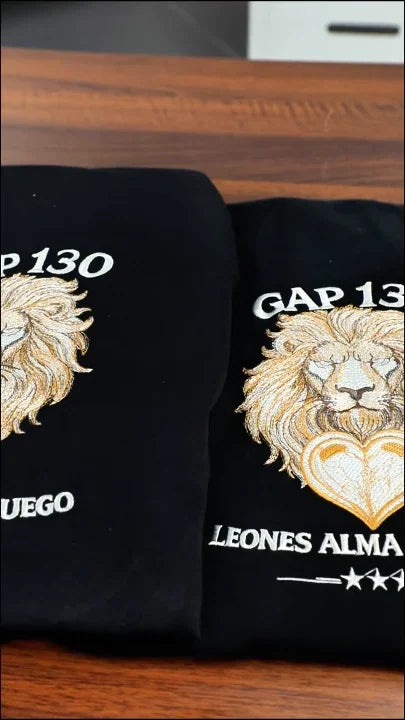
9. Inspect the face, mane and heart off the hoop
Watch at 00:28Look for clear facial features, layered mane stitches, a continuous gold heart outline and legible white lettering against the black fabric. The closing shot shows two finished garments with the same motif.