Embroider a Shoe with the ST-1501 Shoe Clamp

Overview
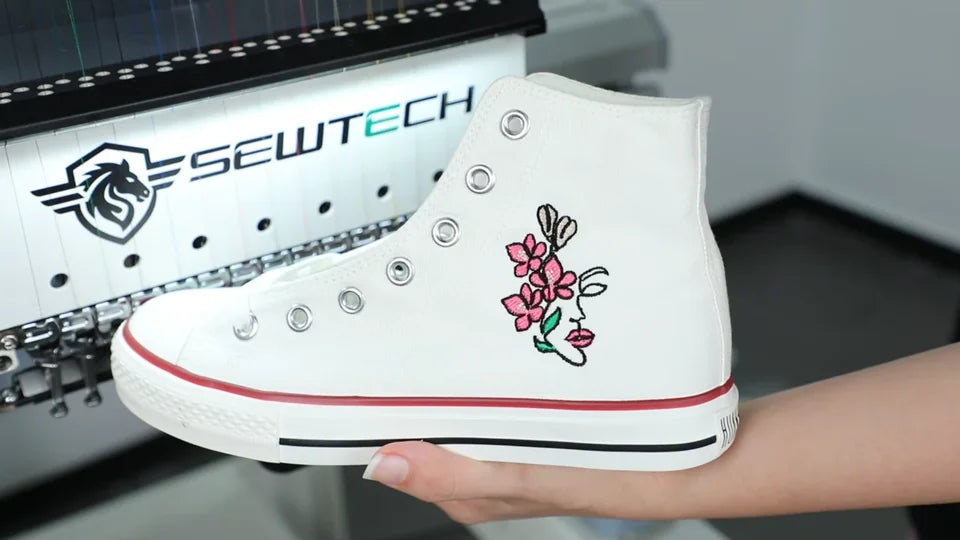
Use the SEWTECH ST-1501 and shoe clamp to embroider the outside ankle panel of a high-top sneaker. Have a shoe, adhesive embroidery stabilizer, a 3 mm Allen wrench, scissors, and a washable marking pen ready. The design needs to fit the flat area between the clamp arms. Watch the full laser trace before you start stitching.
Step-by-step guide
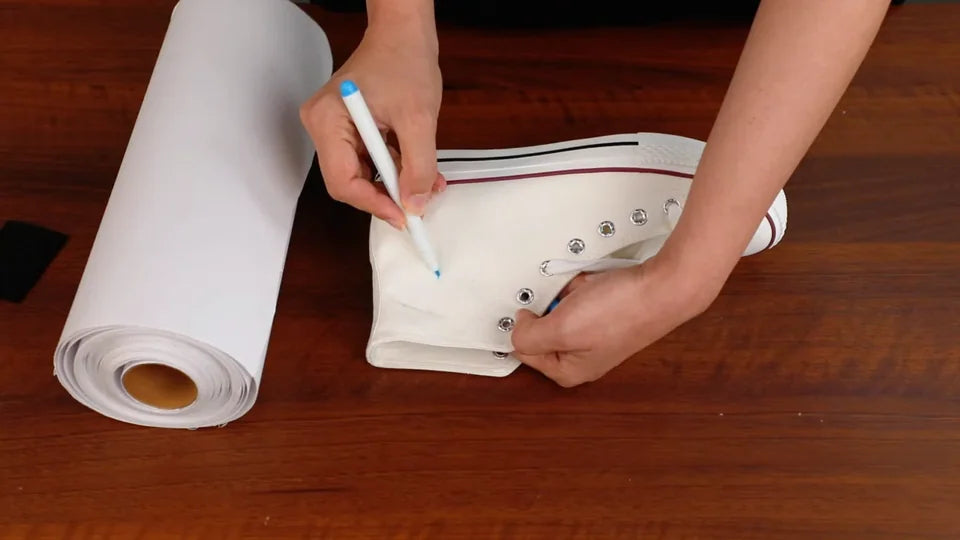
1. Find and mark the embroidery center
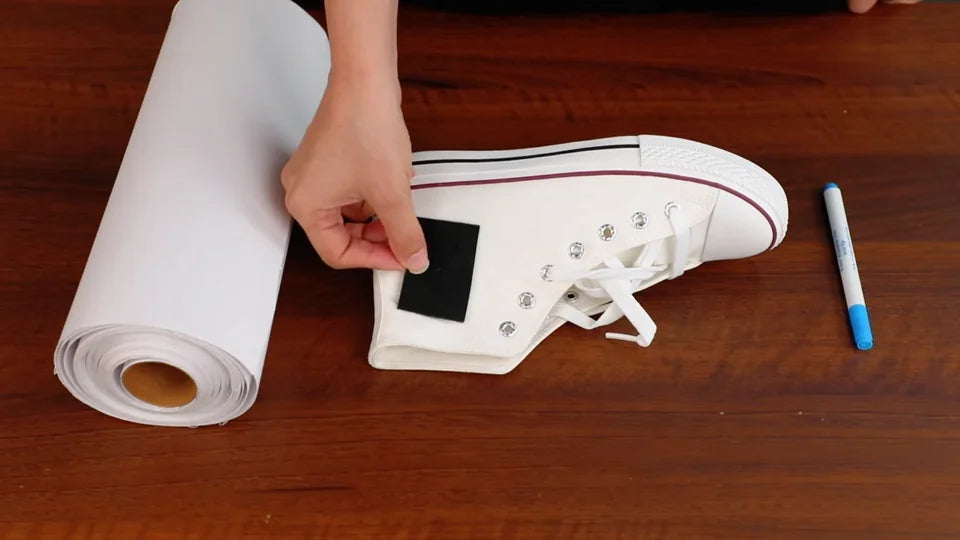
Watch at 00:25Lay the shoe on its side. Place a template the size of your design on the flat outside ankle panel to see the area the needle will cover. Check how that footprint sits next to the eyelets and sole, then mark its center with the washable pen.
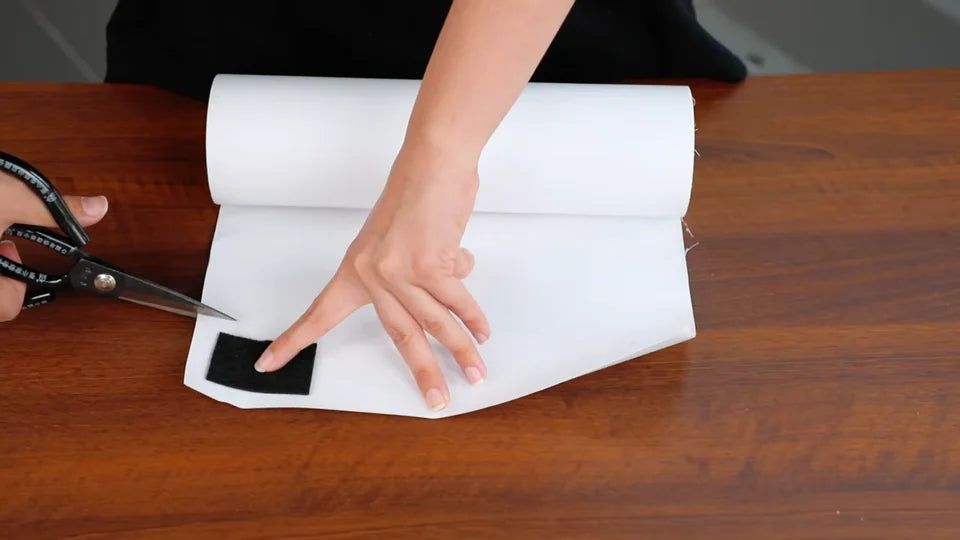
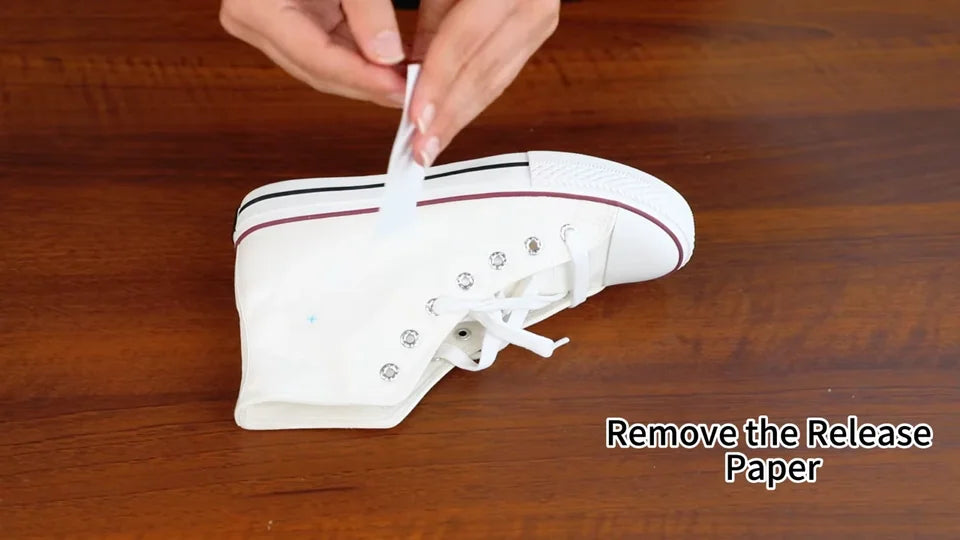
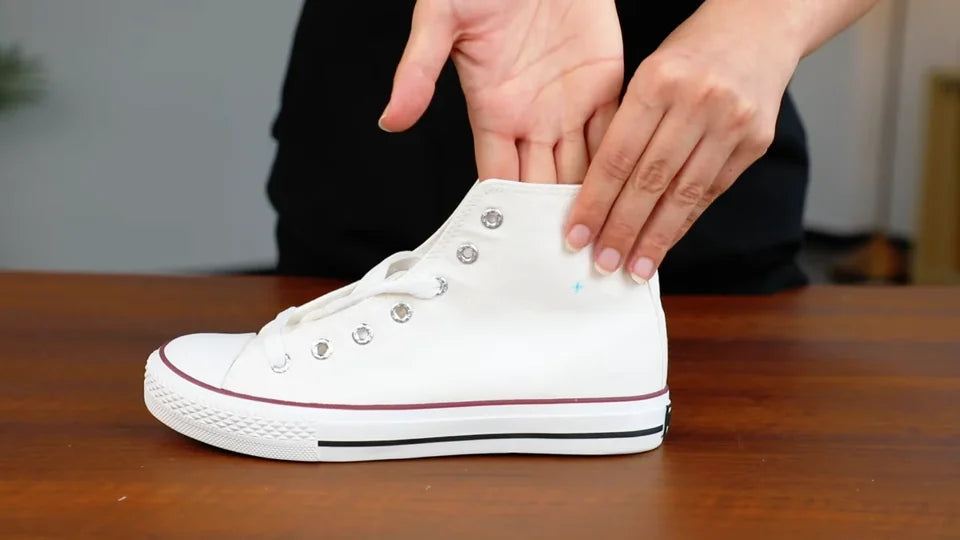
2. Apply adhesive stabilizer inside the shoe
Watch at 00:42Cut a piece of adhesive stabilizer slightly larger than the design. Peel off the release paper and stick the adhesive side to the inside of the upper, directly behind the marked area. Press it flat from inside the shoe and smooth out wrinkles. Check that it covers the entire design footprint.
3. Set the support-arm spacing
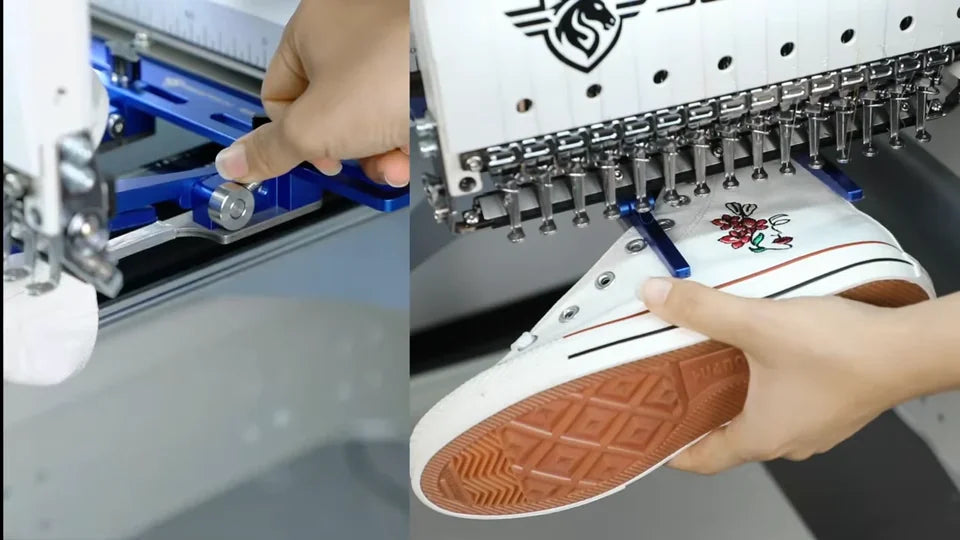
Watch at 01:11Loosen the two black adjustment knobs on the blue mounting bar, slide the support arms to suit the shoe, then retighten the knobs to hold that spacing. The small black-handled levers next to the arms open and close the jaws for loading and securing the upper.
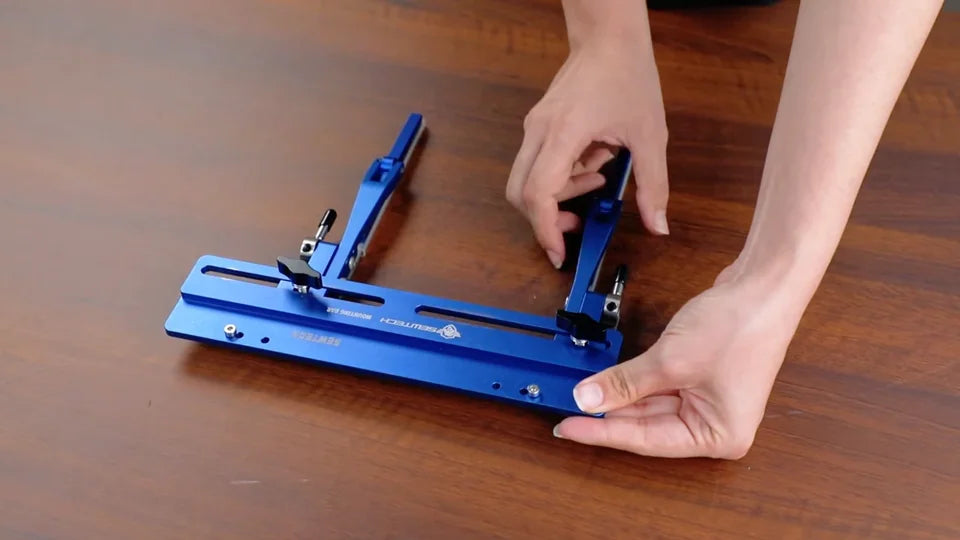
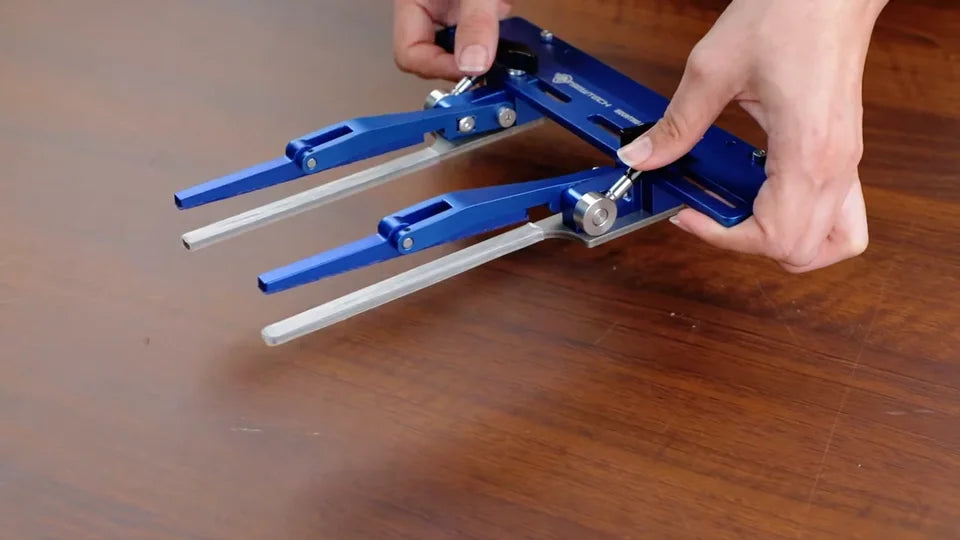
4. Mount the shoe clamp under the ruler
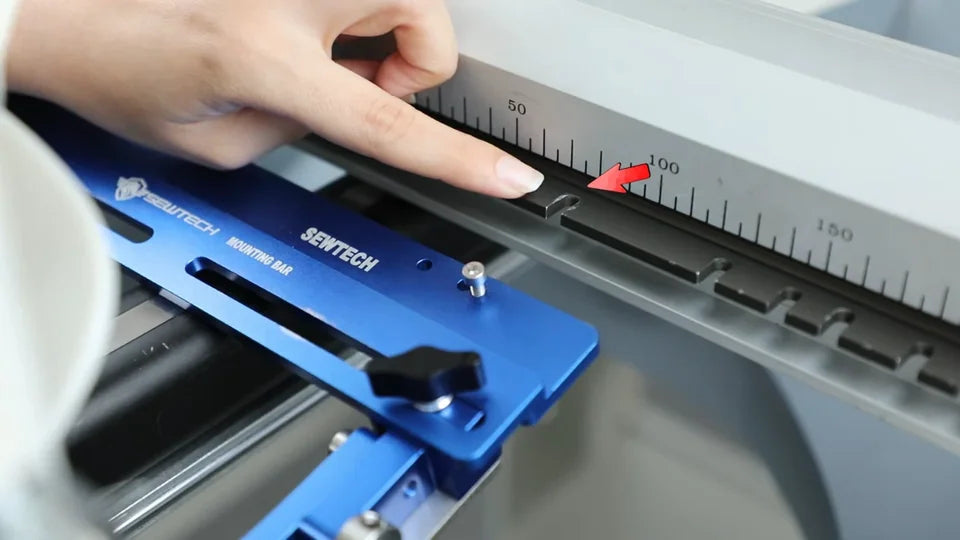
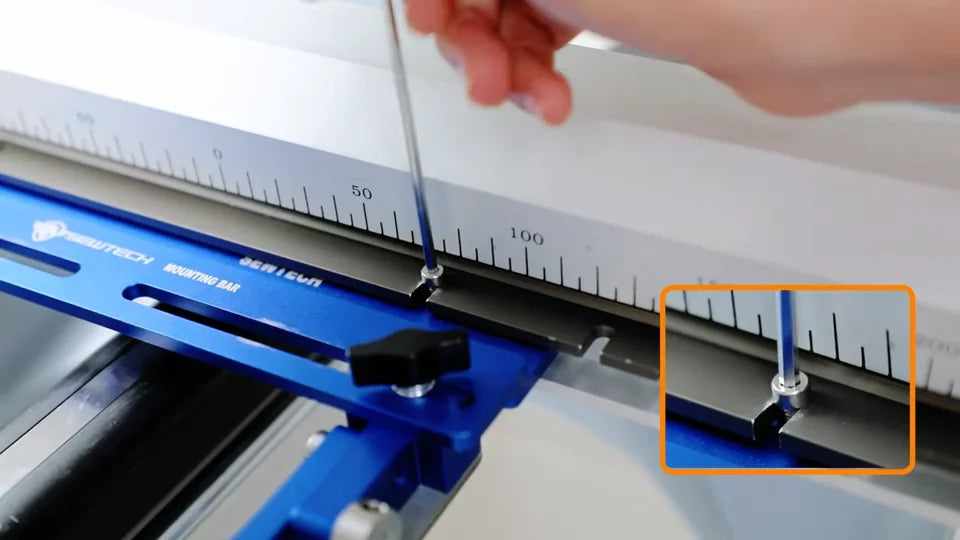
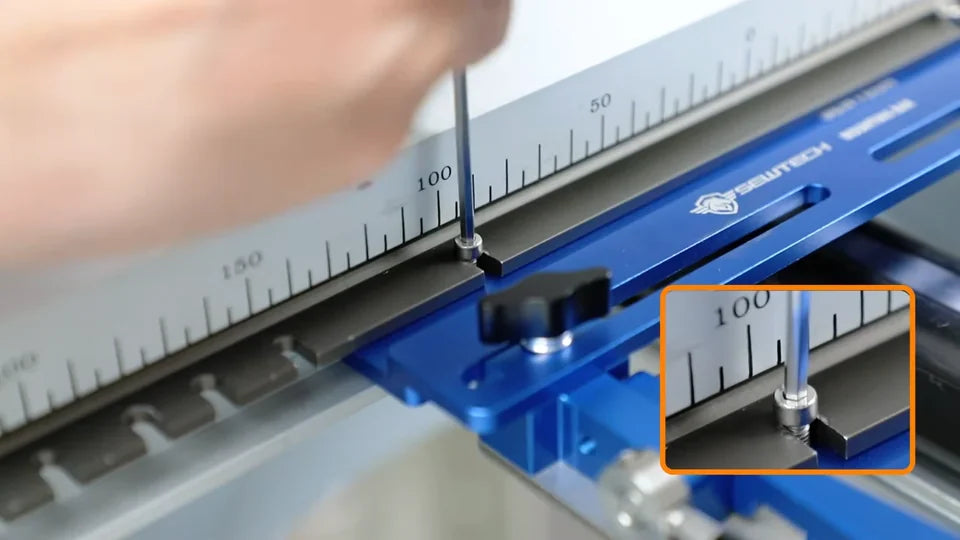
Watch at 01:44Use the 3 mm Allen wrench to loosen the mounting screws. Fit the blue mounting bar between the two metal plates under the machine ruler. Line the screw hole up with the first slot indicated in the video, seat the bar, and tighten both mounting screws. Check that both ends of the bar are secure.
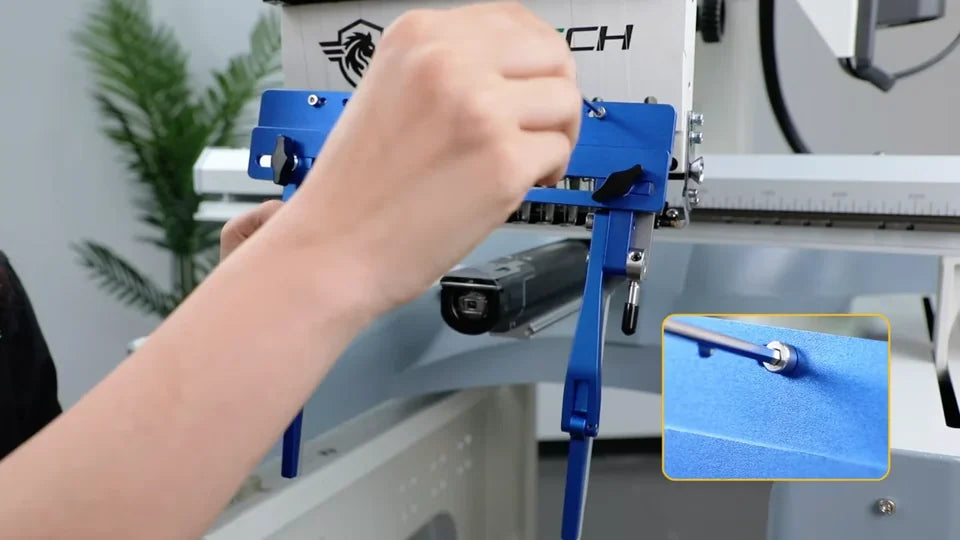
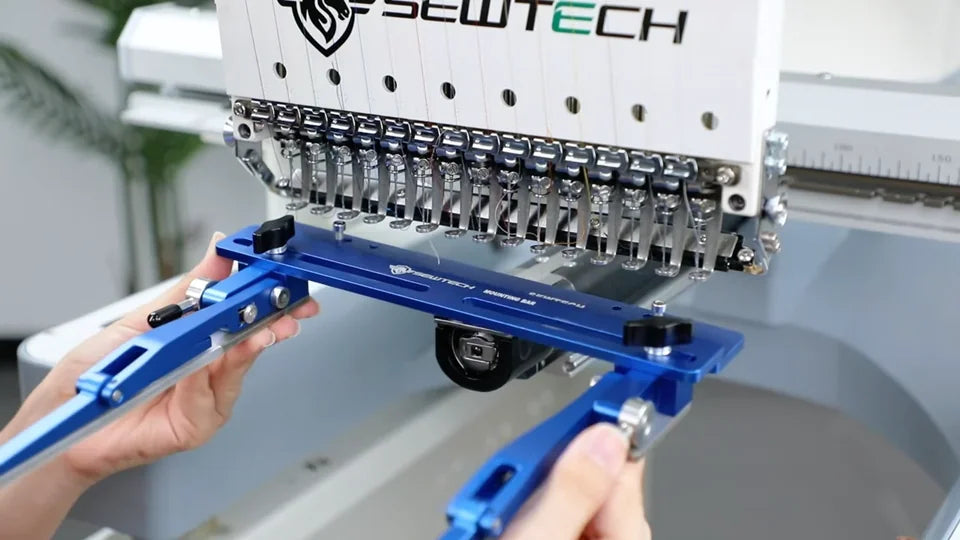
5. Check the bobbin before loading the shoe
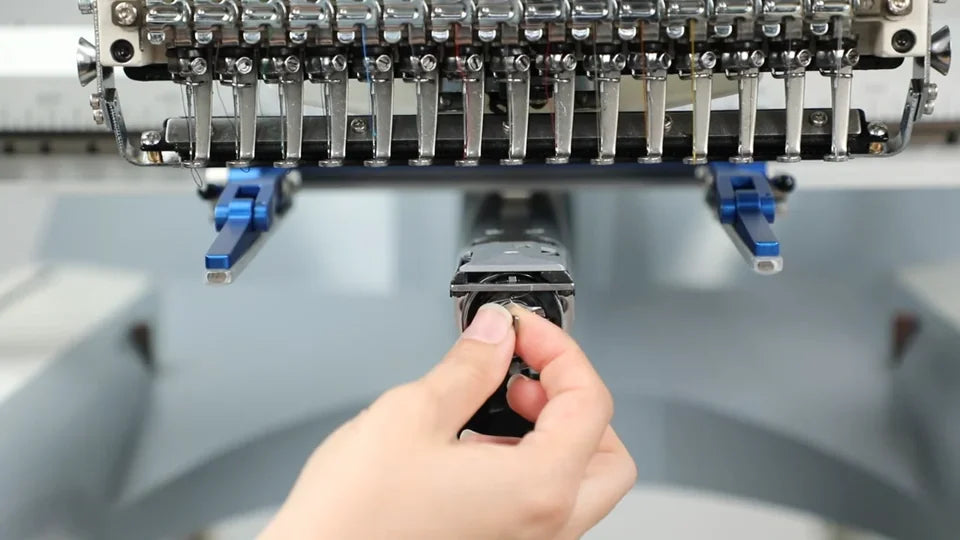
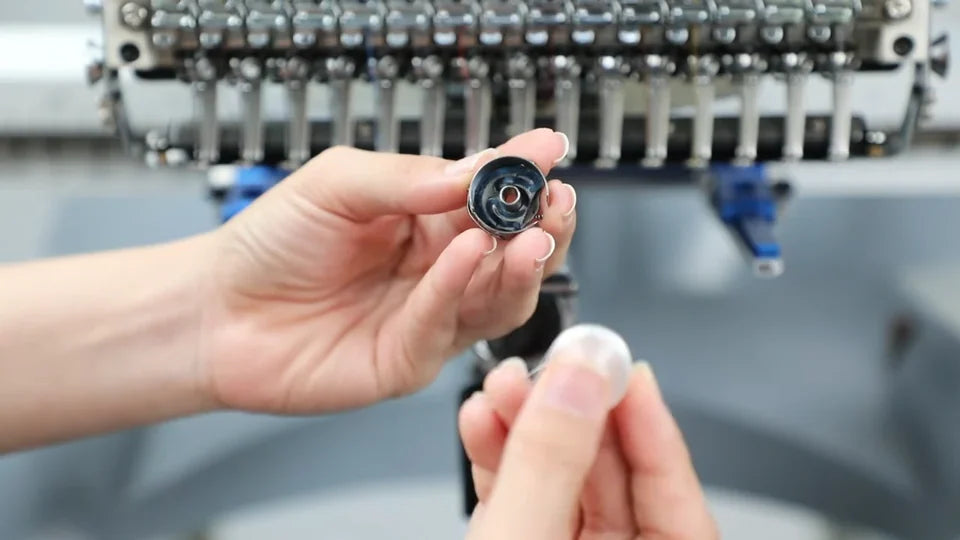
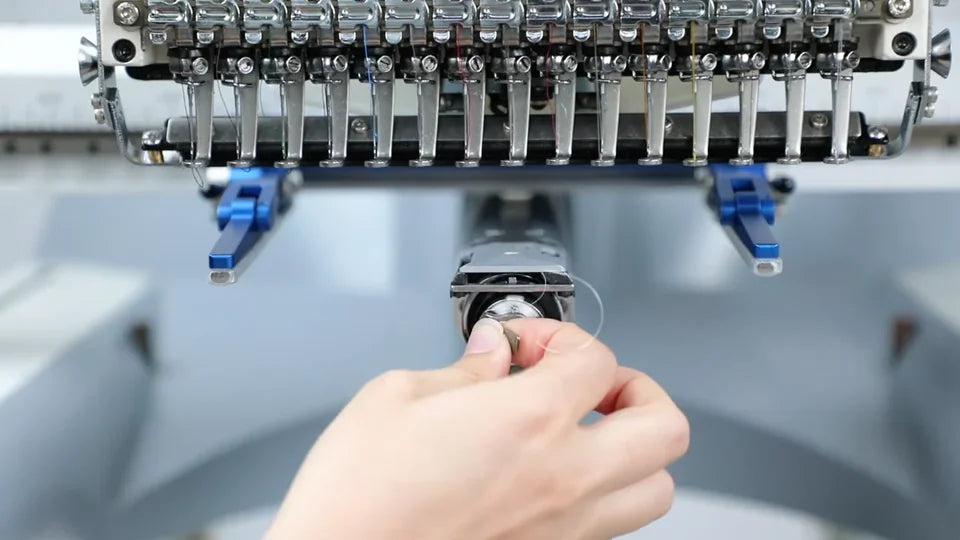
Watch at 02:19Open the cover at the front of the bobbin arm and pull the bobbin case out. If the thread is low or has run out, fit a full bobbin in the case. Put the case back in the machine and close the cover before loading the shoe.
6. Select the design, direction and colors
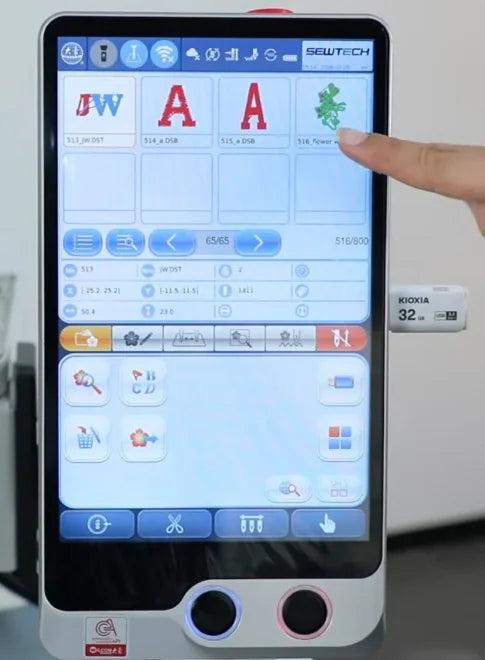
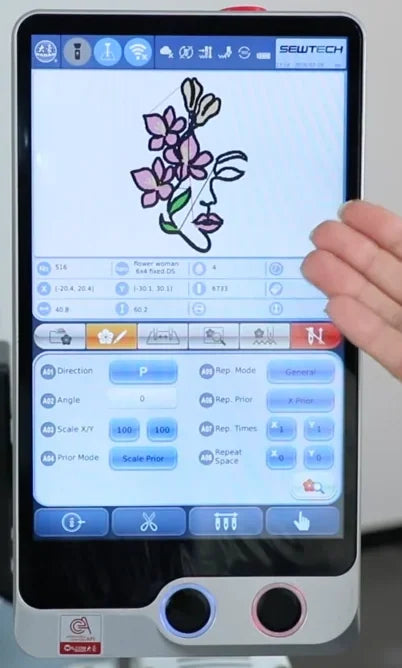
Watch at 02:44Turn on the machine. On controller page 1, tap the design thumbnail. Open page 2 and use Direction to set how the design will sit on the shoe. On page 3, check the color sequence on the left and use the numbered needle palette on the right to assign colors. Check the design preview before moving on.
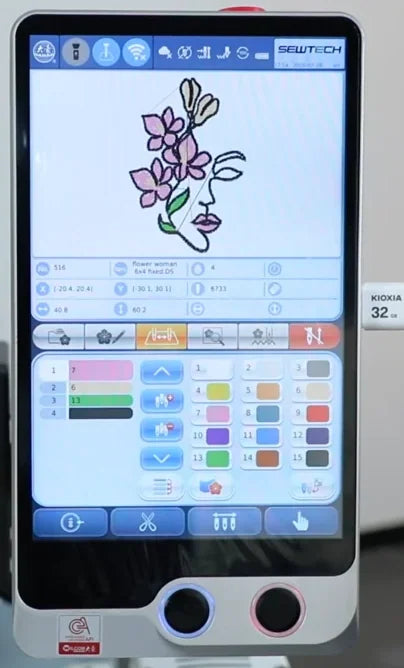
7. Select None Frame on page 4
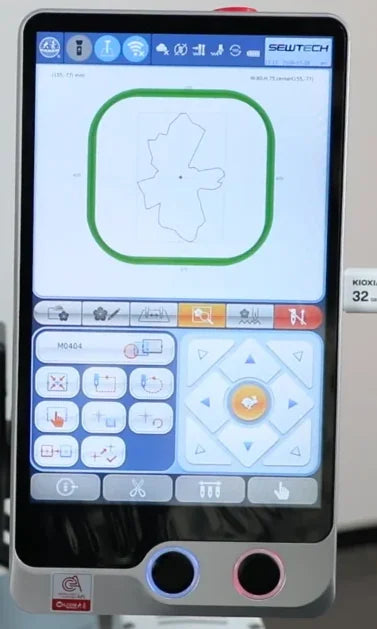
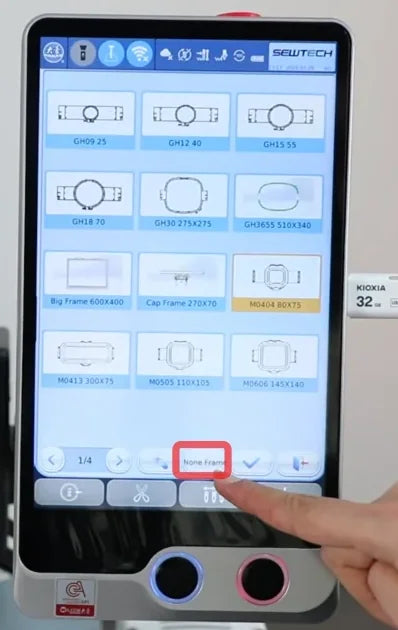
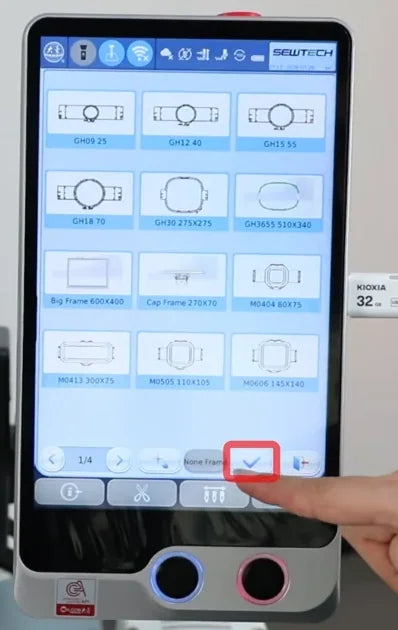
Watch at 03:05Open controller page 4 and tap the frame field on the left, above the trace controls. On the frame selection screen, choose None Frame at the bottom and tap the check mark. The frame field should now read frame none. You will check clearance on the shoe itself with the laser trace.
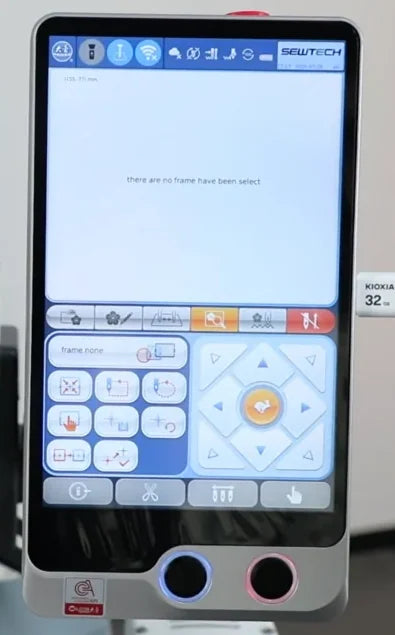
8. Open the clamp and adjust it to the shoe
Watch at 03:13Turn the small black handles to open the jaws. If the arms need repositioning, loosen the two larger black knobs on the mounting bar, slide the support arms to suit the usable flat area of the upper, then tighten the knobs again. Leave room for the design between the arms.
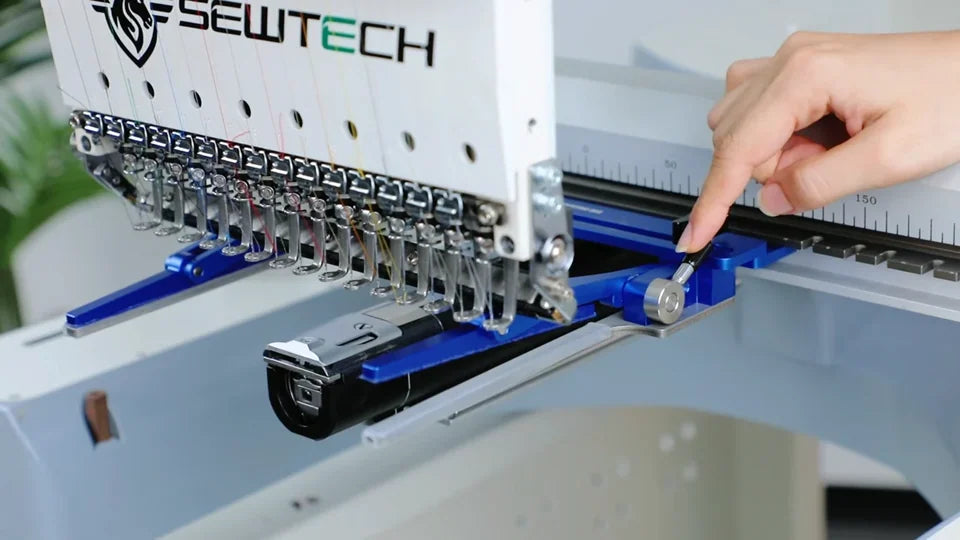
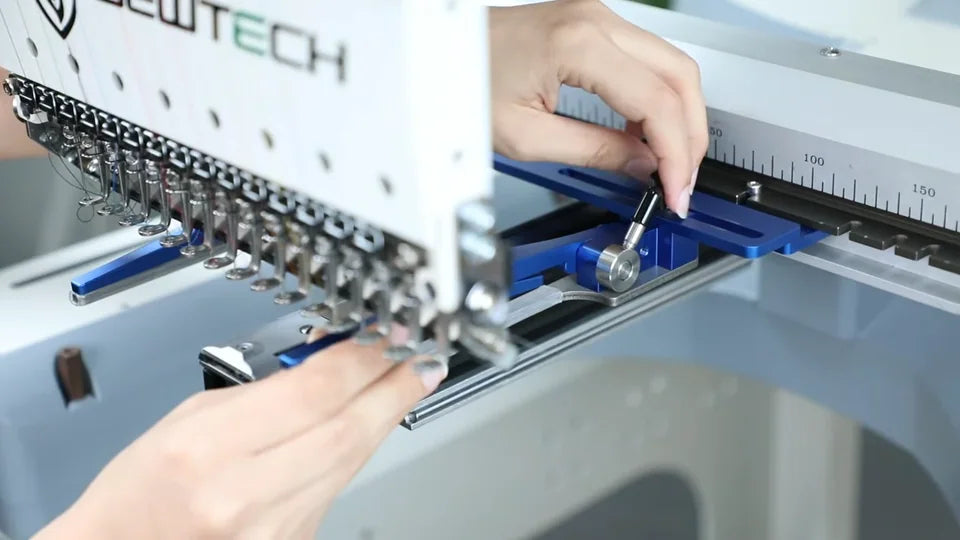
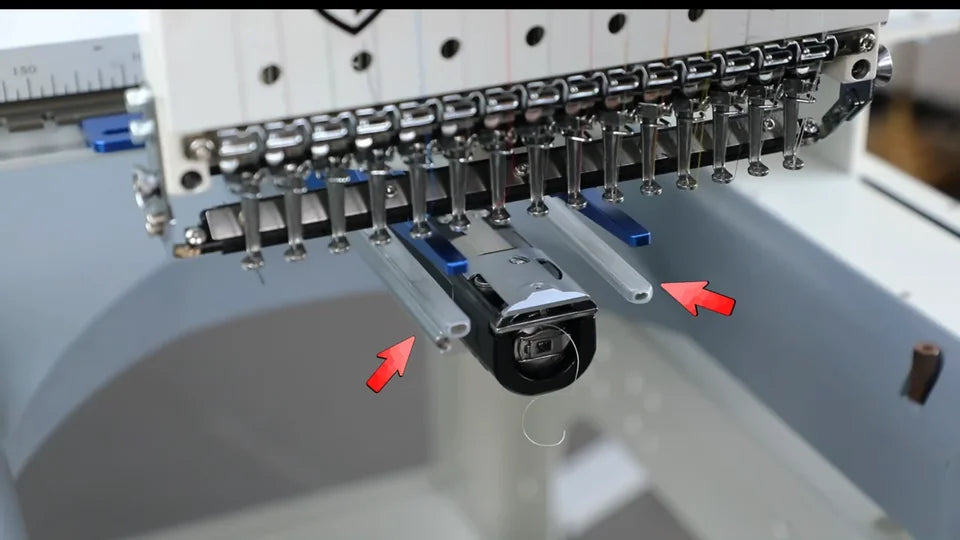
9. Slide in the shoe and lock it flat
Watch at 03:35Hold the shoe with the marked panel facing up. Guide it past the bobbin arm and slide the panel between the open jaws, with the mark visible between the two blue arms. Make sure the shoe clears the bobbin area. Lock the levers and check that the upper lies flat and the shoe stays firmly in place.
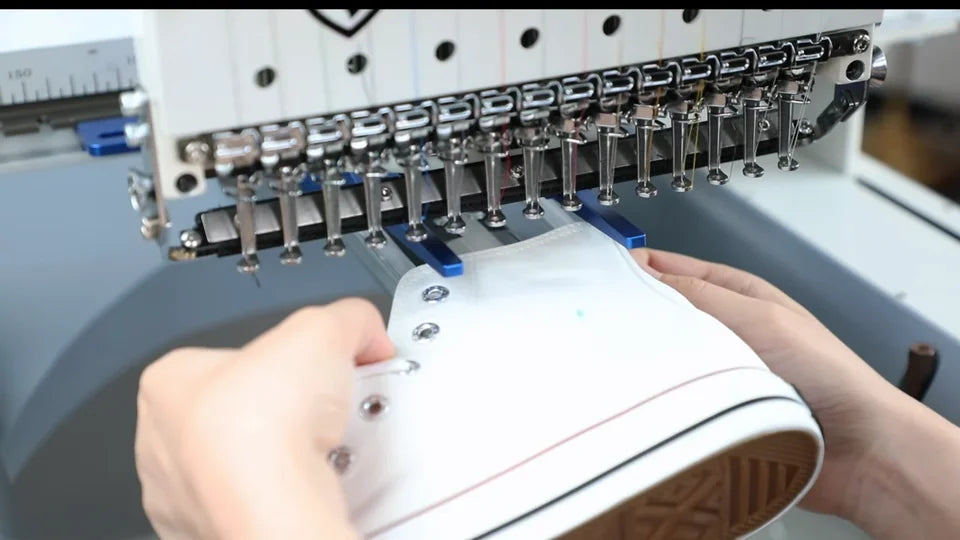
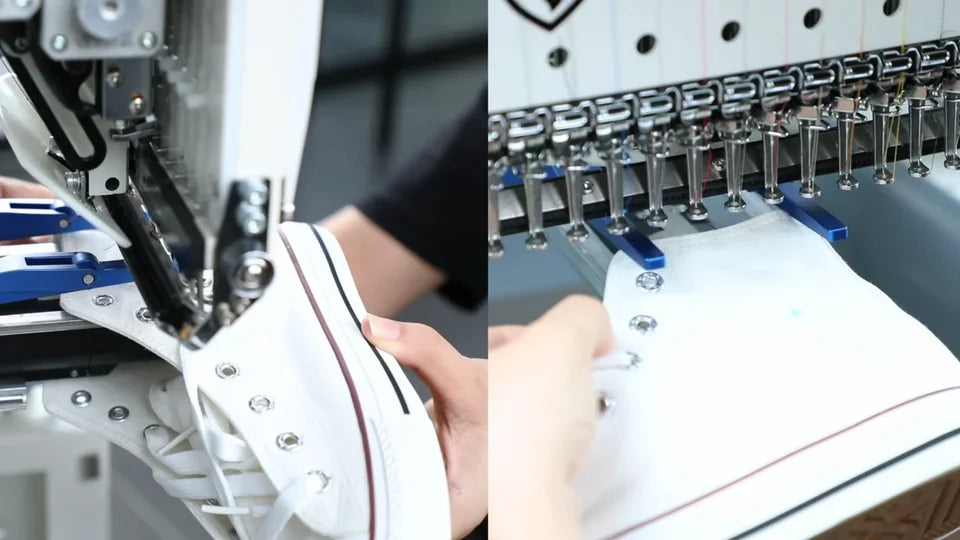
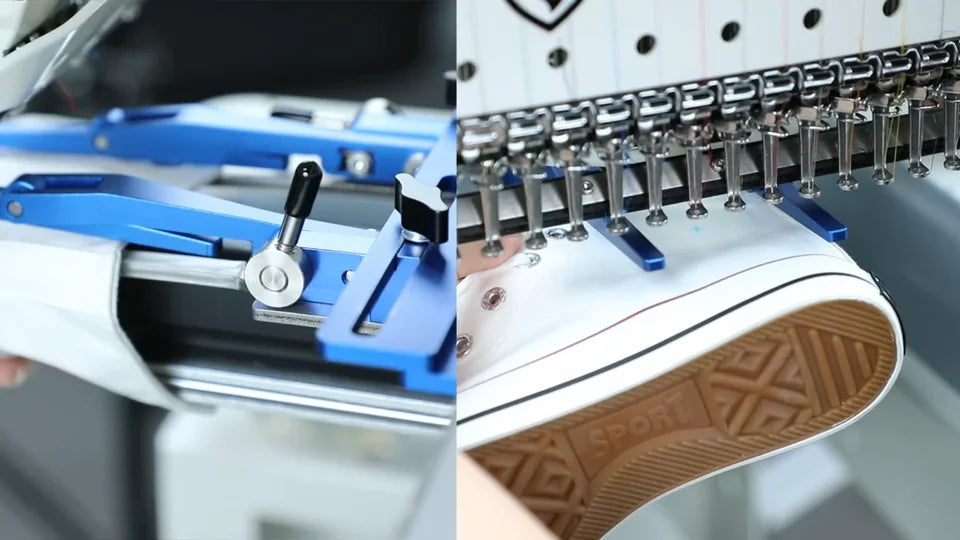
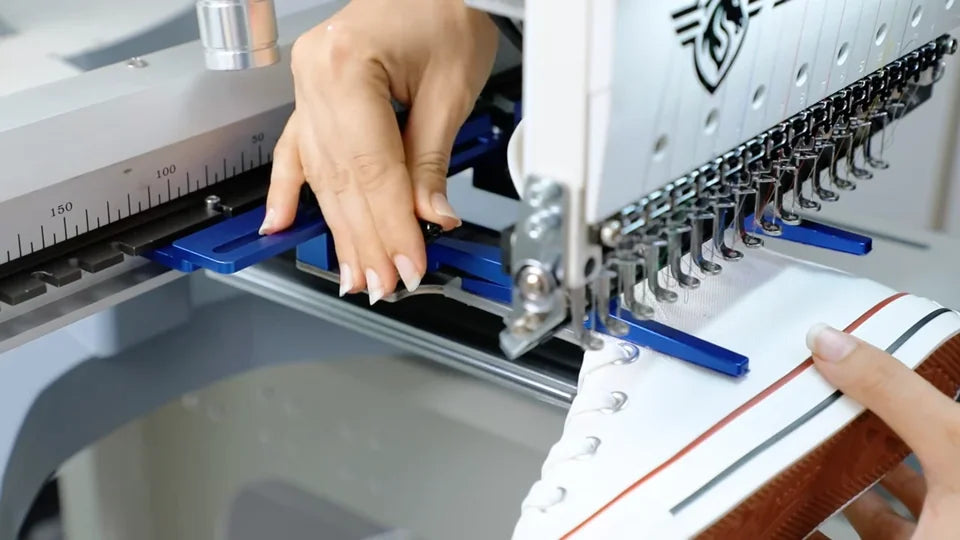
10. Trace the full design outline with the laser
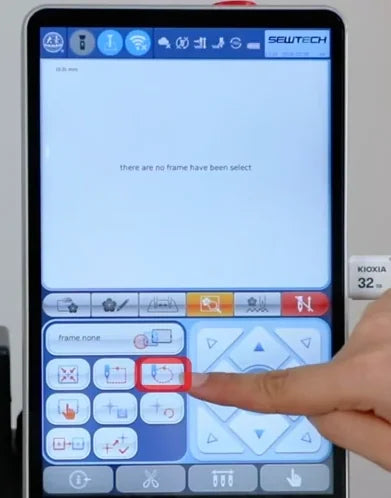
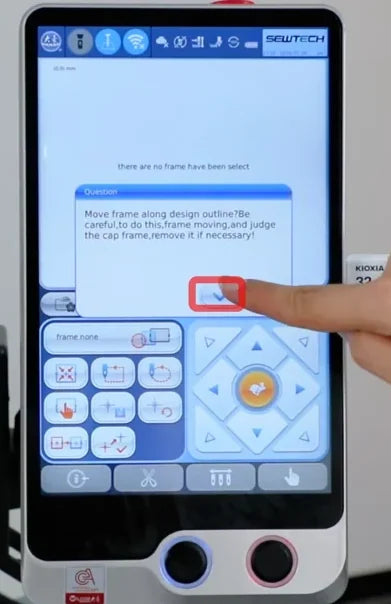
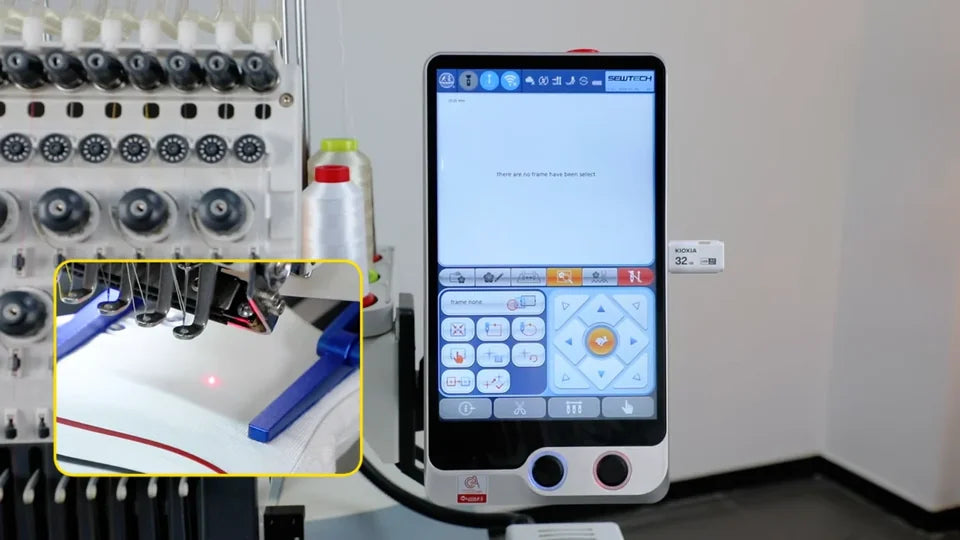
Watch at 03:59On page 4, tap Trace, the rightmost icon in the first row of small buttons under the frame field. Tap the check mark in the prompt to move along the design outline. Watch the red laser dot throughout the trace. The entire path must stay on the supported upper between the clamp arms, with clearance from the metal jaws and the bobbin area.
11. Fine-tune placement with the arrow keys
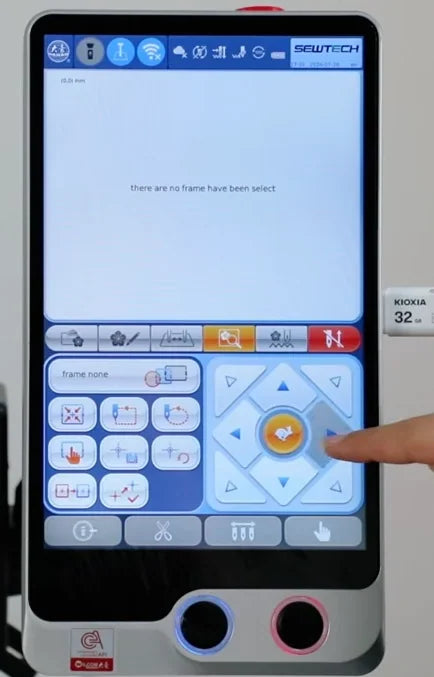
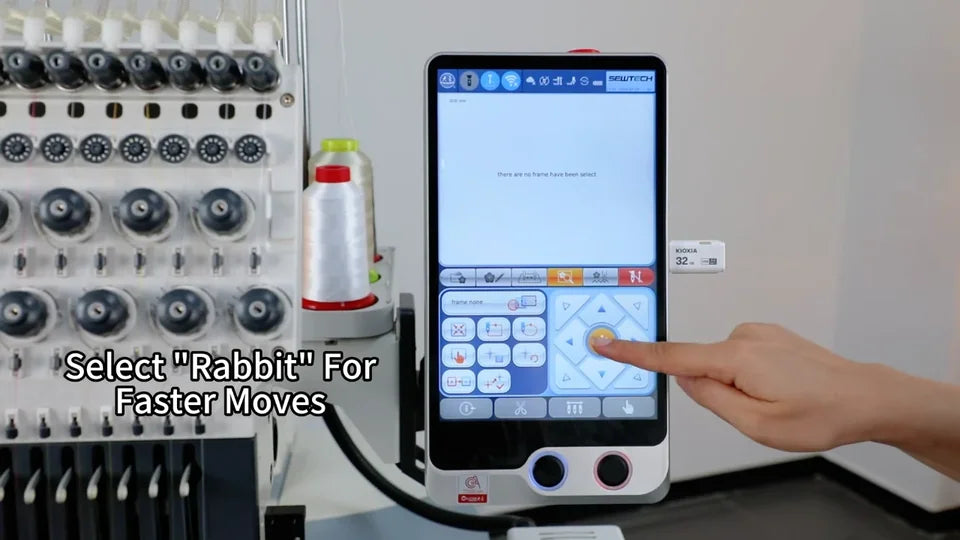
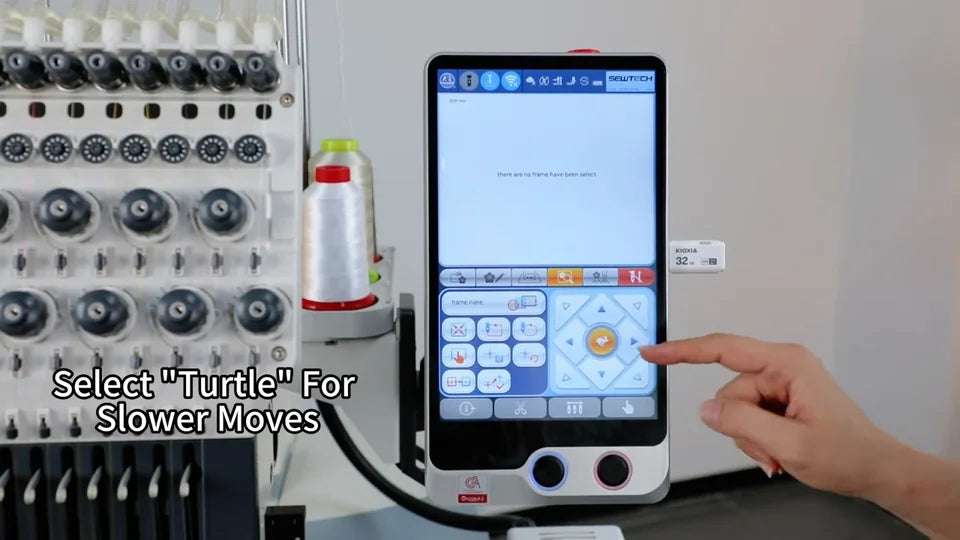
Watch at 04:17Use the direction arrows on the right to shift the design toward your center mark. Tap the center speed control to switch between Rabbit for faster movement and Turtle for smaller, slower adjustments. Run the trace again after moving the design and check the full path before confirming embroidery.
12. Confirm embroidery on the touchscreen
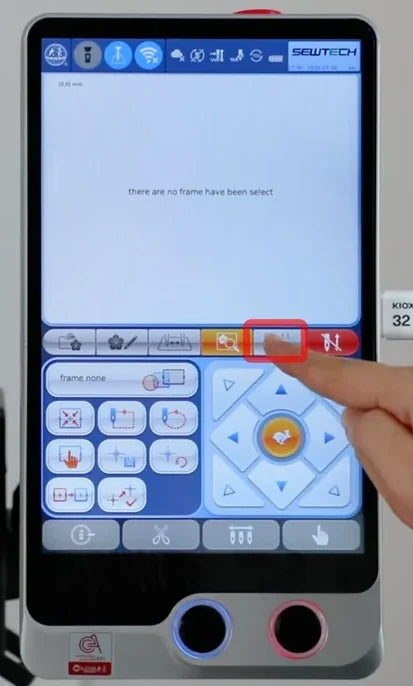
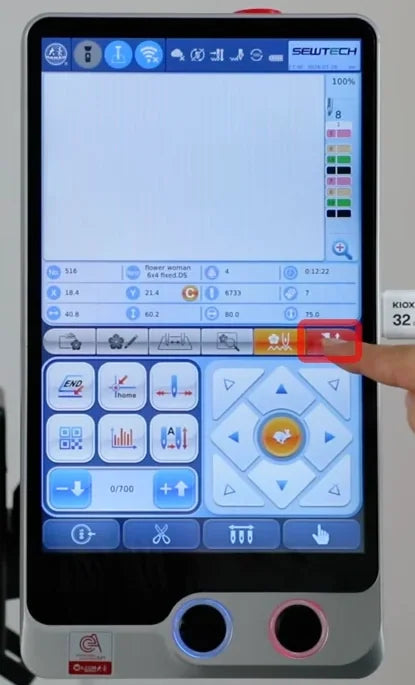
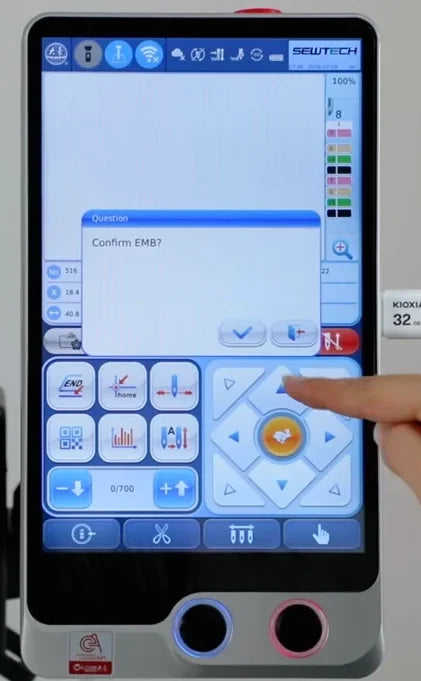
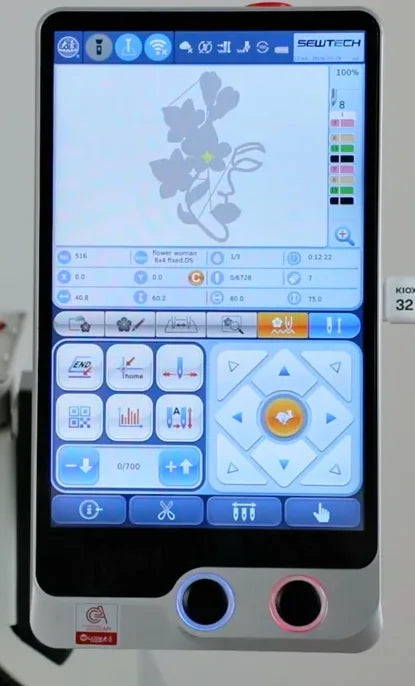
Watch at 04:28After the clearance check, tap the fifth tab in the middle strip to open the embroidery screen. Tap the far-right red sewing-mode button in the same strip. In the Confirm EMB? dialog, tap the blue check mark. The mode button turns blue and the design preview reappears when the machine is ready for Start.
13. Press the blue-ringed Start button
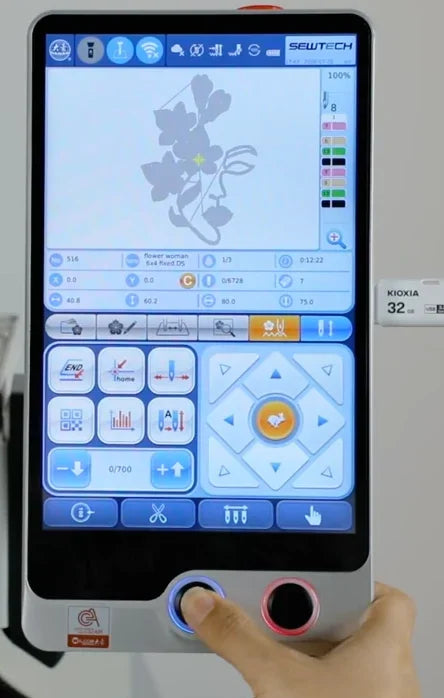
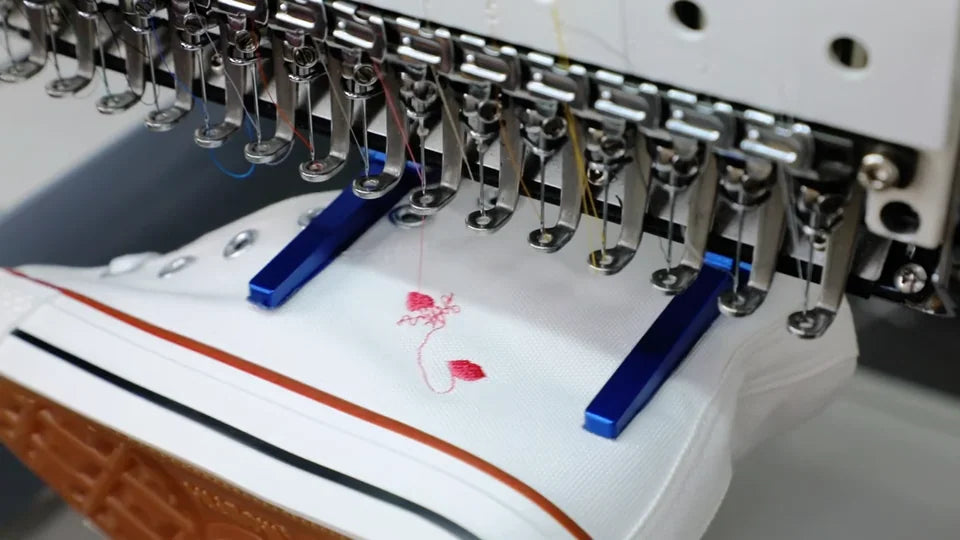
Watch at 04:35Press the blue-ringed Start button below the touchscreen. The machine starts stitching inside the two blue arms. Watch the first stitches form on the backed panel and check that the shoe remains flat and held securely as the design builds.
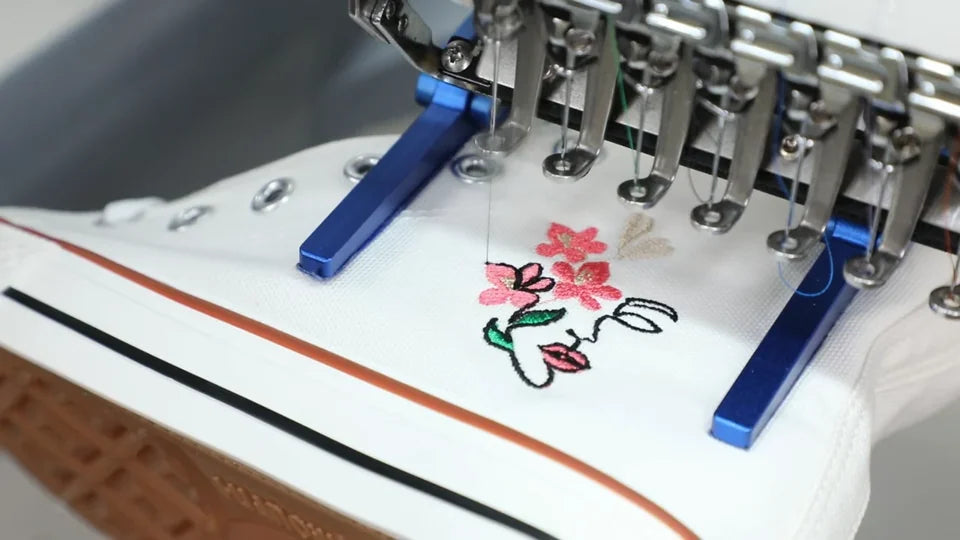
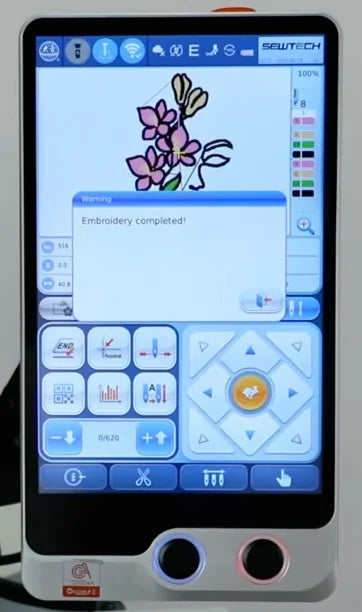
14. Wait for completion and remove the shoe
Watch at 05:17Wait for the machine to stop and for the screen to show Embroidery completed! Support the shoe by the sole, unlock the clamp levers, then guide it out from under the needle head. Inspect the finished motif on the outside ankle panel.