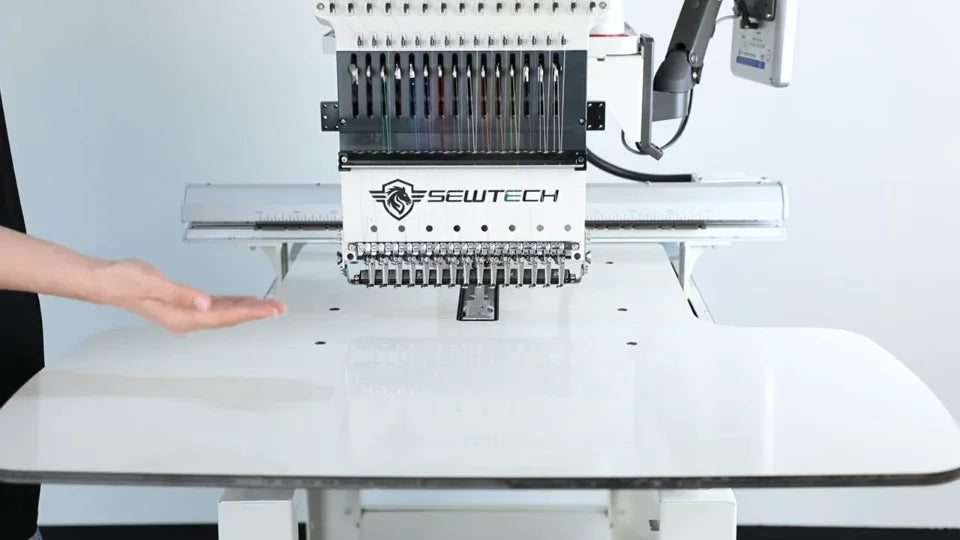
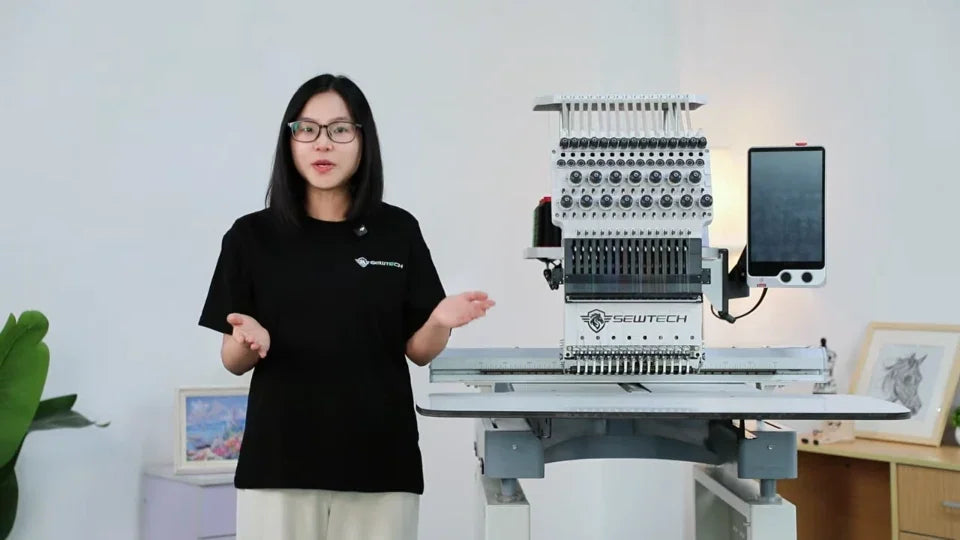
Install the Flat Table on the ST-1501

Overview
Install the flat table on the ST-1501 in two stages. First fasten the support brackets to the tabletop through its eight holes. Then slide the assembly onto the machine, align the four machine mounting points, and tighten the four mounting screws.
Step-by-step guide
1. Lay out the tabletop, brackets and screws
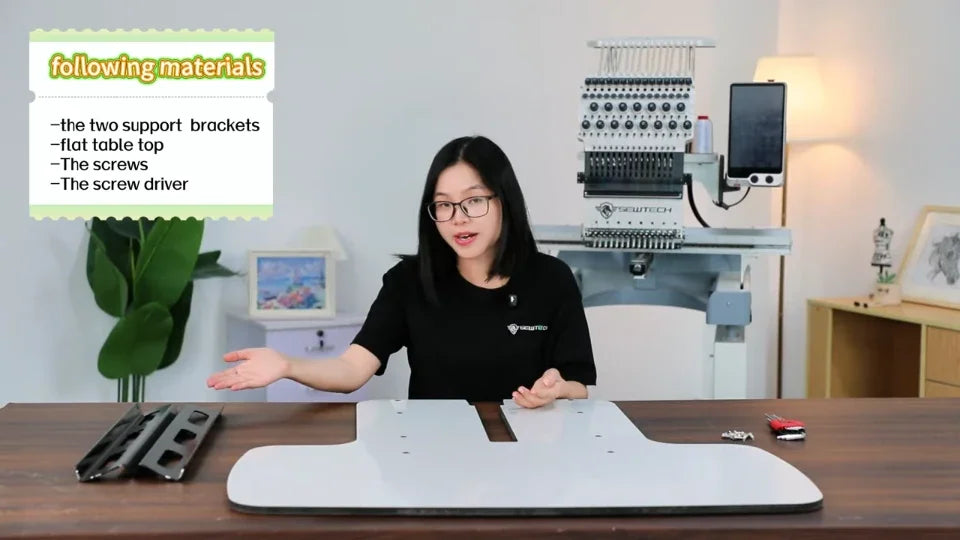
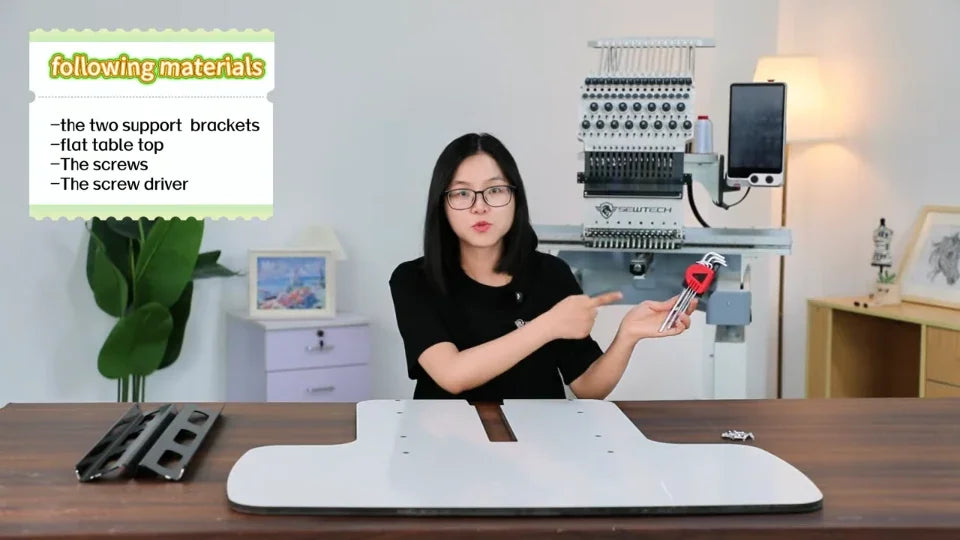
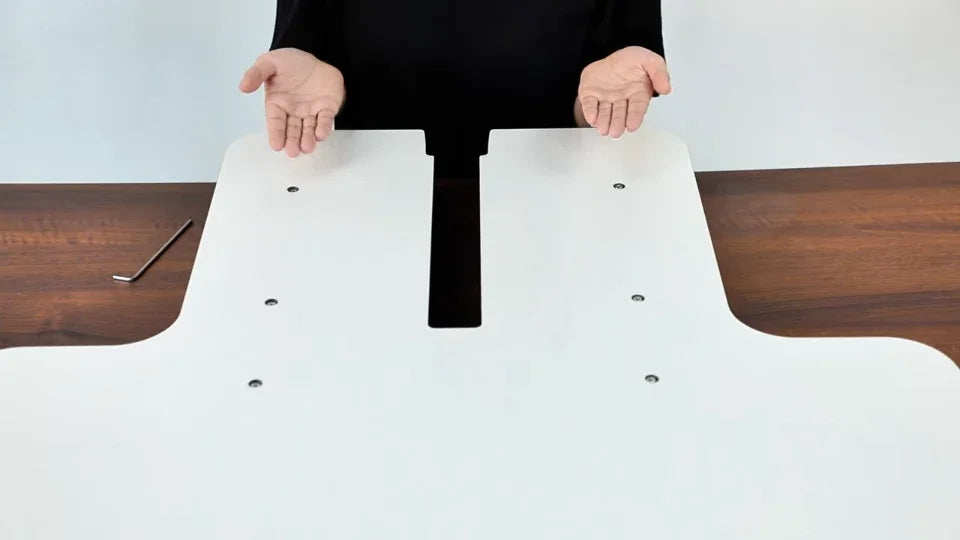
Watch at 00:11Set out the slotted tabletop, the two black support brackets, the bracket screws and the four machine mounting screws. Have a tool that fits the screw heads ready. Claire uses L-shaped hex keys in the close-ups.
2. Find the eight tabletop holes
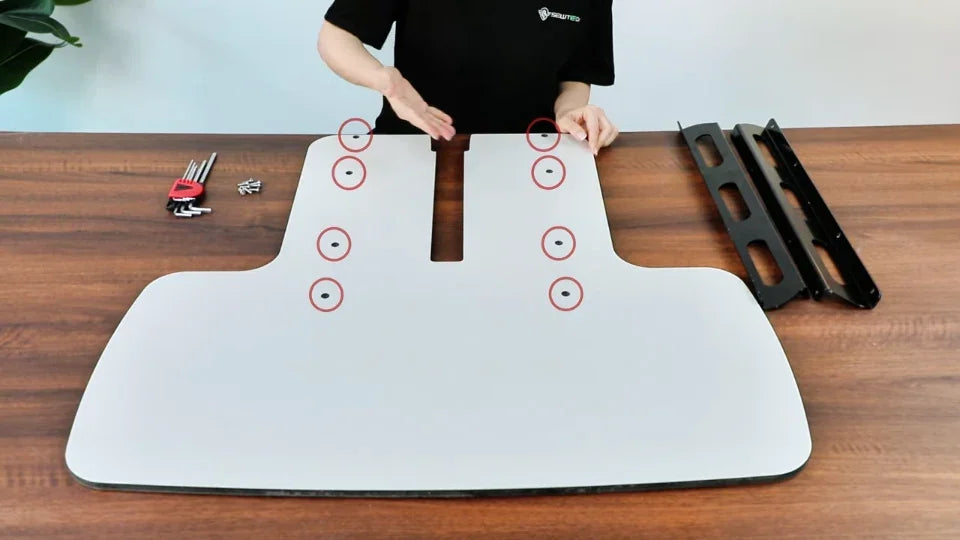
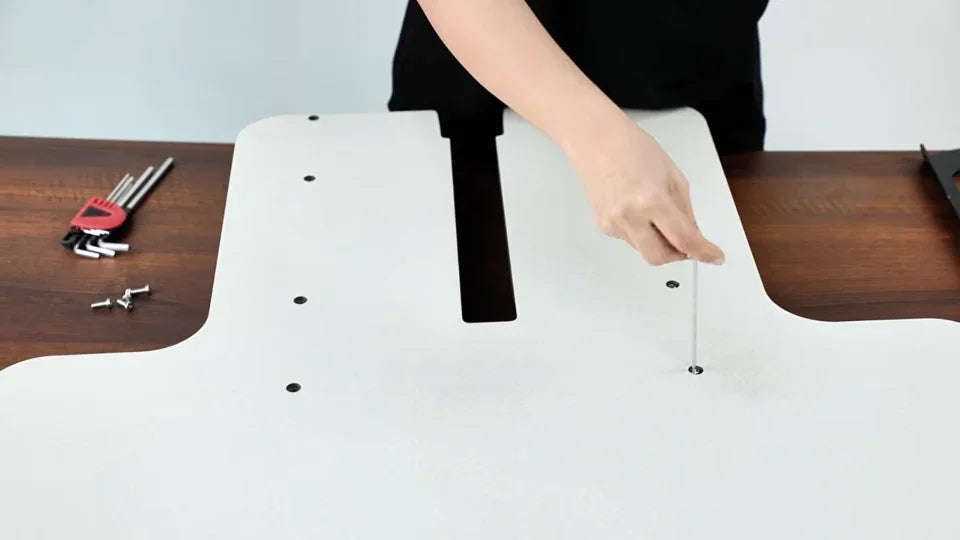
Watch at 00:31Lay the tabletop flat with the working face up. Locate the two rows of mounting holes beside the center slot. The video circles four on each side.
3. Match each bracket to its row of holes
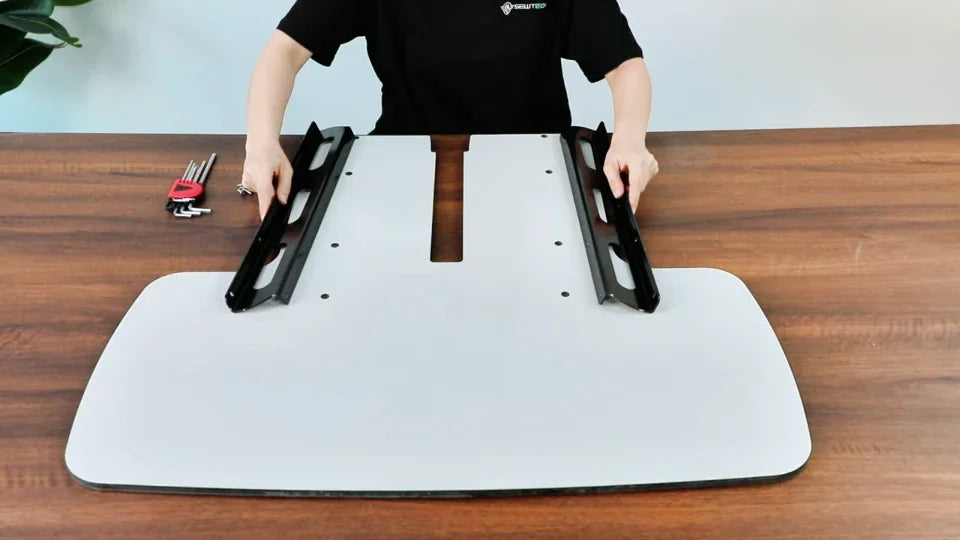
Watch at 00:37Use the overhead layout to see which bracket goes on each side of the slot. Compare the holes in each bracket with the row on that side before placing the brackets under the tabletop.
4. Fit the brackets underneath with the flanges facing out
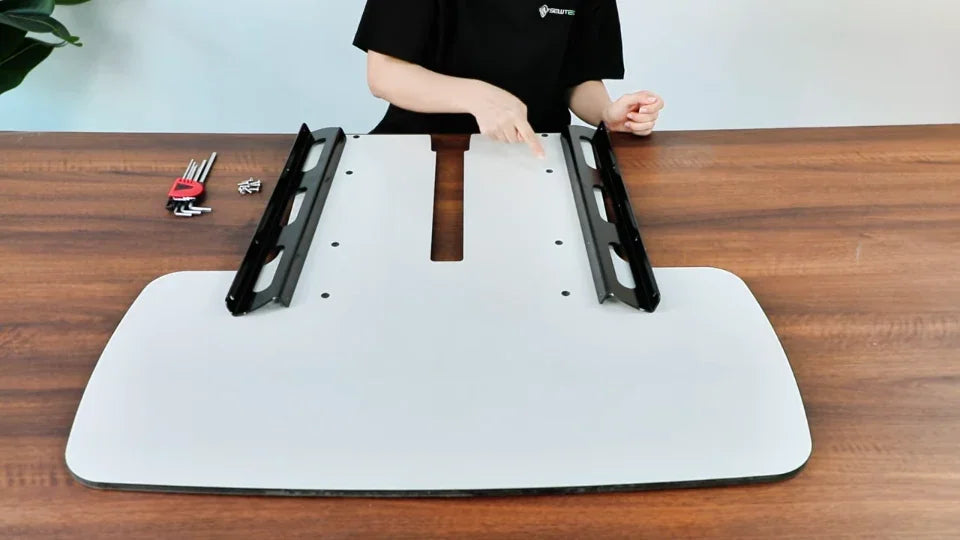
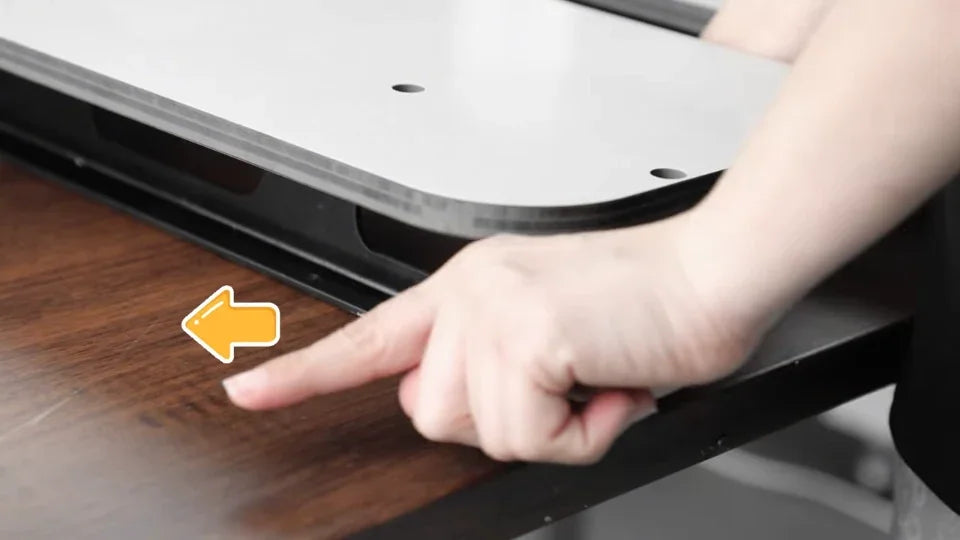
Watch at 00:54Lift the slotted end enough to position a bracket beneath each hole row. Face the lower bent flange of each bracket outward, away from the center slot, as shown by the arrow. Keep the bracket holes under the corresponding tabletop holes.
5. Start the bracket screws from above
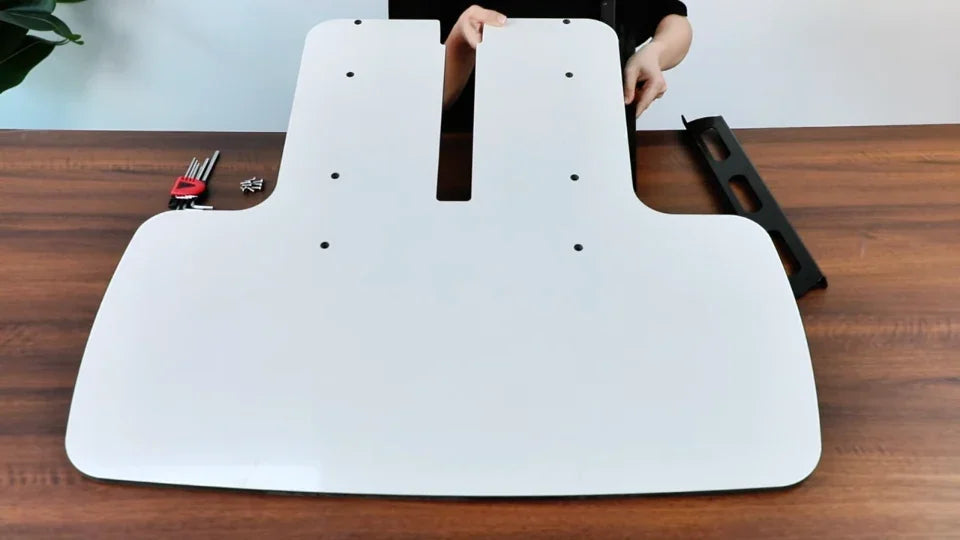
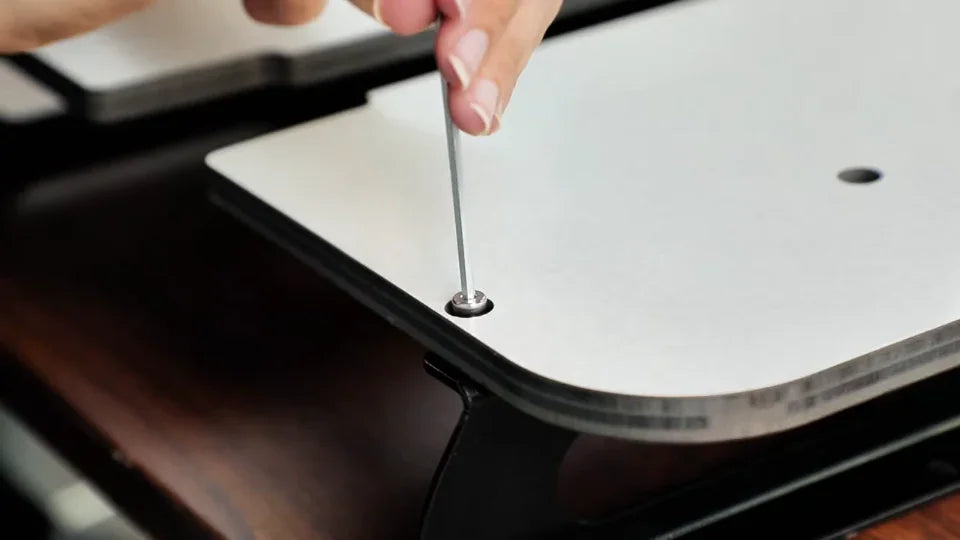
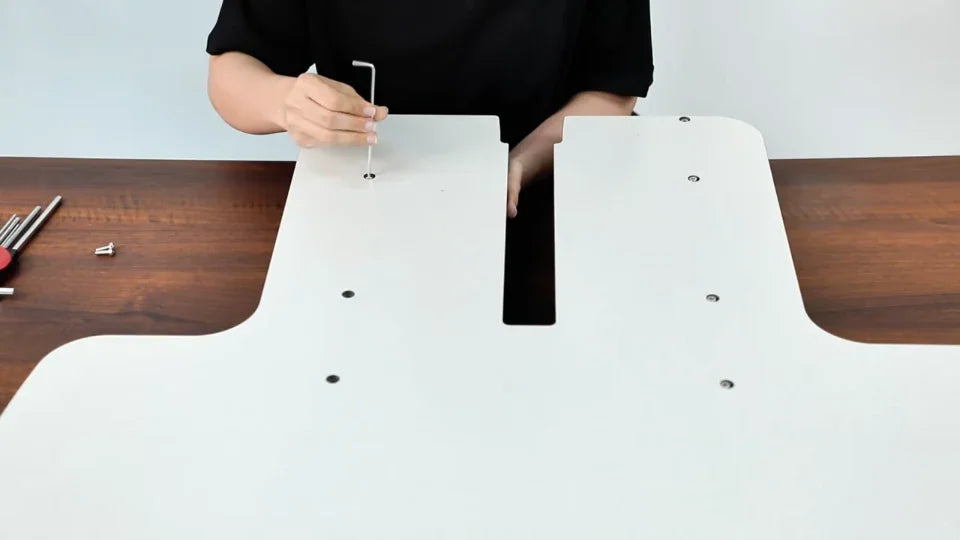
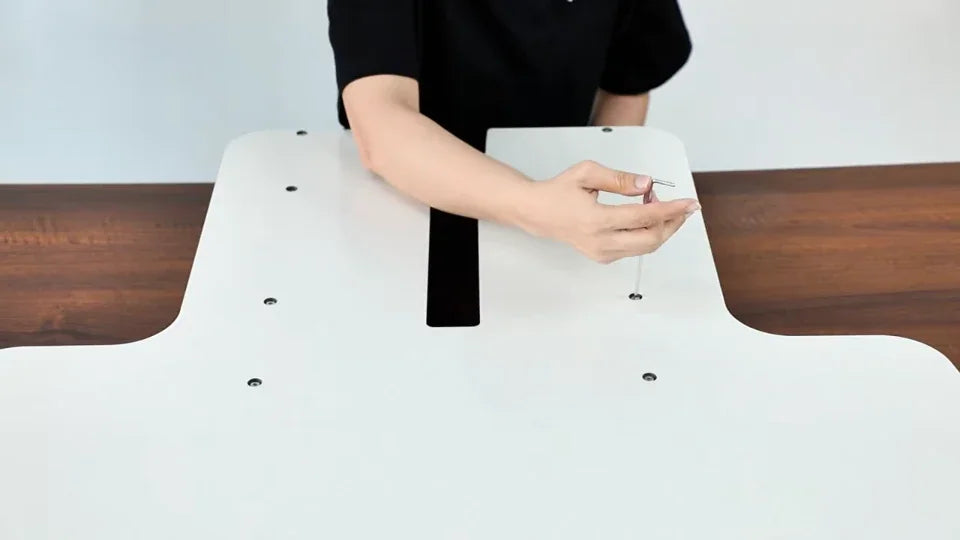
Watch at 01:06Insert the screws down through the tabletop into the brackets. Turn each screw just enough to catch the threads with the hex key. Leave them slightly loose while you start all eight across the two rows.
6. Tighten both rows after every screw is started
Watch at 01:34Check that each screw has entered its bracket and both brackets are aligned. Then go back through both rows and tighten the screws with the hex key before lifting the assembly to the machine.
7. Locate the four mounting points on the machine
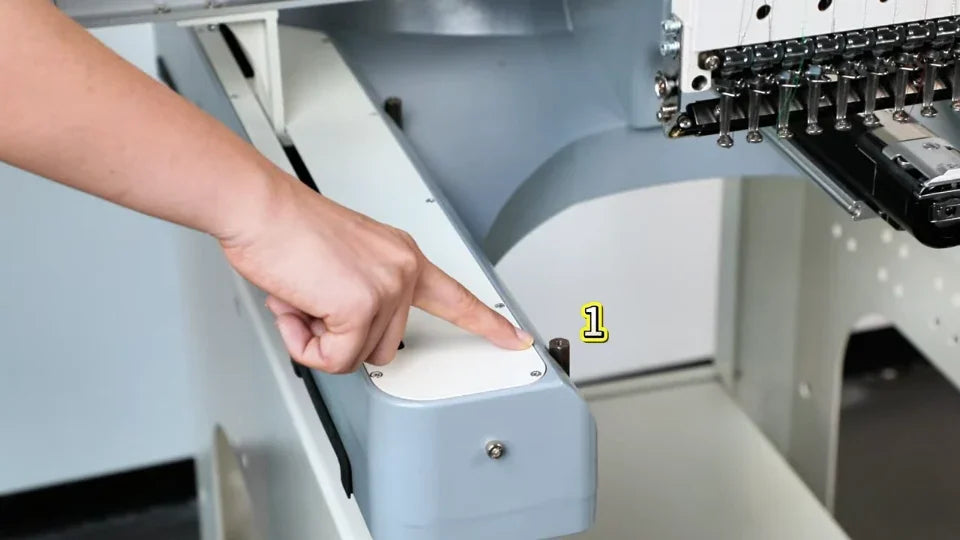
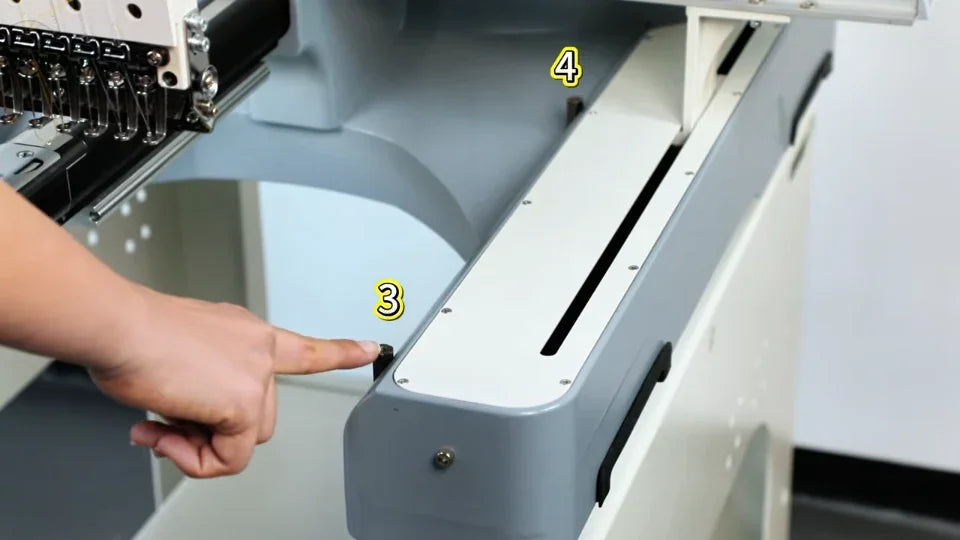
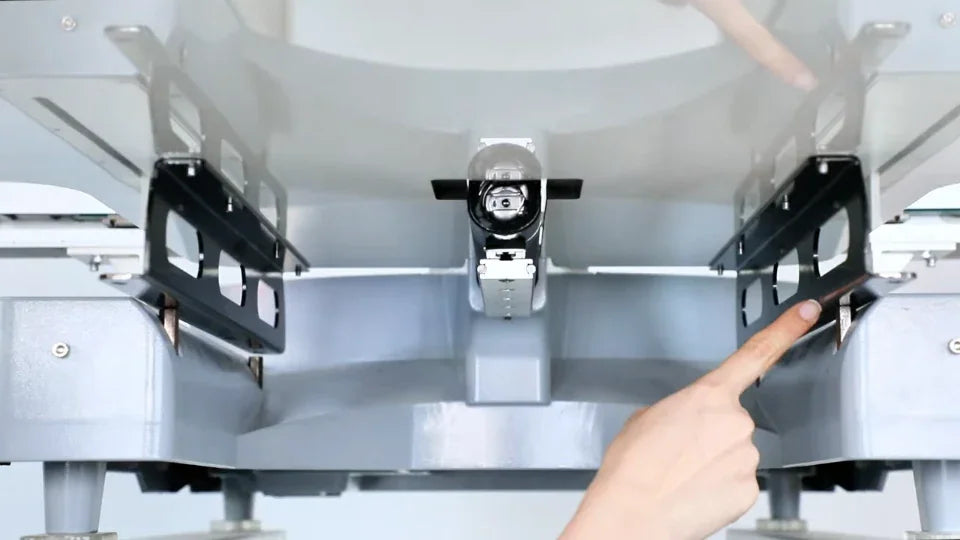
Watch at 01:44With the machine stopped, look along the inner sides of the two machine arms beneath the embroidery head. Locate the two mounting points on each arm. These are where the black bracket flanges will be fastened.
8. Slide the tabletop into place and check its height
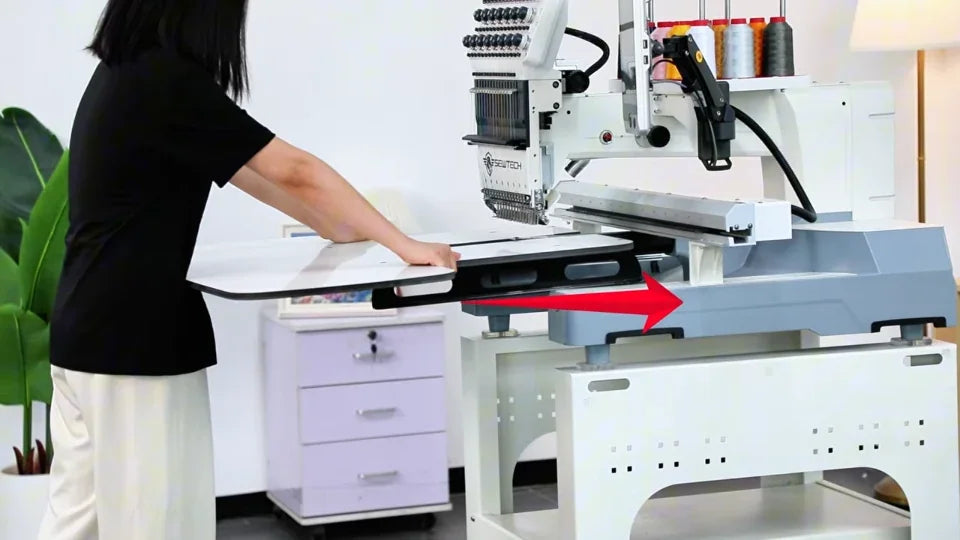
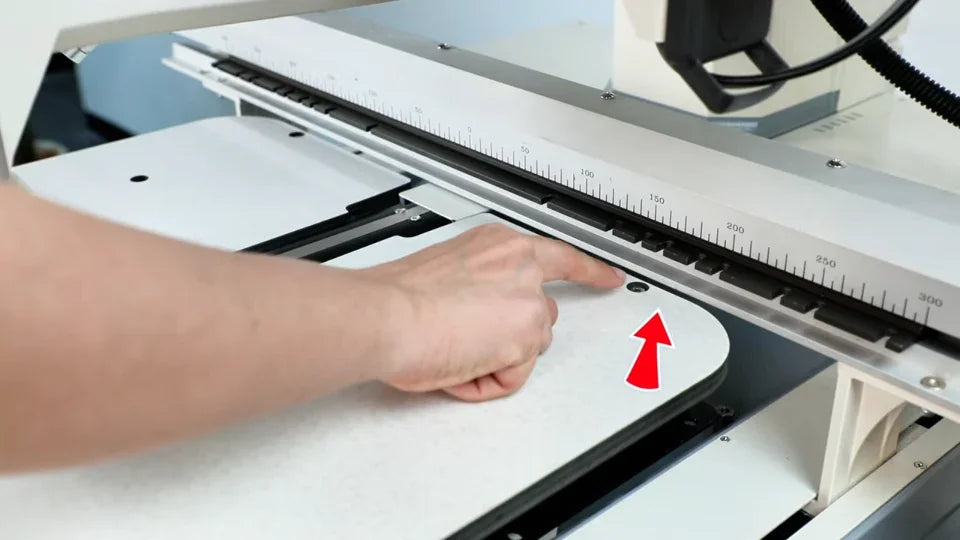
Watch at 01:48With the slot toward the machine, support the assembly from the front and slide it inward beneath the embroidery head as shown. Sight across the adjoining surfaces. The tabletop should sit slightly below the metal plates on the machine.
9. Line up all four bracket holes with the machine
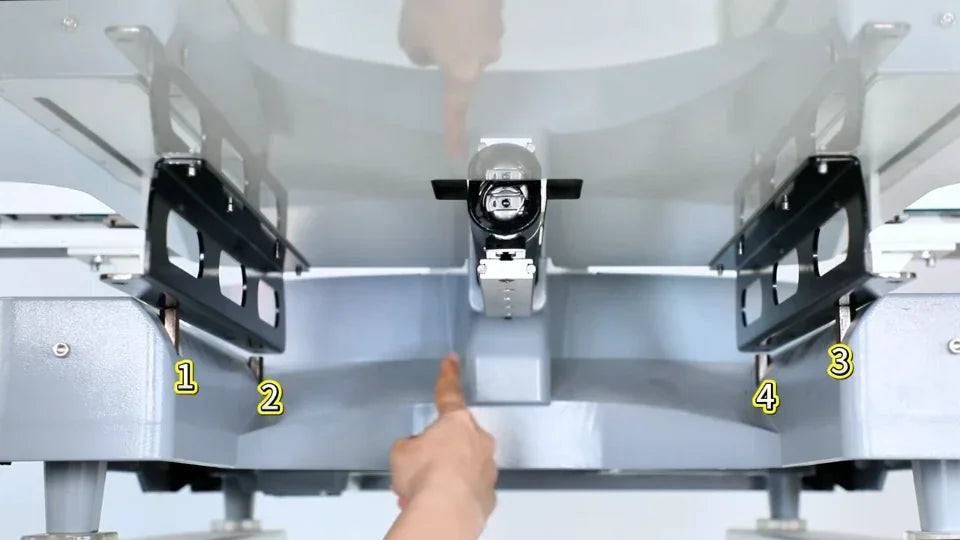
Watch at 02:04Look underneath to find the holes in the lower flanges of the two brackets. Adjust the table position until both holes on each side sit directly over their matching machine mounts. Check all four before inserting the screws.
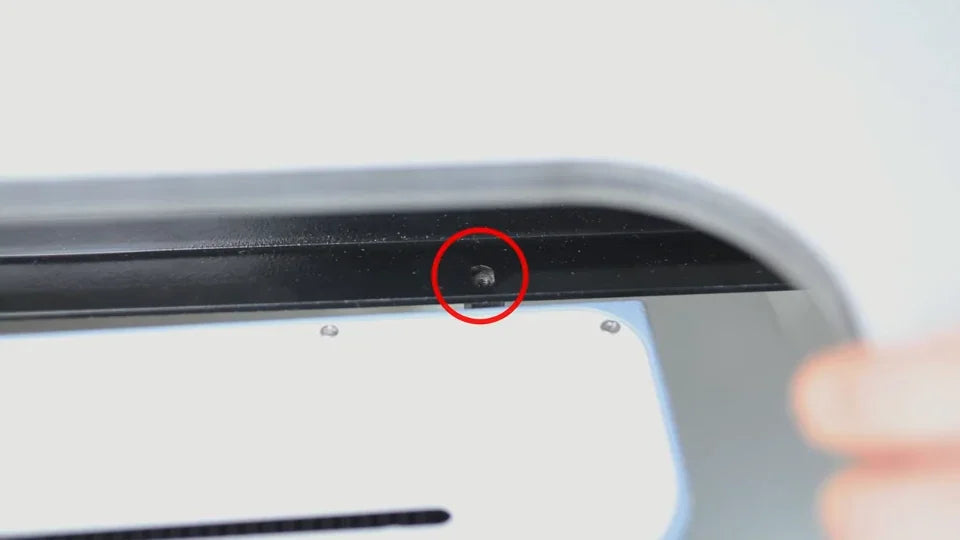
10. Insert all four machine mounting screws
Watch at 02:40Use the four screws shown for fastening the bracket flanges to the machine. Reach beneath the tabletop and start each screw by hand, down through a bracket hole into its matching mount. Check that all four have caught before tightening any fully.
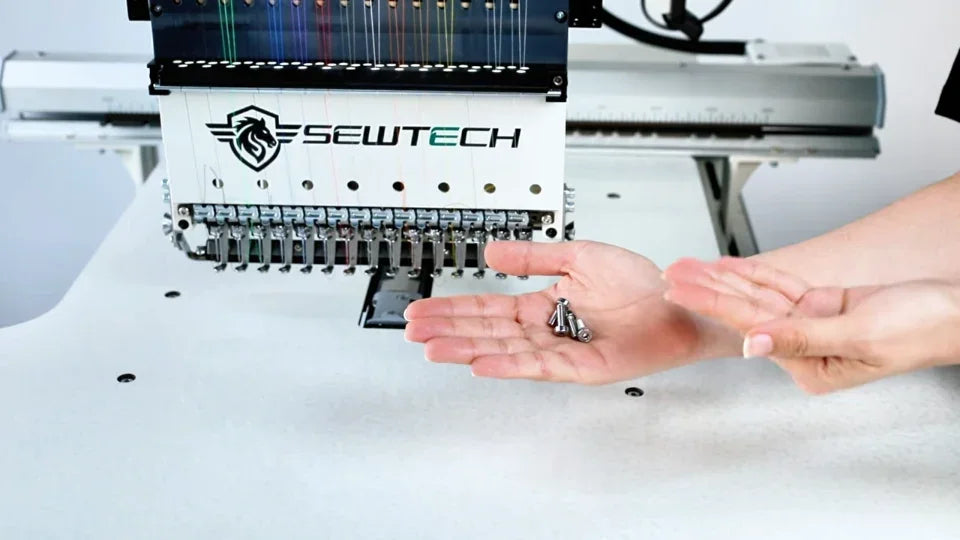
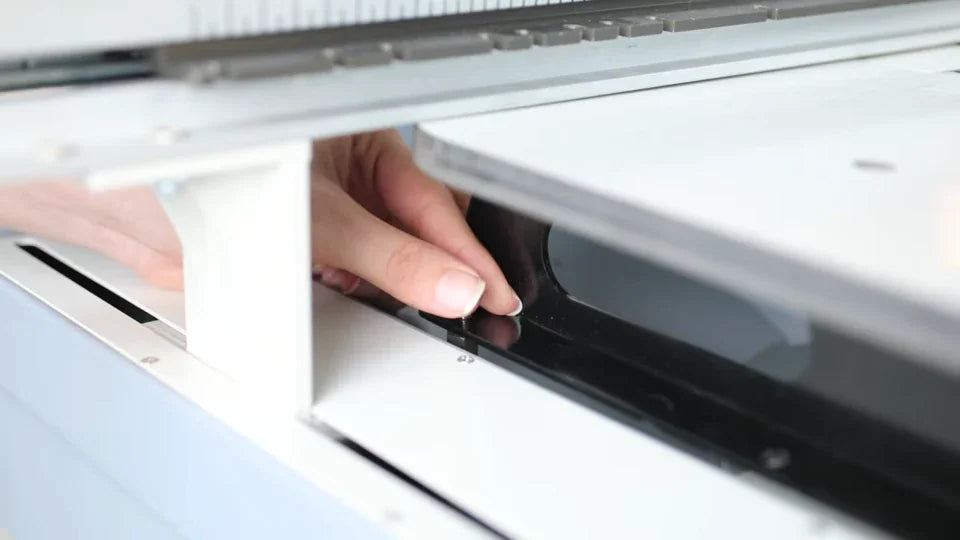
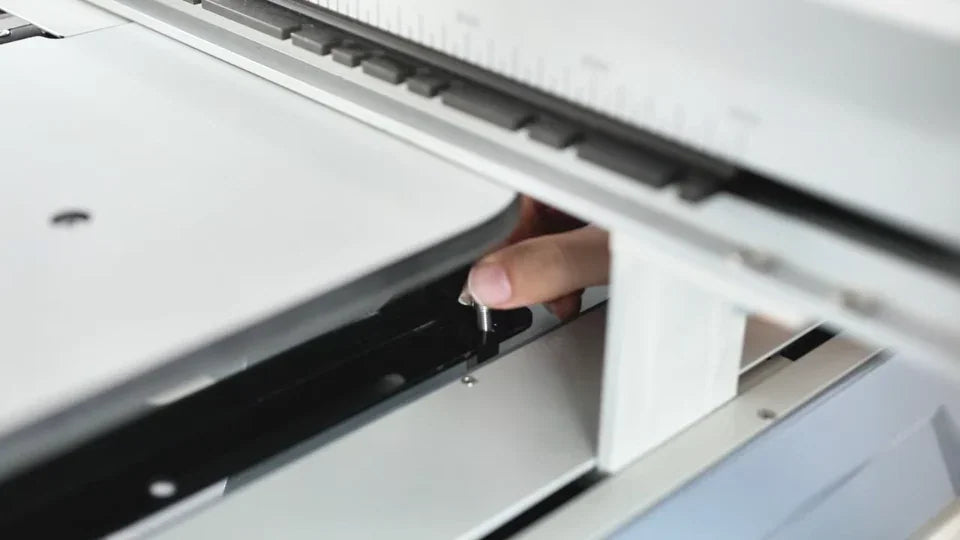
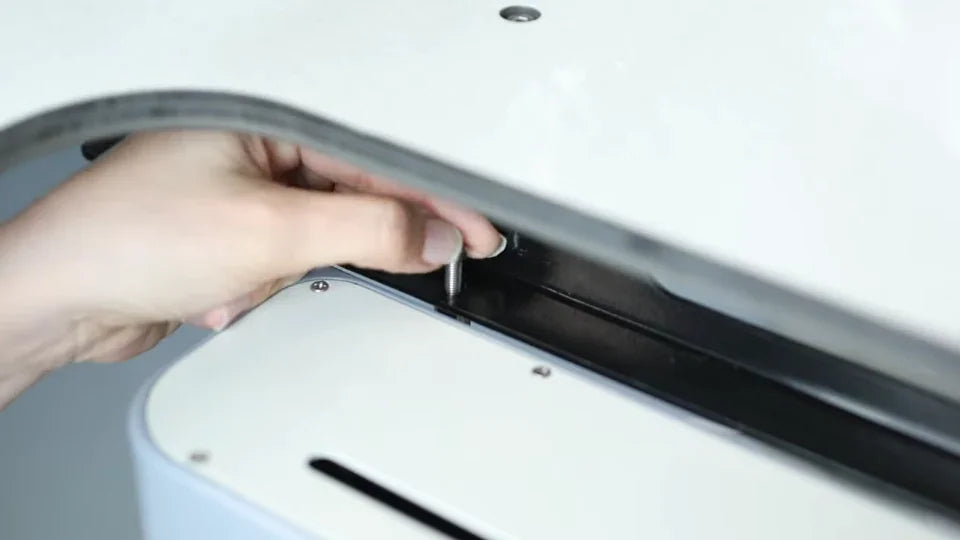
11. Tighten the four machine mounting screws
Watch at 03:06Once all four screws are in place, use the L-shaped hex key to tighten each one securely. Fit the short end into the screw where the tabletop limits overhead clearance. Reach under the tabletop to get to the inner screws, as shown.
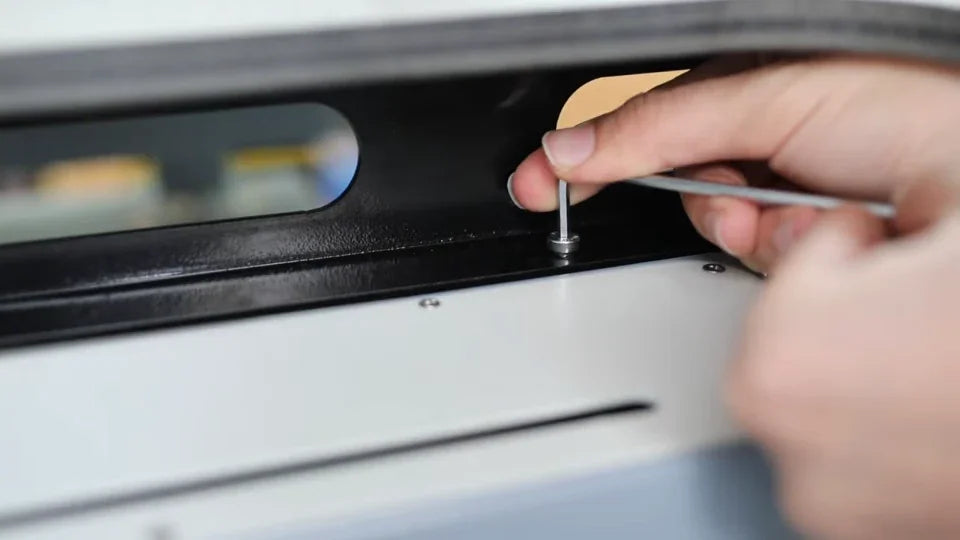
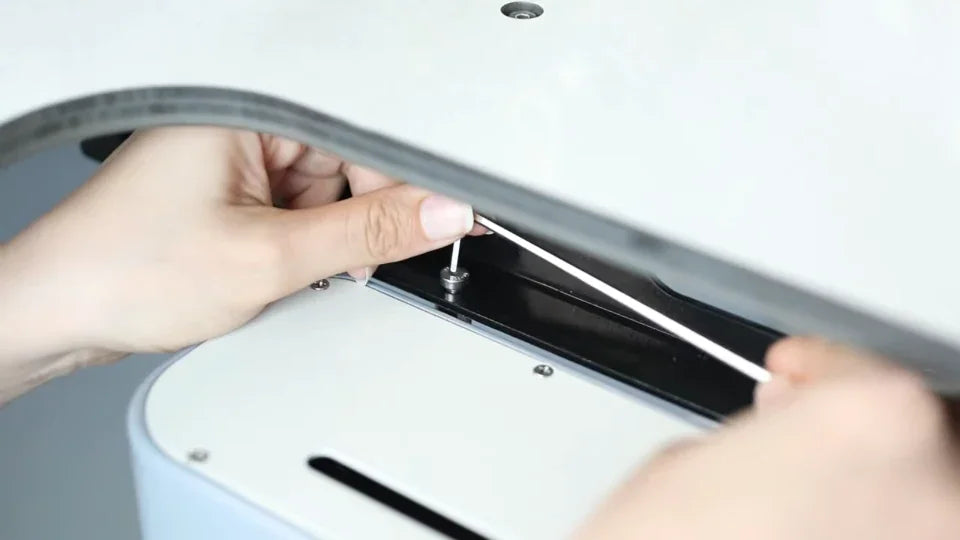
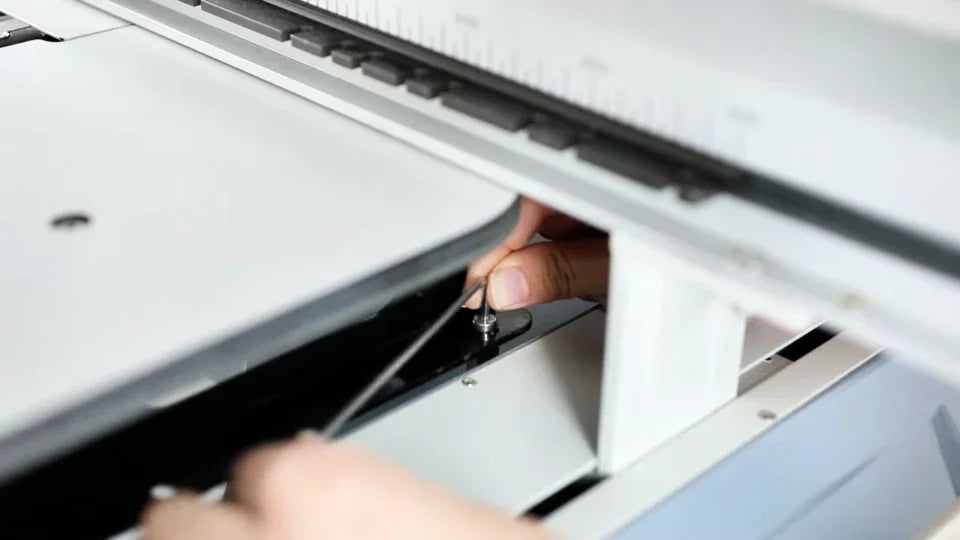
12. Check the installed table for movement
Watch at 03:22Confirm the table is seated with its surface slightly below the machine plates and all four mounting screws tight. With the machine stopped, lightly check the front edge for rocking. The video ends with a view of the installed tabletop and a spoken stability check.