SEWTECHSupport Center 简体中文

Flat Embroidery Demo with the 8 × 14 in Magnetic Sash Frame

Applies to ST-1201 / SC-1501 Demonstrated on ST-1201

Watch on YouTube ↗

Overview

This 46-second SEWTECH TV demo shows flat embroidery on the ST-1201. It uses the 8 × 14 in magnetic sash frame, with a 200 × 360 mm embroidery field. Have the frame base and magnetic bars, a flat fabric panel and backing ready. The clip starts at the flat table and cuts from the Start control to stitching already in progress.

Video highlights

1. Fit the sash frame to the carriage

Watch at 00:03

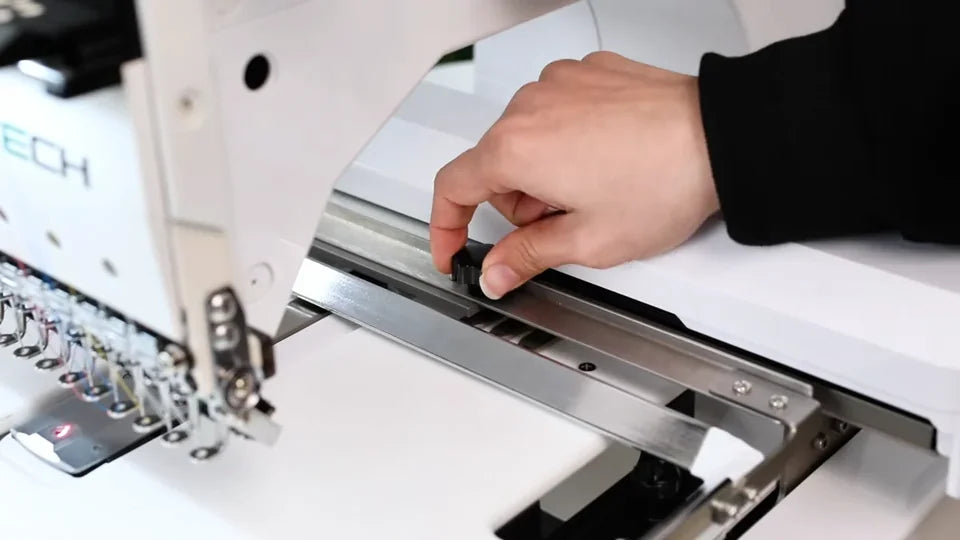
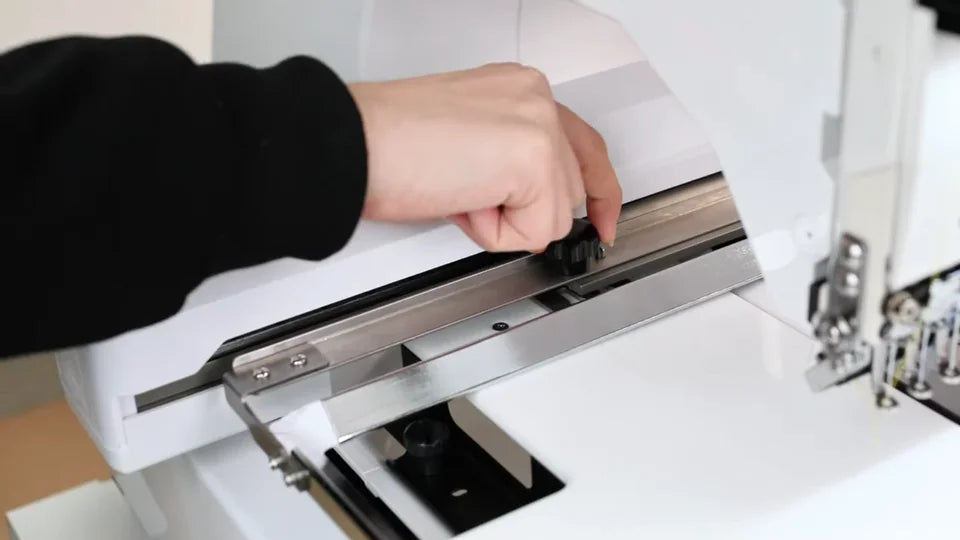
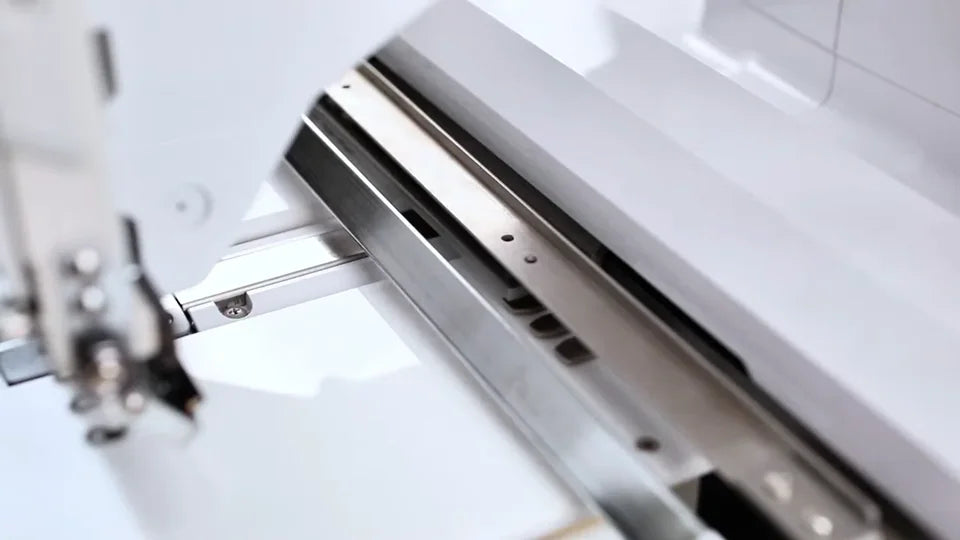
Set the rectangular metal base on the flat table and slide it back under the needle head. Line up the rear mounting tabs with the carriage rail, seat them against the rail, and turn the black hand knobs on both sides to secure the frame. The base sits flat on the table when seated.
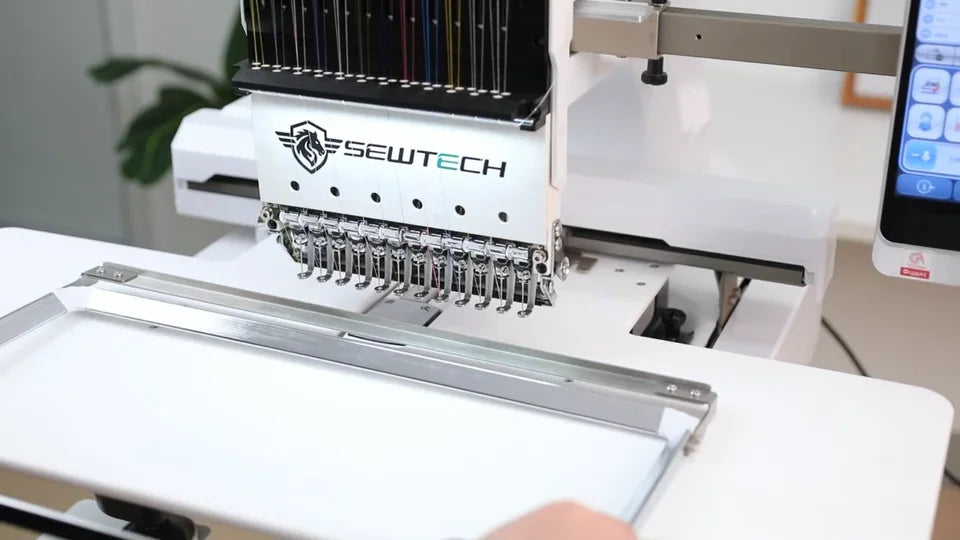
Slide the rectangular base across the flat table with its mounting edge toward the carriage.
The metal mounting tab sits against the carriage rail behind the needle head.
Turn the black hand knob on this side of the rail.
Secure the other side of the rail with its hand knob.

2. Lay the backing and fabric flat

Watch at 00:07

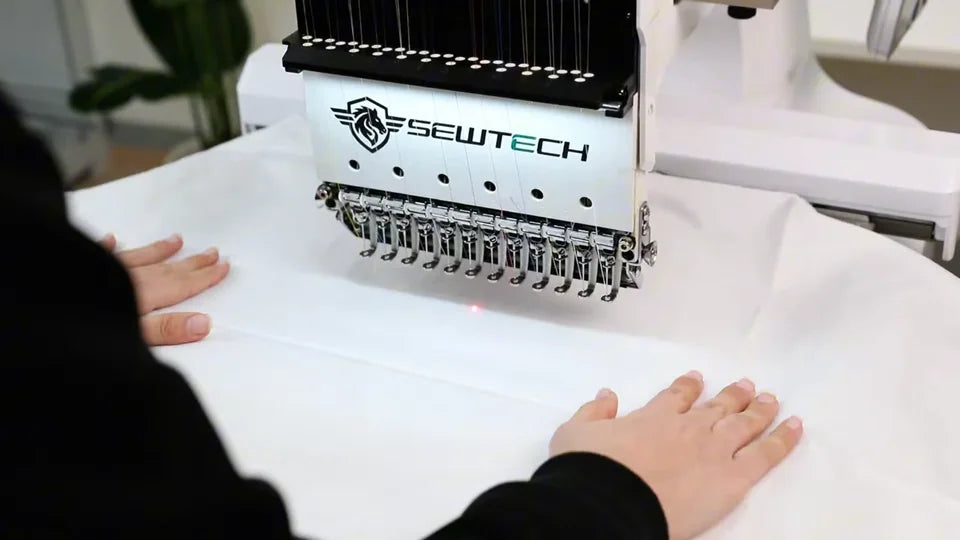
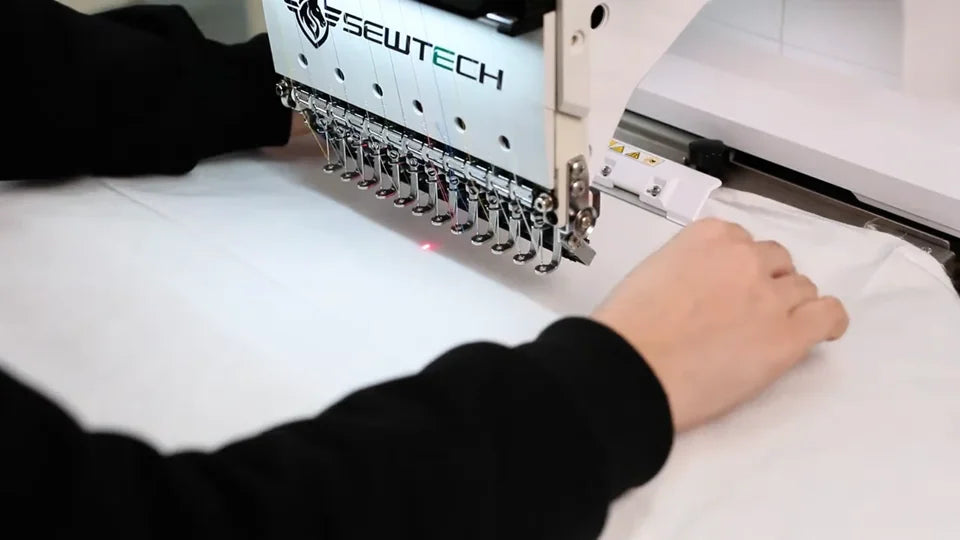
Spread the white backing sheet over the opening first. Lay the white face fabric over it and smooth the stitch area with both hands. Leave enough material to reach past the frame edges so the magnetic bars can grip the layers.
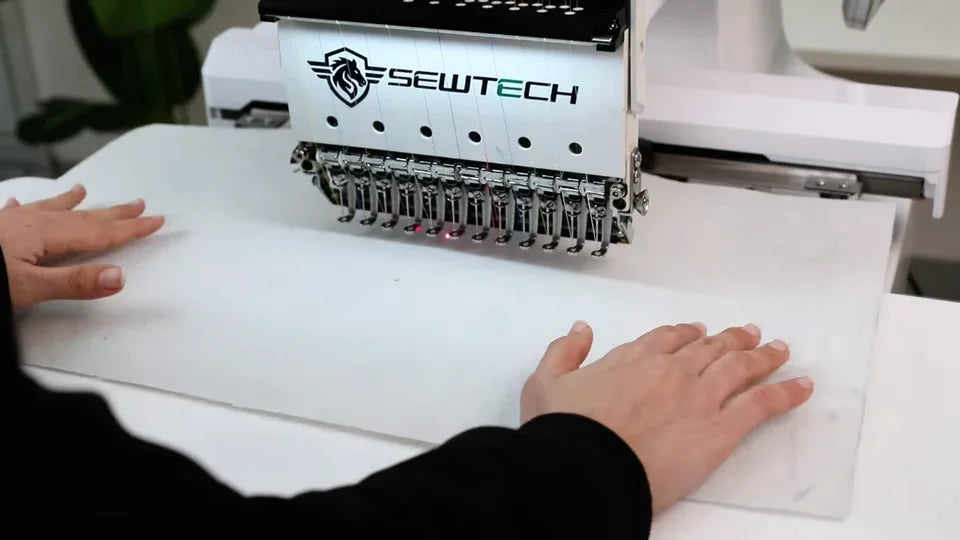
Both hands smooth the first white layer over the frame opening.
The white face fabric covers the backing and extends beyond the frame.

3. Clip the magnetic bars onto the long edges

Watch at 00:10

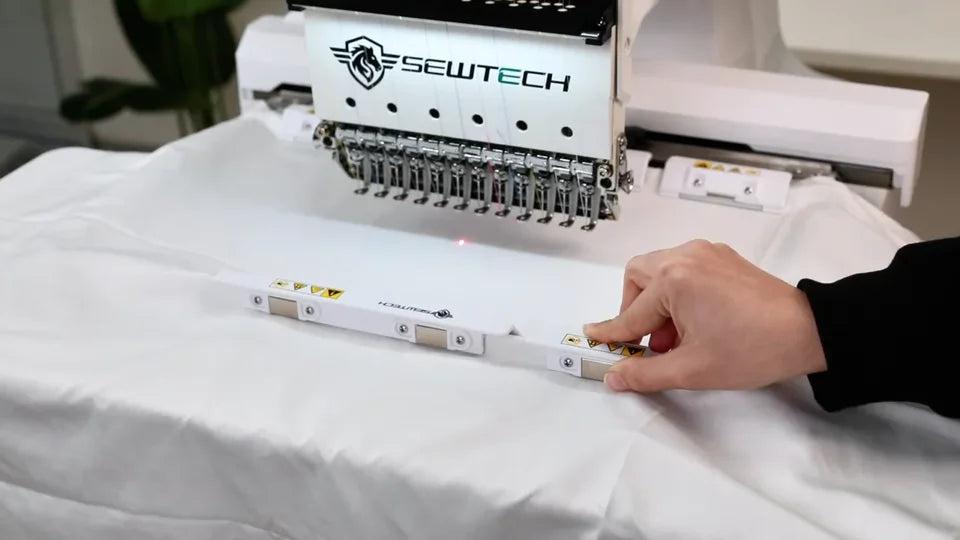
Set the first white magnetic bar onto the rear long edge behind the needle head. Hold the front bar at both ends, line it up with the front metal edge and lower it onto the fabric. Seat the remaining magnetic pieces along the long edges, keeping the middle of the panel smooth as they snap down.
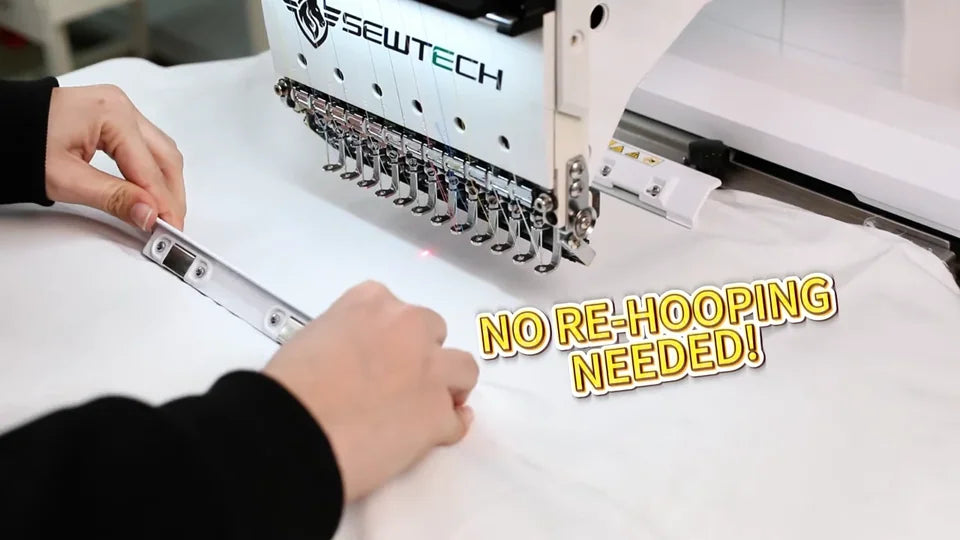
The first white magnetic piece is seated on the rear edge behind the needle head.
Hold the front bar by both ends and line it up over the front edge before lowering it.
The front long edge is held by several magnetic pieces. The hand seats the right-hand piece.

4. Secure the two short edges

Watch at 00:17

Place a side bar on the left short edge, then lower the matching bar onto the right. Check that the bars sit along all four edges and the area inside the frame lies flat. The red positioning light is visible on the white fabric under the head.
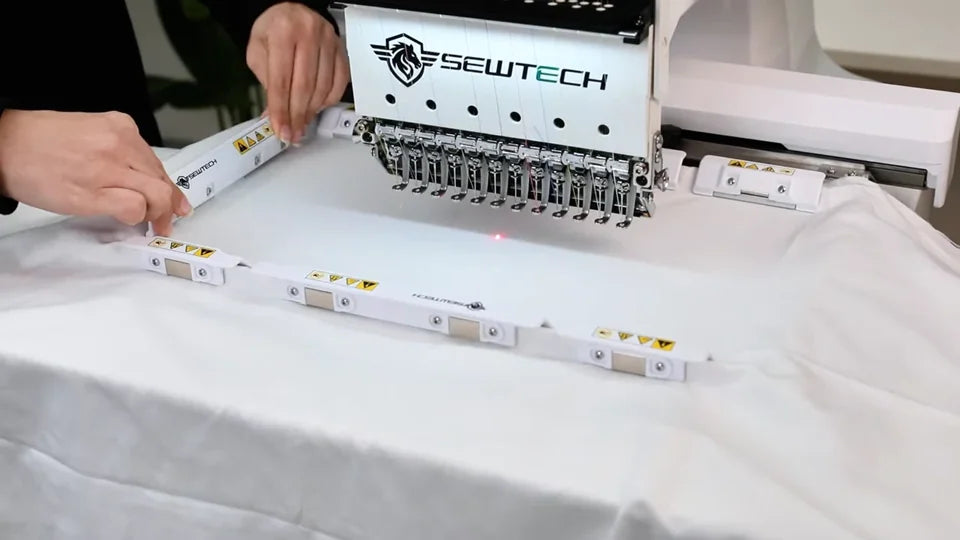
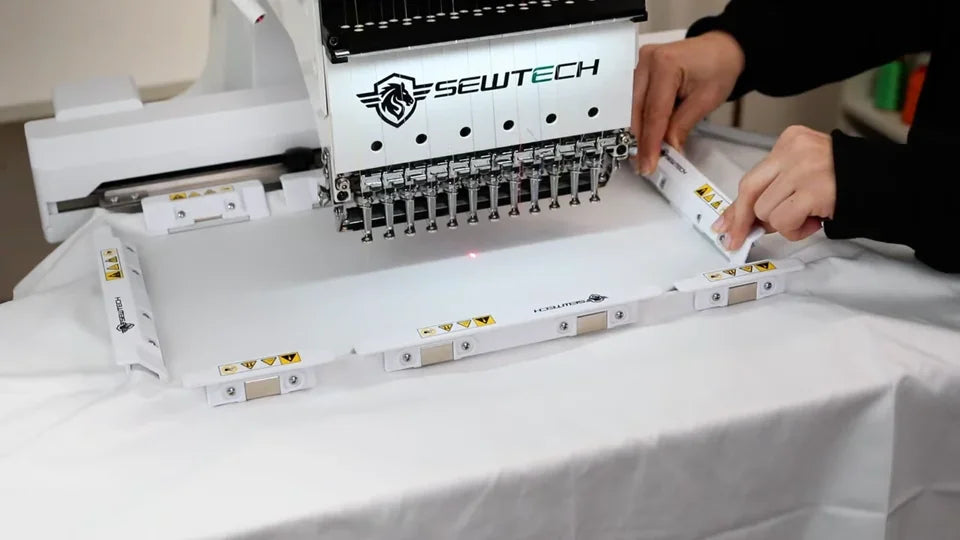
The operator aligns the left side bar with the short edge.
The right side bar goes on last, completing the hold around the fabric.

5. Start from the embroidery screen

Watch at 00:18

The floral design is already visible on the ST-1201 touchscreen. Press the blue-ringed physical Start button below the screen, to the left of the pink-ringed button. The next shot shows the design already stitching inside the frame.
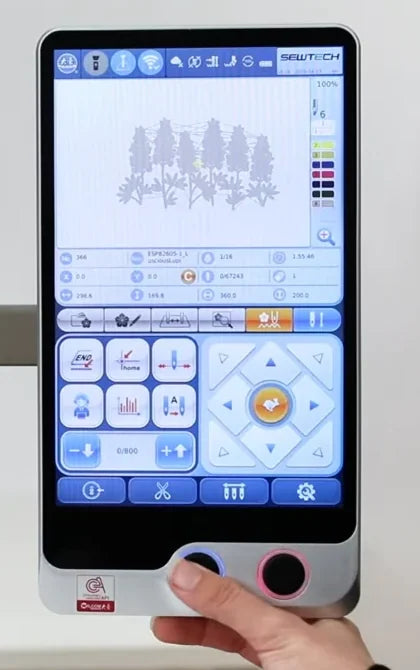
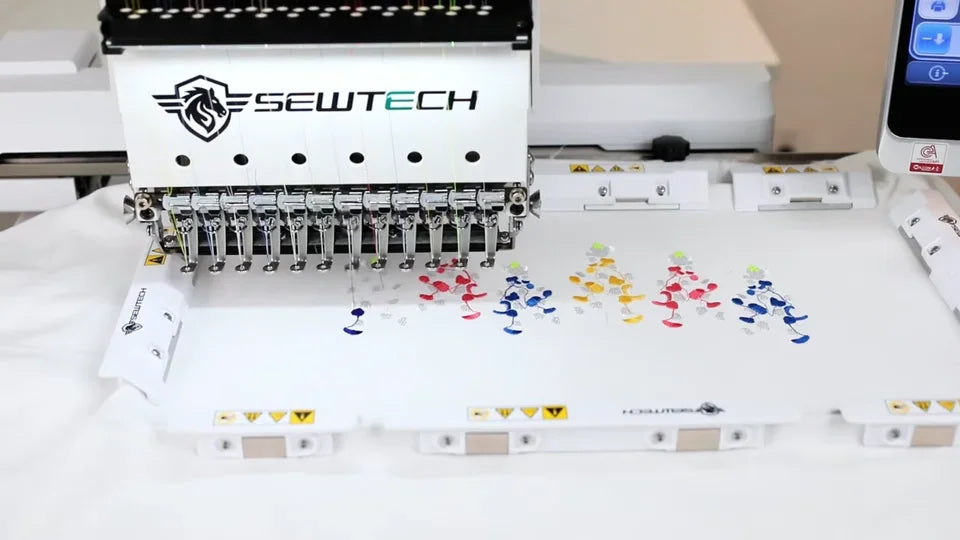
The operator presses the blue-ringed Start button below the floral preview.
After the cut, early colored stitches are visible between the magnetic bars.

6. Watch the frame move as the design fills in

Watch at 00:21

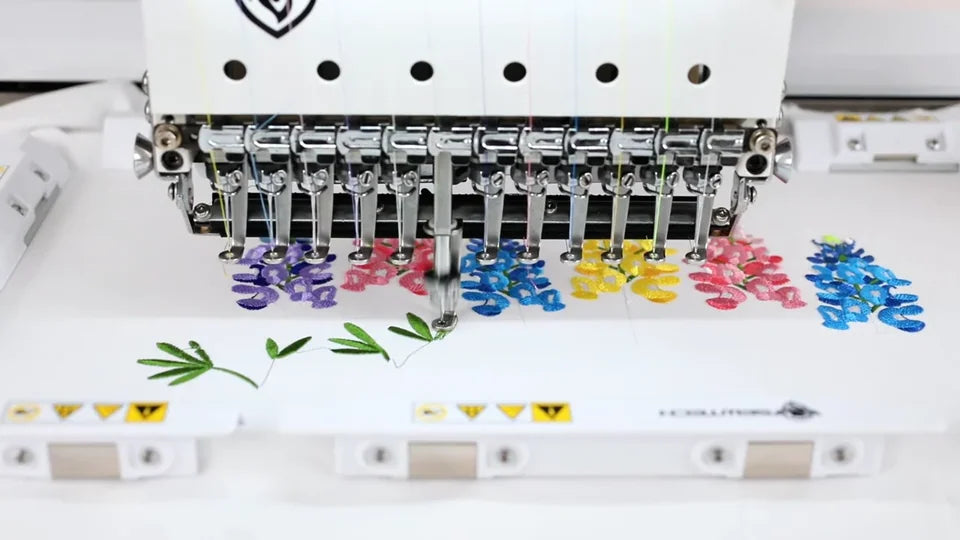
Watch the carriage move the clamped fabric beneath the active needle. The close-ups show separate colored stitch areas filling in and green stems and leaves appearing below the flowers. The fabric stays flat across the opening as it moves with the sash frame.
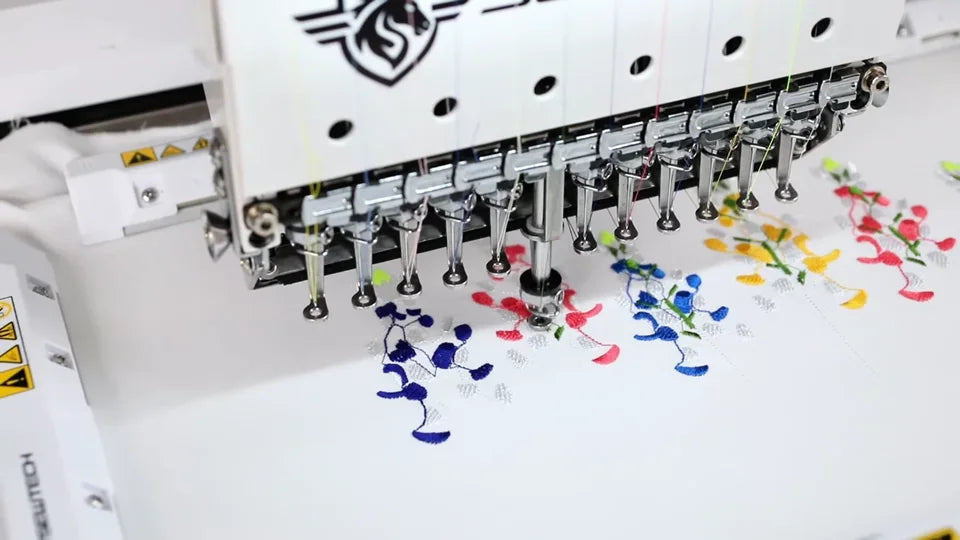
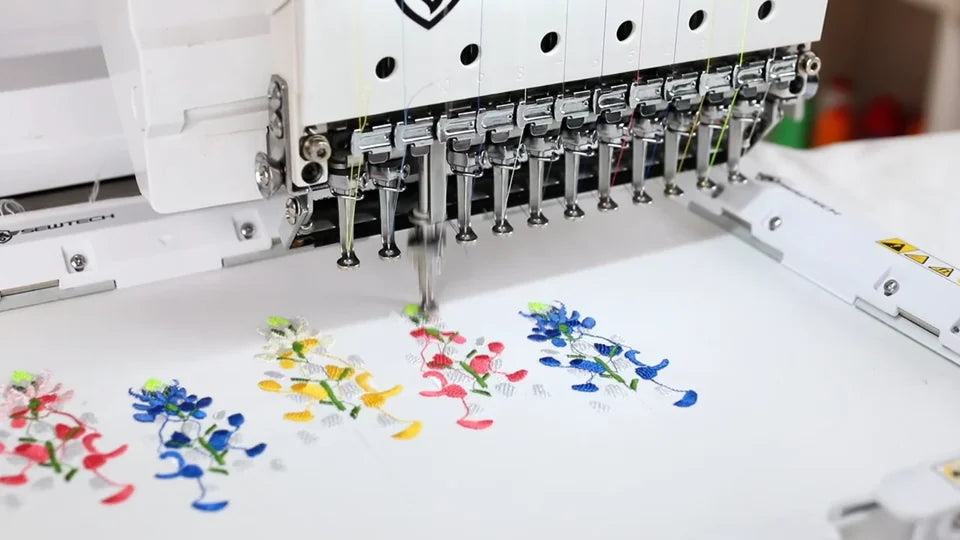
The needle works inside the left edge of the sash frame as the colored stitch areas fill in.
The carriage has shifted another part of the design under the active needle.
The green stems and leaves extend below the colored flower heads.

7. Check the on-screen progress

Watch at 00:36

The touchscreen close-up shows the floral preview in color as stitching progresses. Compare it with the next shot of the framed fabric, where the same row of flowers and part of the green detail are visible.
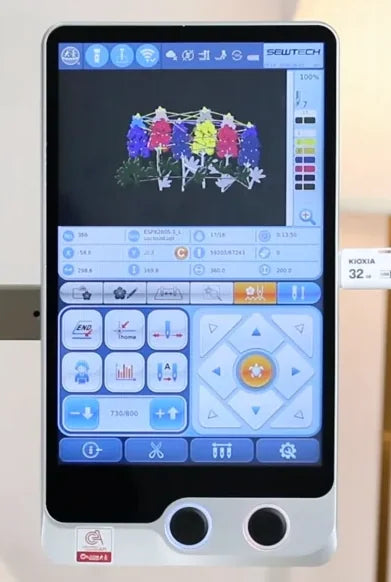
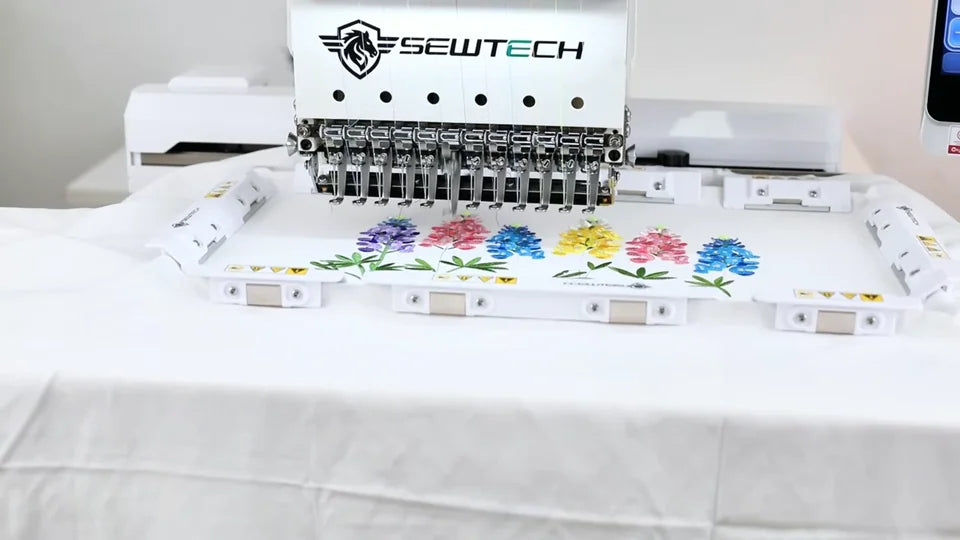
The color preview shows the flower heads and partly filled stem and leaf areas.
The camera returns to the fabric, still clamped in the sash frame.

8. Inspect the finished floral design

Watch at 00:44

The final close-up shows six flower heads in purple, pink, blue and yellow above green stems and leaves. Look across the whole row to see how the finished motif sits flat on the white panel while it is still in the frame.
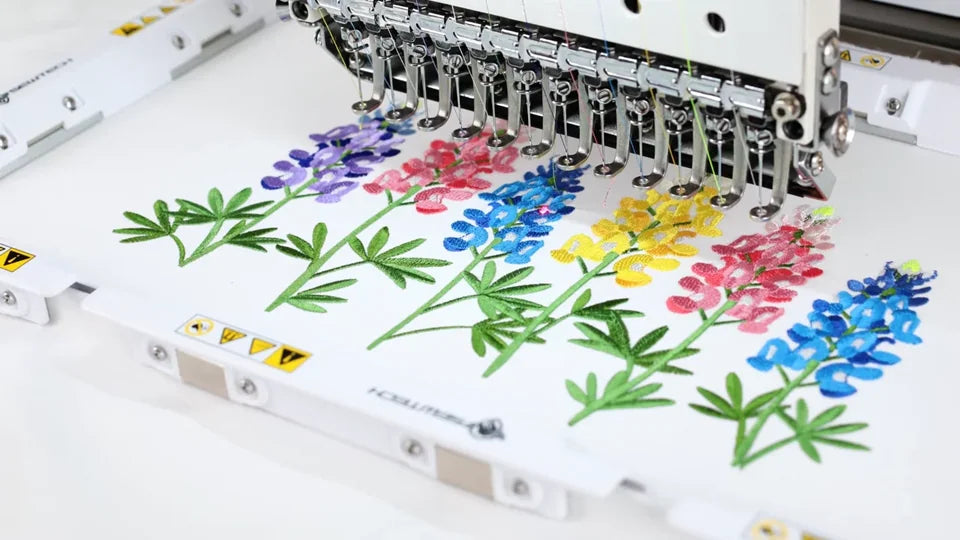
The full row of six flowers and green stems is visible in the final close-up.