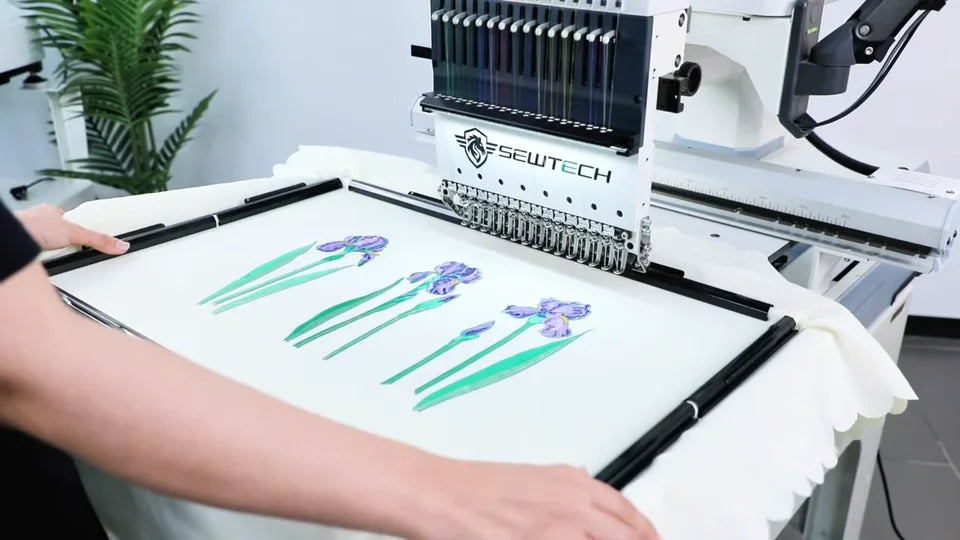
SEWTECHSupport Center 简体中文

Set Up Flat Embroidery on the ST-1501

Applies to ST-1501

Watch on YouTube ↗

Overview

Set up the flat table and a clip-on aluminum frame on the SEWTECH ST-1501. The demo shows how to mount the fabric securely, check the bobbin, set the design and frame on the controller, then trace the stitch area before running the machine.

Step-by-step guide

1. Gather the flat-table parts

Watch at 00:15

Set out the tabletop, two support brackets, mounting screws and a screwdriver or driver that fits the supplied hardware. Set the tabletop on a stable work surface where you can reach both sides of its center slot.
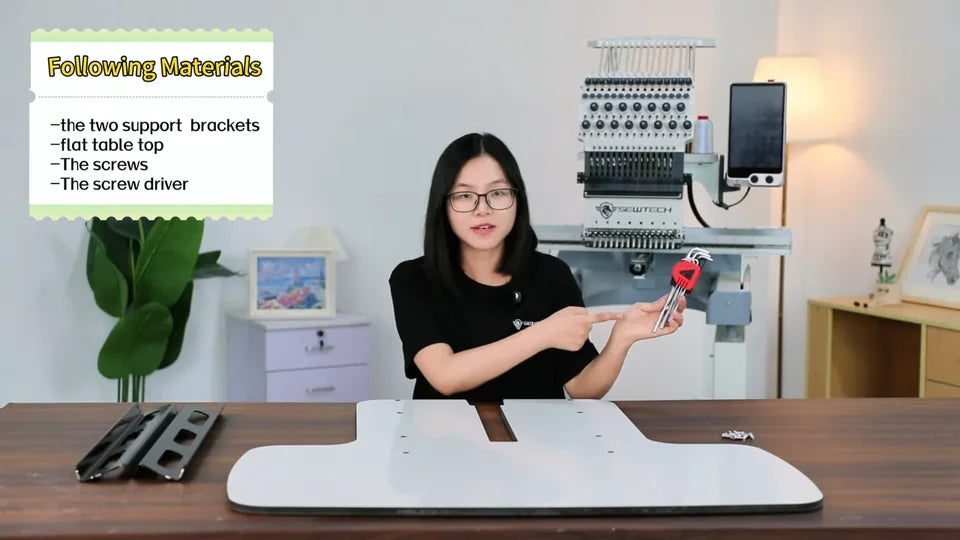
The tabletop and two black support brackets are laid out with the screws and driver.

2. Align the two brackets with the tabletop

Watch at 00:28

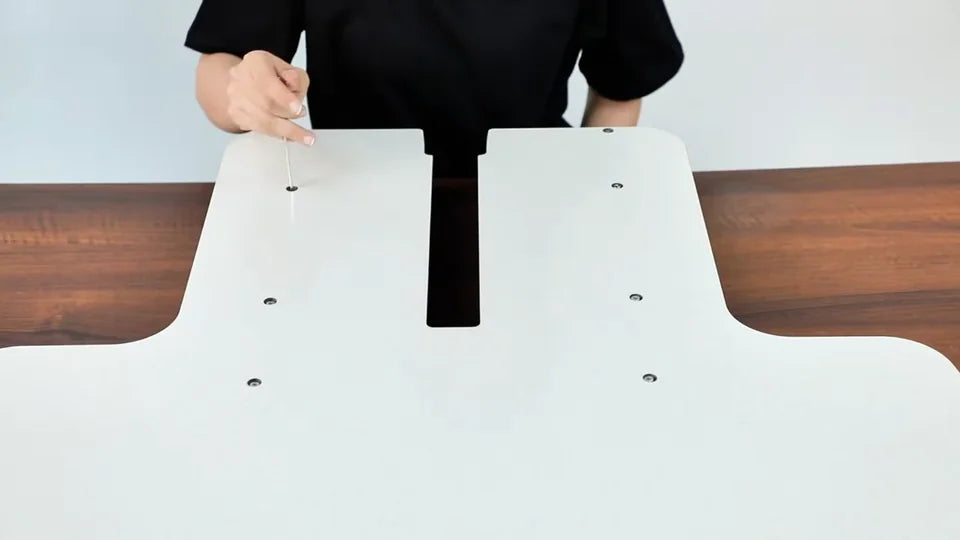
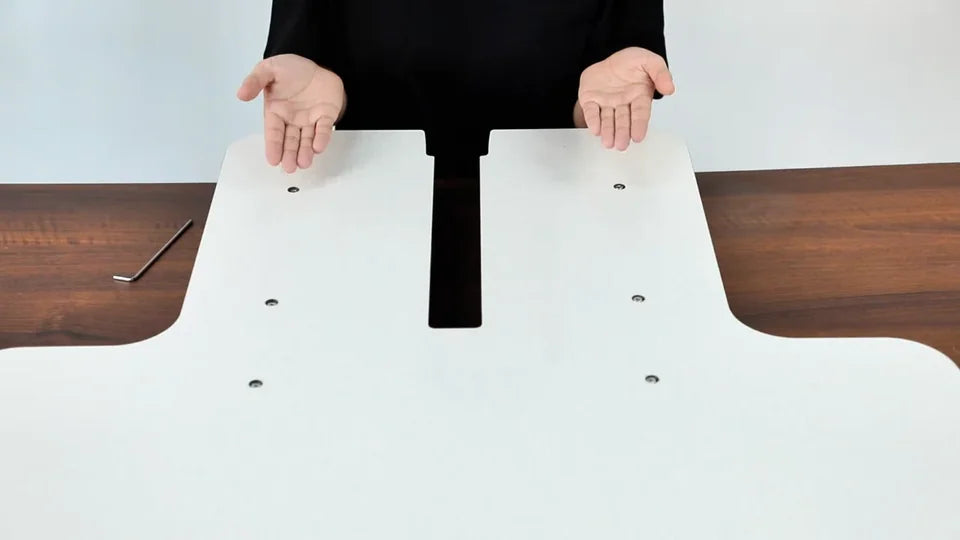
Locate the eight tabletop holes, four on either side of the center slot. Match the holes in each bracket to its row of tabletop holes. Place both brackets beneath the tabletop with the lower mounting flanges facing outward, as shown.
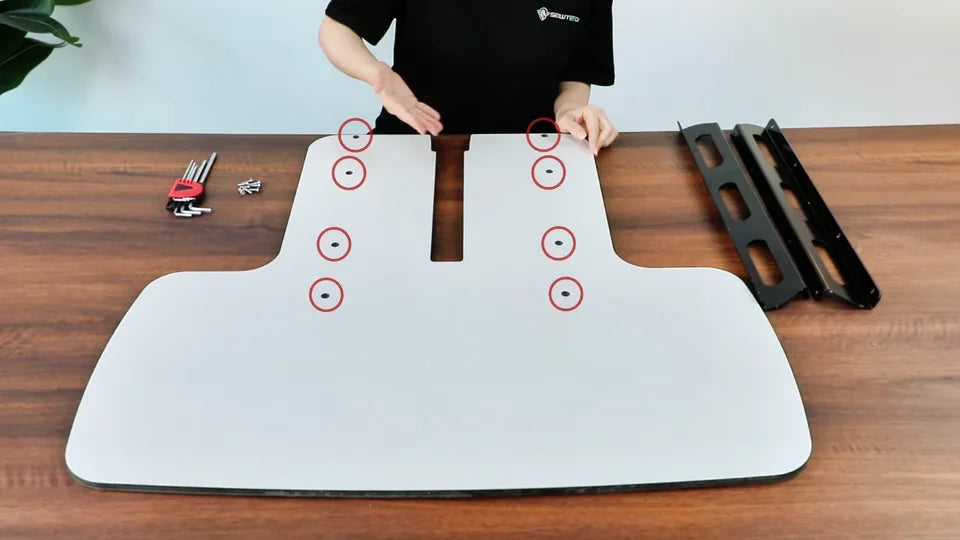
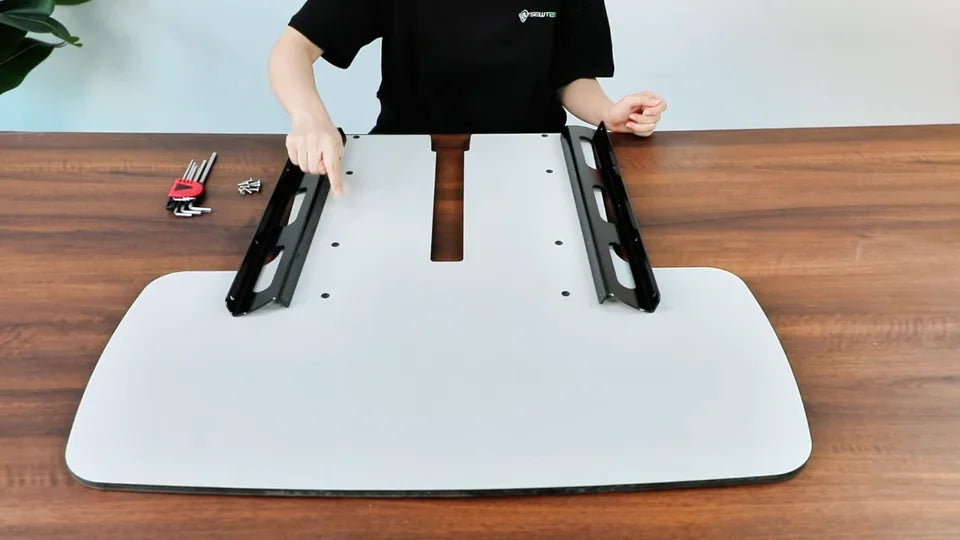
The circles identify the two rows of four holes beside the center slot.
The brackets are laid on top briefly to show which holes line up.
The side view shows the bracket under the tabletop and its lower flange pointing outward.

3. Start all tabletop screws before tightening

Watch at 01:07

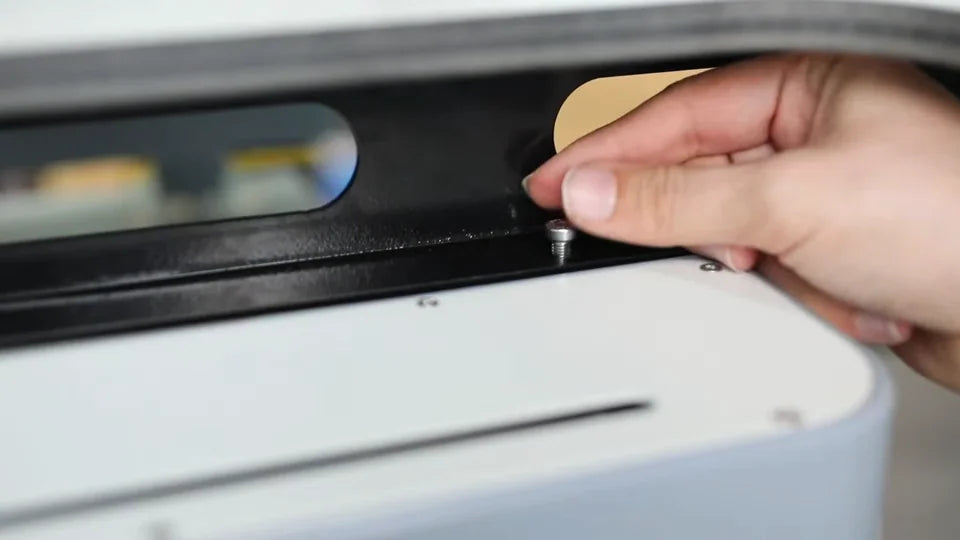
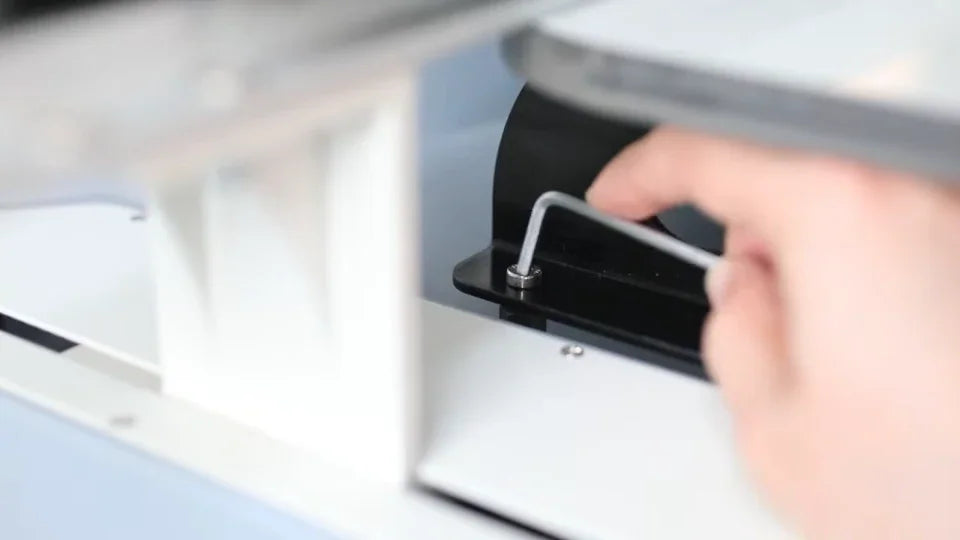
Insert the screws from the top of the tabletop into the brackets. Start each one loosely so the holes can still line up. Once all eight screws are in place, go back and tighten them securely. The demo uses an L-shaped hex key on these screws.
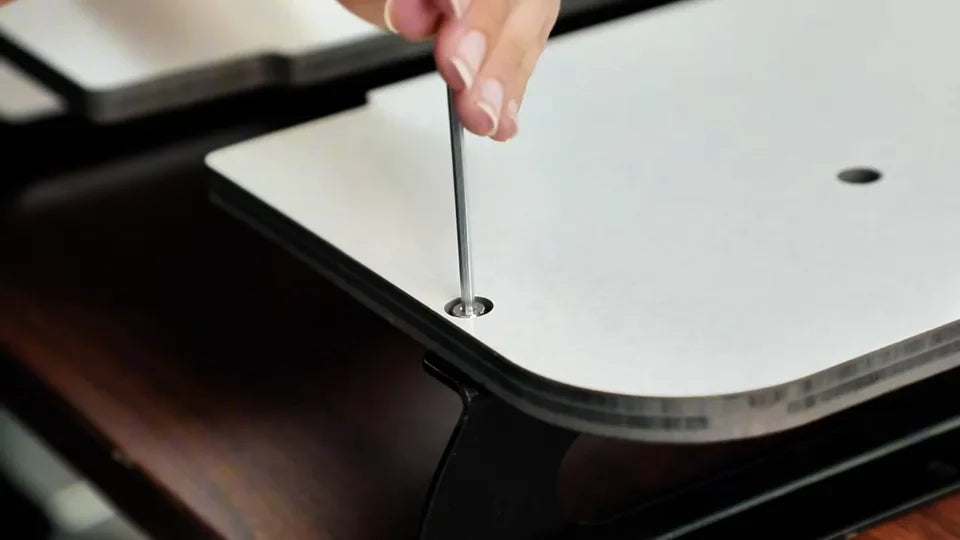
Start the screw through the tabletop into the bracket below.
All eight screws are in place before the final tightening pass.
Tighten the screws on both sides of the slot with the hex key.

4. Set the tabletop below the machine plates

Watch at 01:46

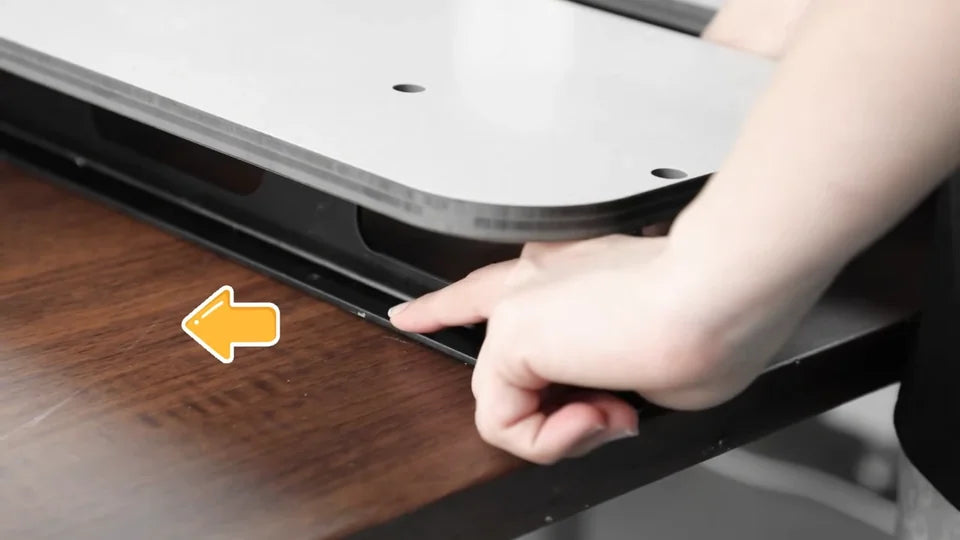
Bring the assembled table up to the machine and guide the slotted end into place from the front. The table surface should sit slightly below the adjacent metal plates on the machine. Use the side and close-up views to check that height before fastening the table.
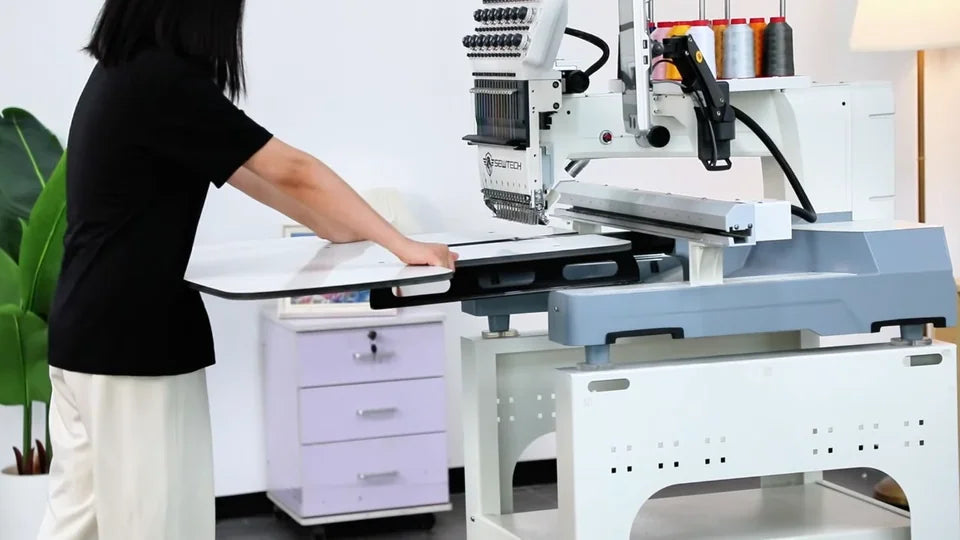
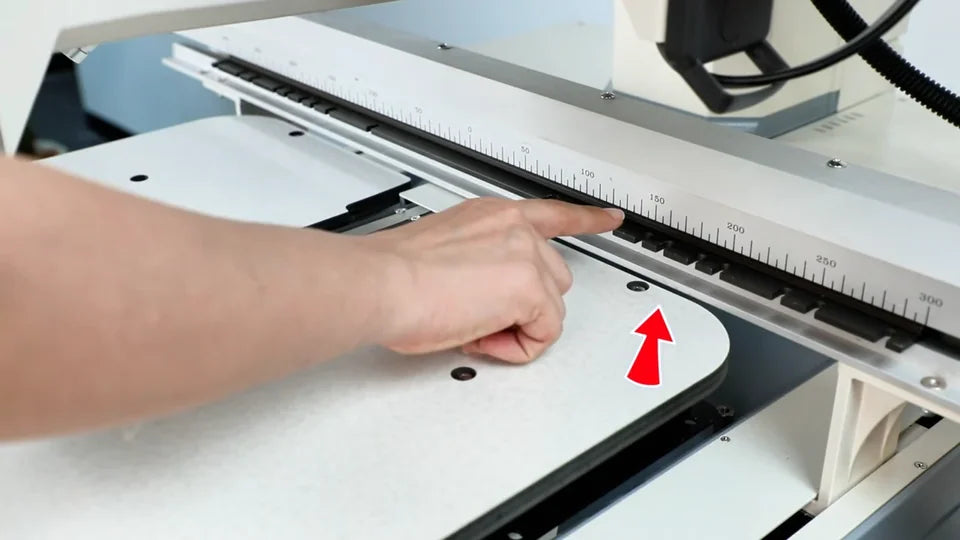
The slotted end slides toward the machine while the operator supports the free end.
The red arrow points to the gap just above the tabletop, under the metal plate.

5. Fasten the table at all four machine points

Watch at 02:05

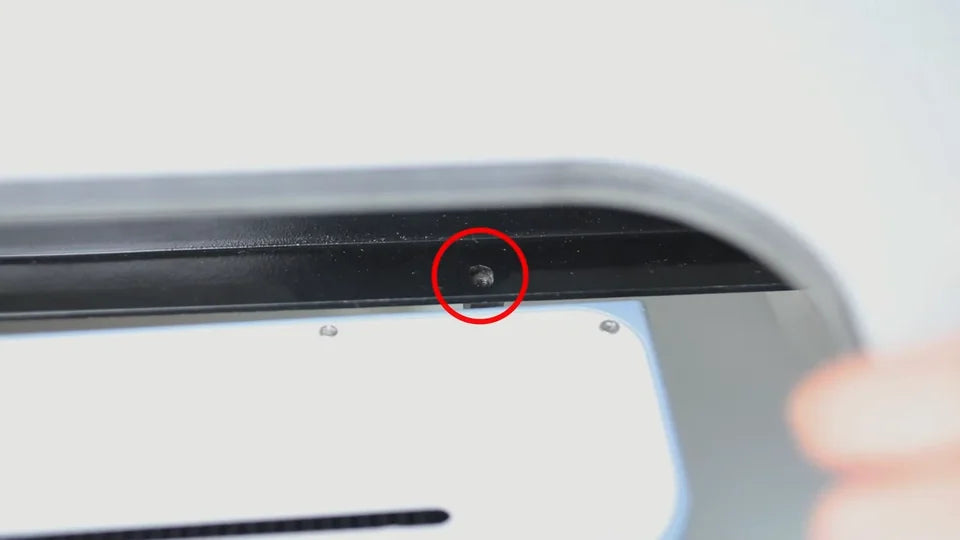
Look below the tabletop and align the lower holes in the two brackets with the four corresponding points on the machine, two per side. Start all four machine-mounting screws, then tighten them. Gently check the table for movement before loading the frame.
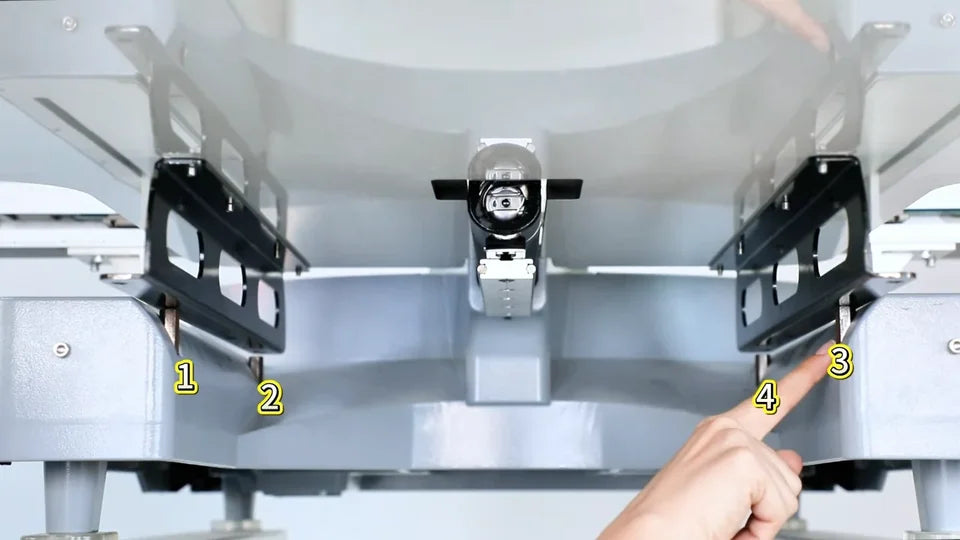
The underside view numbers the four points where the brackets meet the machine.
The circled hole on the bracket lines up with the machine mounting point.
Start the mounting screws through the black bracket flanges.
With all four screws in place, tighten the bracket-to-machine fasteners.

6. Layer the stabilizer and fabric

Watch at 03:30

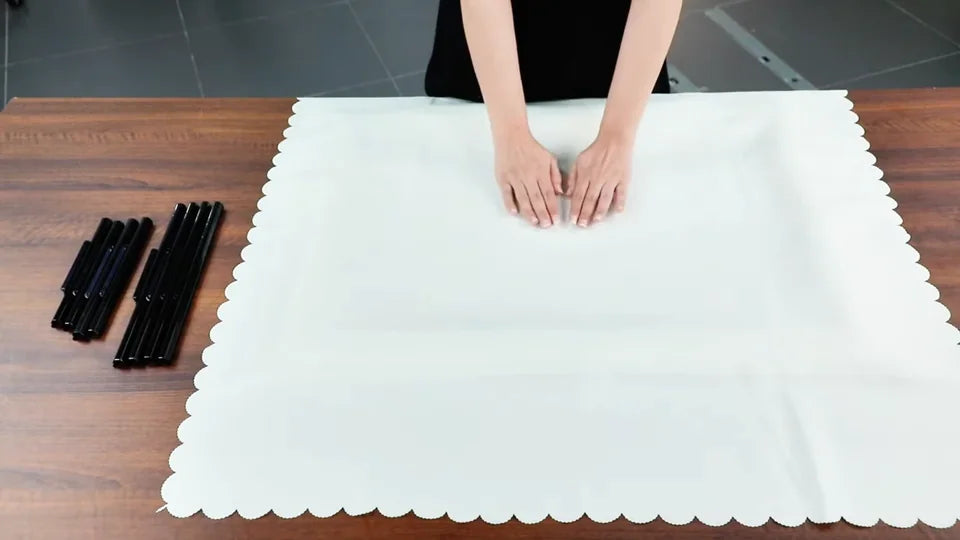
Set the aluminum frame on a clean, flat surface. Have the frame clips and a screwdriver ready for the next operations. Lay the stabilizer over the frame first, then lay the fabric on top in the orientation you want to embroider. Both layers should cover the stitch area and reach the edges where the clips will grip. Smooth out wrinkles with your hands.
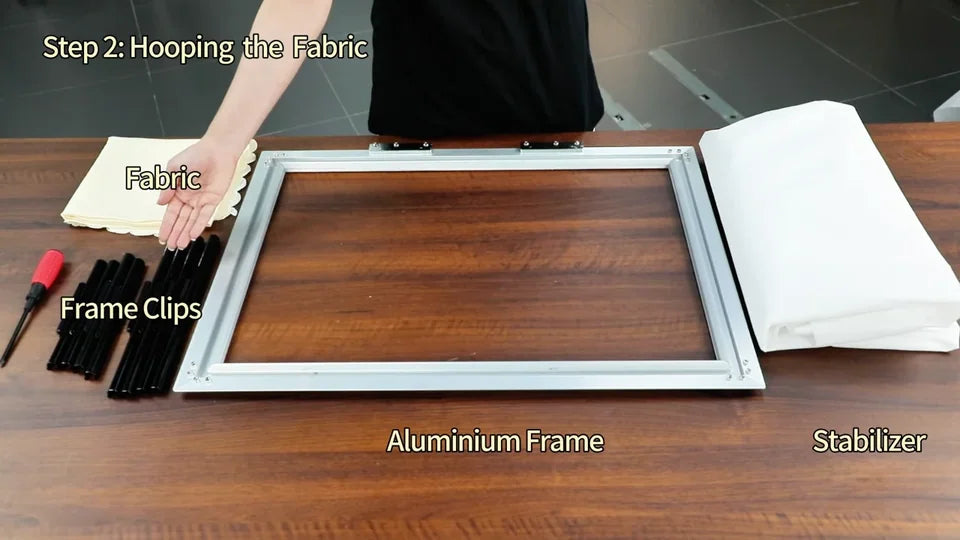
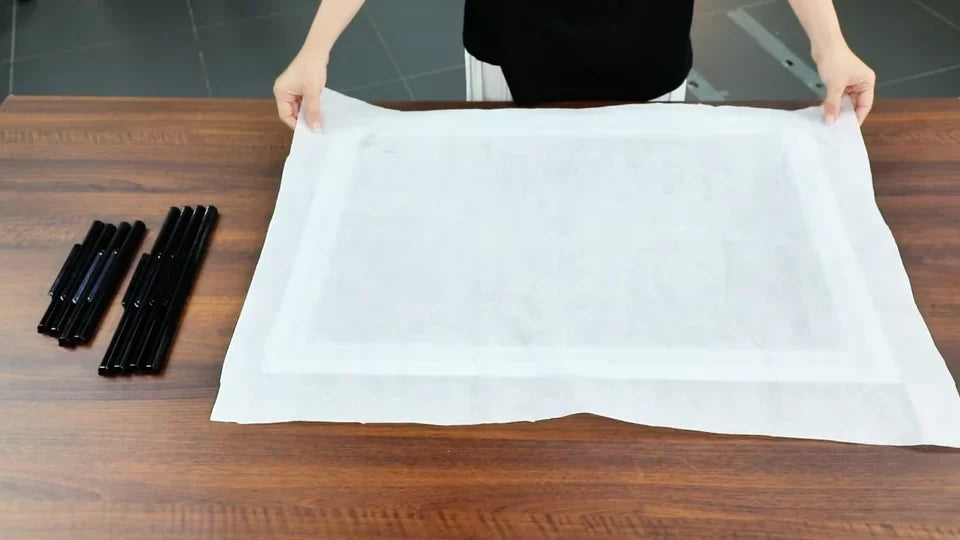
The frame, backing, fabric and four sides’ worth of clips are ready on the bench.
The stabilizer goes directly over the empty frame.
The fabric covers the backing and is smoothed by hand.

7. Clip all four sides and check tension

Watch at 04:03

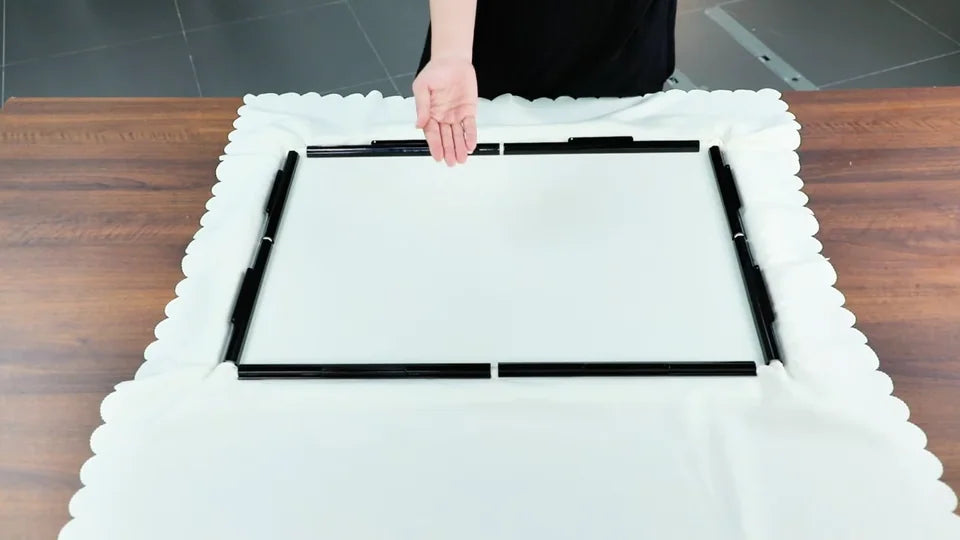
Press the frame clips over the fabric and stabilizer along the rails. The demo secures one long edge, then its opposite edge, then turns the frame to reach the remaining sides. Space the clips evenly. Check that both layers are held firmly and the stitch area is flat, without pulling the fabric so tight that it stretches.
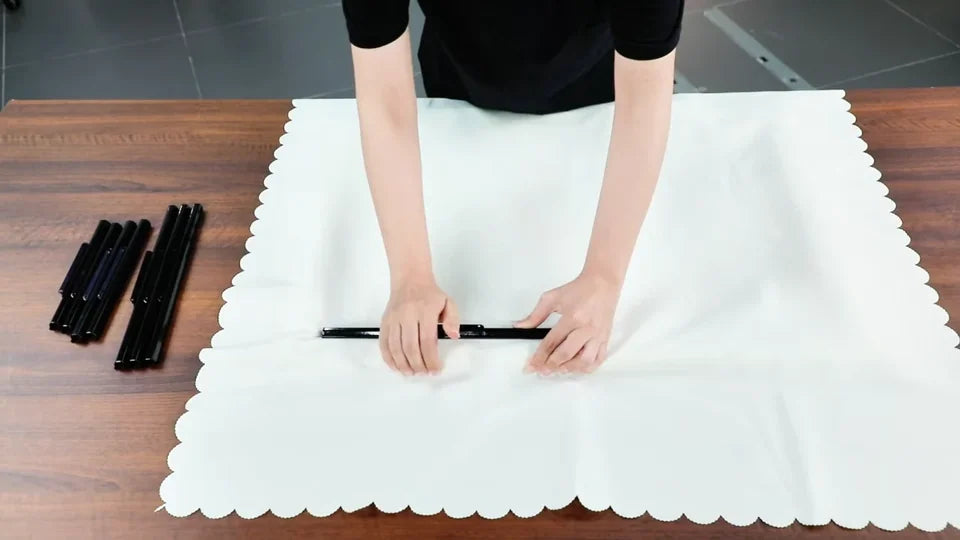
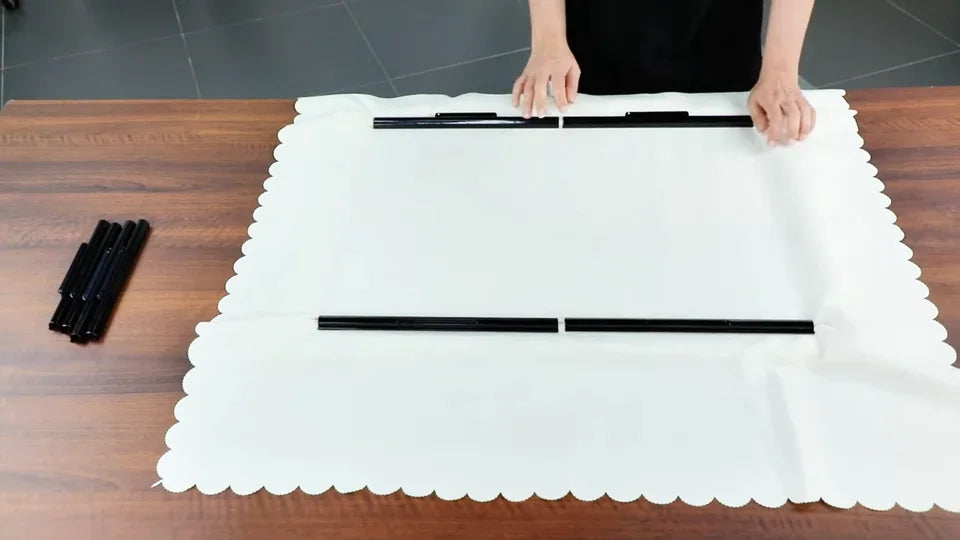
Press the first clip down over both layers on the frame rail.
The opposite long edges are clipped before the frame is turned.
Clips hold all four edges and the center lies flat.

8. Support the loaded frame on the flat table

Watch at 04:43

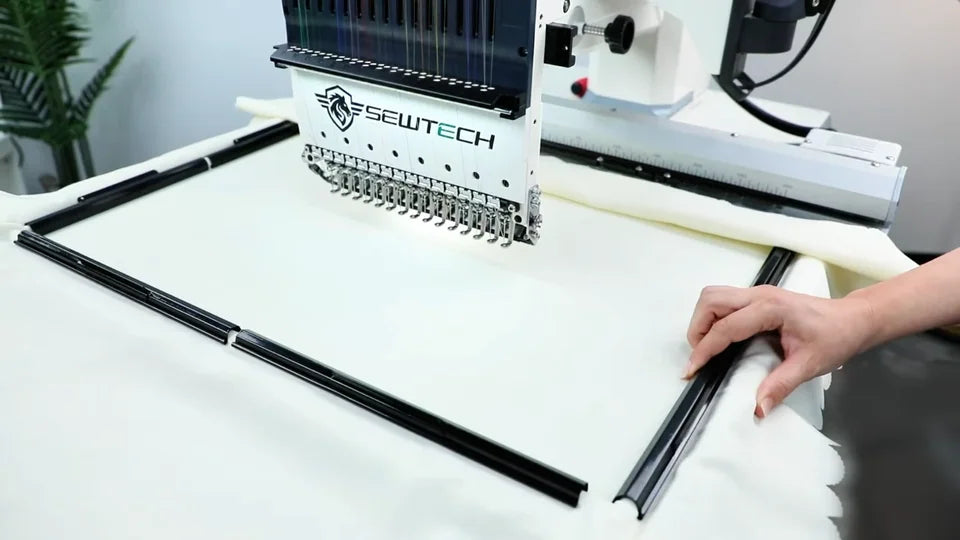
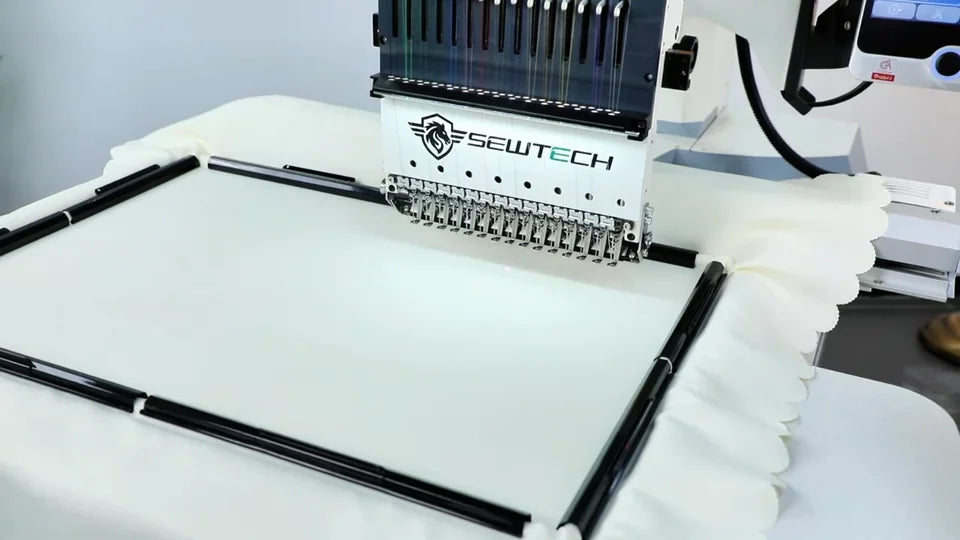
Hold the frame with both hands and place it flat on the table under the head. Gather loose fabric away from the head, the frame holders and the moving parts so it cannot catch as you slide the frame into place.
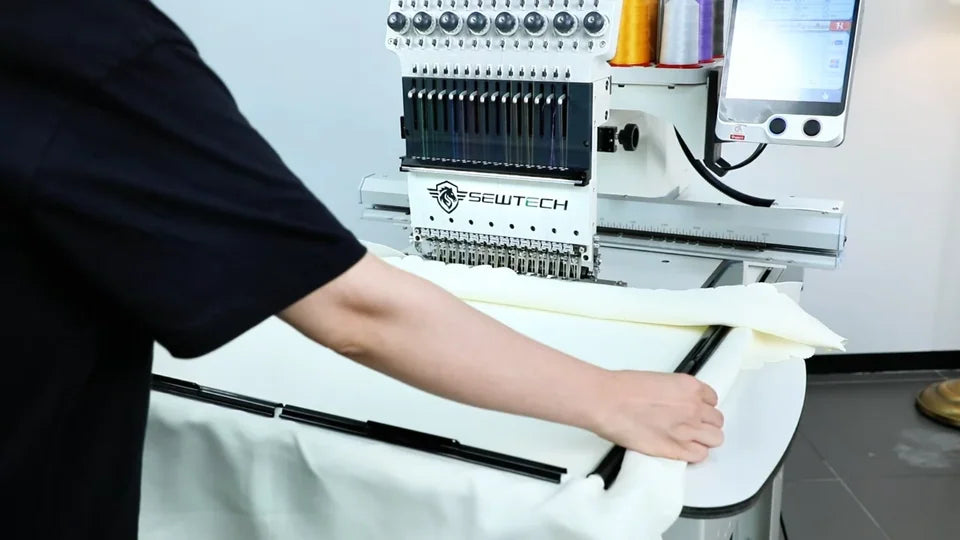
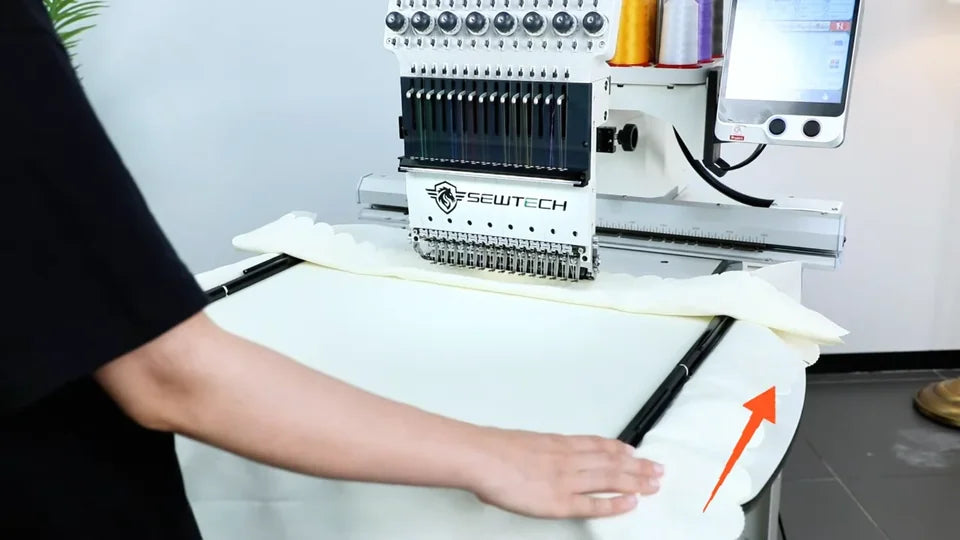
Both hands support the aluminum frame as it comes onto the table.
Keep loose edges clear as the frame moves toward the machine.

9. Slide the connectors into place and lock both sides

Watch at 05:00

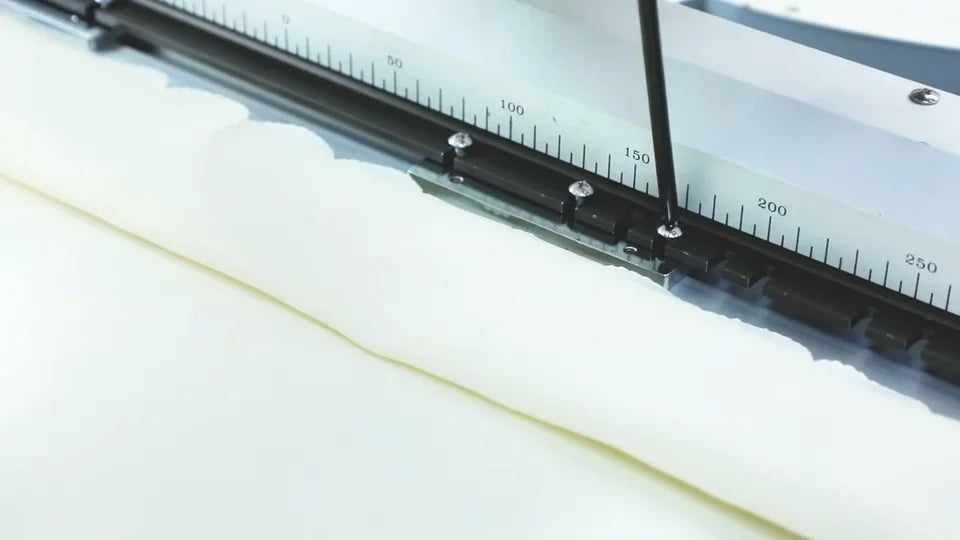
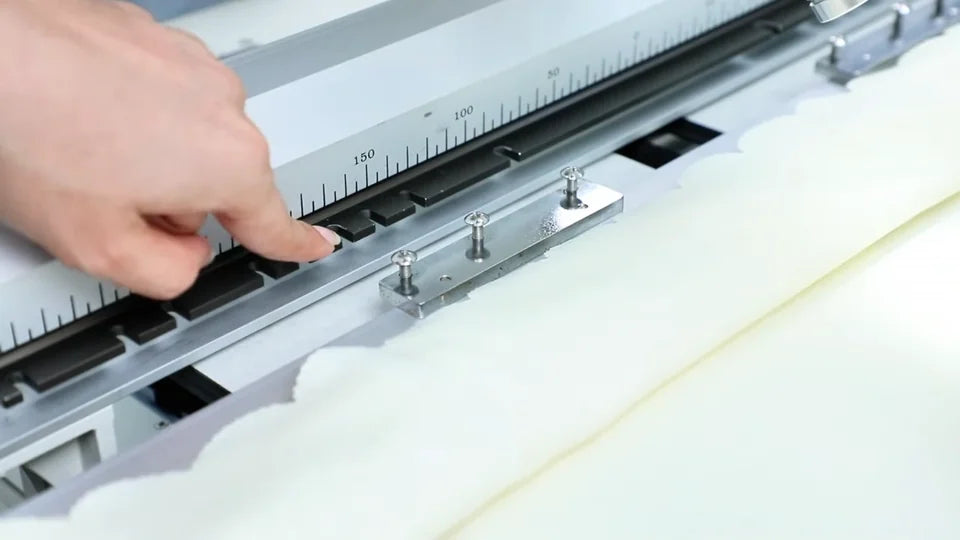
Use a screwdriver to loosen the frame-holder screws on both sides of the marked carriage rail. Line up the frame’s connector plates with the holder openings and slide the frame into position. Tighten the screws on both sides, then gently check that the mounted frame has no play.
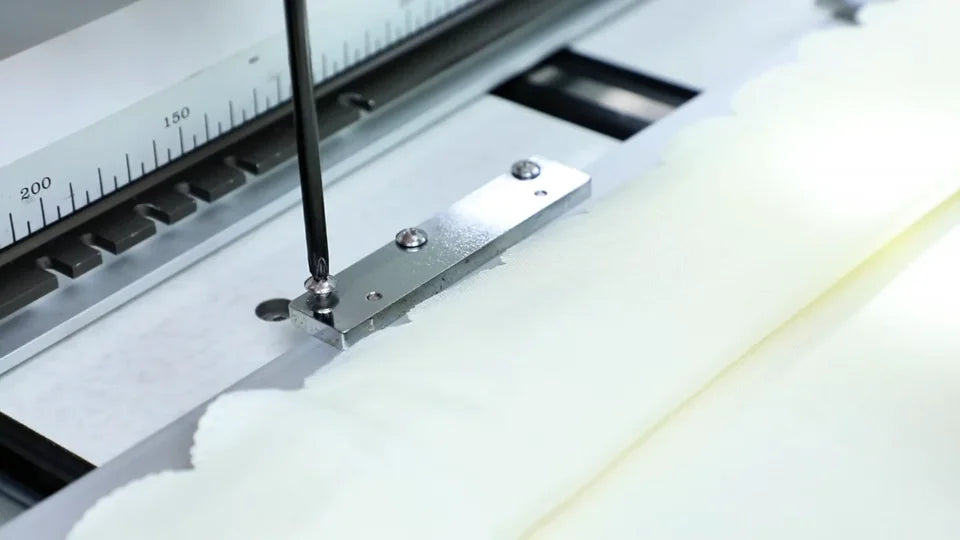
Loosen the frame screws at the carriage rail so the connector can slide into place.
The operator points to the connector plate and matching opening beside the numbered rail.
Tighten the seated connection and repeat on the other side.
Gently check the frame at the side after both connections are tight.

10. Check the bobbin before stitching

Watch at 05:41

With the machine stopped, open the bobbin compartment under the needle head and remove the bobbin case by its latch. Check that there is enough thread for the design. Replace a low bobbin with a full one, seat the case until it locks in place and close the compartment.
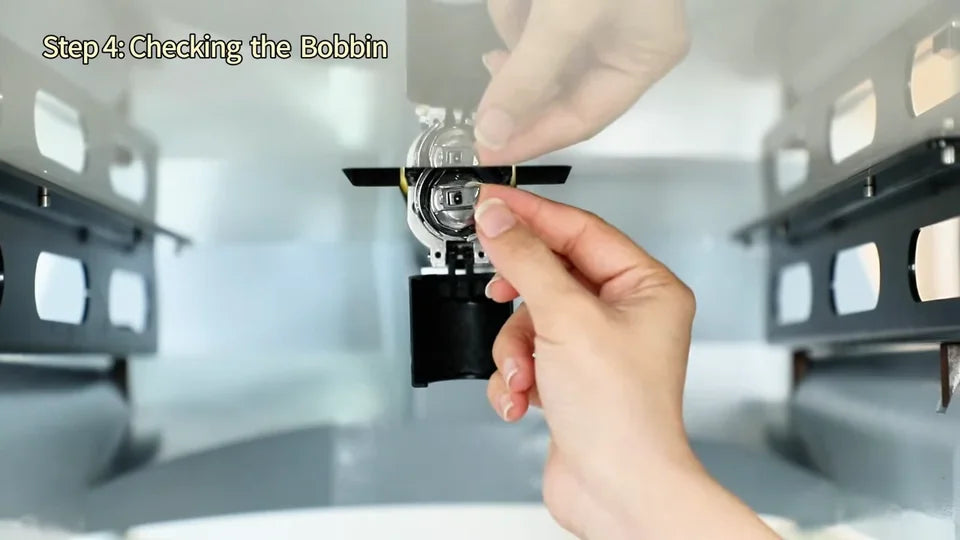
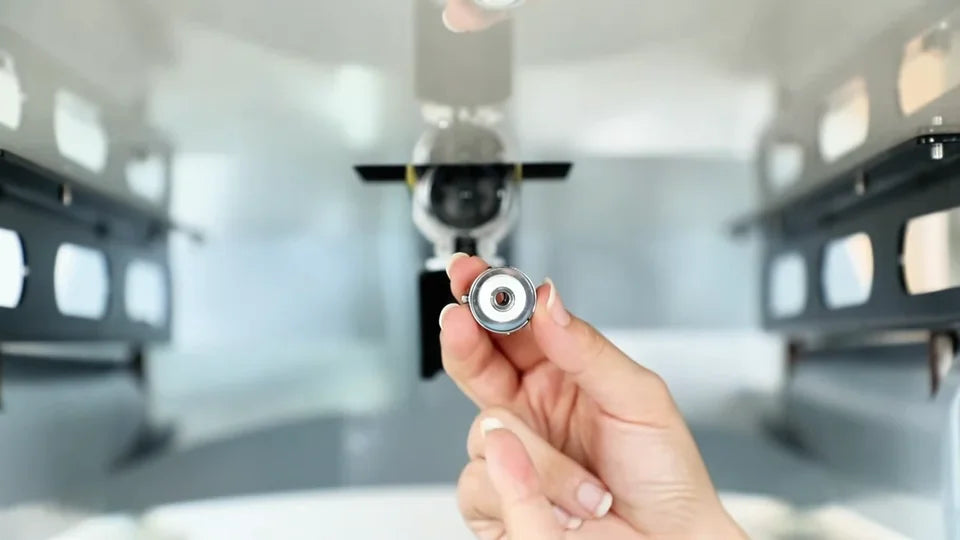
The bobbin case sits behind the small cover below the needles.
Check how much thread remains on the bobbin in the case.
Seat the bobbin case securely, then close the cover.

11. Select the design in File Management

Watch at 06:07

On the controller, open the first tab in the row beneath the preview to view File Management. Use the on-screen page arrows to find your design and tap its thumbnail. The iris thumbnail in the last column is the demo selection. Open the second tab to see the selected design in the preview.
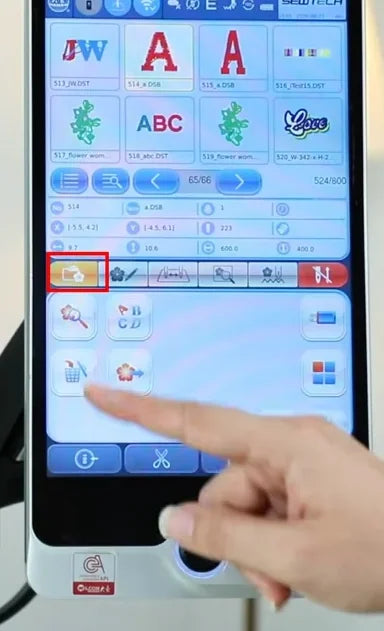
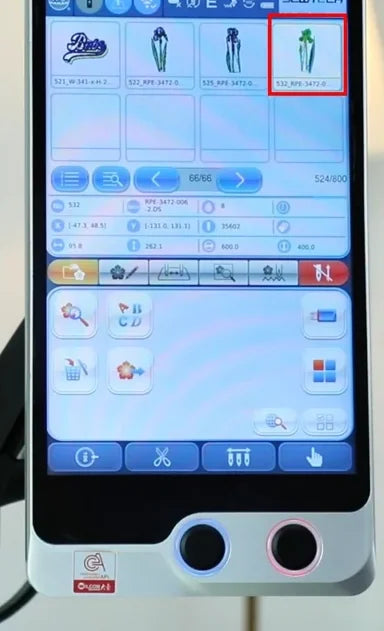
The first tab opens File Management. The paging arrows sit below the thumbnails.
The red outline identifies the iris design selected in the demonstration.

12. Check orientation on page 2

Watch at 06:13

On the second tab, look at the preview and compare it with the way the fabric is lying in the frame. Use the Direction or Angle setting if the design needs turning. The video keeps the iris upright at the shown angle of 0°. Check the preview after any change before moving to page 3.
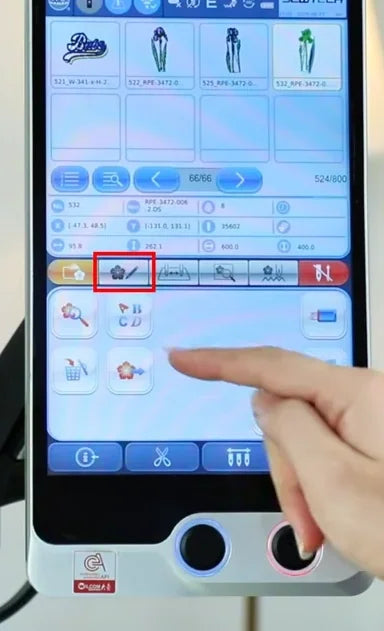
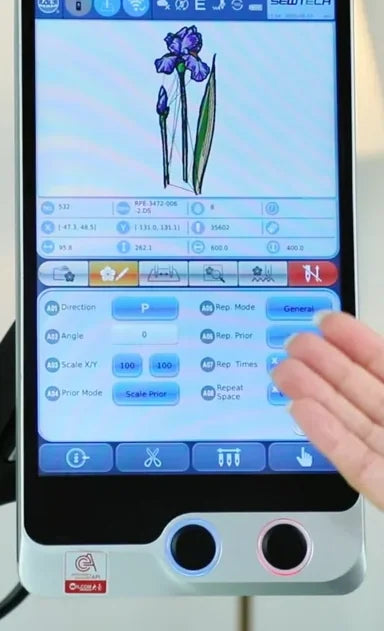
The second tab is highlighted by the video just before the design preview opens.
Direction and Angle are below the upright iris preview. The example shows Angle 0.

13. Check the thread sequence on page 3

Watch at 06:27

Tap the third tab. The design’s color sequence is listed at the lower left, with numbered needle colors on the right. Check that the needle assignments match the spools on your machine. Claire uses a color combination that is already set in the demo, then moves directly to the fourth tab.
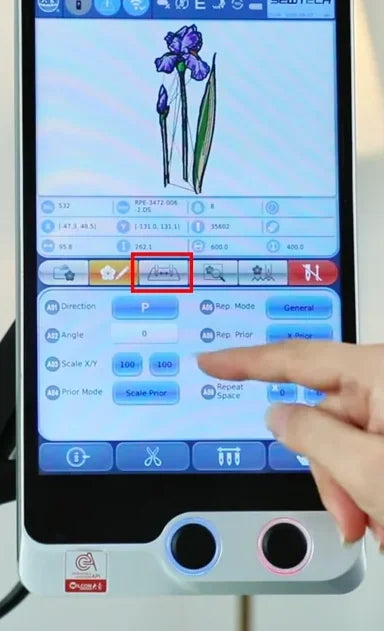
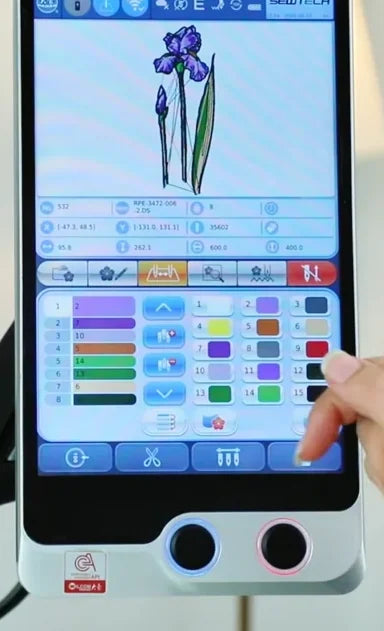
The third tab is outlined below the design preview.
The sequence is on the left and the numbered needle palette is on the right.

14. Select the profile for the installed frame

Watch at 06:39

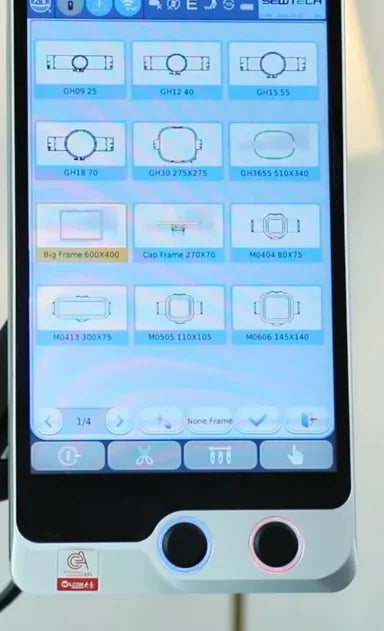
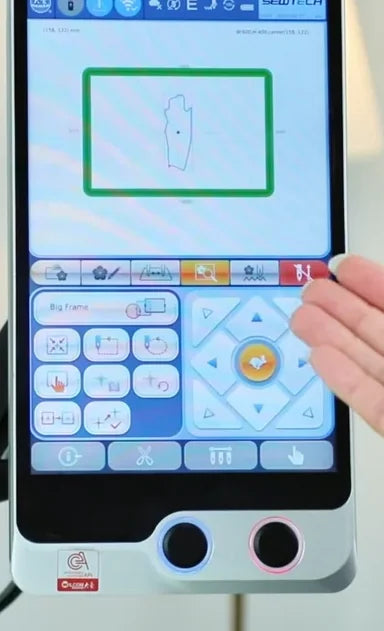
On page 4, tap the frame selector at the top of the left control panel. On the first grid page, the demo chooses Big Frame 600 × 400, the left tile in the third row, and taps the check mark near the lower right. Select the profile that matches your installed frame. Back on page 4 the sample shows Big Frame and a green rectangular outline.
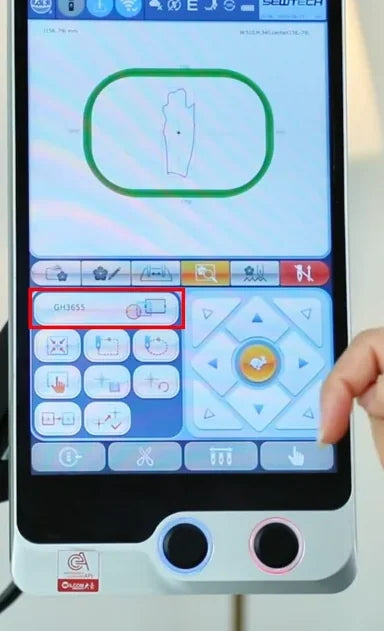
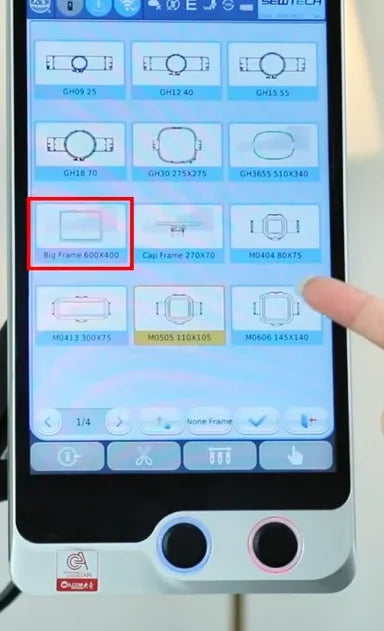
The red box marks the frame selector below the fourth tab.
Big Frame 600 × 400 is the left tile of row 3 in the demo.
The chosen tile is yellow; the check mark at the bottom confirms it.
Big Frame and the green rectangle confirm the profile change.

15. Position the design with the arrow pad

Watch at 06:55

Use the arrow pad on the right of page 4 to move the frame. Watch the design outline shift within the green frame preview. The rabbit setting moves faster for larger adjustments. Use the turtle setting for slower, finer positioning.
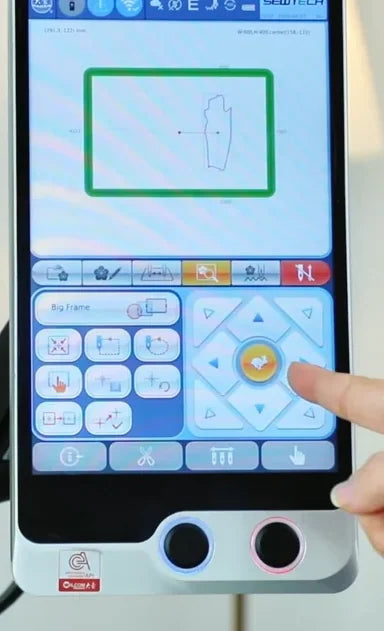
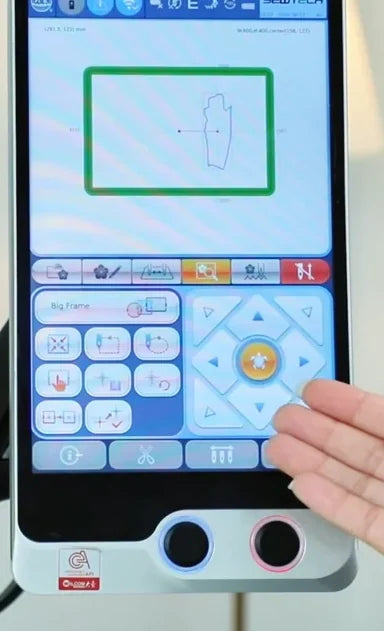
The right-hand arrow pad moves the frame and the preview shows the resulting offset.
The yellow control at the center of the arrow pad shows the movement-speed icon.

16. Trace the outline and watch the real frame

Watch at 07:10

Tap the trace control in the upper-right of the left icon grid. Confirm the frame-movement prompt with the check mark. The prompt includes a cap-frame warning. In this flat-frame setup, watch the aluminum frame move and check that the traced area stays on the prepared fabric, with clearance from clips and frame edges. If the placement needs changing, adjust it and trace again before starting.
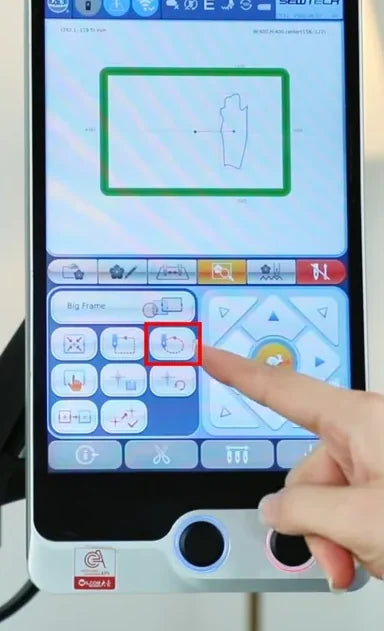
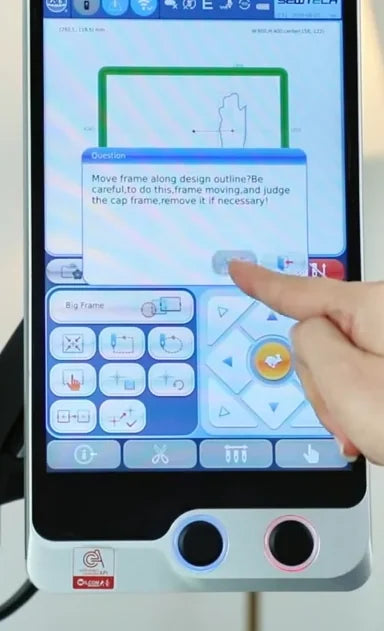
The red outline marks the trace control next to the arrow pad.
The movement prompt appears before the machine traces the design.
The mounted frame moves under the head so you can check real clearance.

17. Confirm the setup and press Start

Watch at 07:30

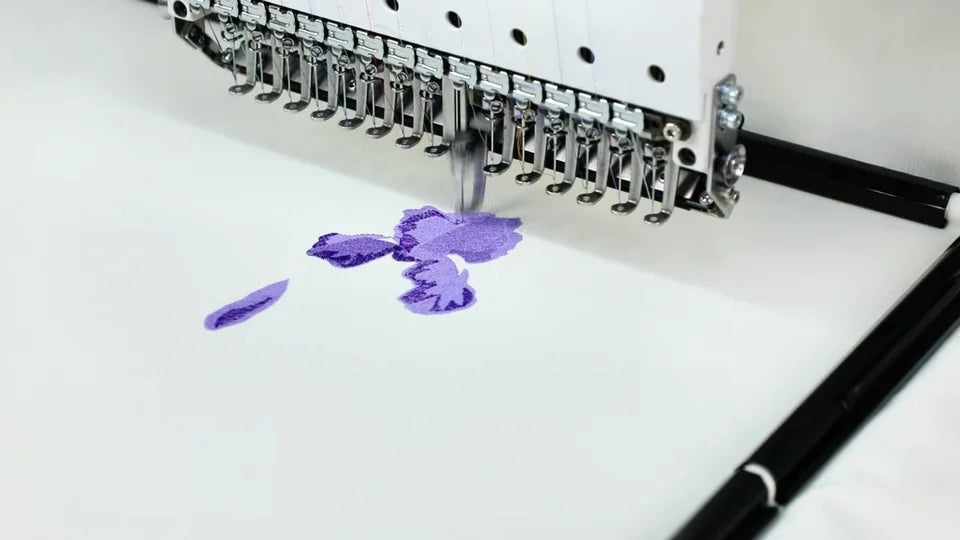
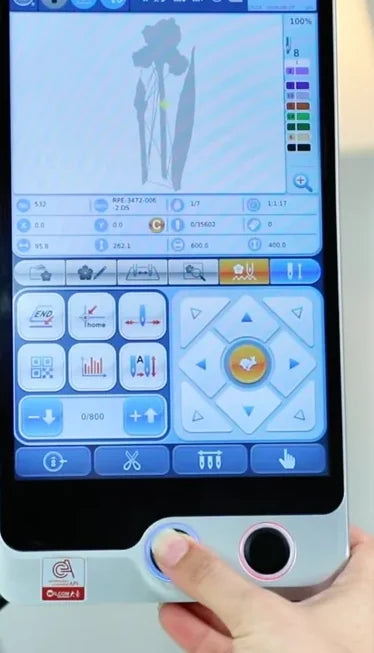
After tracing, tap the red confirmation control at the far right of the tab row. The controls switch to the stitching screen. Press the physical Start button with the blue ring below the left side of the display. Watch the first stitches land in the verified area while the fabric remains flat and the frame moves freely.
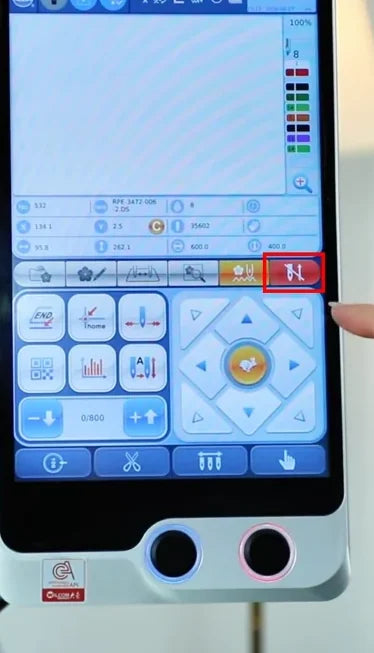
The far-right red control confirms the embroidery setup.
The physical Start button is the blue-ringed button below the display on the left.
The first purple stitches form inside the clipped area of the frame.

18. Loosen both sides and lift out the finished frame

Watch at 08:32

Wait until stitching and frame movement have stopped. Slightly loosen the frame-holder screws on both sides with a screwdriver and leave the screws in their holders. Support the frame with both hands and slide it clear of the machine. The demo shows the purple and green stitch-out still clipped in the aluminum frame.
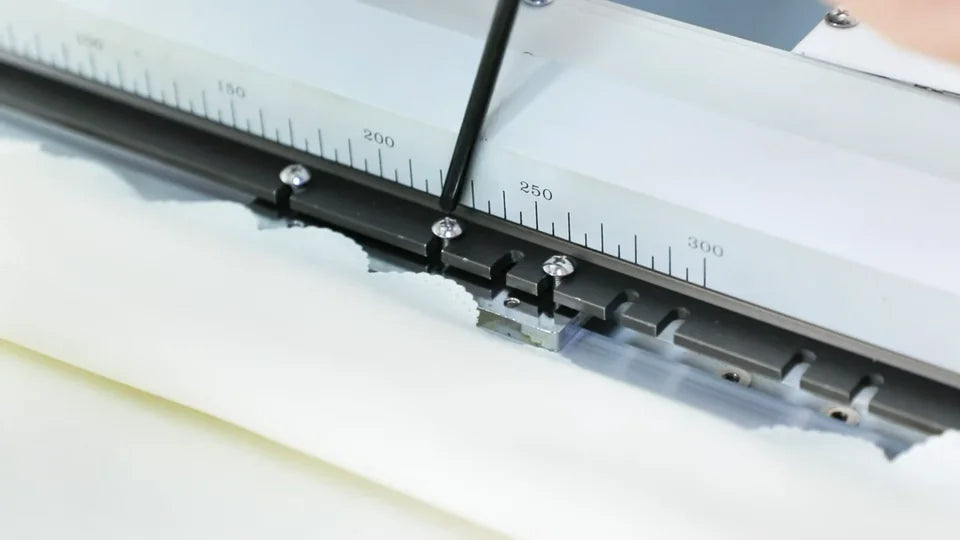
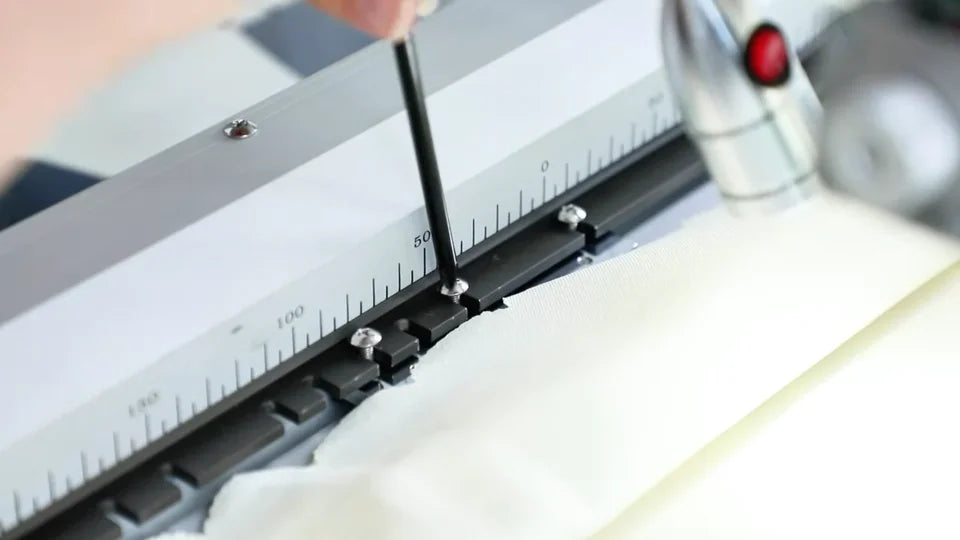
Loosen the screws on one side; the screw heads stay in place.
Loosen the other side enough to release its connection.
Hold both sides as the loaded frame clears the head.
The demo ends with the finished irises still held in the frame.