Combine Two Embroidery Designs on the ST-1501

Overview
Combine two designs already saved on the ST-1501 controller. Choose the first design as the reference, position the second with the X and Y offsets, then save the combination and verify it in the design list. The video demonstrates the touchscreen workflow through the saved preview.
Step-by-step guide
1. Select the first design and note the second number
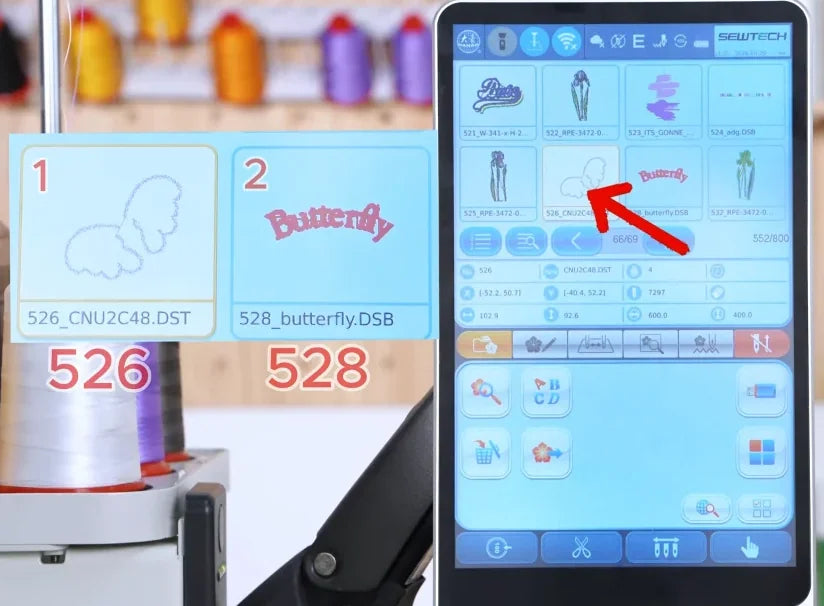
Watch at 00:23Open the design list on the ST-1501 and locate both saved designs. Tap the thumbnail you want to use first. In the video it is 526, the wing design. Note the number of the second design, 528, the Butterfly lettering, and keep the first design selected.

2. Open Create Combine Pattern
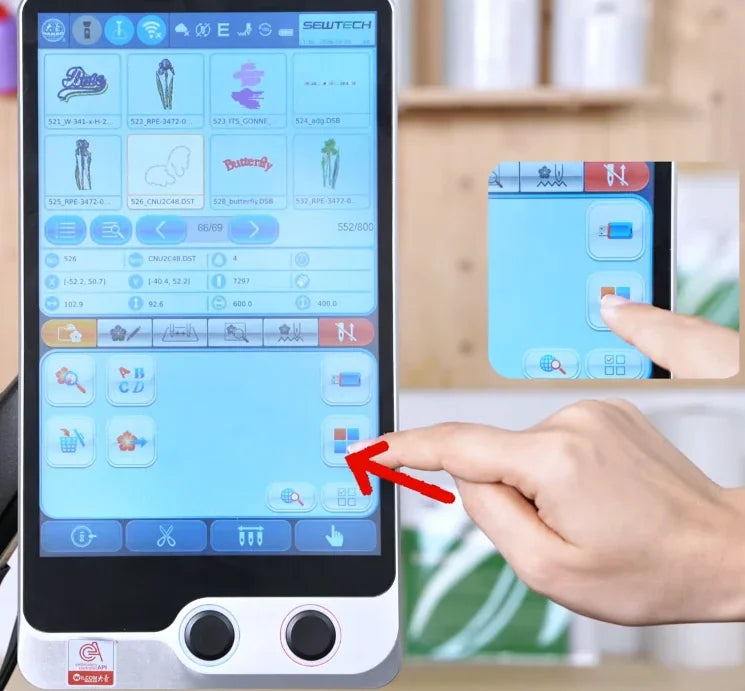
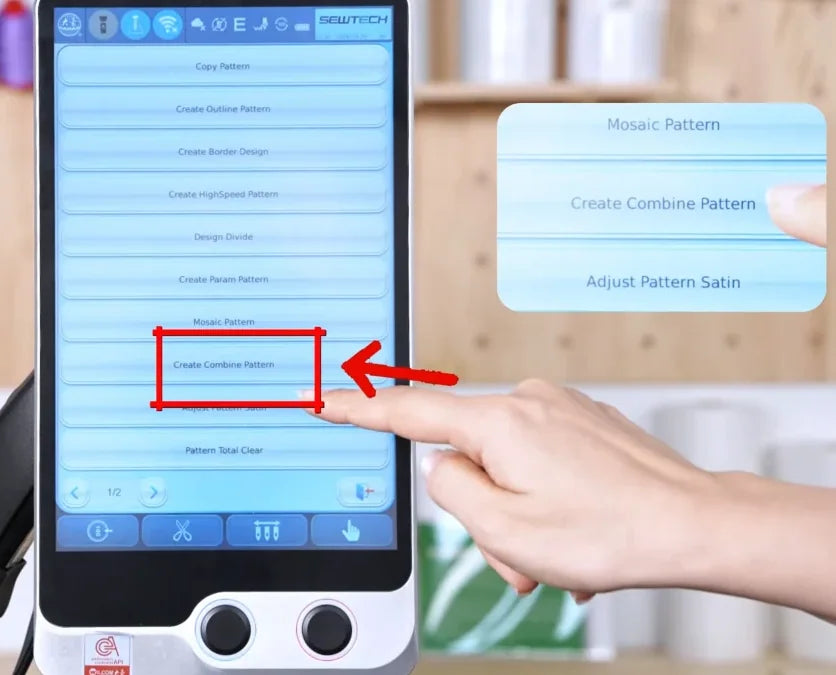
Watch at 00:30While the first design is selected, tap the four-color square icon on the right side of the lower panel, below the blue rectangular icon. In the menu, tap Create Combine Pattern. The controller opens the settings for the first design.
3. Check the first design number
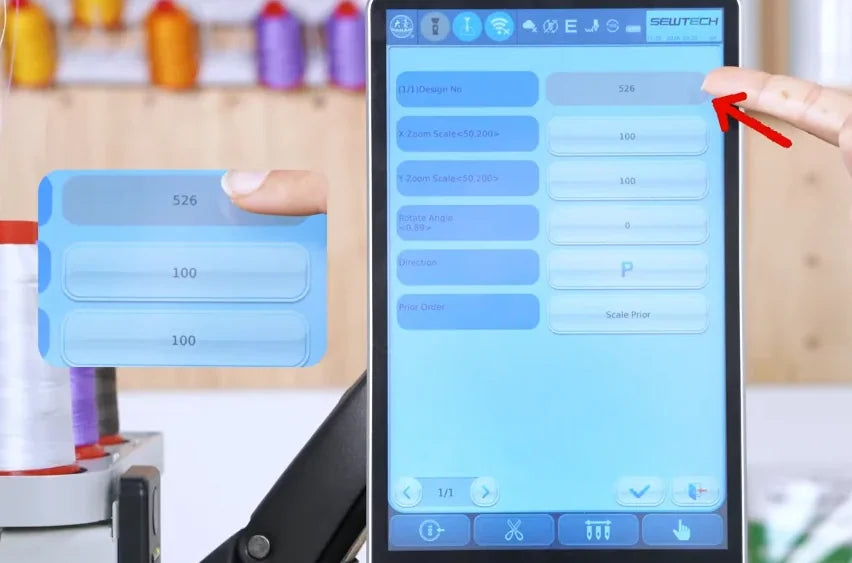
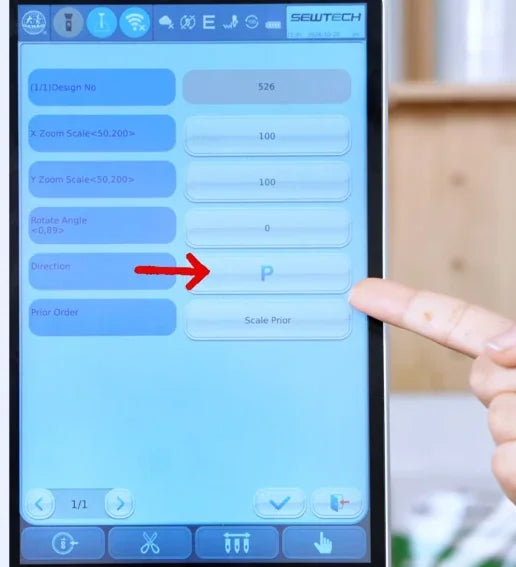
Watch at 00:39Check the Design No field in the top row of the first settings screen. The controller brings in the design already selected in the list, so keep that number if it matches your first design. The demo shows 526.
4. Set the first design’s scale and orientation
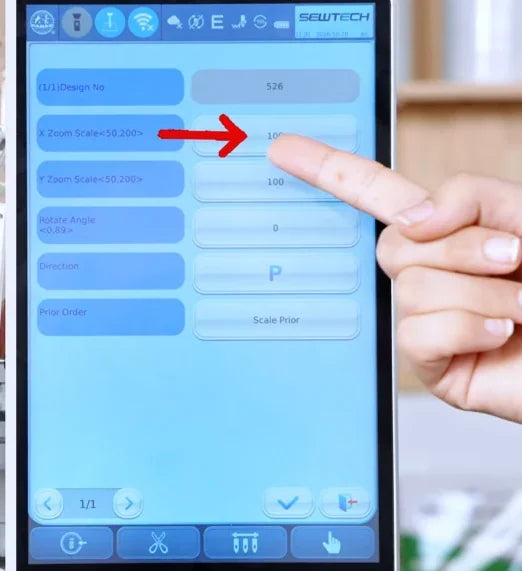
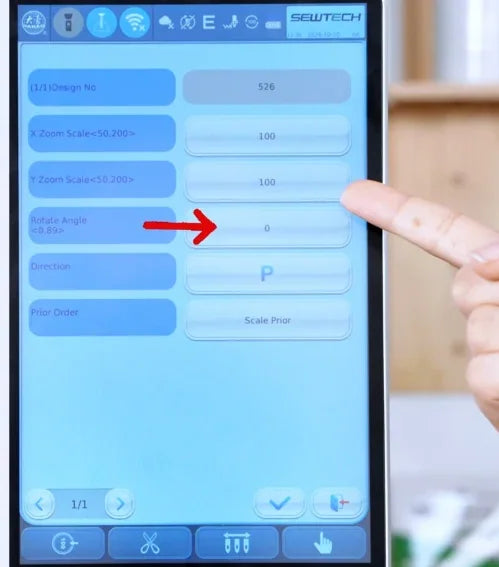
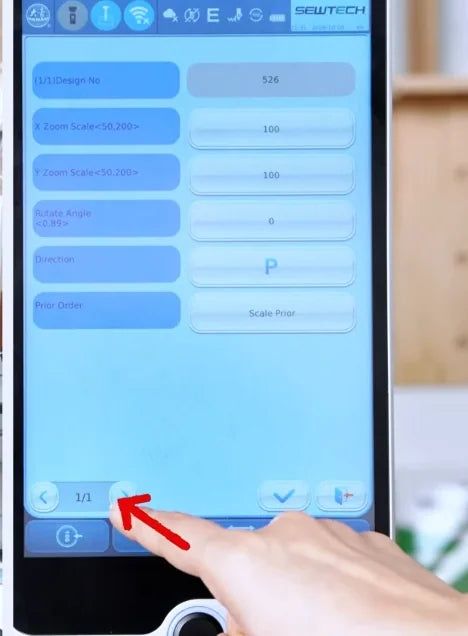
Watch at 00:51Use X Zoom Scale and Y Zoom Scale for horizontal and vertical scaling, Rotate Angle for rotation, and Direction for the flip orientation. The demo leaves both scales at 100 and the rotation at 0. When the first design is set, tap the right arrow beside the page counter at the lower left to open the second settings screen.
5. Enter the second design number
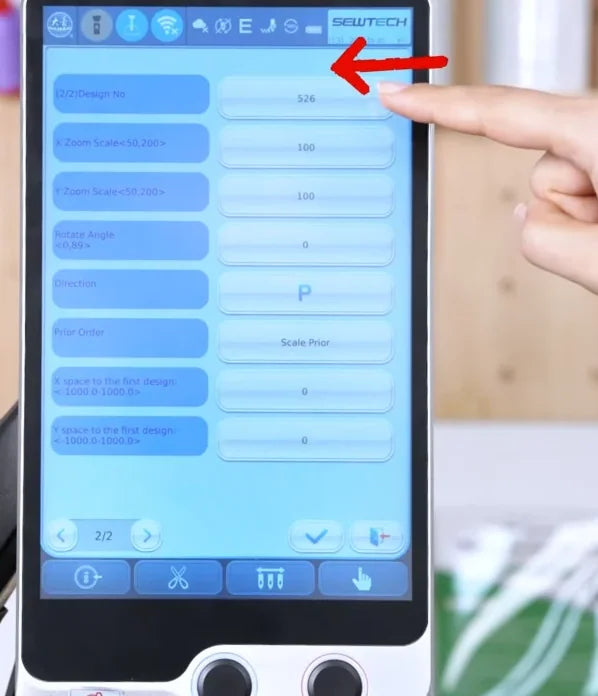
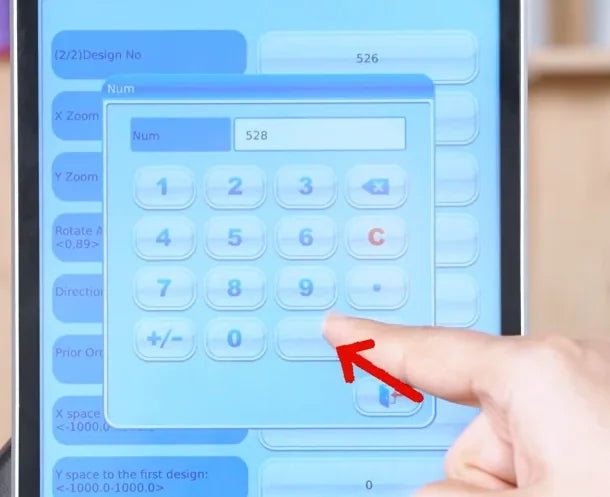
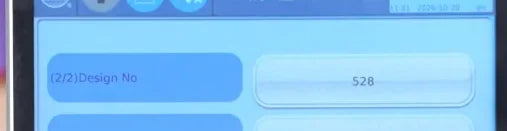
Watch at 01:02On the second settings screen, tap the top Design No field and enter the number you noted earlier. Tap the blue check mark on the numeric keypad, then verify that the top row shows the second design number. The demo changes this field from 526 to 528.
6. Review the second design’s layout and spacing fields
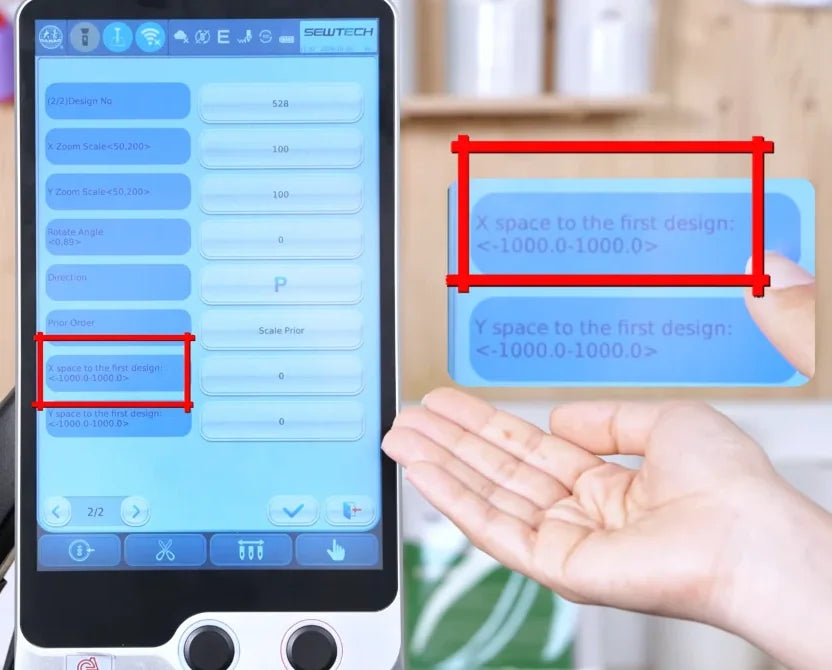
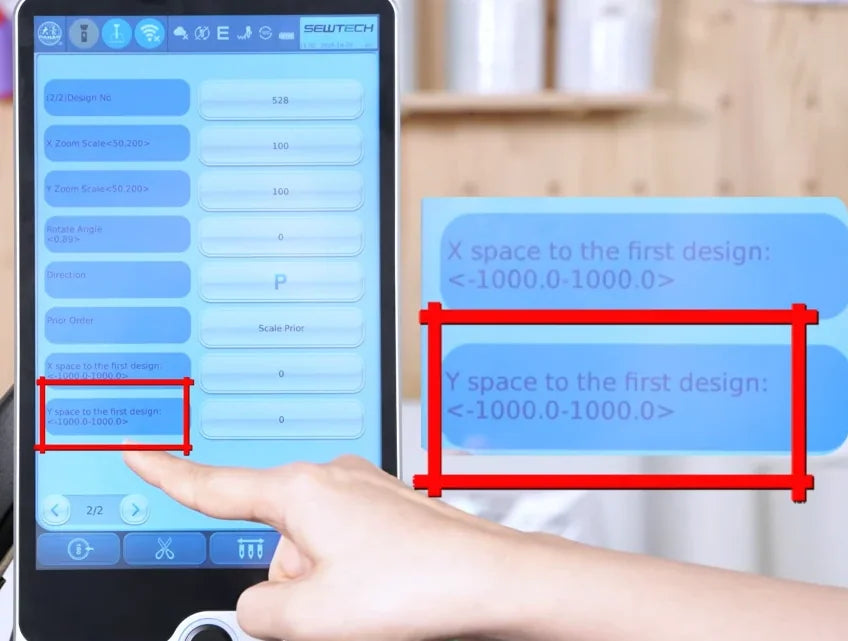
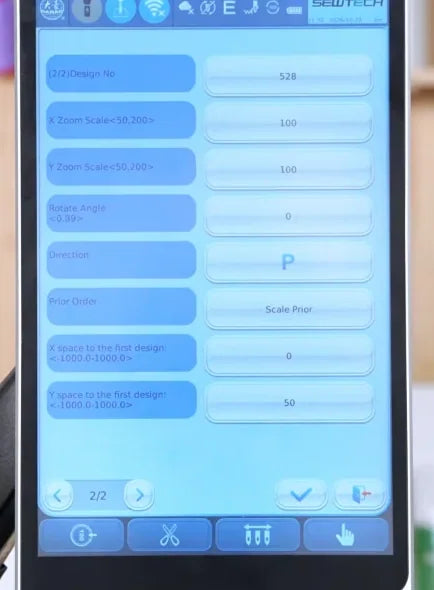
Watch at 01:12Review the second design’s scale, rotation and direction as you did for the first. At the bottom, use X space to the first design for the horizontal offset and Y space to the first design for the vertical offset. Both offsets are relative to the first design.
7. Enter the spacing for your layout
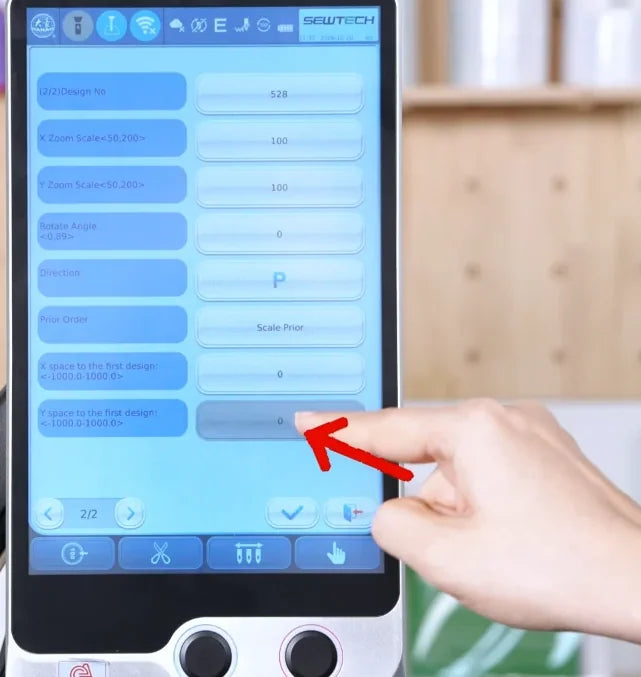
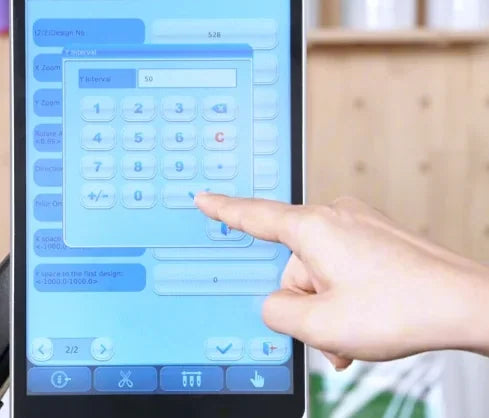
Watch at 01:26Tap the value box for the axis you want to change. In the demo, the operator opens Y Interval, enters 50 and taps the keypad check mark. Check the values after the keypad closes. The example shows X = 0 and Y = 50. Choose values that suit your own two designs.
8. Confirm the two designs’ settings
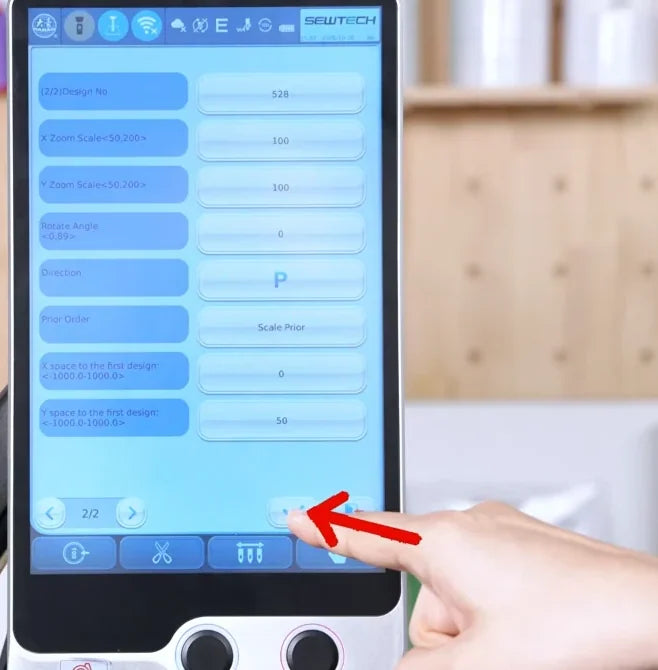
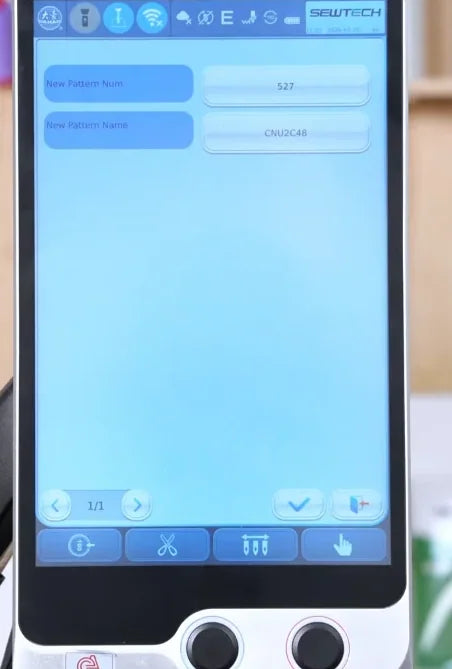
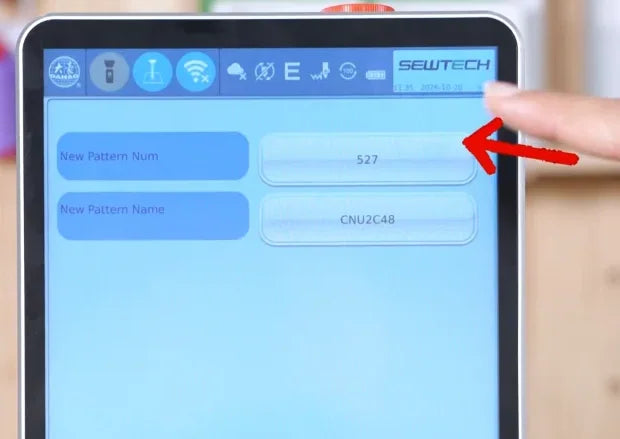
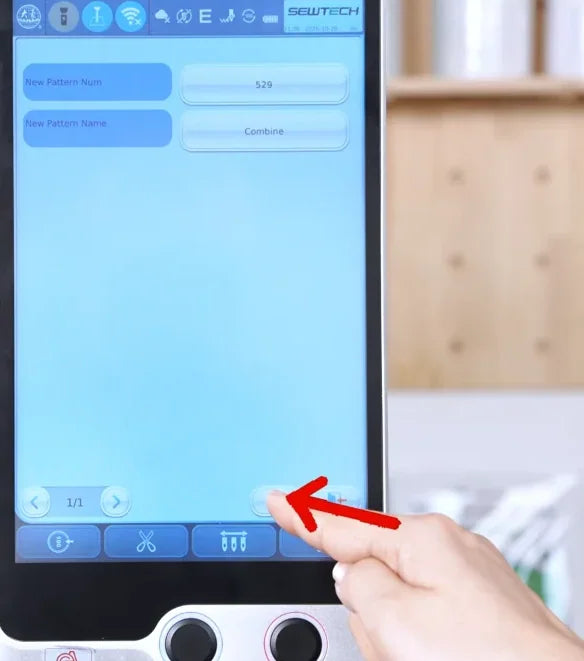
Watch at 01:32Once the second design and spacing are correct, tap the check mark at the lower right of the settings page, beside the exit icon. The next screen shows New Pattern Num and New Pattern Name for the combined design.
9. Set the combined design’s number
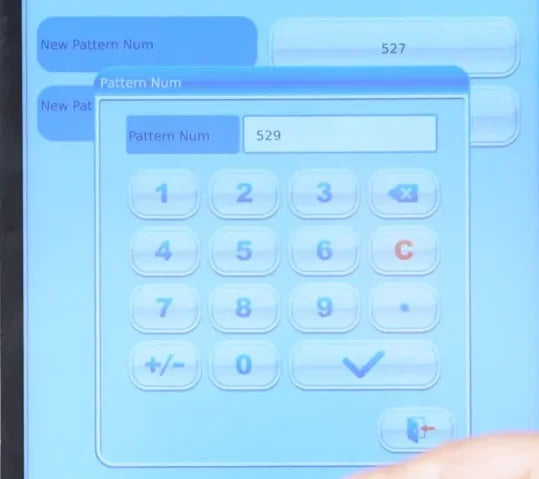
Watch at 01:36Tap New Pattern Num, enter the number you want to give the combined design, and tap the numeric keypad check mark. The video changes the suggested number from 527 to 529.
10. Name the combined design
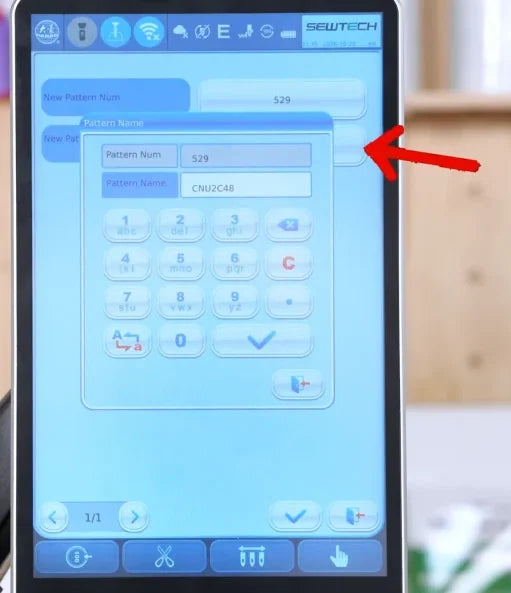
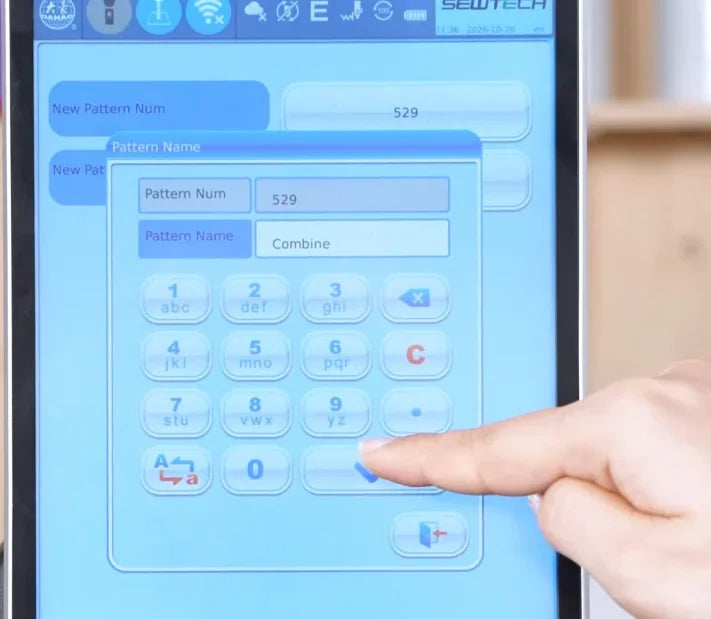
Watch at 01:41Tap New Pattern Name to open the name keypad. Enter the name you want to see in the design list, then tap the check mark inside the keypad. The demo uses Combine.
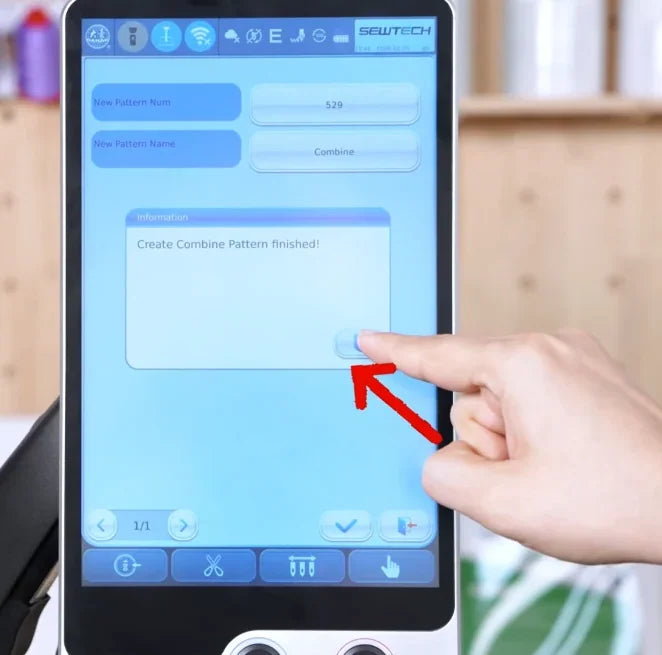
11. Save and wait for the completion message
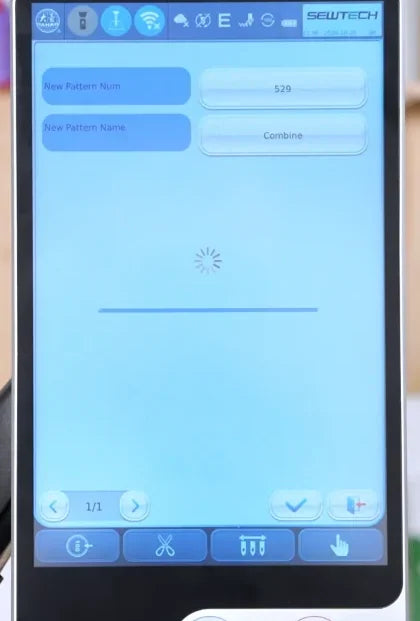
Watch at 01:45Verify the number and name on the save screen, then tap the lower-right check mark on that screen. The controller briefly processes the design. Wait for the message “Create Combine Pattern finished!” before leaving.
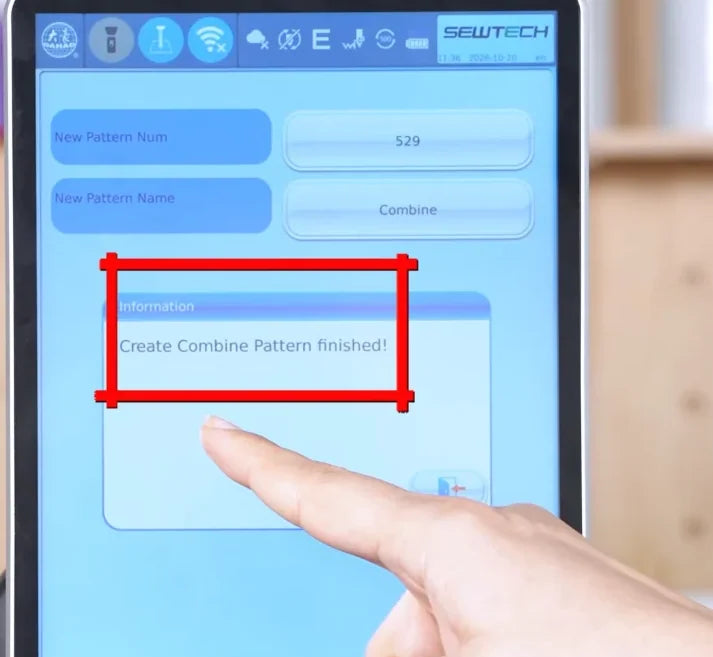
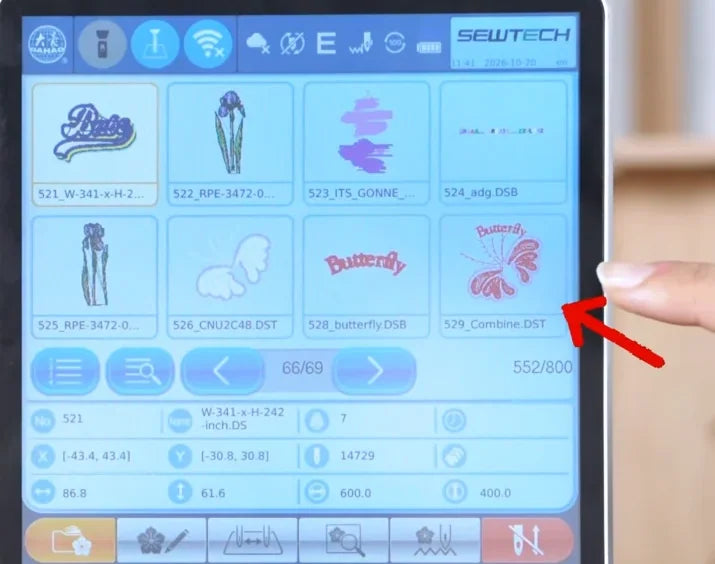
12. Find the new thumbnail in the design list
Watch at 01:55Dismiss the completion message with the icon at the lower right of the popup. Return to the main design list and look for your new number and name. In the demo, 529_Combine.DST appears alongside 526 and 528, with both the wings and the Butterfly lettering in one thumbnail. Use this preview to verify the saved combination and its placement.