
Fix Error 165: Reset the Machine Origin

Overview
EC 165 appears when you try to set the machine origin while embroidery mode is active. On the ST-1501 panel shown, dismiss the alert and cancel embroidery mode, then run Auto Set Origin. Check that the installed hoop has room to move before confirming embroidery again. The video also explains how shipping or an accidental shift of the X-axis beam can change the home position.
Step-by-step guide
1. Dismiss EC 165
Watch at 00:21On the frame settings screen, EC 165 indicates that the origin cannot be set in embroidery mode. Tap the Back icon at the lower right of the pop-up. The message closes and the frame settings are visible again.


2. Exit frame settings
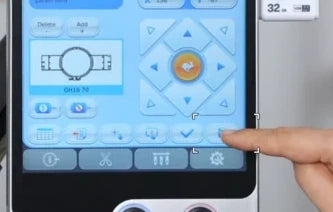
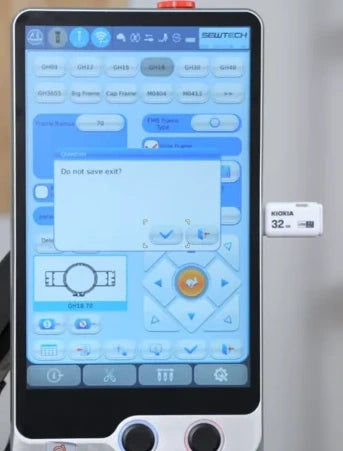
Watch at 00:32Tap the Exit icon on the far right of the light-blue toolbar, just above the bottom row. In the “Do not save exit?” prompt, tap the check mark to return to the main screen without saving these settings.
3. Cancel embroidery mode
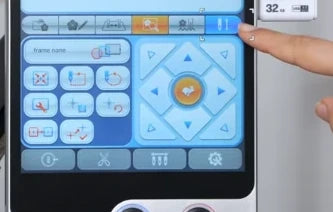
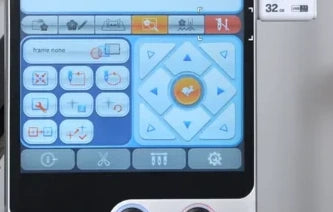
Watch at 00:38Tap the blue embroidery confirmation button at the far right of the tab row below the preview. When “Cancel EMB?” appears, tap the check mark. On the panel shown, the button turns red when embroidery mode is off.

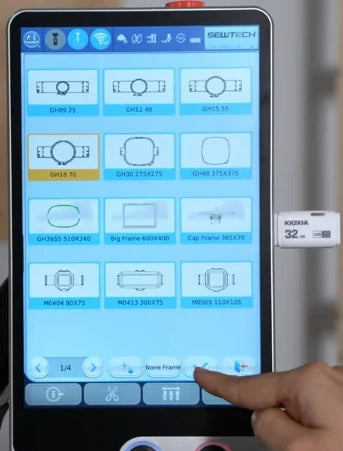
4. Open the hoop list from page 4
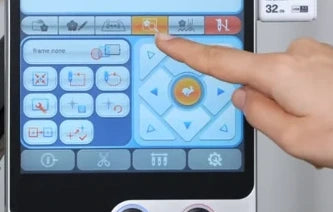
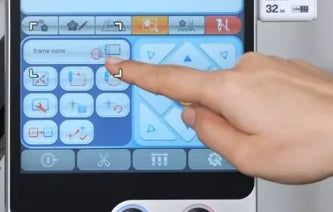
Watch at 00:50Select the fourth tab beneath the preview. On that page, tap the frame icon at the right end of the frame-name field, above the left-hand group of controls. The hoop list opens and shows selectable frame shapes and sizes.
5. Run Auto Set Origin
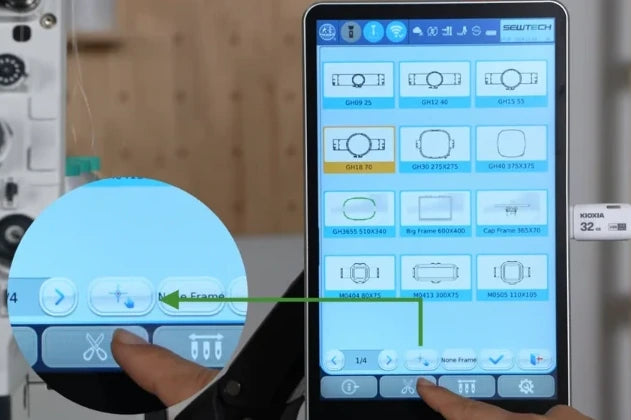
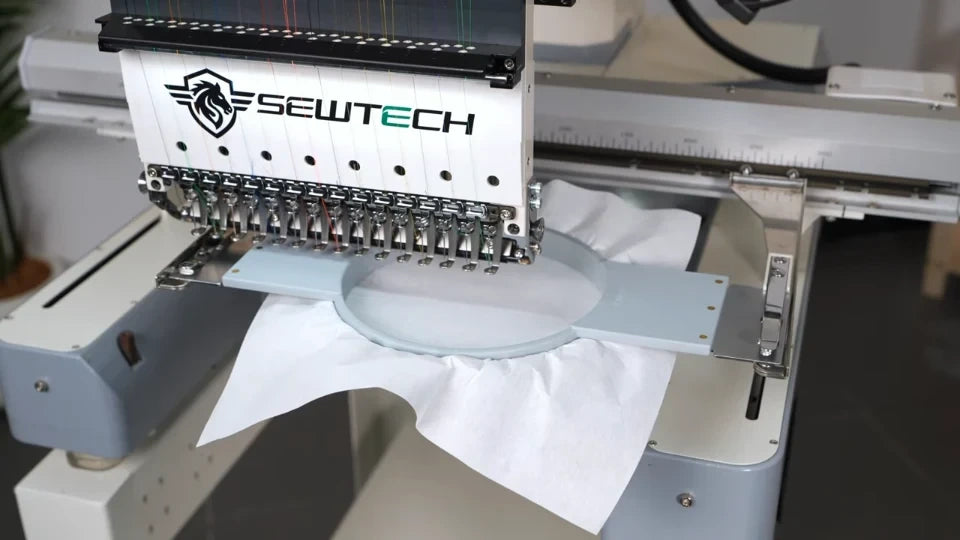
Watch at 00:56On the bottom row of the hoop list, tap the origin icon just to the left of “None Frame”. The “Seek Frame Origin” prompt warns that the frame will move and asks you to assess whether a cap frame needs to be removed. Clear the travel area and keep your hands away from the hoop and carriage before tapping the check mark. Wait until the automatic movement has stopped before choosing a frame.

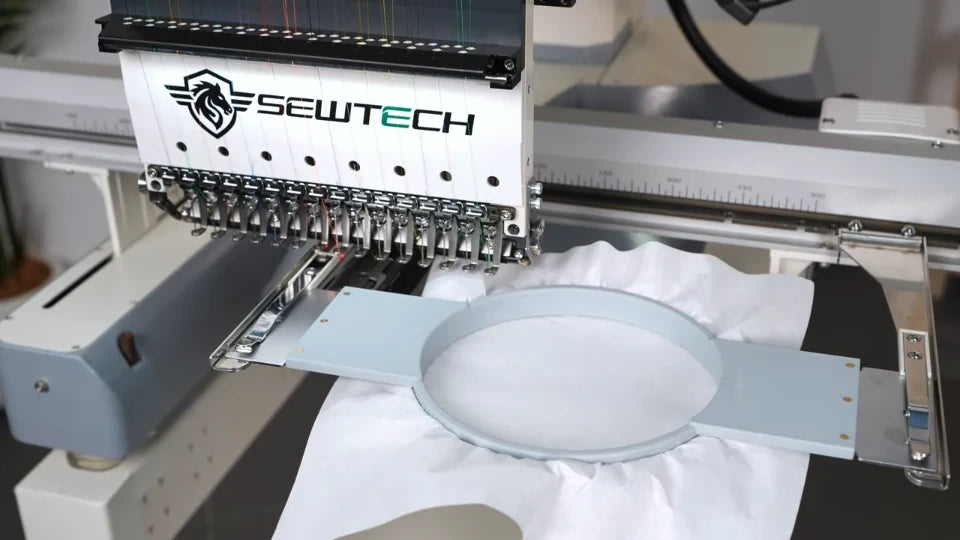
6. Select the hoop that is installed
Watch at 01:09After homing, choose the list tile that matches the hoop on your machine. The video uses the round GH18. Tap the check mark at the bottom of the list and confirm the frame-movement warning if it appears. On the main preview, check the frame name and verify that the design sits inside the green outline.

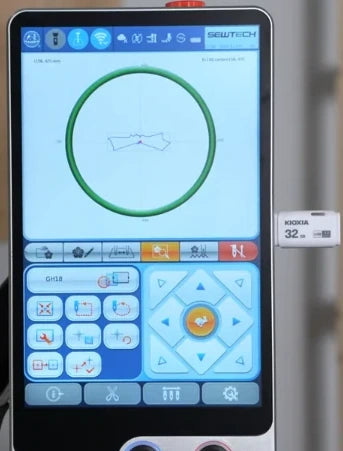
7. Trace the full design boundary
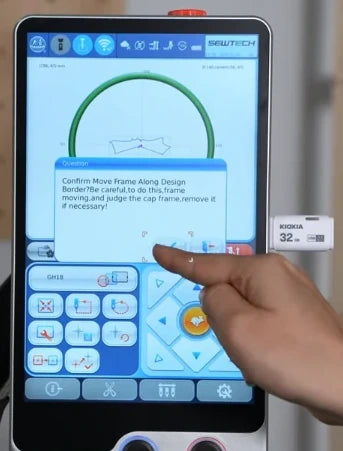
Watch at 01:18Tap the middle button in the top row of the left-hand control pad, below the frame name. Confirm “Move Frame Along Design Border” with the check mark and watch the whole trace. The installed hoop needs clearance all the way around. Continue only after the frame completes the trace and stops without touching the machine.
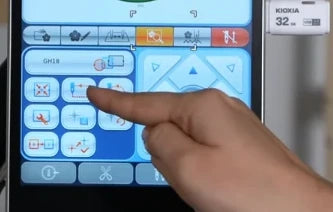

8. Re-enter embroidery mode
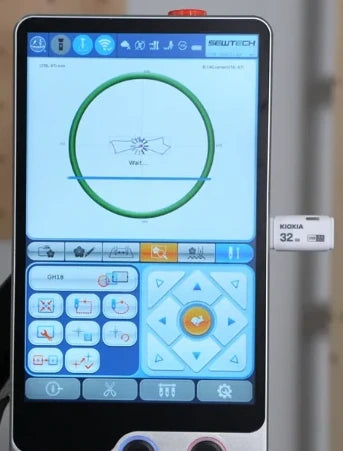
Watch at 01:30Once the trace passes, tap the red embroidery button at the far right under the preview. Tap the check mark in “Confirm EMB?” and let the loading indicator finish. The rightmost button changes to blue, confirming the panel is back in embroidery mode. This part of the video ends at the screen confirmation.

9. Check the origin during first setup
Watch at 01:49The video recommends this check after you finish oiling the newly unboxed machine. Before the first design, open page 4 and the hoop list, run Auto Set Origin, and wait for the machine to stop. Select and confirm the installed hoop. Run the full trace and confirm that there is clearance before starting embroidery. Contact SEWTECH support if EC 165 continues to appear.


