SEWTECHSupport Center 简体中文

Calibrate the Dahao A15 Pro Touchscreen

Applies to ST-1501 / SC-1501 Demonstrated on ST-1501

Watch on YouTube ↗

Overview

Use this procedure when taps on the Dahao A15 Pro do not respond or register in the wrong place. Start with the machine idle. Have a clean fingertip ready for the on-screen targets, and keep the machine powered on until calibration finishes.

Step-by-step guide

1. Turn the machine off and back on

Watch at 00:26

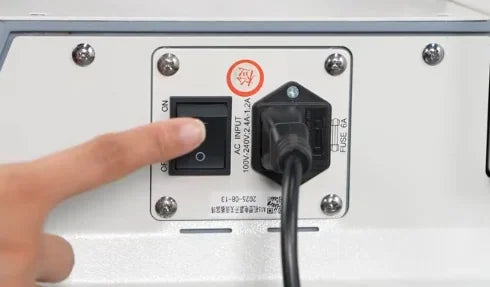
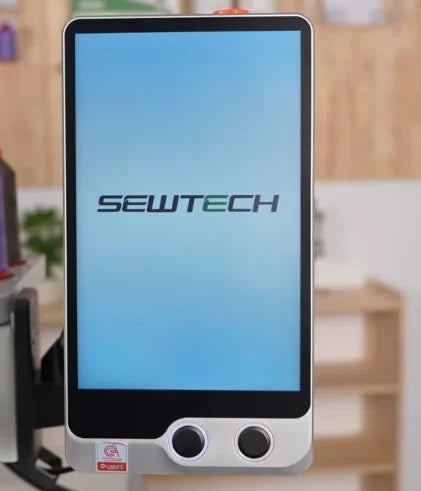
With the machine idle, press the OFF side of the black main power switch next to the power cord. Check that the controller screen goes dark. Wait a few seconds, switch the power back ON, and watch for the SEWTECH logo followed by the startup progress window.

The inset shows the main power switch beside the power cord.
The controller screen is dark after switching off.
Press the upper ON side of the same rocker switch to restart.
The SEWTECH logo appears during startup.

2. Hold Start during initialization

Watch at 00:45

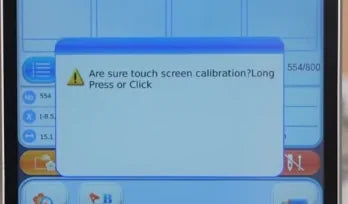
While the “System initializing” progress window is visible, press and hold the round Start button on the left beneath the touchscreen. Keep holding until the warning dialog asking about touch screen calibration appears, then release the button.
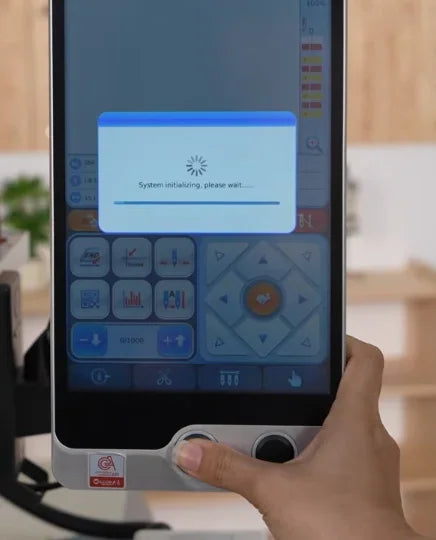
The presenter holds the left physical button while the progress bar is still on screen.
The yellow warning icon identifies the touch screen calibration confirmation dialog.

3. Press Start again to confirm

Watch at 00:58

Briefly press the same left Start button again to confirm. The dialog closes and the screen switches to a pale calibration page with a small plus sign near the upper-left corner.
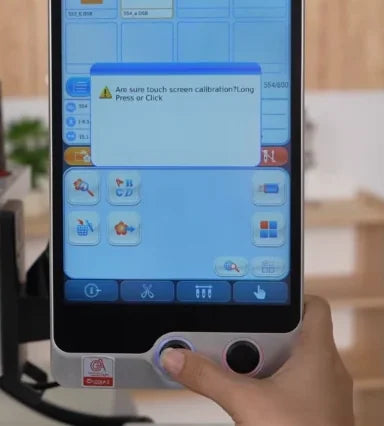
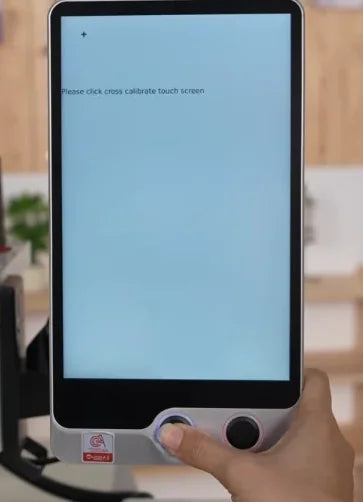
Press the same physical button a second time with the calibration prompt open.
The light calibration screen opens and shows the first target near the upper left.

4. Tap the first crosshair

Watch at 01:02

Use the tip of your finger to tap the point where the lines of the small “+” meet near the upper-left corner. Lift your finger and look for the crosshair to reappear in the next position.
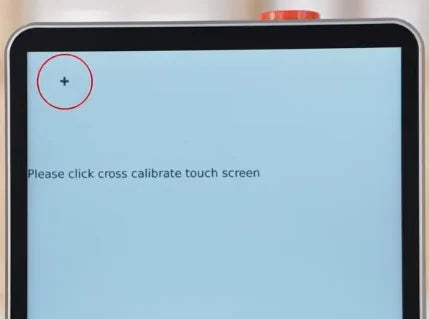
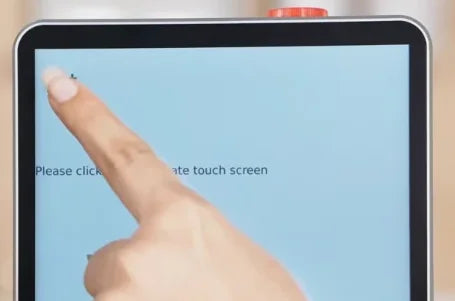
The video circles the small upper-left crosshair so you can locate its center.
The fingertip touches the first target at the upper left.

5. Tap the lower targets

Watch at 01:10

Follow the marker as it moves. In this demonstration it appears near the lower left and then the lower right. Tap the exact center of each crosshair after it appears.
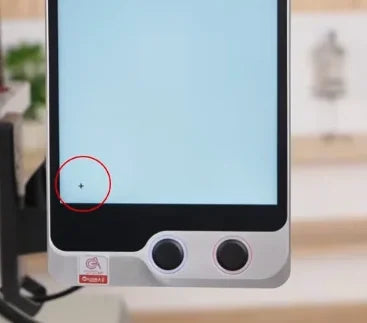
The next crosshair is inside the lower-left corner of the screen.
After the lower-left tap, the crosshair appears at the lower right.
Tap the lower-right target inside the active screen area.

6. Tap the upper-right and center targets

Watch at 01:15

Tap the crosshair when it appears near the upper right. Then wait for the last marker near the center of the screen and tap the crossing of its lines in the same way.
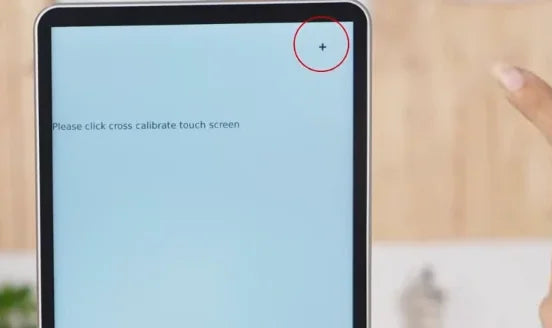
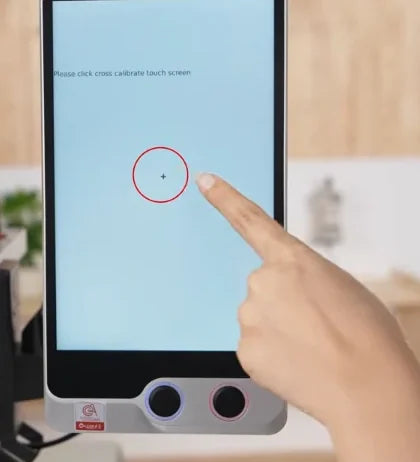
The fourth target is near the upper-right corner.
The final crosshair is in the center area of the screen.

7. Wait for the main screen to return

Watch at 01:18

After the last tap, wait for the controller to leave the calibration screen on its own. The ordinary blue interface with design thumbnails and menu controls reappears.
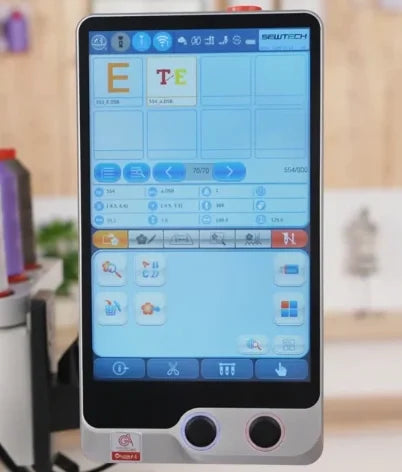
The main screen is back, with design thumbnails above the menu controls.

8. Check that taps open the intended menus

Watch at 01:26

Tap a few on-screen menu controls while the machine is idle. Check that the panel for the control you actually touched opens each time. The video shows the interface changing to different design and color controls in response. If taps are still missed or offset, contact your SEWTECH sales representative or technical support.
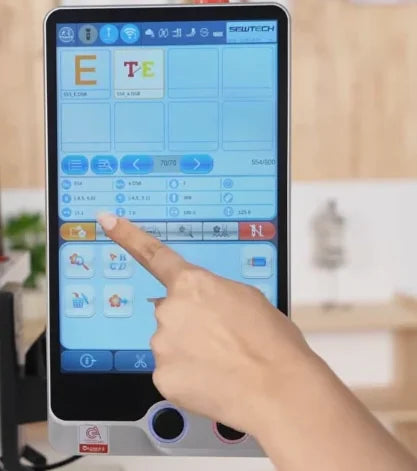
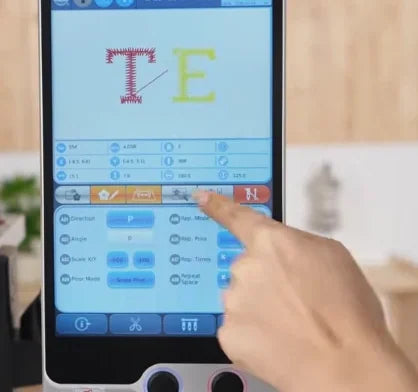
The presenter tests a menu control below the design thumbnails.
The screen responds by showing the design preview and its controls.
Another touch switches the lower panel to color controls.