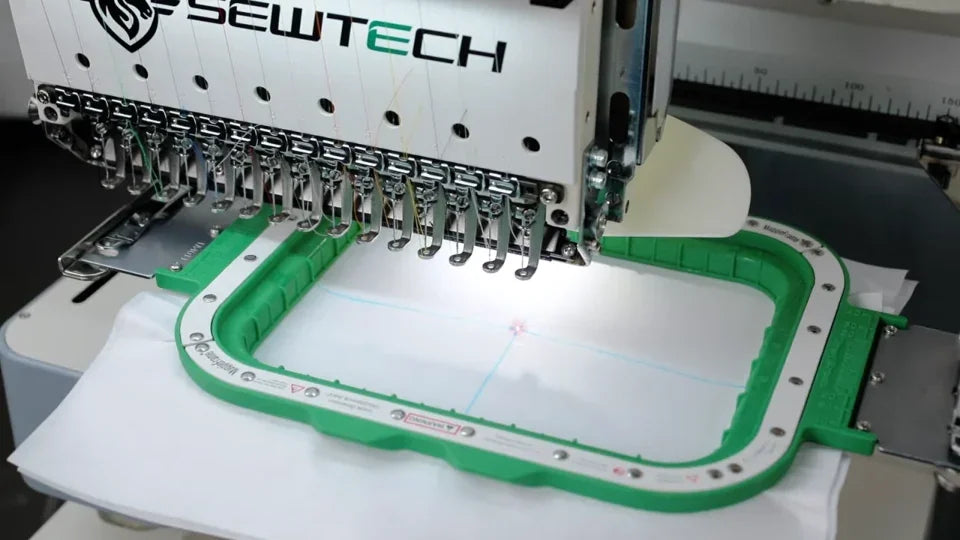
Set Magnetic Hoop Parameters on the ST-1501

Overview
Add a magnetic hoop by identifying its physical center, entering the safe stitch area and verifying the saved position.
Step-by-step guide
1. Measure and mark the hoop center
Watch at 00:10Secure stabilizer and draw crossing midlines for the physical center. Check laser alignment at the needle plate before mounting the hoop securely.
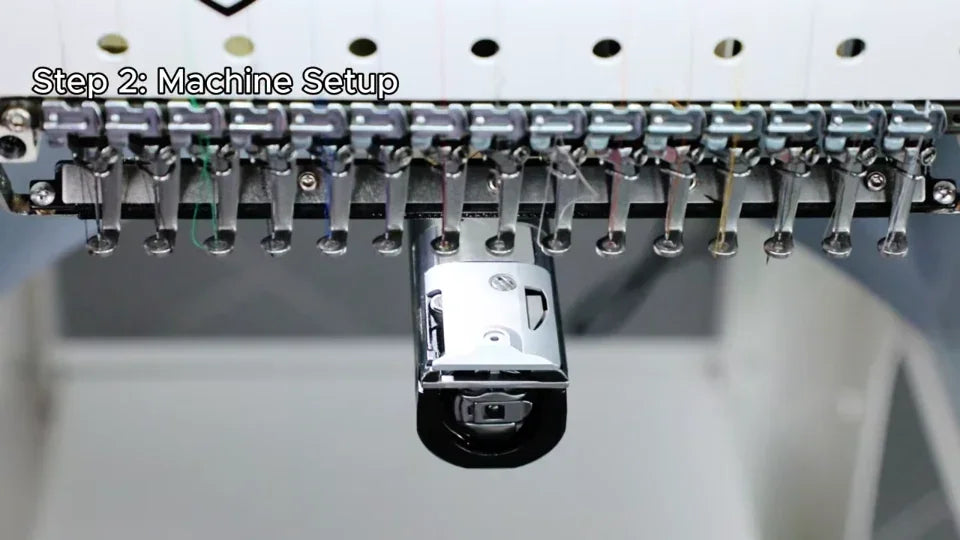
2. Enter the safe stitch area
Watch at 01:33Open the frame parameter page and add the hoop. Use the demonstrated clearance method for the actual hoop measurements and set its shape or chamfer as appropriate.
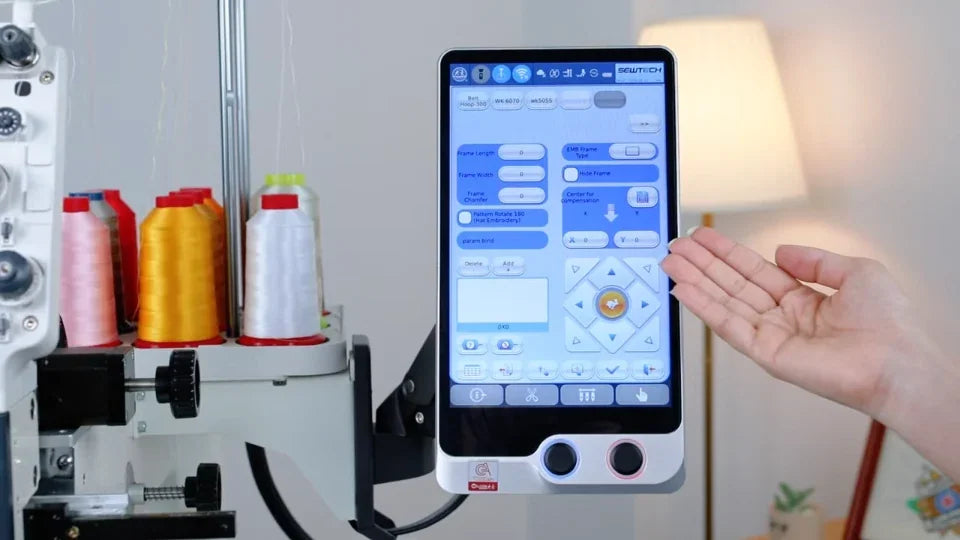
3. Align the laser and save the coordinates
Watch at 02:18Return to the origin as shown. Move the hoop with the arrows until the laser meets the marked center, then save and confirm the X/Y values.
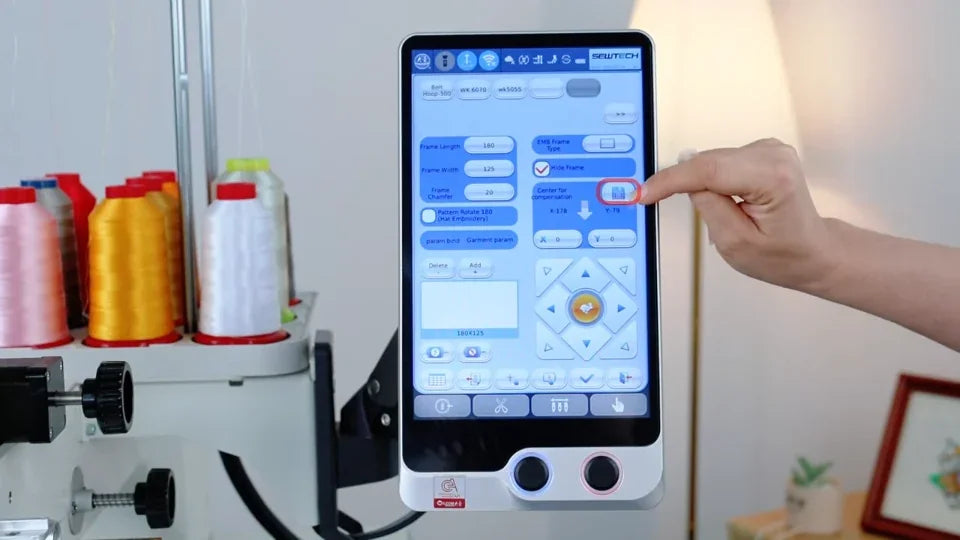
4. Reselect the hoop and verify the center
Watch at 03:03Select the new hoop and use the center command. Compare the dot with the pen mark and confirm there is clearance before stitching.