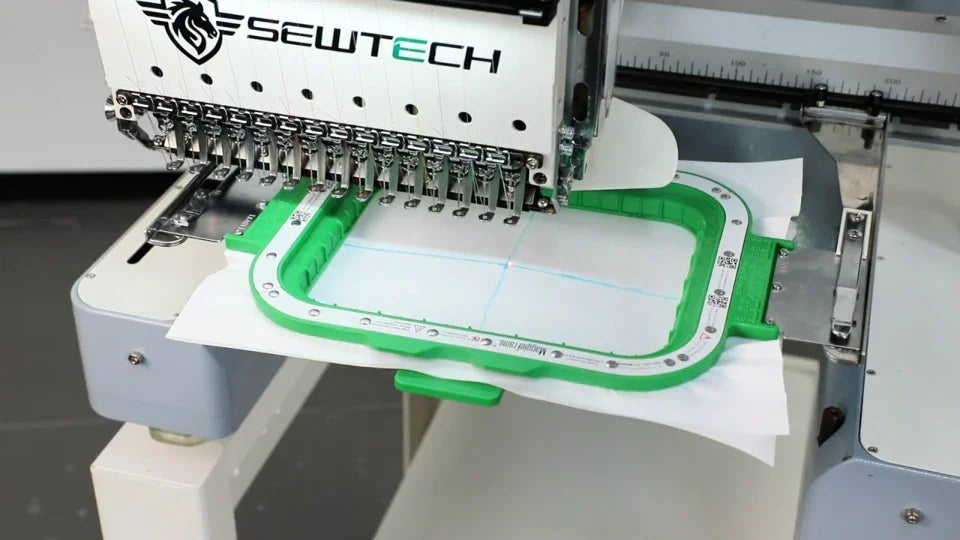
Center a Magnetic Hoop on the ST-1501

Overview
Compare the laser and physical center mark, then use the measured offsets to update the stored hoop center.
Step-by-step guide
1. Mark the physical hoop center
Watch at 00:08Secure a piece of fabric and mark the crossing midlines. Check the laser against the needle plate reference before installing the hoop.
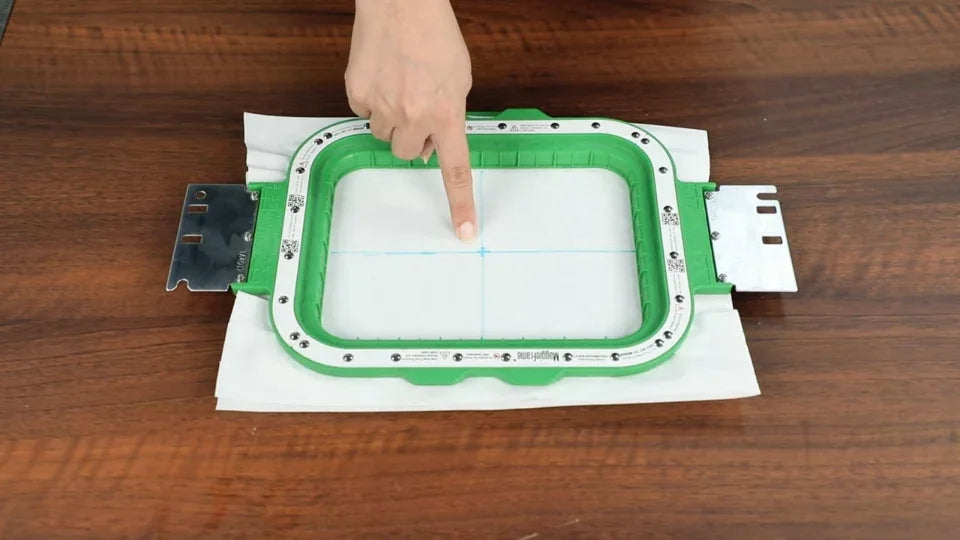
2. Compare the laser dot with the center mark
Watch at 00:59Select needle 1 and the actual magnetic hoop profile. Open frame parameters and use the arrows to position the dot at the physical center mark.
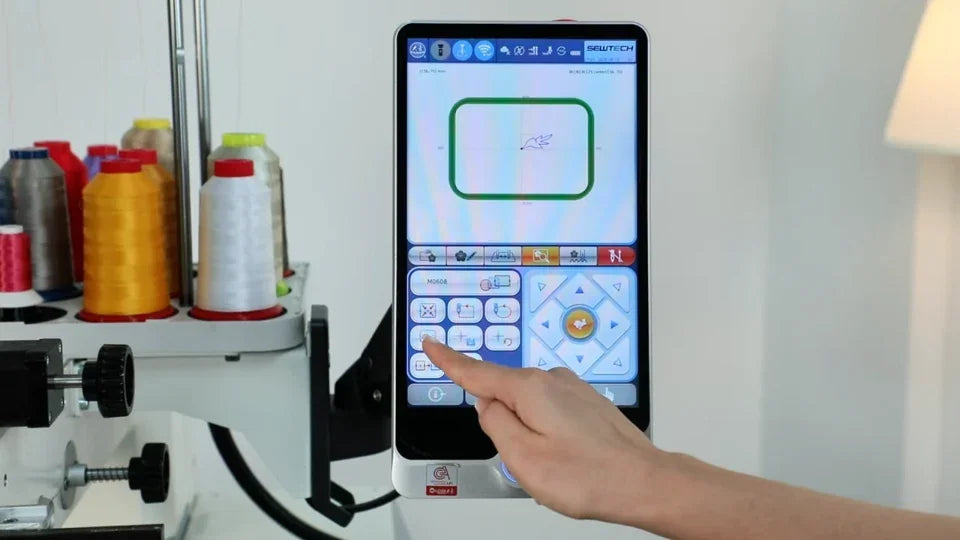
3. Add the measured offsets to the saved values
Watch at 01:45Add the measured X and Y offsets to the original settings. The example changes X from 156 to 154 using an offset of −2. Use the values measured on your machine.
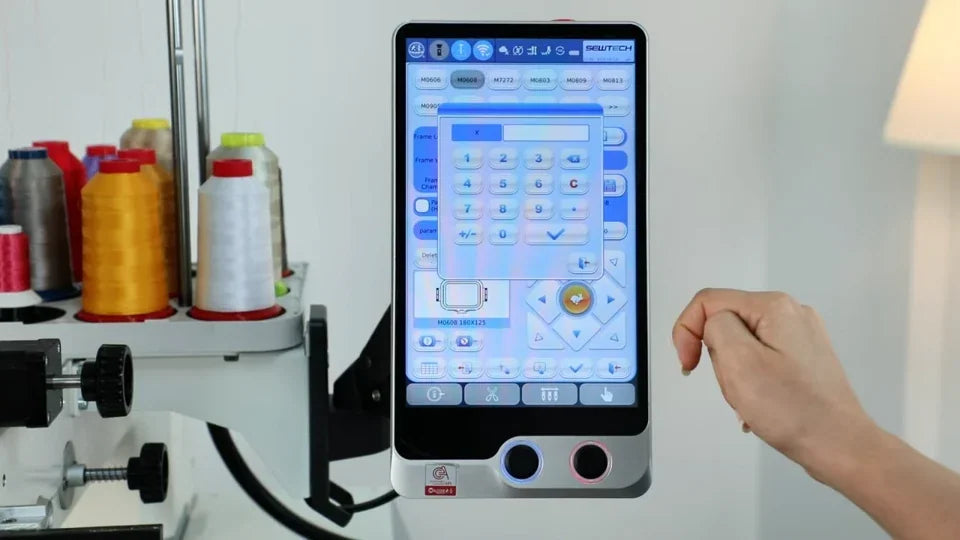
4. Save and reselect the hoop to verify
Watch at 02:23Confirm the setting, select another hoop, then return to the magnetic hoop. Check where the laser lands after reselection.