Routine Maintenance for the ST-1501

Overview
Switch off your ST-1501 before cleaning or lubricating it. If you use it daily, oil the rotary hook at the end of each workday. The narrated demonstration specifies weekly service for the other oil points and both cleaning jobs, and grease every two weeks. Where an on-screen card gives a different amount or interval, the steps below note the difference and follow the narrated demonstration. Replace dull needles as needed and power on only after reassembly.
Step-by-step guide
1. Prepare the tools and switch off
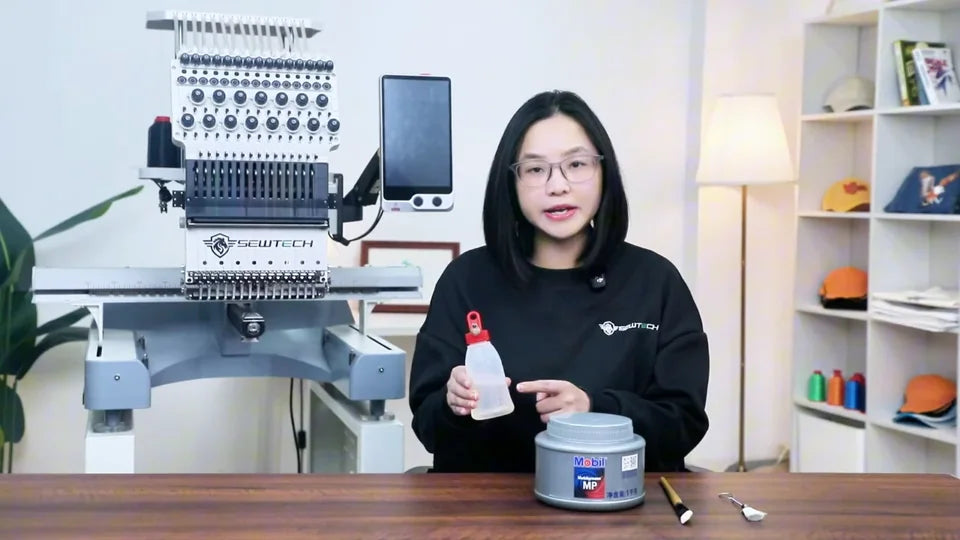
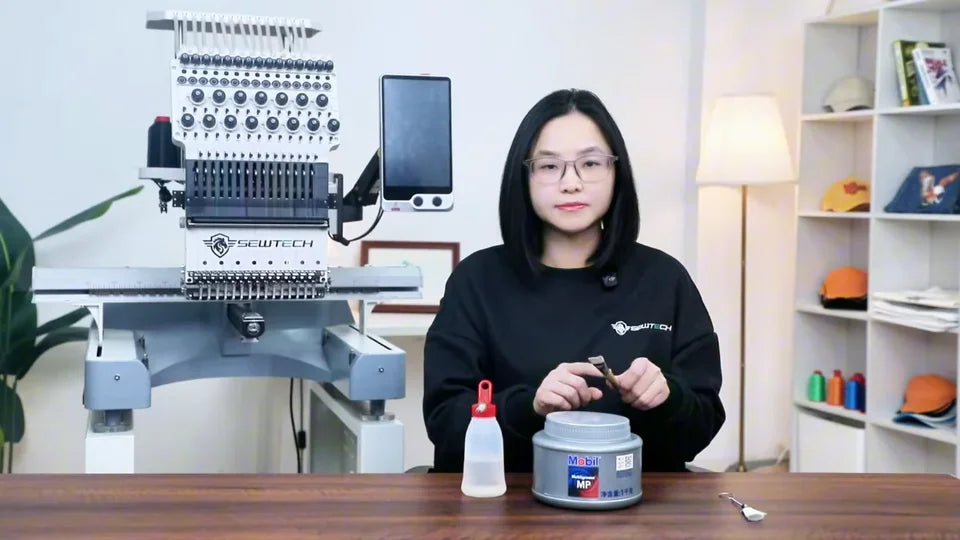
Watch at 00:30Use sewing-machine oil in the supplied long-spout oiler; the oil itself is not included. The video shows Mobil grease and a small brush for spreading it. Use a separate clean brush for lint. Have tweezers and an Allen key ready for the hook cover. Switch the machine off before opening covers, cleaning or lubricating.
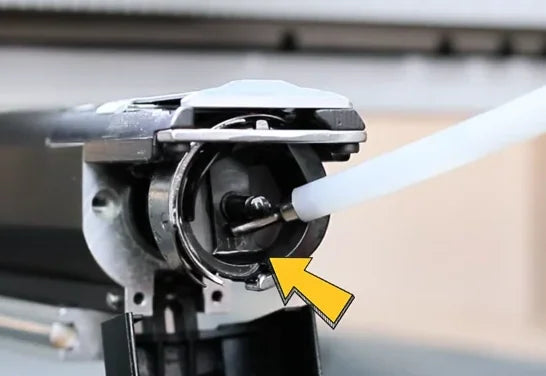
2. Oil the rotary hook
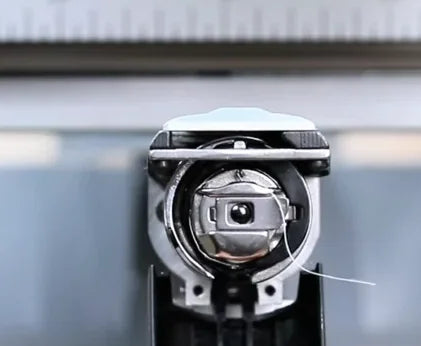
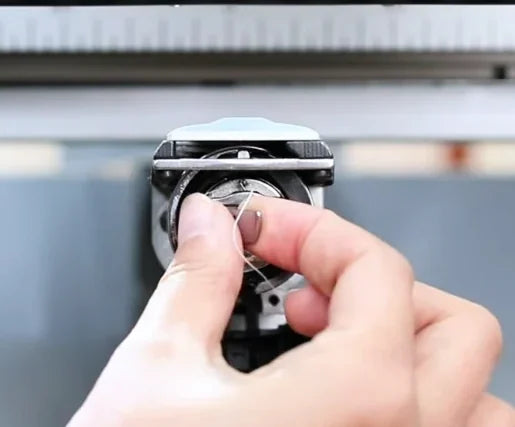
Watch at 02:03Swing down the bobbin cover under the needle bank and remove the bobbin case. Brush away visible thread and lint. Apply 1–2 drops of sewing-machine oil where the video arrow points inside the rotary hook. If you sew daily, do this once at the end of the workday.
3. Oil the rotary-hook shaft bearing
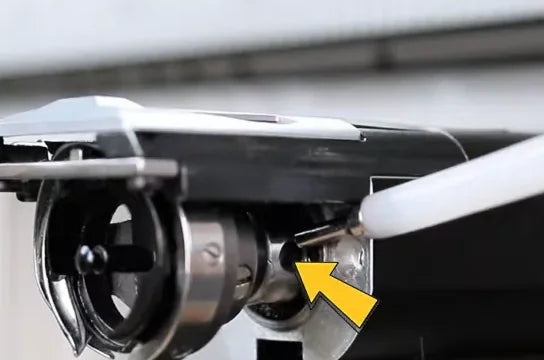
Watch at 02:29From the side of the hook assembly, locate the shaft bearing just behind the rotary hook. Put 2 drops on the marked point once a week. The end card repeats the daily rotary-hook label on this shot; the presenter identifies the bearing separately and says weekly.
4. Oil three needle-bar slots
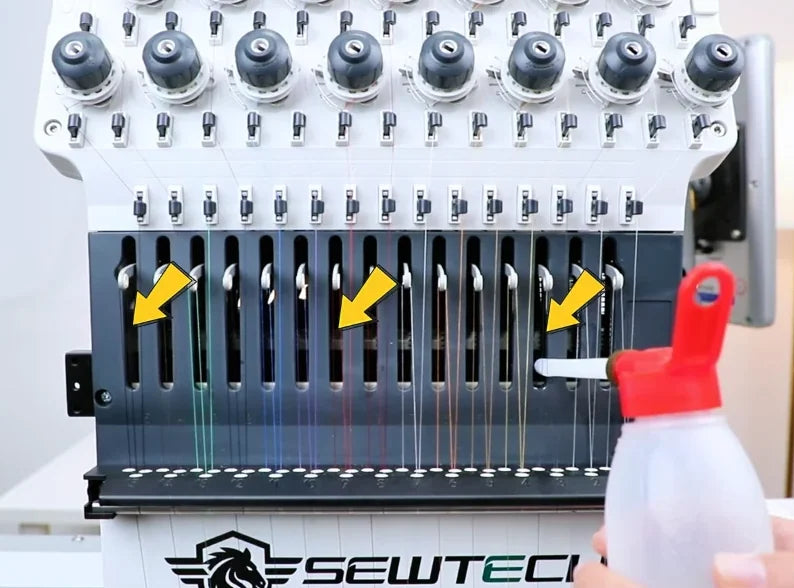
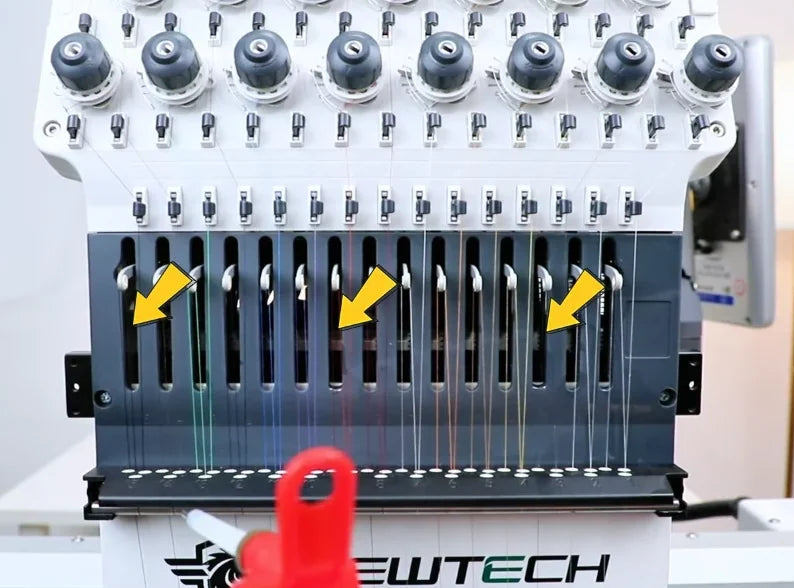
Watch at 02:39Find the narrow vertical slots on the dark front plate above the needles. Once a week, insert the long tip into any three slots and apply 2 drops to each, as demonstrated. Right, middle and left are examples; no specific needle numbers are required. The video card says 2–3 drops; the spoken demo uses 2.
5. Oil the front and rear holes on the right
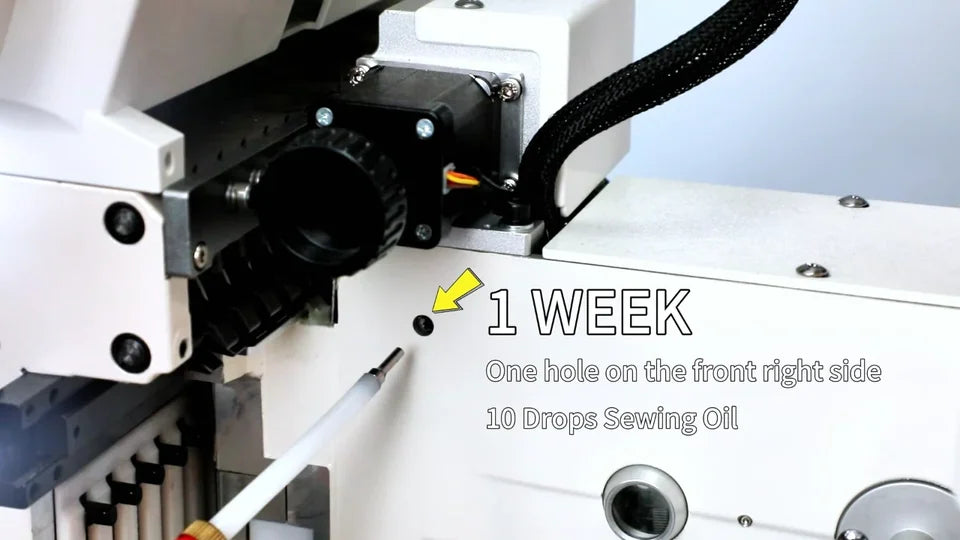
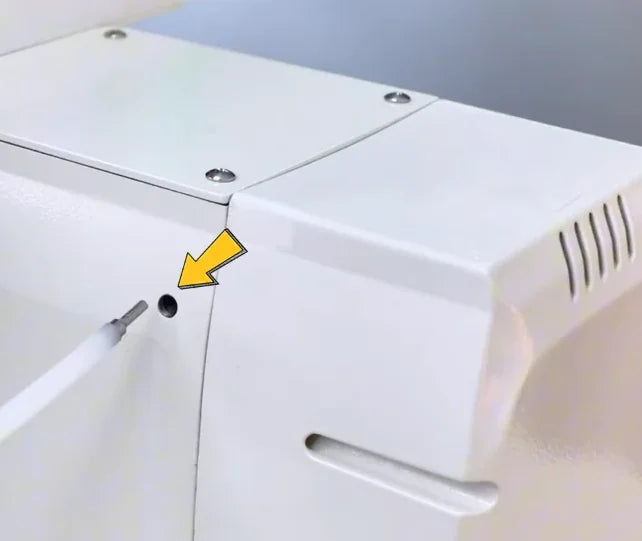
Watch at 03:13Find the small front hole on the right side of the machine, beside the black color-change assembly, and add 10 drops. The second hole is farther back on the same side, below the thread-spool platform; add 5 drops there. Do both once a week. Use the arrows to distinguish the small holes from the larger openings nearby.
6. Move the head left and oil the two actuating rods
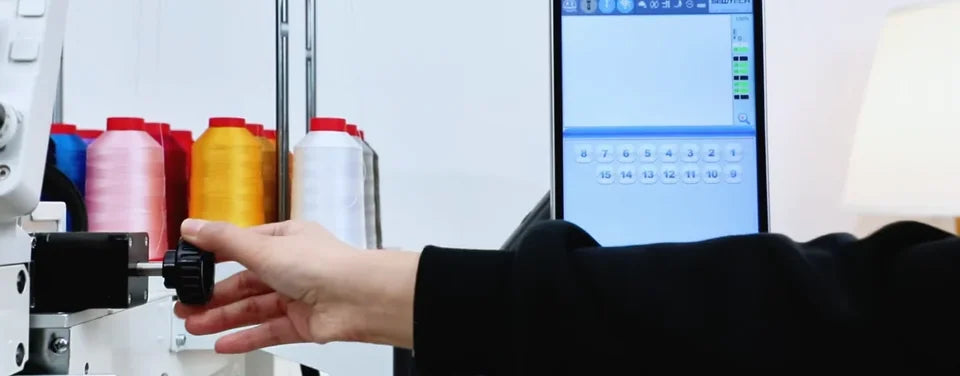
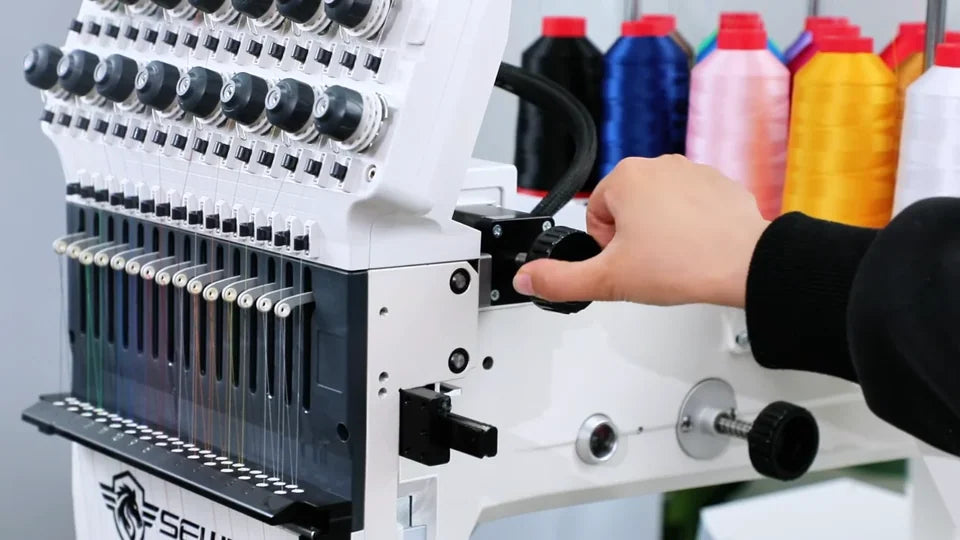
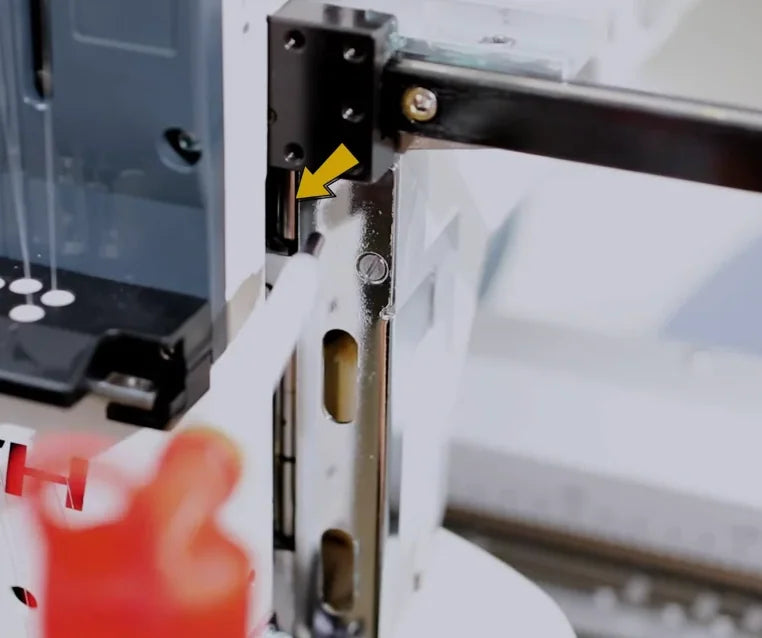
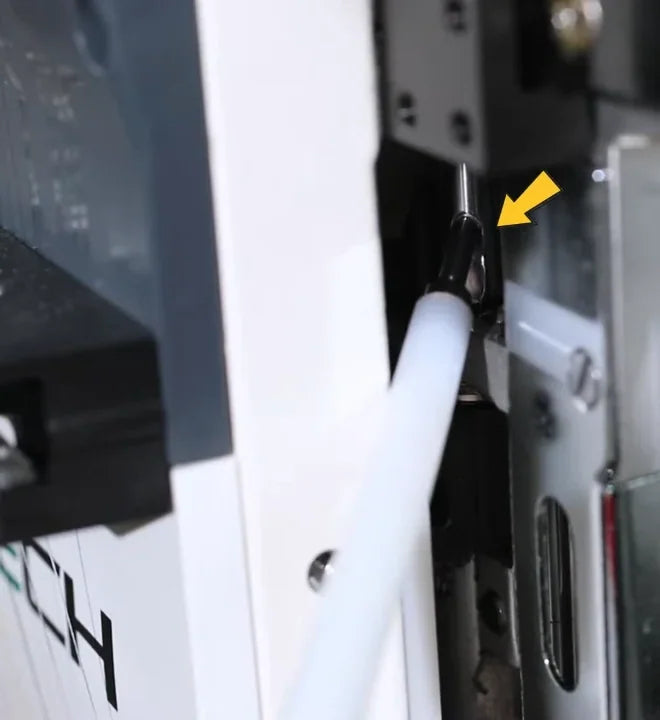
Watch at 03:35With the machine still off, turn the upper black knob beside the head counterclockwise. Watch the needle head move left. Find the two exposed metal rods next to the needle bank and apply 2 drops to each once a week, as demonstrated. The video card says 2–3 drops; the spoken demo uses 2.
7. Grease both sides of the head-travel rail
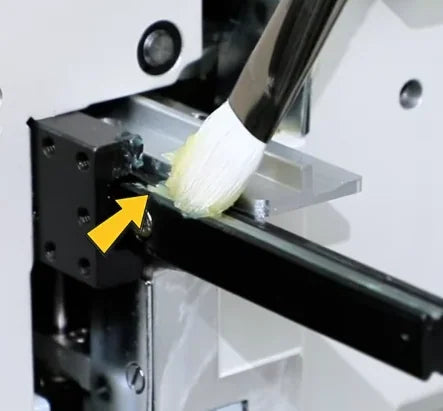
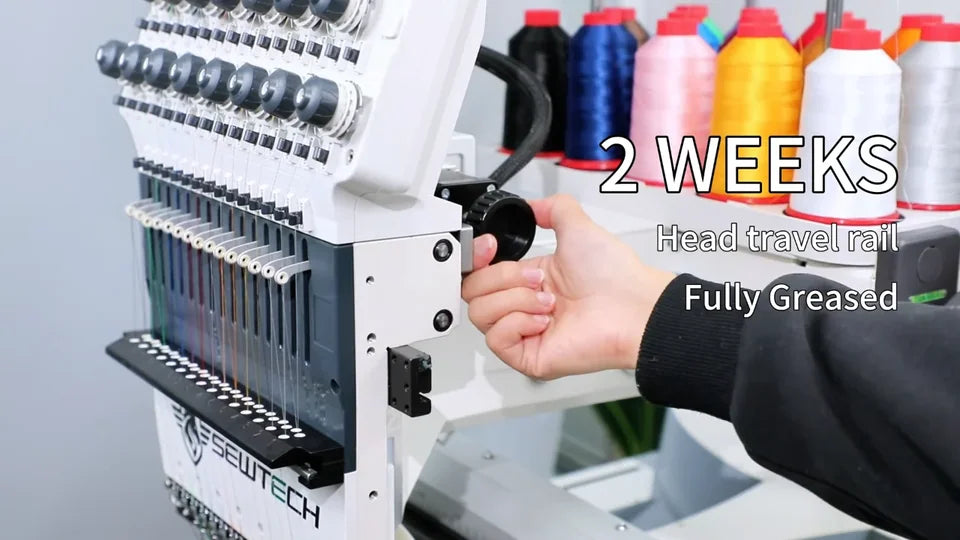
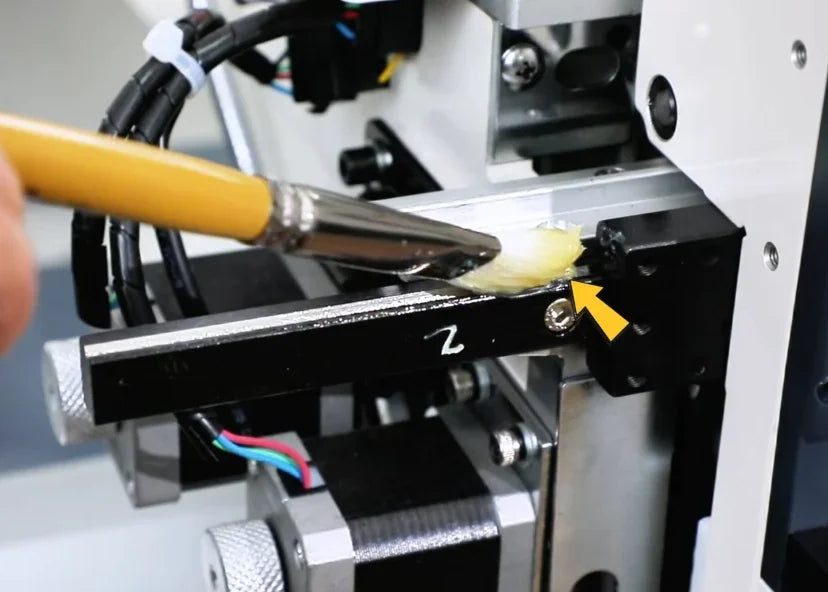
Watch at 04:23Switch from oil to grease. With the head still to the left, use the grease brush on the exposed right-hand section of the black head-travel rail. Turn the same upper knob clockwise. When the head moves right and uncovers the other side, brush grease along the left-hand section too. Do both sides every two weeks.
8. Grease the cam follower rollers on both sides
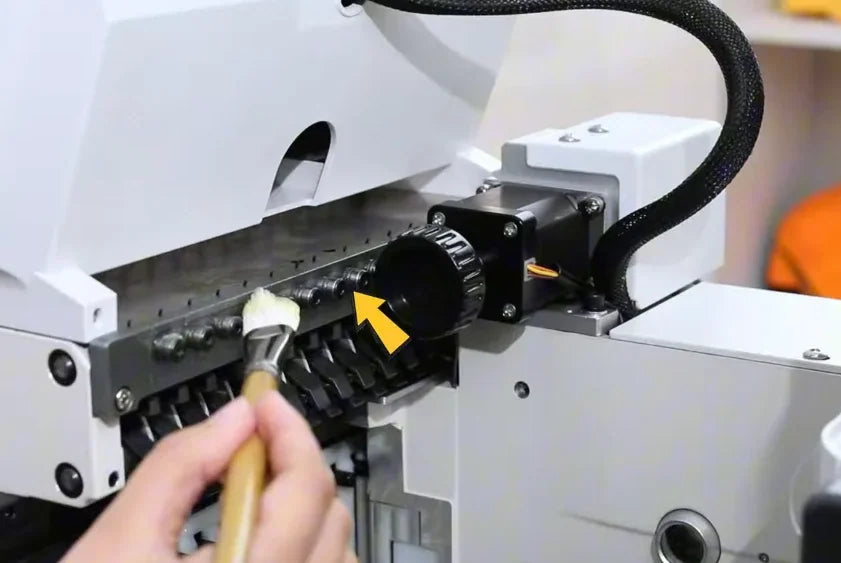
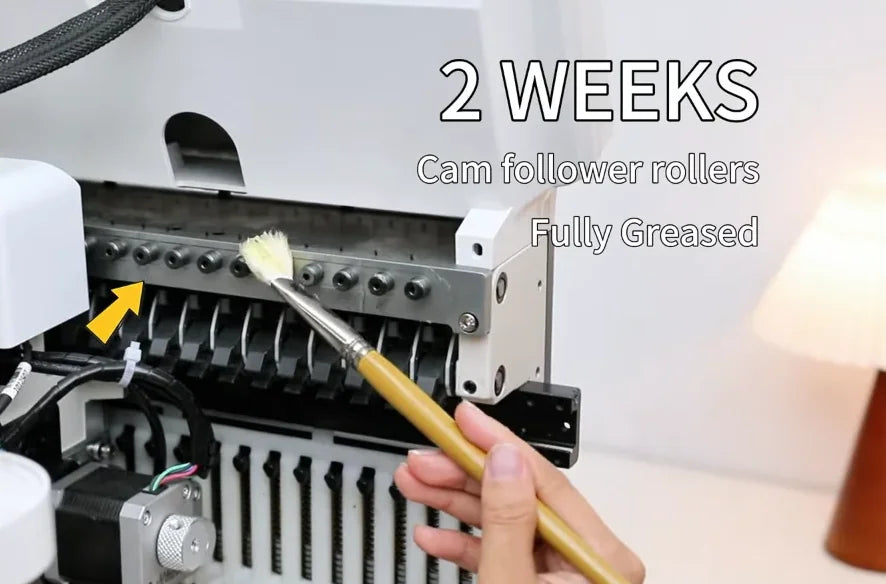
Watch at 04:52Locate the row of small rollers in the color-change mechanism above the needle bank. With the grease brush, give each exposed roller a thin coat, one at a time. Turn the black knob counterclockwise to expose the other side and repeat there. Service both sides every two weeks.
9. Grease the cam wheel where it meets the rollers
Watch at 05:31Once both sets of rollers are coated, brush grease along the cam wheel's contact surface where it meets the rollers. Turn the same black knob a few turns to spread the grease. Do this every two weeks.
10. Grease the two cap-driver rails on the machine
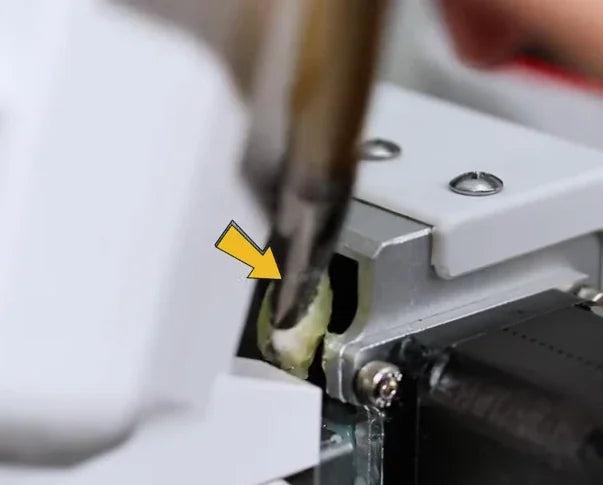
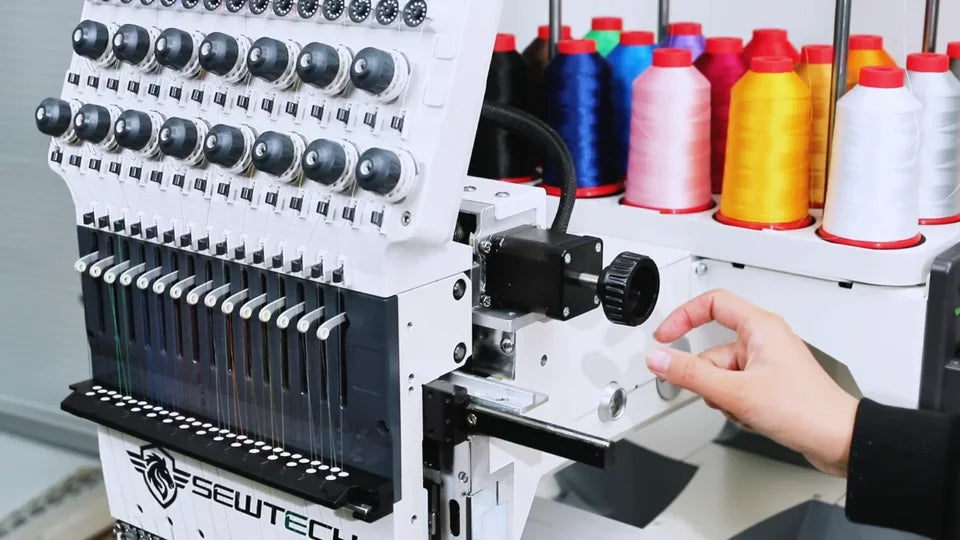
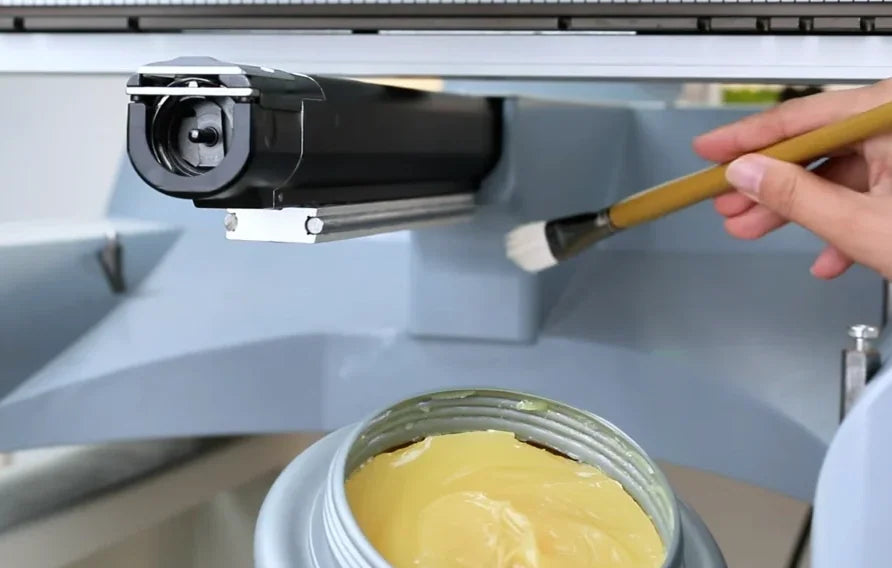
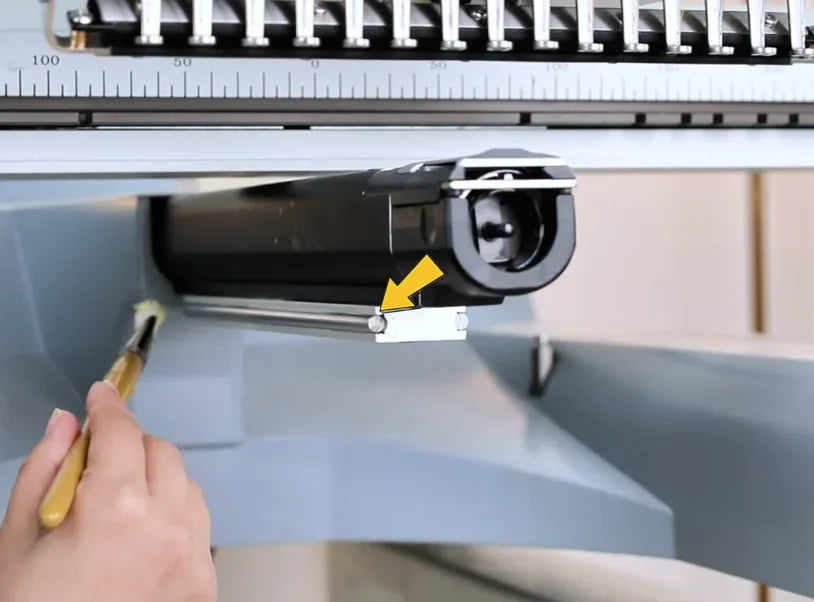
Watch at 05:52Under the needle bank, find the two cap-driver rails shown beside the protruding black cylinder. Use the small grease brush to apply a thin coat along both sides. Do this every two weeks. These are not the head-travel rail or the circular groove in the next step.
11. Grease the cap driver's circular inner groove
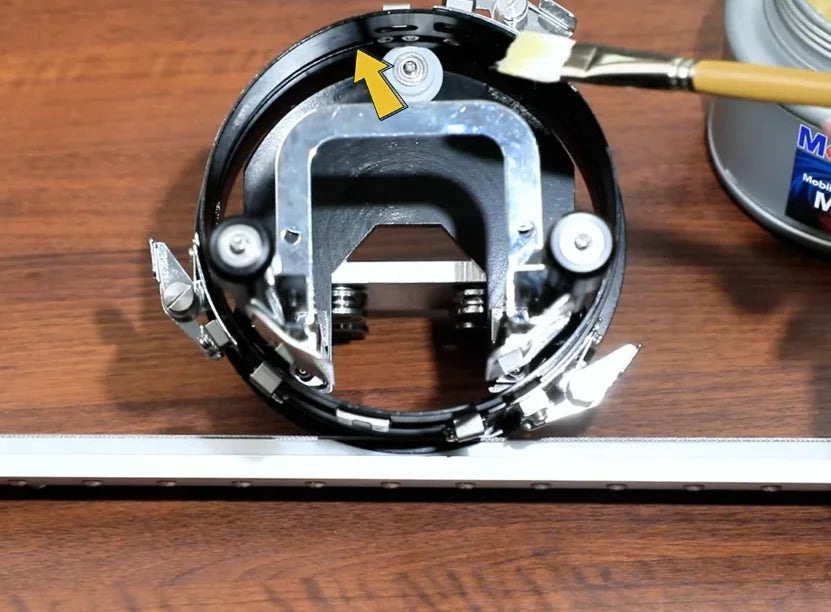
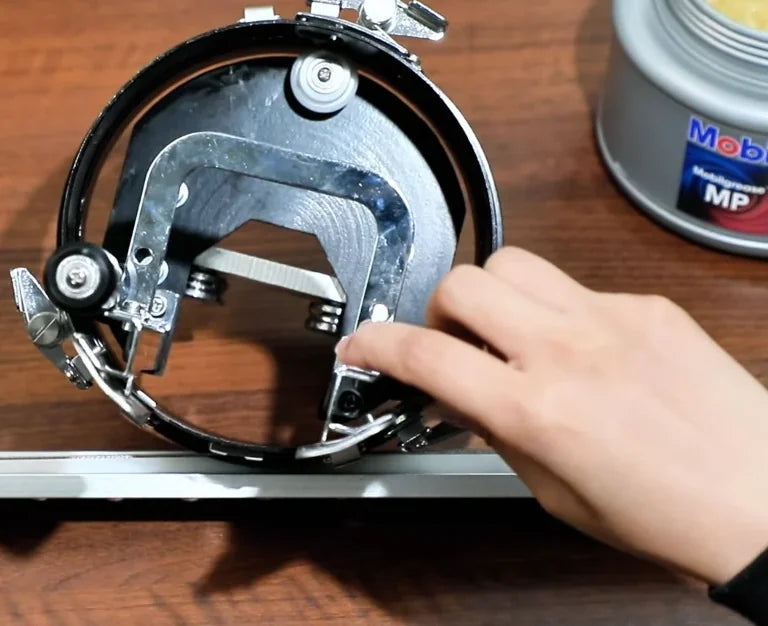
Watch at 06:33With the cap driver off the machine as shown, locate the track around the inside of its circular ring. Brush grease along the entire inner groove. Rotate the ring by hand to reach and coat the rest of the groove evenly. Do this every two weeks.
12. Clean beneath the rotary-hook cover
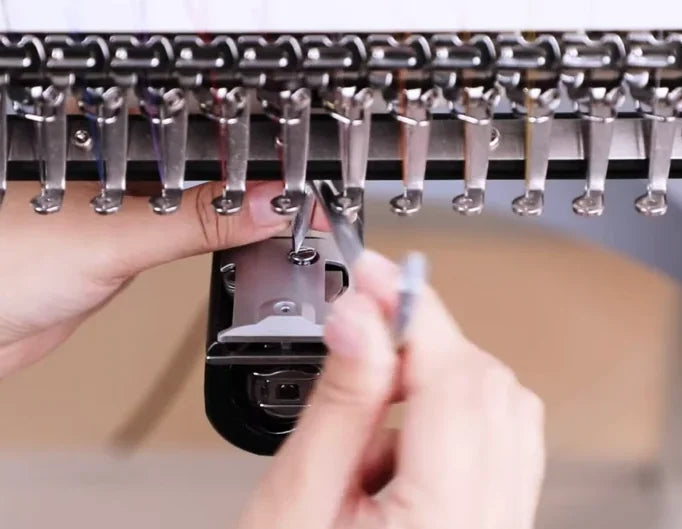
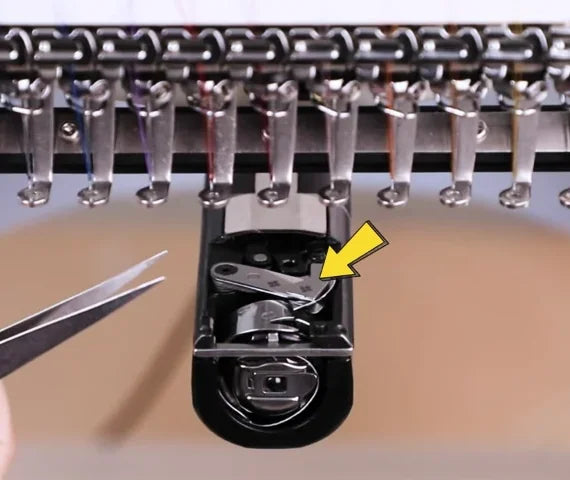
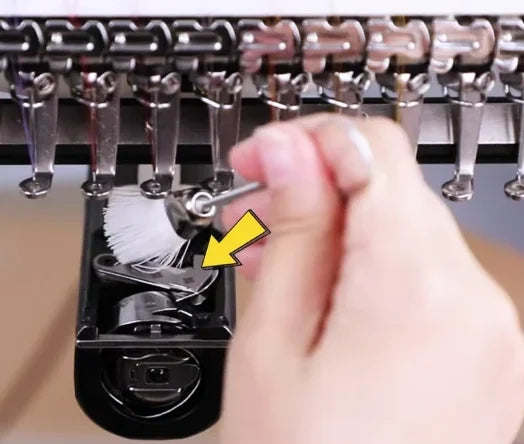
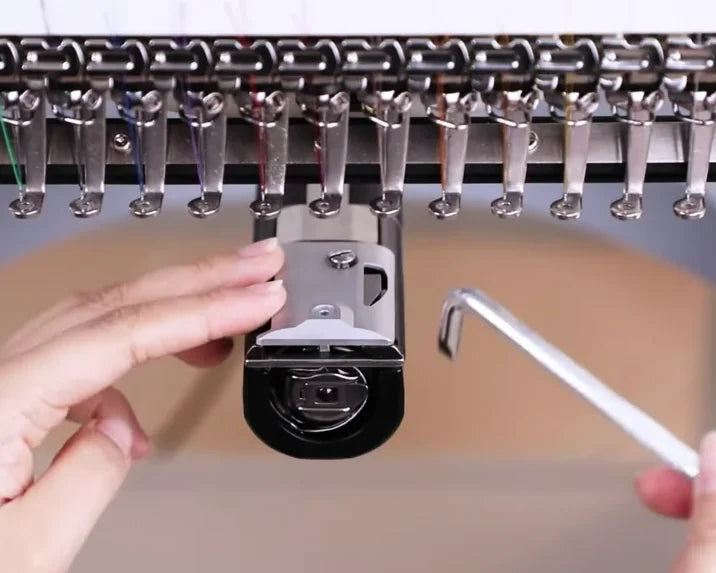
Watch at 07:06Once a week, use an Allen key to remove the screw from the small cover above the hook, then lift the cover. Carefully pull out stray thread with tweezers and brush out the remaining lint. When no loose thread or lint remains, refit the cover and secure its screw. The presenter says weekly; the end card lists every two weeks. This is cleaning, not a greasing point.
13. Brush lint out of the upper thread channels
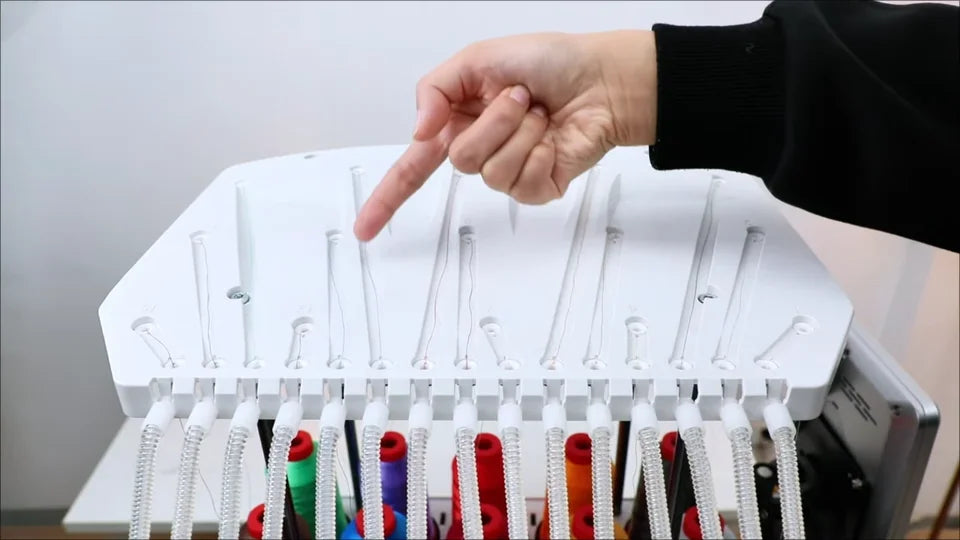
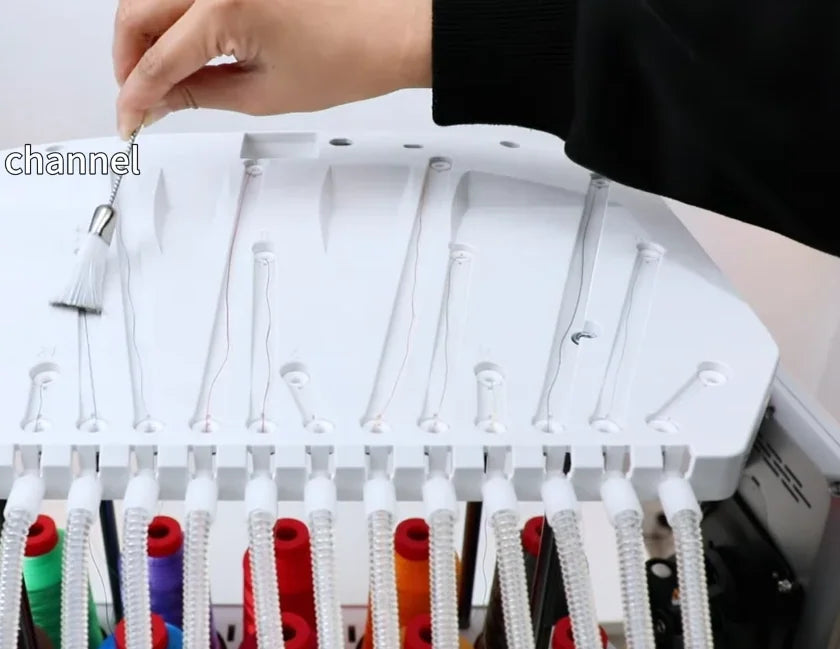
Watch at 08:05Inspect the grooves on the white thread guide above the spool rack. Once a week, use a clean brush to lift lint, fuzz and residue out of the grooves, especially at the narrow ends and corners. Check that the thread paths are clear. Do not apply grease to these channels.
14. Replace dull needles or check for skipped stitches
Watch at 08:37The presenter recommends changing needles regularly, especially if a needle feels dull or you notice skipped stitches. Replace the affected needle before using the machine again. This segment explains when to replace a needle; it does not demonstrate the replacement procedure.
15. Power on and check the indicated needle number
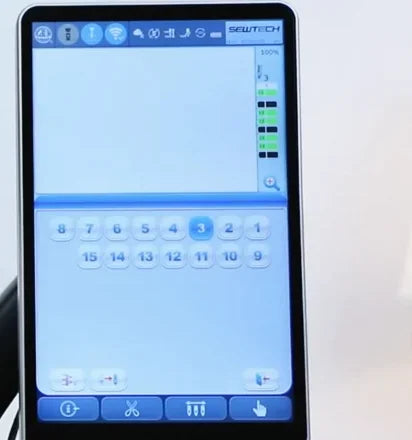
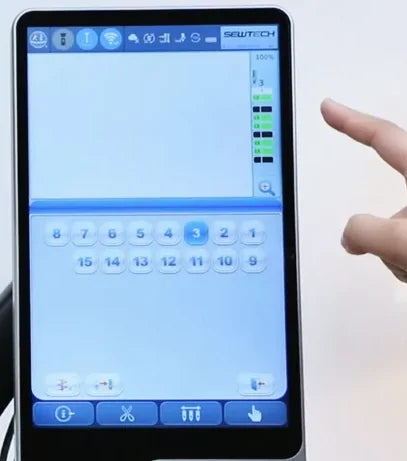
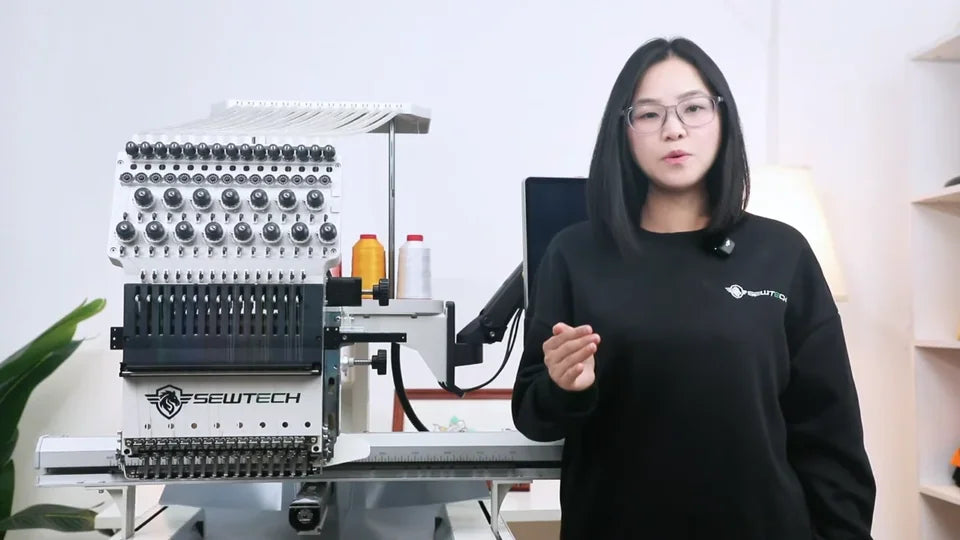
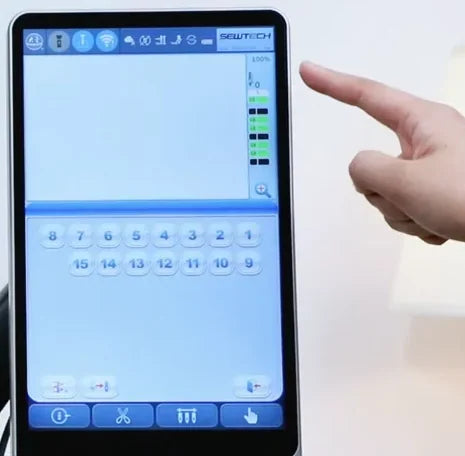
Watch at 08:56Make sure the bobbin case and covers are back in place before powering on. On the main screen, tap the blue multi-needle icon, third from the left in the bottom toolbar. In the needle panel, check the current needle number in the upper-right status area. It may show 0 with no needle highlighted after the manual knob was moved during maintenance.
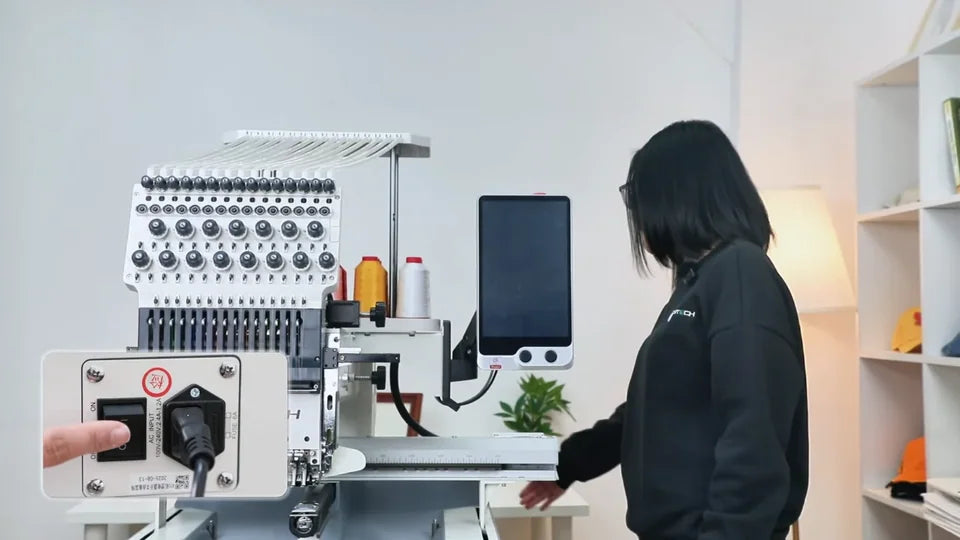

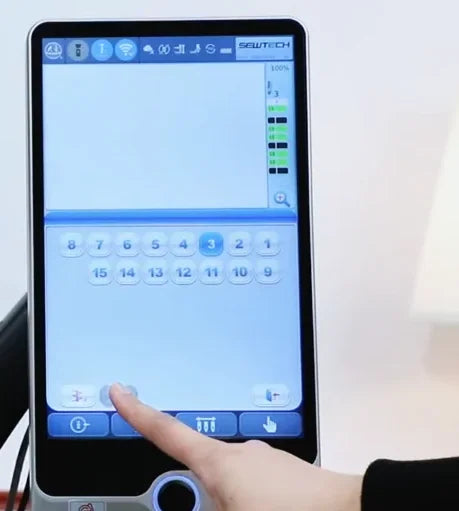
16. Recover the needle position if the display shows 0
Watch at 09:18If you see this needle-position warning, keep clear of the moving head and slowly turn the upper black knob. Watch for a nonzero needle number and a matching blue highlight. The video shows 3; any valid needle number is fine. Tap the second small button from the left just above the blue toolbar to let the machine position the needle. Check that the warning clears and the needle number stays highlighted before continuing.