Use the ST-1501 Touchscreen for Embroidery Setup

Overview
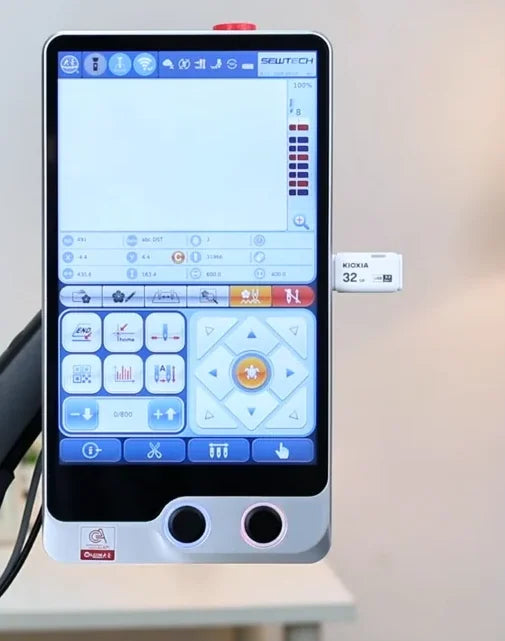
Use the ST-1501 touchscreen to set up T-shirt, cap and flat embroidery. The tutorial starts with language and clock setup, then follows the same five screen pages from design files through the final embroidery confirmation. Have your design files, threaded needles and the correct physical hoop or cap driver ready. The letter designs, needle assignments and speed values are examples.
Step-by-step guide
1. Set the touchscreen language
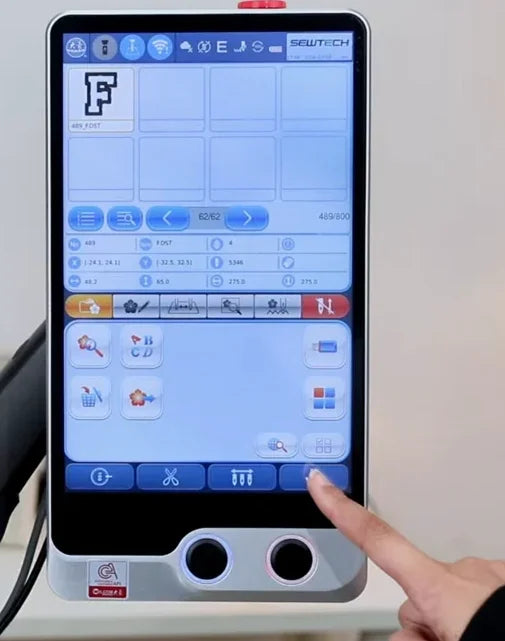
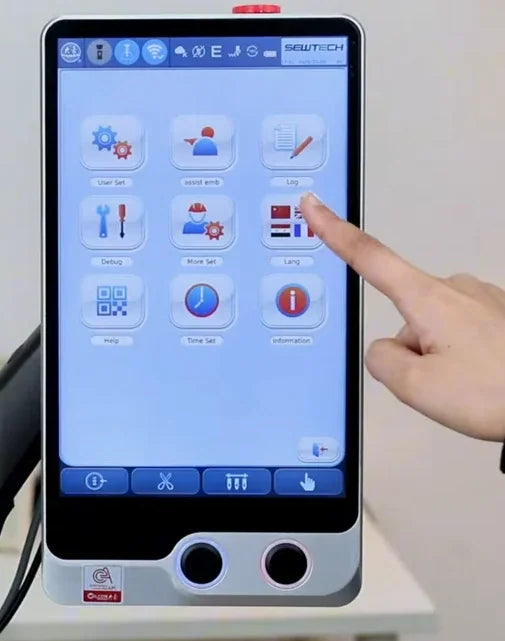
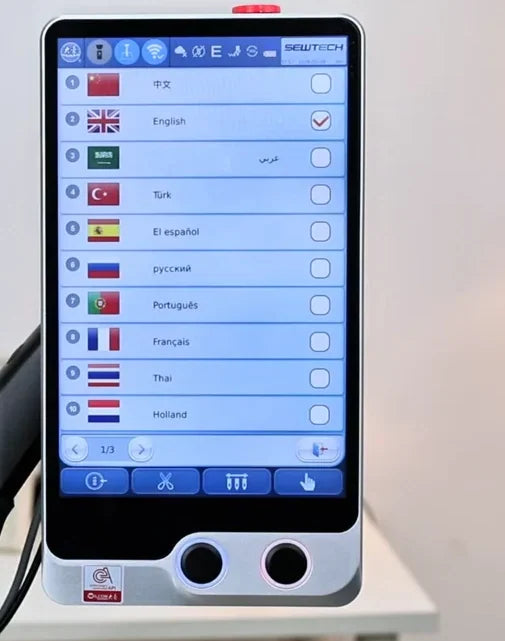
Watch at 00:21Turn on the ST-1501 and wait for the design screen to finish loading. On a new controller, tap the pointing-hand icon at the bottom right, then tap the flags tile labeled Lang. Choose the language from the list and confirm with the check mark. English is the example. Check that the settings menu returns in the selected language.
2. Set and save the clock
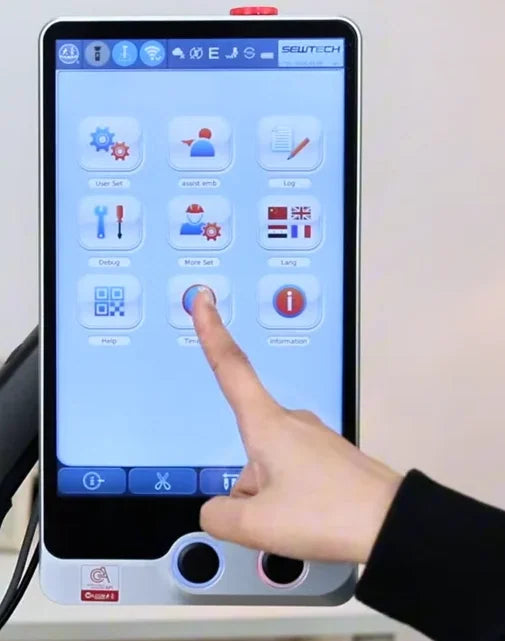
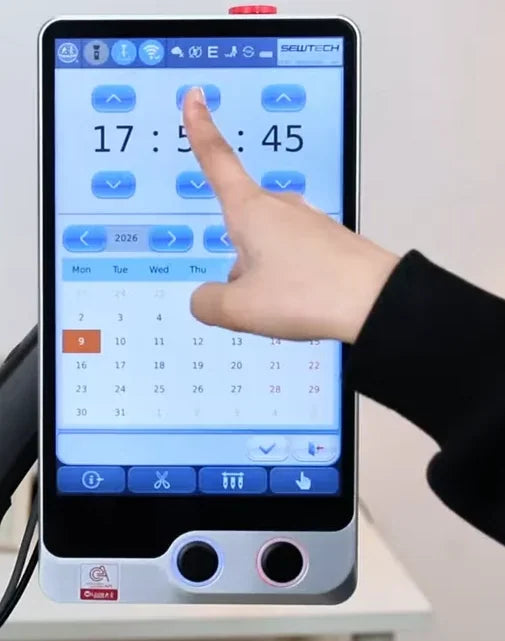
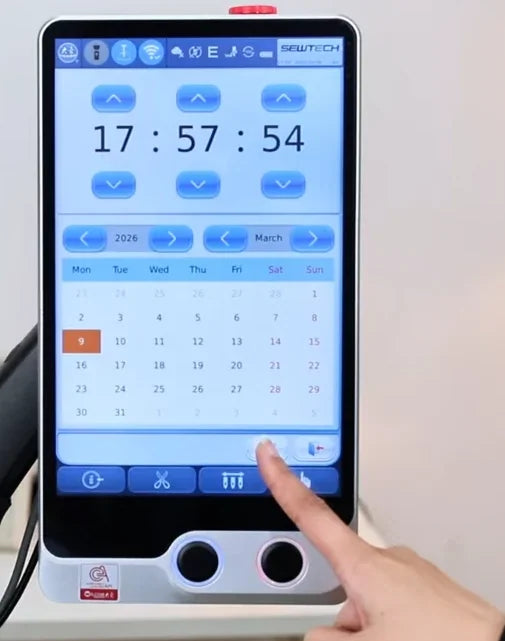
Watch at 00:58From the settings menu, tap the Time Set clock tile in the bottom row. Use the up and down arrows above and below the hour, minute and second values to set local time. Tap the check mark below the calendar to save, then use the return control to go back to the design screen.
3. T-shirt: import a design from USB
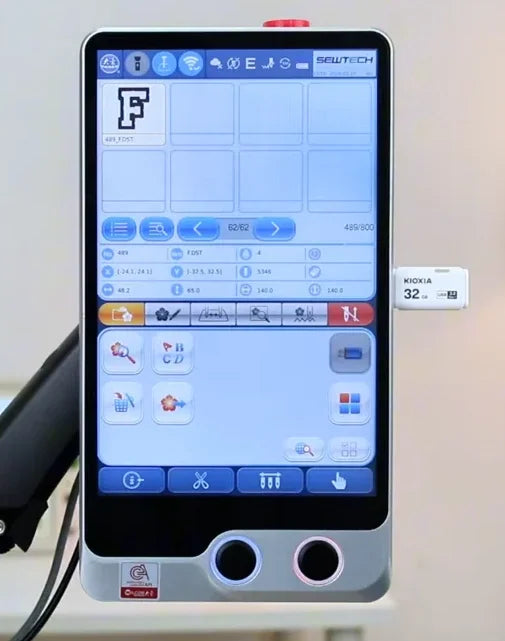
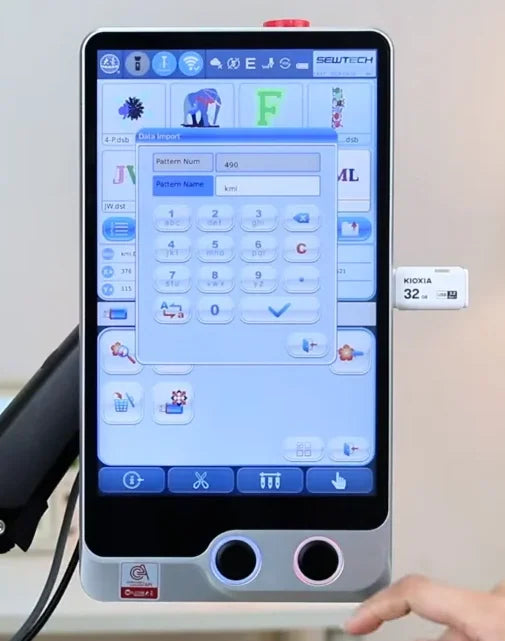
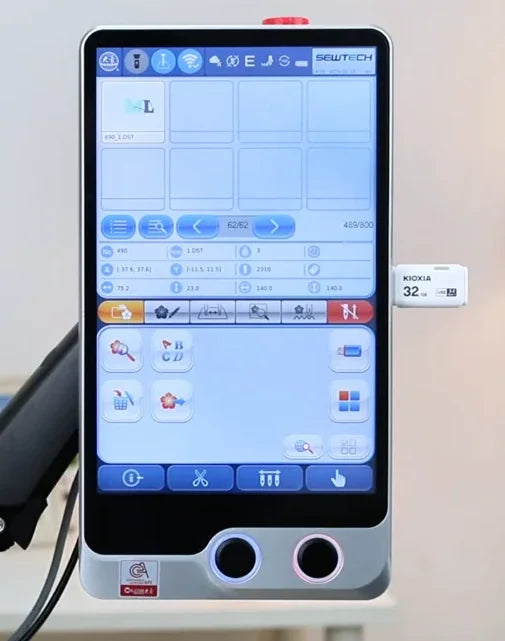
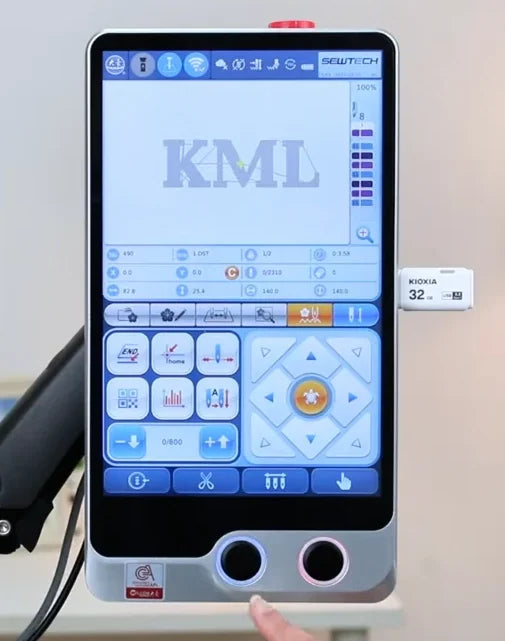
Watch at 01:34Prepare a USB drive containing the design and mount the hooped T-shirt. Insert the drive at the right edge of the touchscreen, then tap the USB icon on the design screen. Select the file from the USB thumbnails and tap the import icon in the left group. In Data Import, keep or edit the pattern name and tap the check mark. Use the return icon and verify that the design is now in the machine's own list. The video mentions Wi-Fi and demonstrates USB.
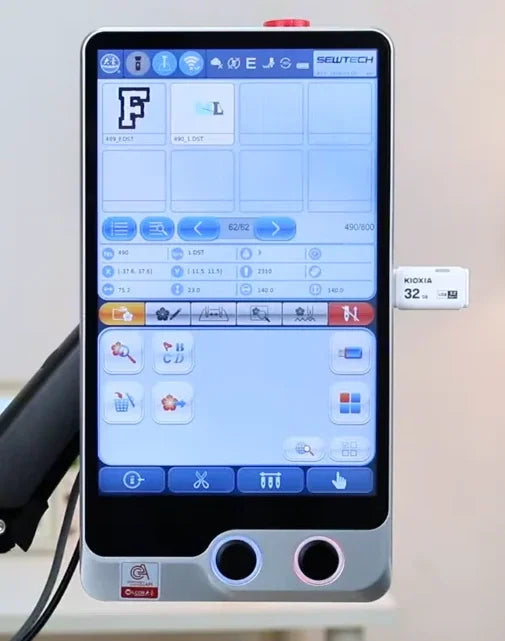
4. Optional: delete a stored design
Watch at 02:05In the machine's list, select the thumbnail you want to remove and tap the delete icon in the lower-left control group. Check the selected design before accepting the deletion prompt. The F thumbnail disappears in the demonstration and the imported KML design remains in the list.
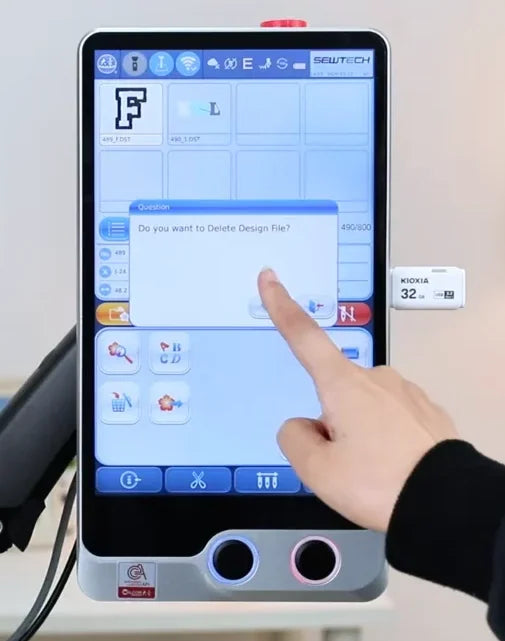
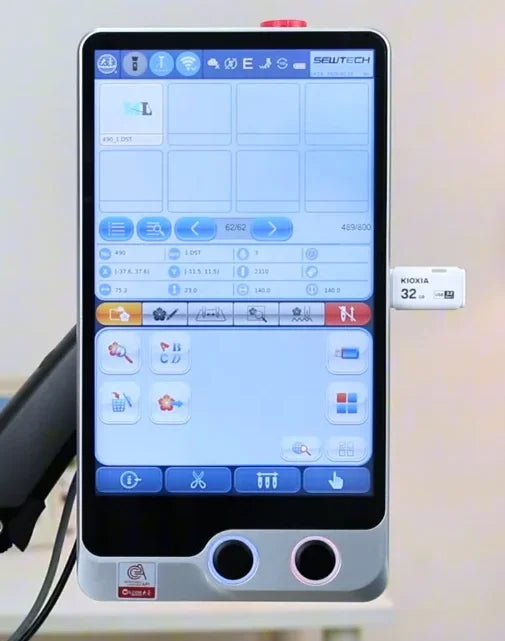
5. Optional: copy a stored design to USB
Watch at 02:21With the USB drive connected, select a design in the machine list and tap the copy-to-USB control in the left group. Tap the check mark in Data Output to save the copy to the USB drive. The source design is still visible in machine memory when the dialog closes.
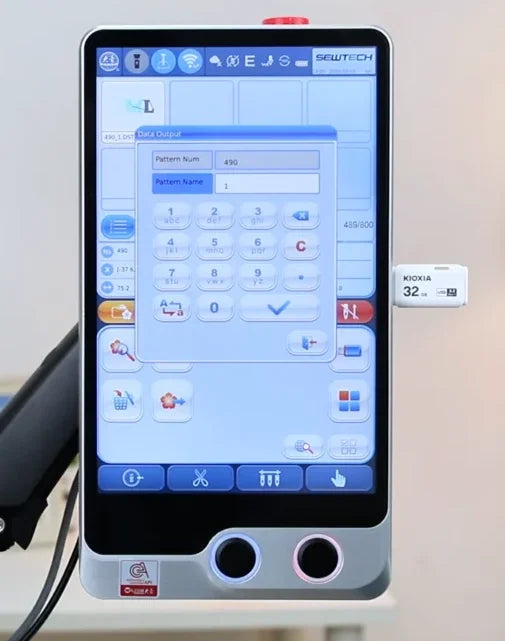
6. T-shirt: check direction and angle on page 2
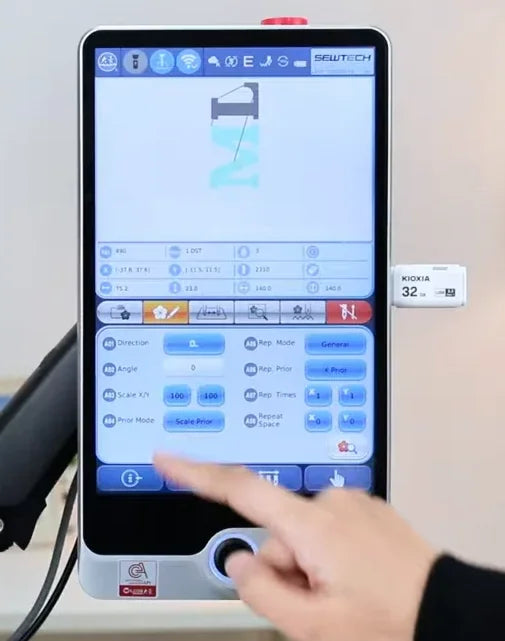
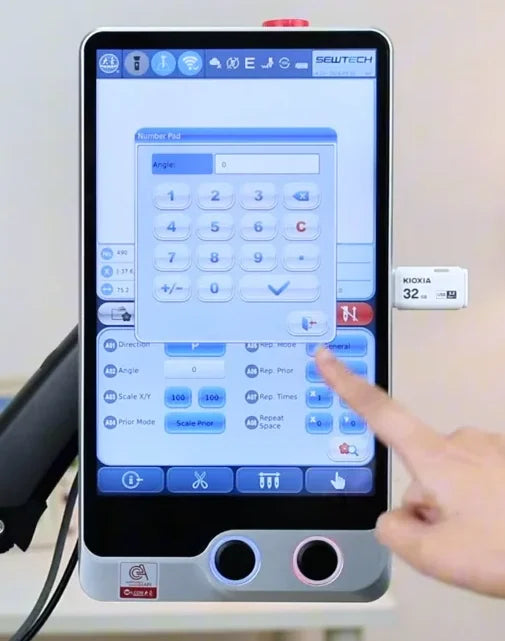
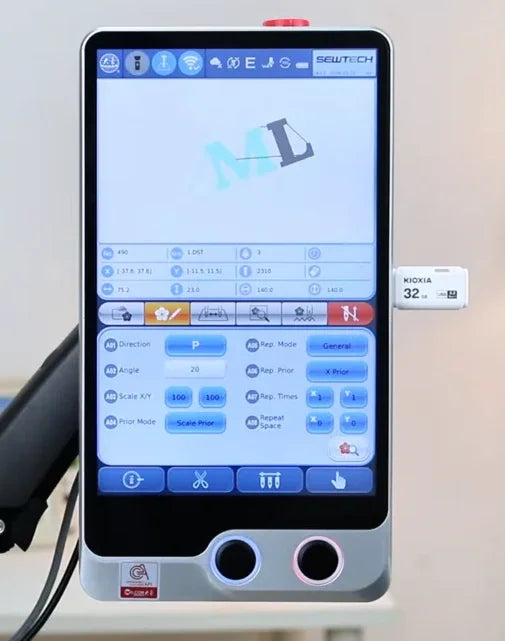
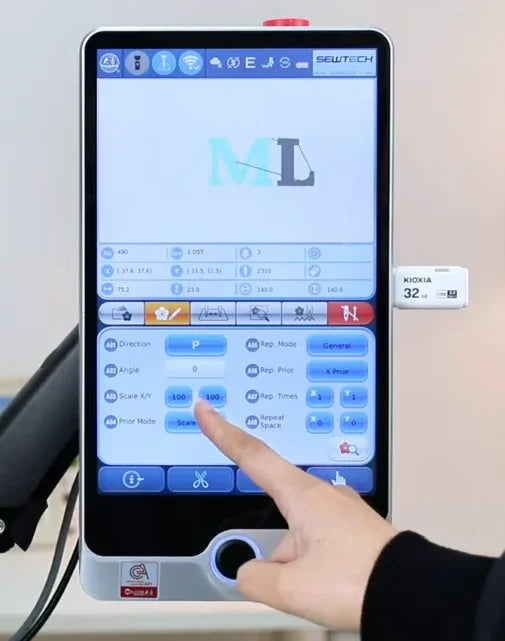
Watch at 02:35Select the imported KML design and open the second tab above the controls. Tap the P control in the Direction row to change the design orientation and compare the horizontal and vertical previews. For a fine rotation, tap Angle, enter a value and confirm on the number pad. The example changes to 20° and then returns to 0°. Check the preview after each change.
7. T-shirt: adjust X and Y scale
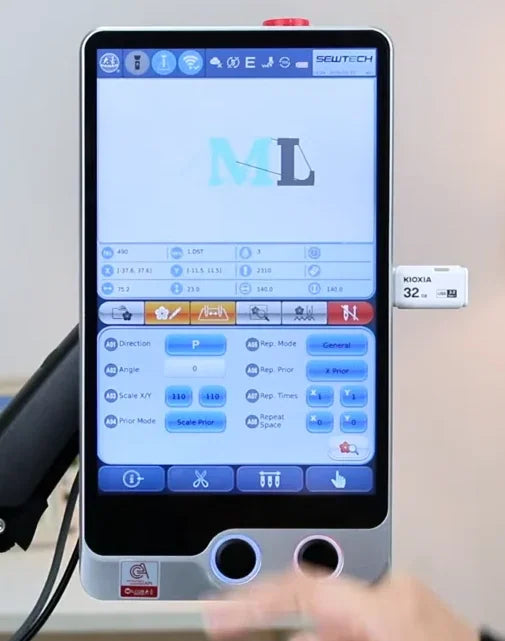
Watch at 03:12On page 2, use the Scale X/Y fields to adjust size across the two axes. Select the field, enter the percentage on the number pad and confirm. The video demonstrates increasing the scale value from 100 to 110. Use the size needed for the mounted hoop and verify it when tracing.
8. T-shirt: match the on-screen palette to the needles
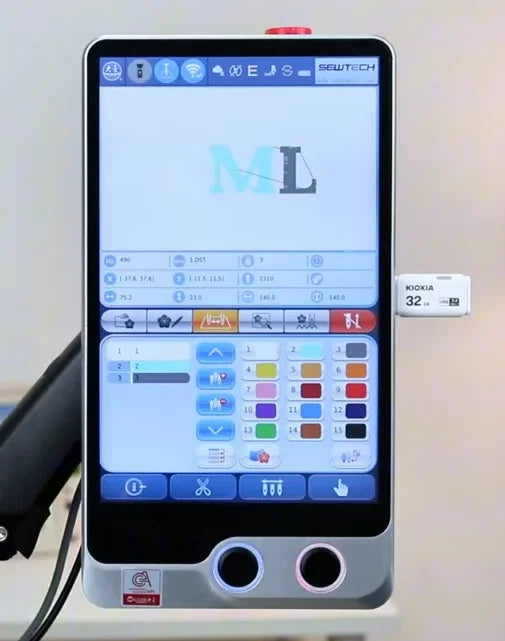
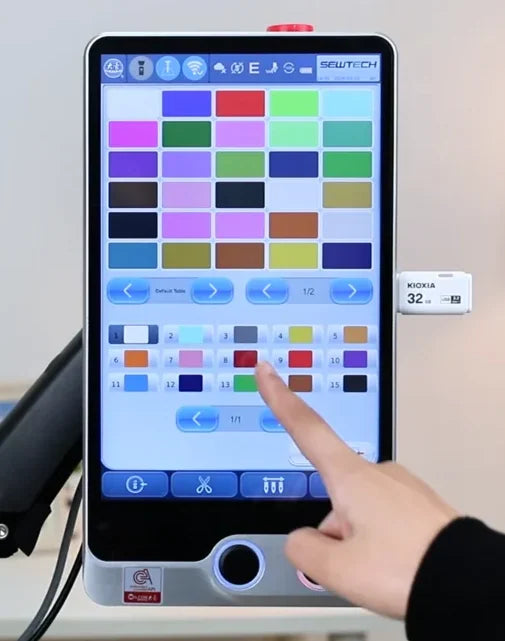
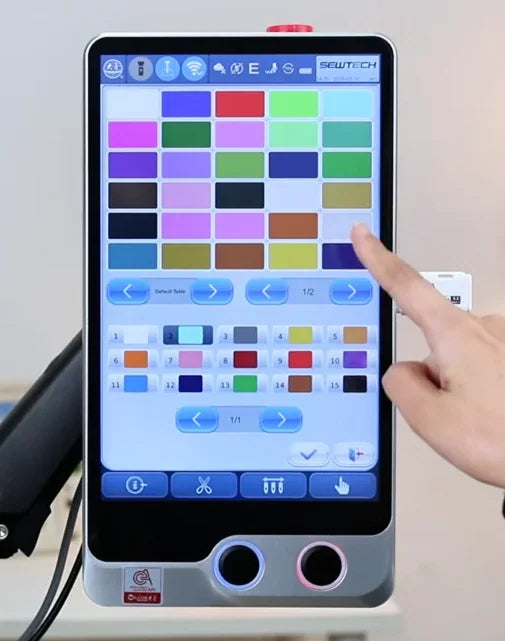
Watch at 03:30Open page 3. The 15 numbered swatches on the right correspond to the 15 physical needles. If a screen swatch differs from the thread actually loaded, open the palette editor, select that needle's numbered slot in the lower portion, pick the matching shade from the upper grid and tap the check mark. The demonstration changes needle 2 from blue to gray. Verify the swatch against the physical spool.
9. T-shirt: assign the KML stitch colors
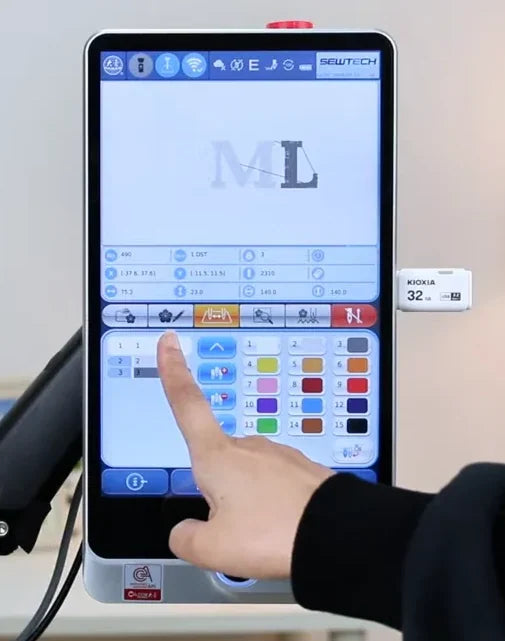
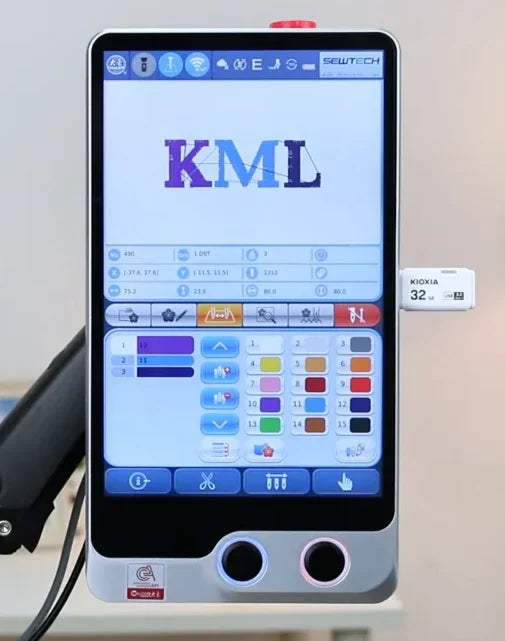
Watch at 04:38Select each design color row on the left of page 3, then tap the needle swatch on the right that should sew that block. The example uses needle 10 (purple), needle 11 (blue) and needle 12 (dark blue) in that order. Check both the numbered rows and the updated KML preview against the threads on your machine.
10. T-shirt: select the round hoop and set placement
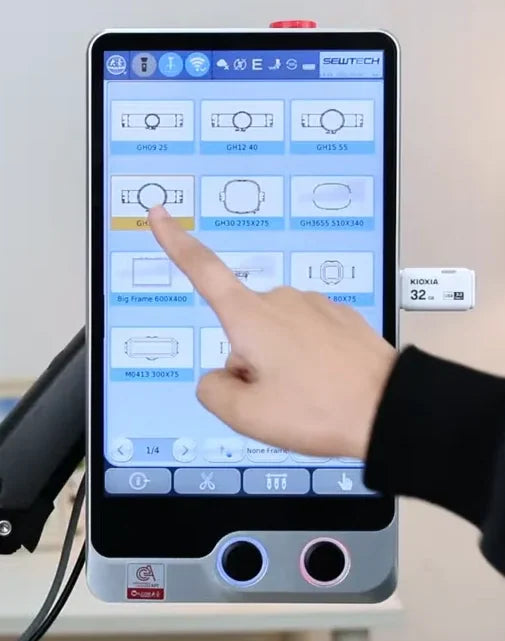
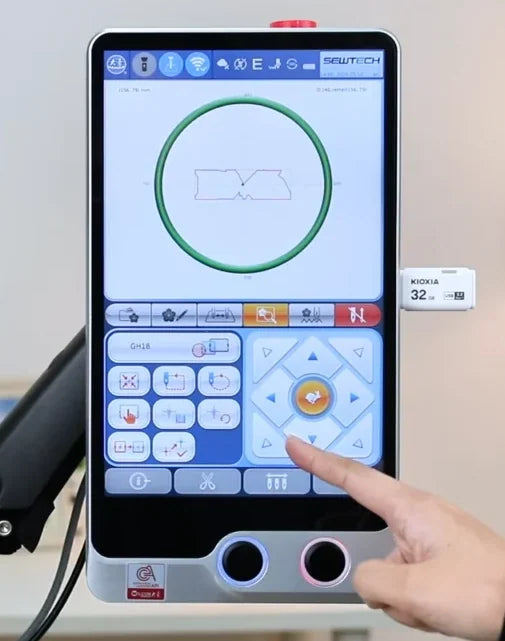
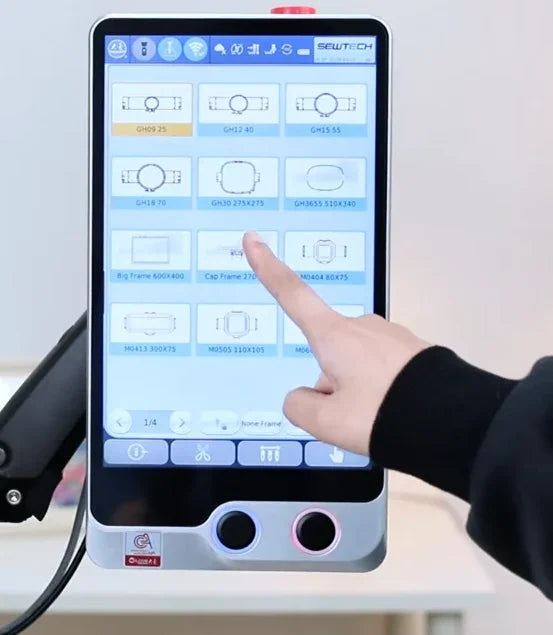
Watch at 04:54On page 4, open the frame selector at the top of the left control group. Choose the hoop that matches the mounted one and confirm with the check mark. The video chooses the round GH18 and the preview shows a green round boundary. Use the directional pad at right to move the design. The center speed control switches between rabbit for larger, faster moves and turtle for fine positioning.
11. T-shirt: trace the border before stitching
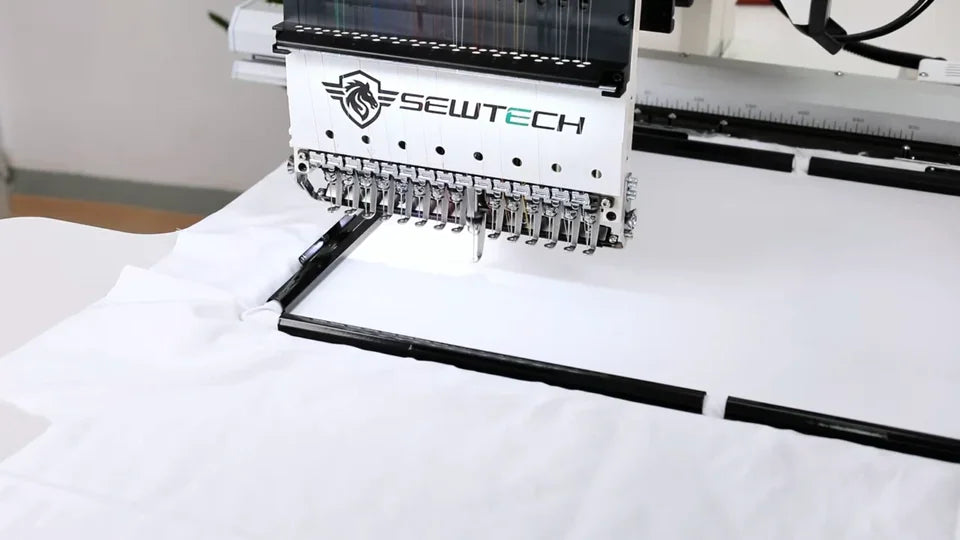
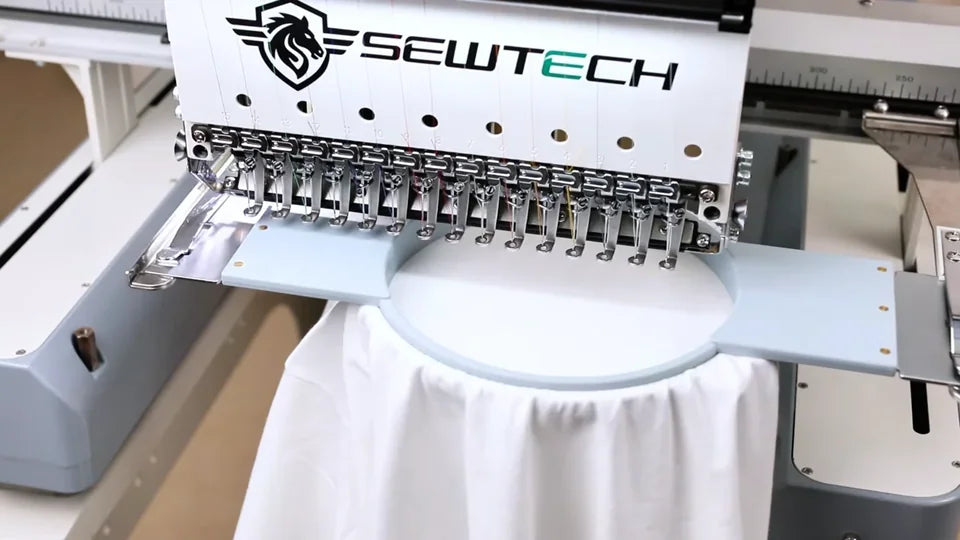
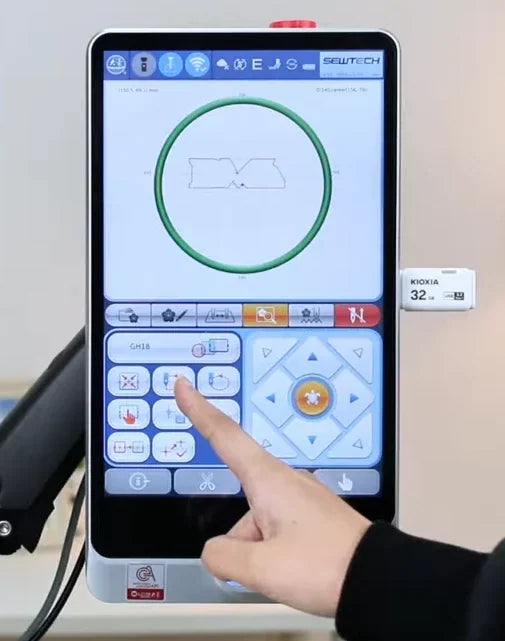
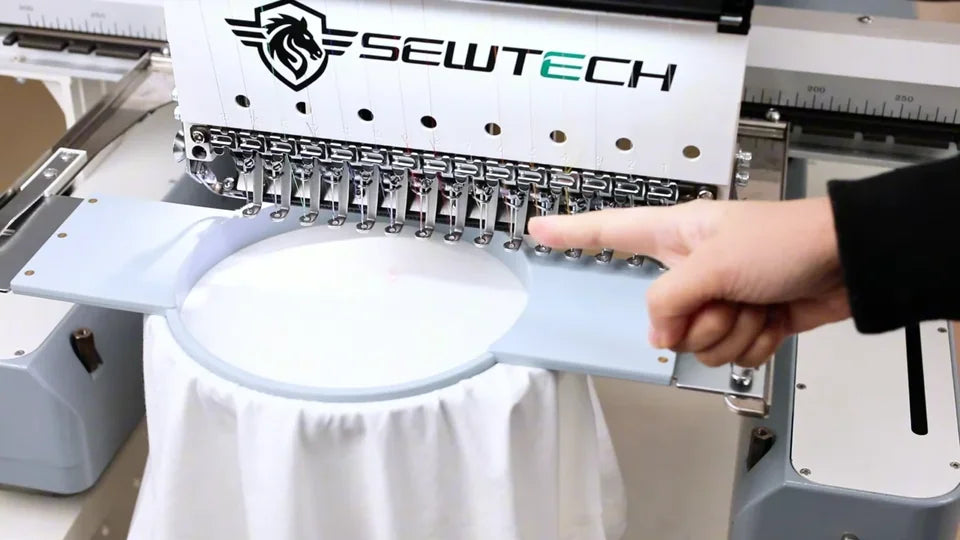
Watch at 05:36On page 4, tap the trace control in the left group. Watch the red laser dot travel around the outside of the design on the hooped fabric. Verify that the entire path is where you want the design and stays inside the physical hoop with clearance. If it is too close to the frame, adjust the placement and trace again before opening page 5.
12. T-shirt: choose how color changes run
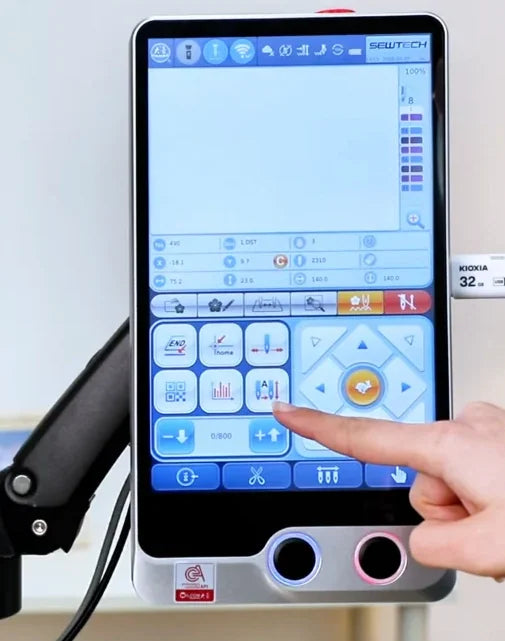
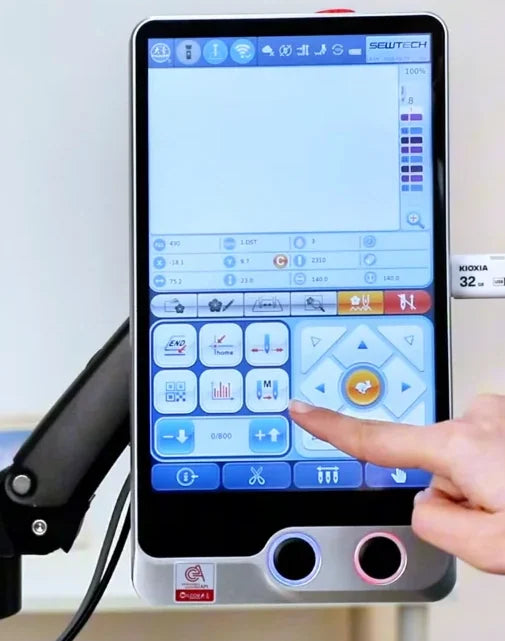
Watch at 06:00Open page 5 and use the mode control in the left button group above the speed row. Automatic changes needles and continues stitching. Semi-automatic changes to the next needle and waits for Start. Manual stops for you to choose the next needle. The tutorial returns to automatic for the T-shirt example.
13. T-shirt: set speed, confirm and start
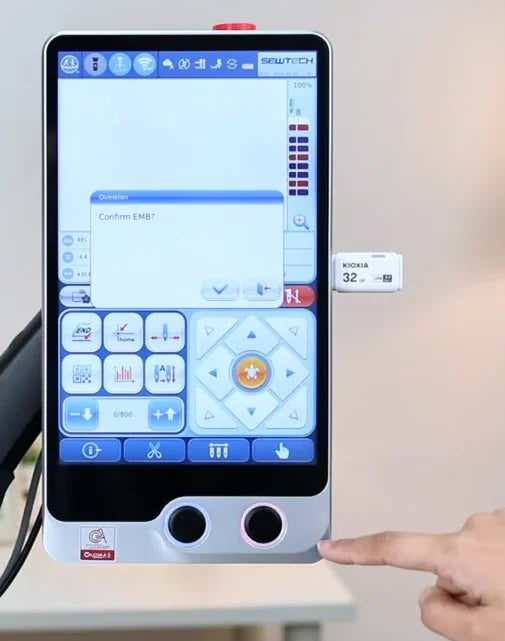
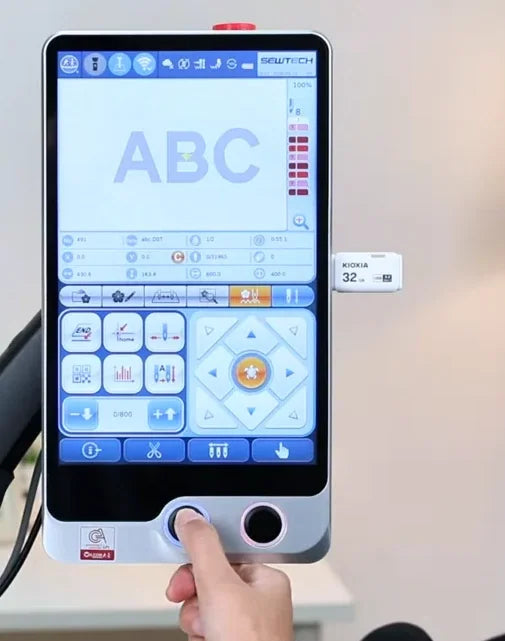
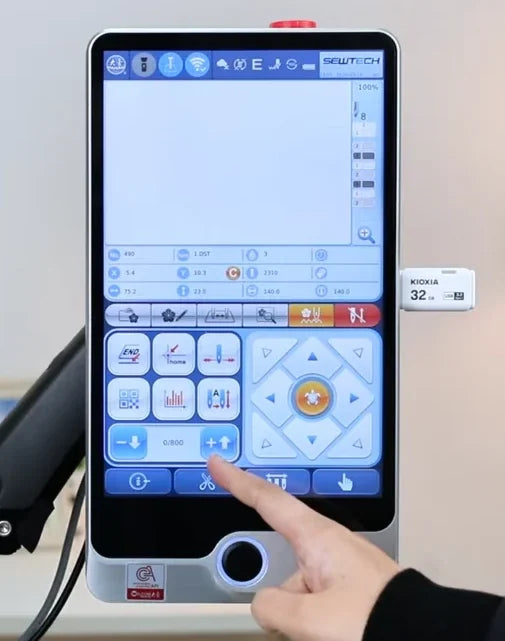
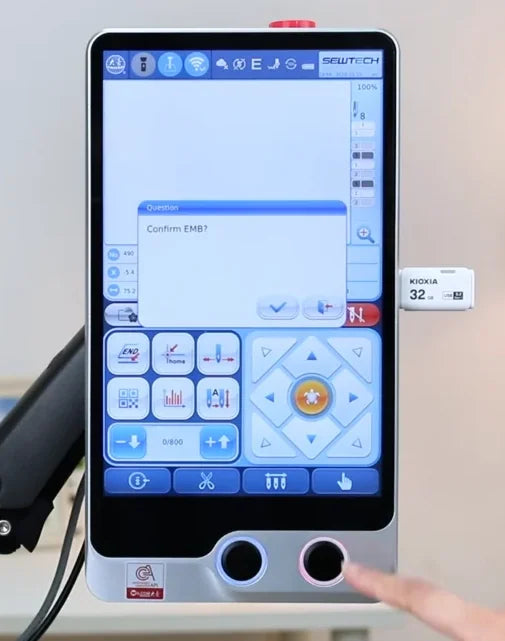
Watch at 06:42Use the minus and plus speed keys at the lower left of page 5. Once the speed, hoop clearance and needle sequence are correct, tap the red control at the far right of the tab row. Accept Confirm EMB? with the check mark. The KML preview returns in the ready state. Press the left physical button with the blue ring under the screen and check that stitching begins inside the hoop.
14. Cap: install the driver and select Cap Frame
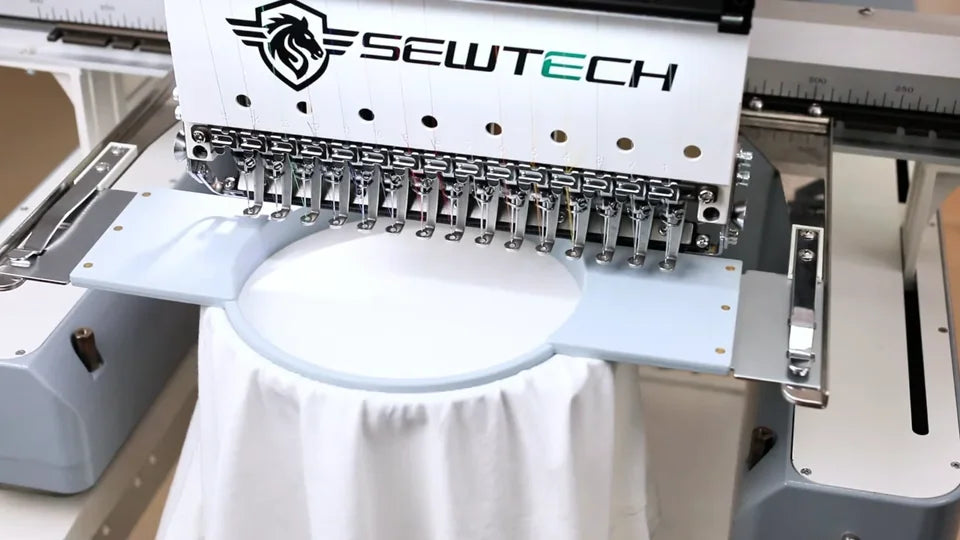
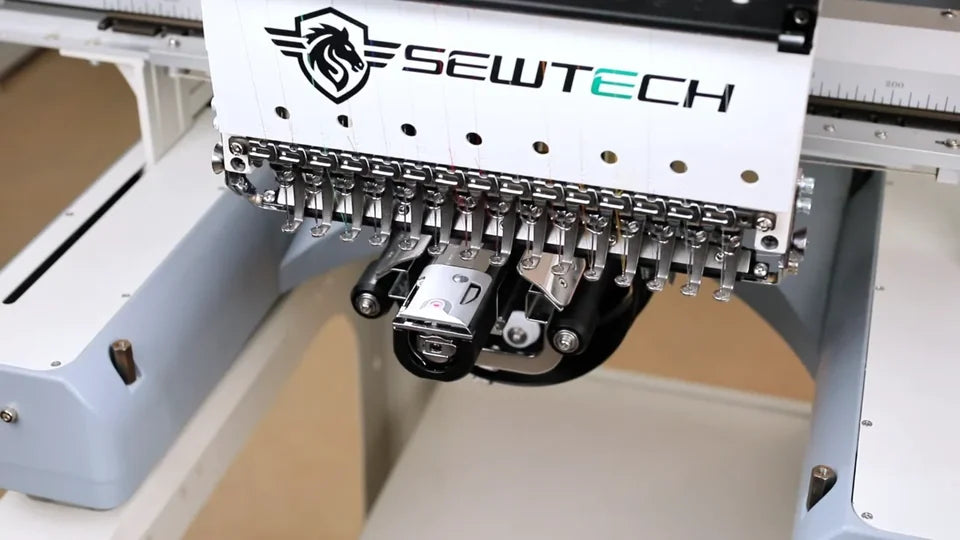
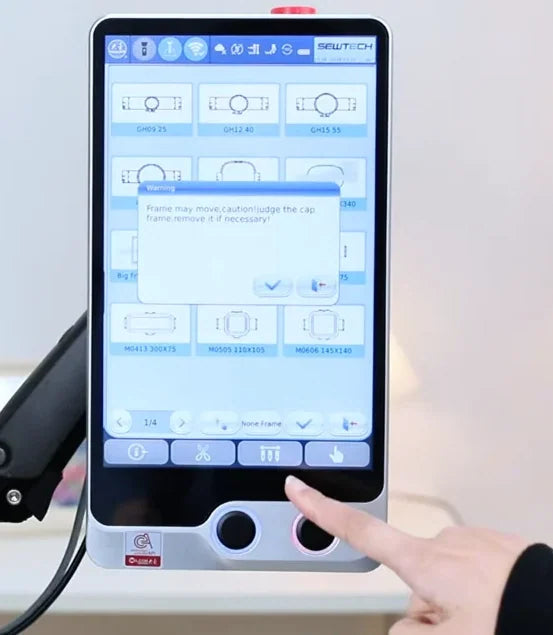
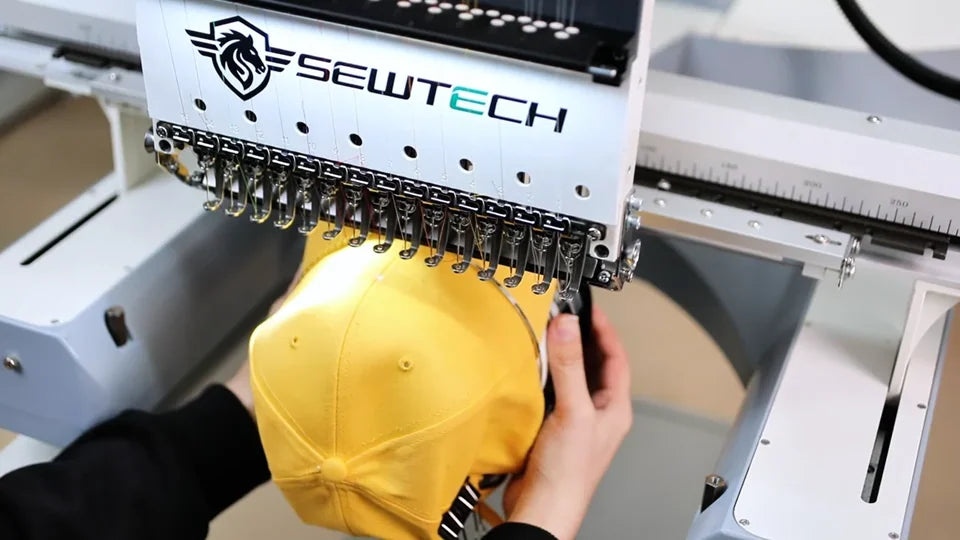
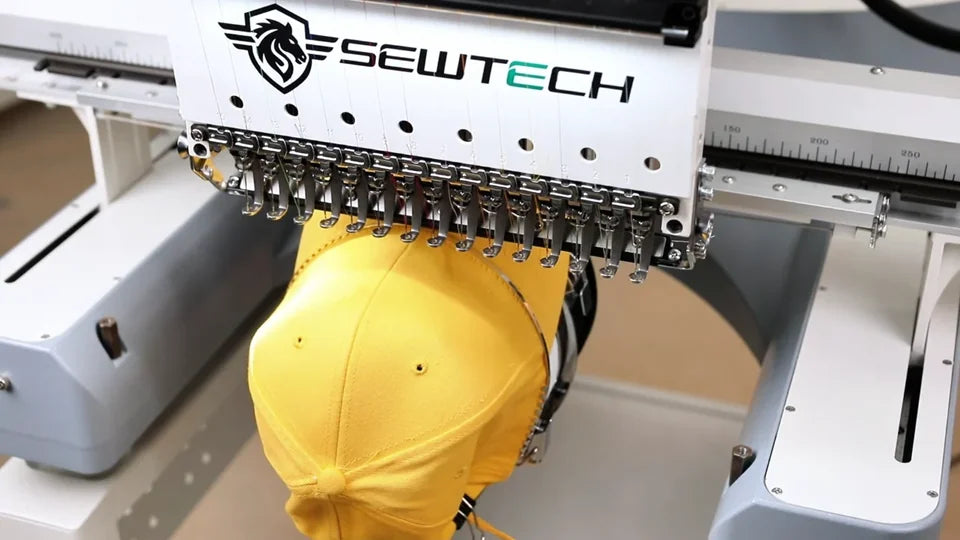
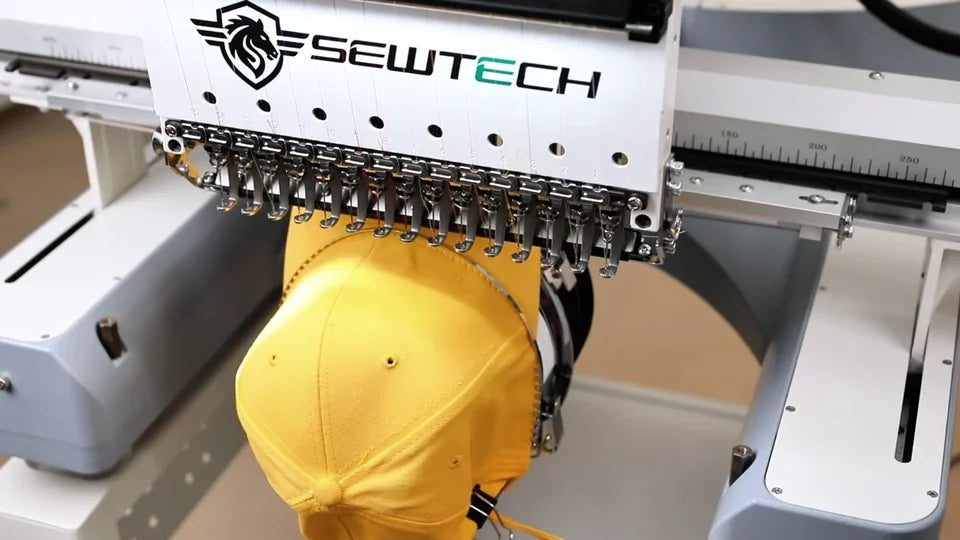
Watch at 07:13Fit the cap driver with the machine off, then turn it on. On page 4, open the frame selector, choose Cap Frame and tap the check mark. A frame-movement warning may appear. Check clearance before accepting it. In the video the driver moves into position before the hooped cap is mounted on it.
15. Cap: import JW and check direction on page 2
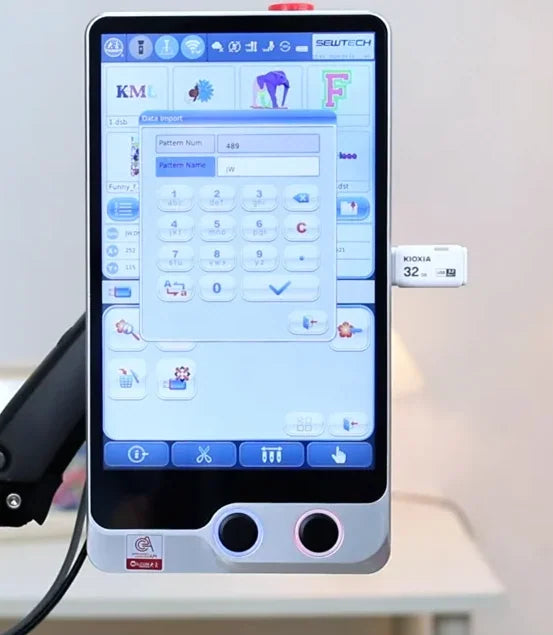
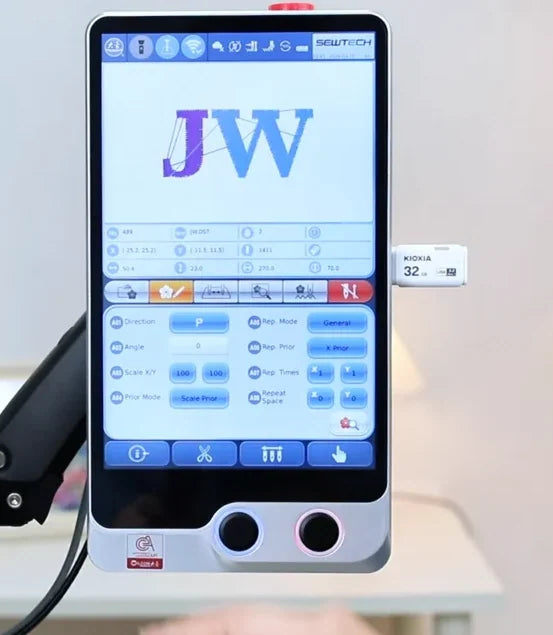
Watch at 07:46Insert the USB drive, open its design list, select the cap design and confirm the import. Return to machine memory and select the new JW thumbnail. Open page 2 and check the direction. The example leaves the normal JW direction as imported. The controller rotates the ready preview later, when the cap embroidery setup is confirmed.
16. Cap: assign the two JW thread colors
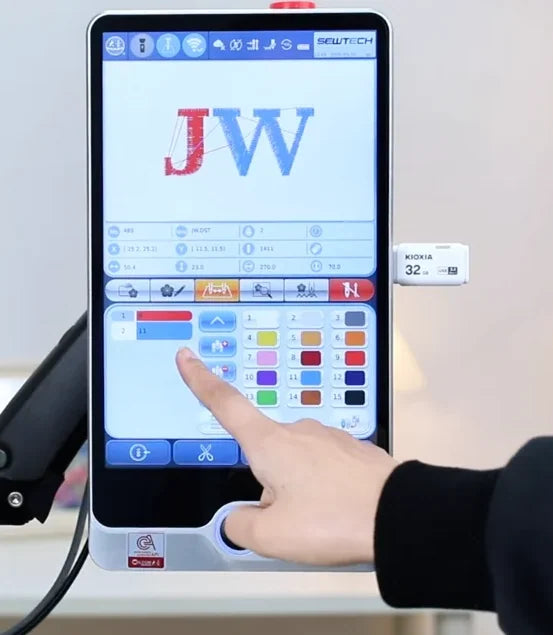
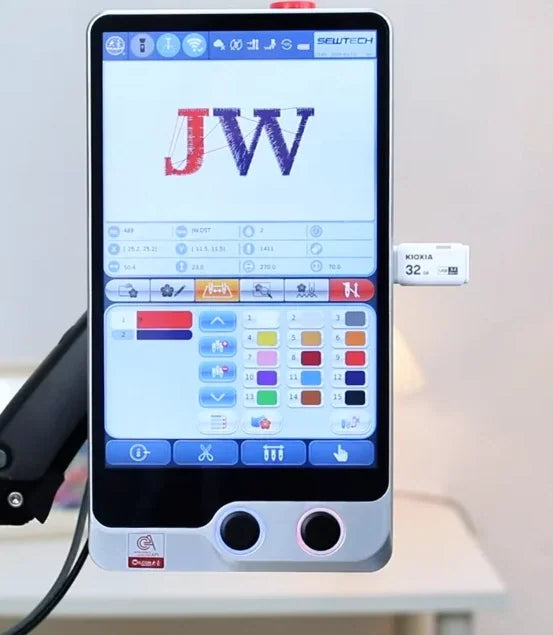
Watch at 08:20On page 3, check the 15 on-screen swatches against the loaded needles. Select the first design color row and assign a needle carrying red. Assign a needle carrying dark blue to the second row. Verify the preview shows a red J and a dark-blue W using the threads installed on your machine.
17. Cap: position or center the design
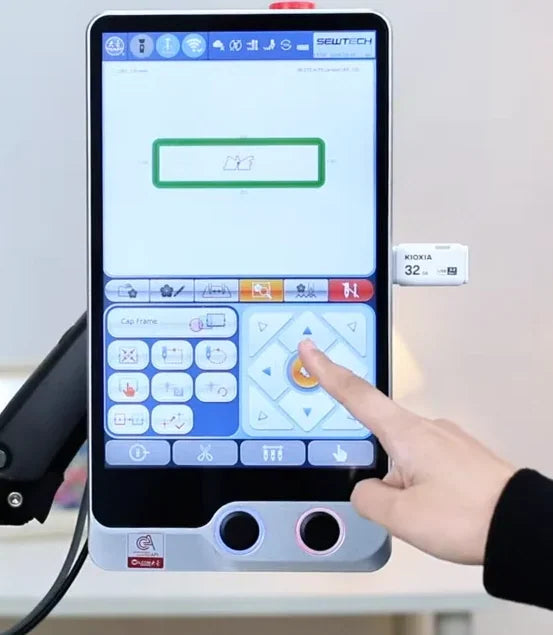
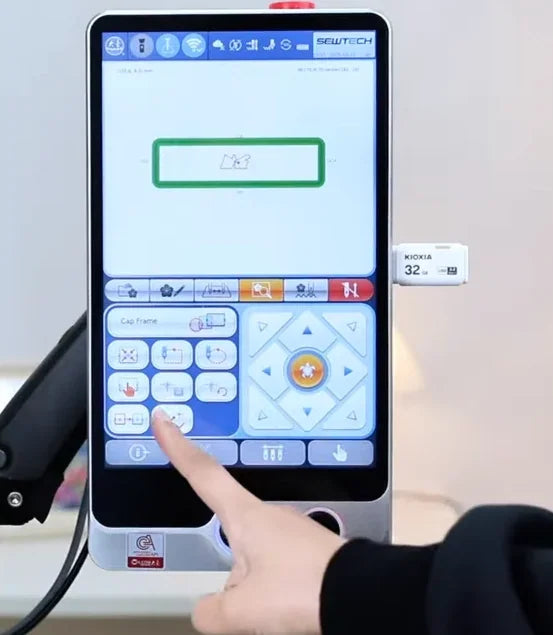
Watch at 08:57Page 4 shows the design relative to the green cap-frame boundary. Jog the frame with the right-hand arrows. Use rabbit for larger moves and turtle to refine placement. For centered placement, use the centering control in the left button group and check the design outline again after the frame moves.
18. Cap: trace using the physical needle position
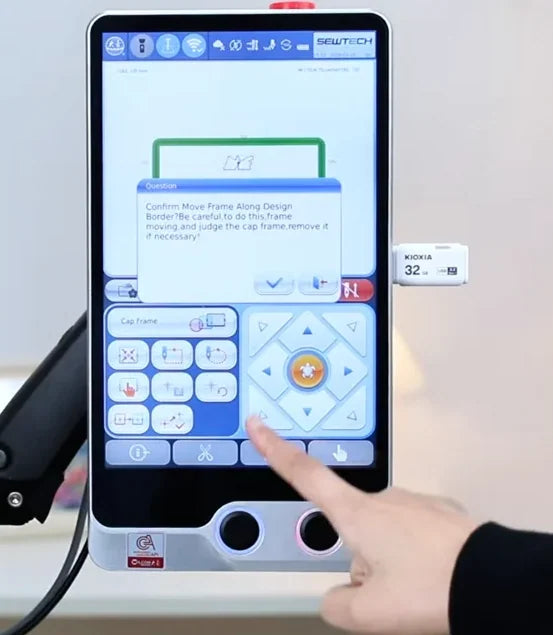
Watch at 09:20Run the border trace on page 4 and accept the move-frame prompt after checking clearance. Watch the physical needle position relative to the cap and frame as the driver moves. The video specifically uses the needle position for caps because the red laser dot is inaccurate on the curved cap. Confirm that the full path fits the usable area before moving on.
19. Cap: set speed and confirm the automatic rotation
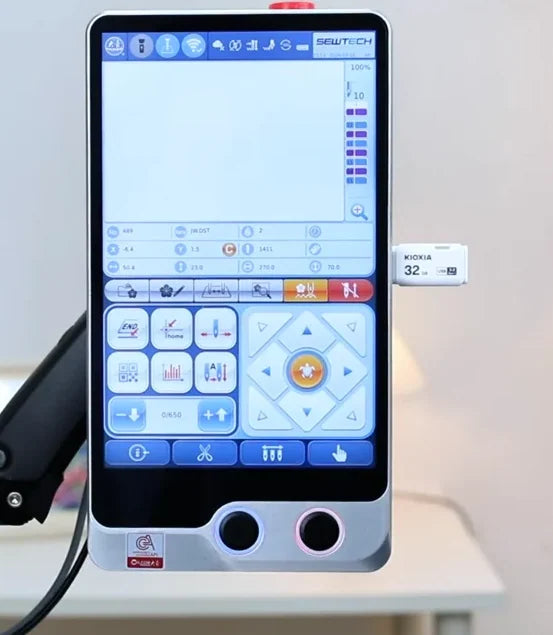
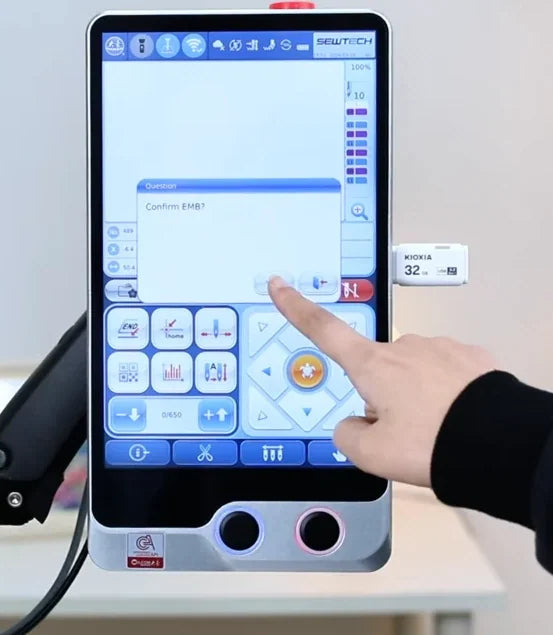
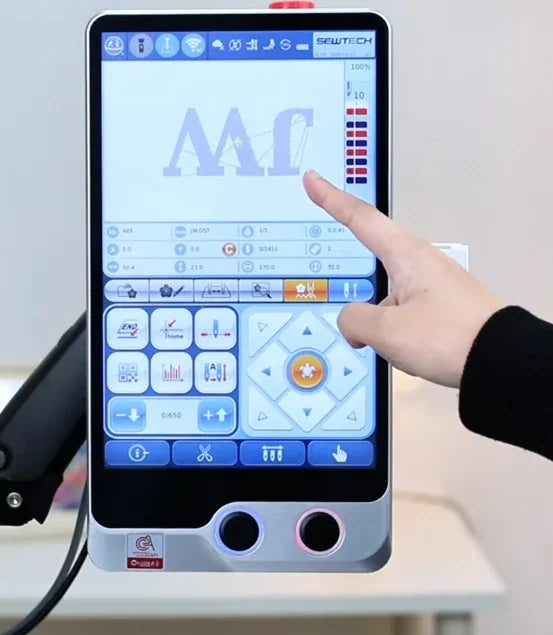
Watch at 09:38On page 5, use the lower-left speed controls. The tutorial uses 600–700 stitches per minute for caps and sets this example to 650. Tap the red confirmation control at the right end of the tab row, then accept Confirm EMB? with the check mark. The displayed JW automatically rotates 180° for cap embroidery after confirmation.
20. Cap: start stitching after the clearance check
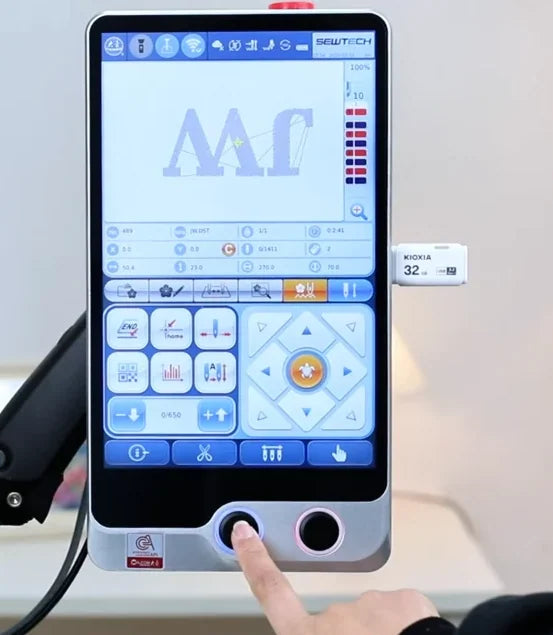
Watch at 10:17When the cap is secured, tracing has passed and the rotated preview is ready, press the left blue-ring Start button under the screen. Watch the first stitches to confirm the work starts in the area traced on the cap.
21. Flat: import ABC and check direction
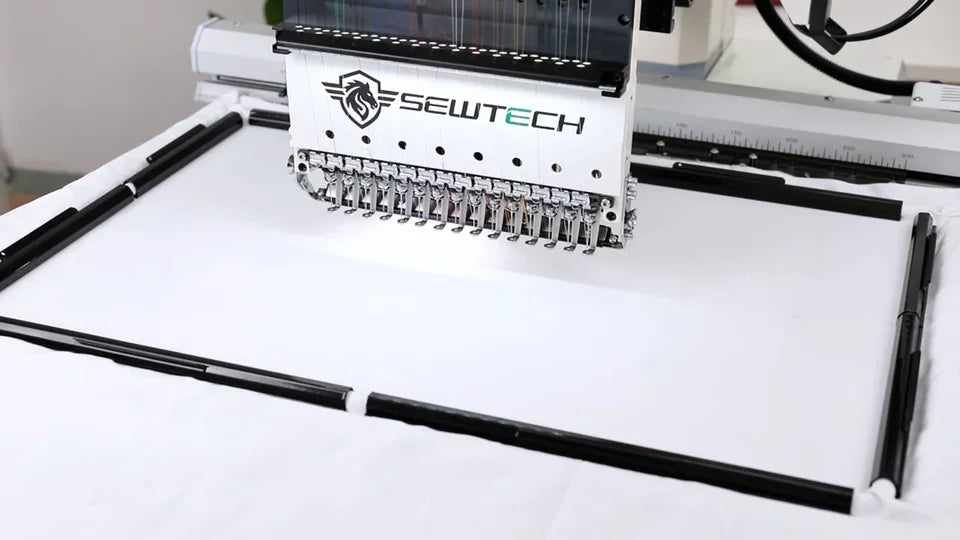
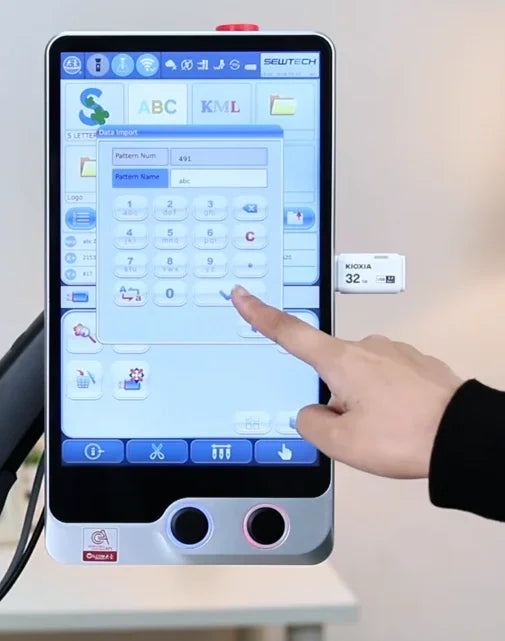
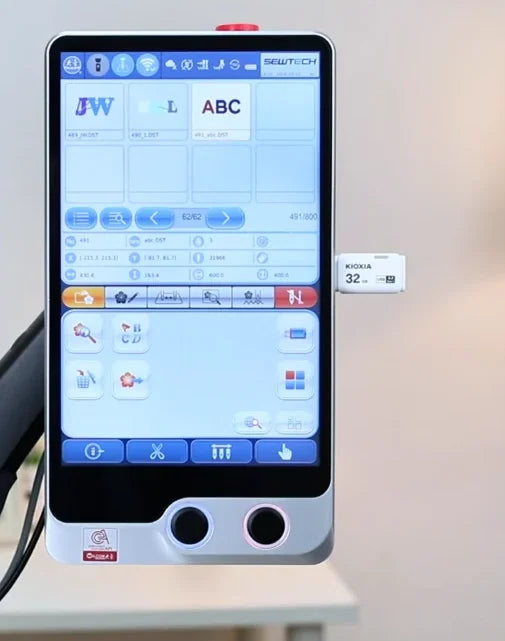
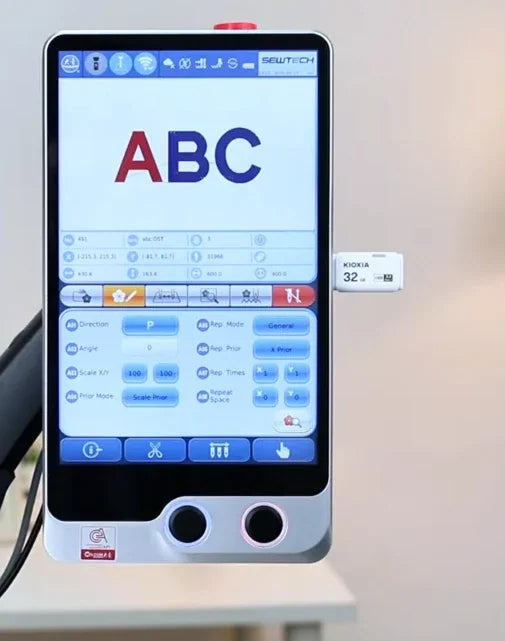
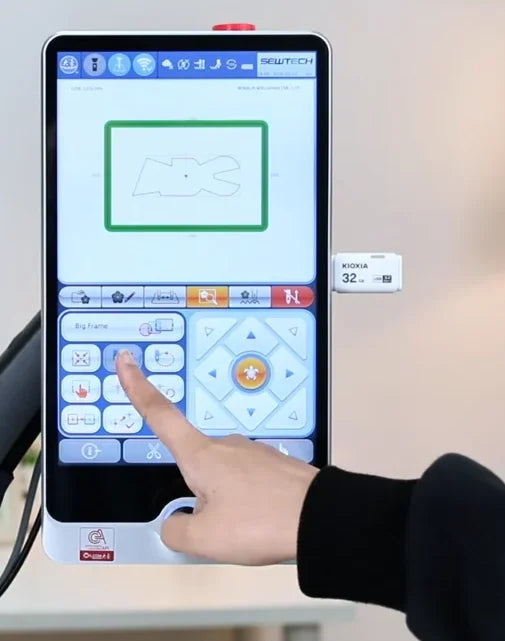
Watch at 10:28Mount the fabric in the flat frame as shown and prepare the design on USB. Insert the drive, open its list, select the file and confirm the import. Return to the machine list and verify the ABC thumbnail appears. Select it and open page 2. Check that the ABC preview reads in the intended direction and use the P control only if a change is needed.
22. Flat: assign the ABC color sequence
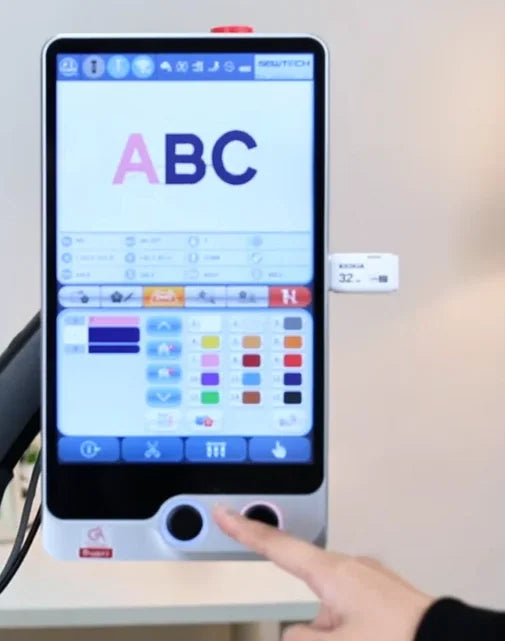
Watch at 11:08Open page 3. After checking the on-screen needle swatches against the real spools, assign each design row its needle. In this example the first, second and third rows use needle numbers 7, 8 and 9. Confirm the three ABC colors update on screen in the expected order.
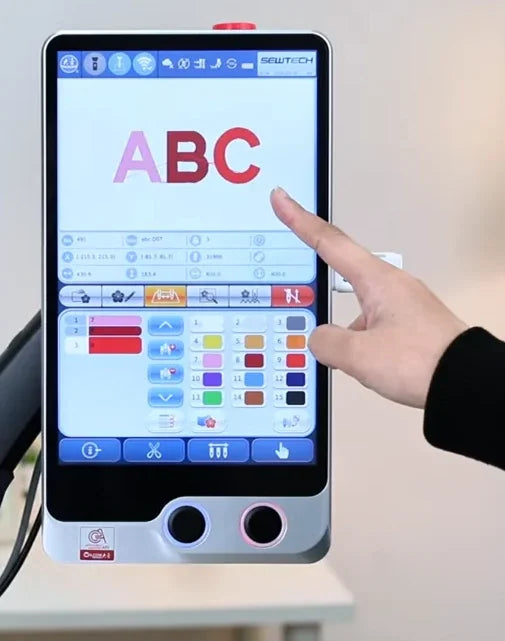
23. Flat: select Big Frame and position the design
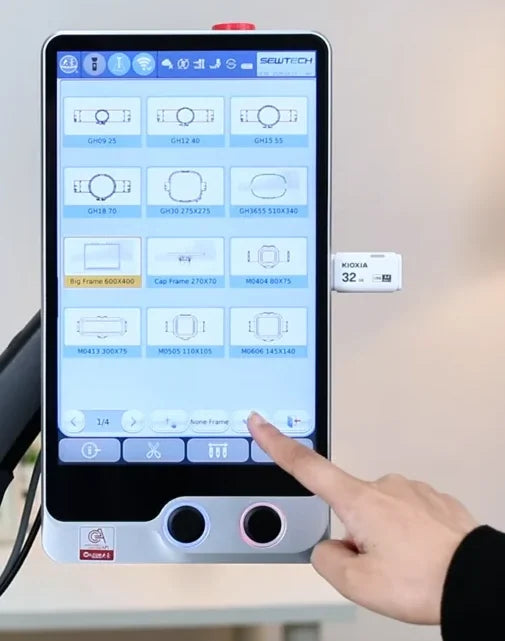
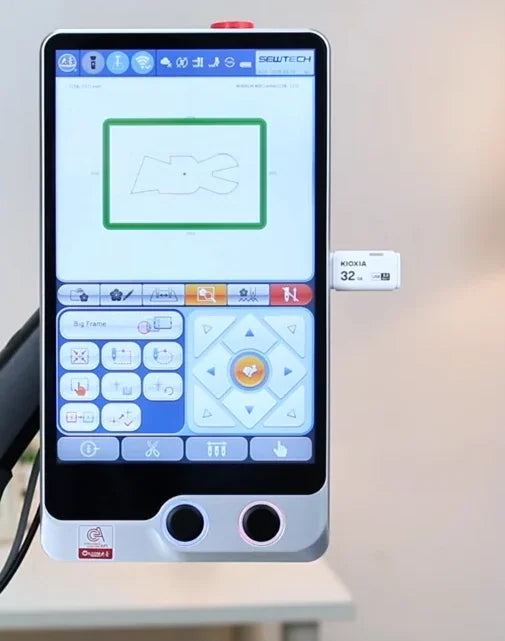
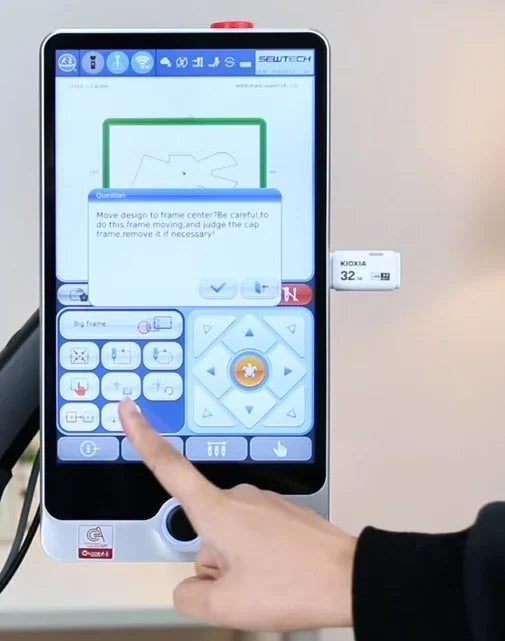
Watch at 11:44On page 4, open the frame selector and choose the large frame that matches the mounted hardware. The example selects Big Frame 600 × 400. Confirm with the check mark and wait for the green rectangular boundary to appear. Use the directional pad for placement and rabbit or turtle for movement speed. To center, tap the left-side centering control and confirm the movement prompt after checking clearance.
24. Flat: trace the ABC border on the fabric
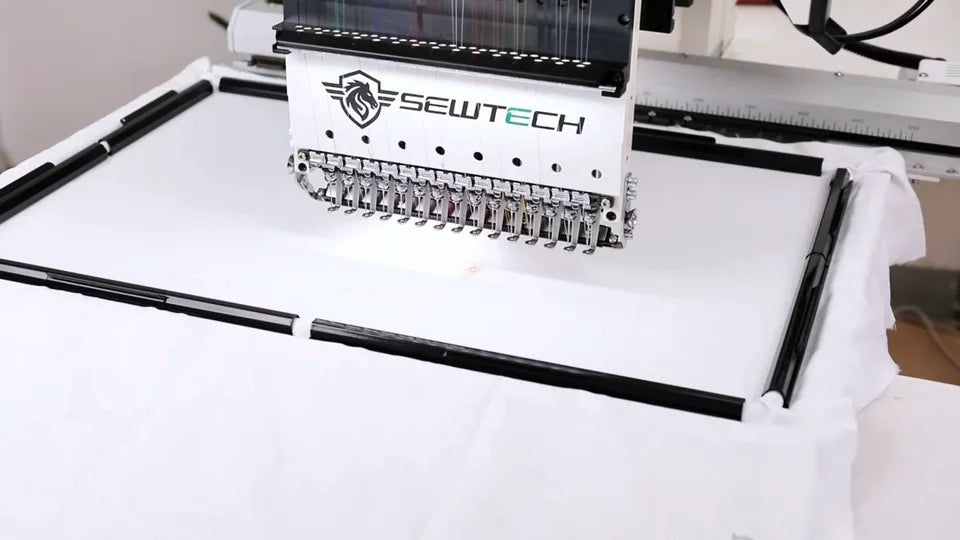
Watch at 12:22Use the trace control in the left group on page 4. Watch the red laser dot mark out the stitching boundary on the flat fabric. Check the location and the gap from every edge of the physical frame. If necessary, adjust the design position and retrace before starting embroidery.
25. Flat: set the speed, confirm and start
Watch at 12:42On page 5, use automatic mode for the example and set the speed with the lower-left controls. The video shows 800 stitches per minute for this setup. Tap the red confirmation control, accept Confirm EMB? and wait for the ABC preview. Press the blue-ring physical Start button and watch the initial stitches stay within the traced area.