Use a Magnetic Sash Frame on the ST-1201 and SC-1501

Overview
Install the flat table, mount the magnetic sash frame, and hold the backing and fabric flat before setting up the design. The video demonstrates the ST-1201 using a cutaway stabilizer and a floral design. Follow the screen preview and trace the design on the fabric before starting.
Step-by-step guide
1. Prepare the table parts and screws
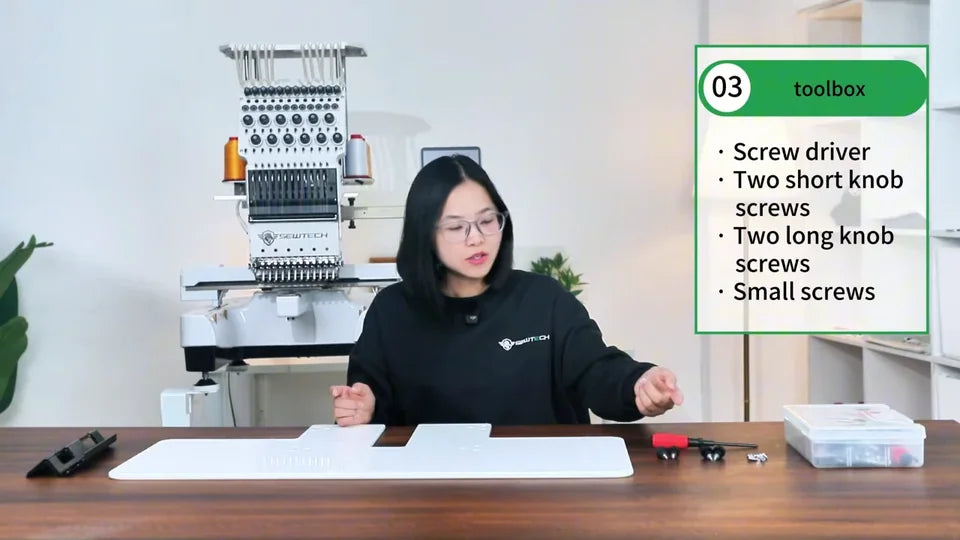
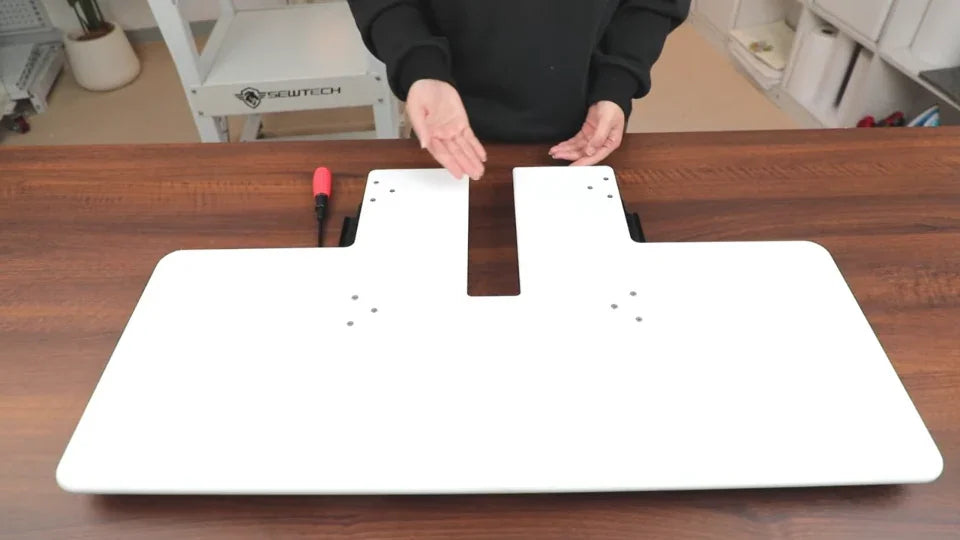
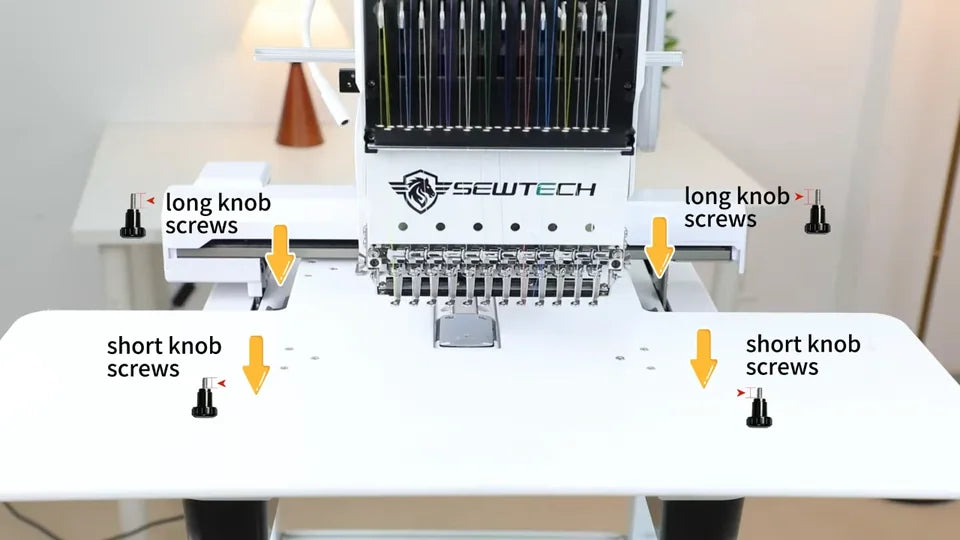
Watch at 00:21Lay out the tabletop, two support brackets, and toolbox. Set out the screwdriver and sort the hardware into small bracket screws, two long knob screws, and two short knob screws. The knob screws are used when mounting the table to the machine.
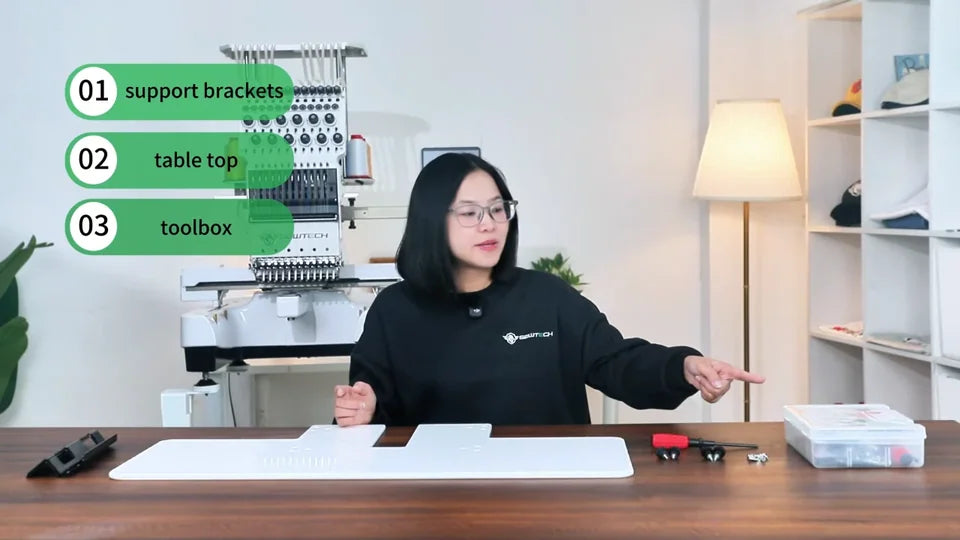
2. Align both support brackets
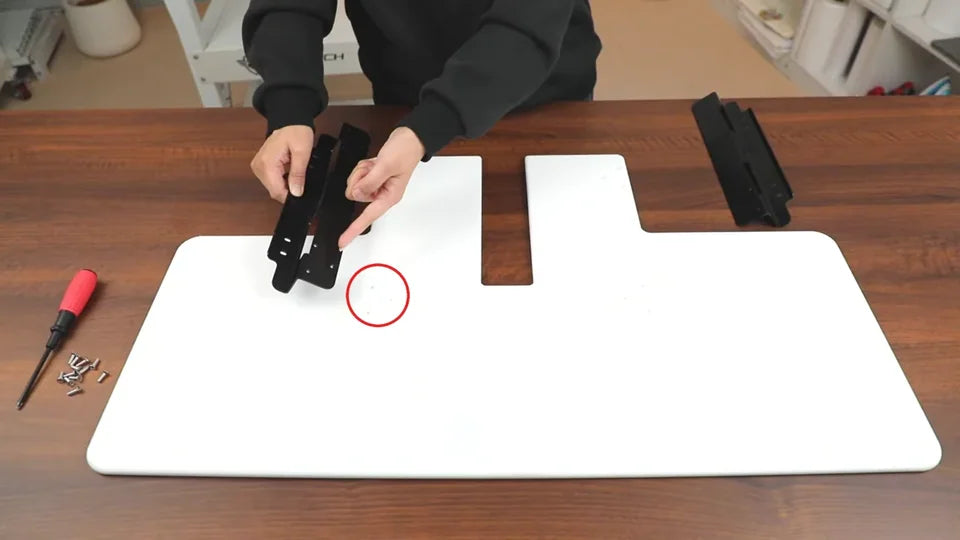
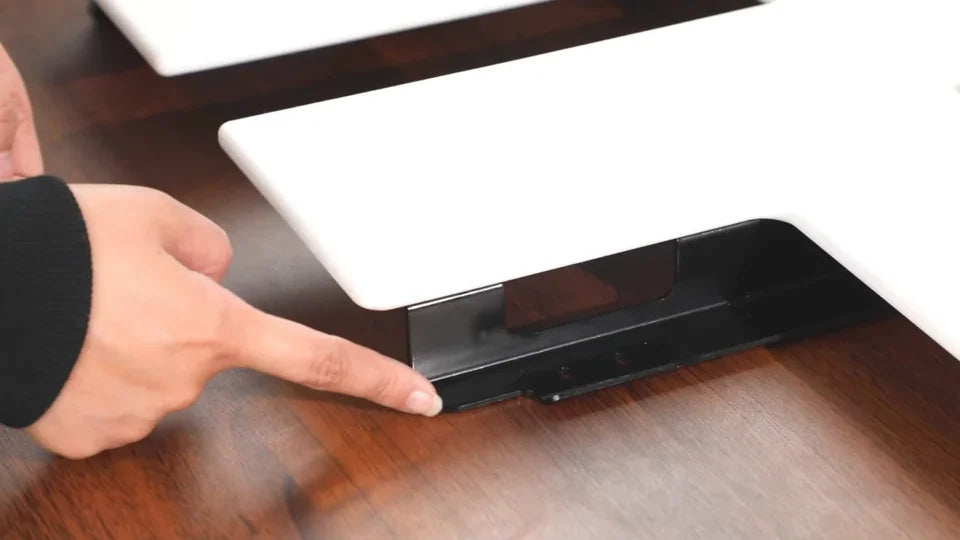
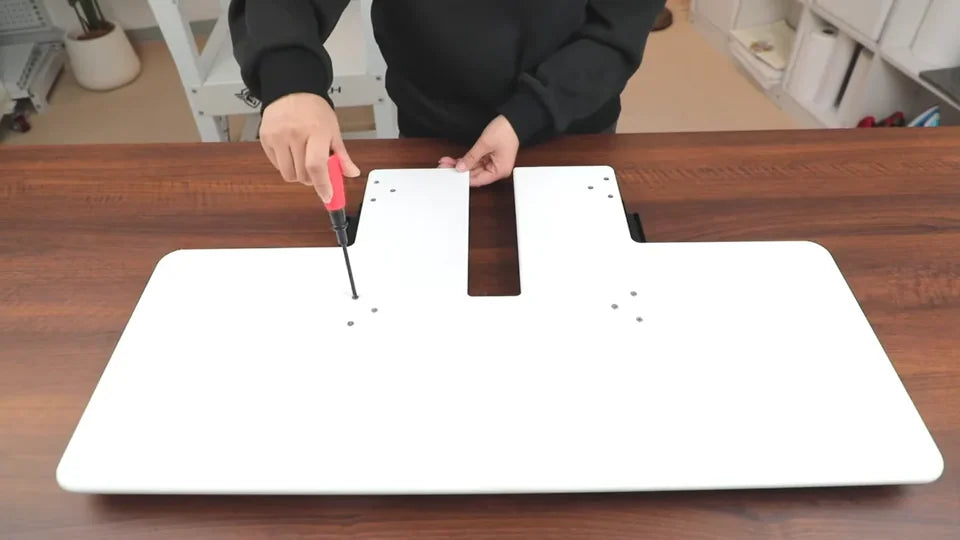
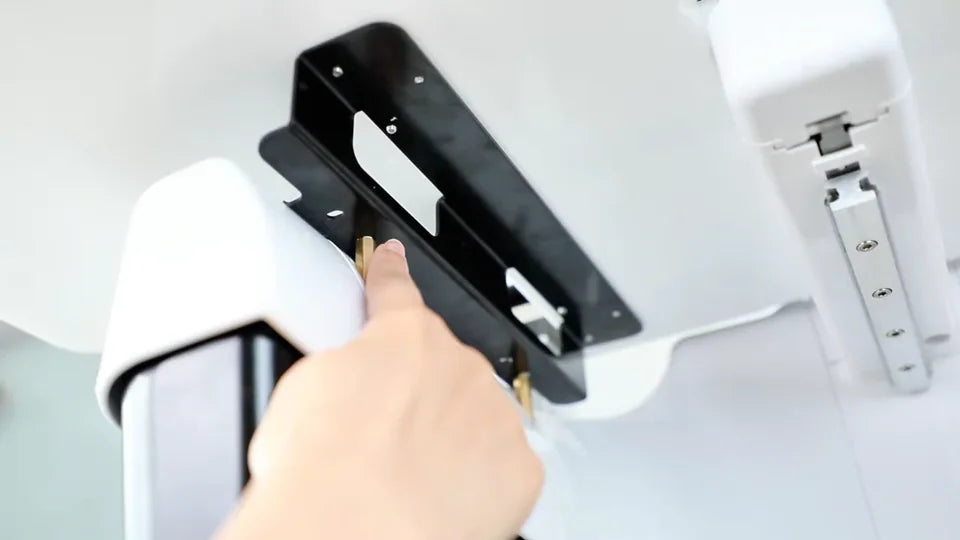
Watch at 00:47Match the brackets to the 12 mounting holes in the tabletop. Fit the black brackets under the white top, one on each side of the center cutout. Orient each bracket with the lower mounting flange shown in the close-up facing outward, then check the holes line up before inserting screws.
3. Seat all the small screws before tightening
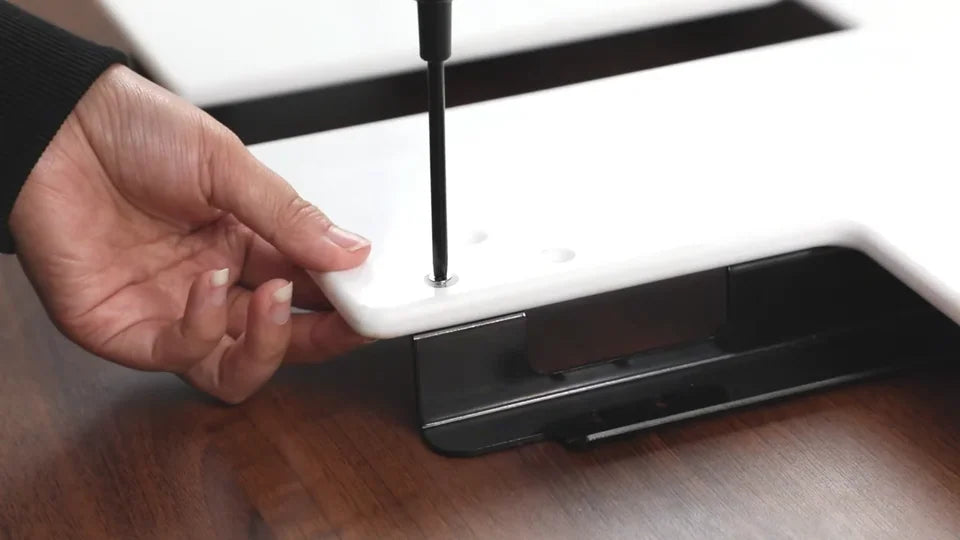
Watch at 01:21Start the small screws one at a time with the screwdriver and leave them loose enough to keep the holes aligned. Once all the screws on both brackets are seated correctly, go back and tighten them fully.
4. Seat the table below the machine plates
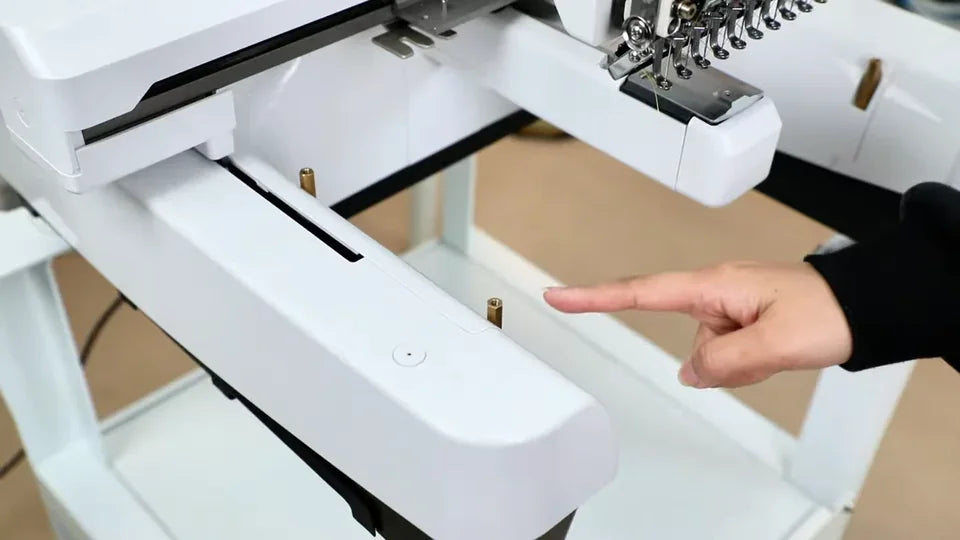
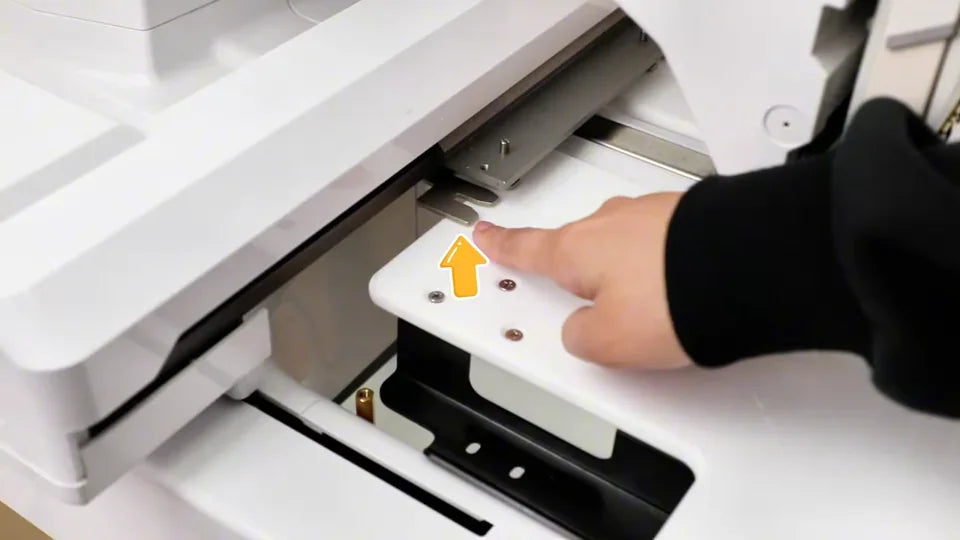
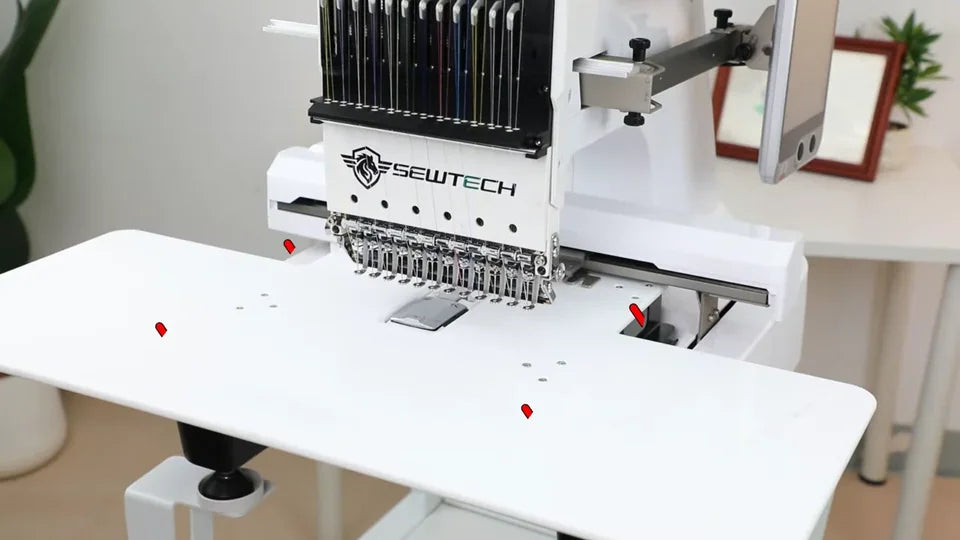
Watch at 02:04Locate the four table mounting points on the machine. Bring the assembled table in from the front and seat the tabletop just below the metal plates. Look from underneath and shift the table until the four holes across the two brackets align with the four machine mounting points.
5. Fit the long screws at the rear and the short screws at the front
Watch at 03:03Insert the two long knob screws in the rear holes and the two short knob screws in the front holes. Tighten all four and check that the working surface is securely seated and stable before setting the frame on it.
6. Prepare the fabric and lift off the magnets
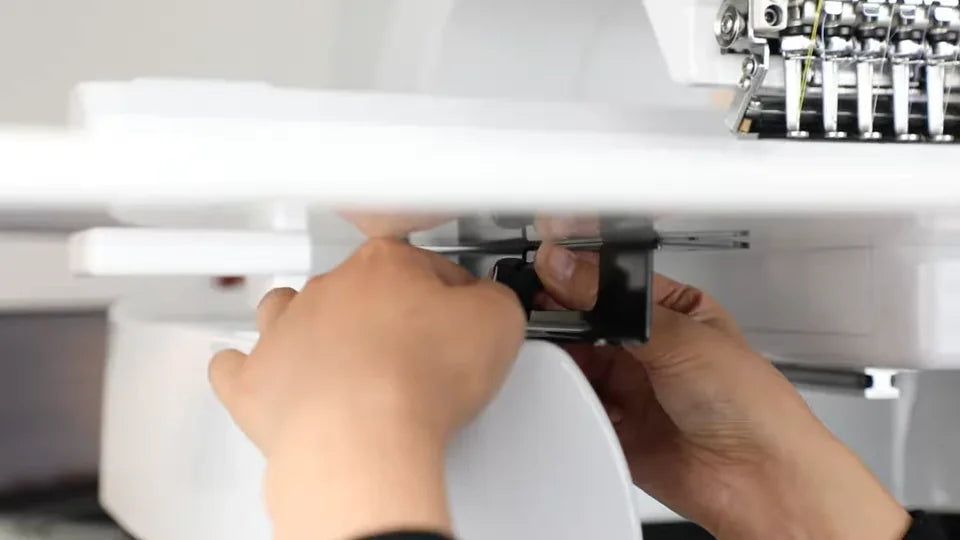
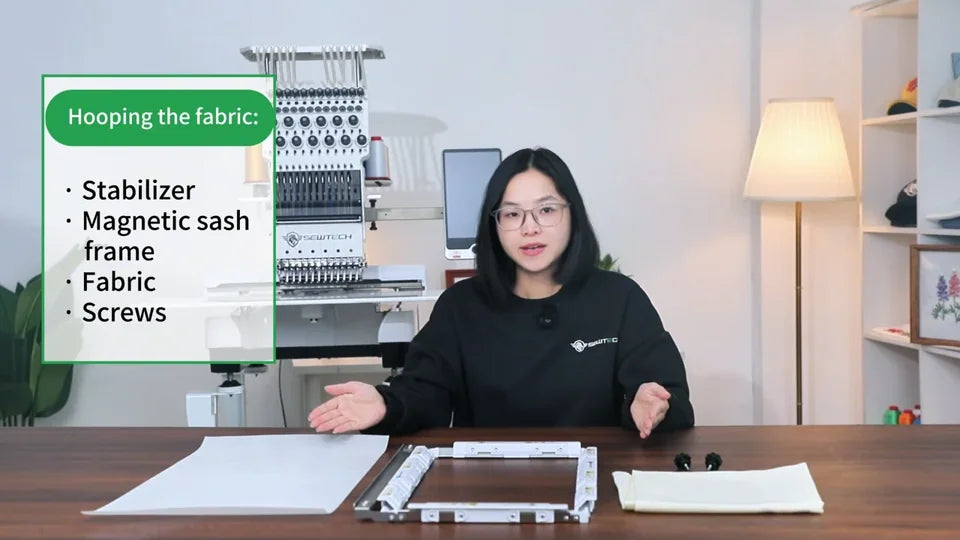
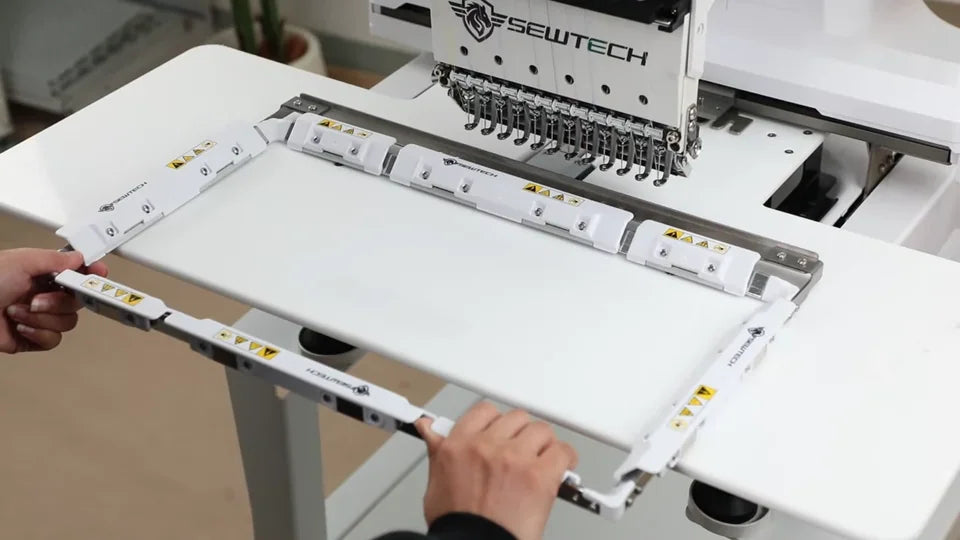
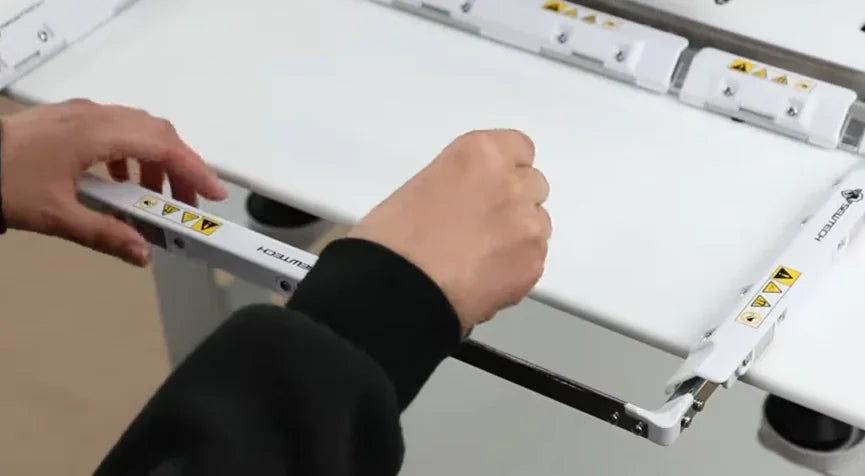
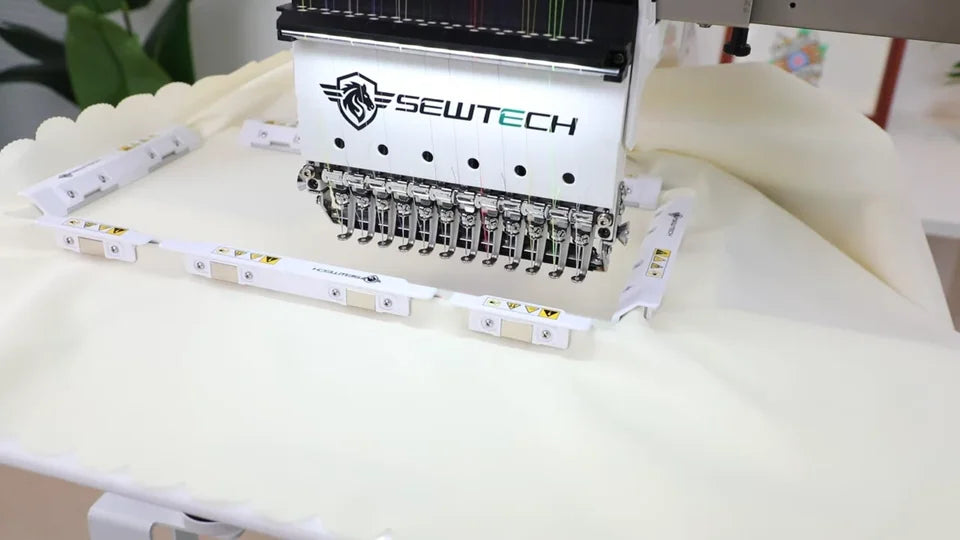
Watch at 03:44Set out the magnetic sash frame, its mounting screws, the fabric, backing, and scissors. The video uses cutaway stabilizer. Before attaching the bare frame to the machine, lift off all the magnetic bars. Grip a bar at one edge and lift it away, or use the lifting tool shown in the video.
7. Seat and fasten the bare sash frame
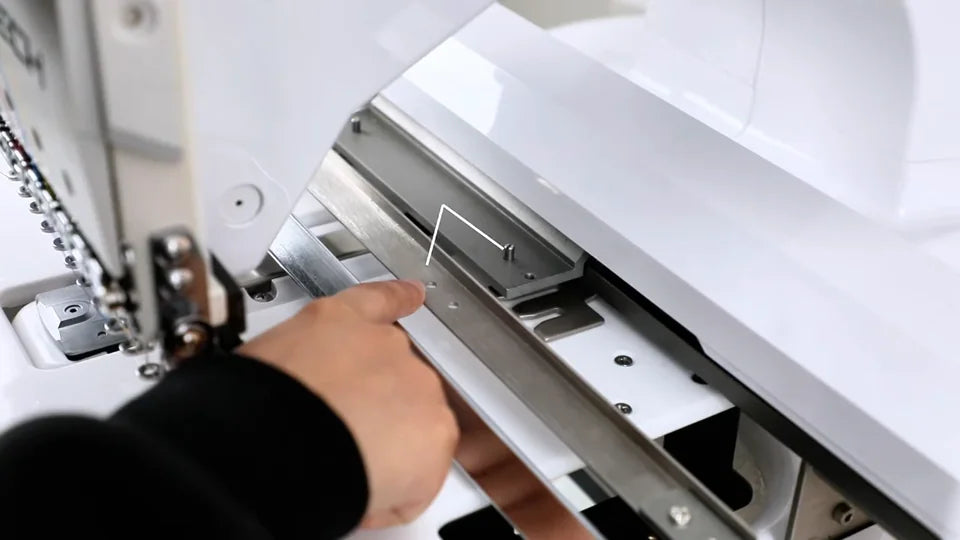
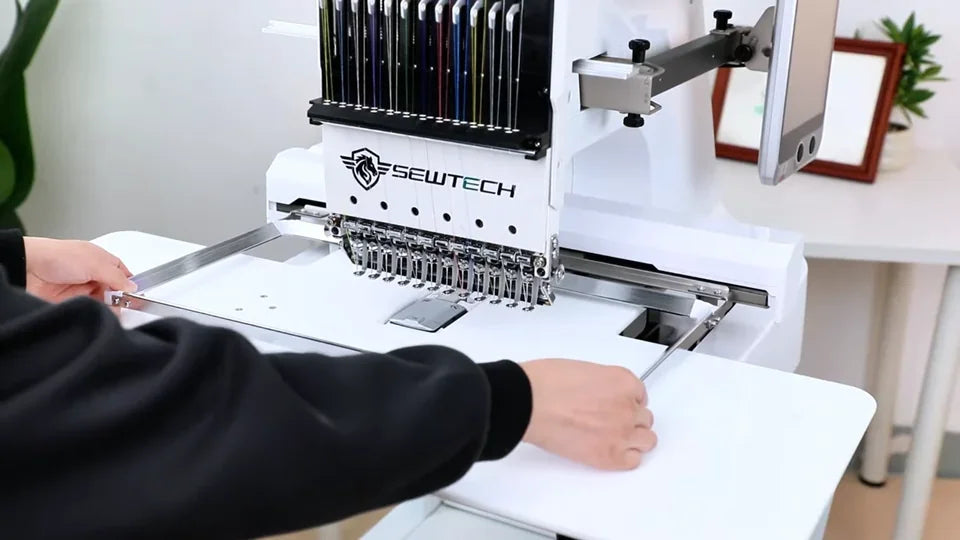
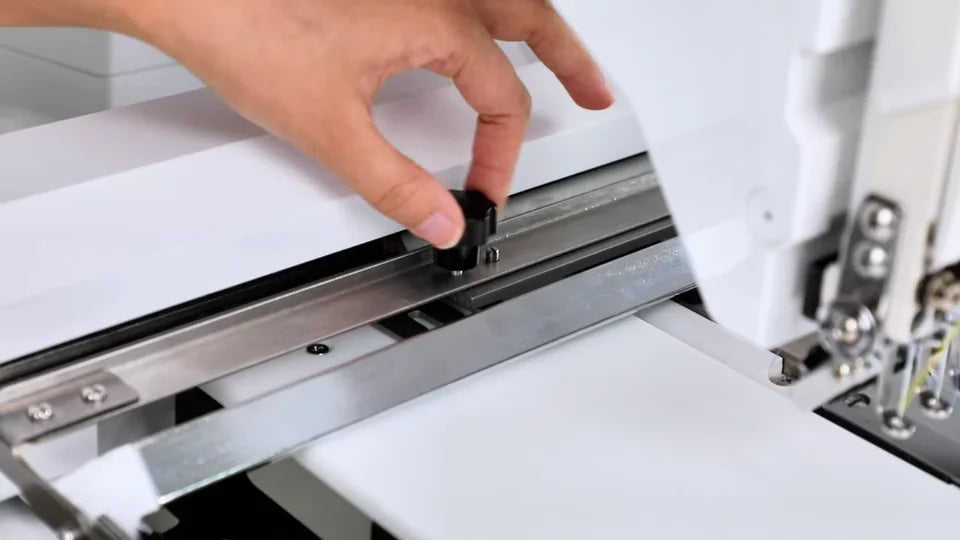
Watch at 04:25Hold the metal frame level on the table. At each side of the rear carriage, match the locating pin to the corresponding frame hole and line up the screw holes. Slide the frame in so the pins seat. Insert a knob screw on each side and tighten both securely.
8. Cut the backing and lay the fabric over it
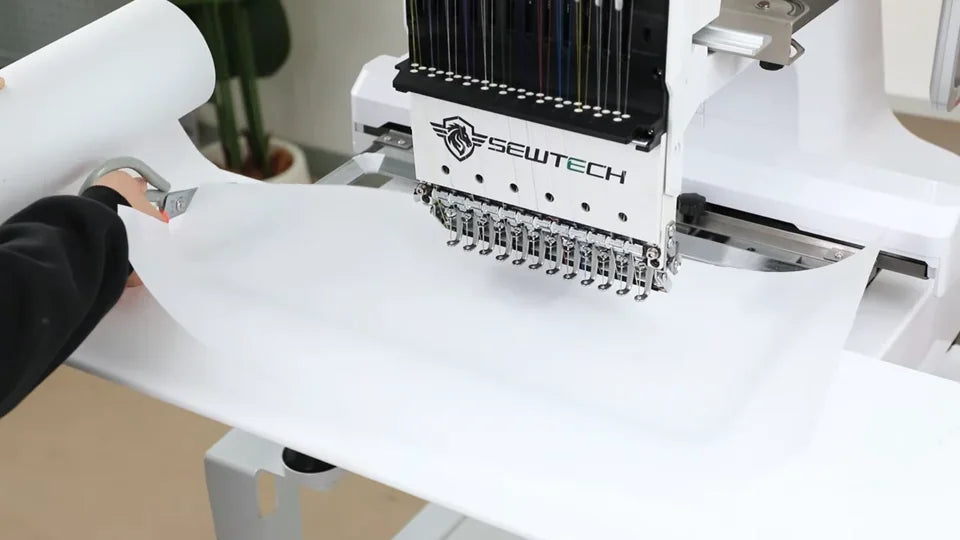
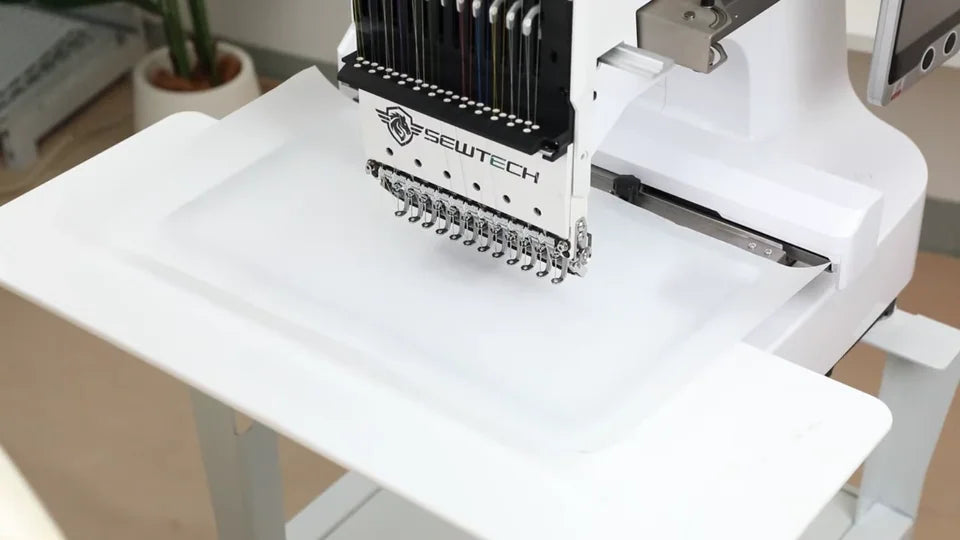
Watch at 04:58Cut a piece of stabilizer slightly larger than the sash frame. Lay it over the mounted bottom frame, then place the fabric on top and adjust the area you want to embroider before adding the magnets.
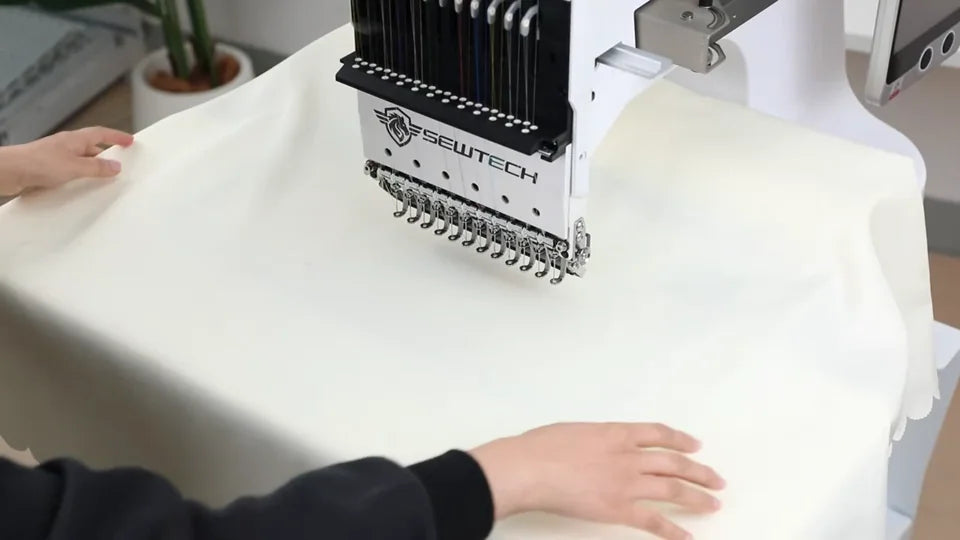
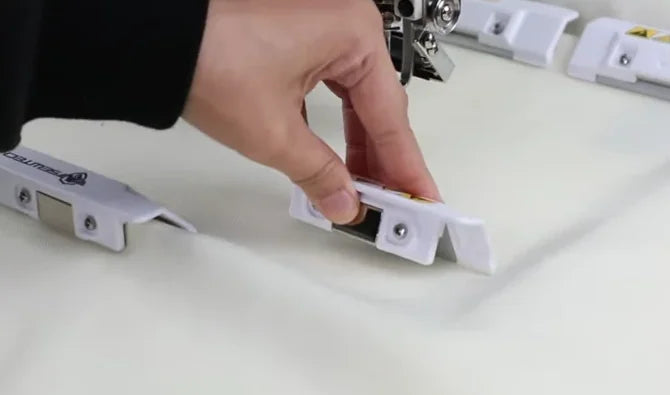
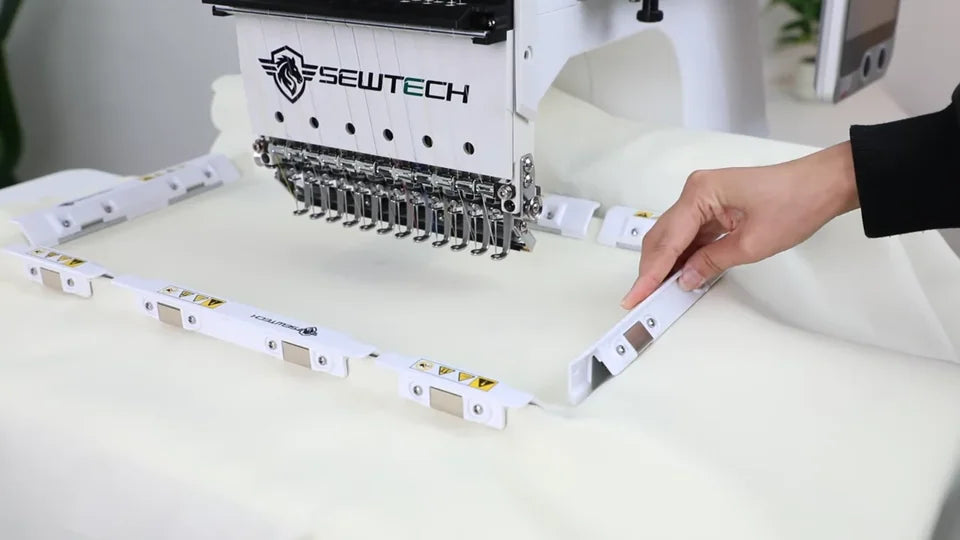
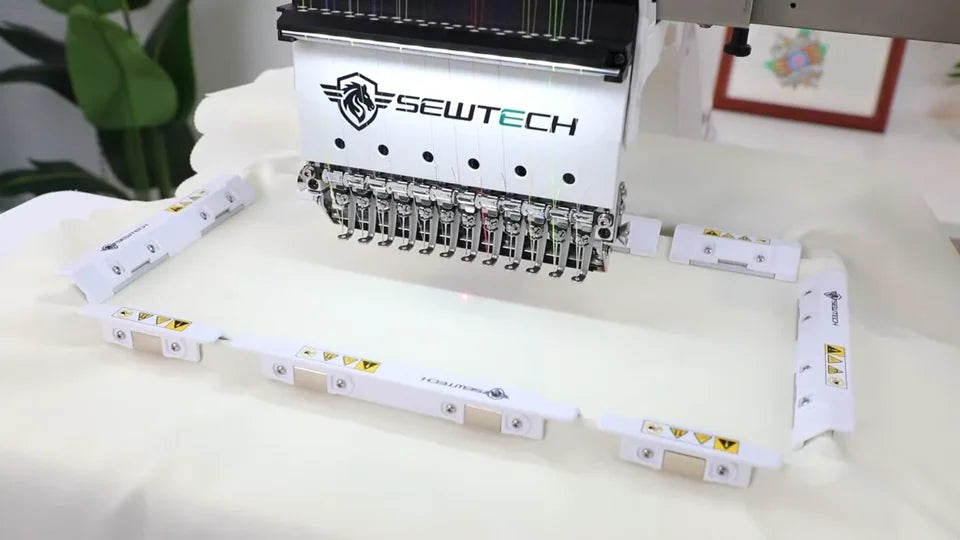
9. Fit the magnetic bars with the arrows pointing inward
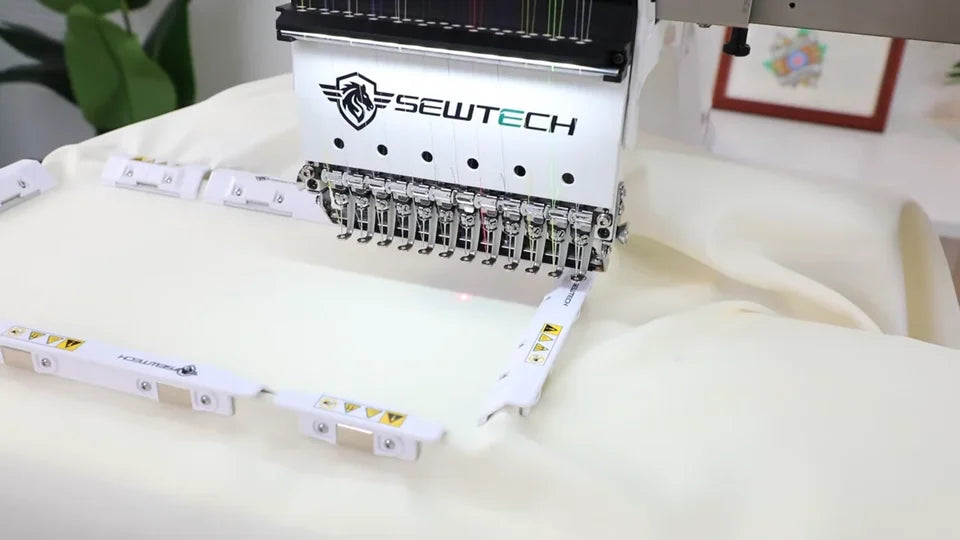
Watch at 05:16Place the magnetic bars with their arrow marks pointing into the frame. Slide each bar into position along its edge. Once all four edges are held, check that the fabric is smooth, taut, and flat, with no wrinkles, folds, or loose areas in the stitching field.
10. Import the design and check its direction
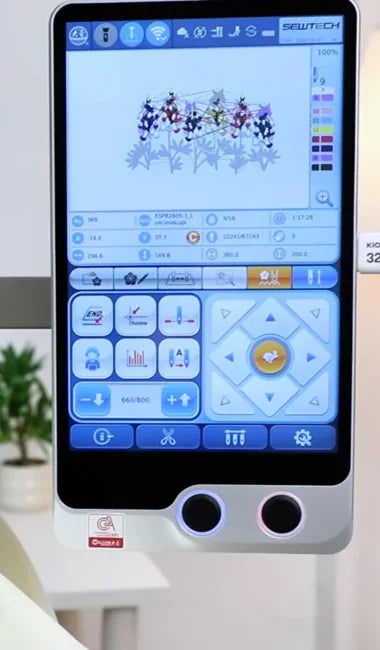
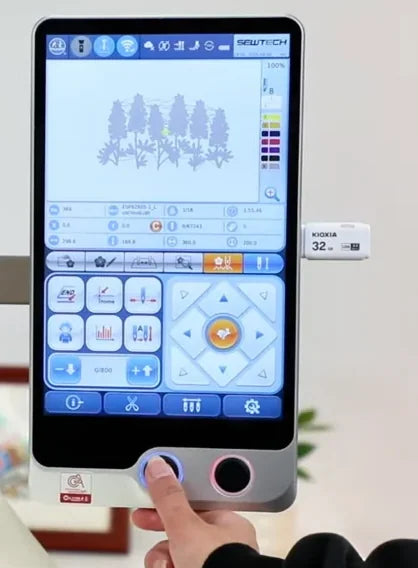
Watch at 05:42Power on the machine and wait for the design screen. Plug the drive into the USB port on the right side of the touchscreen, then tap the USB icon in the lower-right area of the design screen. Choose the file and confirm its import in the pattern dialog. Select the imported thumbnail, then check the design direction on the next settings page.
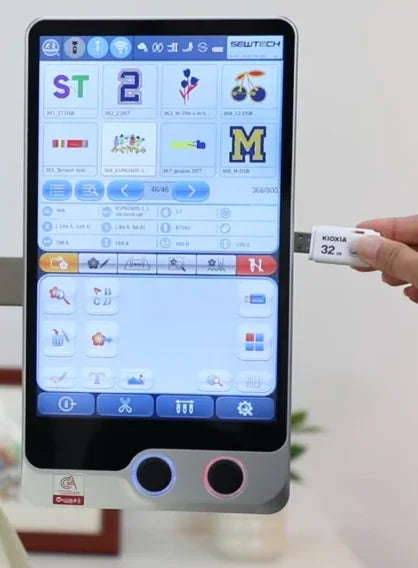
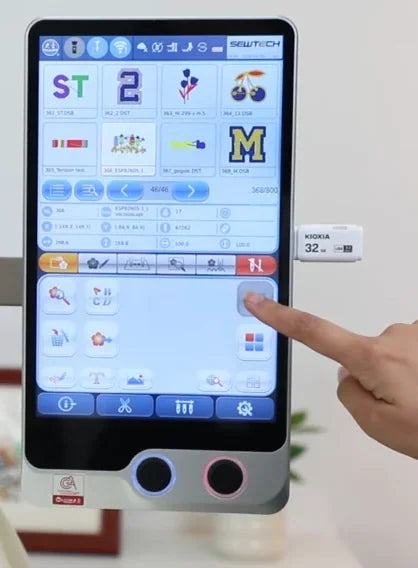
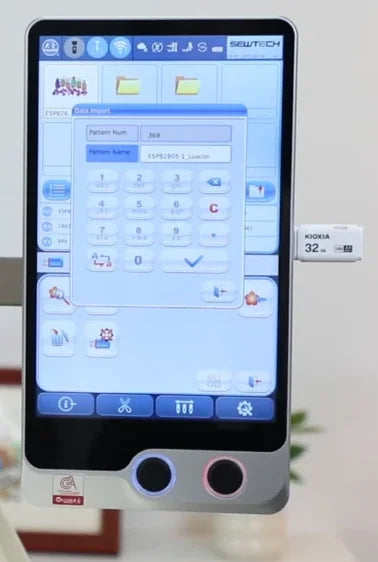
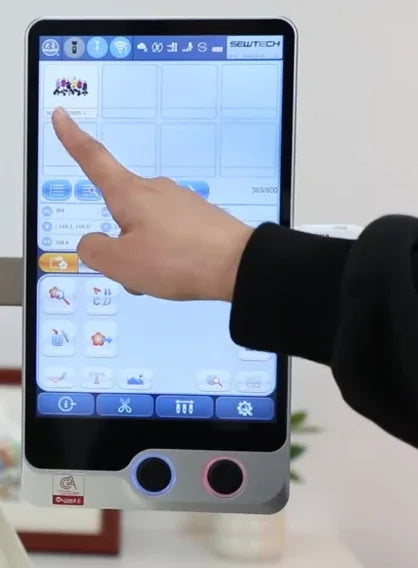
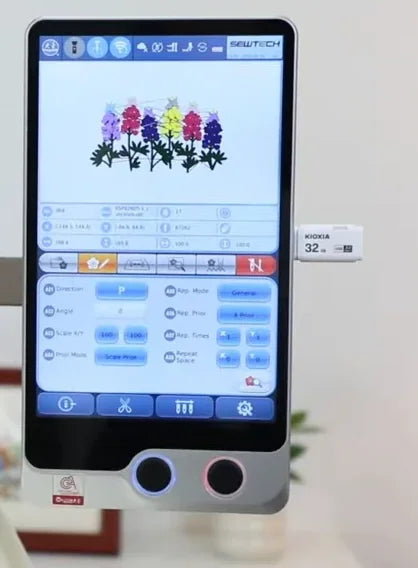
11. Check or change the color sequence on page 3
Watch at 06:09Open page 3. The color sequence is on the left and the available needle colors are on the right. Select the color position you want to change, then tap the intended color on the right. The example replaces the first entry with yellow and then returns it to white. Compare the displayed sequence with the threads required for your design.
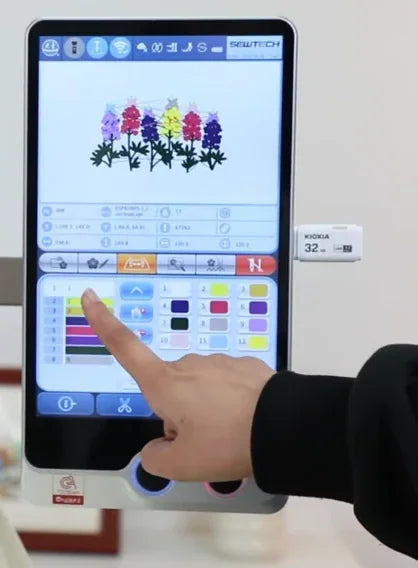
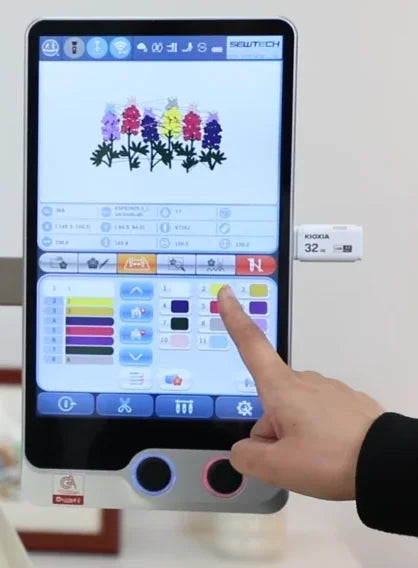
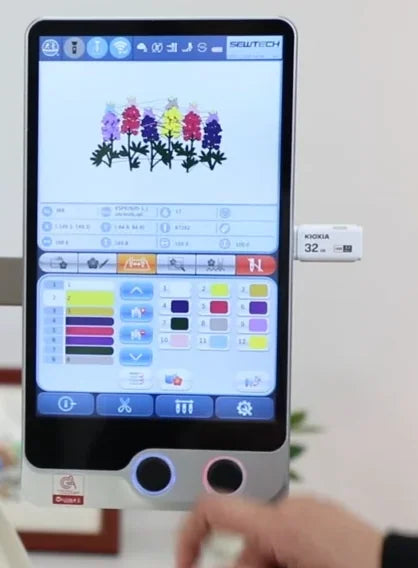
12. Select Magnetic Sash on page 4
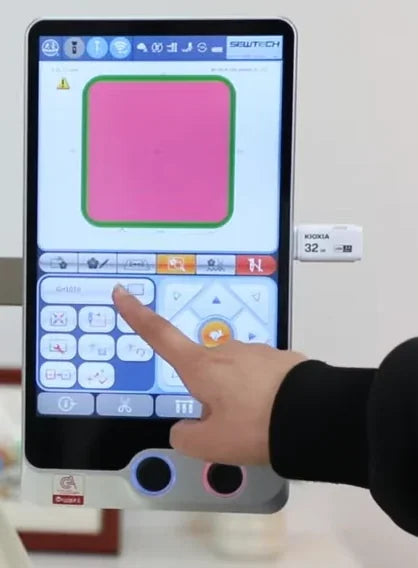
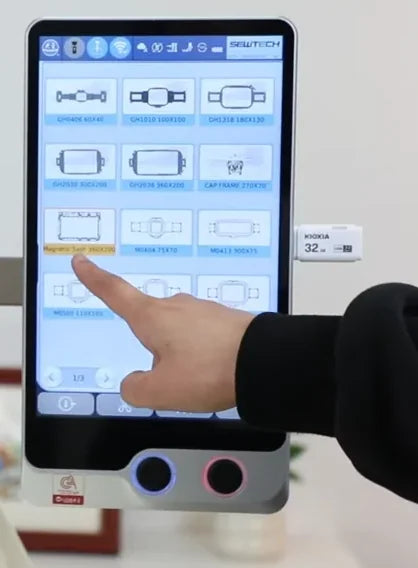
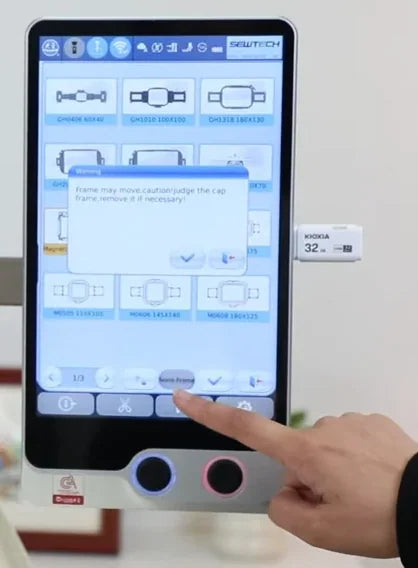
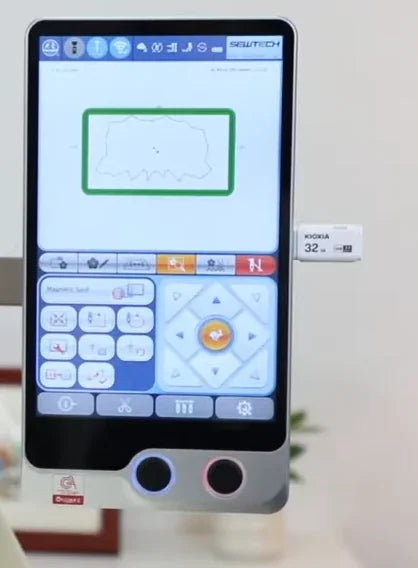
Watch at 06:33Open page 4 and tap the frame selector above the small buttons on the left. Select the Magnetic Sash preset in the list and confirm with the check mark. If the controller warns that the frame may move, clear the frame's travel area before confirming the warning. Back on page 4, check for the wide green frame and the design outline inside it.
13. Move the design with the arrow pad
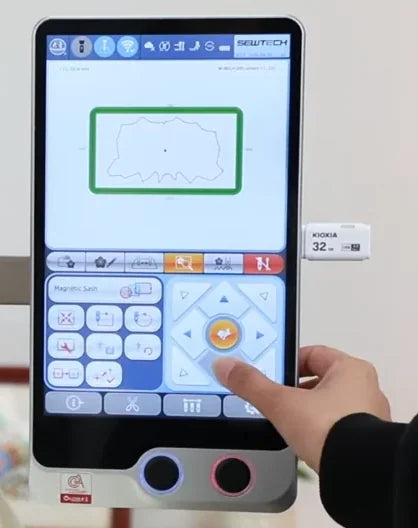
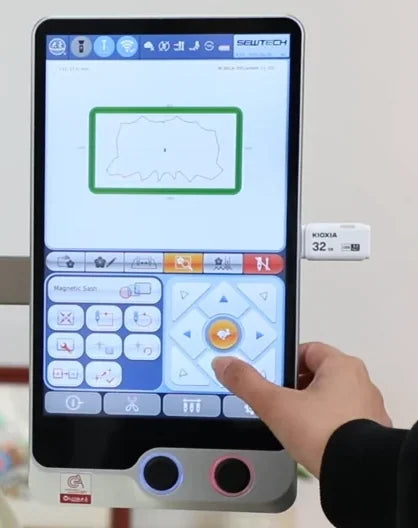
Watch at 06:50Use the arrow pad on the right of page 4 to shift the design position. The rabbit icon is the faster movement setting shown in the video. With the fabric clamped, use the next trace step to check the result on the actual fabric.
14. Trace the design on the fabric
Watch at 06:59Tap the Trace control in the left-hand button group on page 4. Follow the frame as it moves around the stitch area without sewing. Check the trace stays in the intended area of the fabric and clears the metal frame and magnetic bars. If you reposition the design, run Trace again to check the new placement.
15. Choose automatic mode and set the speed
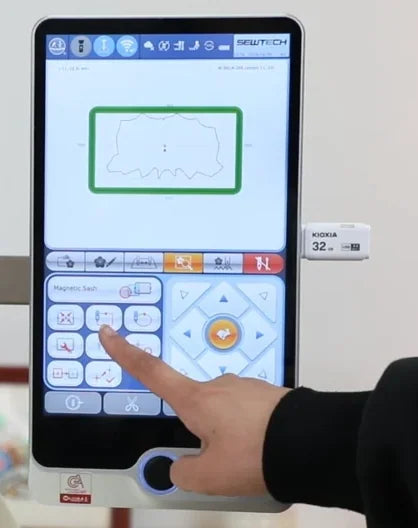
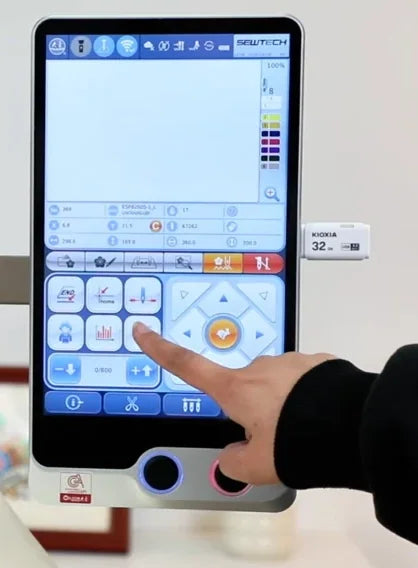
Watch at 07:24Open the next page and choose automatic mode using the mode control shown in the lower-left button group. Set the stitching speed with the controls along the bottom of that group. The demonstration uses a setting of 800 stitches per minute.
16. Confirm embroidery and press the physical Start button
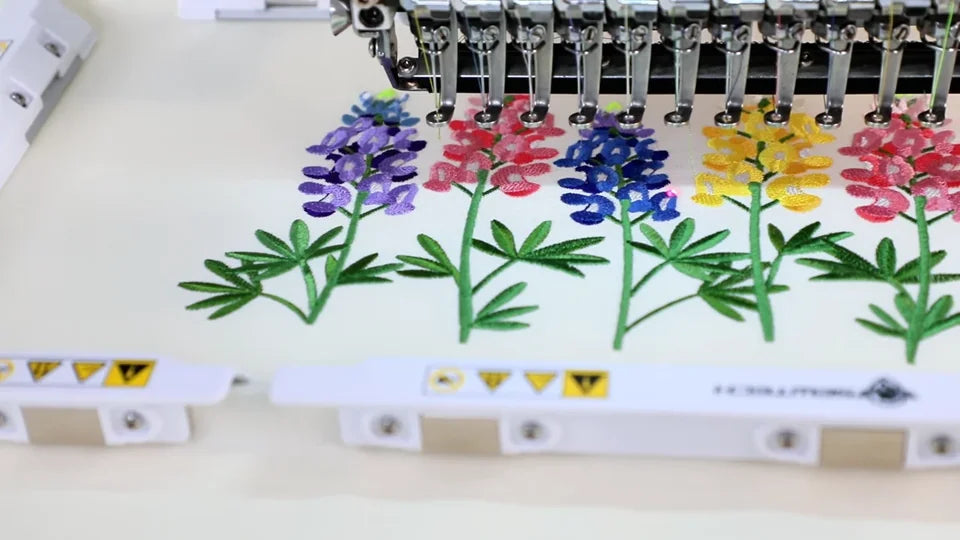
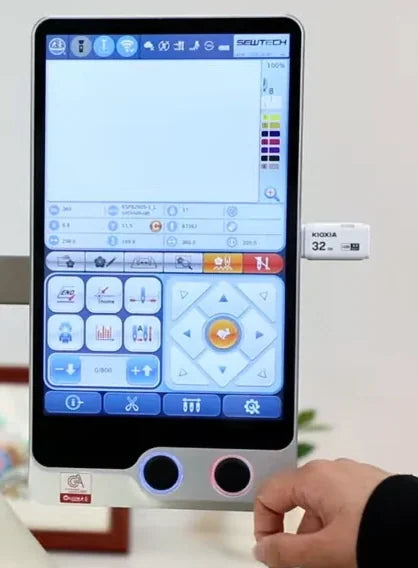
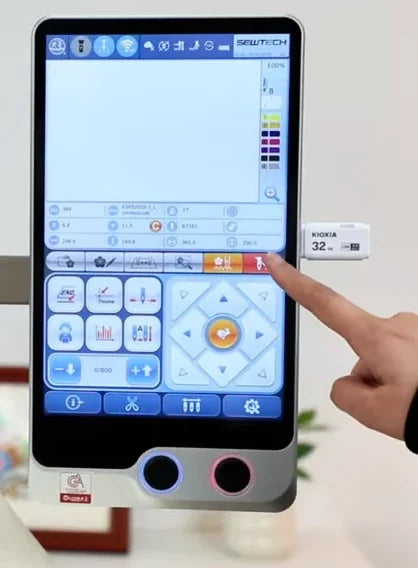
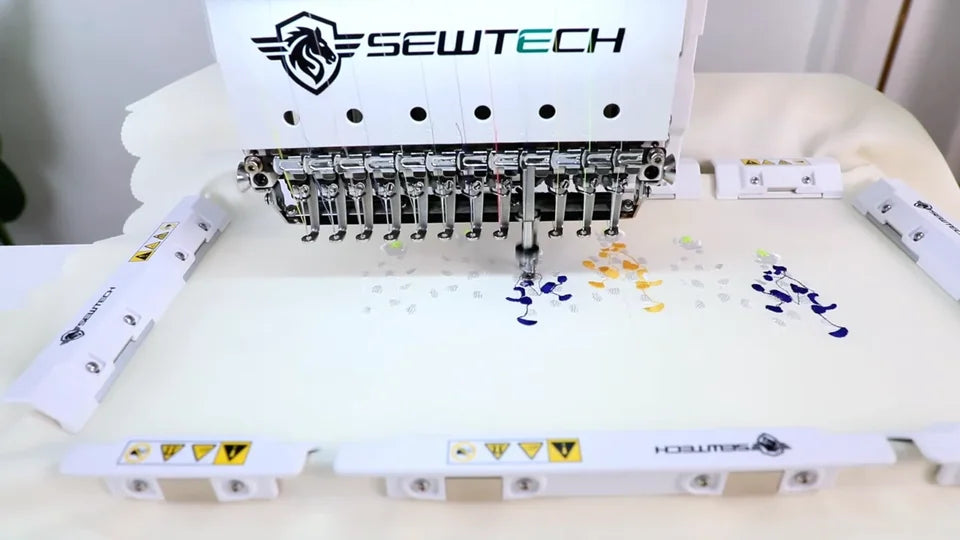
Watch at 07:40Tap the embroidery confirmation control at the right end of the page tabs. The red control turns blue and the design appears in the stitch preview. Press the round blue-ring Start button below the touchscreen. The frame moves with the design and the first stitches appear on the fabric.
17. Check stitch progress and the finished design
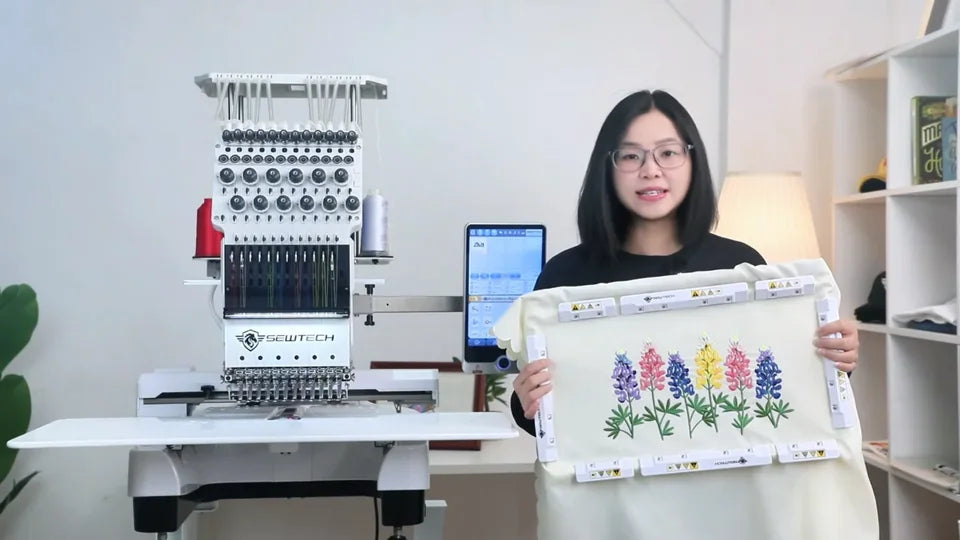
Watch at 07:58As sewing progresses, the controller preview fills in along with the stitches on the fabric. At the end, check that the complete design is in the intended position and the fabric is still held flat. The video shows the floral sample held up in the frame so you can see the full result.