SEWTECHSupport Center 简体中文

Change the Upper Thread on the ST-1501

Applies to ST-1501

Watch on YouTube ↗

Overview

Use the tie-on method to change one upper thread on the SEWTECH ST-1501. Keep the existing guide path in place, pull the new thread through with the old one, then thread the needle by hand.

Step-by-step guide

1. Cut the old thread at the spool

Watch at 00:15

Stop the machine. Have the new upper thread and small thread snips ready. At the top spool stand, hold the old thread of the needle you are changing and cut it near the spool. Keep hold of the end that still runs through the guides.
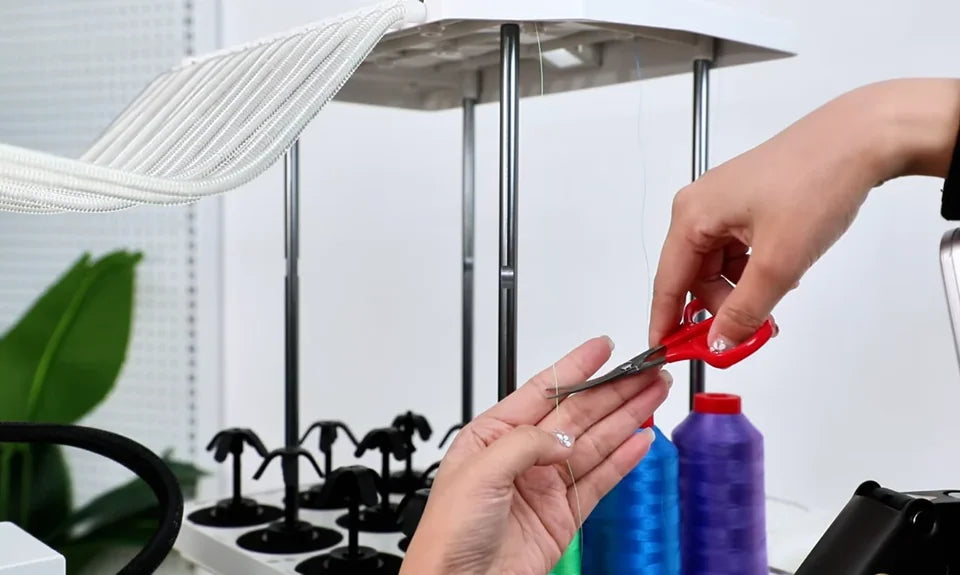
The snips cut the old thread above the spool stand. The hand keeps hold of the end leading to the machine.

2. Tie the new thread to the old end

Watch at 00:20

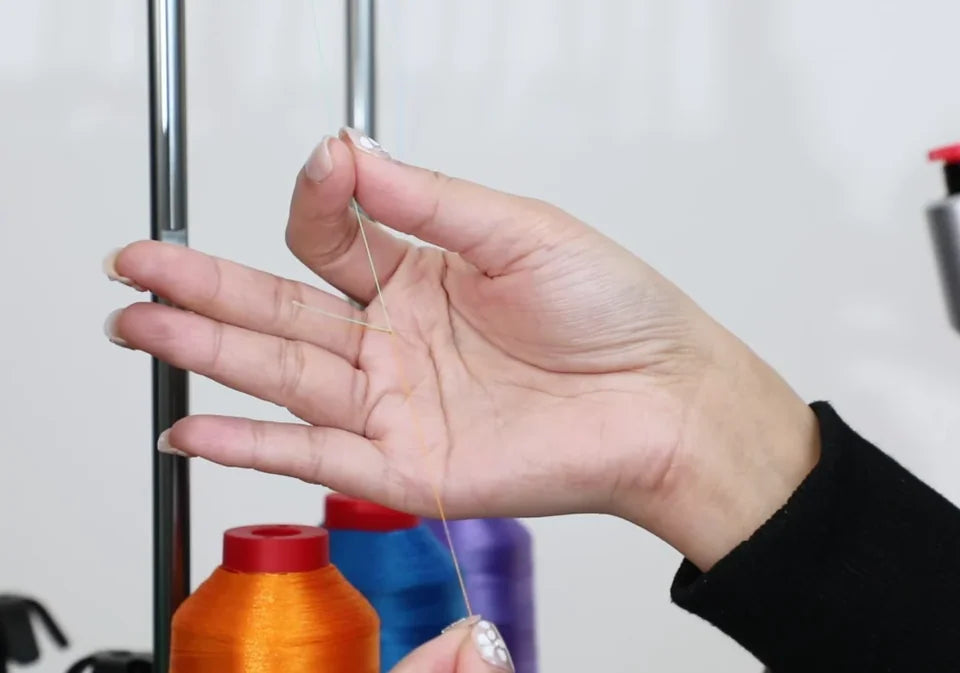
Tie the end from the new spool to the old end you kept. Pull the knot snug and keep it small enough to pass through the guides. The video uses green as the old thread and golden orange as the new thread so you can follow the join.
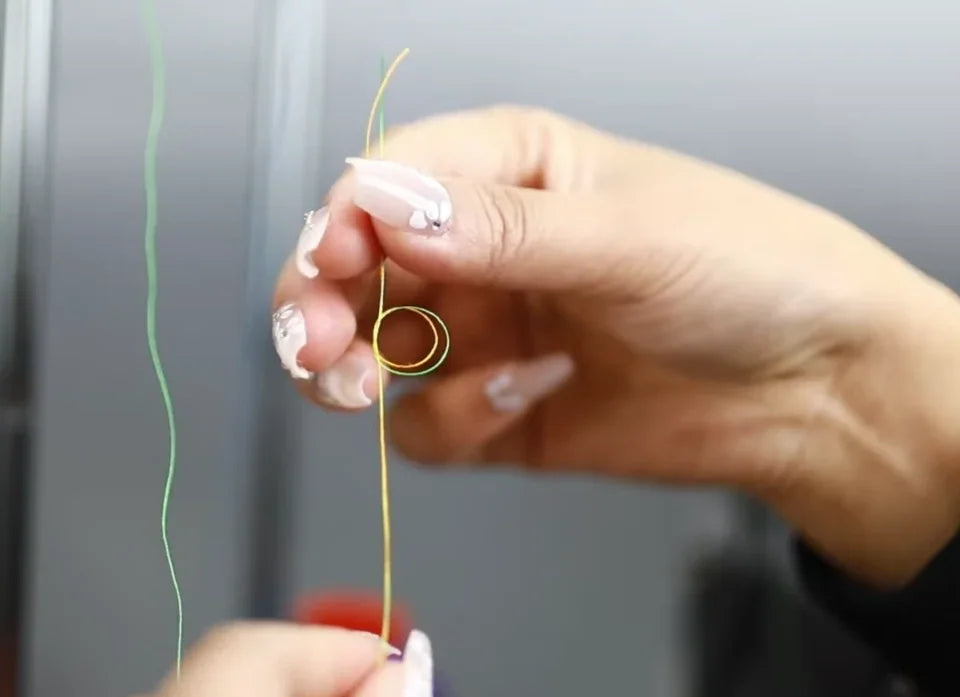
The two ends are brought together and looped to form a small knot.
The demonstrator holds the tightened join against her palm so the two colors can be seen.

3. Take the old thread out of the needle eye

Watch at 00:31

Move to the same needle at the front of the sewing head. Ease the old thread out of the needle eye by hand before pulling the joined threads through the machine. Keep the old thread in the guides above the needle. Freeing the eye keeps the knot from catching on the needle.
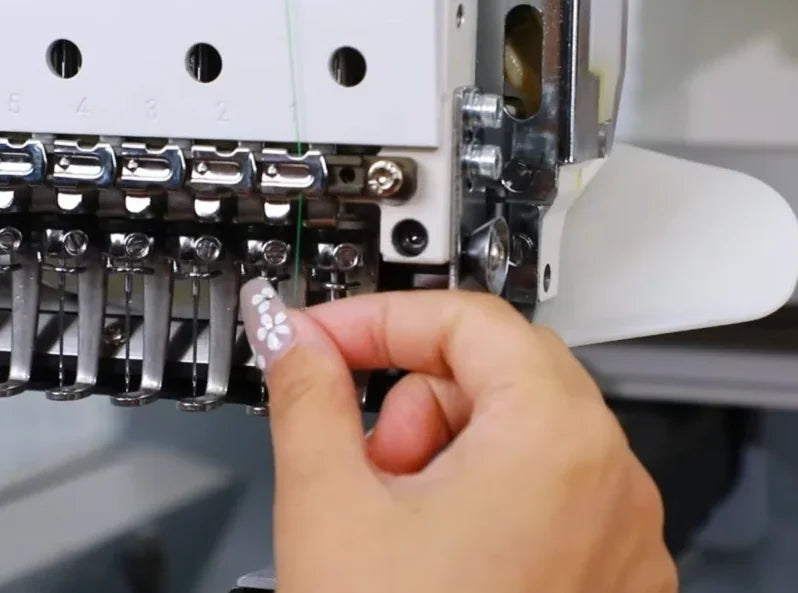
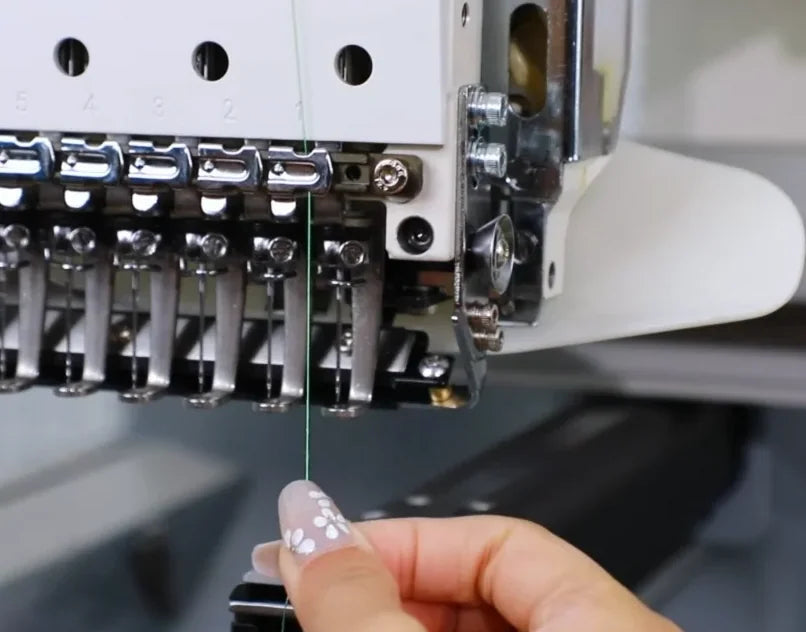
The hand reaches for the green thread at the selected needle on the right side of the head.
The old thread is free of the needle eye and can be held below the head.

4. Pull from the needle end through the top guide and tube

Watch at 00:37

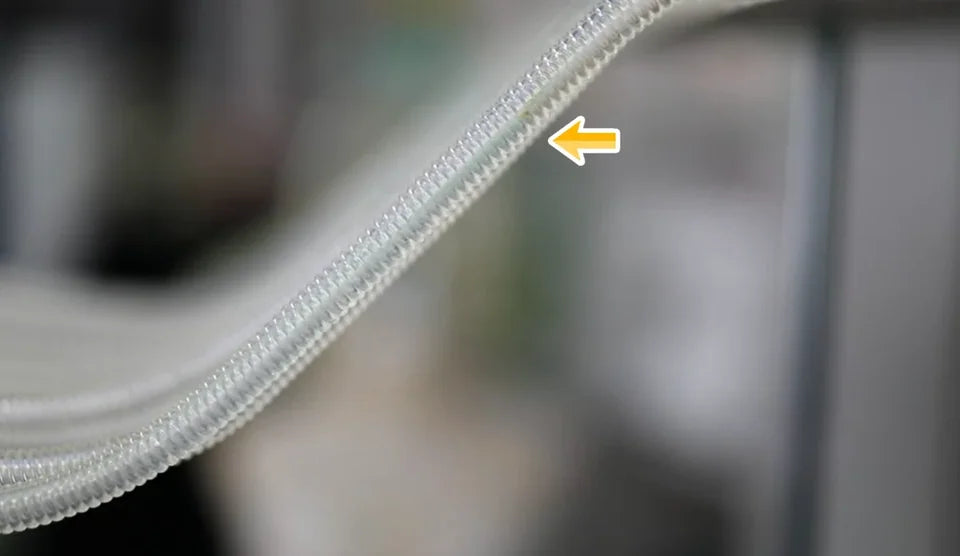
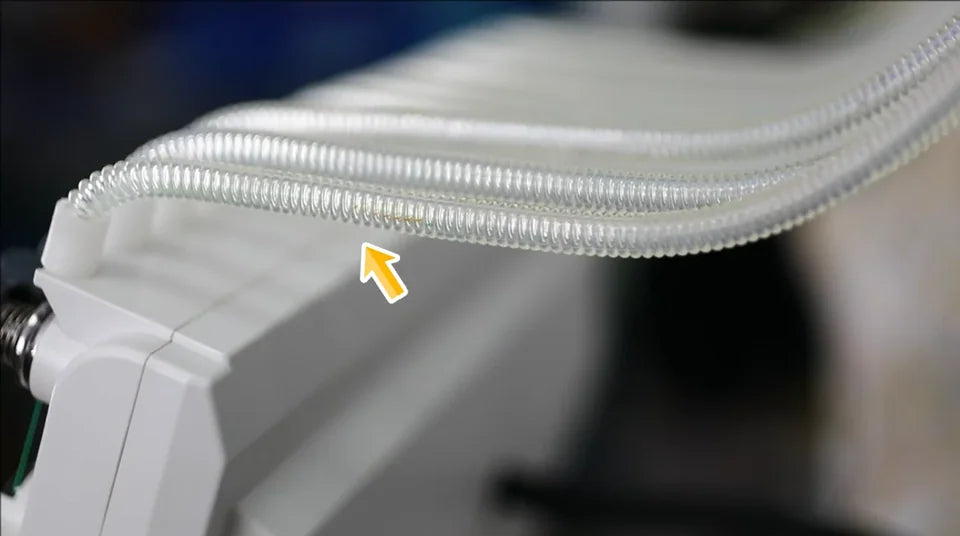
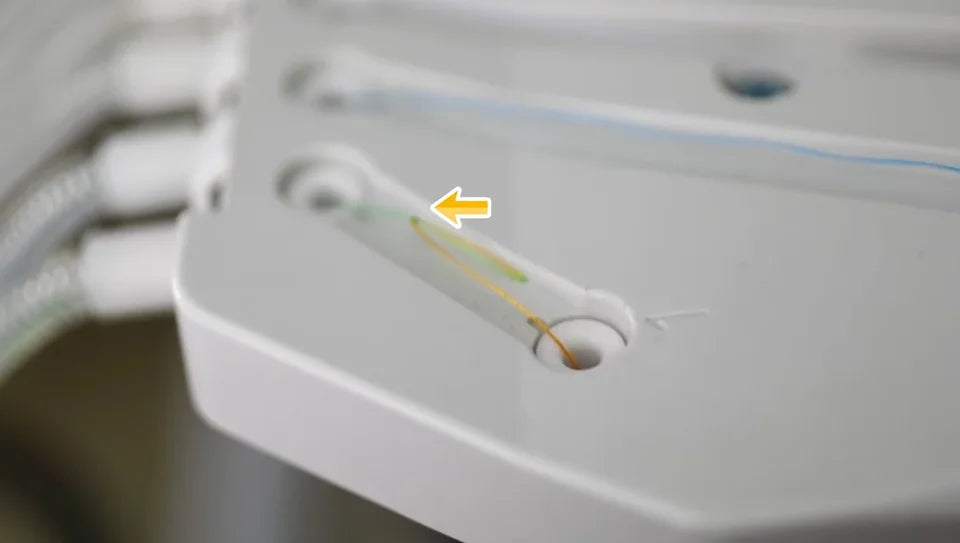
Gently pull the free old thread from below the sewing head. The old thread draws the join up through the holes in the white spool-stand guide and along the matching clear tube toward the head. Follow the same channel all the way. The yellow arrows in the video trace the join.
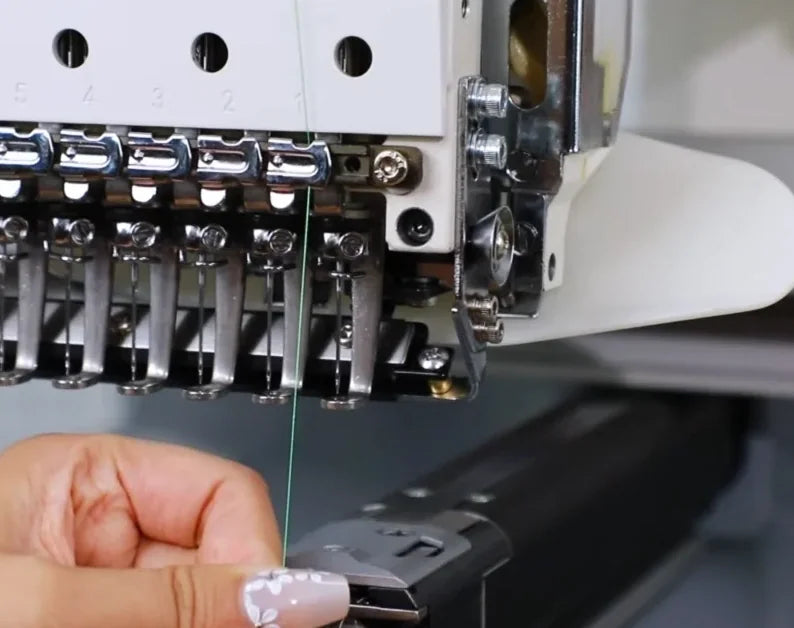
Pull the loose green end below the head to draw the new thread from the spool side.
The arrow follows the join across the two holes of the same channel in the white guide plate.
The join travels inside the clear guide tube between the spool stand and the sewing head.
Follow the same tube to its end at the top of the head.

5. Follow the existing tension path

Watch at 00:55

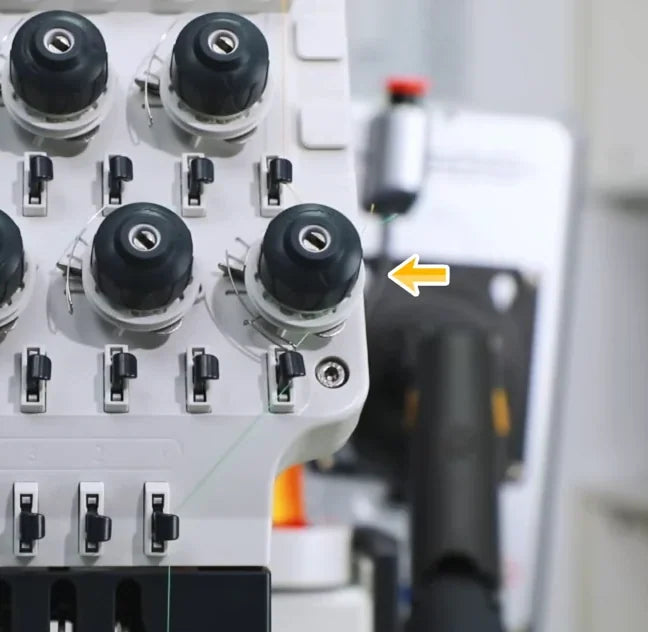
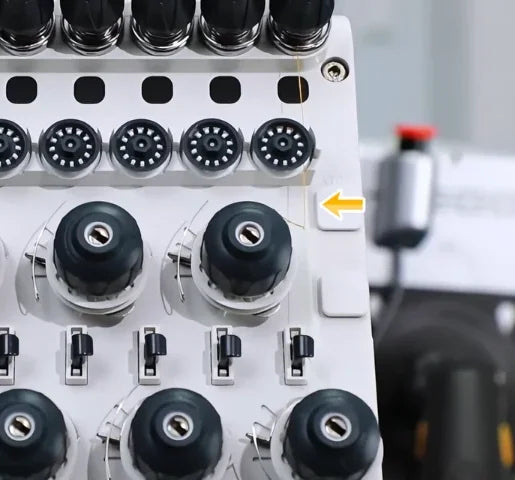
Keep pulling from below the head. The join comes down through the guide opening and past the small wheel, then passes the larger tension knob for this thread. Leave the tension settings as they are.
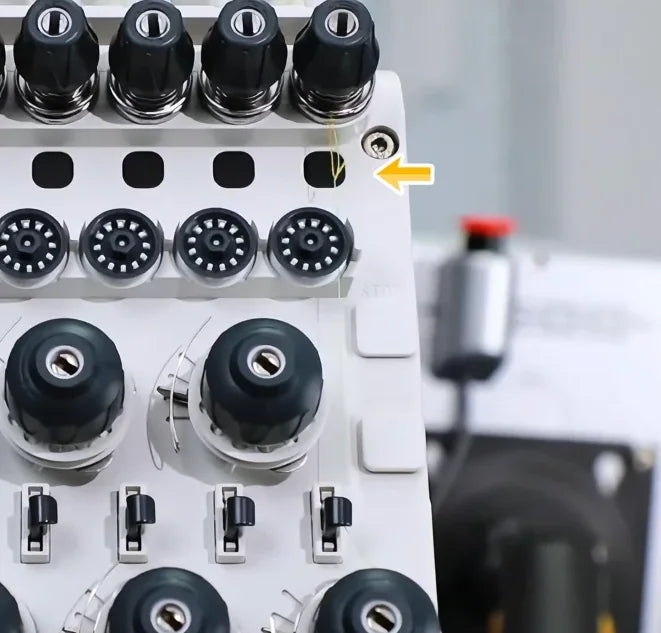
The arrow marks the guide opening above the row of small black wheels.
The join moves below the small black wheel on the selected path.
The arrow marks the large tension knob the joined thread passes next.

6. Draw the join through the take-up area

Watch at 01:06

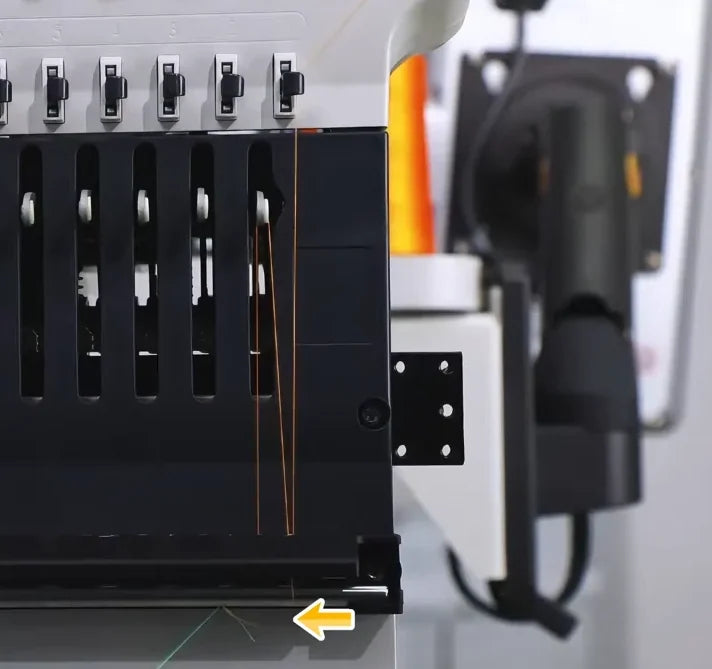
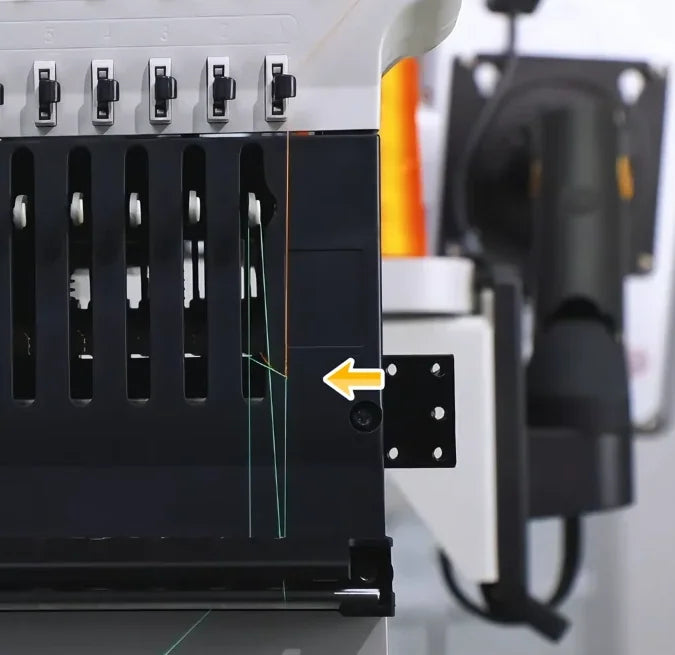
With the needle eye still empty, continue drawing the old end down. The join passes the small guide above the black slotted cover, travels through the take-up area and comes out below the cover. If the knot catches, stop pulling and check where it caught.
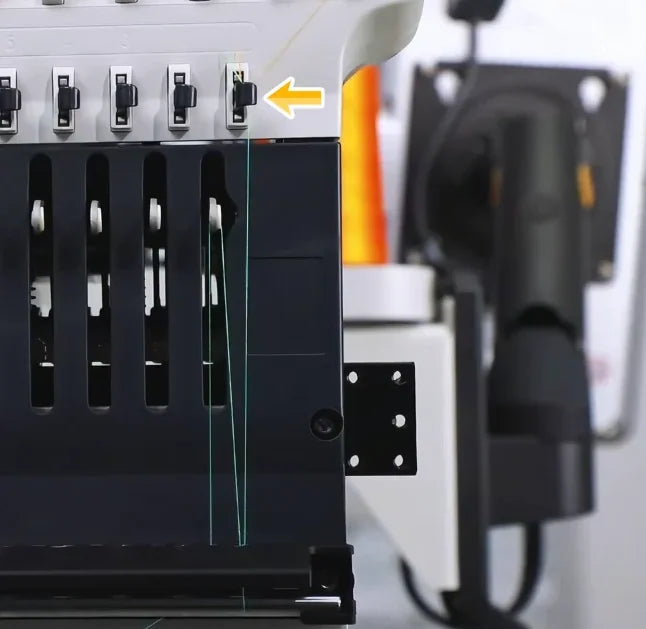
The arrow marks the small guide just above the black slotted cover.
The join moves through the right-hand slot used by the demonstrated needle.
The arrow follows the joined thread as it emerges below the cover.

7. Check that the new thread has reached the needle area

Watch at 01:16

Pull until you can see the join below the last guide at the front of the head. The new golden-orange thread should now run through the guides down to the needle area. The old green end is still below the knot.
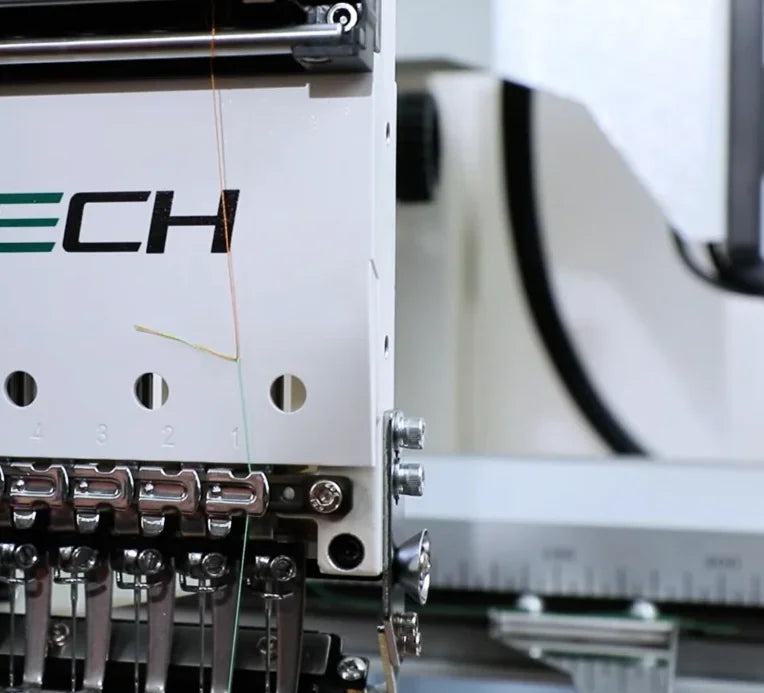
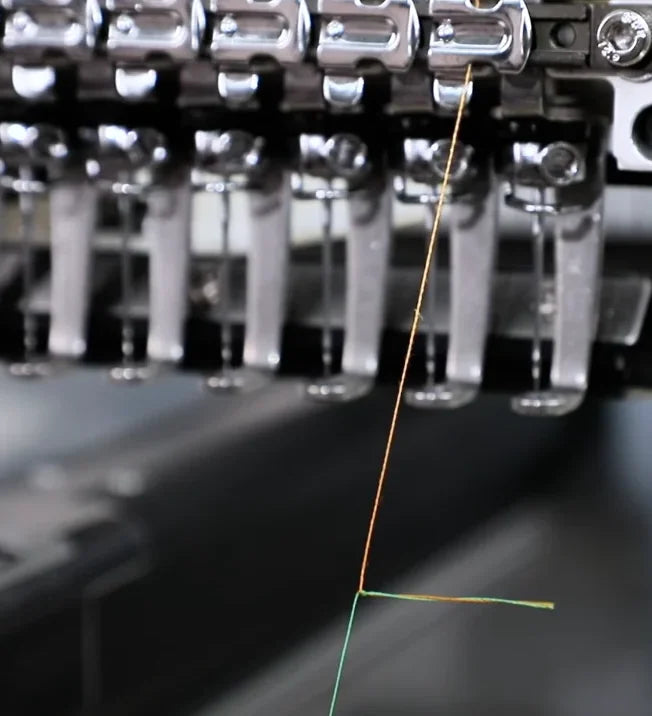
You can see the color change as the join reaches the lower front of the head.
The two colors meet below the last guide, where the join can be cut off.

8. Snip off the join

Watch at 01:23

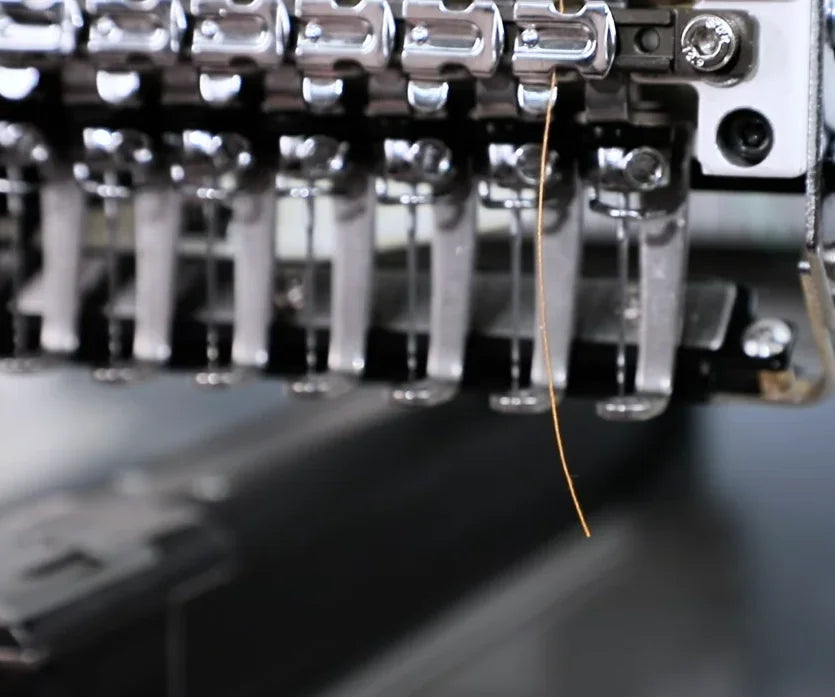
Hold the thread steady. Cut on the new-thread side just above the knot so the old thread and the join come away together. Leave a clean end of the new thread for hand threading.
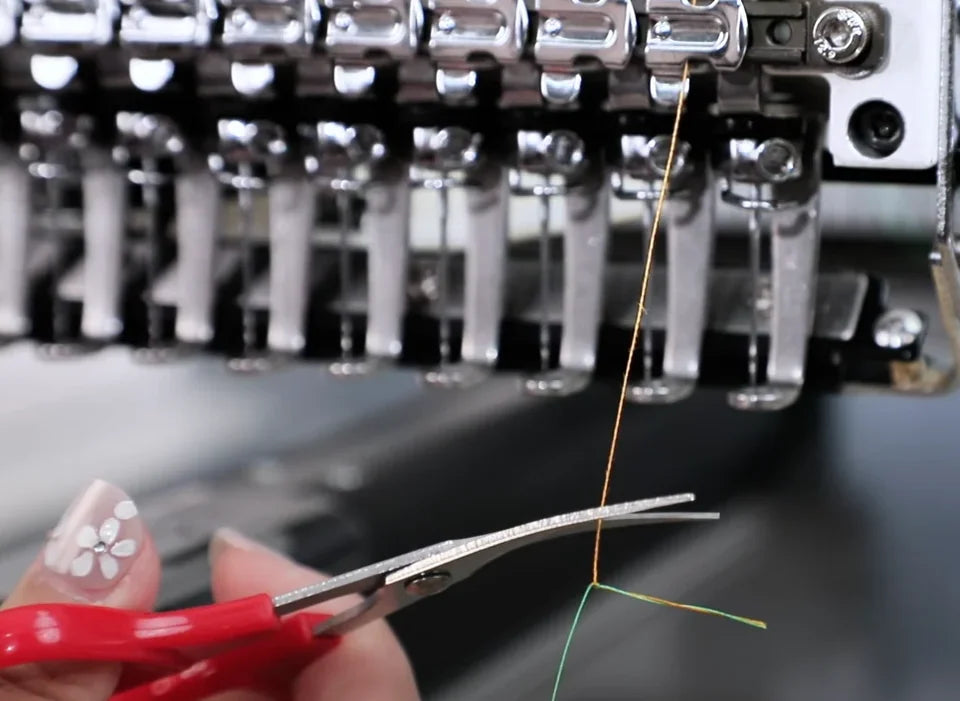
The snips are on the golden-orange side, just above the knot with the green old thread below.
Only the new thread hangs from the guide after the knot has been removed.

9. Thread the needle from front to back

Watch at 01:27

Bring the clean end to the same needle. Pass it through the needle eye from the front of the machine toward the back, then pull the tail through by hand.
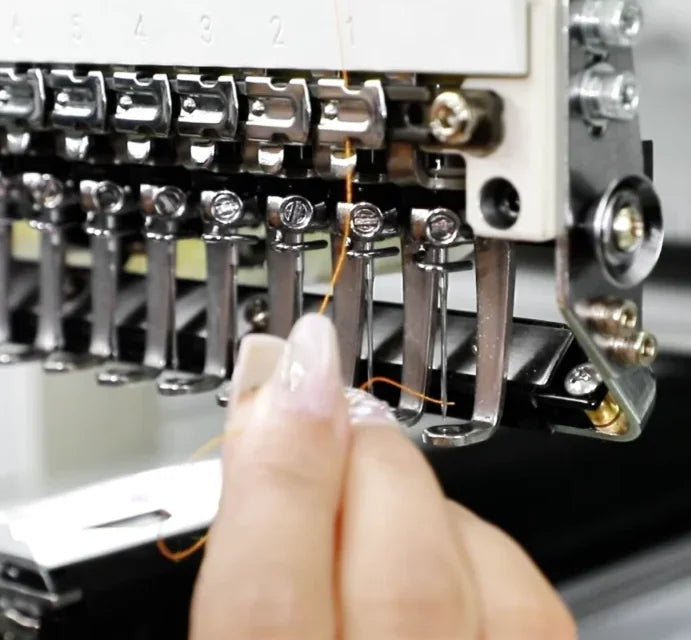
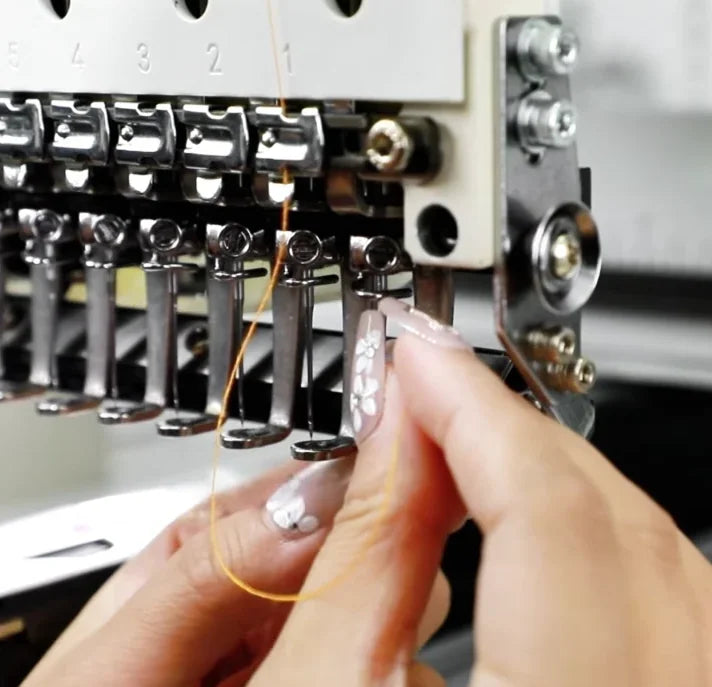
Bring the clean end to the front of the needle eye.
The other hand reaches behind the needle to take the thread as it comes through.
The loose tail now extends below the needle for securing.

10. Secure the tail under the holder

Watch at 01:32

Bring the threaded tail back up to the row of metal thread holders above the needles. Slip it under the holder for the same needle, where the demonstrator points, and pull it through until it is held.
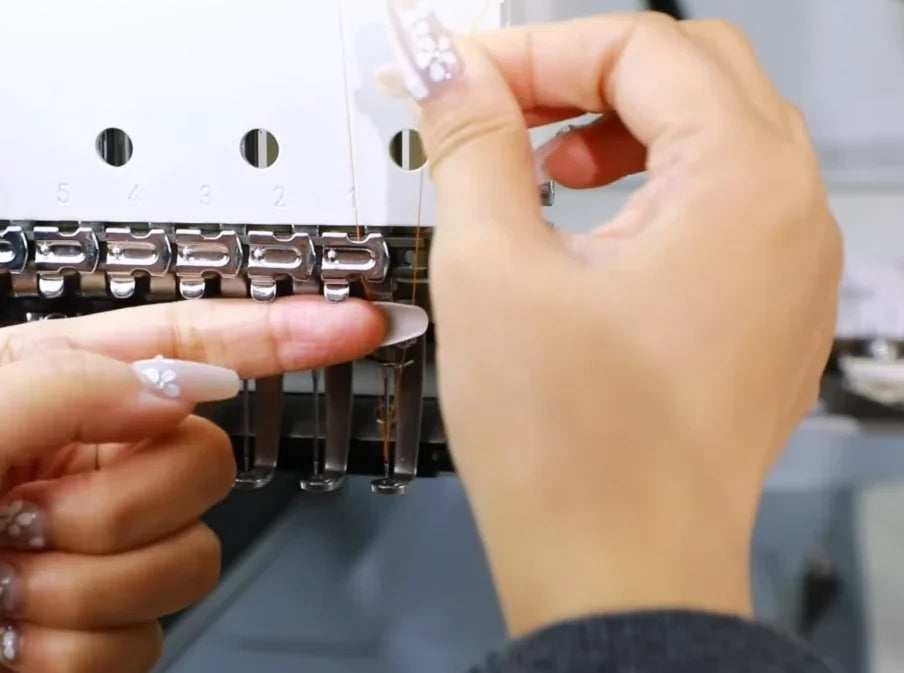
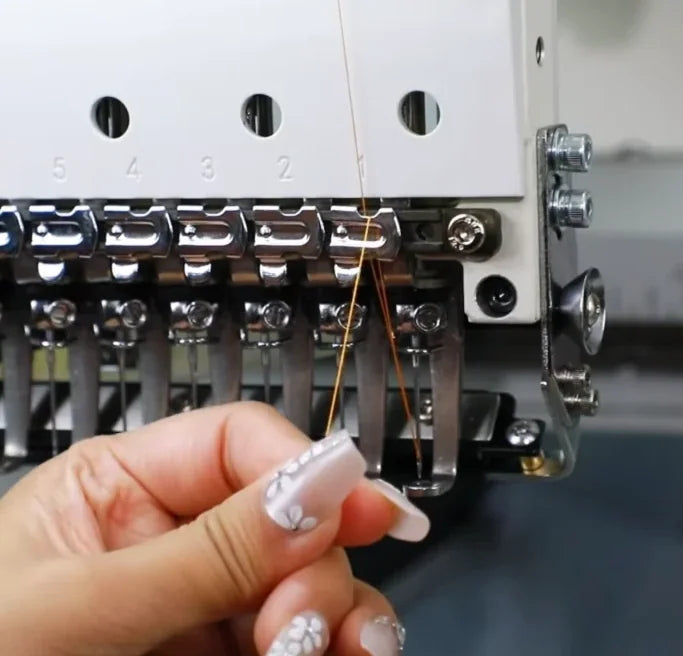
The pointing finger identifies the underside of the metal holder. The other hand lifts the tail into place.
The tail is held at the same needle position, with the excess ready to trim.

11. Trim the excess and check the thread

Watch at 01:37

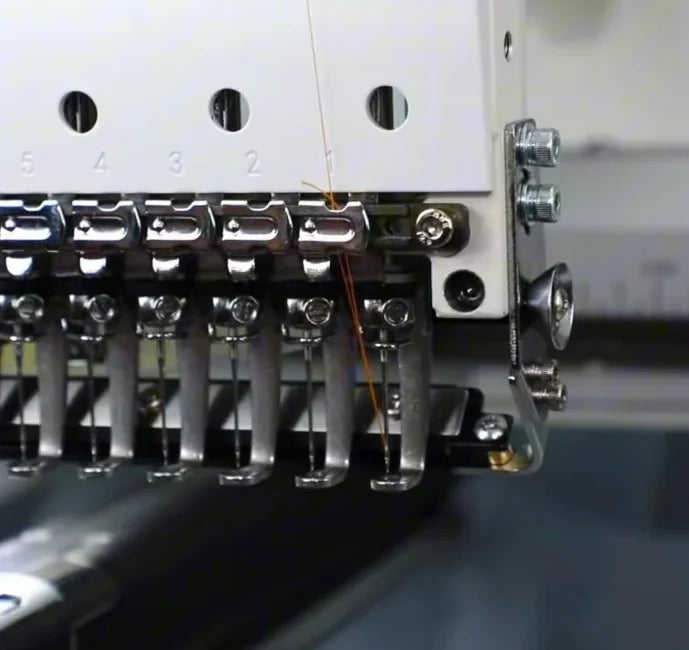
Trim only the excess beyond the holder. Check that the new thread still follows the original path, goes through the needle eye and stays in the holder. The video ends with this visual check before any stitching.
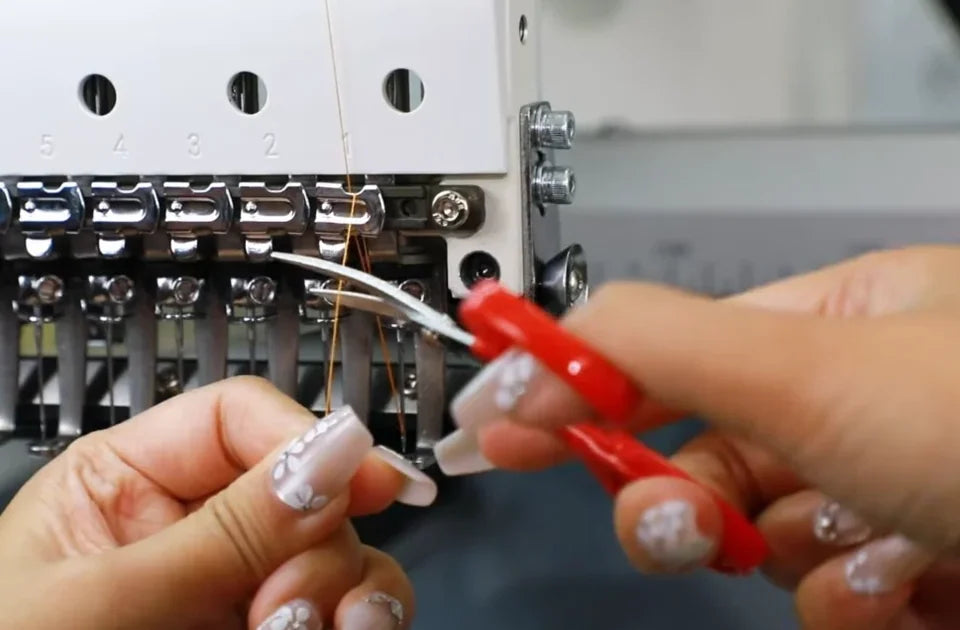
The snips trim the loose end beside the metal holder after the thread has been secured.
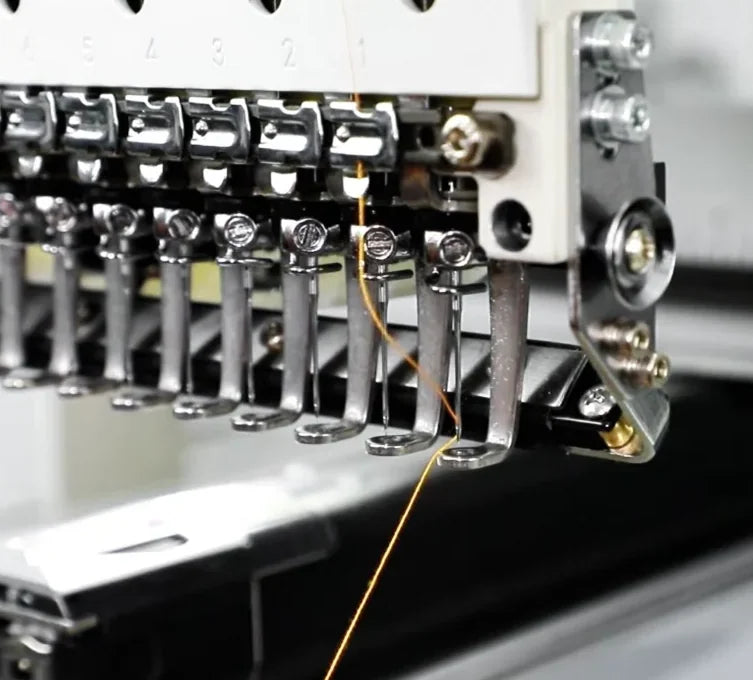
The golden-orange thread remains through the needle and held at the front of the head.