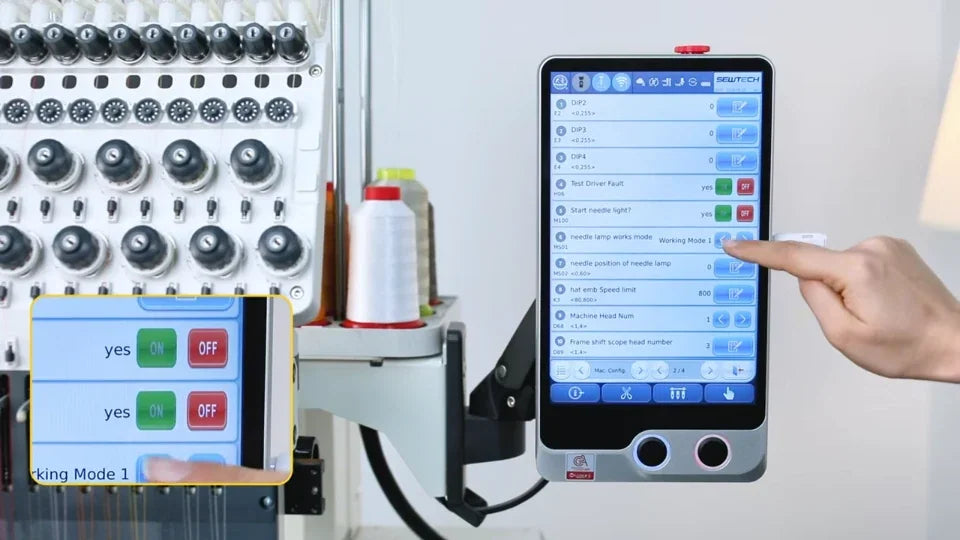
Align and Focus the ST-1501 Positioning Laser

Overview
Check the reflected laser dot at the needle plate, then verify positioning with the trace function.
Step-by-step guide
1. Center the dot at the needle plate
Watch at 00:10Check where the dot falls relative to the needle plate hole. Move the laser unit gently as shown until the reflected dot is centered.
2. Run a trace to verify position
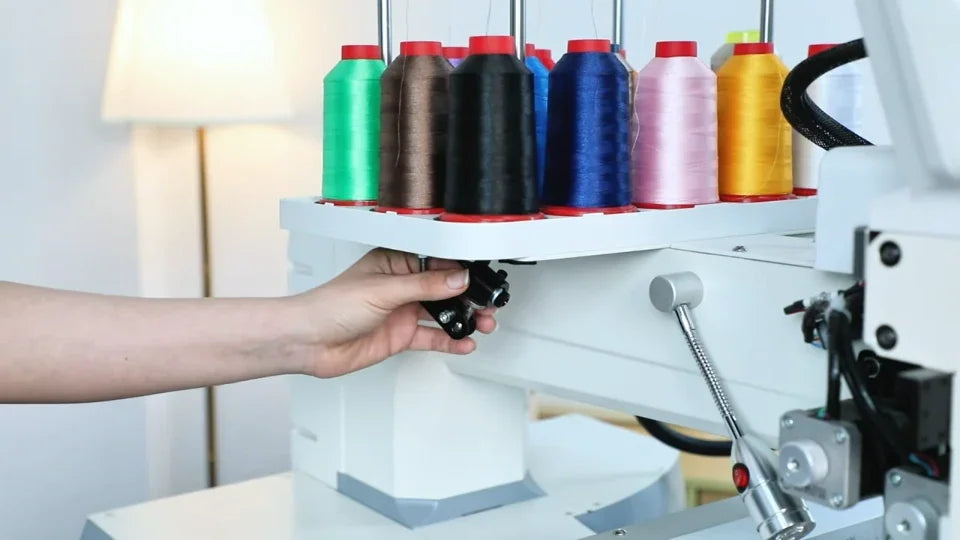
Watch at 00:57Use Trace to project the design boundary on the fabric. Check that it lines up with the intended location.
3. Focus a blurry spot
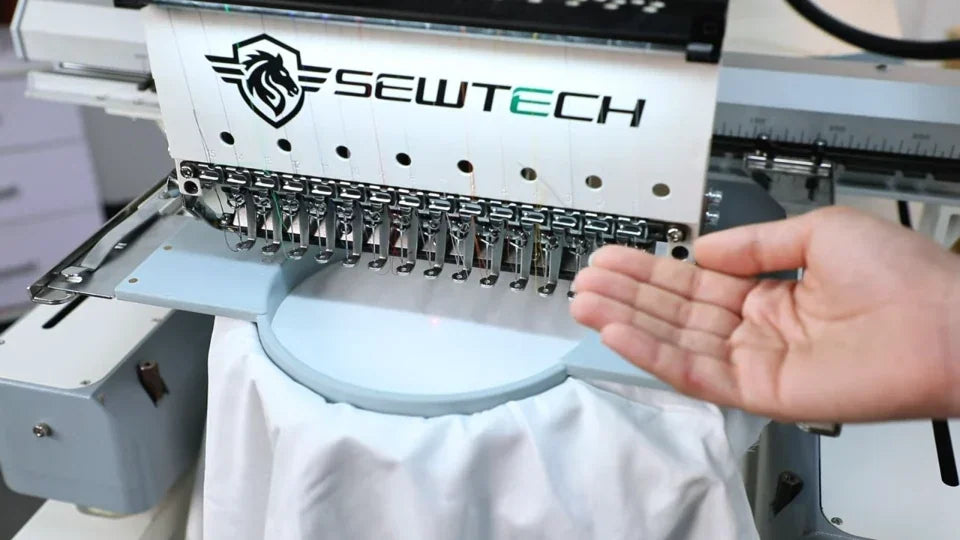
Watch at 01:23If the dot looks stretched or blurred, turn the lens tip slightly as demonstrated until it is small and clear.
4. Locate the laser enable setting
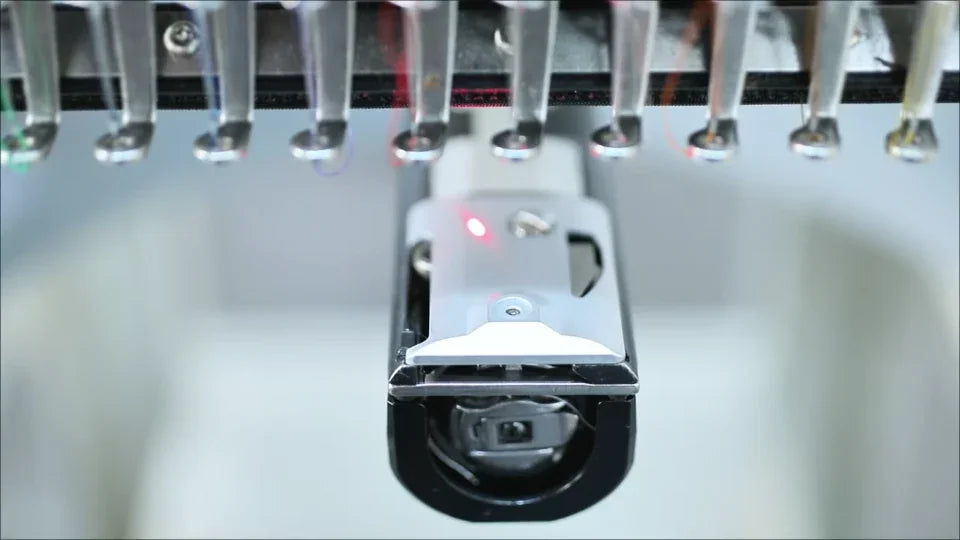
Watch at 01:55If the dot is absent, follow the settings path to Start Needle LED and verify that the option is enabled on the controller shown.