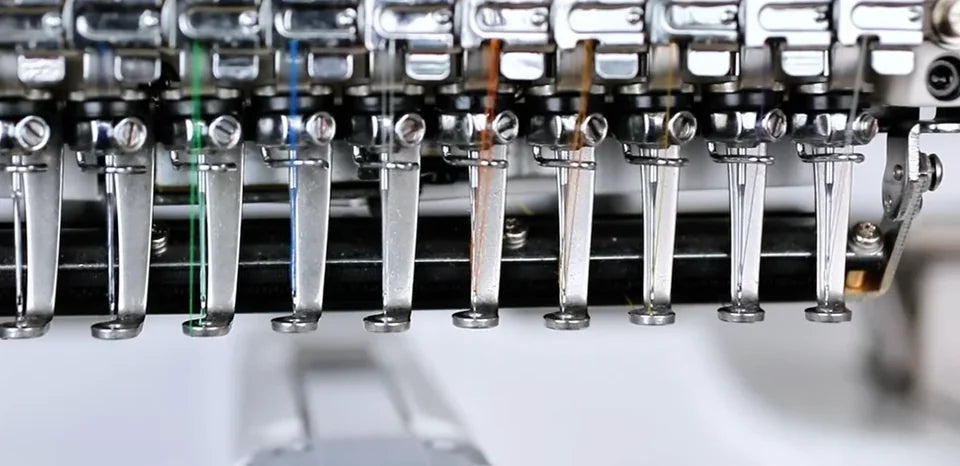
Replace a Needle on the ST-1201 and SC-1501

Overview
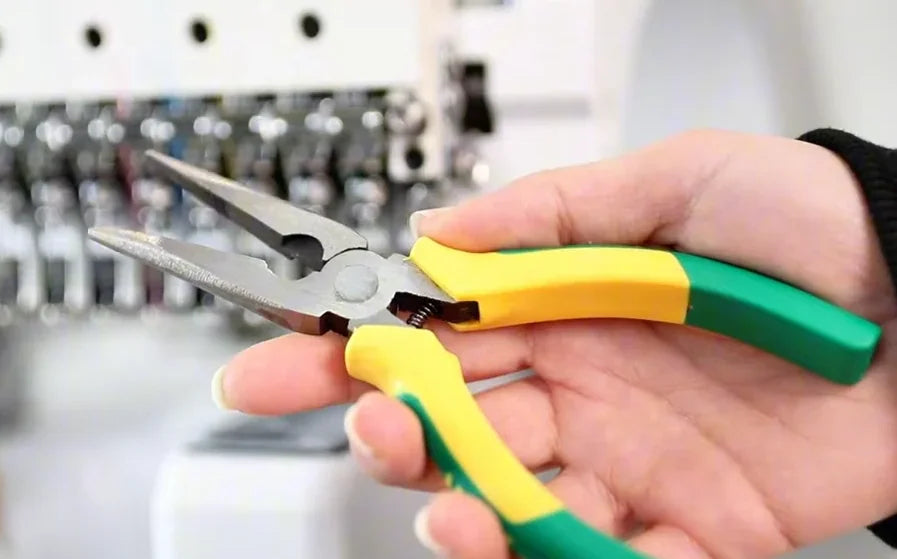
Stop the machine before working at the needle bar. Have a flat-blade screwdriver from the toolbox, needle-nose pliers and a compatible replacement needle ready. The demonstration uses the ST-1201 and shows how to check the needle mechanically before returning the machine to service.
Step-by-step guide
1. Loosen the needle clamp screw
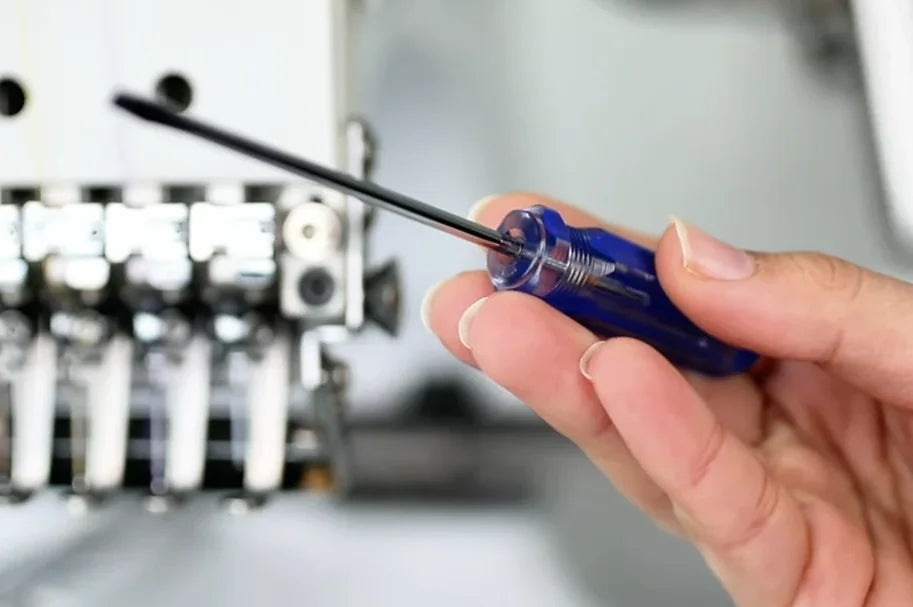
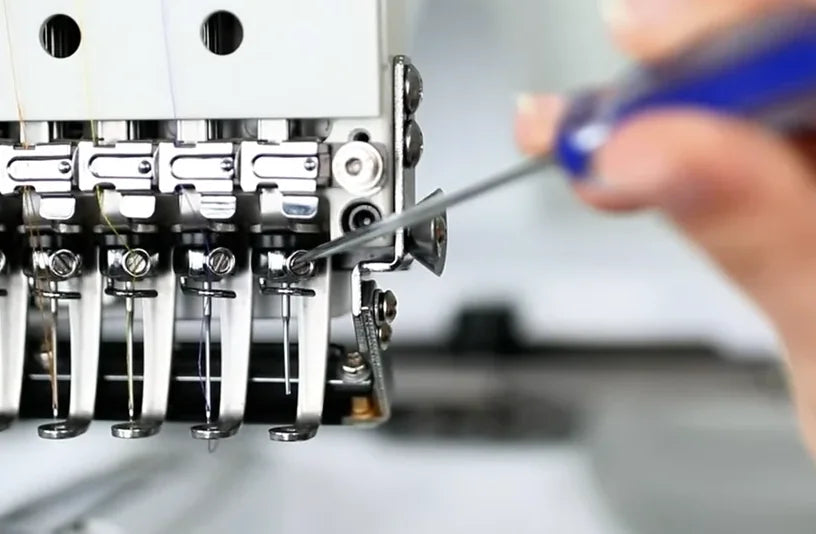
Watch at 00:14At the bottom of the machine head, locate the small slotted screw above the presser foot for the needle you are replacing. Set the flat blade into the slot and turn it slowly, just enough to release the needle. Leave the screw in the clamp.
2. Remove the broken needle
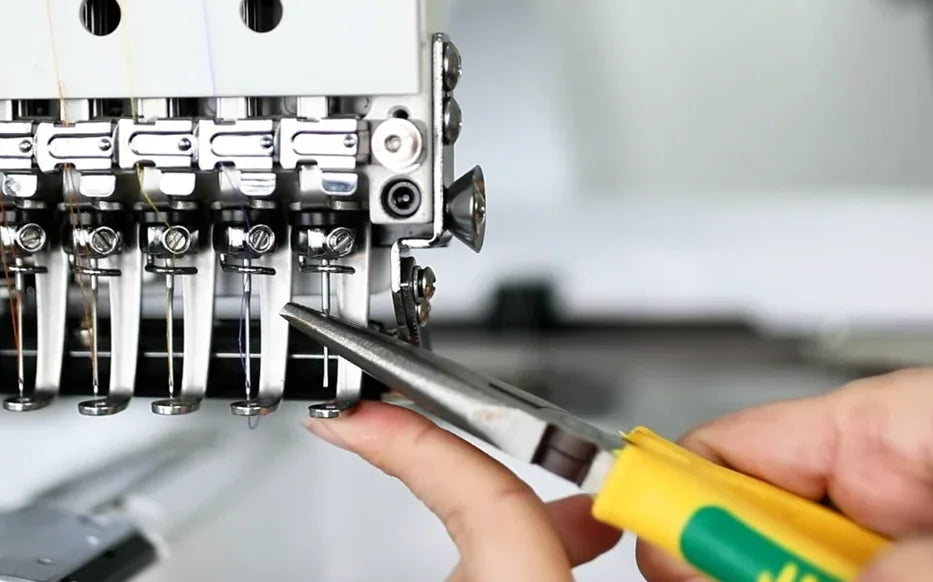
Watch at 00:28Bring the needle-nose pliers in beside the presser foot. Grip the exposed portion of the broken needle below the clamp and gently pull it down and clear. The removed needle should come away with the pliers.
3. Face the long groove toward you
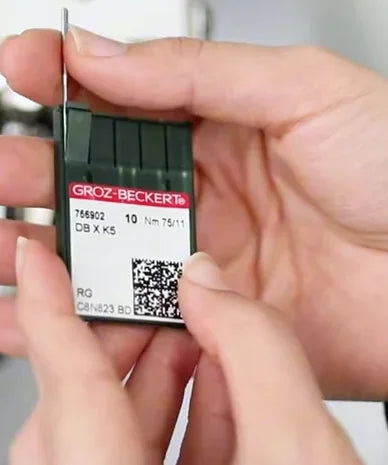
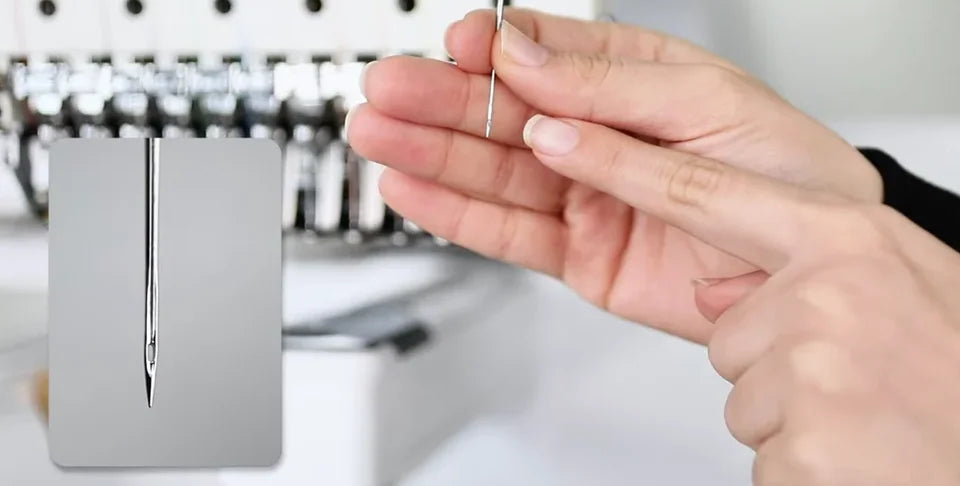
Watch at 00:38Take out the replacement needle and hold it upright with the point down. Find the long groove running down the needle toward its eye and turn that groove toward you, facing the front of the machine. Keep this orientation as you insert the needle. The pack shown is marked DB × K5, Nm 75/11.
4. Guide the new needle through the presser foot
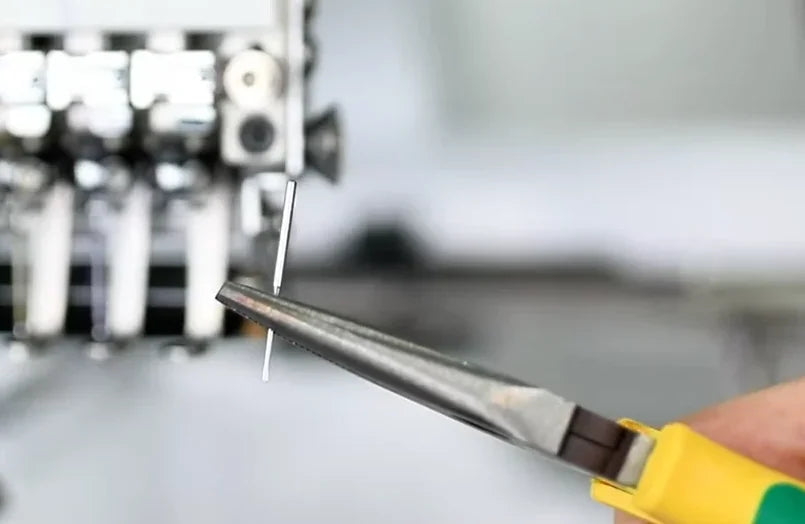
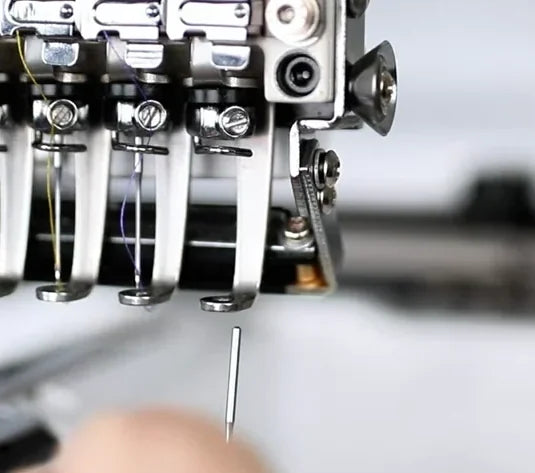
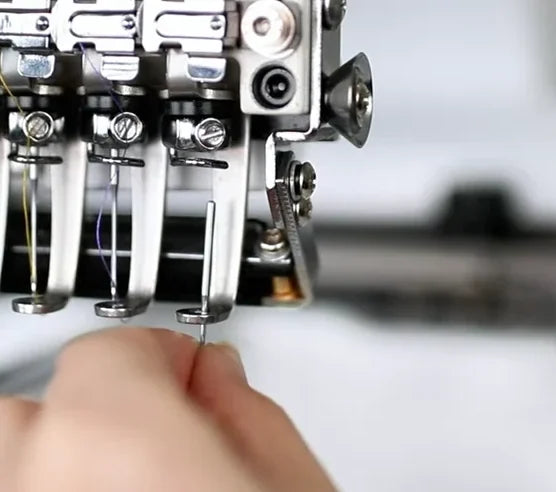
Watch at 00:53Bring the new needle straight up from below the presser foot, with the thicker shank leading. Pass the shank through the opening in the foot at the same needle position, then take hold of the needle with the pliers. Keep the long groove facing forward as you bring the shank toward the holder above.
5. Seat the needle against the top of the holder
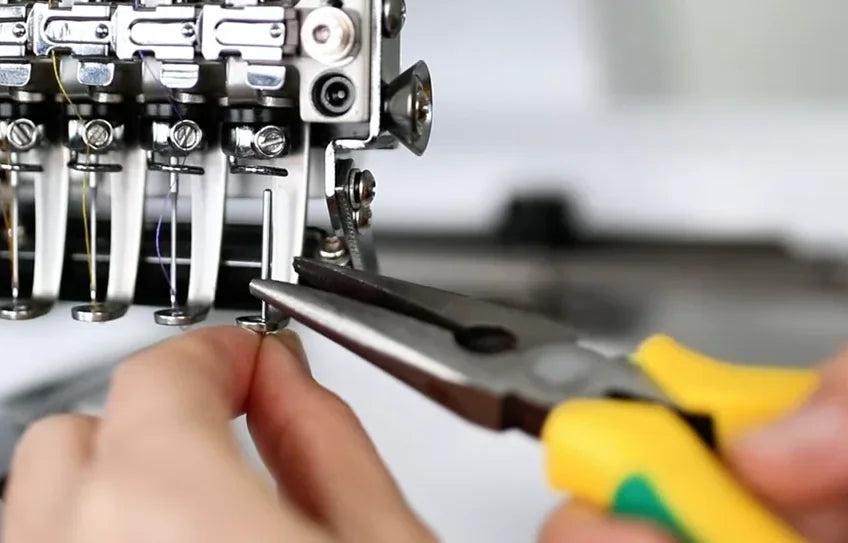
Watch at 00:59Guide the shank into the needle holder directly above the presser foot. Use the pliers to push the needle straight up until it stops at the top of the holder. Before tightening, check that it has reached that stop and that the long groove still faces forward.
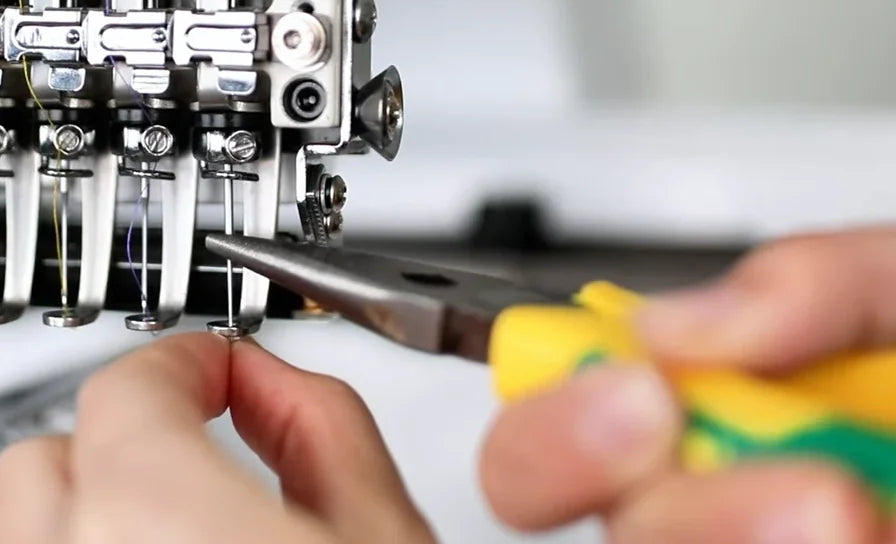
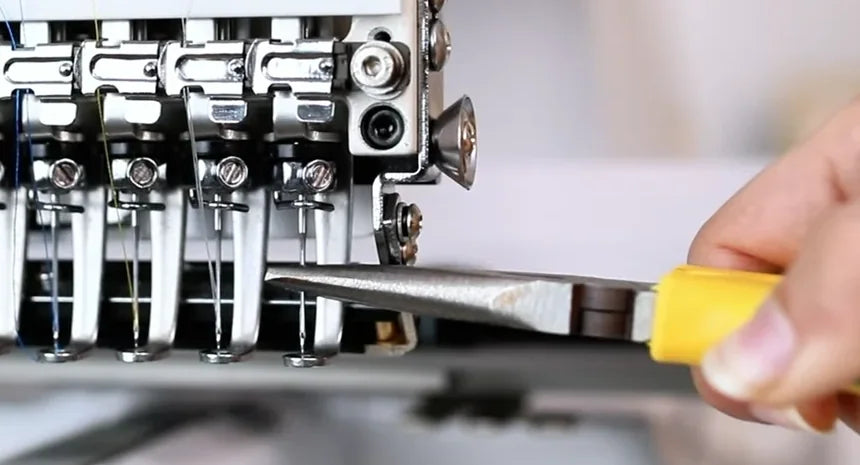
6. Hold the needle up and tighten the screw
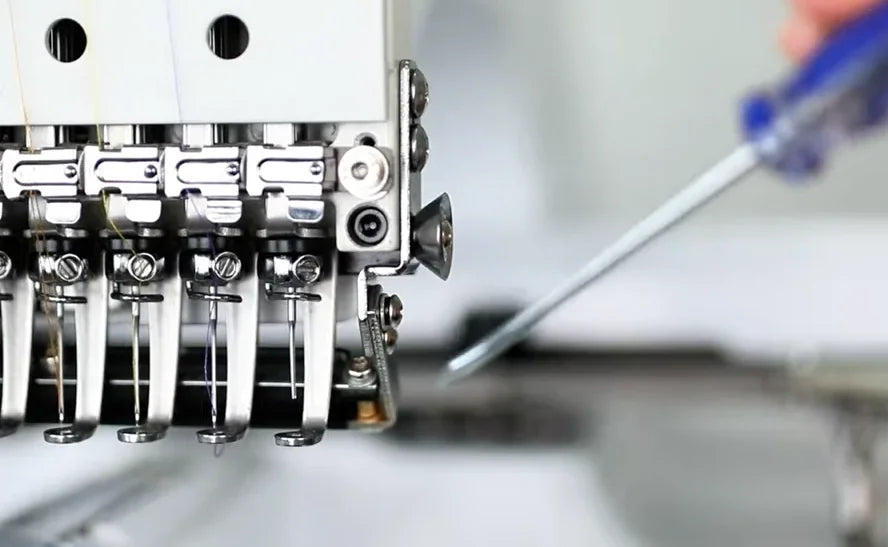
Watch at 01:14Keep the needle fully seated with the pliers while you bring the flat-blade screwdriver back to the same clamp screw. Tighten the screw firmly. Once the screw holds the needle, release the pliers and remove both tools.
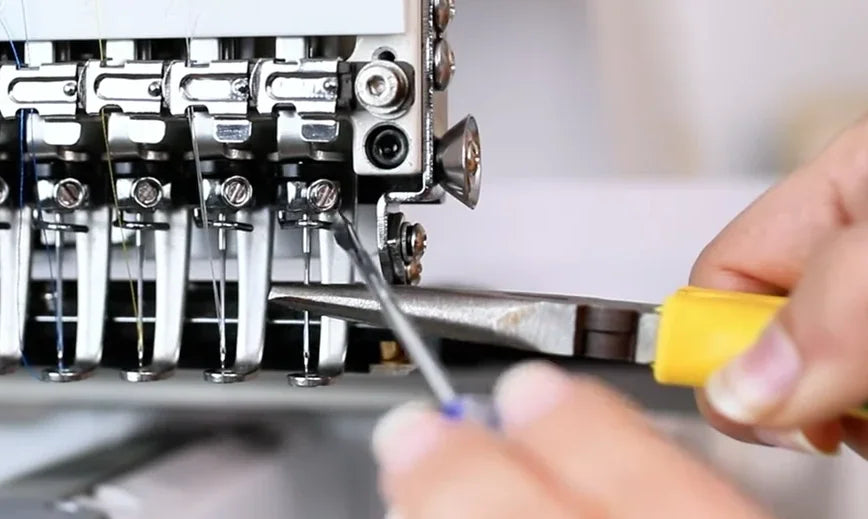
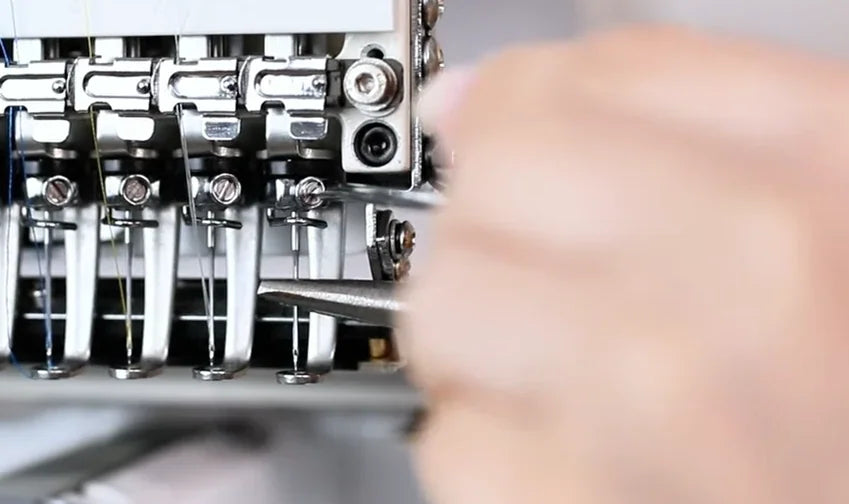
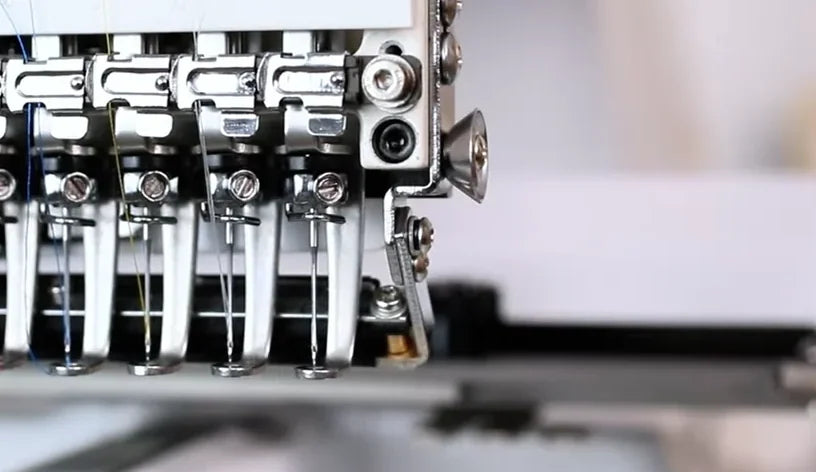
7. Check that the installed needle stays in place
Watch at 01:19With both tools clear, confirm the needle remains upright at its needle position, fully seated and secure, with the long groove facing you. The video ends the procedure with this close-up of the stationary needle row.