Import, Copy and Remove Multiple Designs on the ST-1501

Overview
Use the ST-1501 touchscreen to import designs from a USB drive, export machine designs to USB, or delete a batch from machine memory. Have the USB drive with your embroidery files ready for import. Back up any designs you may need before deleting them.
Step-by-step guide
1. Insert the USB drive
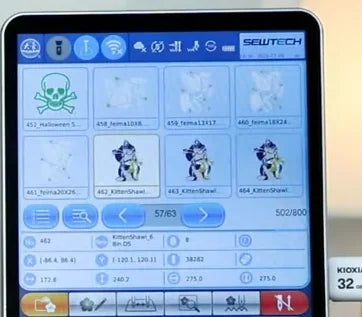
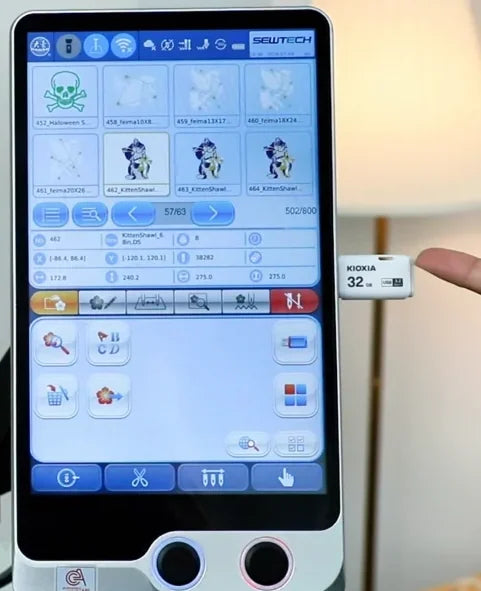
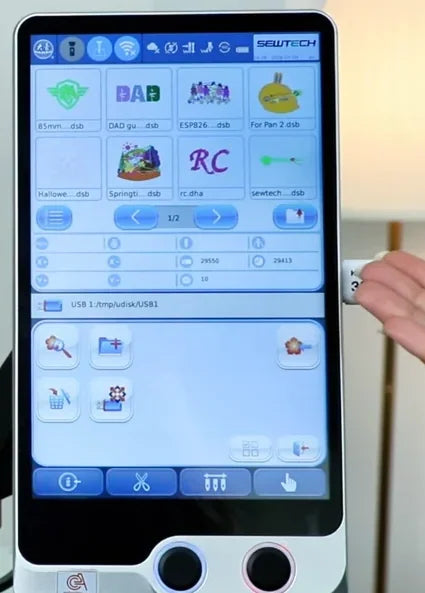
Watch at 00:13Insert the USB drive containing your embroidery files into the port on the right edge of the touchscreen. Leave it connected while files are transferring.
2. Open the USB design list
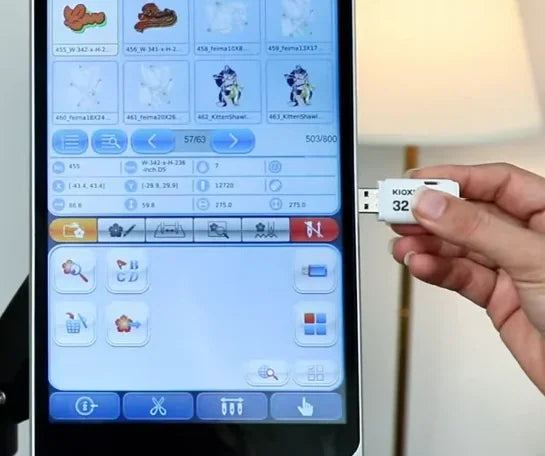
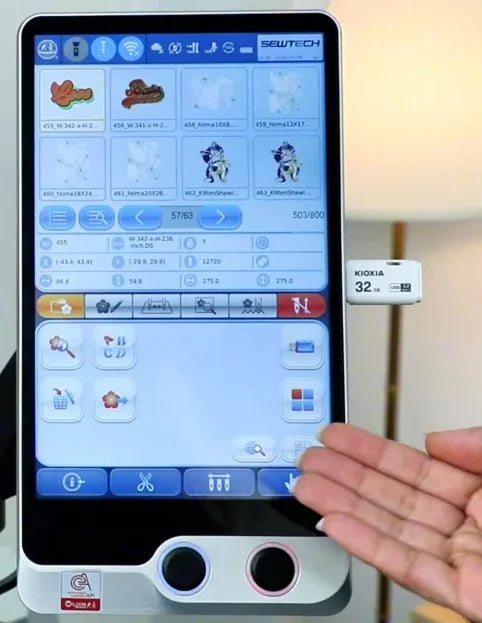
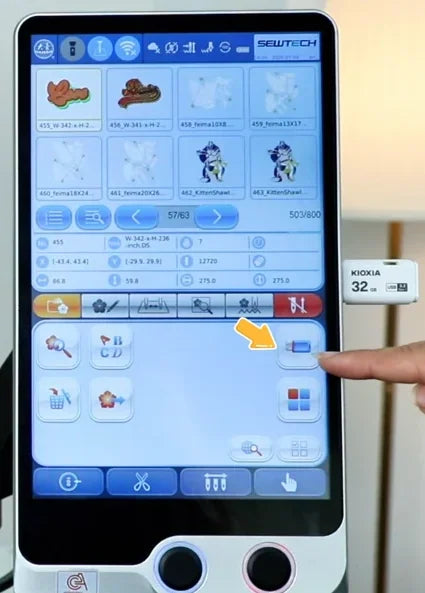
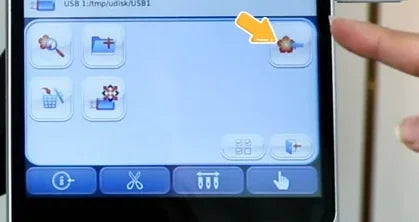
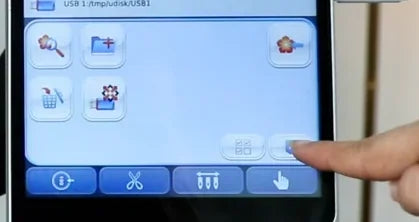
Watch at 00:20On the file-management screen, tap the blue USB icon at the top right of the lower tool area. The USB device path appears below the design details and the grid above it switches to the files on the drive.
3. Multi-select the designs to import
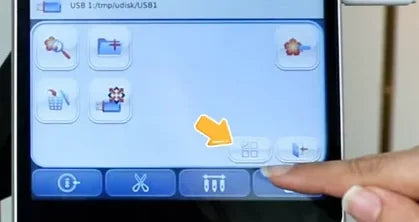
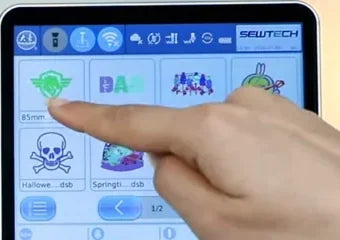
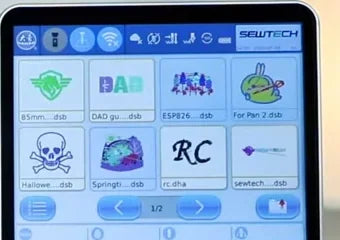
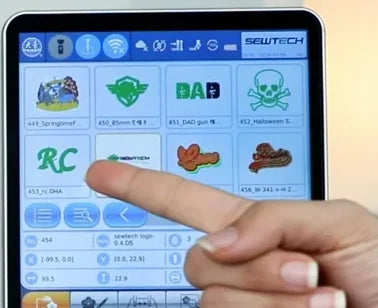
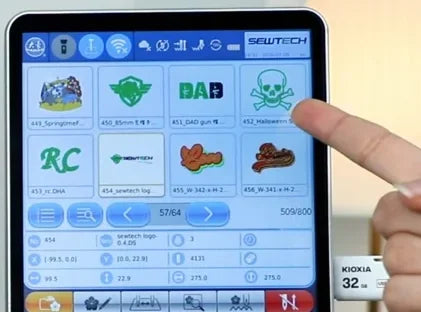
Watch at 00:30Tap the small grid icon just left of Back at the bottom right of the USB tool area, above the blue bar. Tap each thumbnail you want to import. Review the selected tiles before continuing. The green design and RC lettering are examples from the video.
4. Import and wait for the transfer
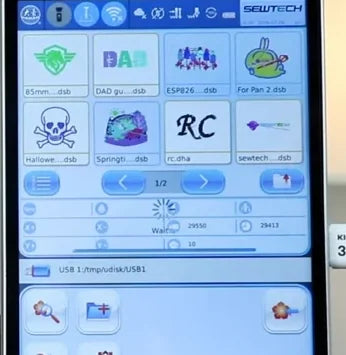
Watch at 00:42Tap the orange Import icon on the right of the USB tool area. While the files are transferring, the machine shows a spinner, a Wait message, and a progress bar below the thumbnails. Wait until these indicators clear.
5. Return and verify the imported files
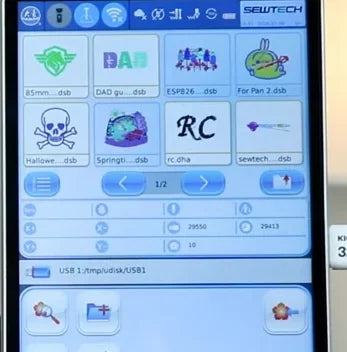
Watch at 00:52Tap Back at the bottom right of the USB tools. In the machine design list, check that your selected files now appear. The video points out the RC lettering and skull thumbnails as examples.
6. Select machine designs to copy
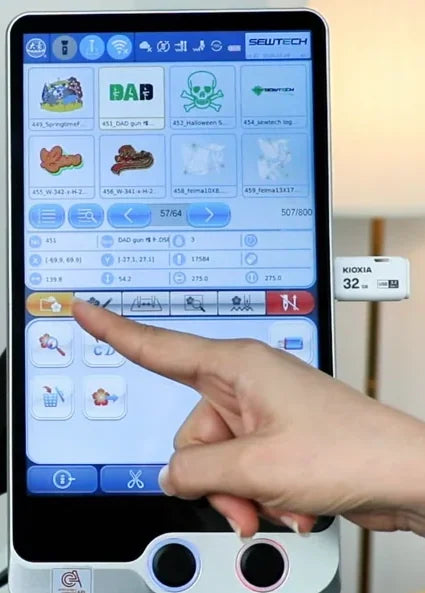
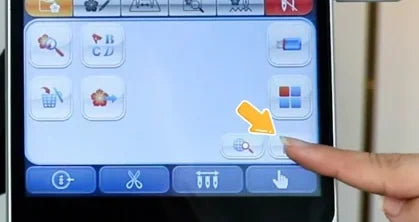
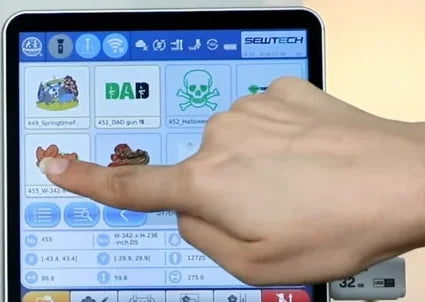
Watch at 01:08Keep the USB drive connected. Open the machine design list with the yellow file-management tab at the left end of the middle toolbar. Tap Multi-select at the bottom right of the tool area, then tap each machine design you want to copy.
7. Copy to USB with the default names
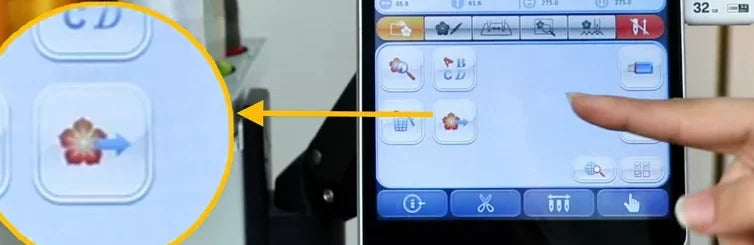
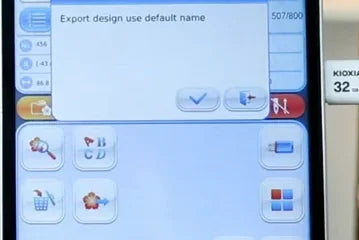
Watch at 01:24Tap Copy in the lower-left tool group. Its icon shows an orange design with a right-pointing blue arrow. At the “Export design use default name” prompt, tap the checkmark to export the selected designs with their default names.
8. Check the export completion message
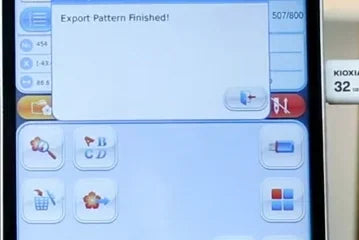
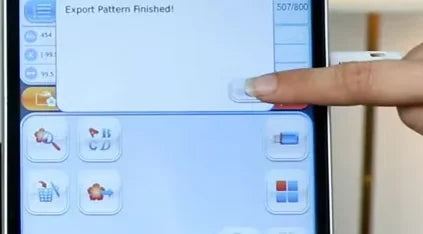
Watch at 01:34Wait for “Export Pattern Finished!” and close the message with the button at its lower right. If you are backing up designs before deletion, reopen the USB list and verify that the copies are on the drive.
9. Select and review the designs to delete
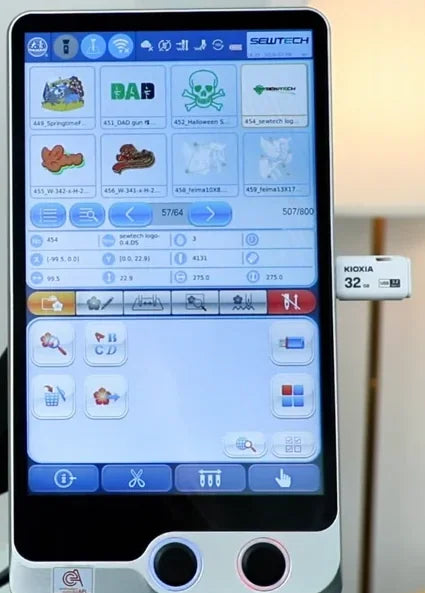
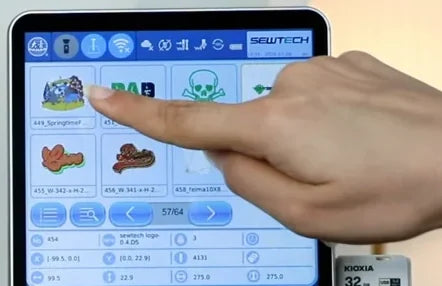
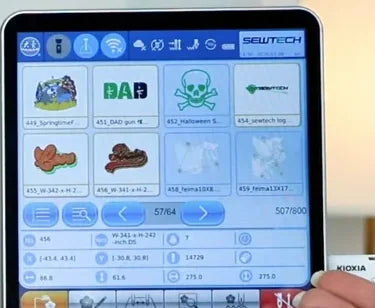
Watch at 01:43In the machine list, tap Multi-select again and tap each design you intend to remove. Check the selected thumbnails and file names. Use the USB copy steps first for any designs you need to keep.
10. Open Delete and confirm the selection
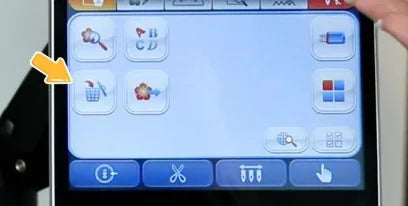
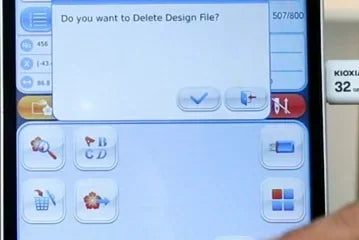
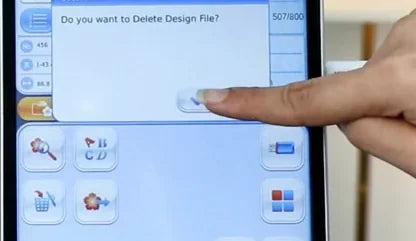
Watch at 01:55Tap the bin icon at the far left of the lower tool row. When the machine asks “Do you want to Delete Design File?”, tap the checkmark if the selection is correct. Use the button to its right to go back if you need to review the selection again.
11. Verify the remaining machine designs
Watch at 02:04Check the refreshed machine list. The selected files should be gone and the designs you kept should still be present. The skull remains in the example. Keep the USB backup if you may need to import a design again.