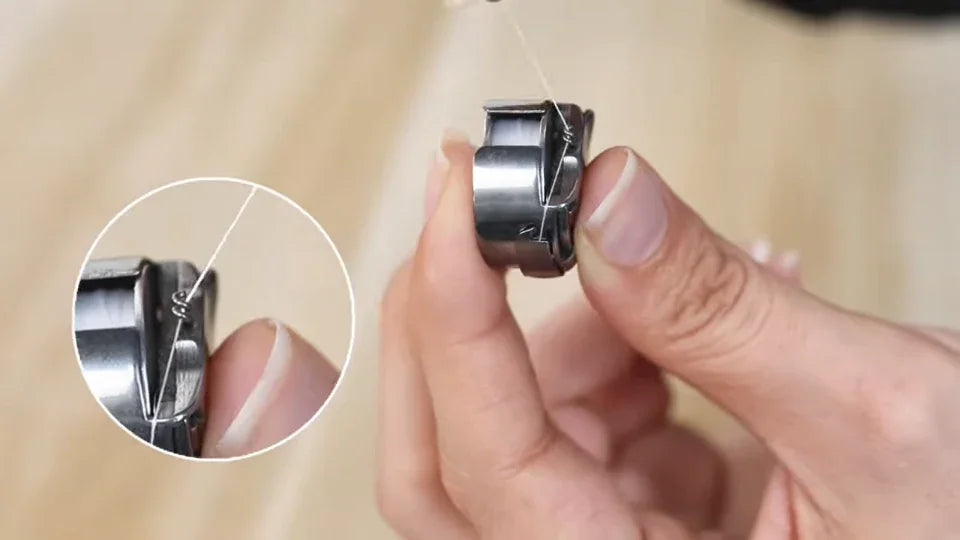
Check and Adjust Bobbin Tension on the ST-1201

Overview
Use this bench test to check the ST-1201 bobbin tension. Have the bobbin and its case out of the machine, and keep a small flat-blade screwdriver handy. The check is based on how the suspended case moves when you hold the thread.
The original video cover is labeled ST-1501. This guide applies to the ST-1201.
Step-by-step guide
1. Seat the bobbin in its case
Watch at 00:06Hold the case with the open side facing you. Set the bobbin into the round opening and press it into place with your thumb. Keep the thread tail accessible at the edge of the case.


2. Route the thread through the threading guide
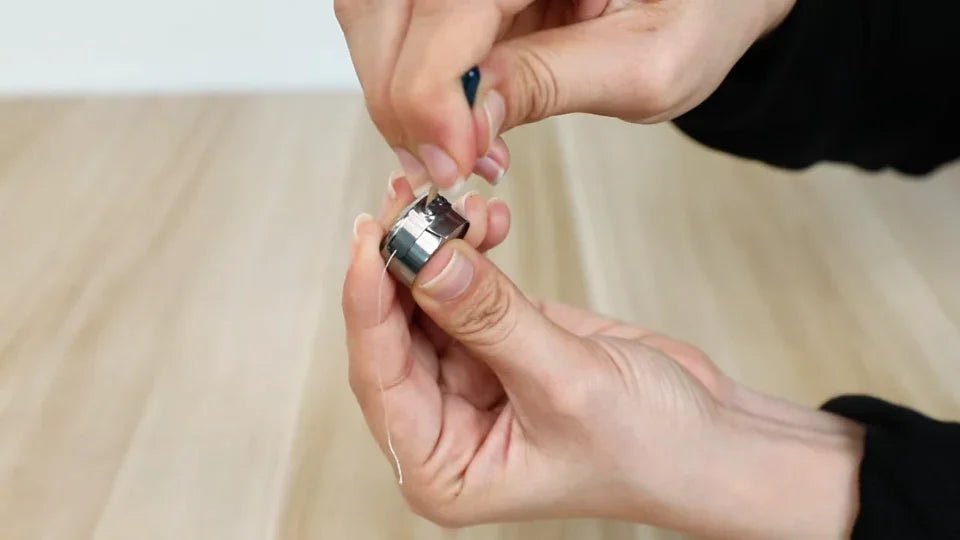
Watch at 00:11Turn the case so you can see its outer edge. Pull the tail into the slot and through the threading guide on the side. Leave the final wrap around the small wire spring until the tension check is finished.
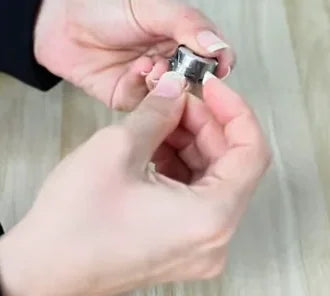
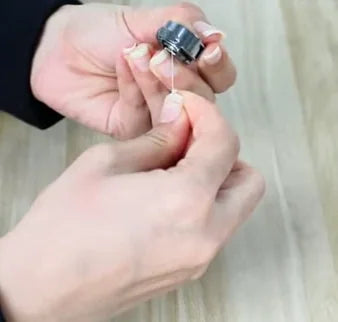
3. Suspend the case by the thread
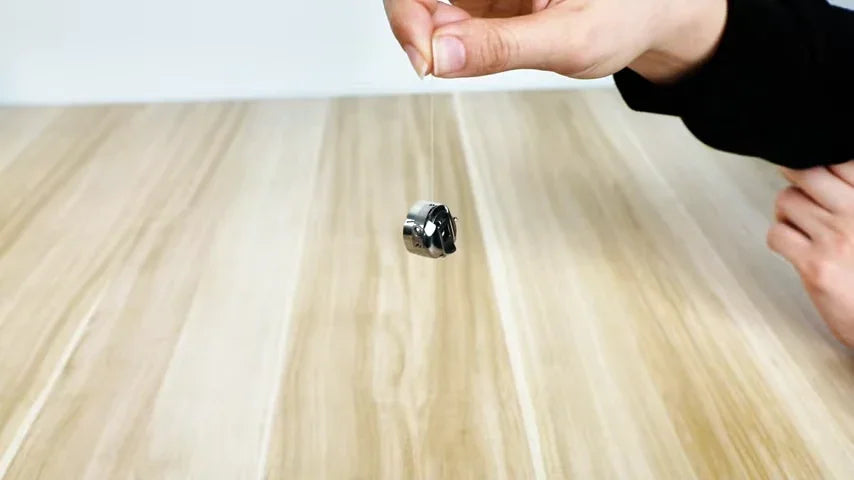
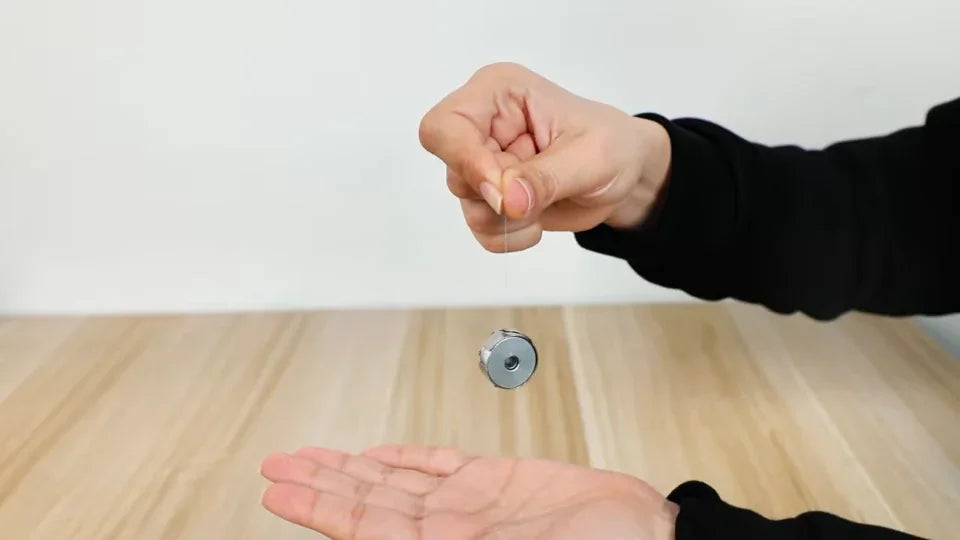
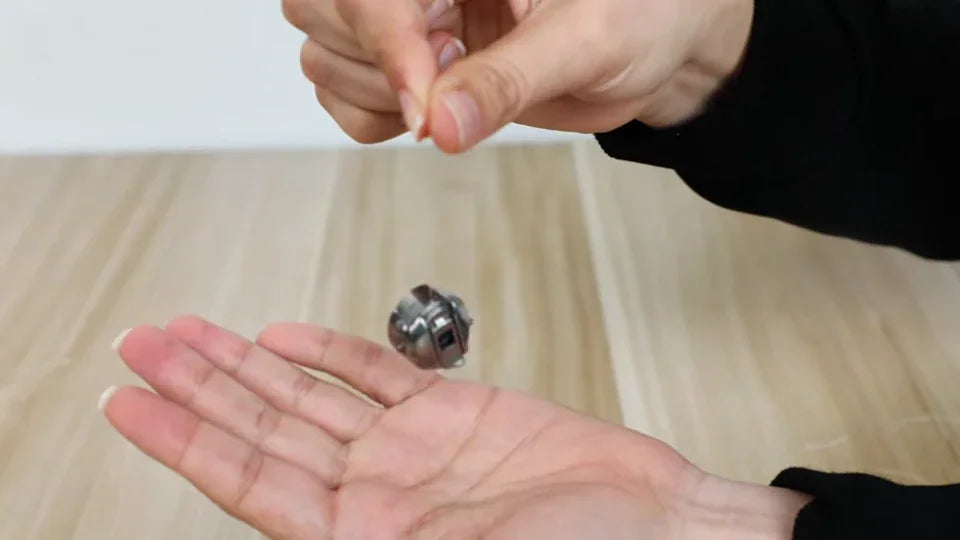
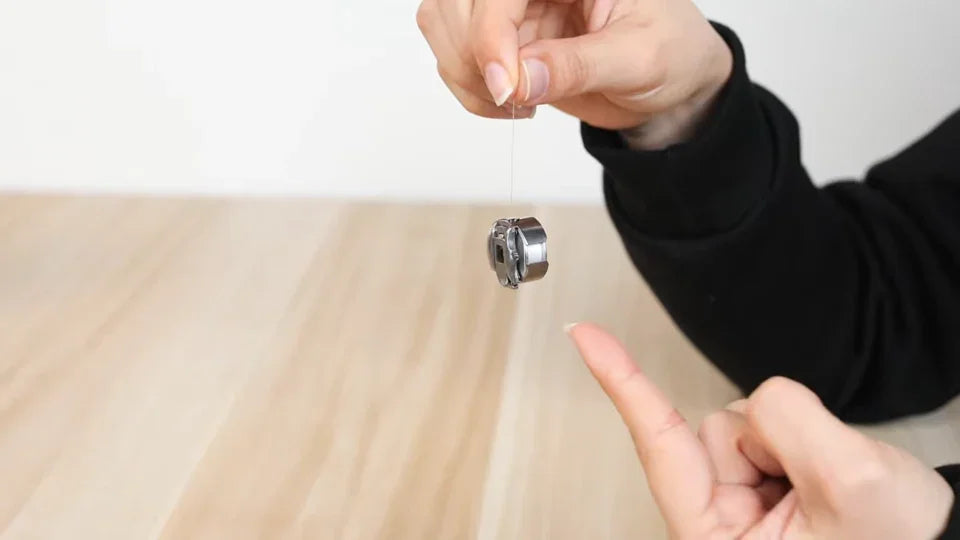
Watch at 00:15Pinch the free end of the thread and let go of the case. Let it hang clear of the work surface. Keep your other hand underneath to catch it if it falls, with space for the case to move freely during the test.
4. Limit each adjustment to a small turn
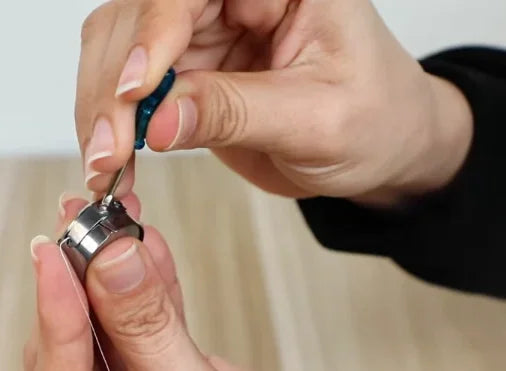
Watch at 00:25The tension spring responds to very small changes. If the drop test calls for an adjustment, turn the larger screw about 1/10 to 1/8 of a turn at a time. Avoid a half or full turn in one adjustment. Repeat the drop test before deciding whether to turn it again.
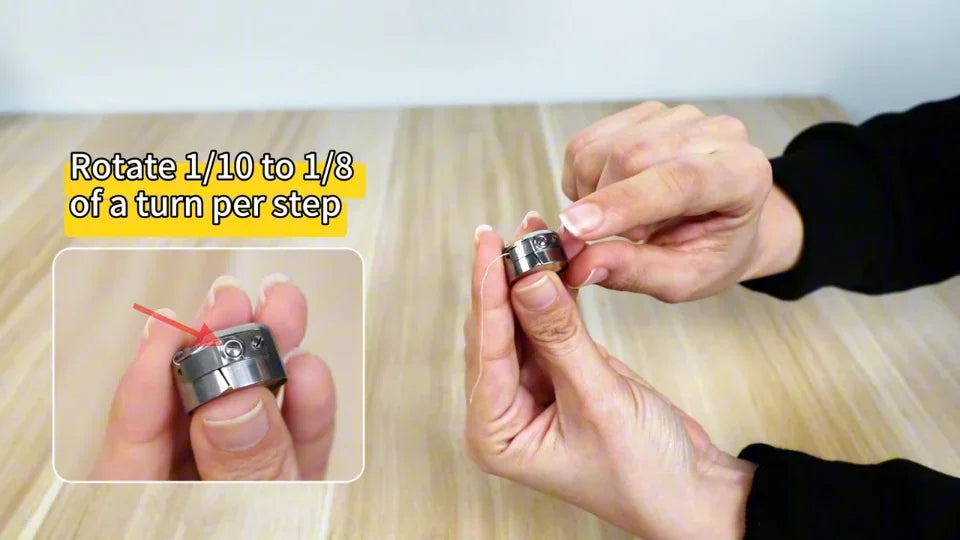

5. Recognize a loose bobbin
Watch at 00:47Hold the thread still and watch what happens when the case is unsupported. If the case runs down the thread quickly under its own weight, with almost no resistance and without a wrist flick, the bobbin tension is too loose.
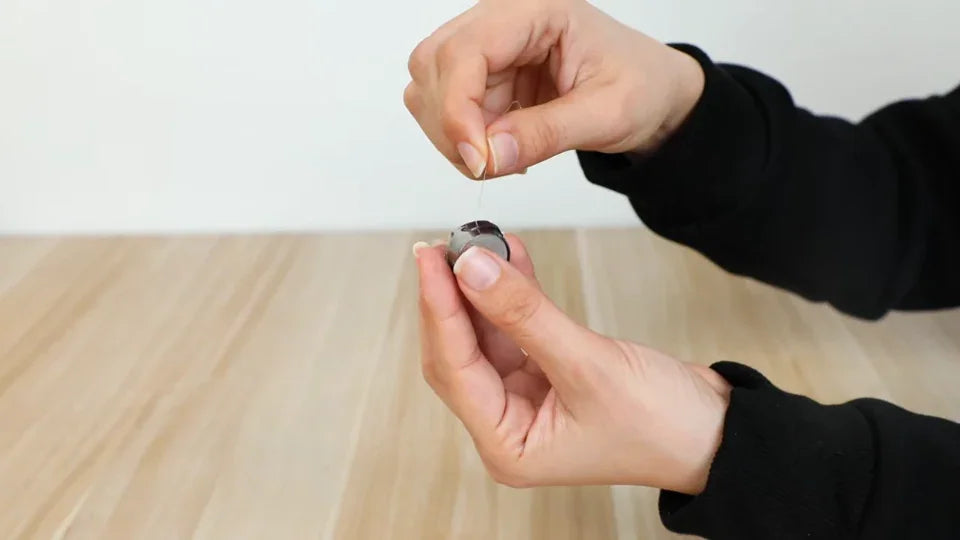

6. Tighten a loose bobbin case
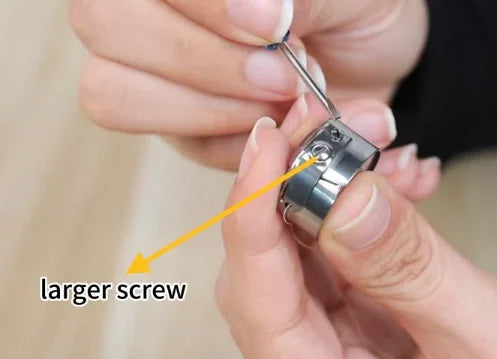
Watch at 00:58Support the case in one hand. Seat the small flat-blade screwdriver in the larger screw nearest the thread exit and turn it clockwise by about 1/10 to 1/8 turn. Hang the case by the thread again to check whether it still drops by itself.
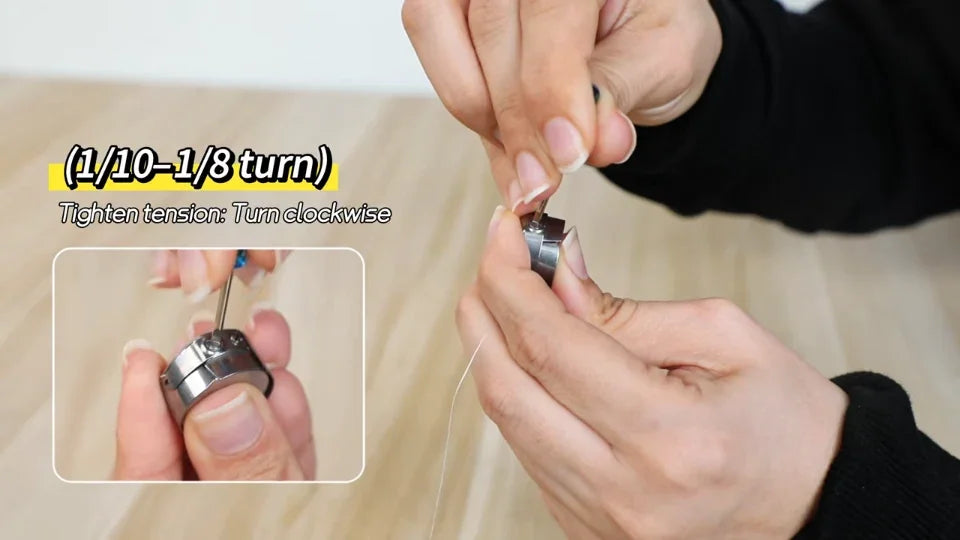
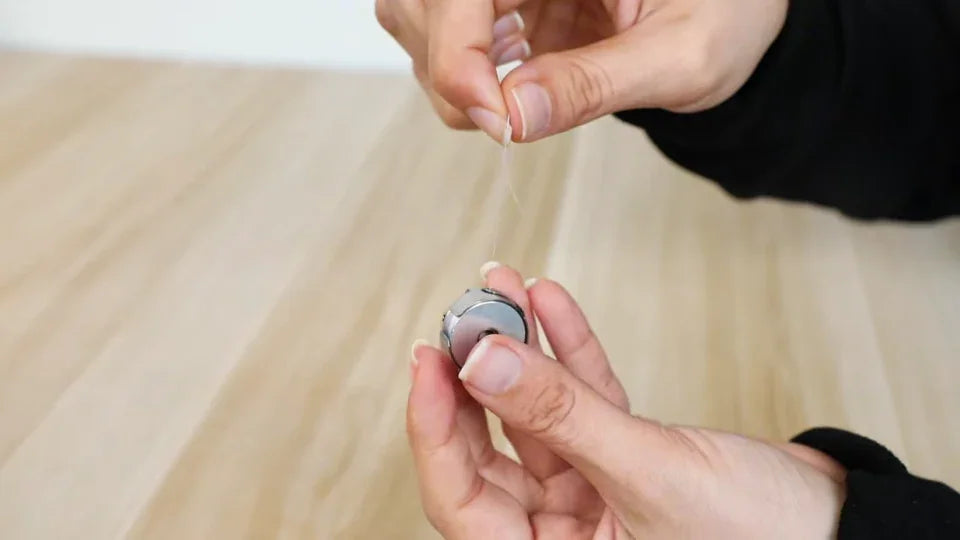
7. Identify the two screws on the case
Watch at 01:23Find the larger screw next to the thread exit on the outside of the case. This is the tension adjustment screw in both directions. Leave the adjacent smaller screw in place during normal tension adjustment. It holds the tension spring in place.

8. Recognize an overtight bobbin
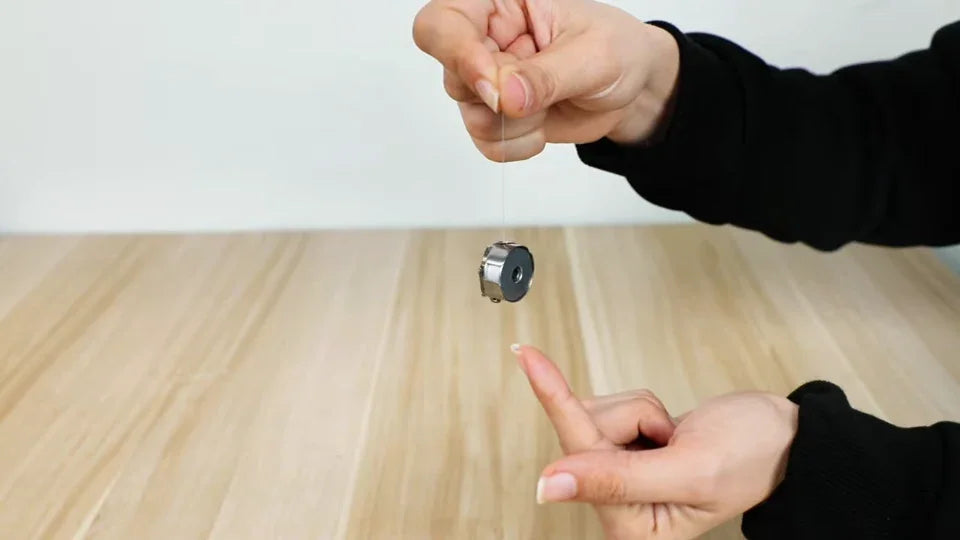
Watch at 01:43Suspend the case by the thread and give your wrist a firm shake. If the case stays at essentially the same point on the thread or moves down very slowly, the tension is too tight.
9. Loosen an overtight bobbin case
Watch at 01:54Turn the same larger screw counterclockwise by about 1/10 to 1/8 turn, then repeat the drop test. The video overlay near 01:58 calls this tightening. Follow the narration here. A counterclockwise turn loosens the tension.
10. Confirm the case slides briefly and stops
Watch at 02:24First check that the freely hanging case stays still. Give your wrist one gentle flick. The target described in the video is a smooth drop of about 3–5 cm (roughly 1–2 in), followed by a stop on its own. Keep your catching hand low enough to see whether the case stops before it reaches your palm. The video catches the case in an open palm, so use the narrated drop-and-stop test when judging your own result.

11. Finish by routing the thread around the wire spring
Watch at 02:45Once the tension is set, turn the case sideways to expose the small wire spring. Guide the loose thread around the spring as shown and pull it lightly upward. Check that the thread follows the path shown in the magnified view.