Floral Sneaker Embroidery with the SEWTECH Shoe Clamp

Overview
This SEWTECH ST-1501 demonstration pairs the blue SEWTECH Shoe Clamp with a white high-top canvas sneaker and a floral design digitized by GOCA Embroidery. Watch how the shoe is held at the outer ankle panel, where the operator starts the machine, and what the screen and the finished stitching look like.
Video highlights
1. Locate the area to embroider
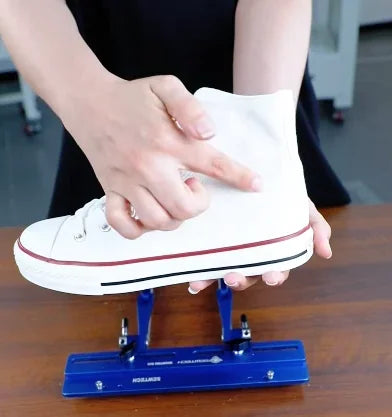
Watch at 00:02The operator points to the blank outer ankle panel of the high-top sneaker. This is the surface that needs to lie flat in the clamp. The finished motif fits between the eyelets and the back of the shoe.
2. Fasten the clamp to the carriage
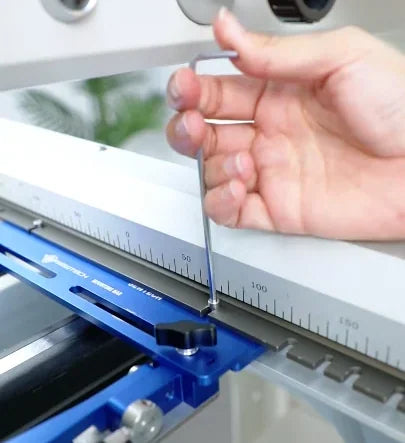
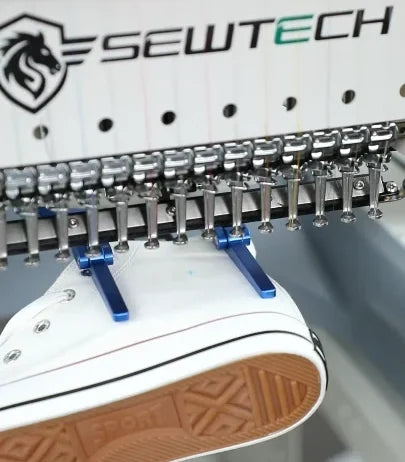
Watch at 00:03The blue mounting bar sits below the ruler on the machine. Watch the operator use an L-shaped hex key on the two mounting screws, one on either side. From the front, the two blue fingers project below the needle row.
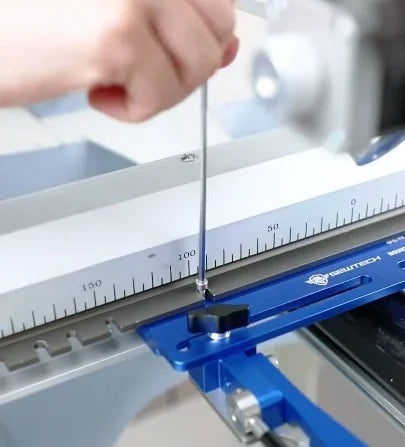
3. Secure the shoe and flatten the side panel
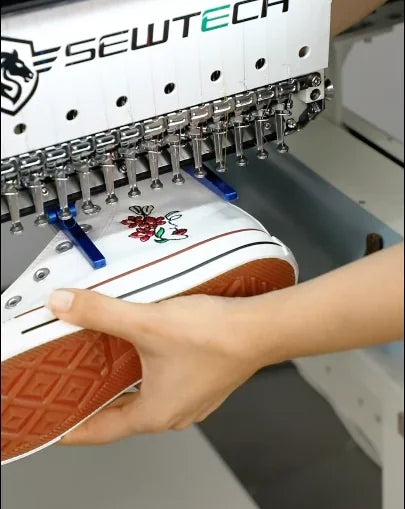
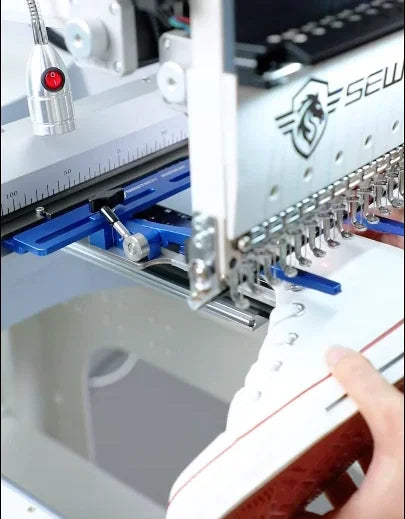
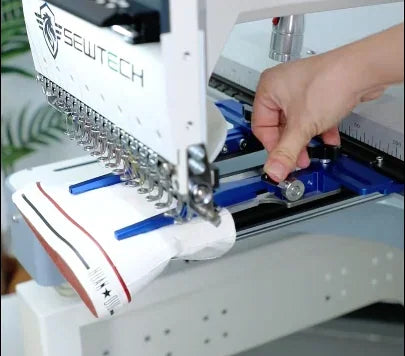
Watch at 00:08Support the sole and guide the empty shoe opening onto the mounted clamp from the front. The operator reaches beside the head to work the clamp lever while holding the shoe. Before stitching, the white canvas lies flat between the blue fingers and the sole hangs clear below. The shoe should stay fixed relative to the clamp as the carriage moves.
4. Check the floral preview and start
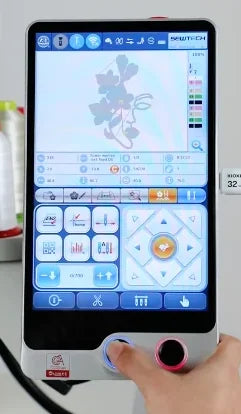
Watch at 00:12The ST-1501 screen shows the floral design already loaded. The operator presses the round blue-ringed physical Start button below the screen. The clip cuts from this press to the first stitches.
5. Watch the floral stitches build up
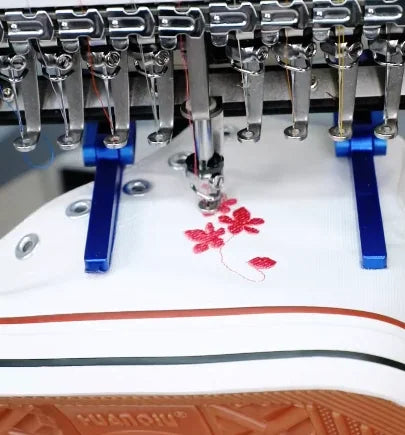
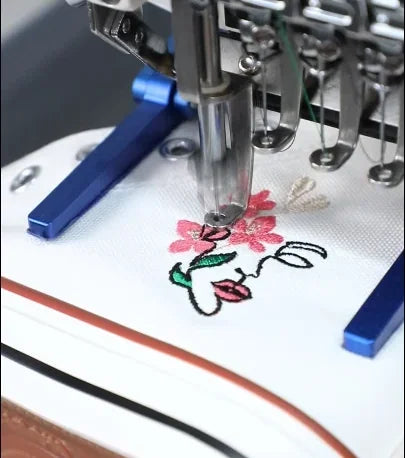
Watch at 00:13The first close-ups show red stitches on the exposed canvas. Later shots show the colored fills and dark outlines taking shape between the same two clamp fingers. The montage skips through the stitching in several cuts.
6. Read the completion message
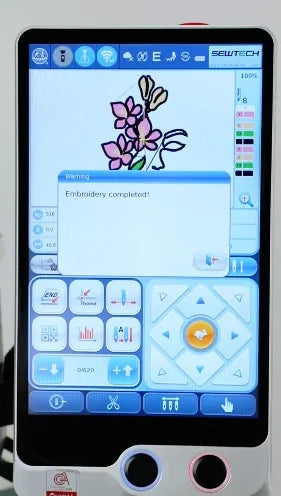
Watch at 00:28At the end of the run, the controller displays “Embroidery completed!” over the colored floral preview. In the following shot, the shoe is still held under the head before the operator takes it out.
7. Remove the shoe and inspect the motif
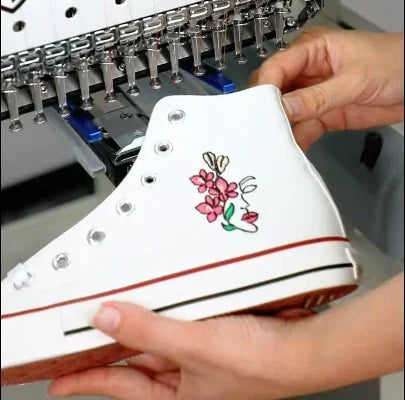
Watch at 00:29After the machine stops, the operator supports the sole and takes the shoe out toward the front. In the final close-up, the pink flowers, green leaves and dark outlines sit on the outer ankle panel between the eyelets and the heel.