Fix Error 169: Main Shaft Position

Overview
Error 169 can appear with a slash through the 100° icon. On the ST-1501 or SC-1501, exit embroidery mode if it is active, turn off the machine, and check the main shaft at the round indicator window. After aligning it to 100°, restart and check that the slash has cleared before resuming.
Step-by-step guide
1. Identify Error 169 and the slashed 100° icon
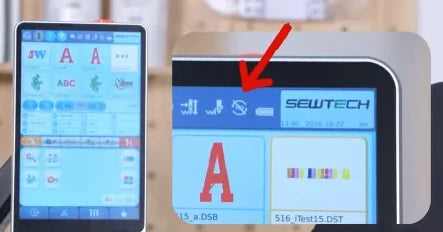
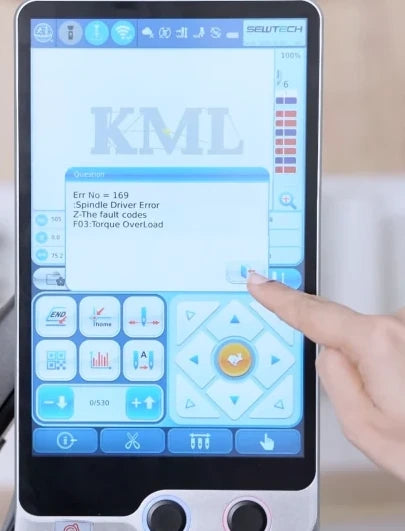
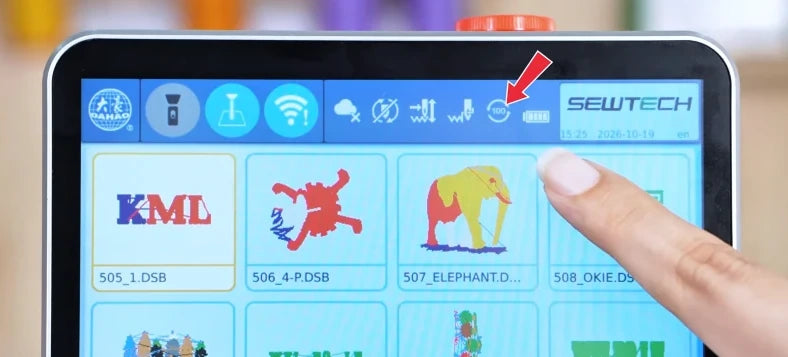
Watch at 00:14Check for “Err No = 169” and “Spindle Driver Error” in the pop-up. The 100° status icon is near the right end of the blue top bar, just to the left of the bar-shaped indicator. A slash through the icon shows that the controller has not detected the shaft at its 100° reference position.

2. Close the alarm to return to the main screen
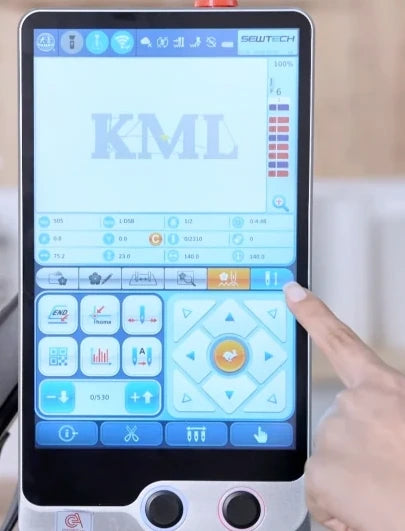
Watch at 00:19Tap the exit icon at the bottom right of the error pop-up. Confirm the pop-up closes and the main controls are accessible. In the video the KML preview is still visible at this point.
3. Exit embroidery mode if it is active
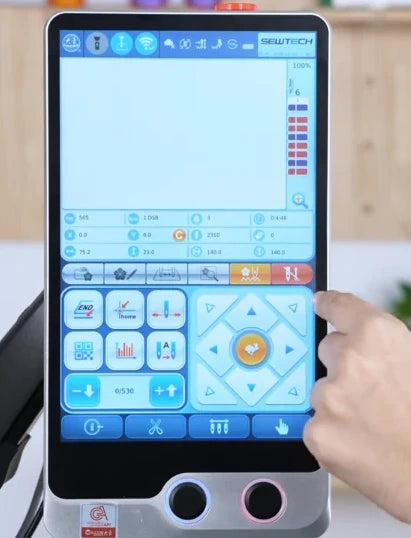
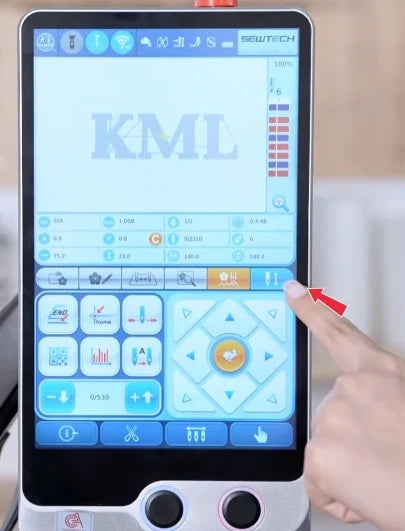
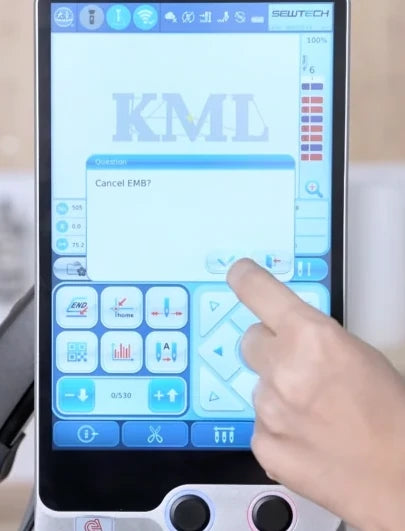
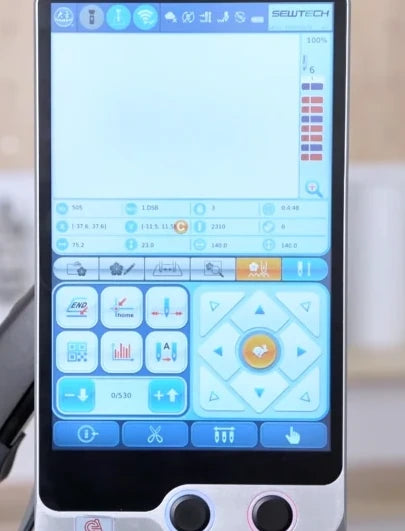
Watch at 00:23Tap the embroidery mode button at the far right of the strip above the direction pad. In the video it is blue while embroidery mode is active. Tap the checkmark in “Cancel EMB?” to confirm. The KML preview clears in the demonstration. If embroidery mode is already off, proceed to power-off.
4. Turn off the machine before adjusting the shaft
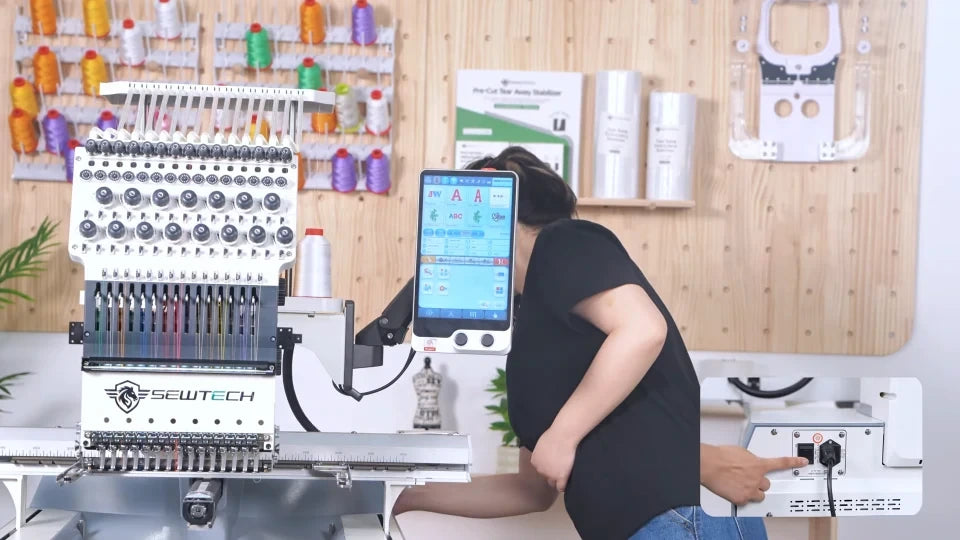
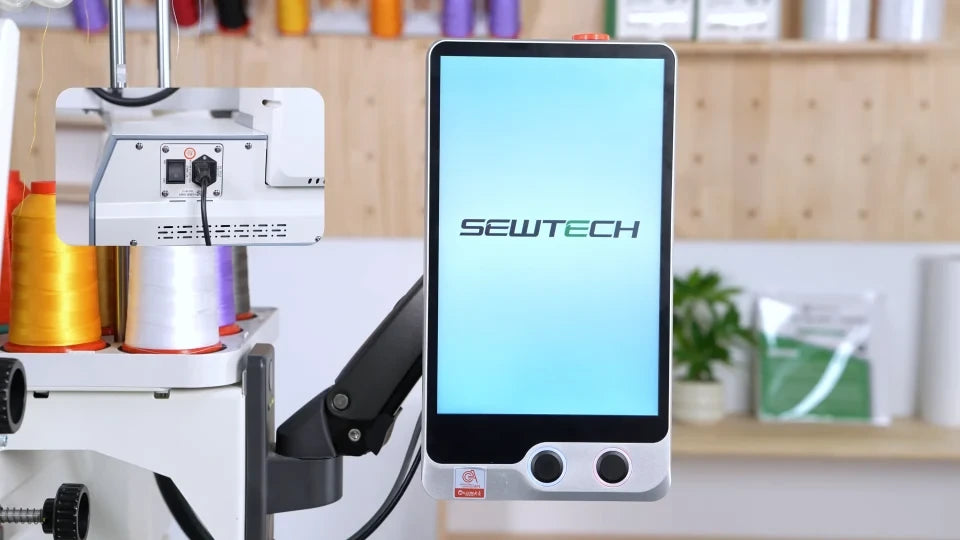
Watch at 00:32Use the machine’s rear power switch next to the power-cord inlet. Wait until the touchscreen has gone dark before touching the side adjustment knob.
5. Find the shaft indicator and read the 100° mark
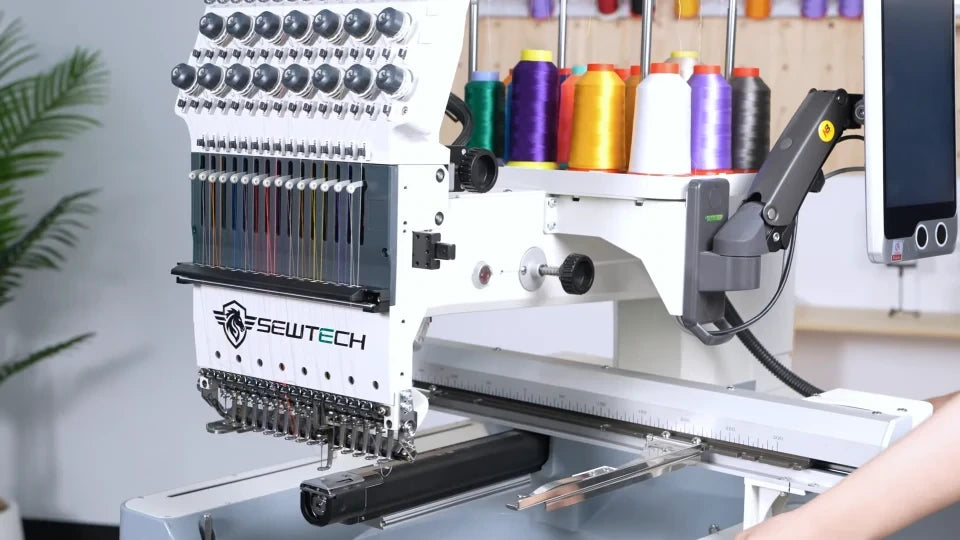
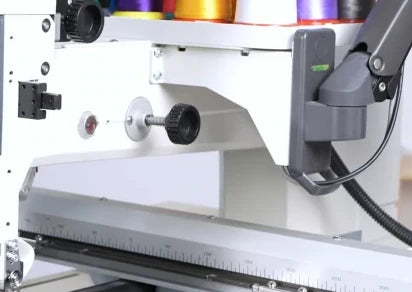
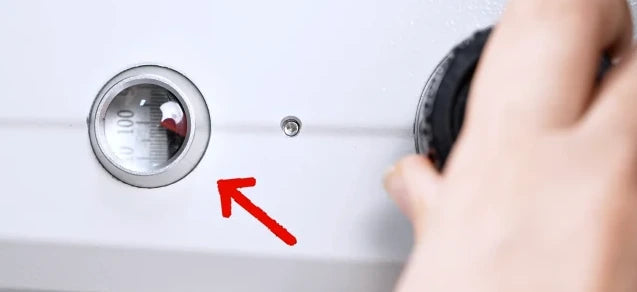
Watch at 00:37Look behind the needle head on the side facing the touchscreen. The round indicator window is immediately left of the black adjustment knob. Locate the 100 mark on the scale in the window and check whether the red pointer lines up with it. Adjust only if the marks are out of line.

6. Press and turn the knob slowly until the marks line up
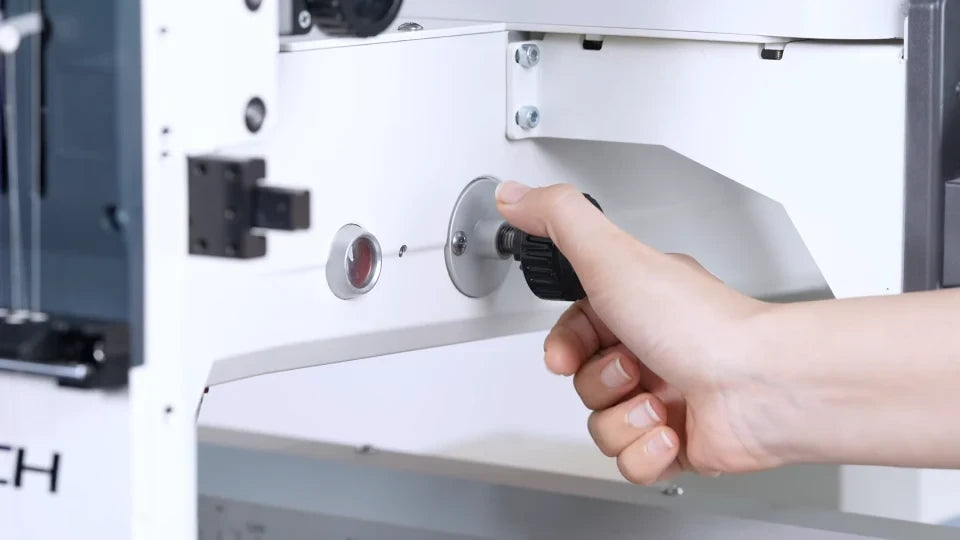
Watch at 00:46With the power off, press the black knob inward slightly and turn it slowly while watching the pointer in the round window. Stop as soon as the pointer lines up with the 100 mark. Use the position of the marks to judge how far to turn. If the knob binds, stop and contact SEWTECH support.

7. Turn the machine back on
Watch at 00:58Flip the same rear power switch back on. Wait for the SEWTECH startup screen to give way to the working interface before reading the 100° status icon.

8. Verify the slash is gone from the 100° icon
Watch at 01:03On the working screen, inspect the same 100° icon in the blue top bar. The slash should be gone and Error 169 should not reappear. If the slash stays visible or the alarm comes back, stop and contact your SEWTECH sales representative or technical support.
9. Confirm embroidery mode before resuming
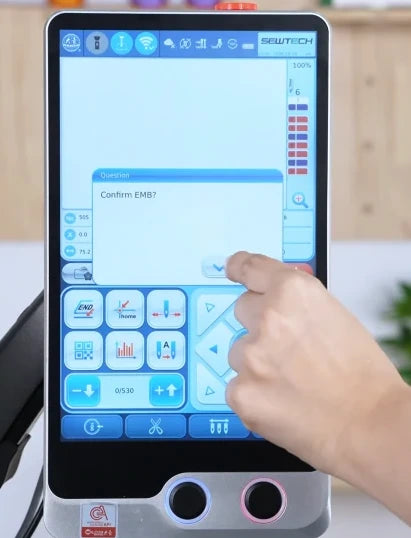
Watch at 01:07Once the 100° status has cleared, reopen your design as needed. Tap the embroidery mode button at the right end of the strip above the direction pad, then choose the checkmark in “Confirm EMB?”. Wait for loading to finish and verify your design is back on the main screen before starting. The video shows KML returning and the presenter reaching for the left physical start button, then cuts away.