Clear and Prevent Bird Nesting on the ST-1501

Overview
Use this ST-1501 guide if thread mats up under the fabric or around the bobbin case. Have embroidery scissors, a small screwdriver, the Z-shaped wrench and a cleaning brush ready. Clear the tangle first, then compare needles with a short test. Stop the machine before touching the needle or hook area, and switch off the power before removing the needle plate.
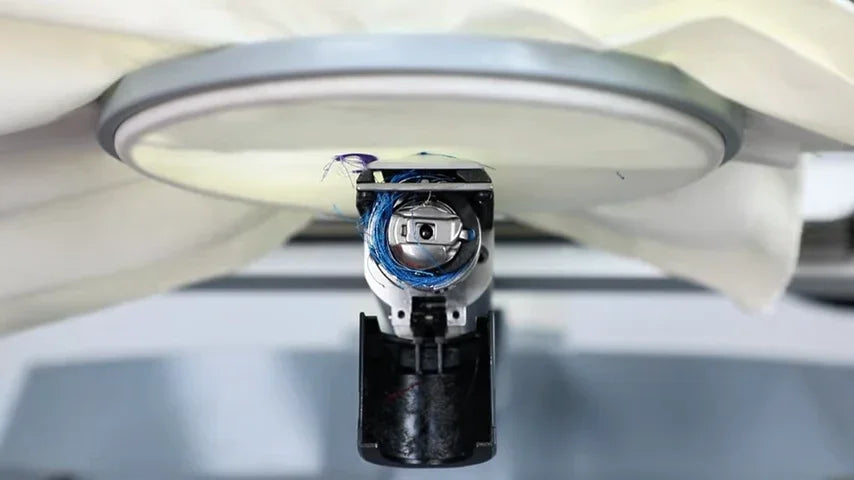
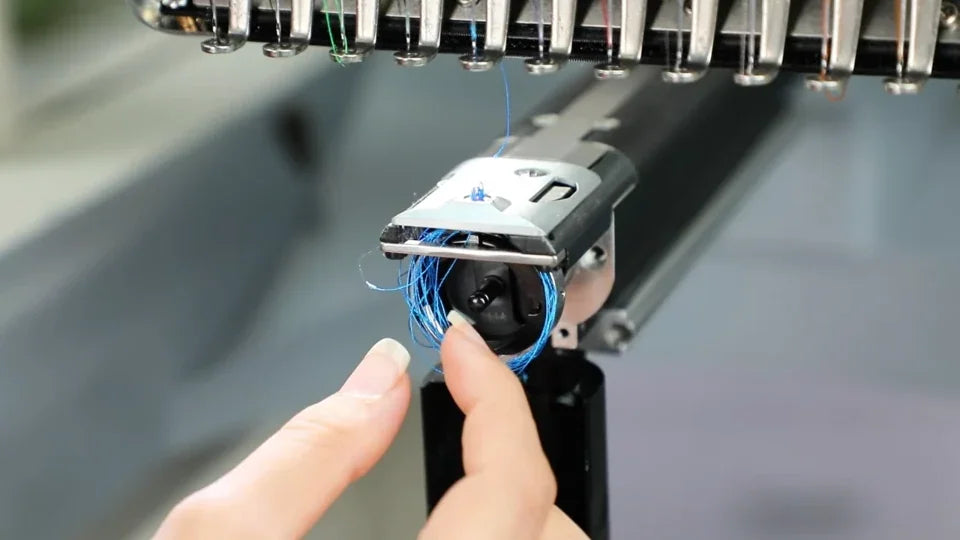
The original cover shows blue thread caught around the bobbin case. The video demonstrates a needle-comparison test midway through and ends with a check of the hooped fabric.
Step-by-step guide
1. Cut the thread nest under the hoop
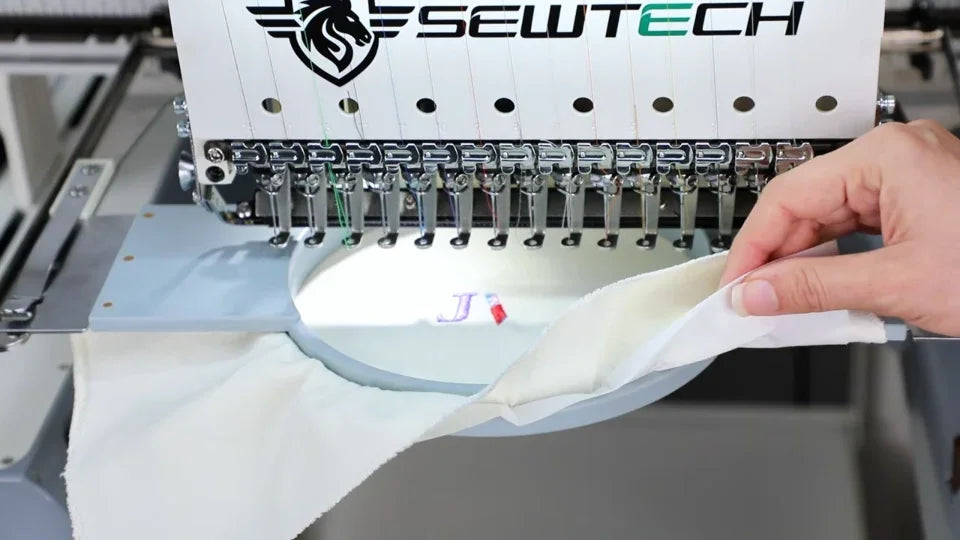
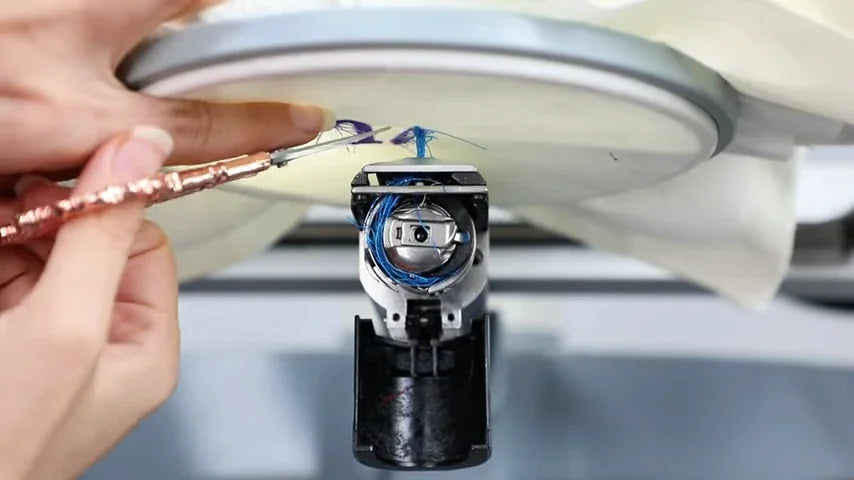
Watch at 00:19Stop stitching. Look under the hooped fabric and at the front opening beneath the needle plate. With embroidery scissors, snip the threads that tether the fabric to the hook area so you can lift the hoop clear.
2. Remove the hoop and clear the rotary hook opening
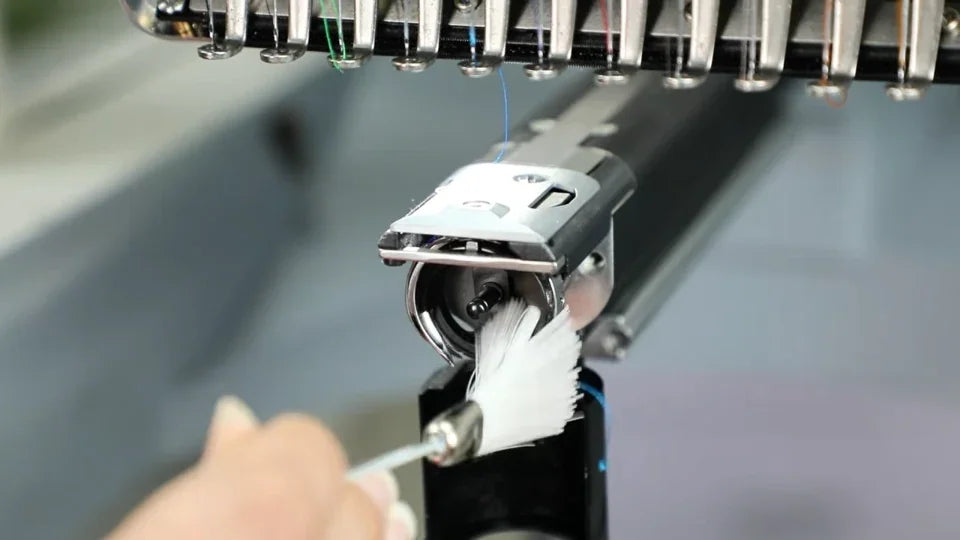
Watch at 00:25Release and remove the hoop. With the black front cover down, pull out the bobbin case with the bobbin inside. Pick out the loose loops at the front of the hook and brush away thread fragments underneath it. Make sure the opening is clear before reassembling for the test.
3. Switch needle positions and compare a short test
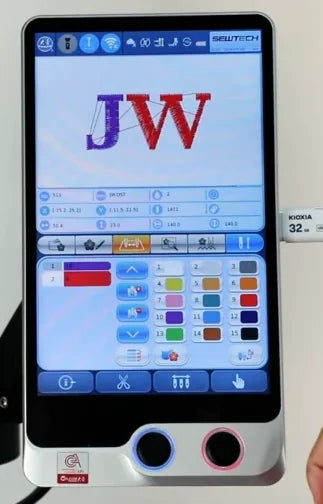
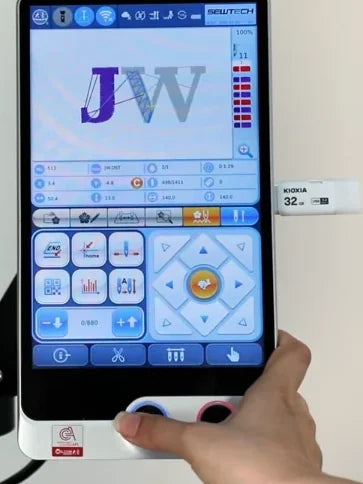
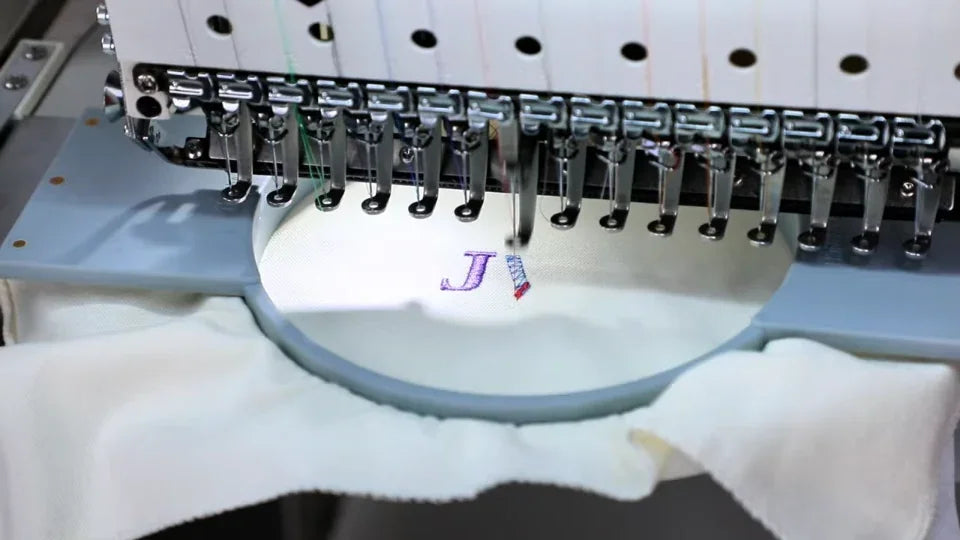
Watch at 00:47With the bobbin case, cover and test hoop back in place, open the third touchscreen tab below the design preview. In the color and needle panel, choose a different numbered needle for the test. The example W turns red in the preview. Return to the running screen and press the blue-ring physical Start button below it. Compare whether the nest returns under the fabric or around the hook. Work through steps 4–5 for specific needles. If it happens on most needles, start with the shared bobbin and hook checks in step 6.
4. Trace the full thread path of the affected needle
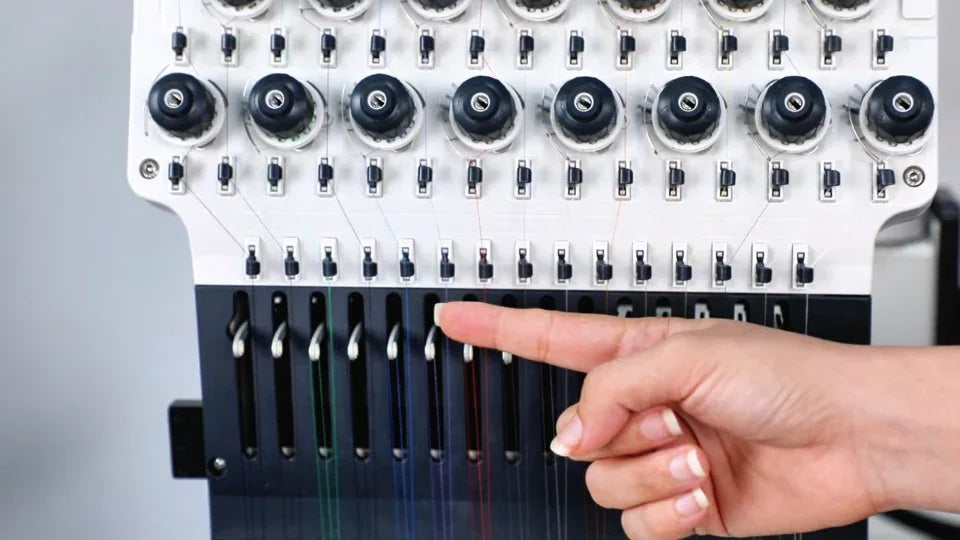
Watch at 00:58If the same few needles keep nesting, stop and trace each affected upper thread on the front of the head. Follow it through the tension and guide points, down through the take-up lever area and lower guides to the needle eye. Correct any missed guide or threading error before adjusting tension.
5. Tighten the matching upper tension knob slightly
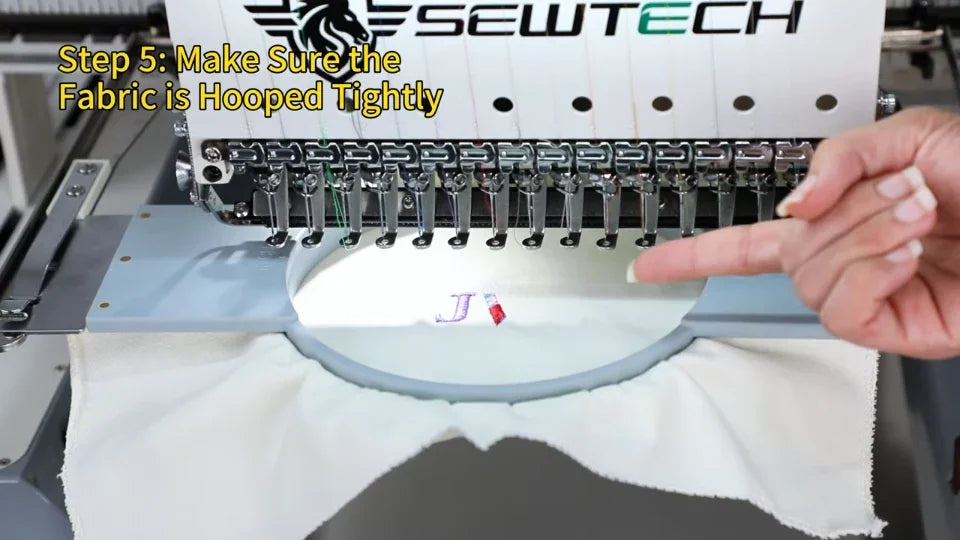
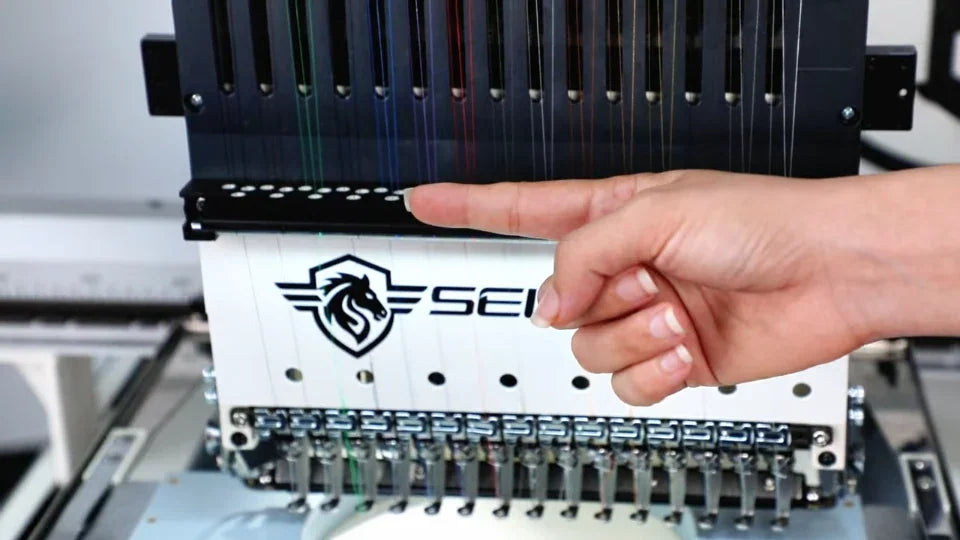
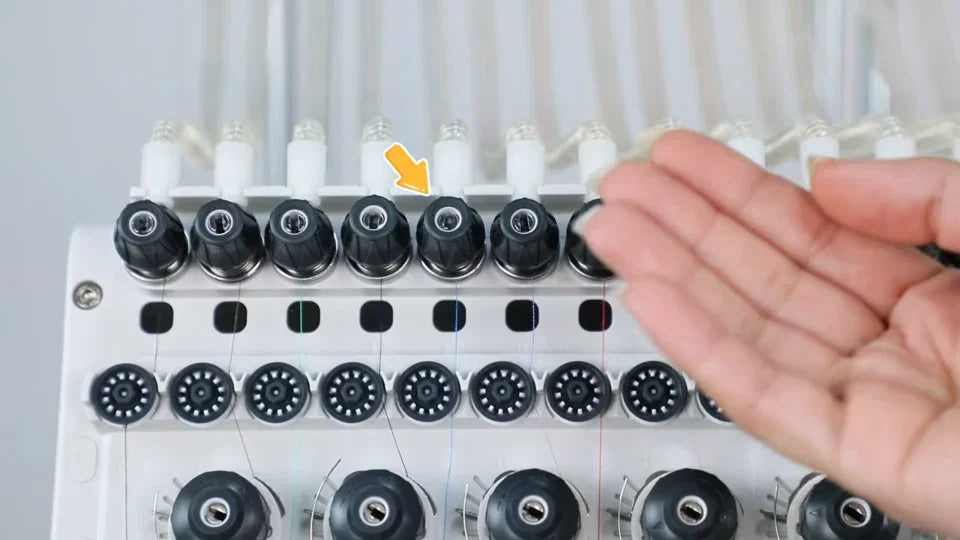
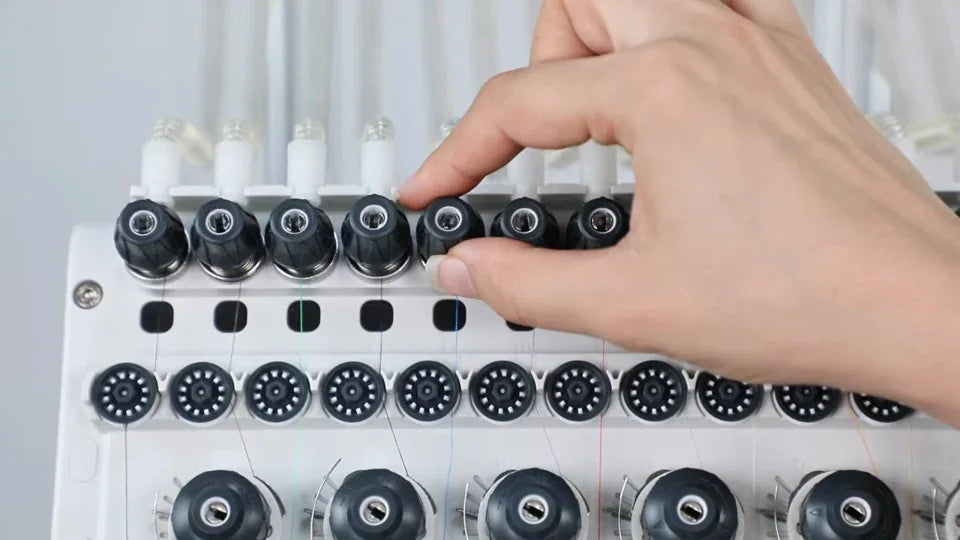
Watch at 01:17If the affected upper thread is still too loose, find its black tension knob in the top row of the front tension assembly. Turn that knob slightly clockwise to increase the tension. Repeat the short test on that needle to see whether the loops return.
6. Line up the bobbin case tab and listen for the click
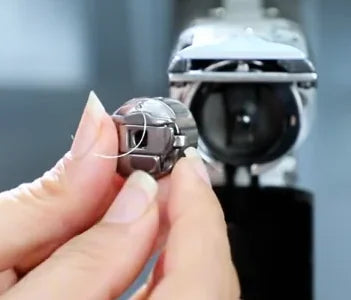
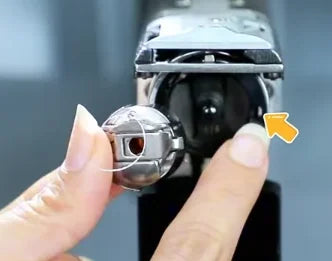
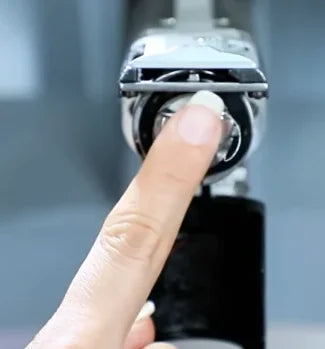
Watch at 01:40At the front opening under the needle plate, pull the loaded bobbin case out by its latch. To reinstall it in the orientation shown, align the projecting tab on the case with the locating slot in the rotary hook. Press the face of the case gently until it clicks into place.
7. Check whether the bobbin thread pays out too freely
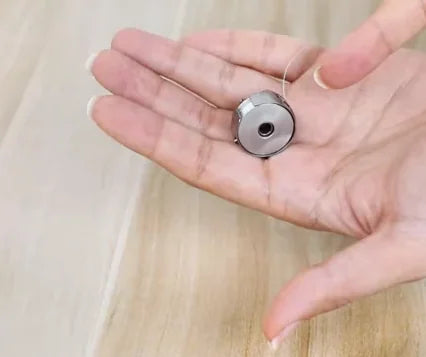
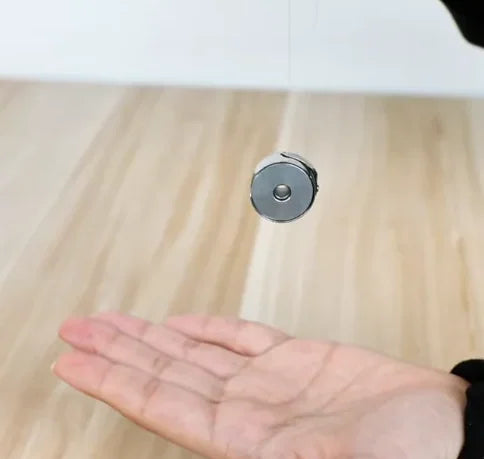
Watch at 02:05Take the loaded case back out for the tension check. Hold the free end of the bobbin thread and let the case hang, with your other palm beneath it. If the thread runs out readily under the weight of the case, the bobbin tension may be too loose.
8. Turn the larger bobbin tension screw in small increments
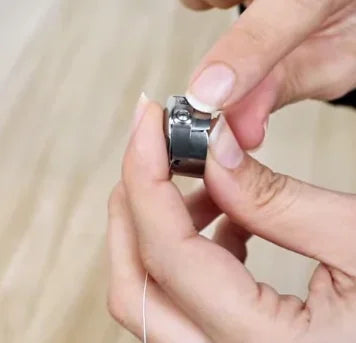
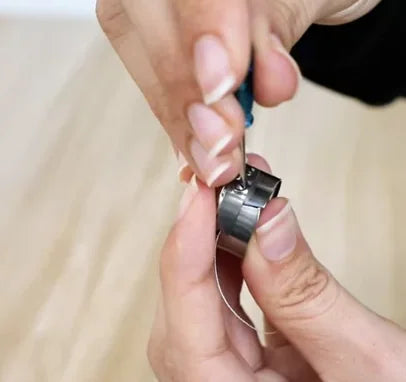
Watch at 02:18Use a small screwdriver on the larger tension screw on the outside of the bobbin case. For loose bobbin tension, turn it clockwise about 1/10 to 1/8 of a turn at a time. Repeat the hanging test after each change.
9. Retest with a gentle wrist flick
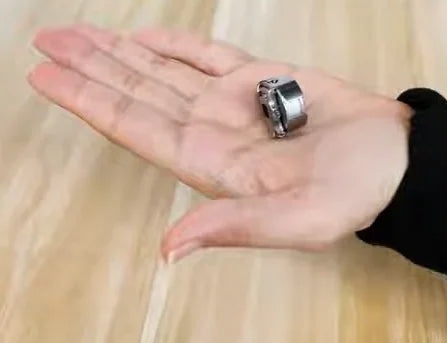
Watch at 02:34Suspend the loaded case by its thread and give the thread a gentle wrist flick. The narrated target is a smooth drop of about 3–5 cm (1–2 in), followed by the case stopping on its own. The presenter catches the case in her palm in this shot, so use the narrated distance and stop to judge your own test.
10. Route the thread around the small spring and refit the case
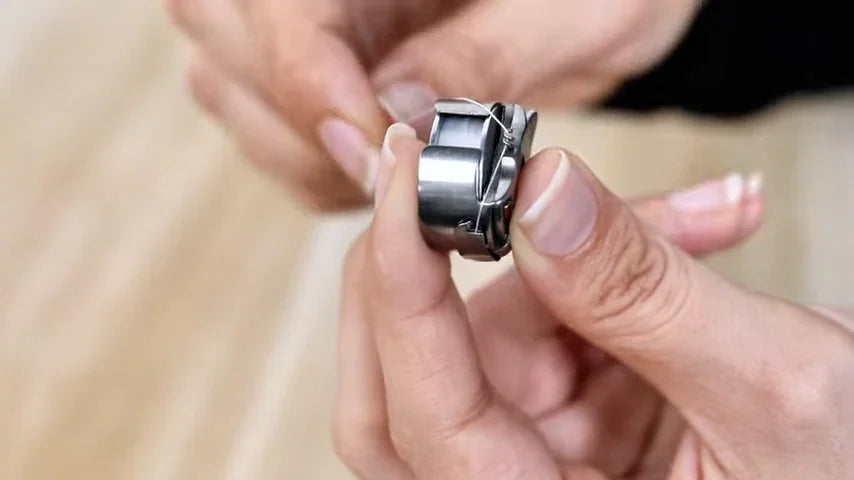
Watch at 02:51Once the tension is correct, bring the bobbin thread around the small wire spring on the side of the case as shown. Refit the case in the rotary hook with the tab aligned, then press it home again.
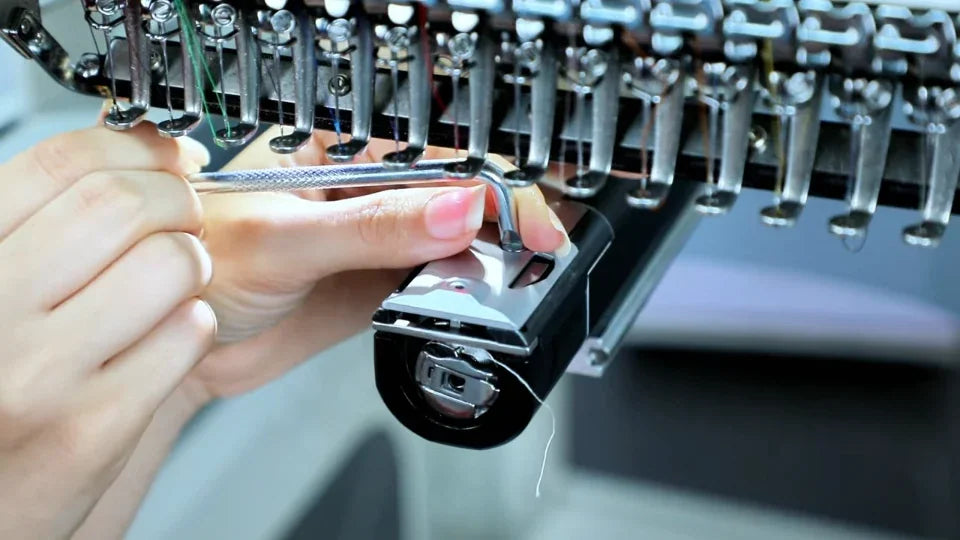
11. Loosen the needle plate with the Z-shaped wrench
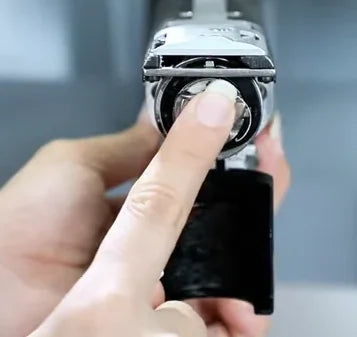
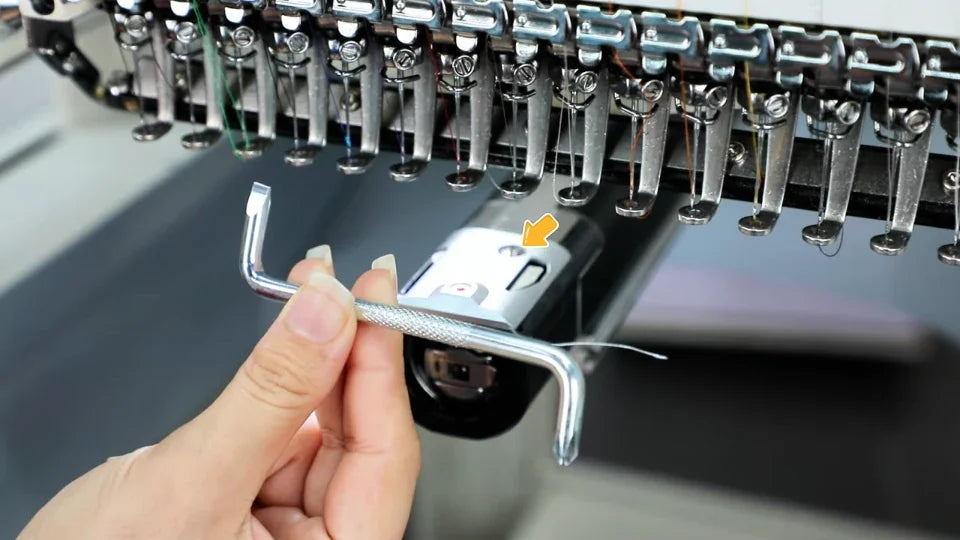
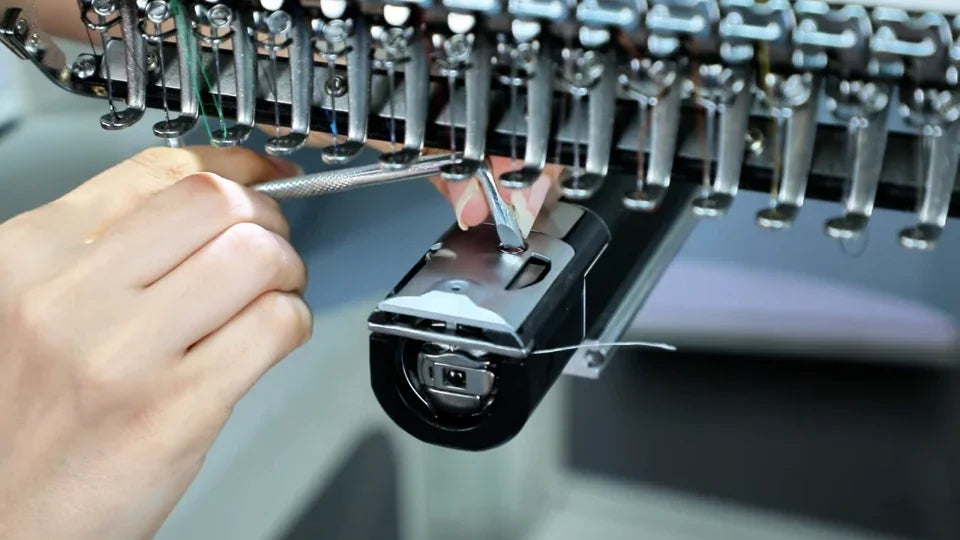
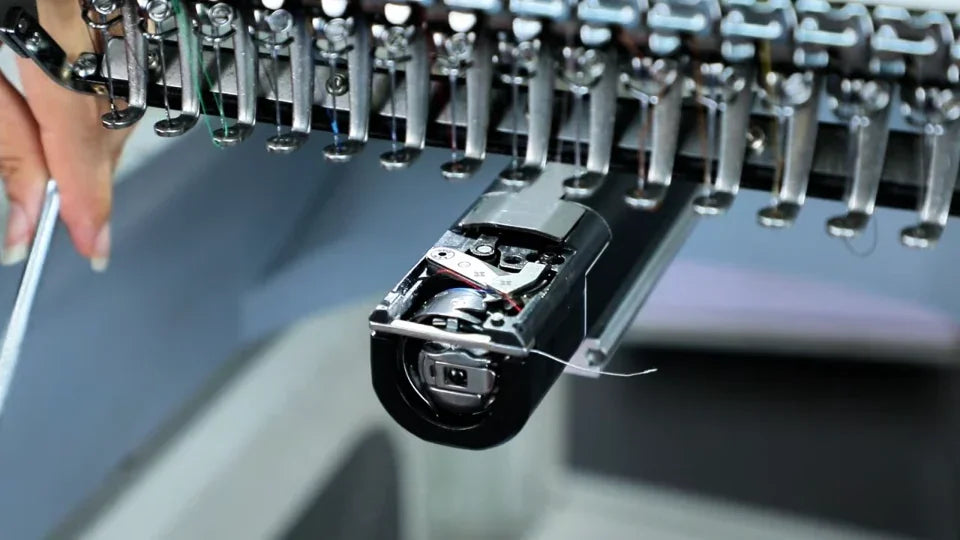
Watch at 03:12With power off, locate the screw on the silver needle plate directly under the needle row. The arrow in the video identifies the screw reached from above with the Z-shaped wrench. Loosen the retaining screw shown, then lift the plate off to expose the area underneath.
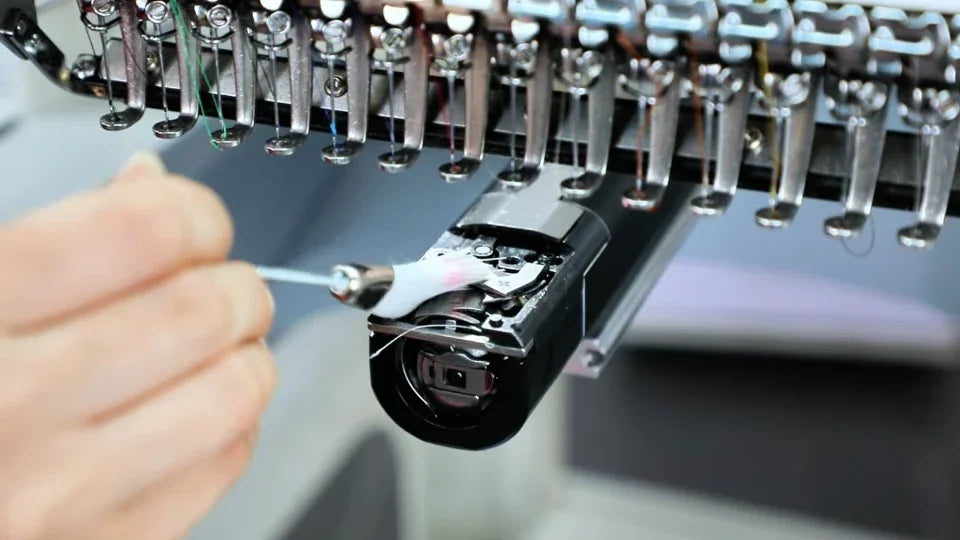
12. Brush out debris under the plate
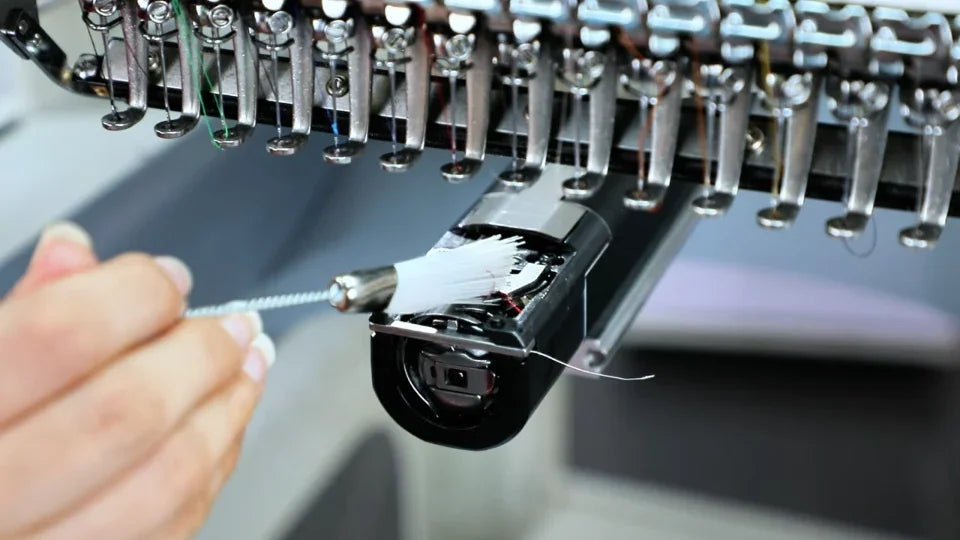
Watch at 03:35Use the cleaning brush over the exposed area under the plate and around the front opening. Sweep out lint, dust and stray thread pieces. Check the recess for remaining strands before covering it again.
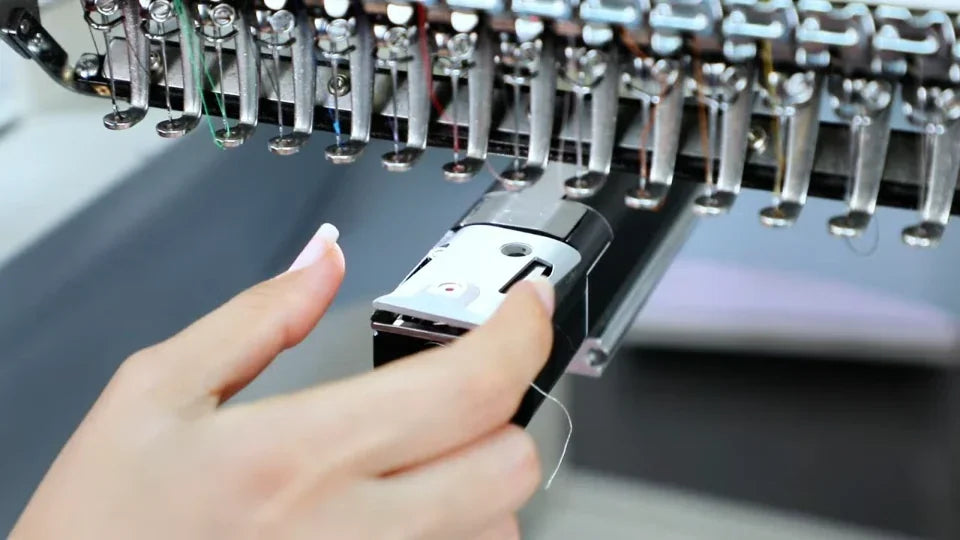
13. Seat the needle plate and tighten it
Watch at 03:42Return the needle plate to its original position and check that it sits flat. Refit the retaining screw, then tighten it securely with the Z-shaped wrench as shown.
14. Secure the fabric and stabilizer before restarting
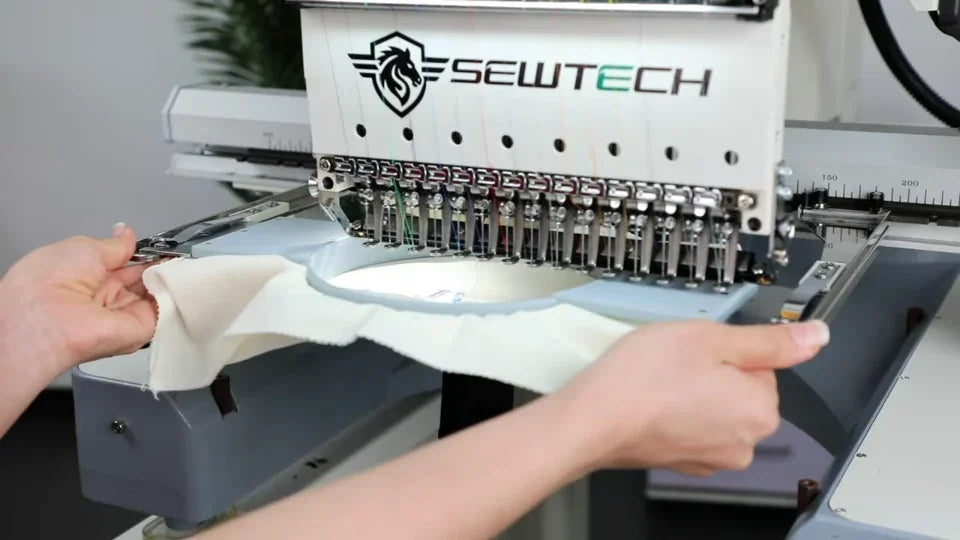
Watch at 03:57Check that the fabric and stabilizer are firmly held together in the hoop. Loose fabric can move while the needle stitches. After refitting the parts and clearing the work area, stitch a short sample and check underneath the fabric and around the bobbin case for fresh tangles. The final scene shows the hoop check. Use your own sample to confirm the result.