Fix Errors 19 and 12 on the ST-1501

Overview
Use the fault shown on your ST-1501 to choose a route. Error 19 is the needle-position warning. Error 12 means the main shaft is out of its 100° position. When both are present, use either of the two combined procedures below.
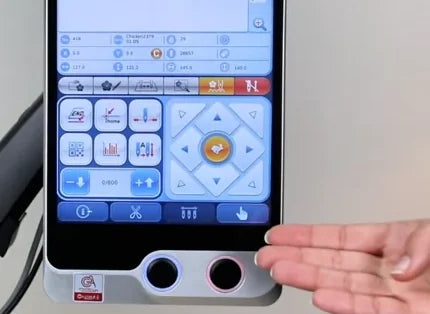
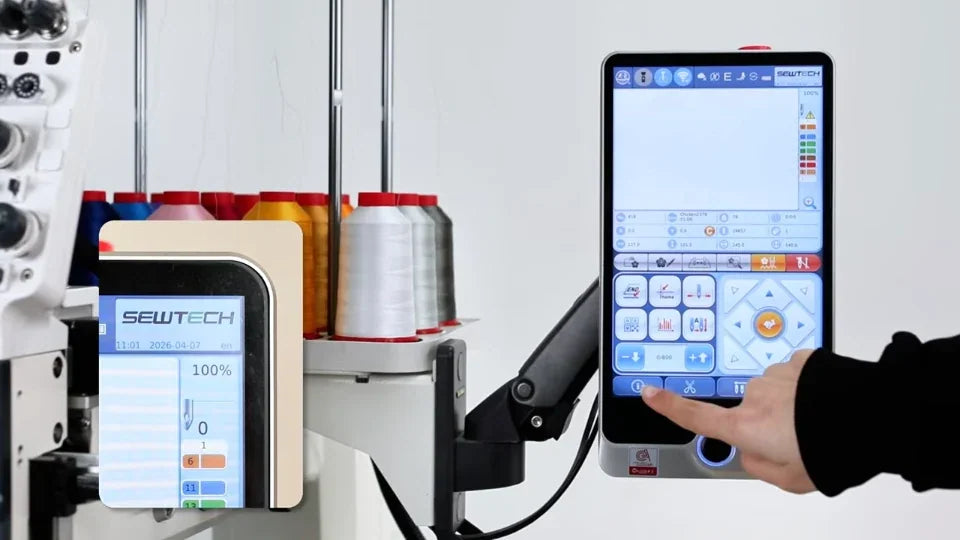
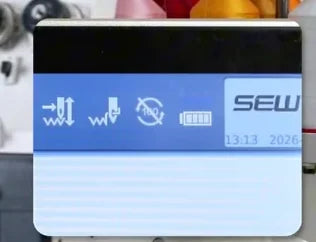
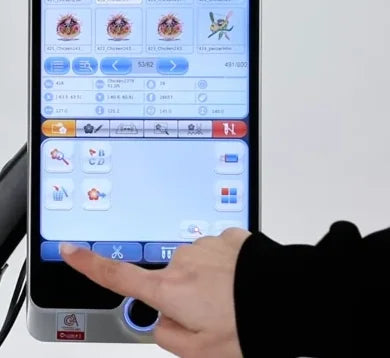
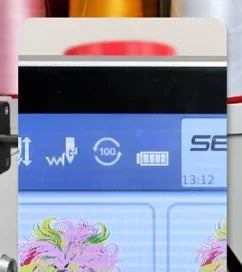
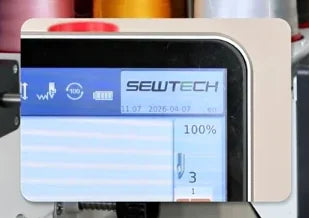
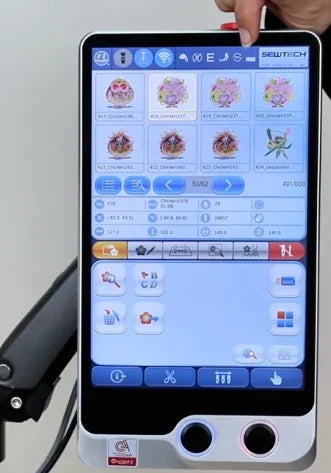
The round 100° symbol in the top bar is a status indicator. For automatic shaft positioning, use the far-left button on the bottom toolbar.
Step-by-step guide
1. Error 19 | Check the needle number
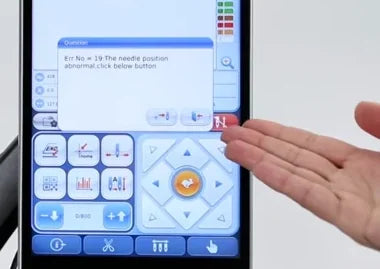
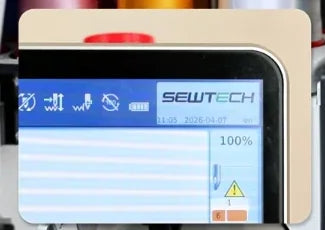
Watch at 00:20Look for the number beside the needle symbol in the upper-right area of the touchscreen. If the reading is 0 or unstable, tap the far-left button on the bottom toolbar, immediately left of the scissors. This is the return-to-100° button. In the video, the Error 19 needle-position message appears after that tap.
2. Error 19 | Reset from the needle panel
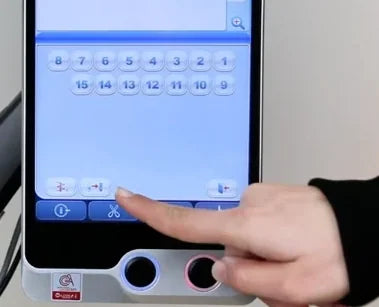
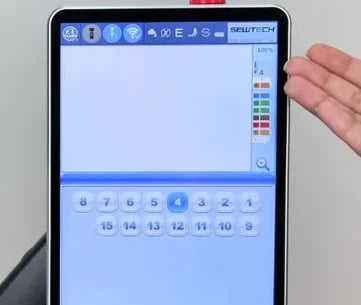
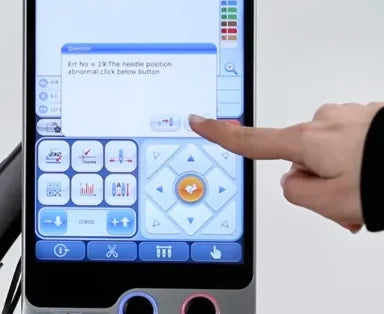
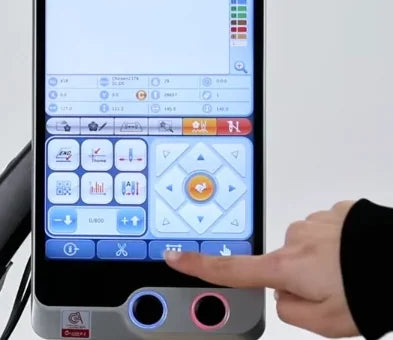
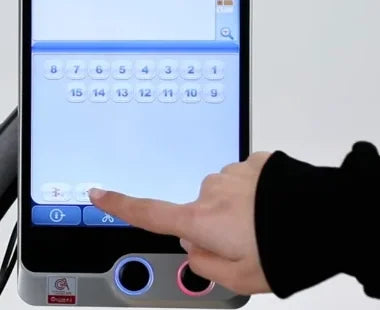
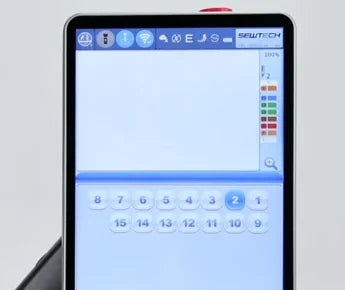
Watch at 00:30Close the Error 19 dialog with its right-hand button. Tap the three-needle icon, third from the left on the bottom toolbar. In the numbered needle panel, tap the right one of the two small pale buttons at the lower left. If the reading does not settle, tap that reset button again. Confirm a stable nonzero needle number. The video shows 2 and highlights 2 in the panel.
3. Error 19 | Recover the reading with the color-change knob
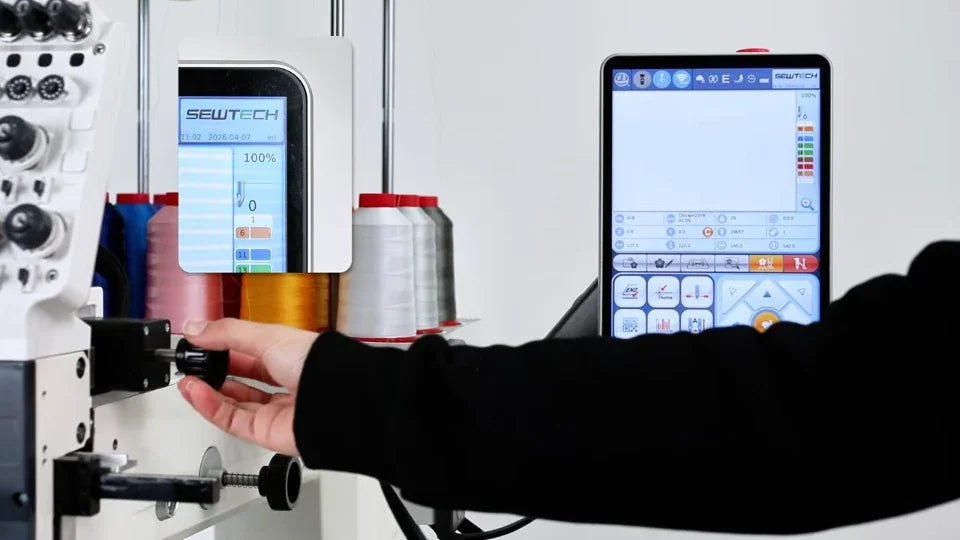
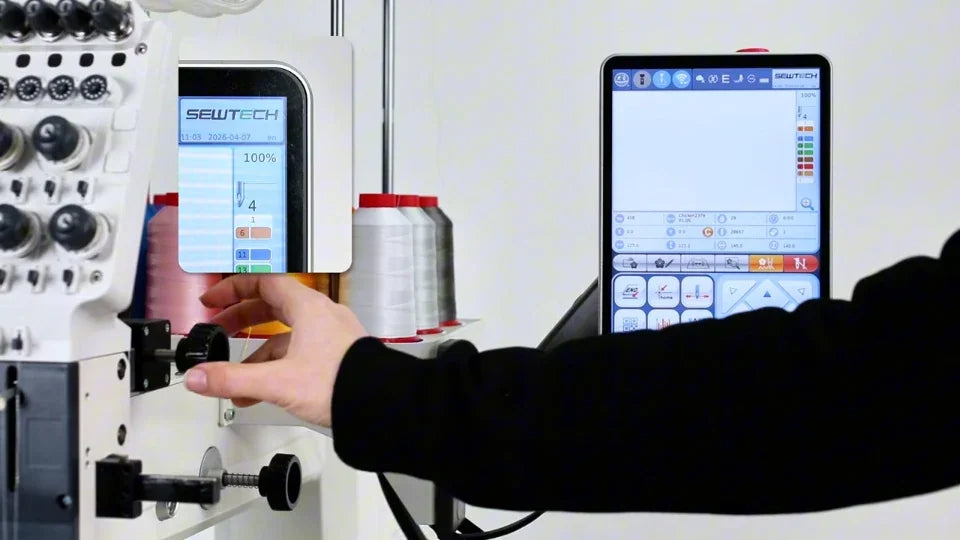
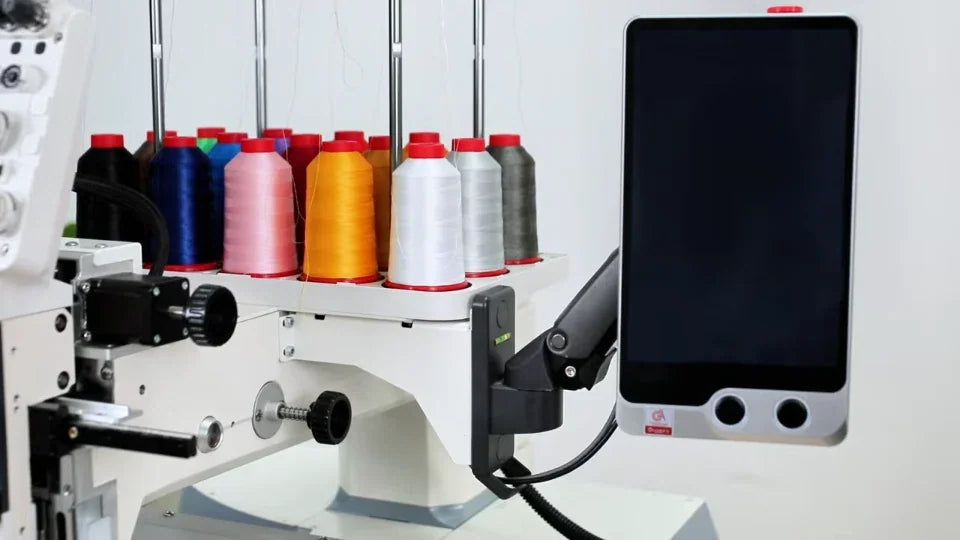
Watch at 00:49For the manual needle-reading method, locate the upper black knob beside the embroidery head and under the thread spools. Gently rock it back and forth while watching the needle number. Stop as soon as a nonzero number appears. The demonstrated reading changes to 4.
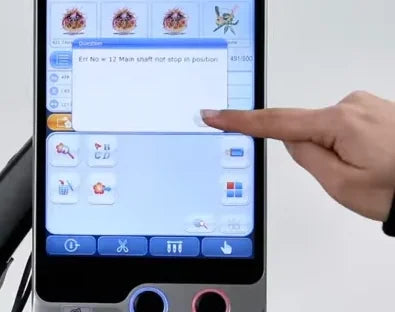
4. Error 12 | Identify the shaft warning
Watch at 01:09Check the round 100° indicator on the top status bar. A diagonal slash across it marks a shaft that is out of position. The Error 12 dialog in the video says the main shaft did not stop in position.
5. Error 12 | Return the shaft to 100° on screen
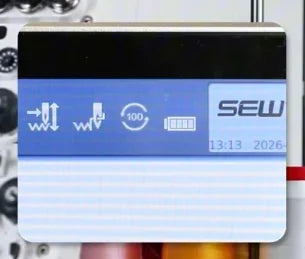
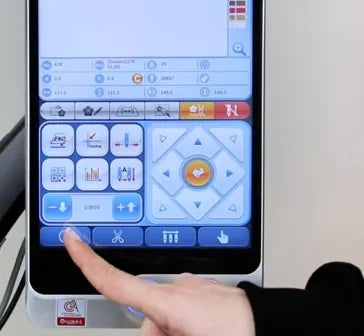
Watch at 01:23Close the Error 12 dialog with its lower-right button. Tap the return-to-100° button at the far left of the bottom toolbar. Let the machine finish moving the shaft. The brief progress box closes and the slash disappears from the 100° indicator at the top.
6. Error 12 | Align the shaft by hand with power off
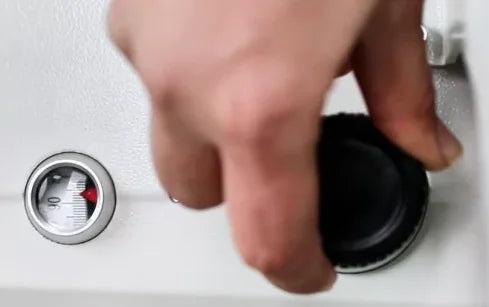
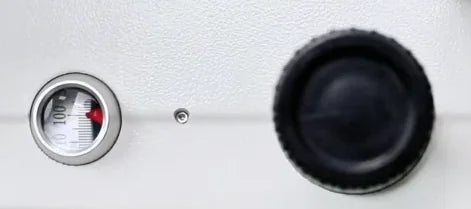
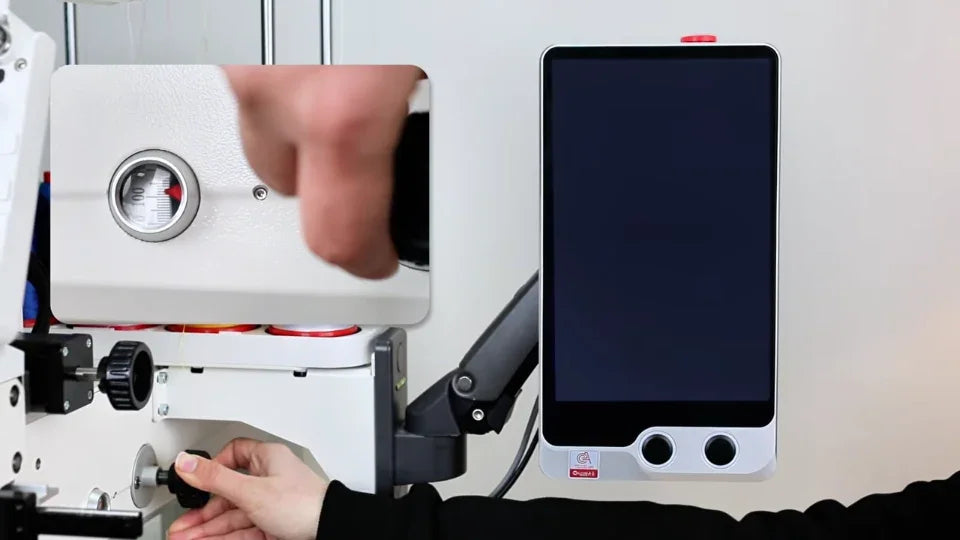
Watch at 01:39Turn the machine off and check that the touchscreen is dark. Find the lower black shaft knob on the machine body near the display arm. The round window just to its left shows the shaft angle. Push this knob in slightly and turn it slowly until the red pointer lines up with the 100° mark.
7. Error 12 | Restart and verify
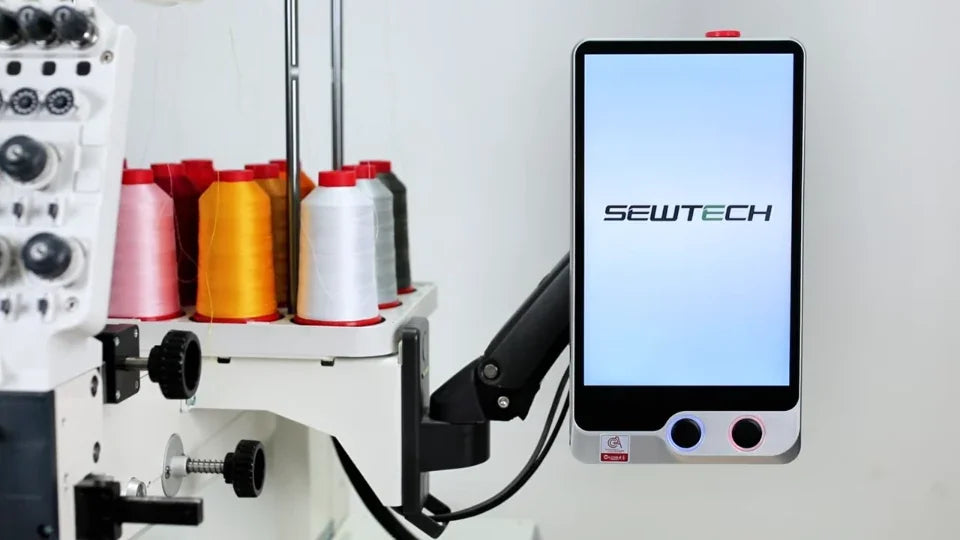
Watch at 02:03Turn the machine back on. Wait for the startup screen and any progress box to clear, then check the top status bar. The round 100° indicator should now be free of the slash.
8. Both errors | Check the display and take-up lever
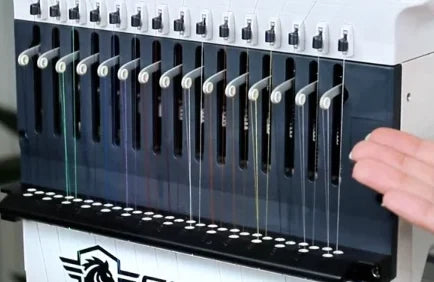
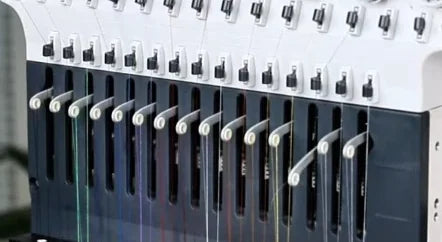
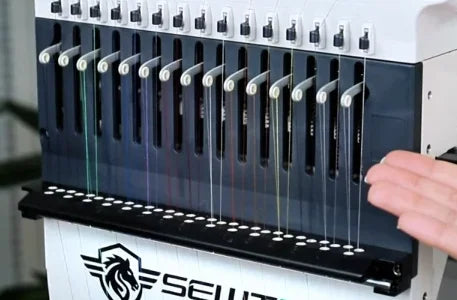
Watch at 02:22With both faults present, the needle readout is 0 or shows its warning and the 100° indicator is slashed. Look at the row of thread take-up levers on the front of the head. The active lever in the video sits lower than its neighbors. The video shows two recovery routes.
9. Both errors, method 1 | Restore the needle reading first
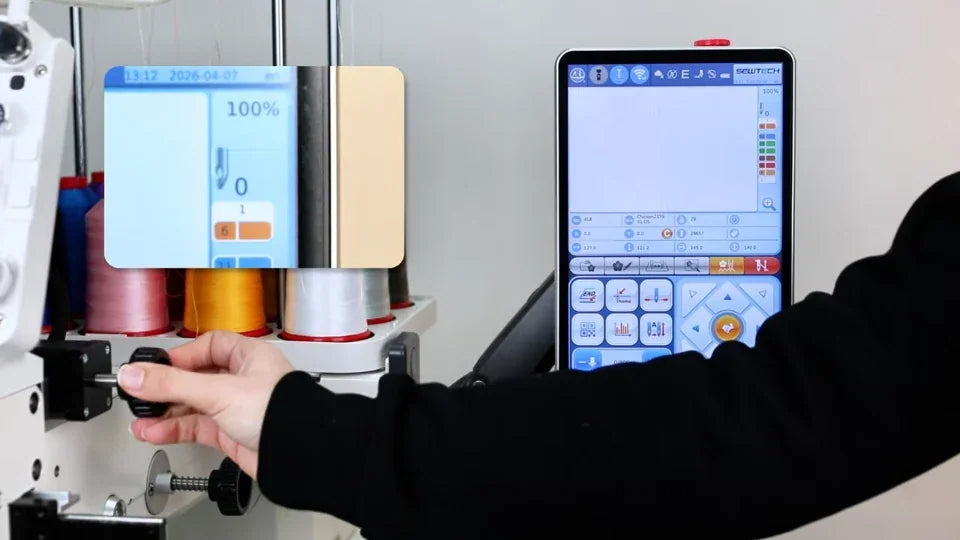
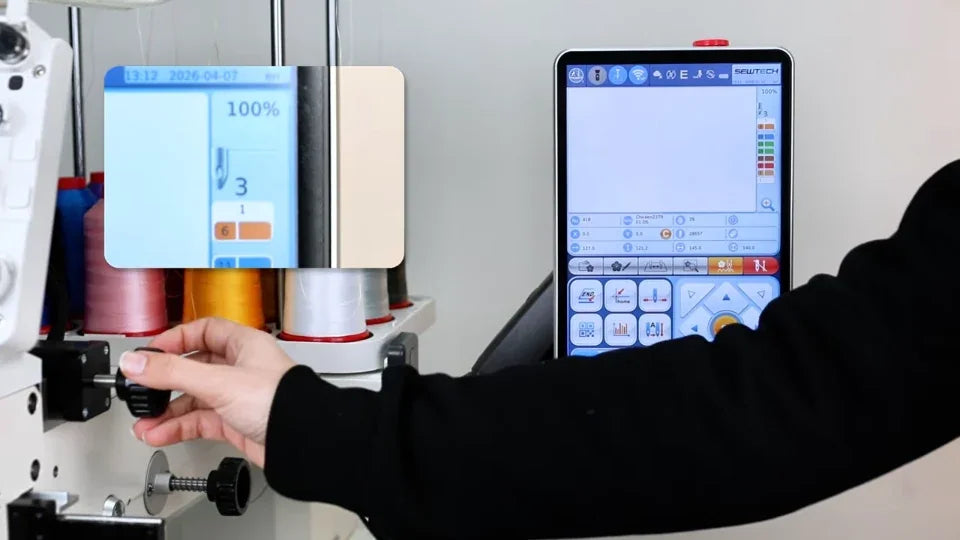
Watch at 02:44Gently rock the upper color-change knob back and forth while watching the needle number. Stop when it becomes nonzero. While the shaft is out of position, the knob can recover the readout of the current needle. The machine stays on that needle until the shaft is corrected. The video shows needle 3 as an example.
10. Both errors, method 1 | Return the shaft to 100°
Watch at 03:30Once the needle number is visible, tap the leftmost return-to-100° button in the bottom toolbar. Wait for the machine to finish. Check that the top indicator loses its slash, the needle number is still visible, and the low take-up lever returns to the row.
11. Both errors, method 2 | Power off and align the shaft first
Watch at 03:50Switch the machine off. With the screen dark, push in the lower shaft knob slightly and turn it slowly until the red pointer meets 100° in the round window. Release the knob and restart. Verify that the slash on the top 100° indicator has cleared before resetting the needle reading.
12. Both errors, method 2 | Reset the needle and confirm both results
Watch at 04:19Open the numbered needle panel from the three-needle button in the bottom toolbar. Tap the right one of the two pale buttons at the lower left. Confirm a stable needle number and a highlighted match in the panel. This run shows 4. Check that the 100° indicator is clear and that the take-up lever is back in line.