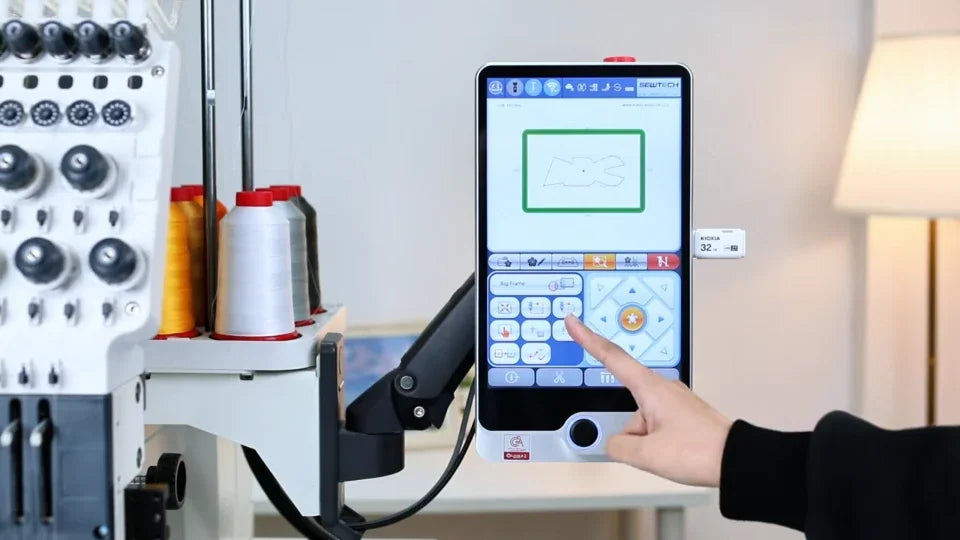
Use the ST-1501 Touchscreen for Embroidery Setup

Overview
Work through the controller for T-shirts, caps and flat embroidery, with examples of file import, color order, hoop selection and tracing.
Step-by-step guide
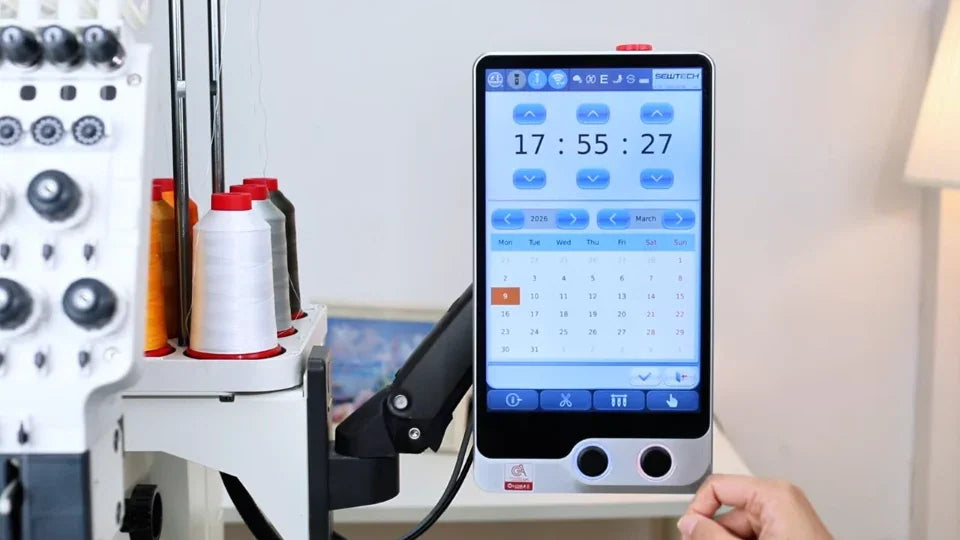
1. Set the screen language and time
Watch at 00:39Use the settings to choose a language and adjust the clock, then return to the main screen.
2. Select a design and its direction
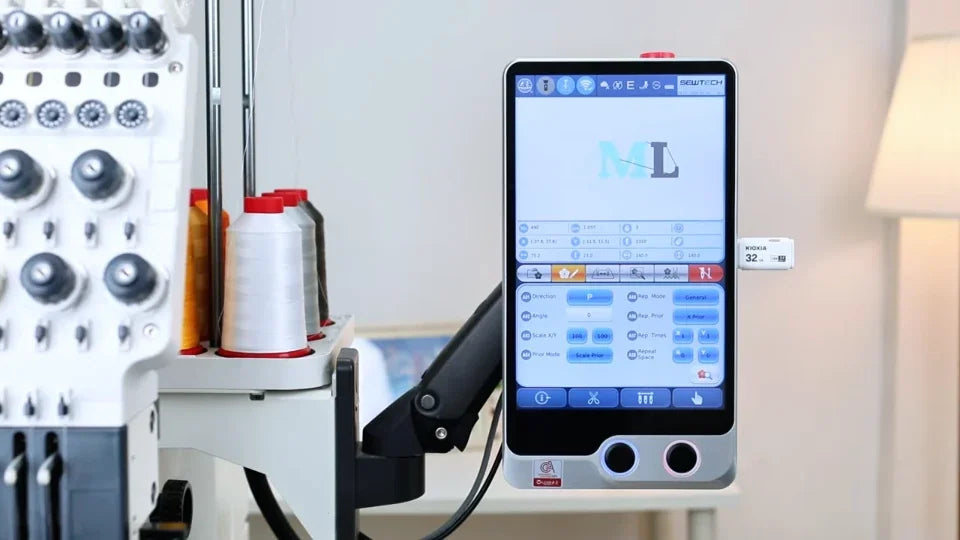
Watch at 01:12Open file management to import or select your pattern. Use the orientation controls on page two to check the intended direction.
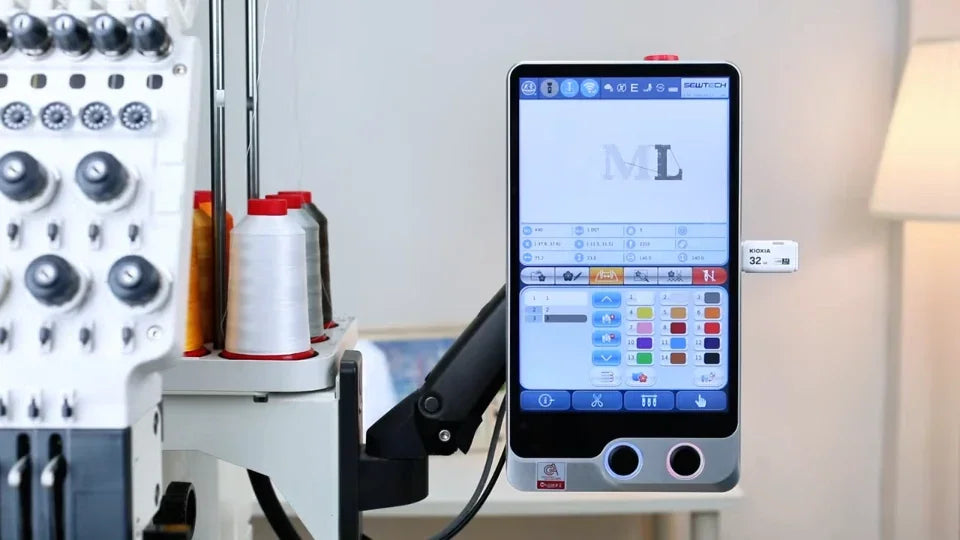
3. Assign the colors
Watch at 04:08Compare the color blocks with the actual threads on the needles. Set the needle sequence and check it in the design preview.
4. Choose the cap setup or flat hoop
Watch at 07:13Use the hoop page to select the mounted frame type, including the cap option for a cap driver. Use the cap and flat examples to check the placement controls.
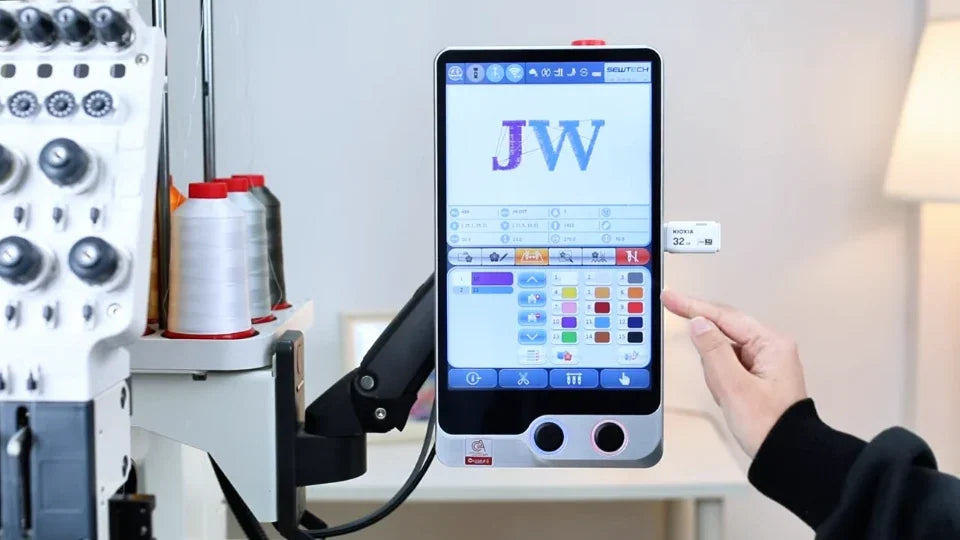
5. Trace the border before enabling embroidery
Watch at 11:44Use the arrows and centering control, then run the trace. Confirm the design fits and choose the intended mode and speed before starting.