Use the ST-1501 Color Change Modes

Overview
On the ST-1501, Automatic changes needles and keeps stitching. Semi-Auto changes needles but waits for Start. Manual stops without changing needles: select the next needle yourself before resuming. Confirm the mode and keep hands and tools clear of the needle and hoop before pressing Start.
Step-by-step guide
1. Check threading and colors
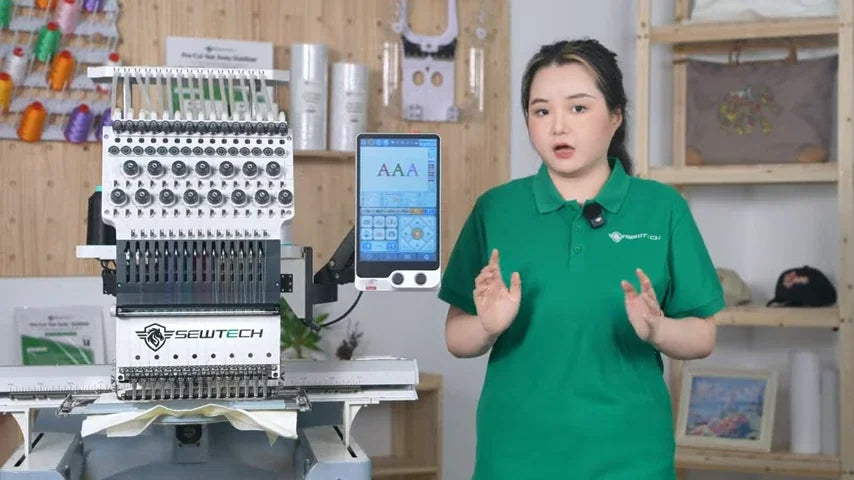
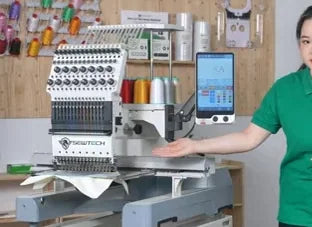
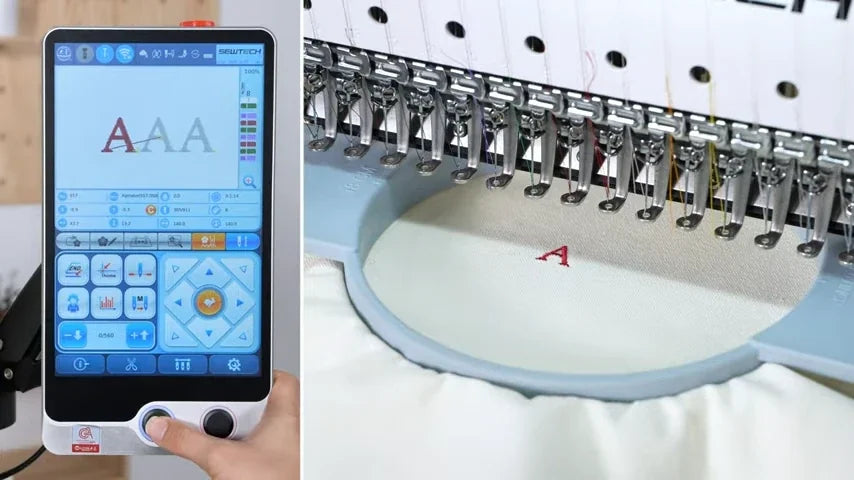
Watch at 00:20Before sewing, check the threading on every needle the design will use. Match each physical thread color to the order shown on the controller. The video uses a three-letter test design.
2. Match color blocks to needle numbers
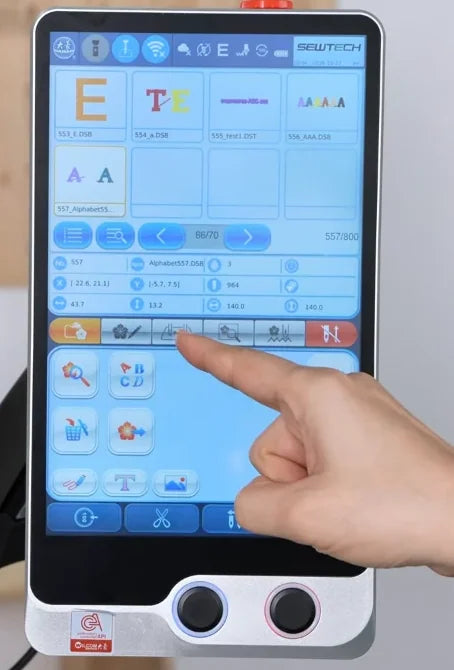
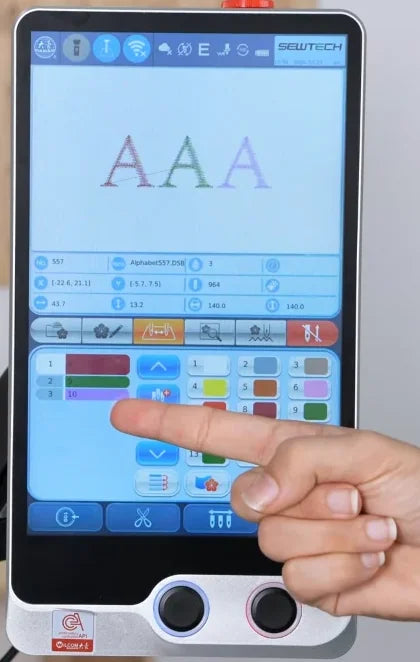
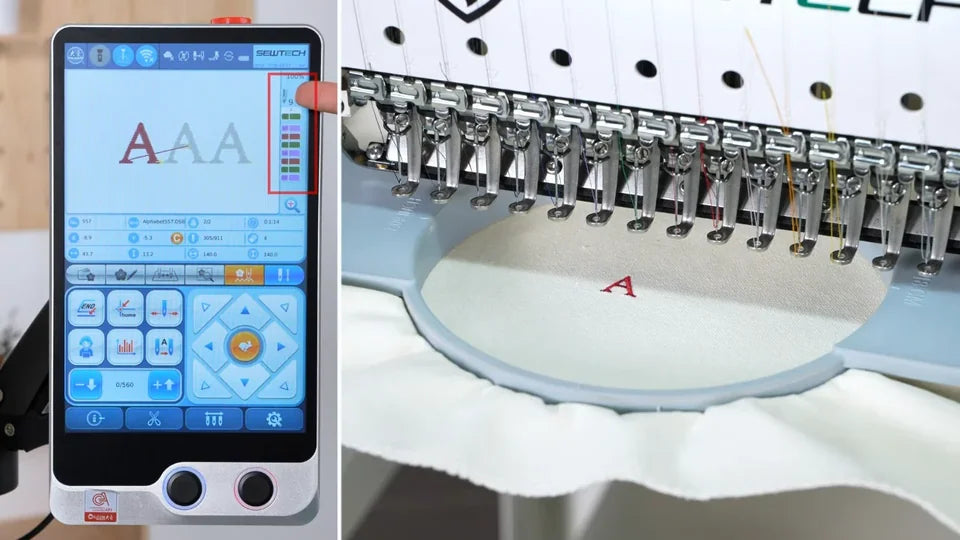
Watch at 00:31Select your design, then tap the Color tab in the middle row. Check the design color blocks on the left against the numbered needle palette on the right. Use the needles that carry your chosen threads. This sample uses needles 8, 9 and 10; those numbers are not required for other designs.
3. Check the hoop and enter embroidery mode
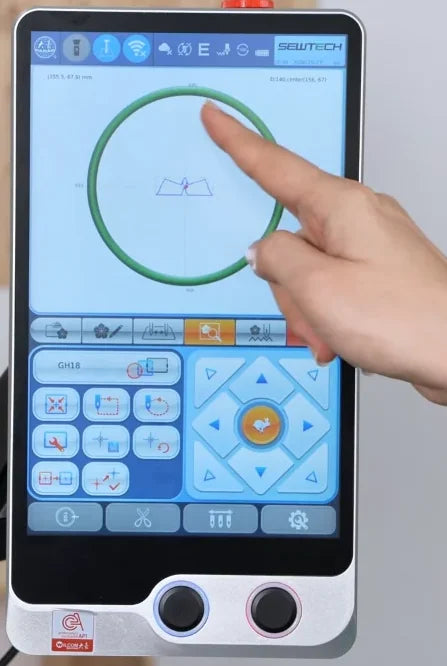
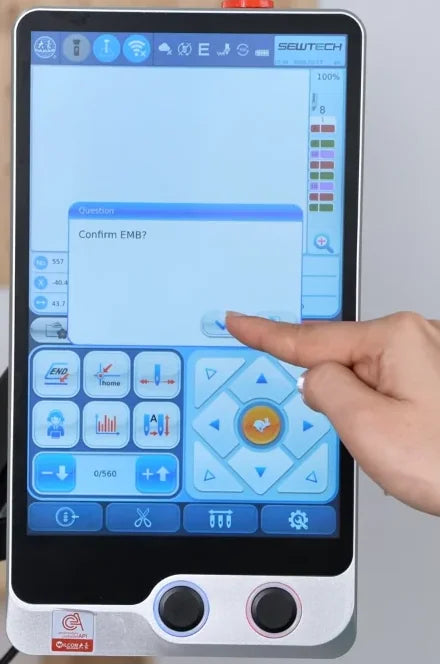
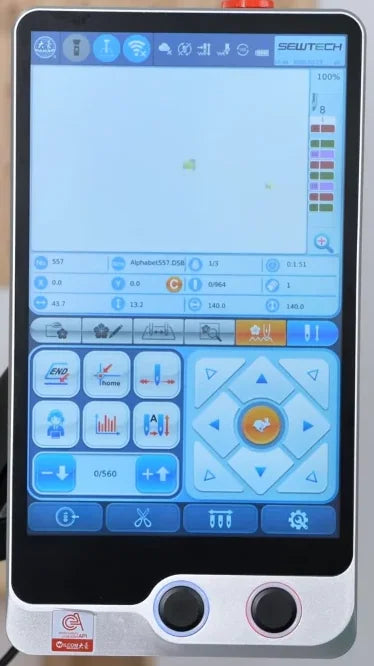
Watch at 00:46Select the hoop that matches the one fitted to the machine. Check its outline on the screen; the demonstration uses a round hoop. Go to page 5 and accept the embroidery confirmation. The embroidery screen shows the color sequence at the right.
4. Select Automatic mode
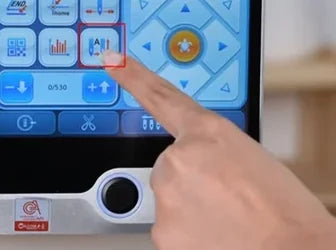
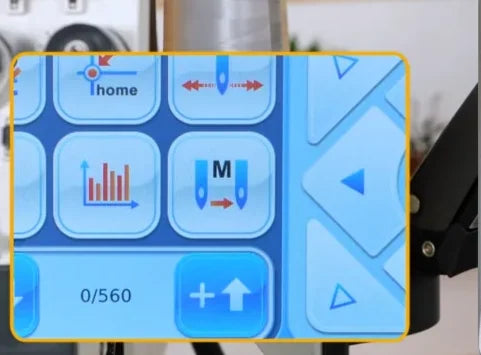
Watch at 00:56In embroidery mode, use the color-change mode button immediately to the left of the directional pad, on the second row of small buttons. Check that the icon shows A for Automatic.
5. Start once and watch the color sequence
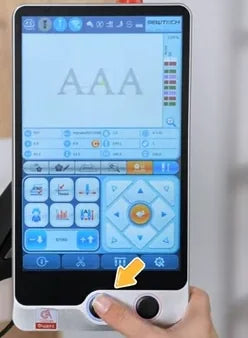
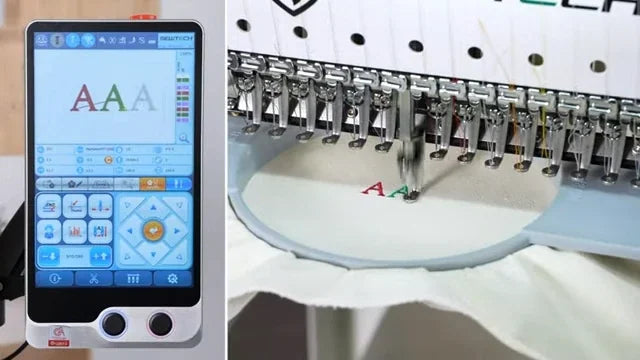
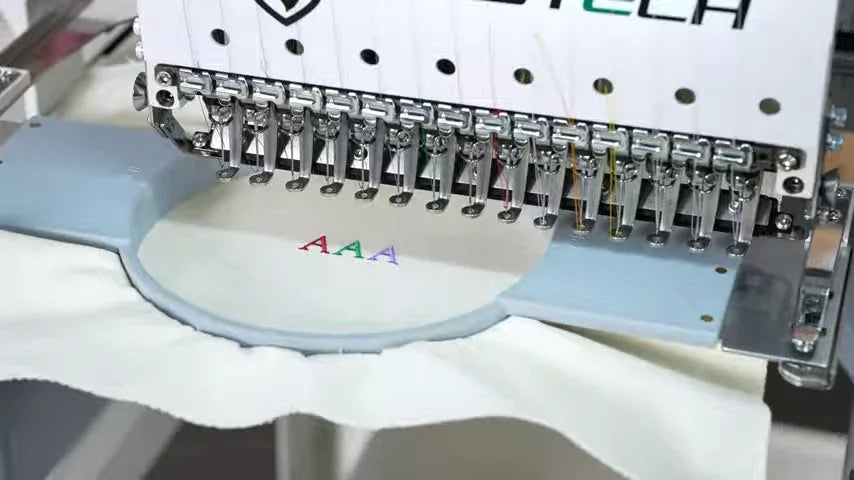
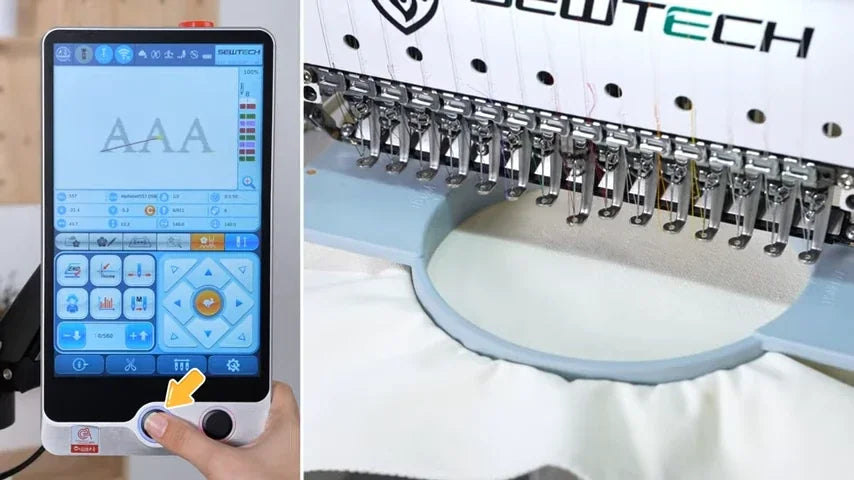
Watch at 01:12Press the physical Start button below the touchscreen on the left. When the first color block finishes, the machine moves to the assigned needle and sews the next block without a second press. The sample finishes red, green, then purple. Use Automatic for regular runs once the thread assignments are correct.

6. Switch to Semi-Auto mode
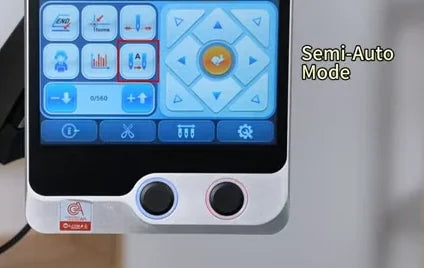
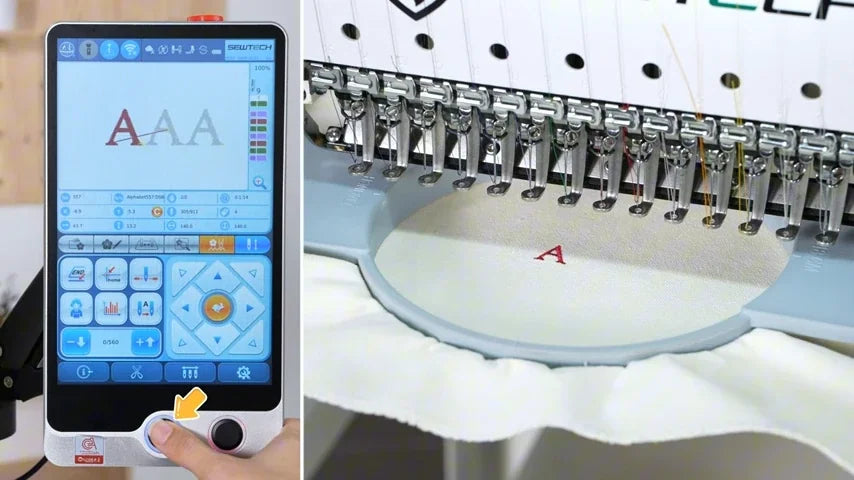
Watch at 01:51Tap the same mode button again and check that the display has switched to the Semi-Auto setting shown in the video. Press Start to sew the first block. At the next color, the machine selects the assigned needle but waits instead of sewing.
7. Check the next needle, then restart
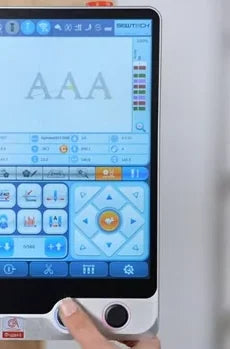
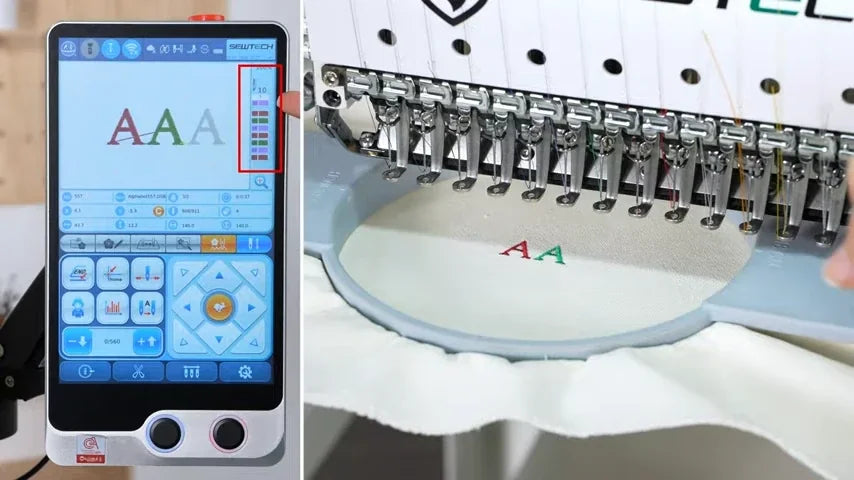
Watch at 02:27While paused, check the new needle and physical thread against the next color in the on-screen list. Press the same Start button when ready. The test pauses again after the green letter; another press starts the purple letter. The pause also gives you time to inspect the work or place appliqué fabric. Clear the work area before restarting.
8. Select Manual and observe the first stop
Watch at 03:12Use the same mode button to select M for Manual, then press Start for the first block. At the end of that block, the machine stops without selecting a different needle. A color change shown in the design is not proof that the head has changed needles.
9. See what happens if you skip the needle change
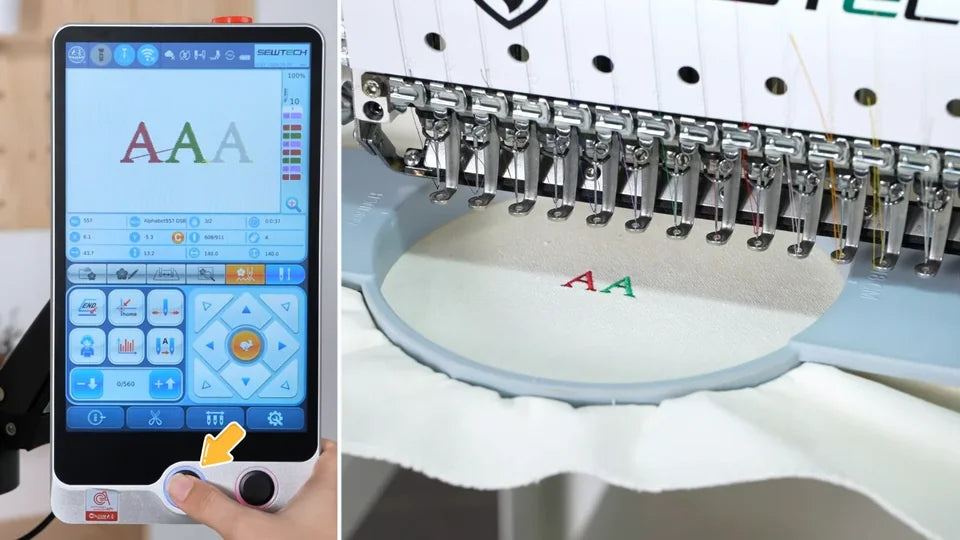
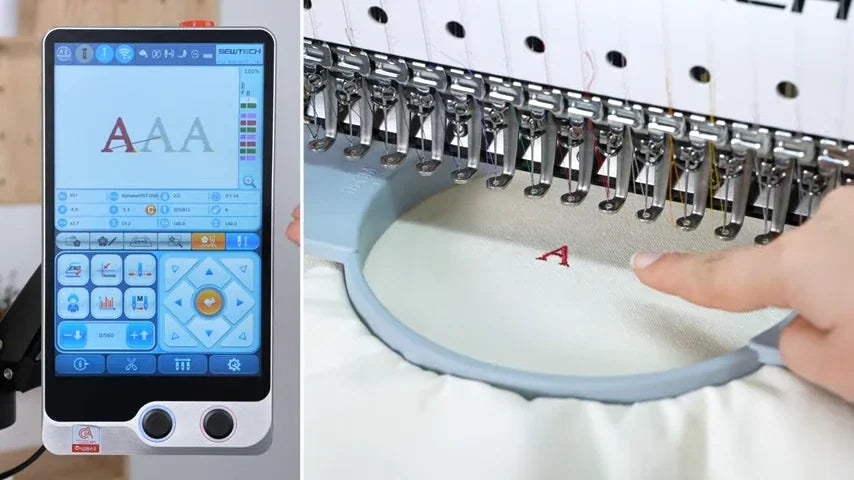
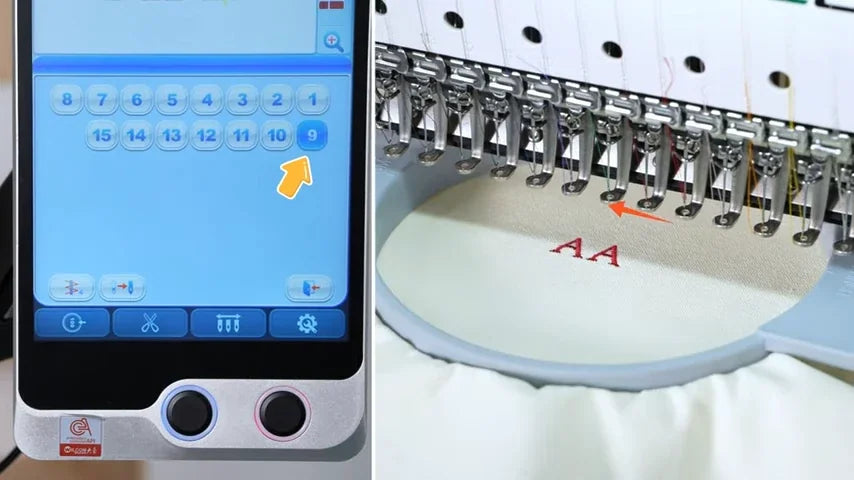
Watch at 03:53The video deliberately presses Start again without selecting a different needle. Needle 8 stays active, so the second letter is red too, even though the on-screen design shows that letter in green. The machine stops again at the end of the second block. To sew in a different color, select the new needle before pressing Start.

10. Choose the next needle on the controller
Watch at 04:18With the machine stopped, tap the needle icon in the bottom toolbar, just left of the gear. Tap the number for the next thread: in the example, tap 9 at the far right of the lower row. Check that 9 turns blue instead of 8 and that the needle head shifts. Use the return control at the lower right of the needle panel.


11. Restart and check the actual stitch color
Watch at 04:31Press Start only after confirming the selected needle and thread. With needle 9 selected, the third letter in this demonstration stitches green; the two earlier red letters do not change. Repeat select, check and Start at every remaining color stop. Manual is useful when you want to choose each needle yourself, including when you have not assigned needles in advance.


12. Confirm the mode before every restart
Watch at 05:05Check the selected mode before starting. In Automatic, do not count on a pause at a color change: the machine may continue immediately. Keep hands and tools clear of the needle, hoop and embroidery area whenever the machine is operating.