SEWTECHSupport Center 简体中文

Change Embroidery Design Direction on the ST-1501

Applies to ST-1501

Watch on YouTube ↗

Overview

Use the Direction control on page 2 to change a flat design, then check its orientation and frame boundary before stitching. This ST-1501 lesson also shows how to unlock Direction and confirm the automatic cap orientation.

Step-by-step guide

1. Select the design and open page 2

Watch at 00:10

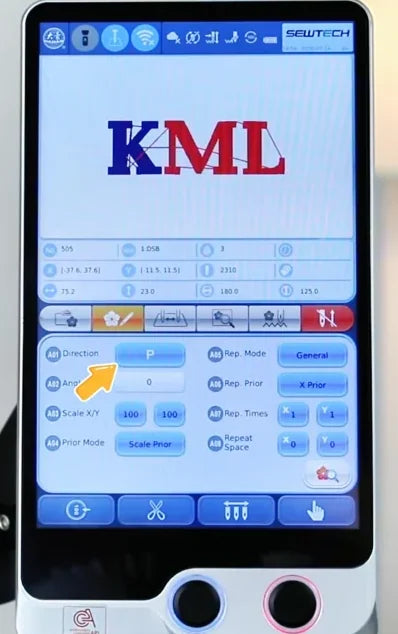
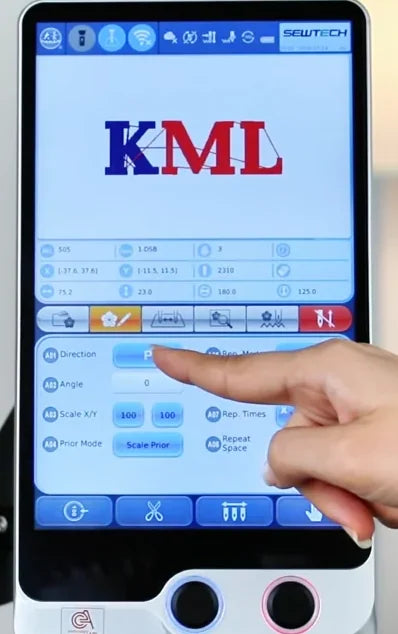
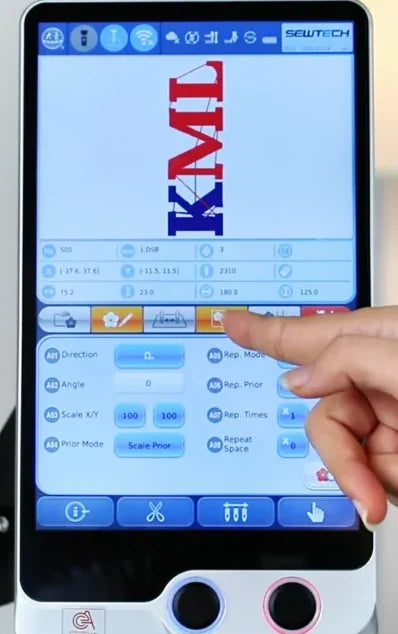
On the ST-1501, select the design you intend to stitch from the thumbnail list while the controller is out of embroidery mode. The flat-work example uses KML. Tap the second tab from the left on the strip below the design area. The tab turns gold and the lower panel shows Direction and Angle.
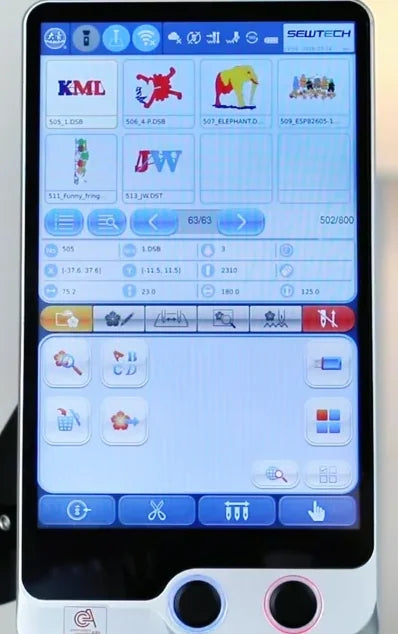
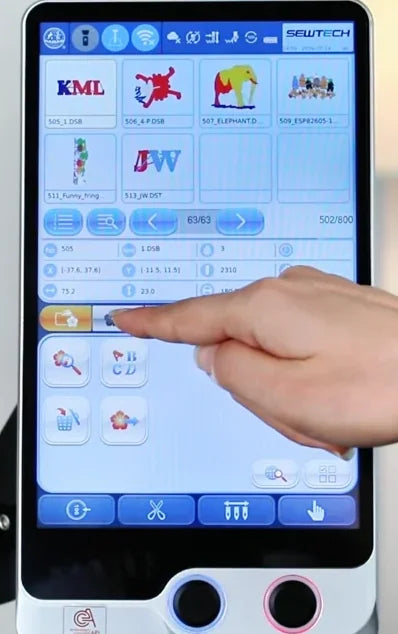
The design list shows the KML thumbnail in the upper-left corner.
The presenter points to the second tab in the middle strip.
The gold tab is active and the Direction row sits at the top left of the settings panel.

2. Cycle through Direction presets

Watch at 00:15

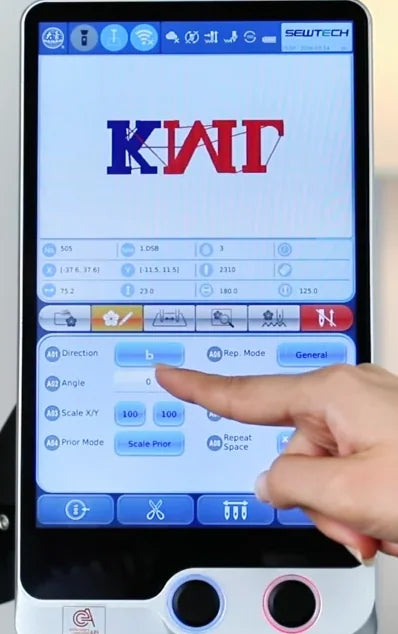
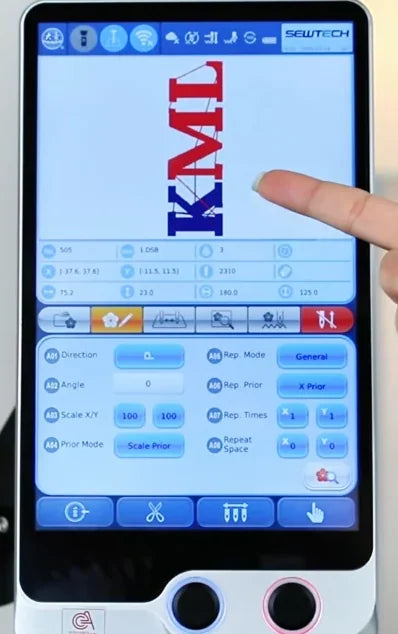
Tap the blue value button beside Direction. Each tap cycles to another preset and changes the upper preview. The sequence includes reflected views, so use the orientation of the lettering to check your choice. Leave the separate Angle field as it is for this procedure. It stays at 0 in the demo.
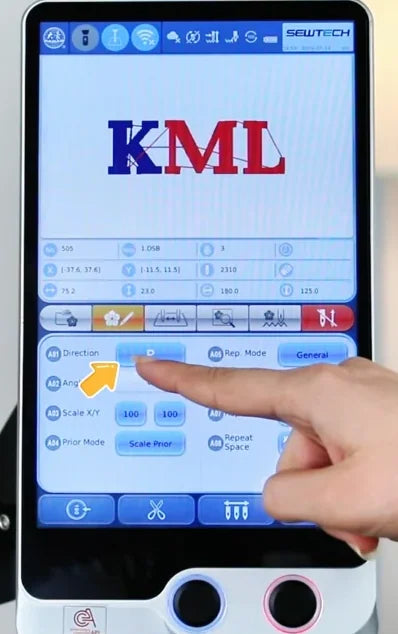
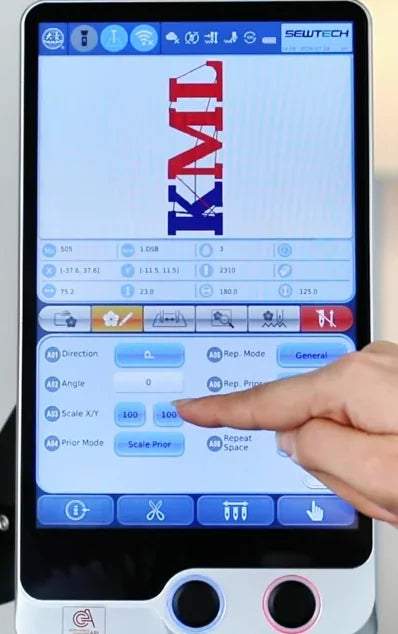
Tap the blue Direction value beside the yellow pointer. Angle is on the row below.
After the tap, the preview displays KML vertically.
A later preset flips the letters. Keep cycling until the preview faces the way you want.

3. Check the rotated preview

Watch at 00:29

Stop when the design faces the intended way for the fabric in the hoop. In the video’s 90° example, KML is vertical, with K at the bottom and L at the top. Look at the lettering itself to confirm the direction before checking the frame boundary.
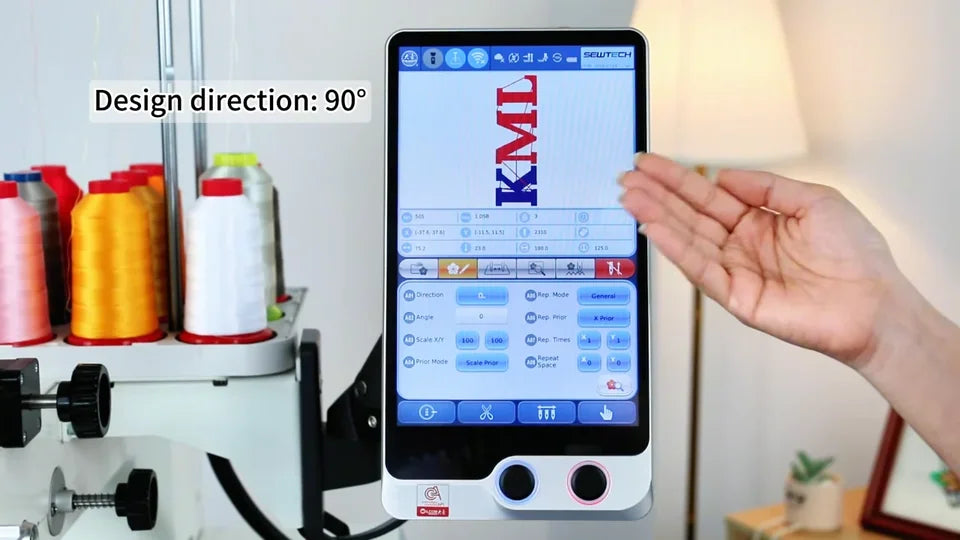
The video labels this KML orientation as 90°.
The upper preview is the place to check which end of the lettering is up.

4. Open page 4 and check the frame boundary

Watch at 00:45

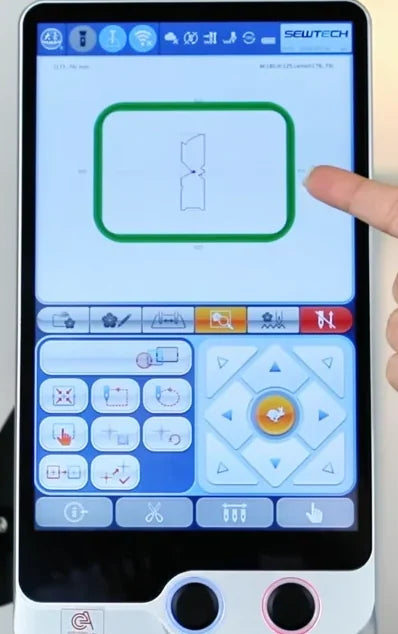
Open the fourth tab on the same strip. The frame view shows the selected hoop as a green outline. In the clip, the presenter taps the top-center button in the compact tool grid to the left of the blue arrow pad. Before stitching, use the trace function and confirm the design stays within the usable area of the mounted hoop. The clip shows the fit on the display.
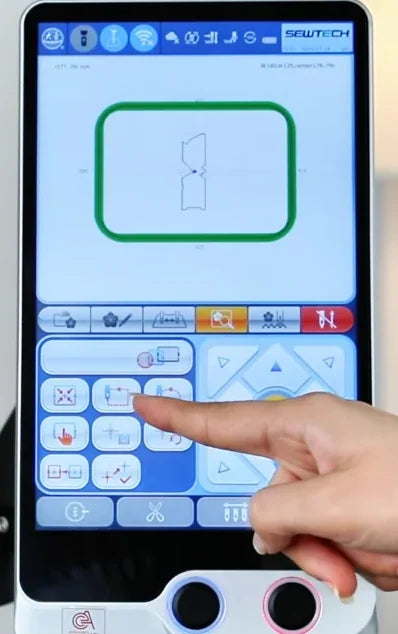
Tap the fourth tab to open the frame view.
The finger points to the upper-middle button in the small grid beside the arrow pad.
The design outline is inside the green hoop boundary in this example.

5. Enter embroidery mode and check the stitch preview

Watch at 00:52

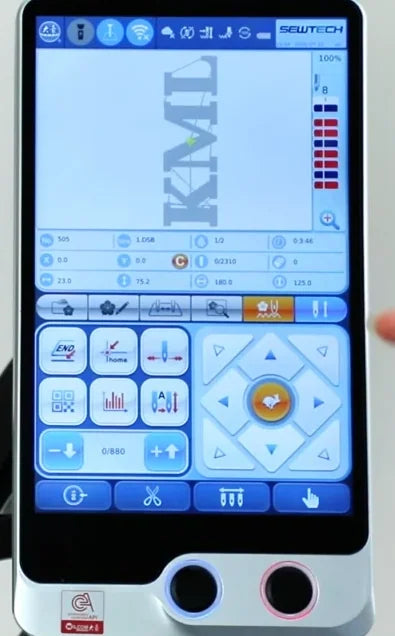
Open page 5 with the next tab to the right. Tap the red mode control at the far right of the tab strip and tap the check mark in Confirm EMB? Wait for the preview to load. The gray stitch preview should still match the chosen direction. In the example, KML remains vertical and the mode control turns blue.
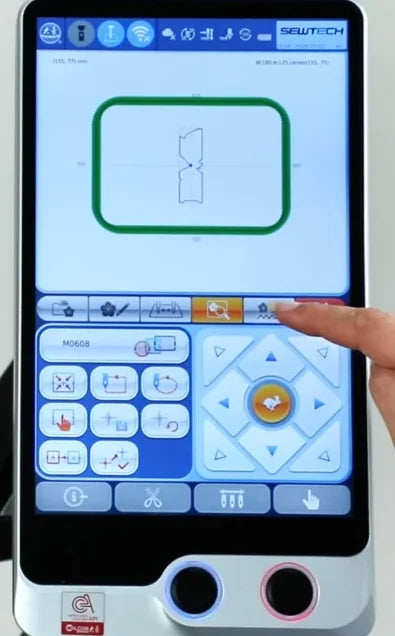
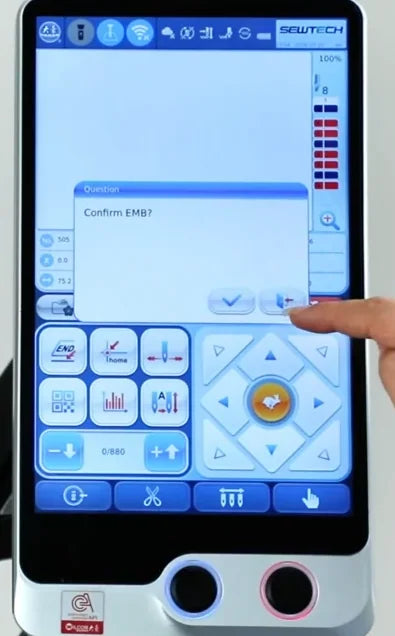
The fifth tab is immediately to the left of the red mode control.
Confirm EMB? has a check mark near the lower-right corner of the dialog.
The gray stitch preview retains the vertical KML orientation.

6. Recognize a direction lock

Watch at 01:02

If Direction fails to change on page 2 and the controller reports that the pattern is in use, close the warning with the exit icon. Check the far-right mode control on the strip. The blue state shown here means embroidery mode is still active and Direction is locked.
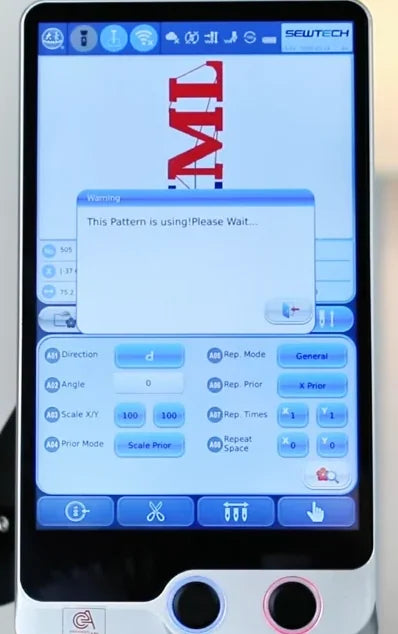
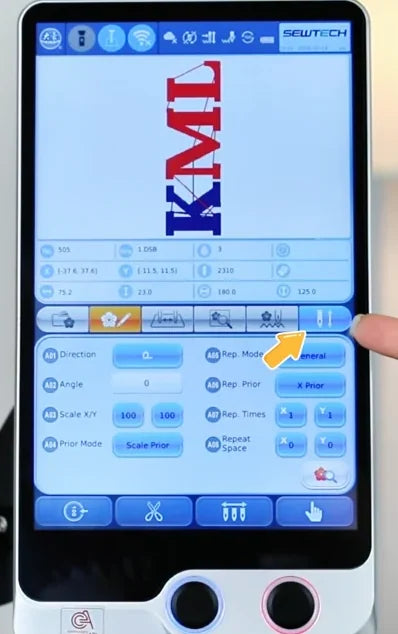
The warning says the pattern is in use. Its exit icon is at bottom right.
The arrow points to the blue embroidery-mode control at the end of the strip.

7. Cancel embroidery mode and retry Direction

Watch at 01:19

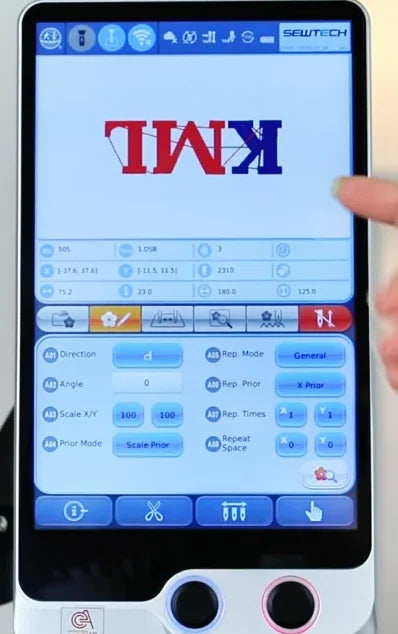
Tap the blue mode control and choose the check mark in Cancel EMB? Wait for the control to return to red. Then tap Direction again on page 2. A change in the preview confirms that the direction is editable again.
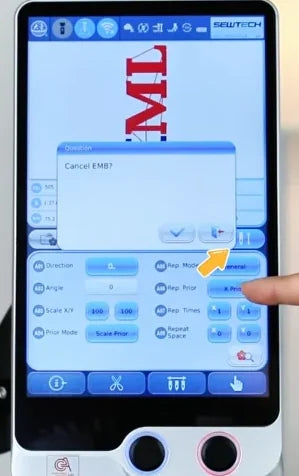
Tap the check mark in Cancel EMB? to leave embroidery mode.
The control is red and KML now appears upside down after another Direction tap.
Another tap brings the example back to upright lettering.

8. For cap embroidery, leave the design upright

Watch at 01:29

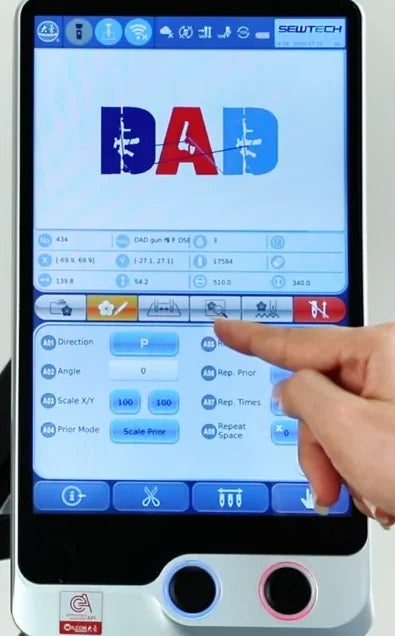
Select the cap design from the list and open page 2. The video shows the DAD example upright on that screen. Leave Direction as it is and continue to the cap-frame selection on page 4.
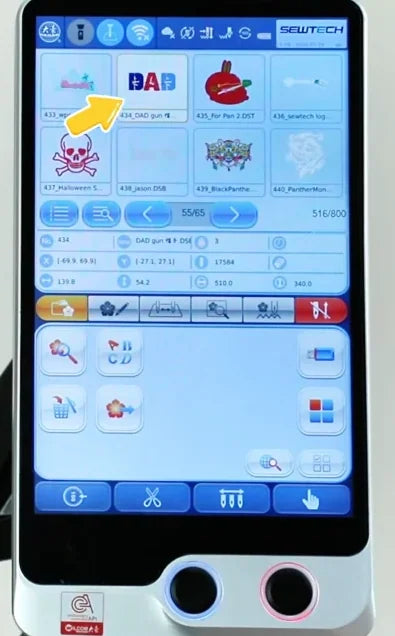
The yellow arrow marks the DAD example in the design list.
DAD is upright on page 2 before selecting the cap frame.

9. Select and confirm the cap frame on page 4

Watch at 01:37

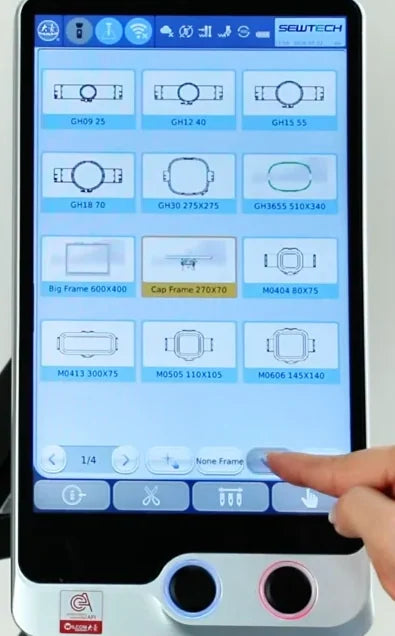
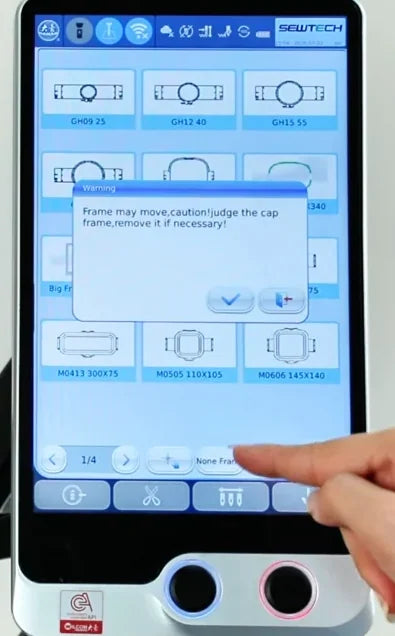
Open the fourth tab and tap the Cap Frame tile. It is in the middle of the third row in this clip and is labeled Cap Frame 270X70. Tap the check mark at the bottom of the frame list. When the controller warns that the frame may move, check clearance around the mounted frame and confirm with the dialog’s check mark when clear.
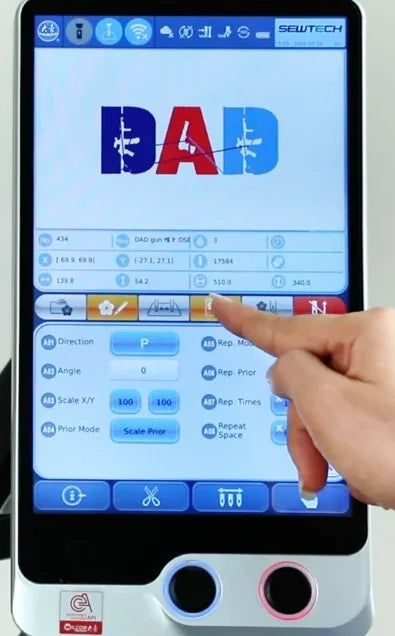
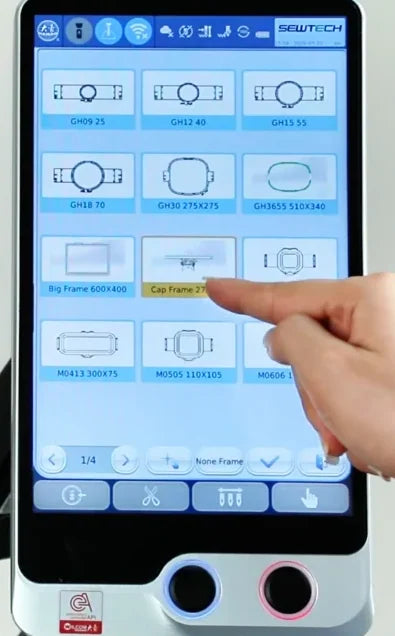
Tap the fourth tab to open frame selection.
The selected Cap Frame tile is highlighted yellow in the middle of the third row.
The check mark at the bottom applies the selected frame.
The controller warns that the frame may move. Check clearance before confirming.

10. Verify the cap’s automatic 180° rotation

Watch at 01:43

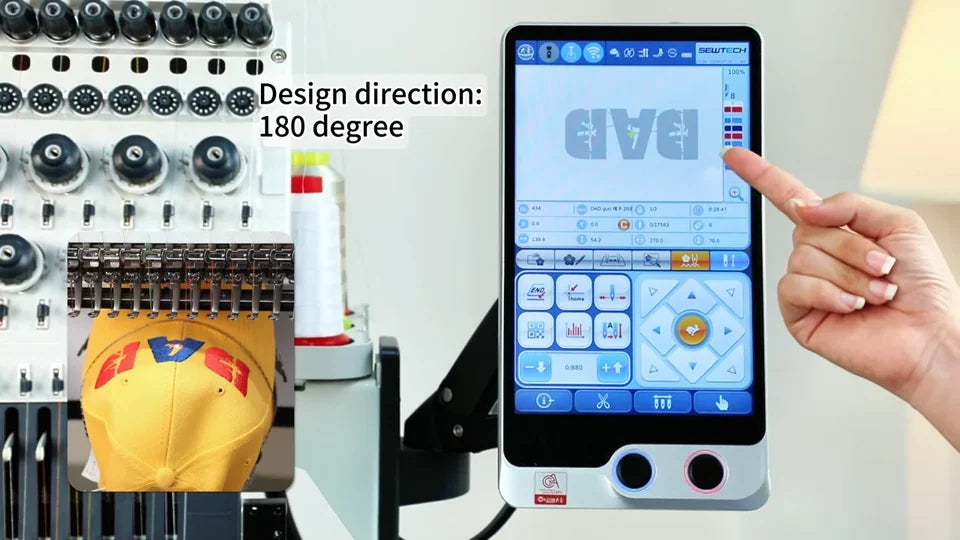
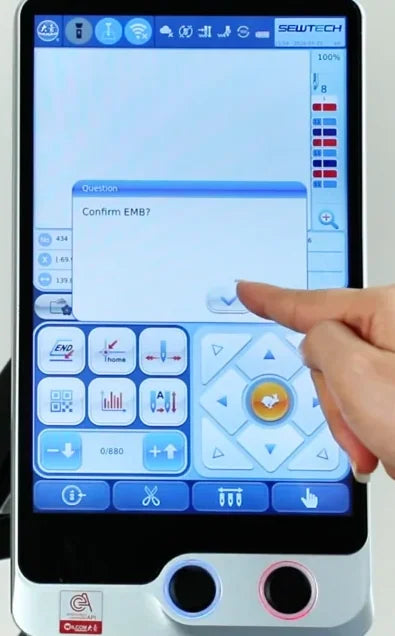
Check that the design fits inside the green cap-frame outline. Then open page 5, tap the red embroidery-mode control and confirm the prompt with its check mark. After the preview loads, compare it with the upright page-2 design. On this ST-1501 the preview turns DAD by 180° automatically for cap embroidery. Confirm the resulting placement before starting.
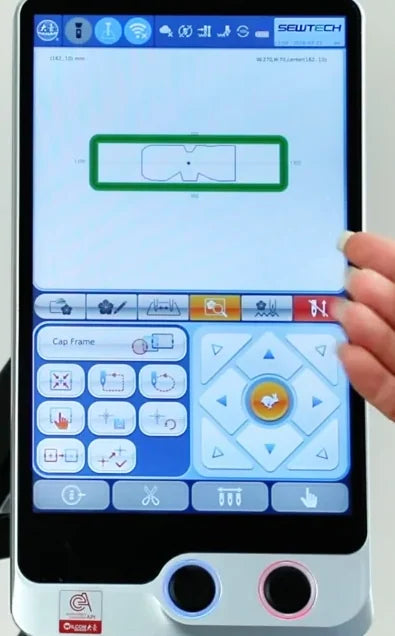
The DAD outline fits within the green cap-frame boundary in the final frame view.
On page 5, tap the check mark in Confirm EMB? and wait for the stitch preview.
The overlay identifies the automatic 180° orientation. Compare the inverted screen preview with the earlier upright design.