Set Up and Use the SEWTECH Bobbin Winder

Overview
Set up the standalone SEWTECH bobbin winder, guide the thread through the tension assembly, and wind a bobbin until the unit stops automatically. The controls below match the winder shown in the video.
Step-by-step guide
1. Gather the winder and supplies
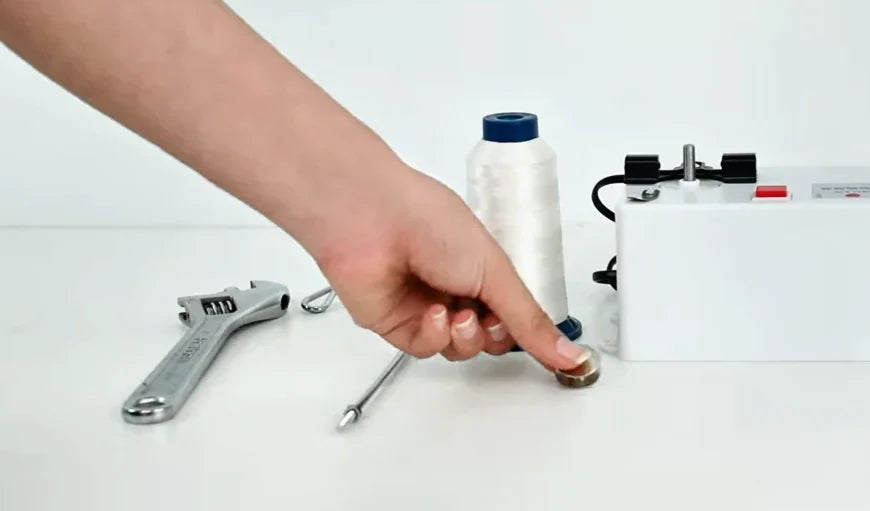
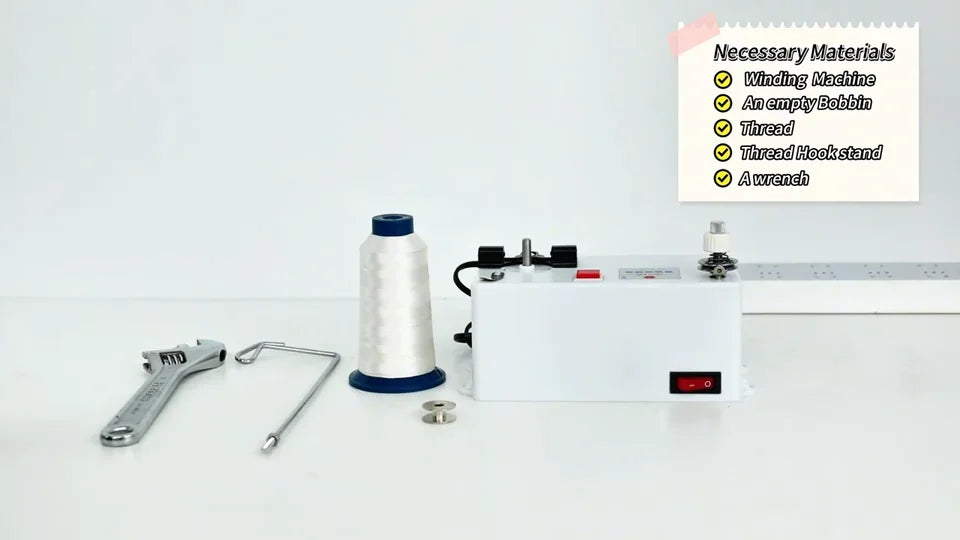
Watch at 00:06Set out the SEWTECH bobbin winder, an empty bobbin, a cone of bobbin thread, the metal thread guide stand and a wrench.
2. Plug in the winder
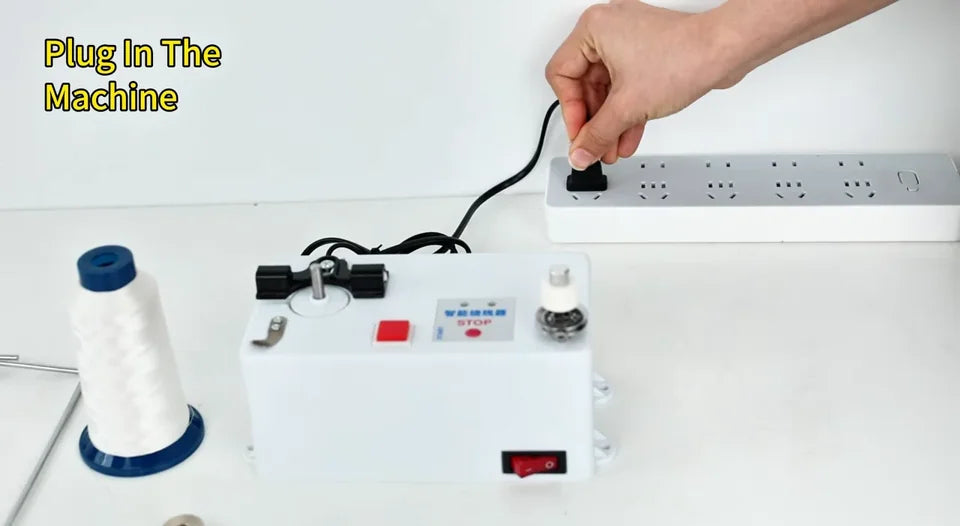
Watch at 00:21Plug the winder’s power cord into an outlet. Leave the front power switch off while you install the stand and thread the winder.
3. Loosen the nut and screw in the guide stand
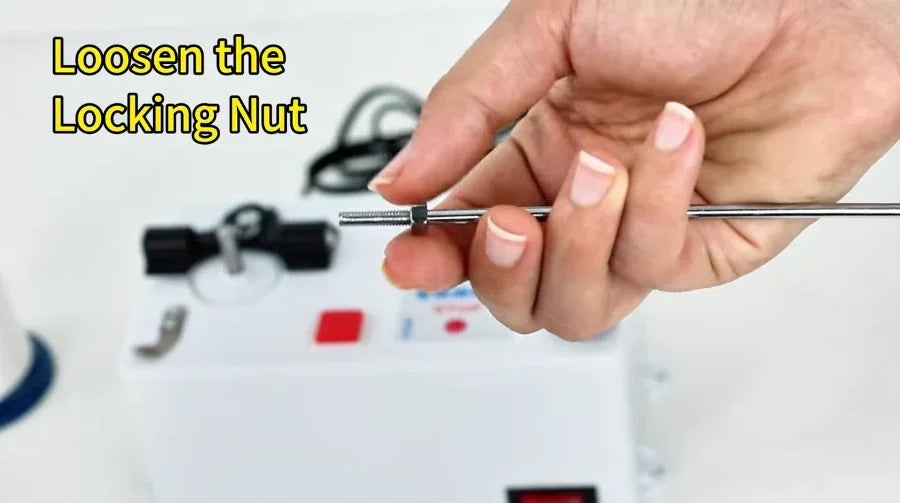
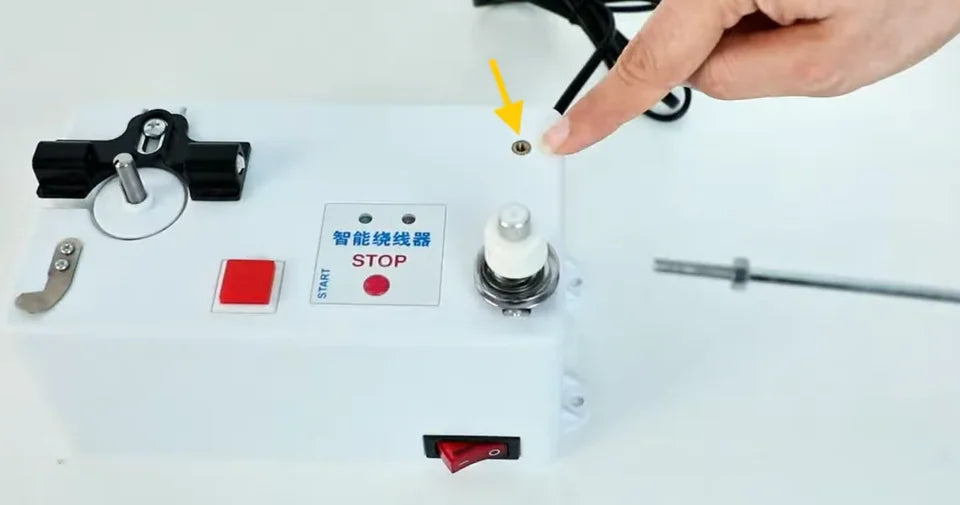
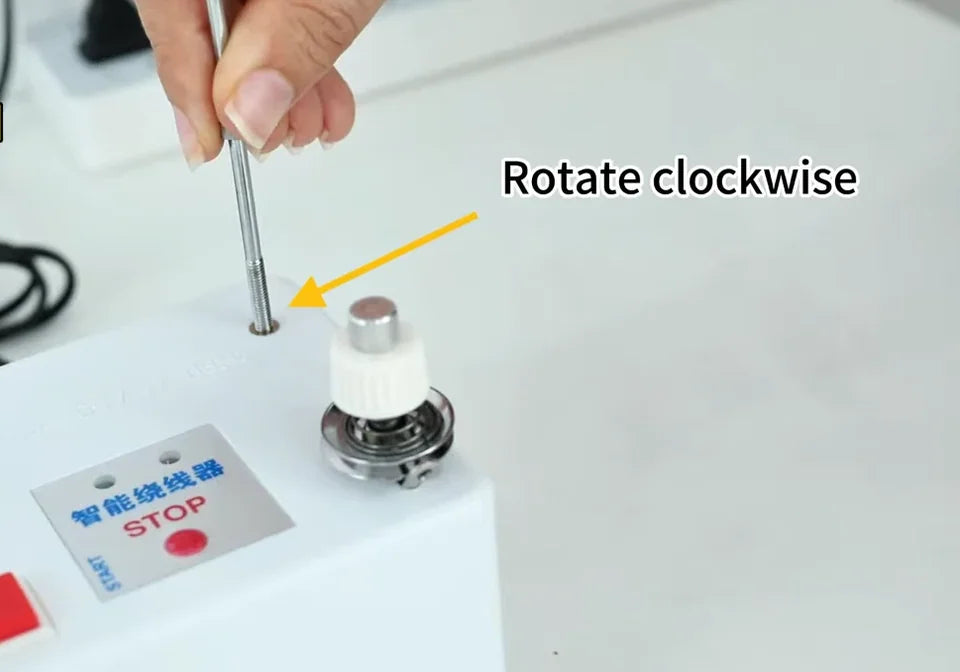
Watch at 00:24Loosen the nut on the threaded end of the guide stand by hand, leaving the threads exposed. Insert that end into the small mounting hole behind the white tension knob on the top right of the winder. Rotate the stand clockwise to screw it in.
4. Aim the hook and tighten the nut
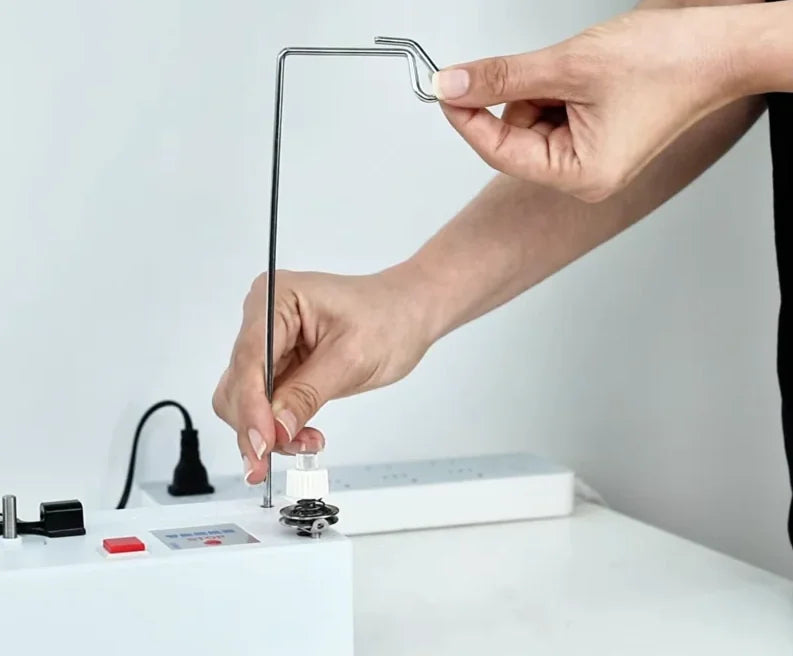
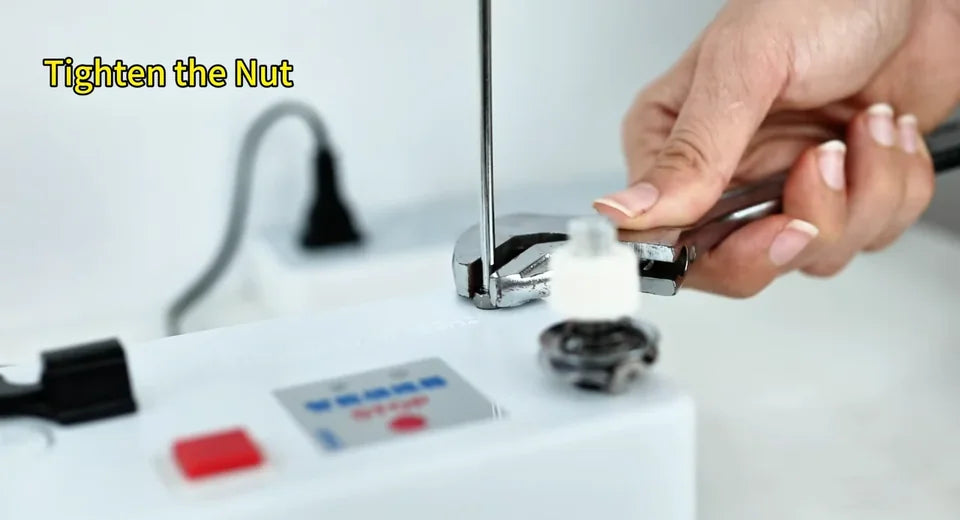
Watch at 00:41Turn the stand so its upper hook points outward to the right, toward the side where the thread cone will sit. Hold the stand in that position, run the nut down to the top of the housing and tighten it with the wrench so the stand stays in place.
5. Feed thread through the upper hook
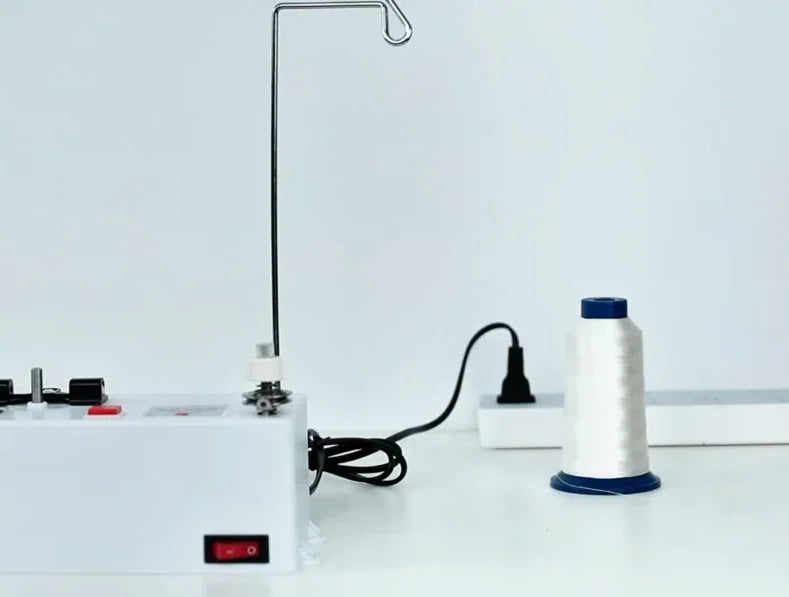
Watch at 00:59Set the thread cone upright on the table to the right of the winder, on the hook side. Bring the free end up from the cone, through the loop at the tip of the stand, then down toward the tension assembly.
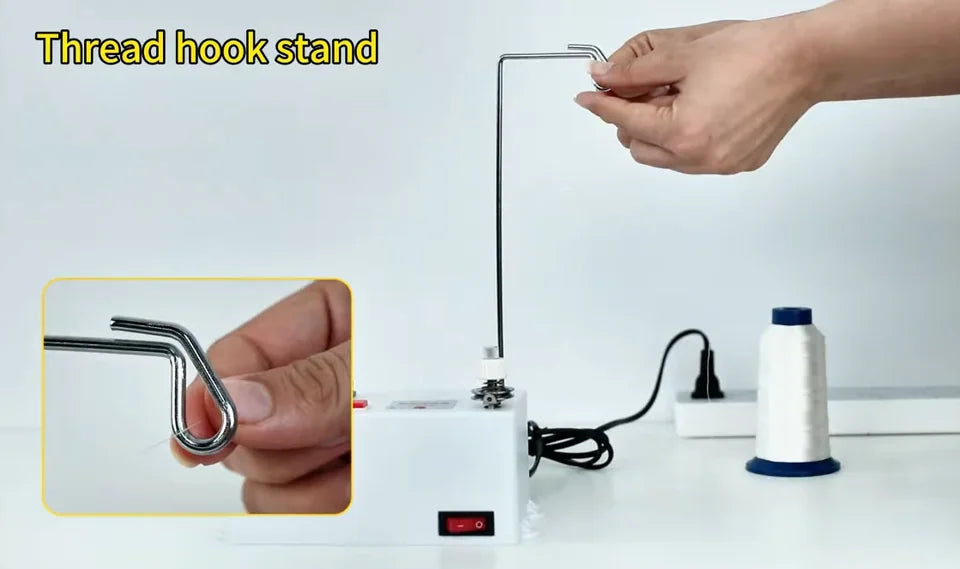
6. Thread the tension guide and disc
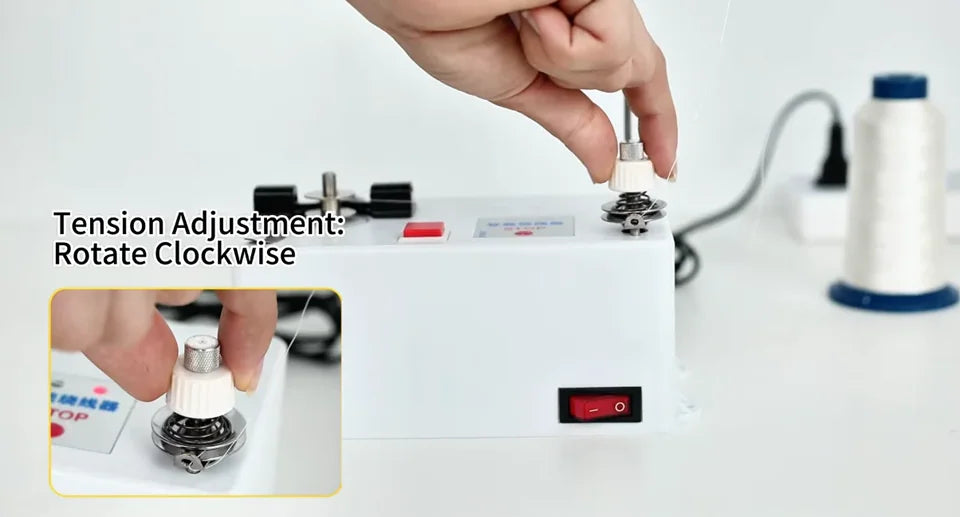
Watch at 01:07Feed the end through the small guide hole at the base of the white tension knob. Slip the thread under the tension disc as shown in the close-up, then draw the free end across toward the spindle.
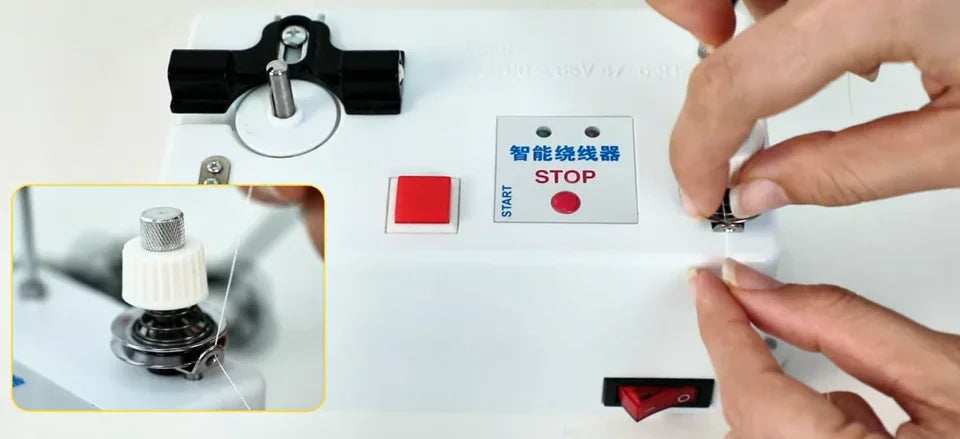
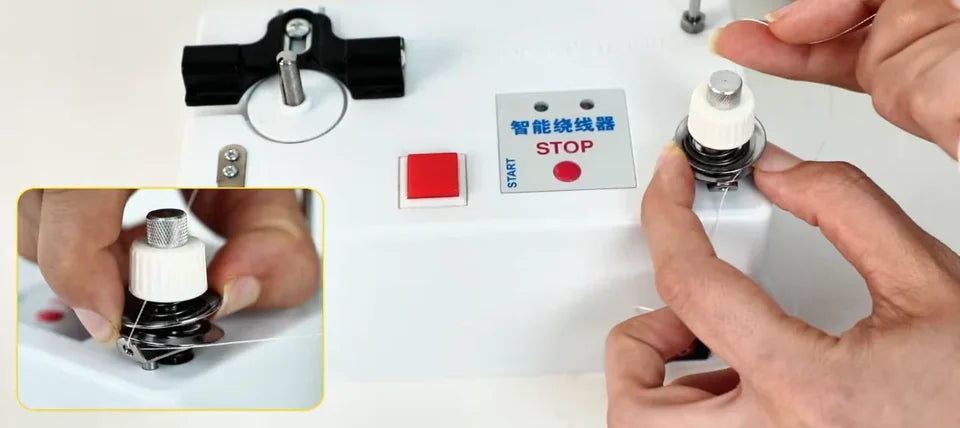
7. Mount the bobbin and secure the thread
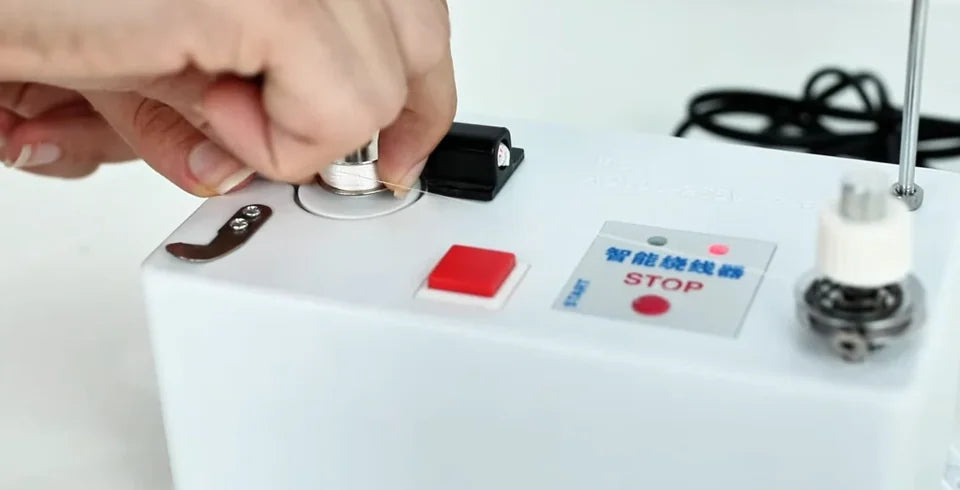
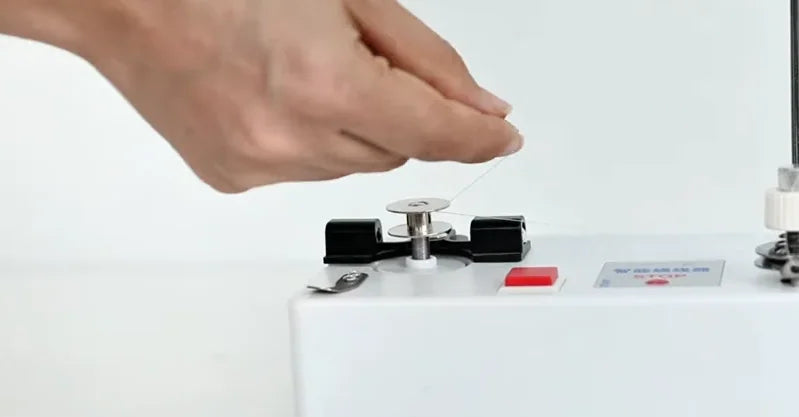
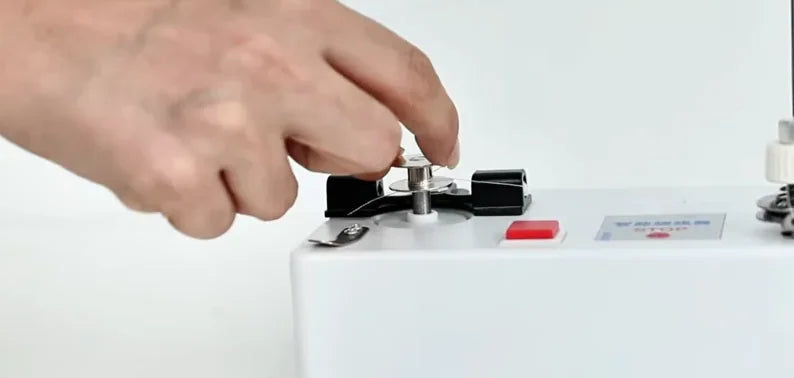
Watch at 01:19Set the empty bobbin on the upright spindle on the left. Viewed from above, wrap the free end around the bobbin core counterclockwise about seven to eight times to hold it in place. Then push the bobbin down onto the spindle.
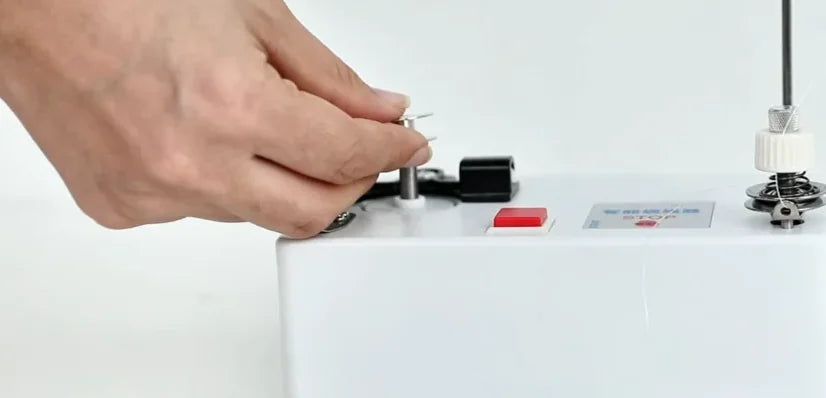
8. Check the thread and correct loose winding
Watch at 01:34The thread should build up snugly and evenly on the bobbin. If it winds loosely, turn the white tension knob clockwise to increase the tension and check the winding again.
9. Switch on and start winding
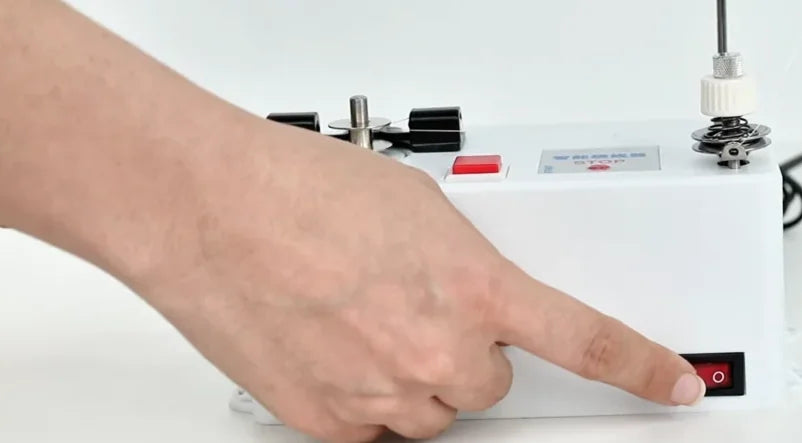
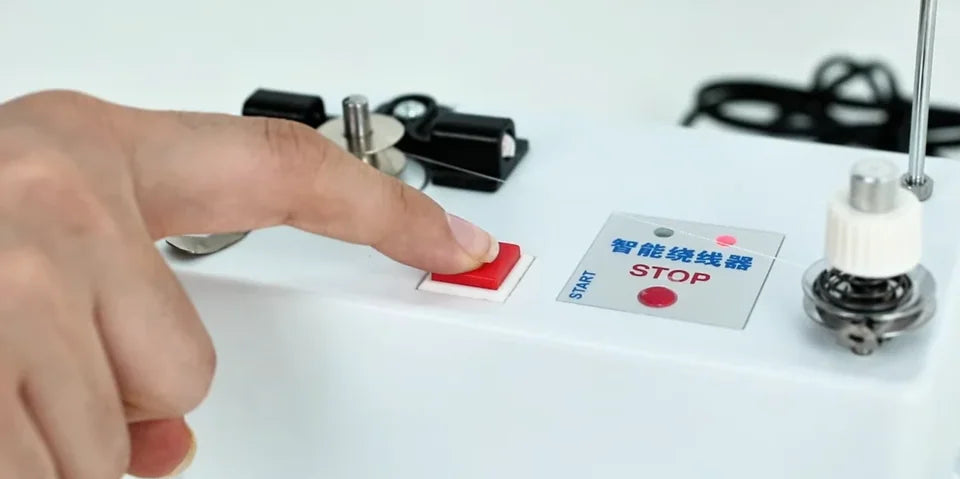
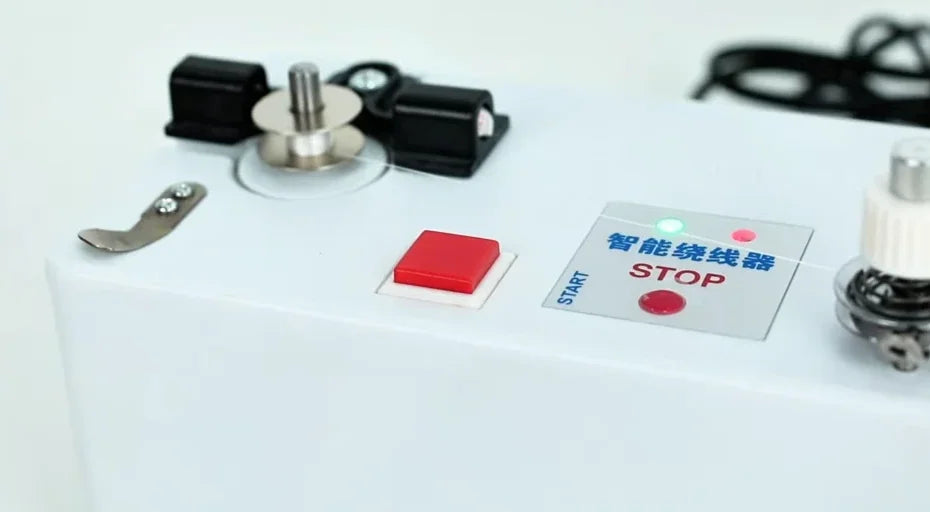
Watch at 01:51Turn on the front rocker switch. Press the large square red START button on top. The bobbin spins and the green indicator lights while the winder runs.
10. Pause and resume winding
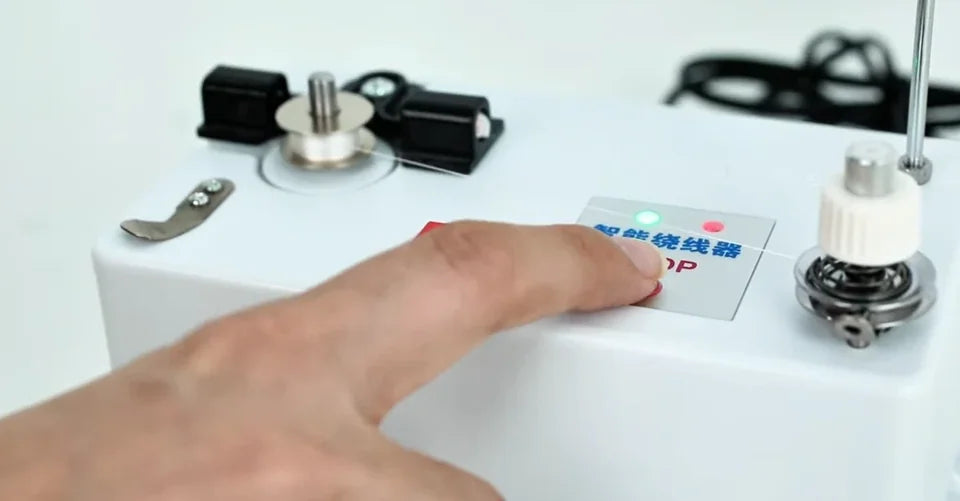
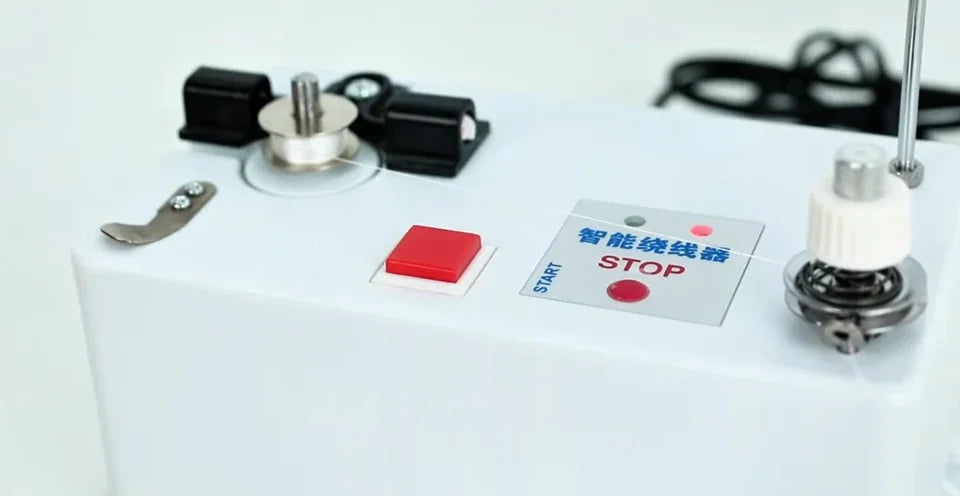
Watch at 01:57To pause, press the small round red STOP control on the label next to START. The spindle stops and the green indicator goes out. Press the large square red START button again to resume.
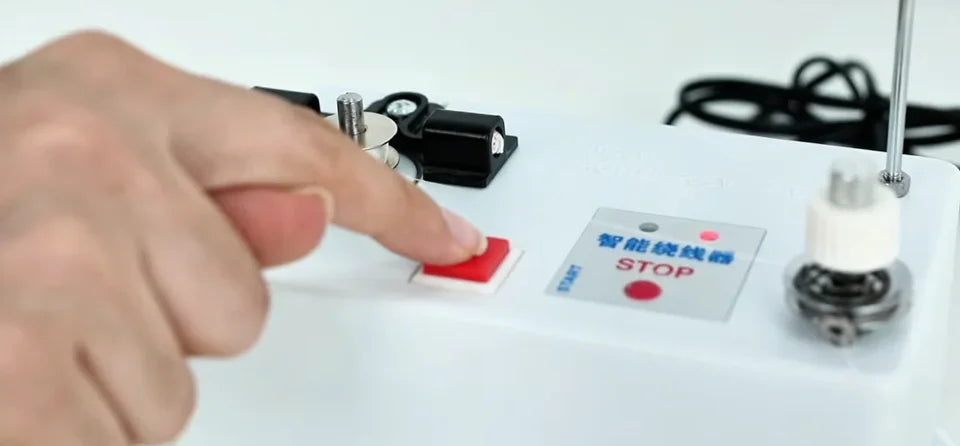
11. Wait for the automatic stop
Watch at 02:07The demonstrated winder stops automatically when the bobbin is full. Before lifting the bobbin, check that the spindle has stopped, the green indicator is off and the thread is wound evenly between the bobbin flanges.
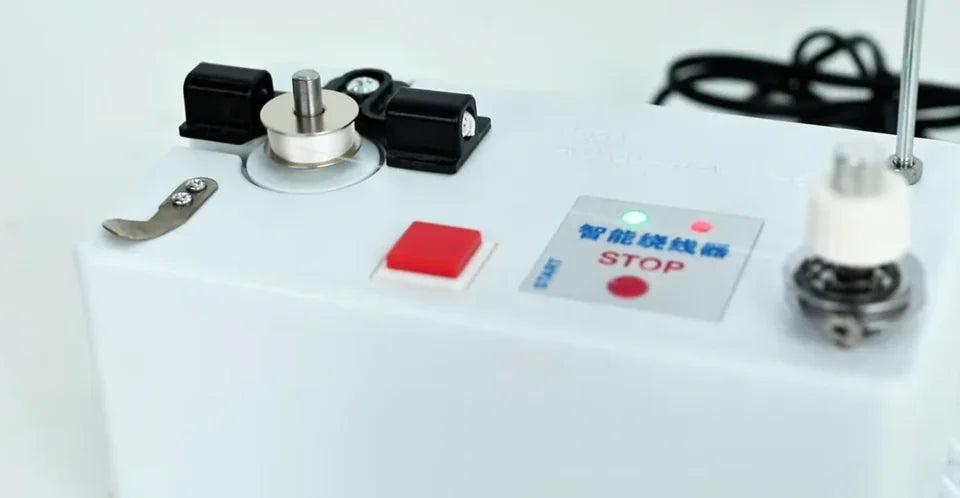
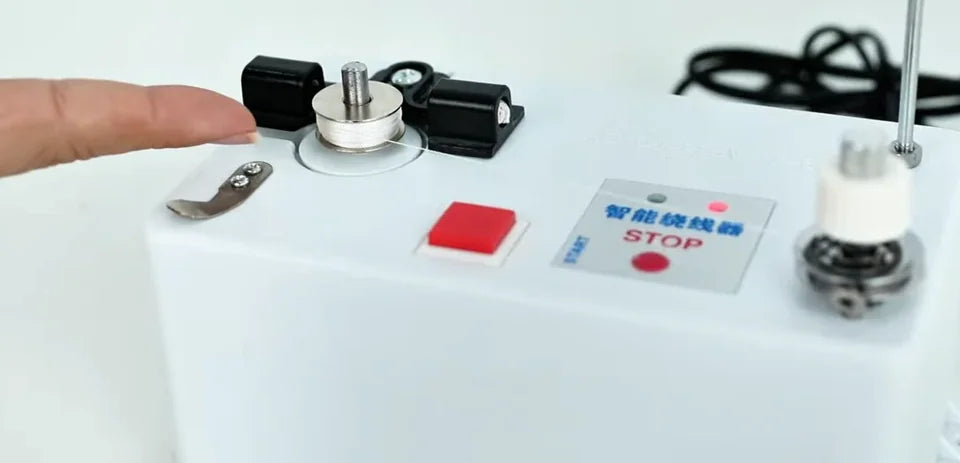
12. Lift off the bobbin and cut the thread
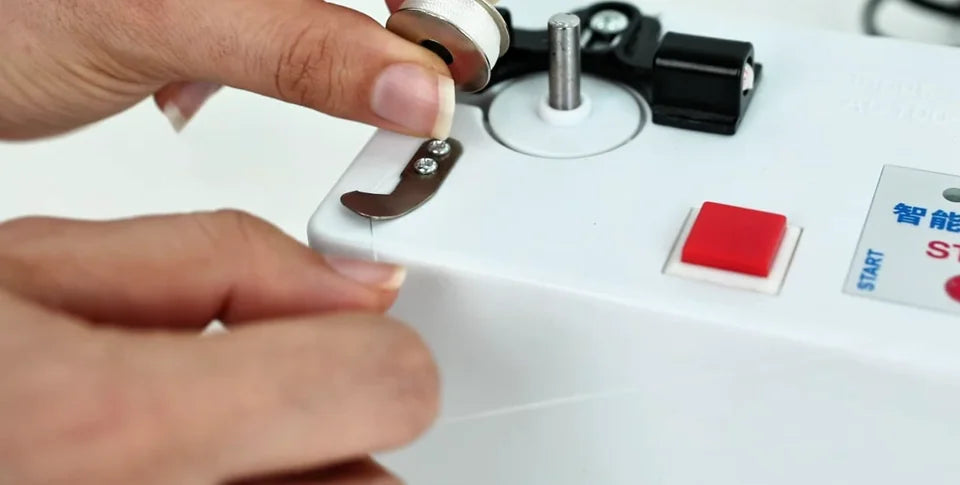
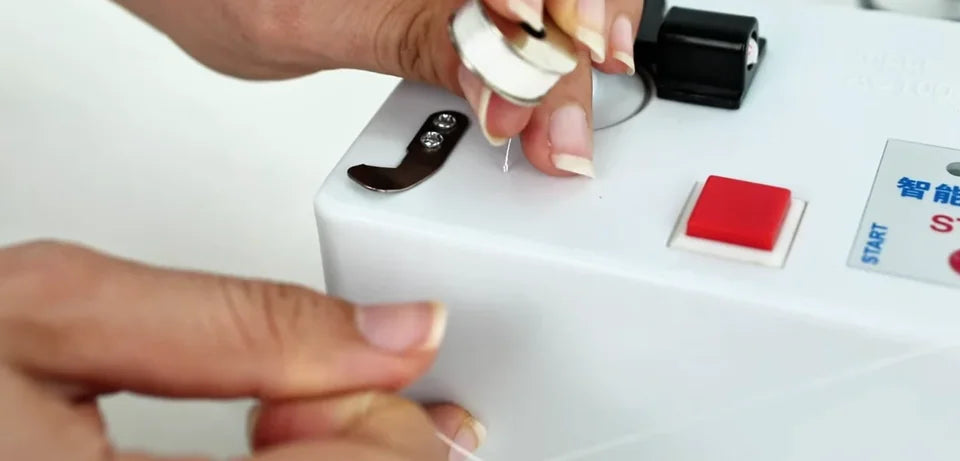
Watch at 02:12Lift the stopped bobbin straight off the spindle. Hold the bobbin and draw the connecting thread against the small curved metal cutter in front of the spindle. Check that the thread is cut and the filled bobbin is free.