Troubleshoot ST-1501 Frame Driver Collisions

Overview
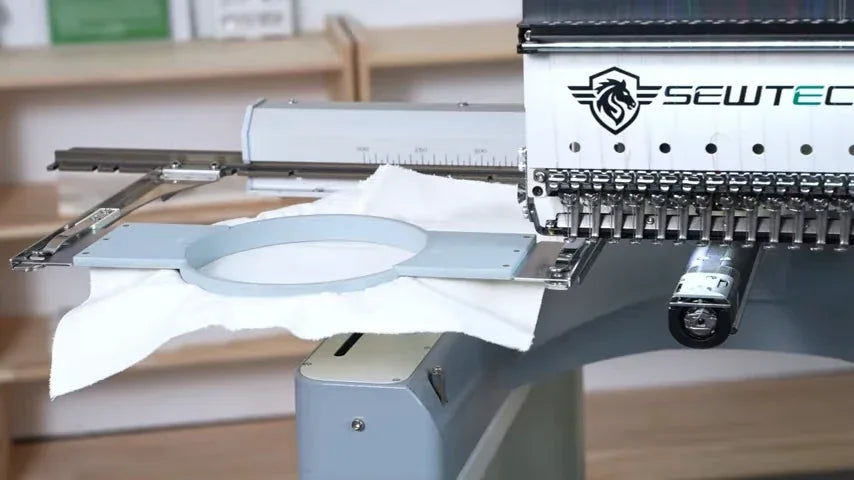
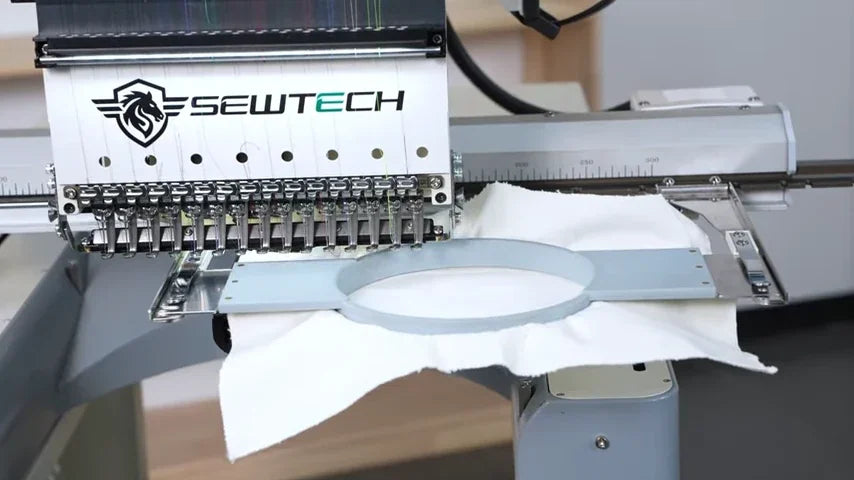
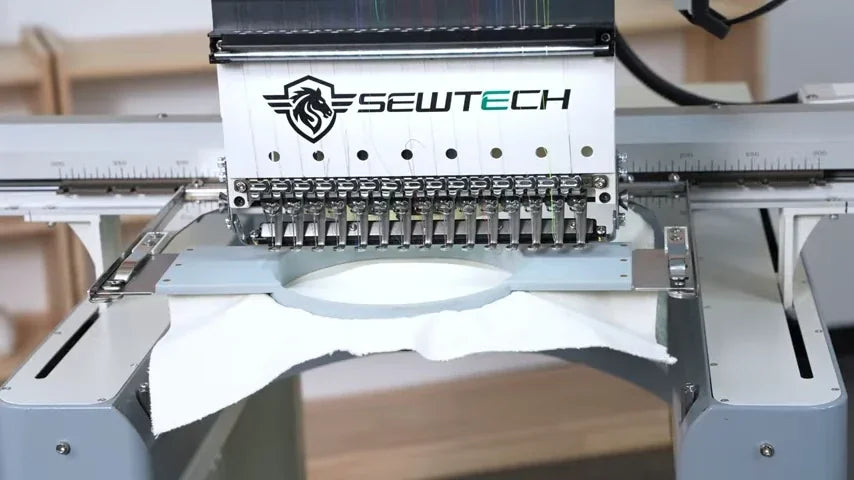
Use this guide when selecting a hoop on the ST-1501 causes a loud knock or grinding from the X-axis beam. Stop the machine immediately if the sound occurs. Once the machine is stationary, check that the hoop and drive beam have a clear path before restarting for the settings check.
The video shows one ST-1501 configuration. Verify the required X/Y setting for your machine before changing it. If your controller or machine configuration differs, contact SEWTECH support for the correct value.
Step-by-step guide
1. Recognize the noise during hoop selection
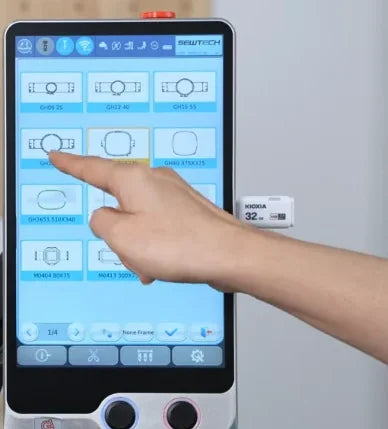
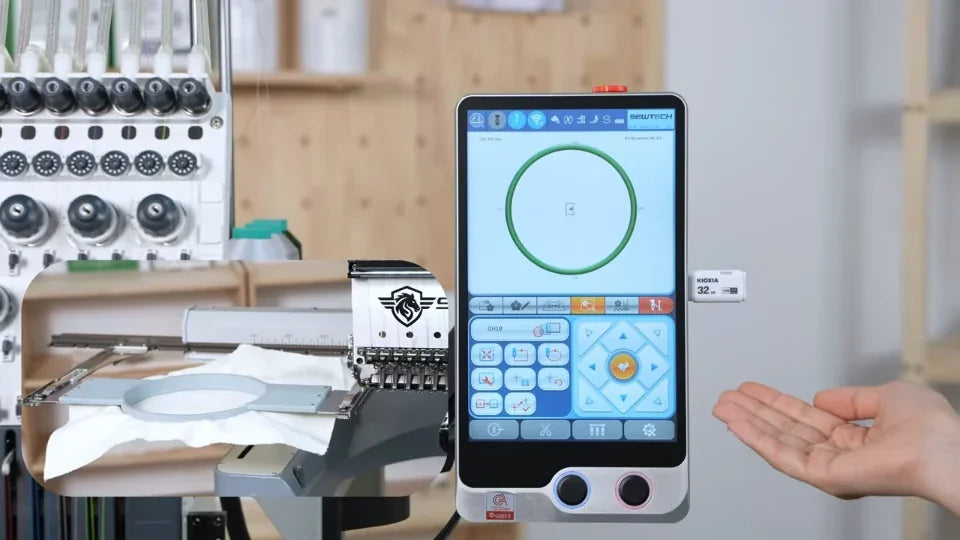
Watch at 00:19The video starts with a round hoop profile selected from the touchscreen. When the controller applies the selection, the carriage moves and the X-axis beam makes a loud, unusual noise. If you hear that sound during hoop selection, go straight to the emergency stop.
2. Press the emergency stop
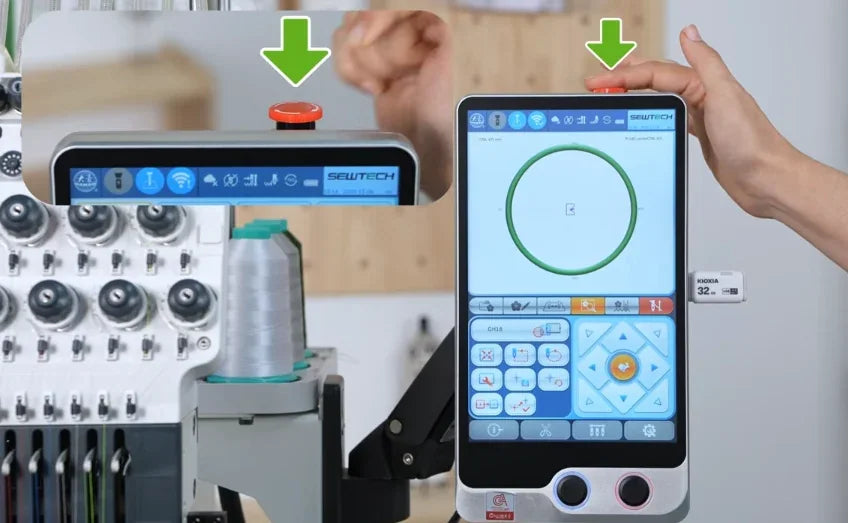
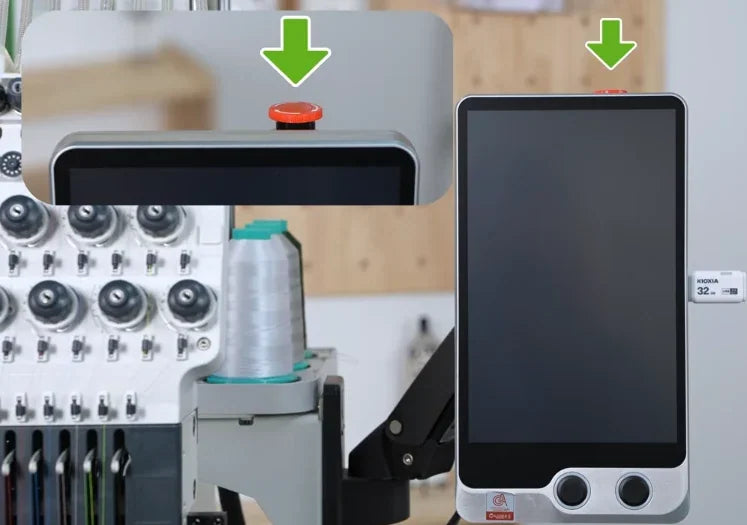
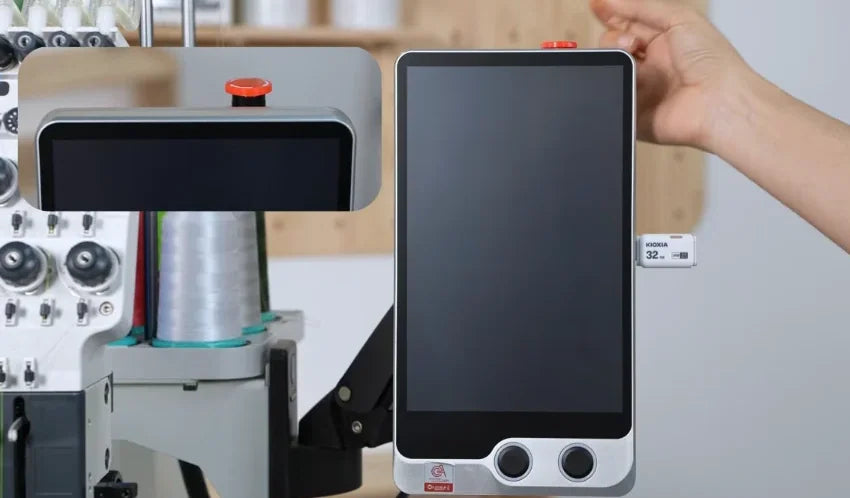
Watch at 00:26Press the red emergency stop on top of the touchscreen housing immediately. The frame motion stops and the display goes dark on the demonstrated machine. Wait for all movement to stop before checking the hoop’s path.
3. Release the emergency stop clockwise
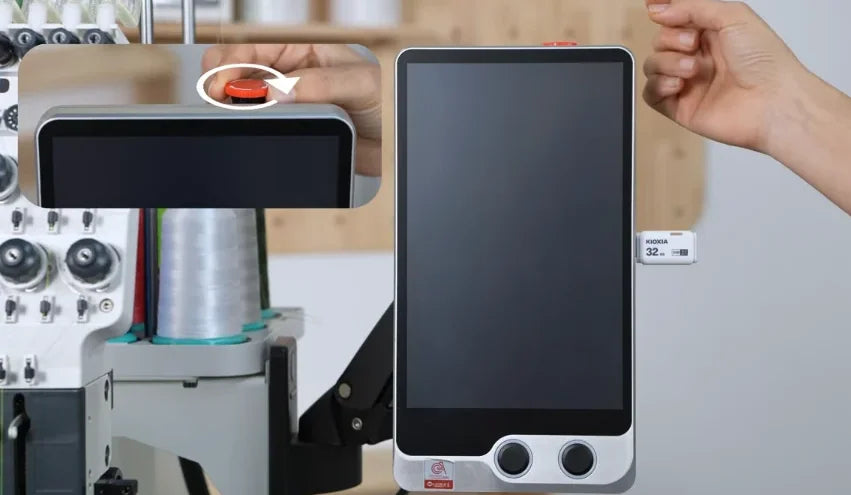
Watch at 00:36Once the machine has stopped and the travel path is clear, turn the red button clockwise to release it. In the video, the button rises and the display stays dark until the machine is switched on again.
4. Switch the machine back on
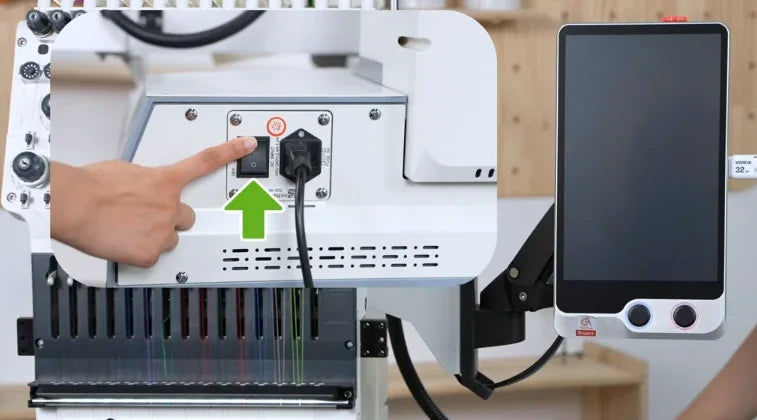
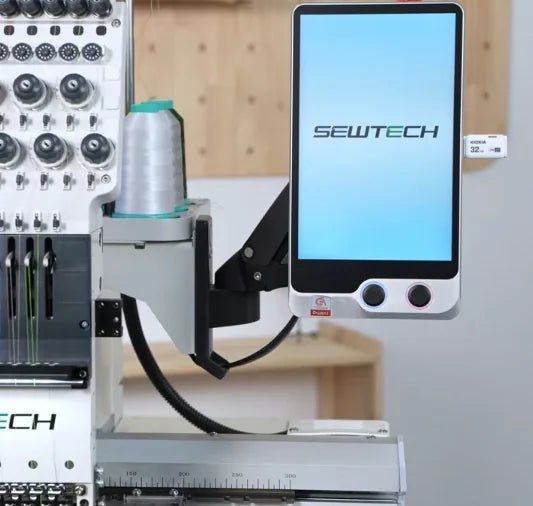
Watch at 00:44Use the main rocker switch beside the power cord inlet. Wait for the SEWTECH boot screen to clear and the touchscreen controls to return before opening Settings.
5. Open Settings and More Set
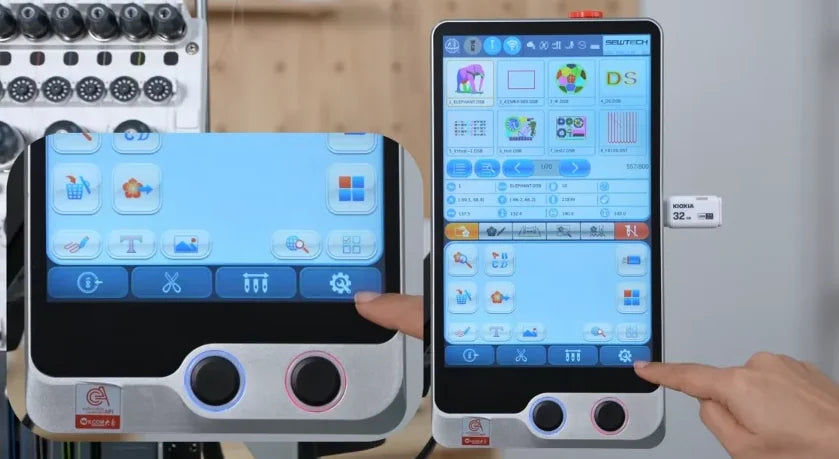
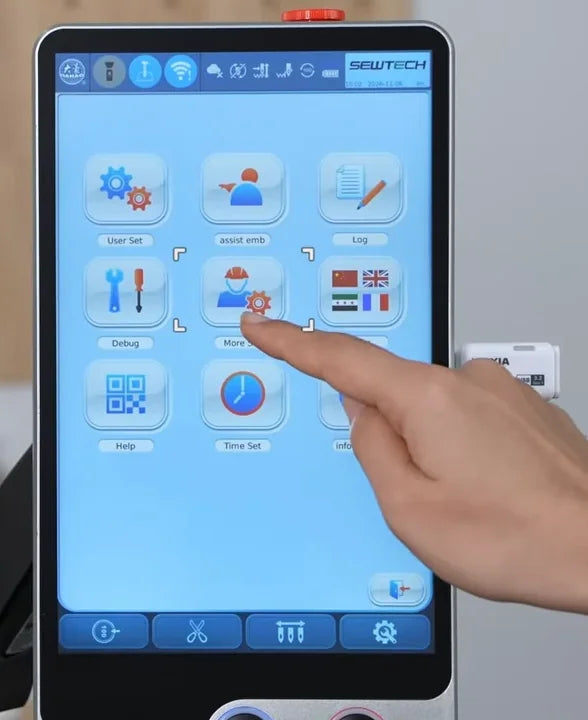
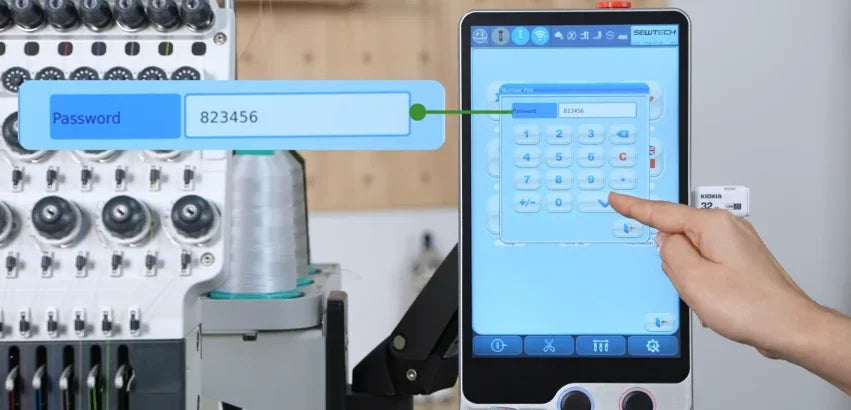
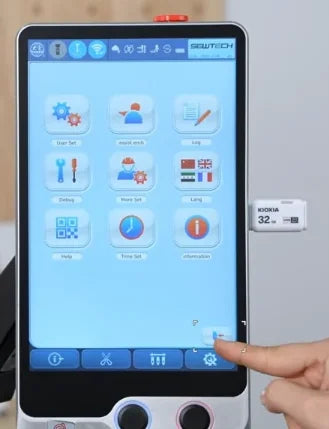
Watch at 00:50Tap the gear at the bottom right of the touchscreen. In the Settings grid, tap More Set in the center. On the controller shown in the official video, enter 823456 on the password keypad and tap the check mark. The advanced parameter table opens.
6. Open the parameter category list
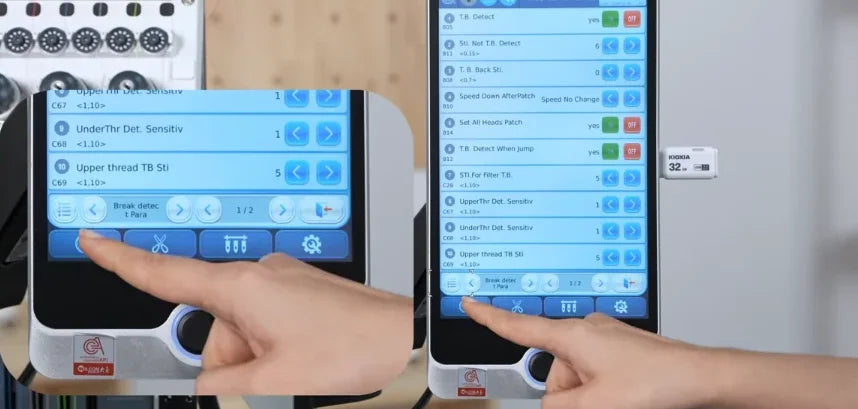
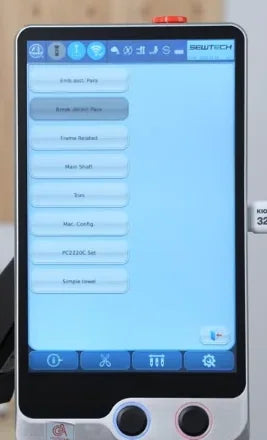
Watch at 01:02In the advanced parameter table, tap the small list icon at the far left of the light-blue navigation strip, just above the dark-blue toolbar. That opens the list of parameter categories.
7. Open Machine Configuration page 3
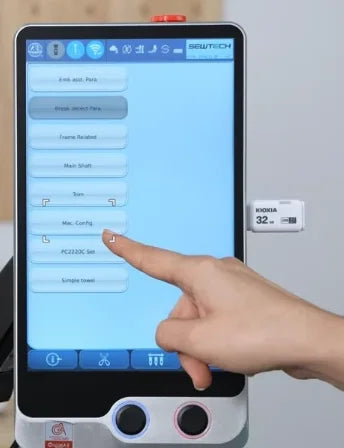
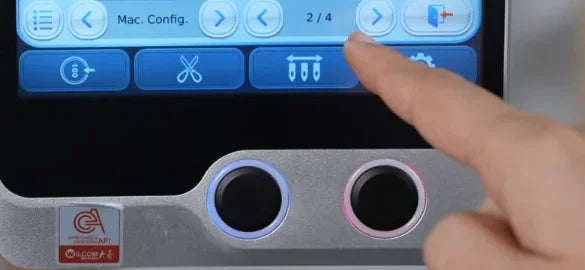
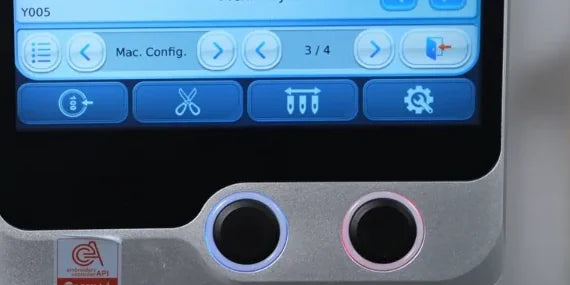
Watch at 01:07Select Mac. Config. (Machine Configuration) in the category list. Use the right arrow beside the page counter at the bottom of the table to advance until it reads 3/4. On the demonstrated controller, this is where Y001 appears.
8. Record the original Y001 value
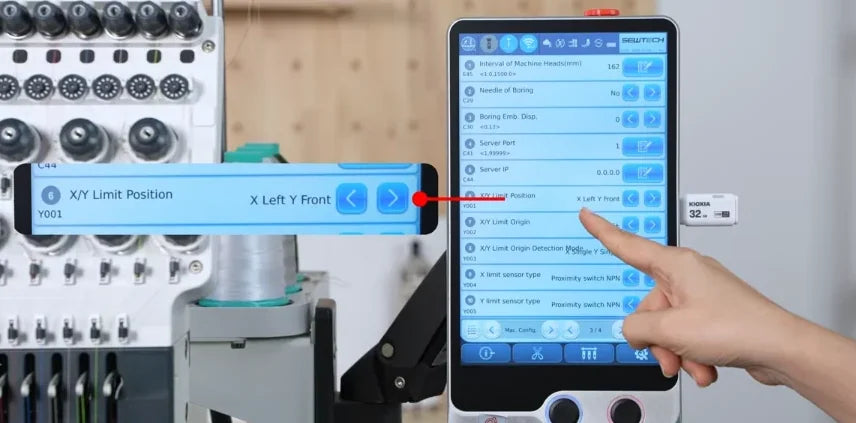
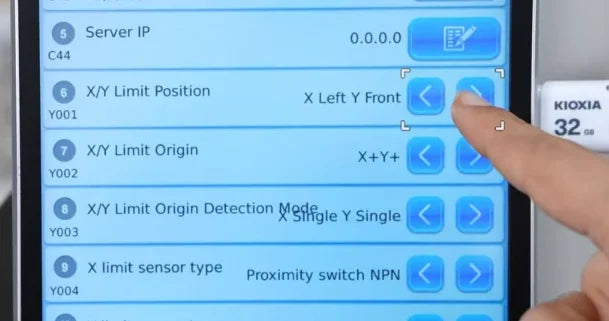
Watch at 01:14Find Y001, labeled X/Y Limit Position. Write down or photograph the full value before changing it. The video shows X Left Y Front as the starting value. Check that you are on Y001. The row immediately below is Y002, X/Y Limit Origin.
9. Set the verified X/Y position
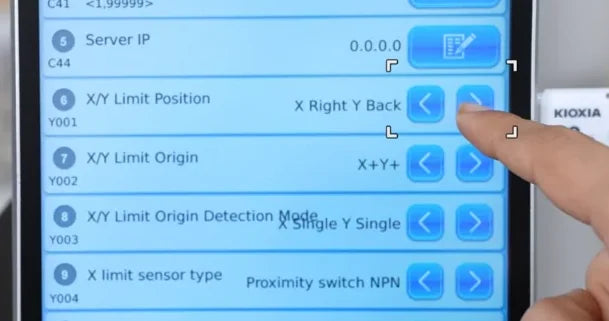
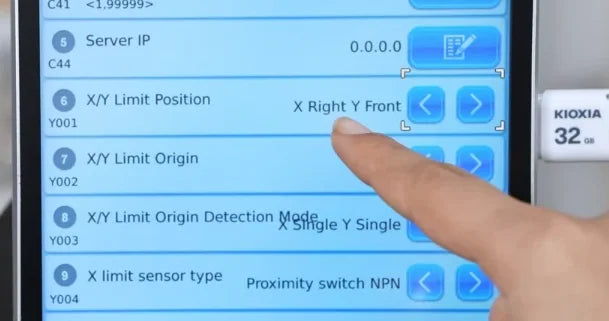
Watch at 01:35Tap the arrow on the Y001 row to cycle through the paired X/Y choices. On the machine shown, the right arrow cycles past X Right Y Back. Stop when the field reads X Right Y Front, the confirmed value for this example. Leave the other machine parameters as they are.
10. Return to page 4 of the main screen
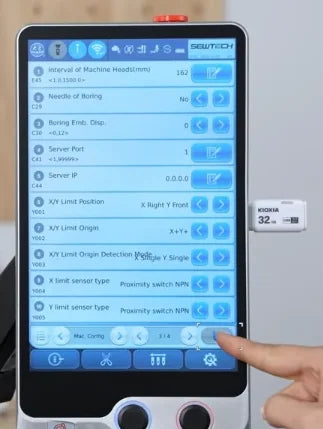
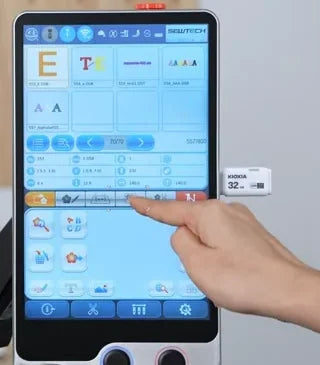
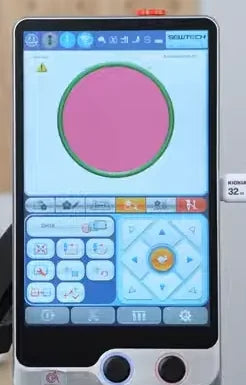
Watch at 01:43Use the exit icon at the right end of the Machine Configuration footer, then the exit icon above the bottom toolbar on the general Settings screen. On the main screen, tap the fourth tab from the left in the middle row of tabs, as shown. The hoop field and directional pad come into view.
11. Select the installed hoop and confirm
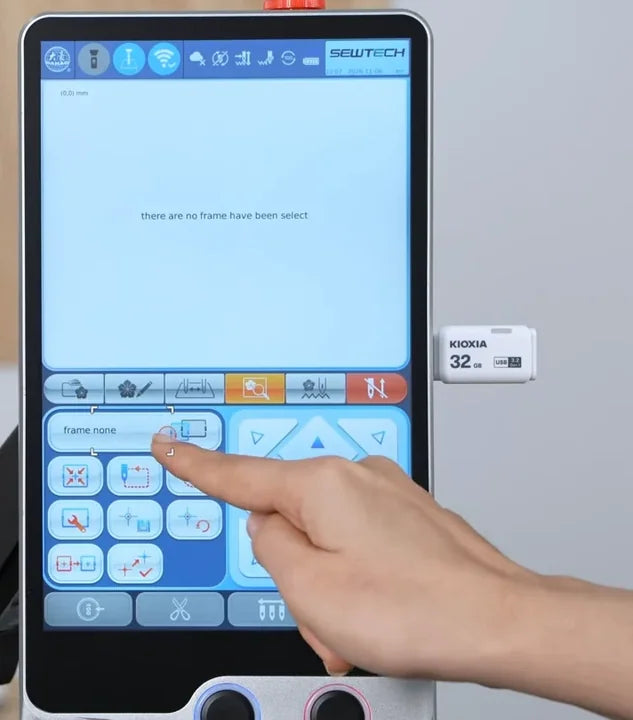
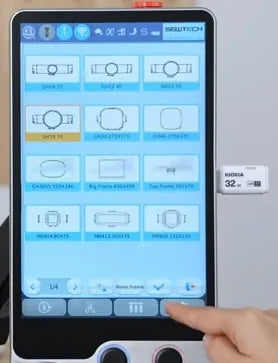
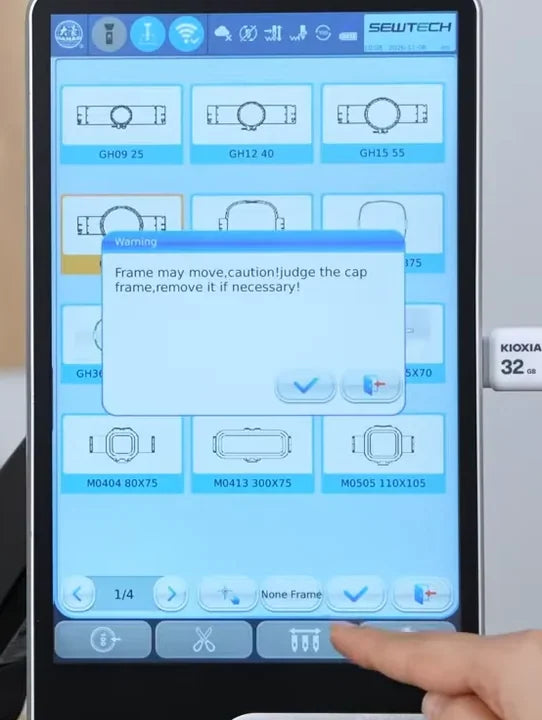
Watch at 01:48Tap the frame field to the left of the directional pad. Choose the profile that matches the installed hoop. The video shows a round profile whose tile turns yellow. Tap the check mark along the bottom of the hoop menu. If the movement warning appears, check that the path is clear, remove a cap frame if necessary as directed on screen, then tap the warning’s check mark. The hoop outline appears back on the main screen.
12. Check that the beam travels smoothly
Watch at 01:55Keep hands clear and watch the carriage as it moves across the X-axis beam. In the video the movement is smooth and the unusual noise is gone. If the knock, grinding, or jerking returns, press the emergency stop again and contact SEWTECH support before changing further parameters.