SEWTECHSupport Center 简体中文

Embroider a Cap on the ST-1501

Applies to ST-1501

Watch on YouTube ↗

Overview

This SEWTECH ST-1501 tutorial shows how to hoop a cap on the table station, fit the cap driver, choose the cap frame on the touchscreen and trace the design against the actual needle before stitching. The example places a multicolor design on the center front of a black cap.

Step-by-step guide

1. Prepare the cap embroidery parts

Watch at 00:20

Gather a cap driver, a table-mounted cap station, a cap hoop, a cap, stabilizer, and a screwdriver. Have scissors for cutting the backing and clips for securing the back of the cap. The driver moves the hoop on the machine. The station holds the hoop steady while you load it. The hoop holds the cap and stabilizer during sewing. The video shows two hoops so you can prepare the next cap while the first one stitches.
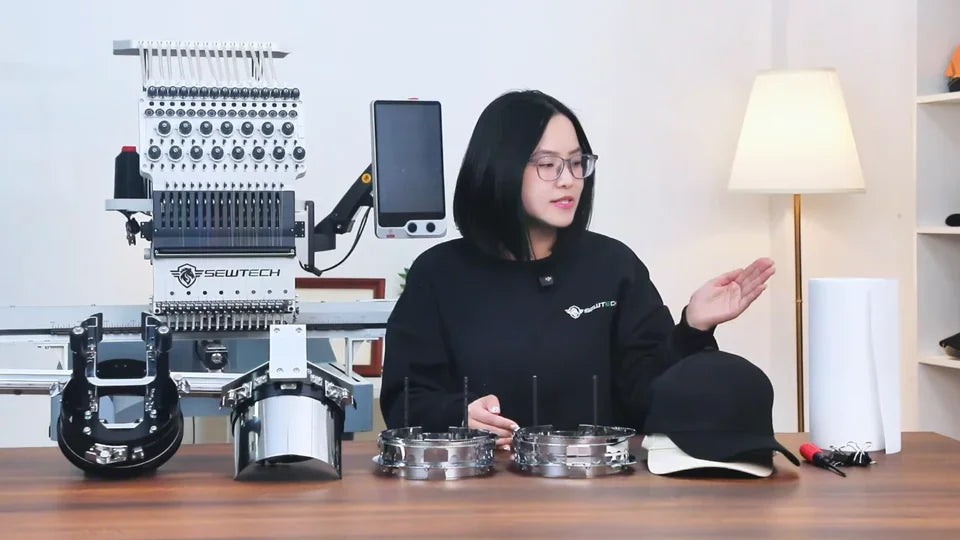
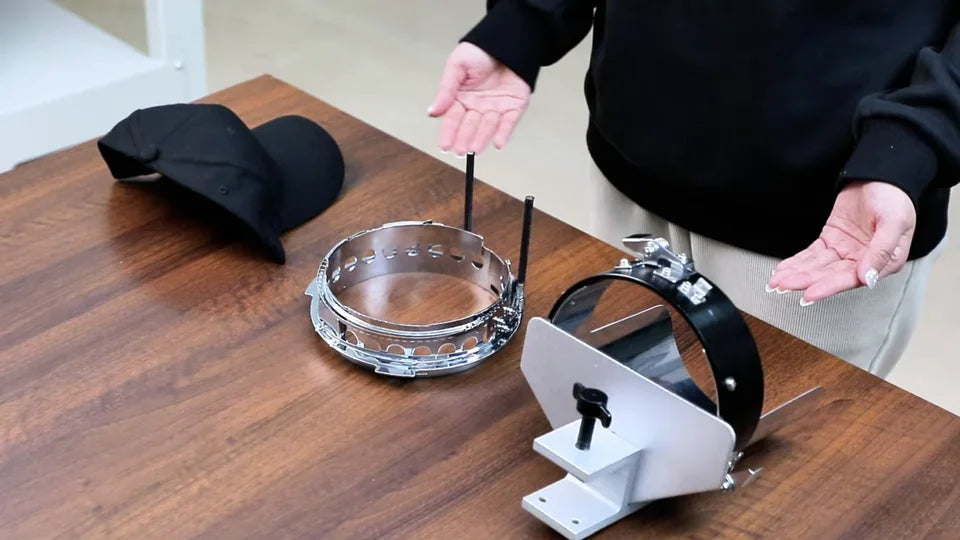
The bench holds the cap driver, station, two cap hoops, caps and a roll of stabilizer.
In the tabletop close-up, the open ring with two projecting rods is the cap hoop. The curved support with a screw clamp is the station.

2. Clamp the station to a flat table

Watch at 01:23

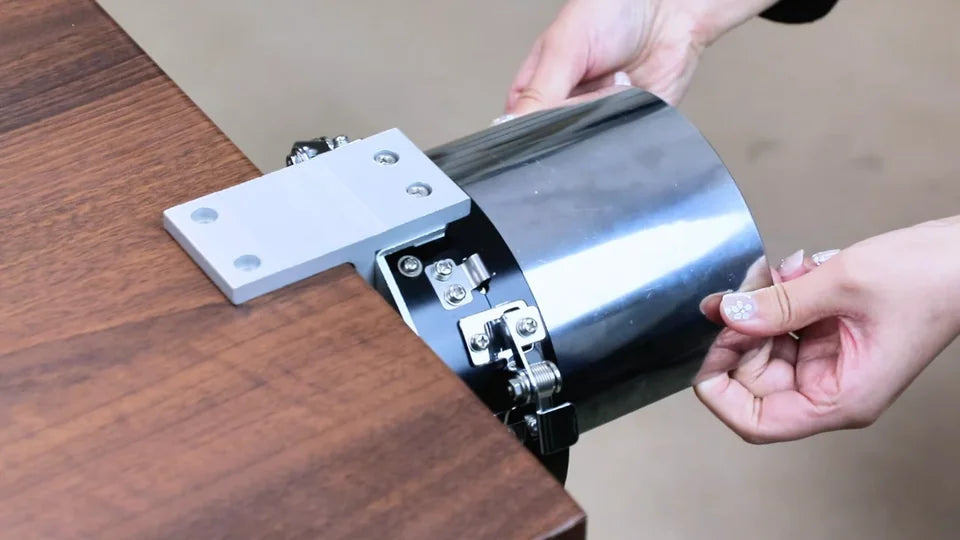
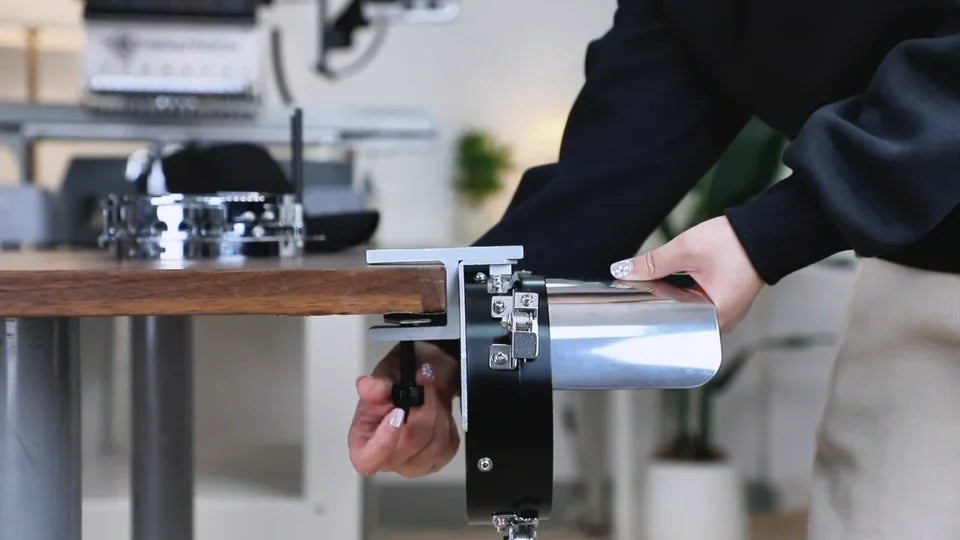
Use a flat, stable tabletop. Turn the knob below the station to open the clamp to the tabletop thickness, slide the clamp over the edge, and tighten it fully from below. Gently shake the station to check it stays put.
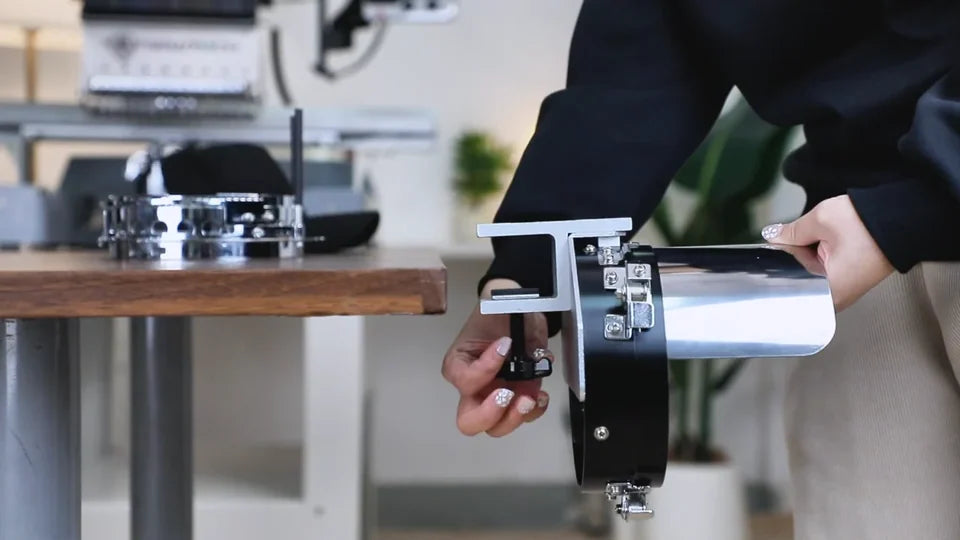
Set the opening with the black knob under the table clamp.
The clamp straddles the table edge while the knob is tightened from below.
Hold the curved end and gently check for movement.

3. Lock the empty hoop onto the station

Watch at 02:10

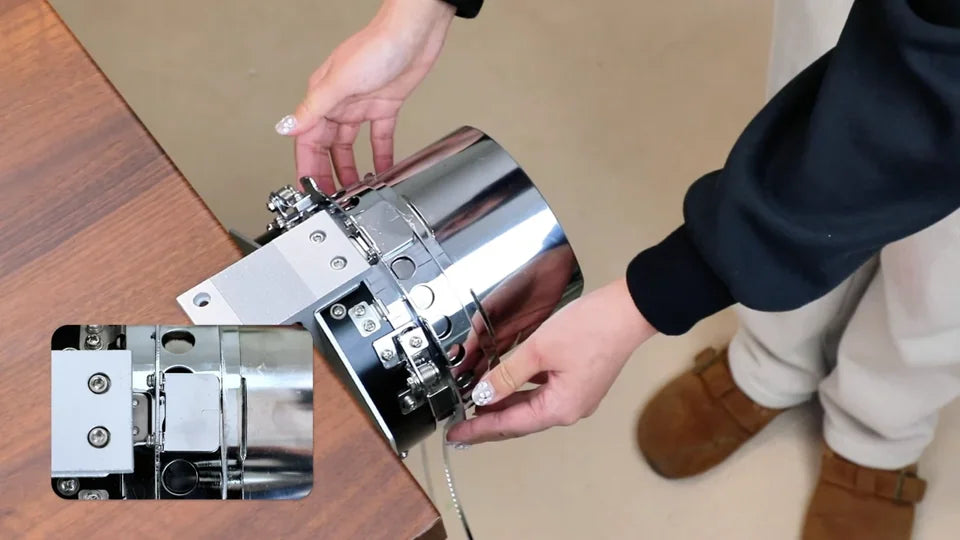
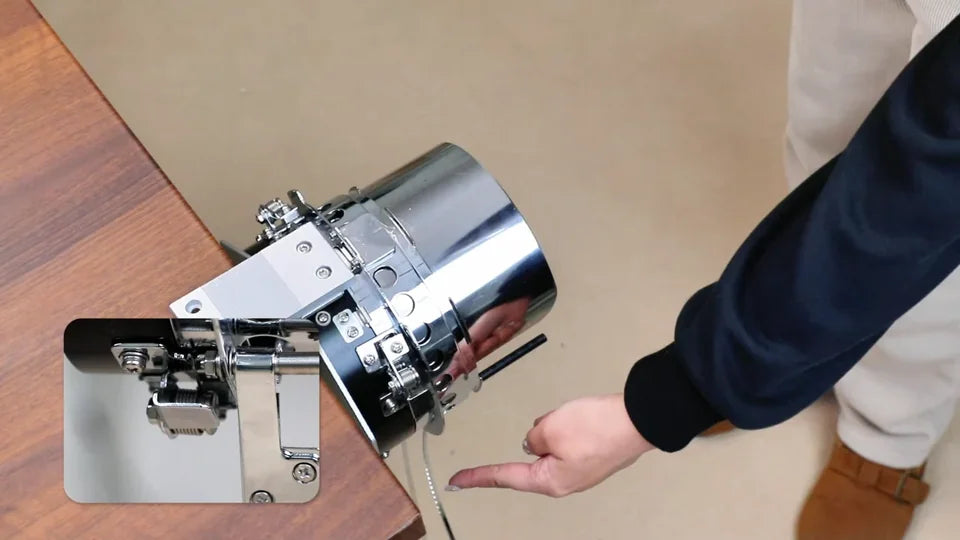
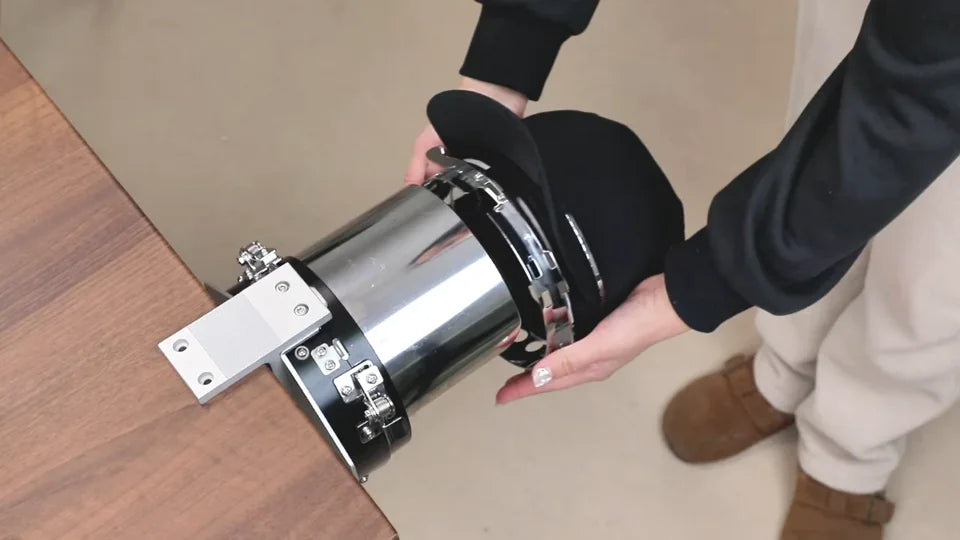
Unlatch the metal retaining band and move it out of the way. Slide the hoop over the curved station and align its latch with the station's alignment block. Press forward with both hands until it clicks. Check the two upper clips and the one underneath. To release the hoop, press all three clips together and slide it off.
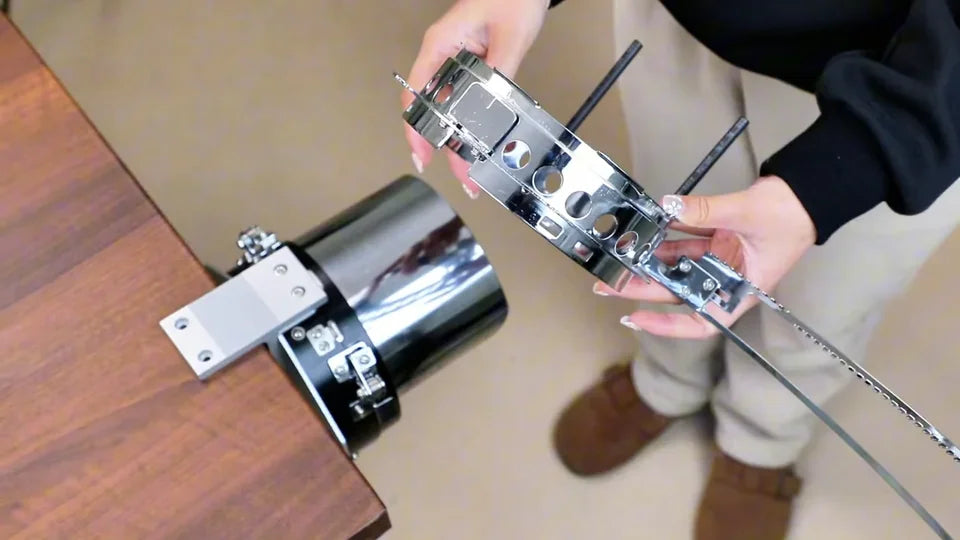
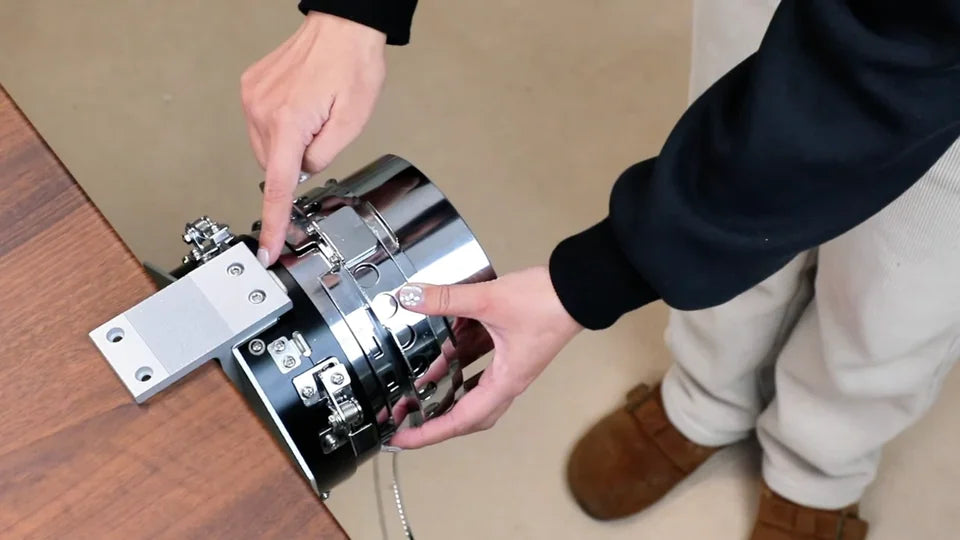
The retaining band is open and hangs clear of the hoop.
The latch meets the station's alignment block before the hoop is pushed home.
The inset shows the upper locking points after the hoop clicks into place.
The lower clip is the third lock to check.

4. Cut and place the backing

Watch at 03:23

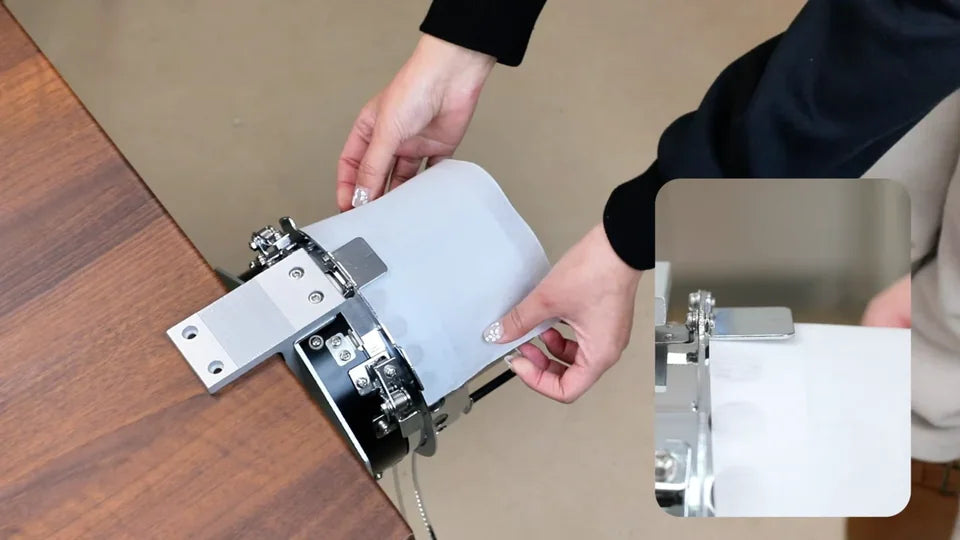
Cut a piece of tear-away stabilizer. For this front design, cover the whole front panel. For side embroidery, use a longer piece that reaches the side area. Lay the backing over the curved station under the cap position and seat the near edge at the center guide as shown.
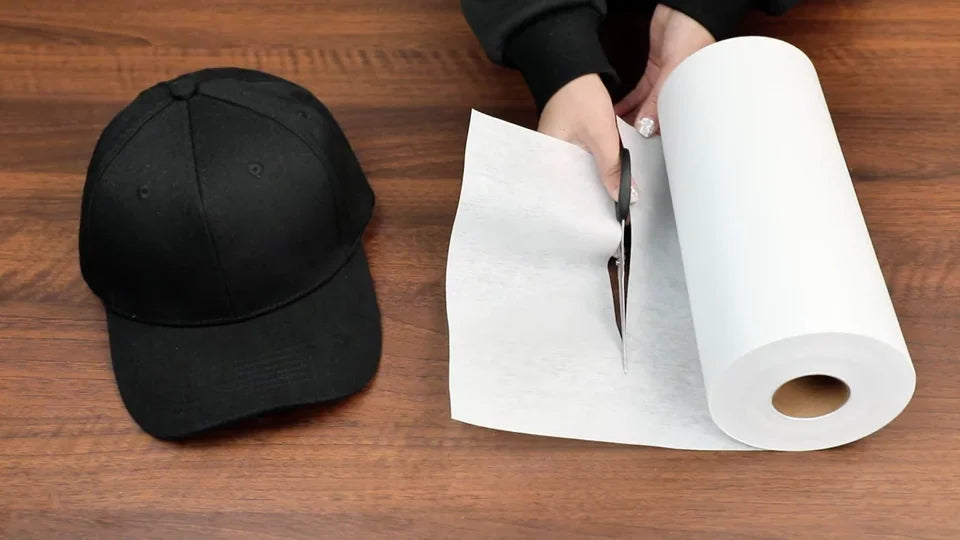
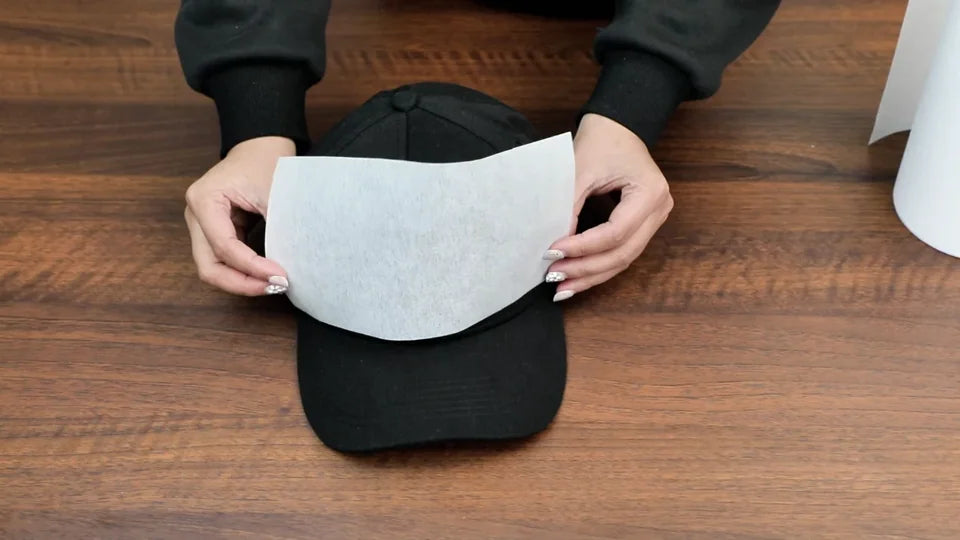
Cut the backing from the roll with scissors.
Hold the piece over the cap to check coverage across the front panel.
The inset shows the edge of the backing beneath the center guide.

5. Seat the sweatband and align the cap

Watch at 04:26

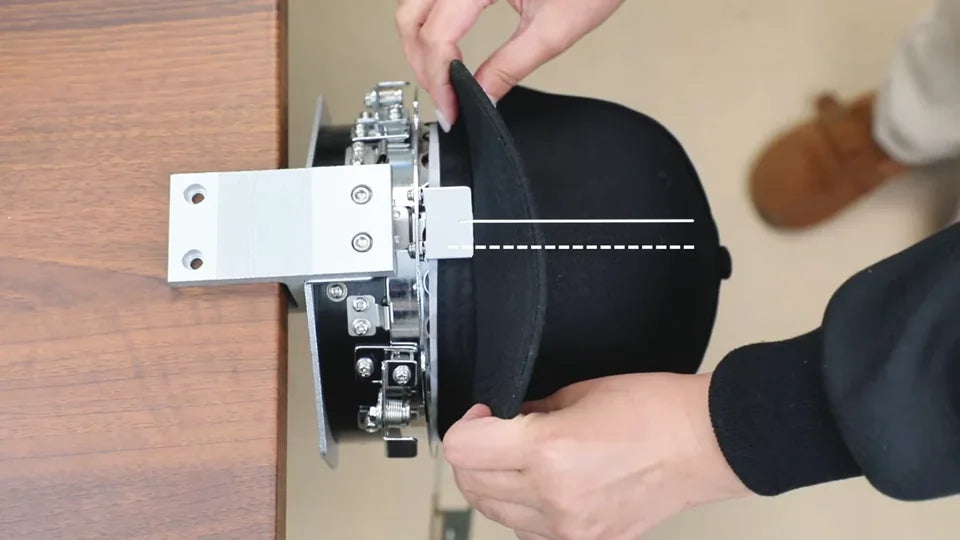
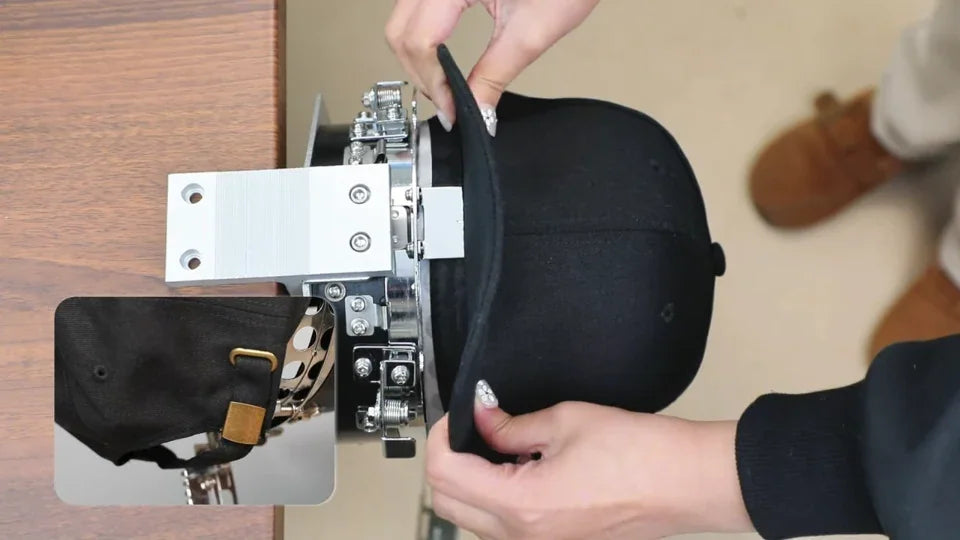
Turn the sweatband outward and slip its front under the center guide. Line up the front seam with the hoop mark, then shift the seam slightly left as shown before closing the band. The strap pulls it back toward center as it closes. Smooth the sweatband over the hoop and pull the back of the cap over both support rods.
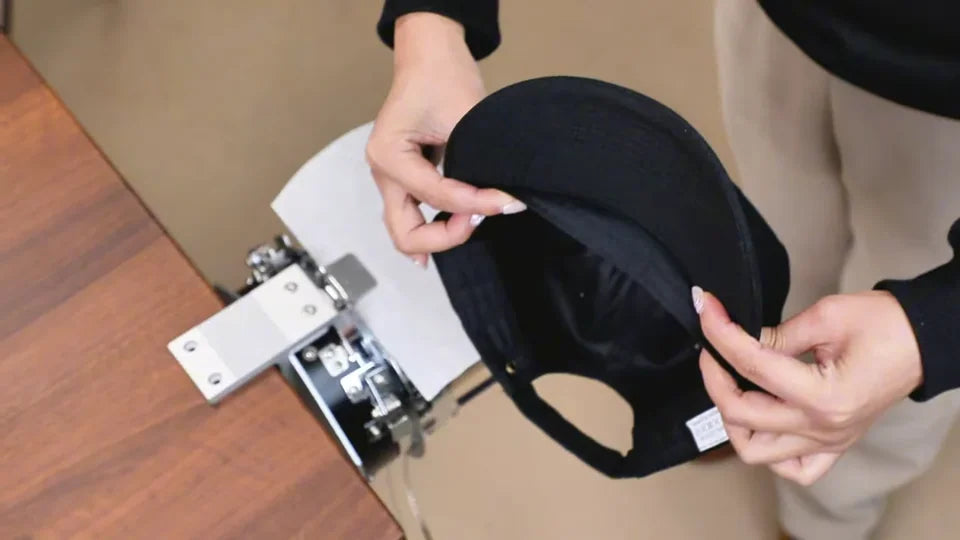
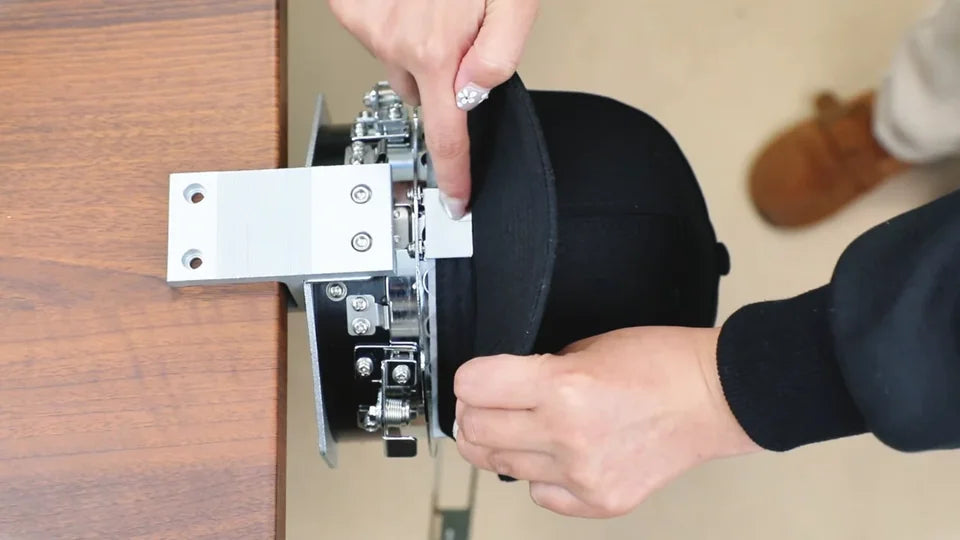
The sweatband is turned outward at the front of the cap.
Seat the front under the center guide and use the mark beside the brim as the reference.
The video overlay compares the offset seam with the reference line before clamping.
The inset shows the back of the cap reaching over the support rods.

6. Close the retaining band and recheck the seam

Watch at 05:36

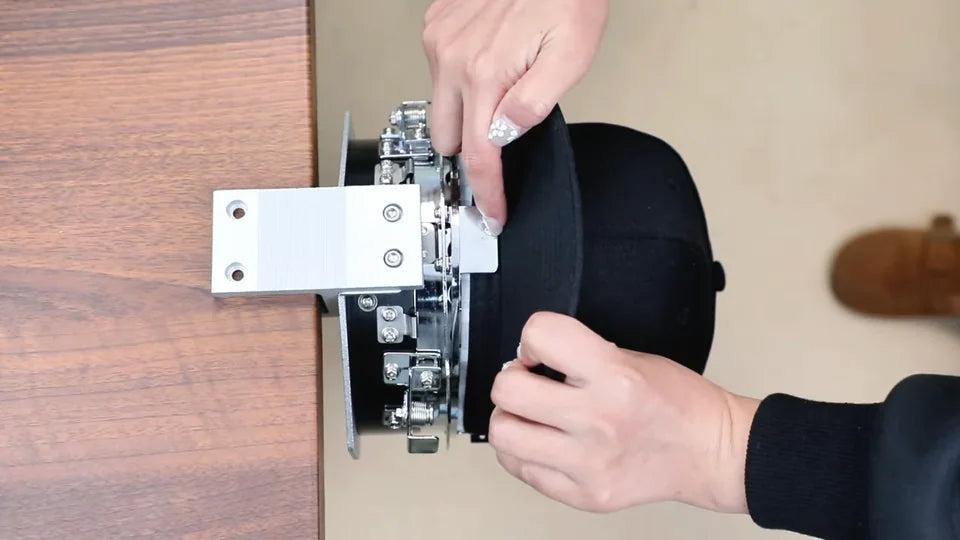
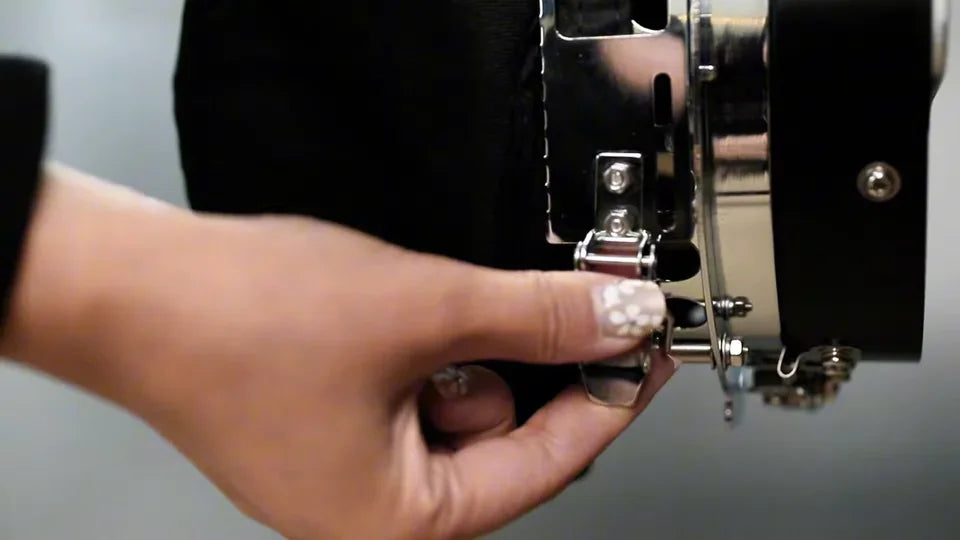
Bring the retaining band around the cap so its wire catches the lower seam where the front meets the brim. Engage the clasp on the right and press it down. Check that the cap seam now lines up with the hoop mark and the front panel is smooth.
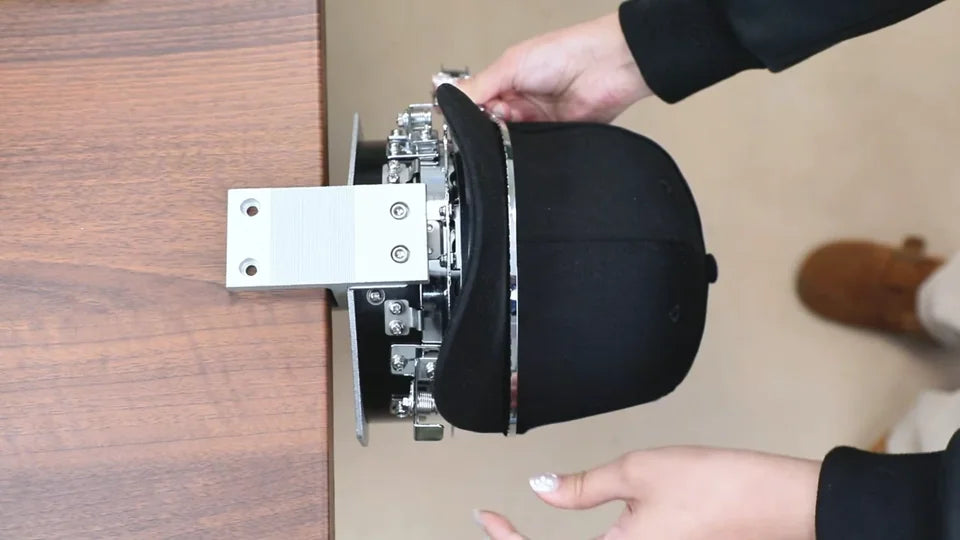
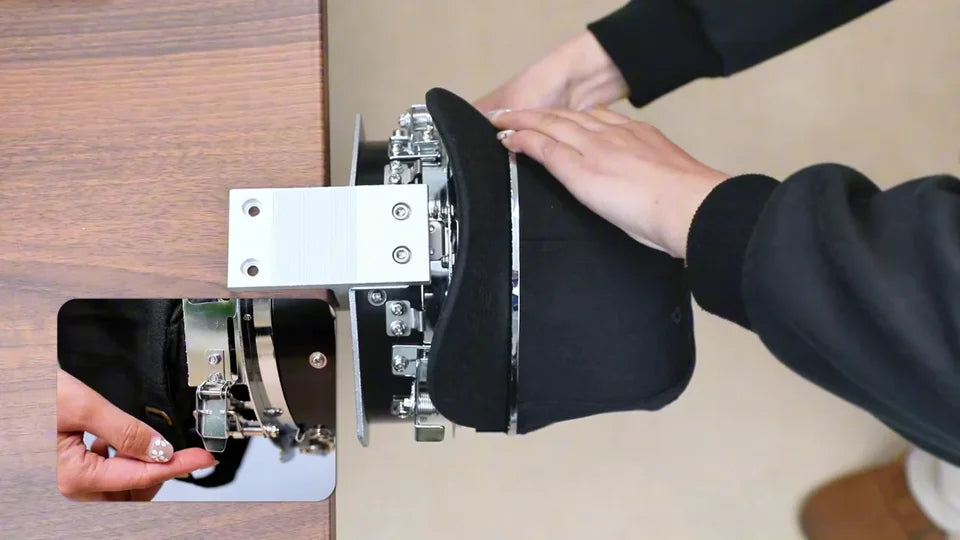
The retaining band follows the seam next to the brim.
The inset shows the right-hand clasp being pressed down.
Compare the front seam with the center mark after latching.

7. Adjust the band if the latch will not reach

Watch at 06:14

If the band is too short or tight to close, loosen the three screws at the band end with a screwdriver. Slide the band a little to suit the cap, retighten all three screws and try the clasp again. The band should close and hold the cap firmly.
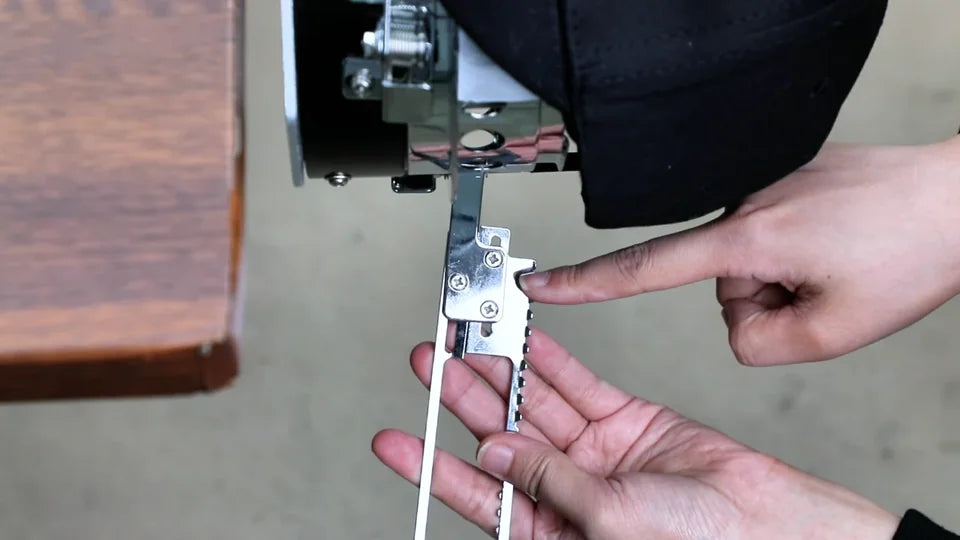
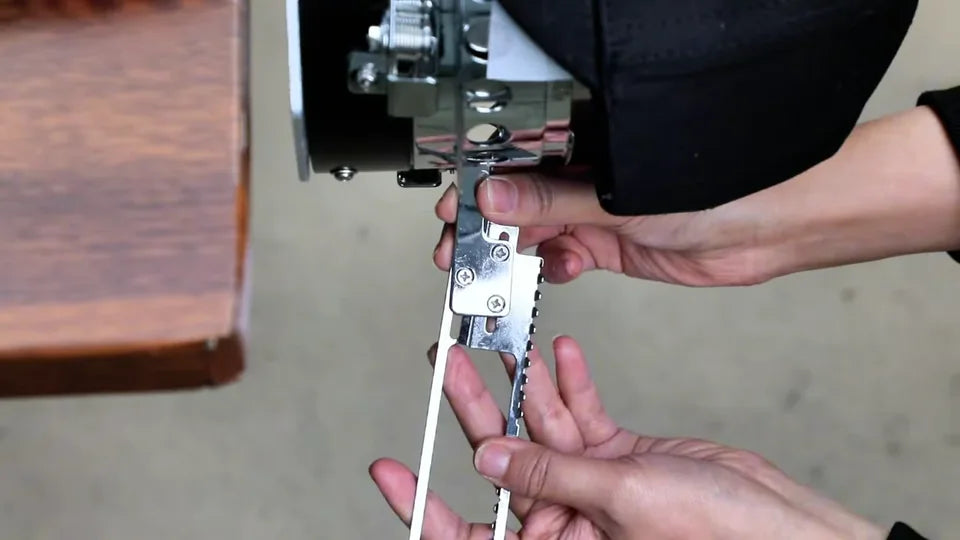
The presenter points to the three screws used to adjust band length.
Slide the band slightly with the screws loosened.
Try closing the clasp again after retightening the screws.

8. Clip the back and release the loaded hoop

Watch at 07:04

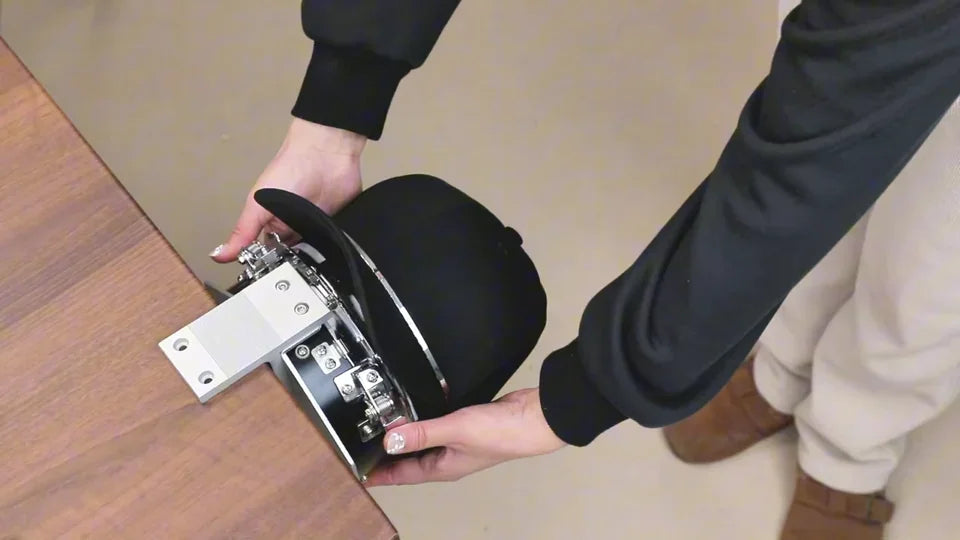
Use clips to secure the lower back of the cap over the rear supports. Hold the hoop on both sides, press the station's three release clips together and slide off the loaded hoop as a unit.
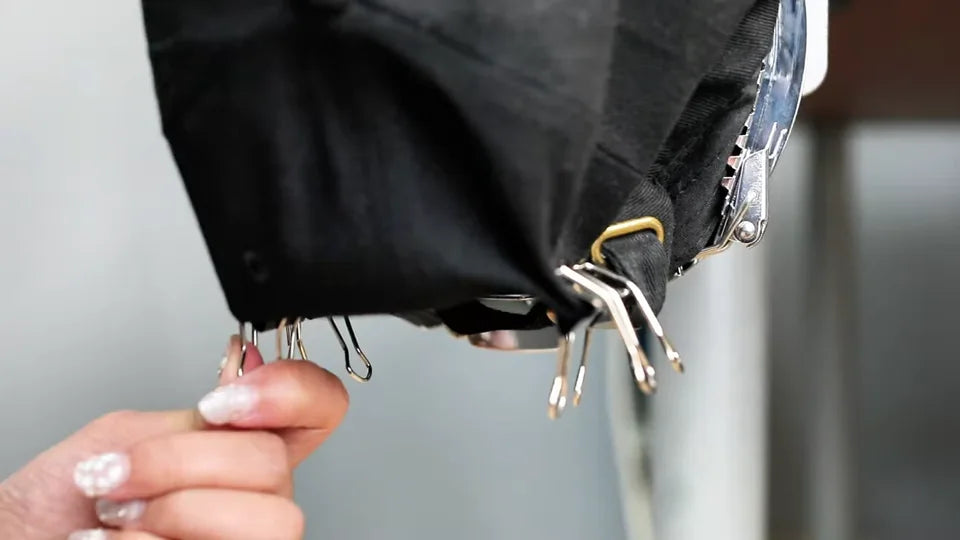
Binder-style clips hold the back of the cap to the hoop.
Press all three release clips with the loaded hoop supported.
The cap and backing stay clamped when the hoop comes off the station.

9. Select the cap profile and switch off before fitting the driver

Watch at 07:28

Select the cap frame profile on the control panel while it is powered. Stop the machine and turn it off at the power switch before handling or fitting the driver. The video repeats the frame selection after power-up and shows the touchscreen selection there.
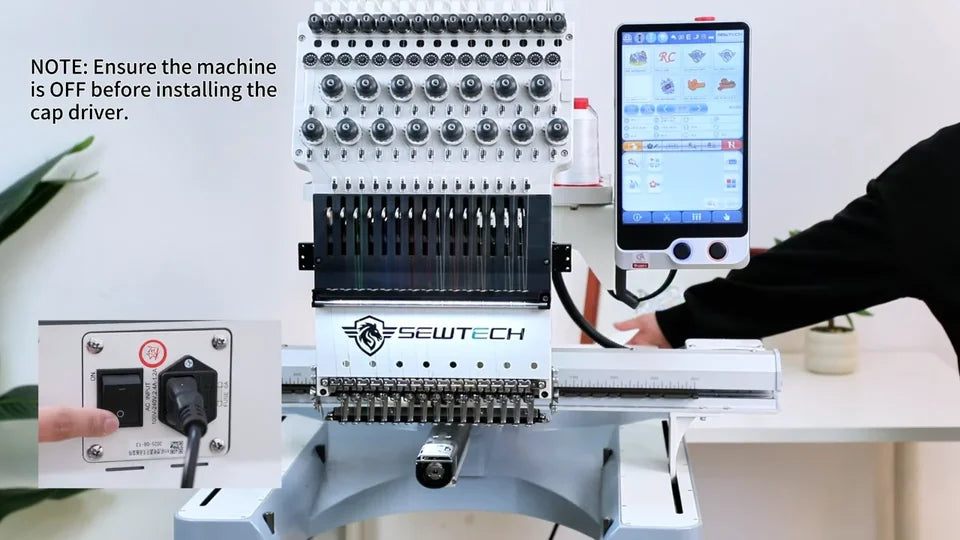
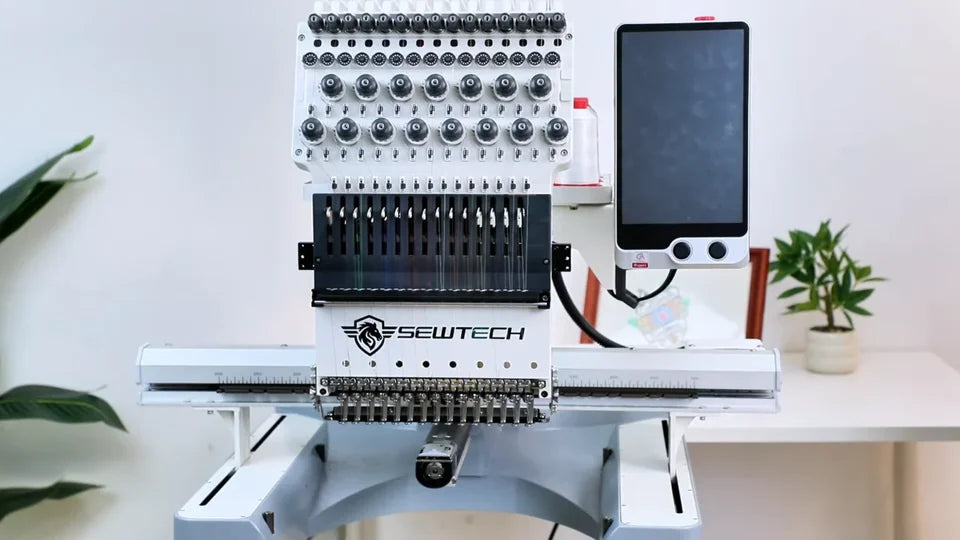
The inset identifies the power switch. The on-screen note calls for the machine to be off for installation.
The screen goes dark before the driver fitting begins.

10. Loosen the two mounting screws and turn the driver wheels up

Watch at 07:50

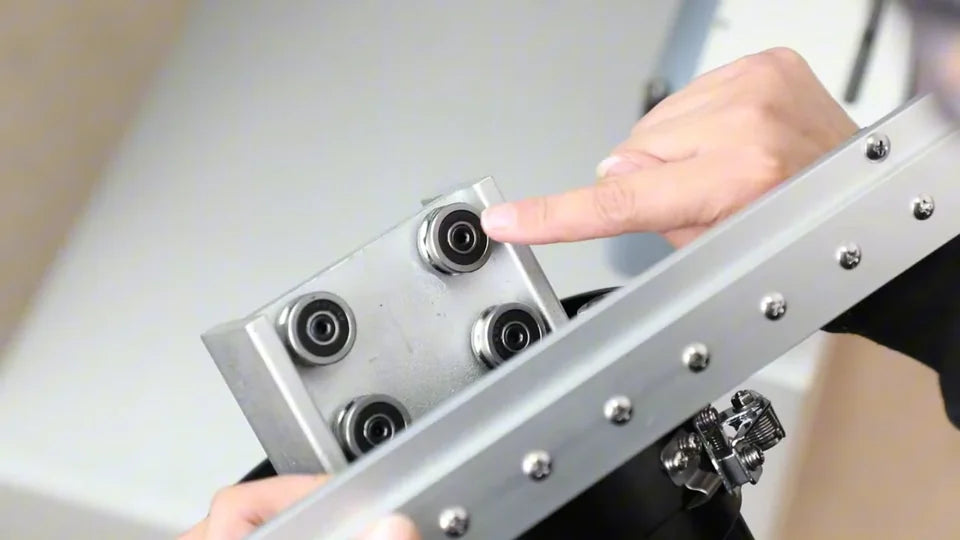
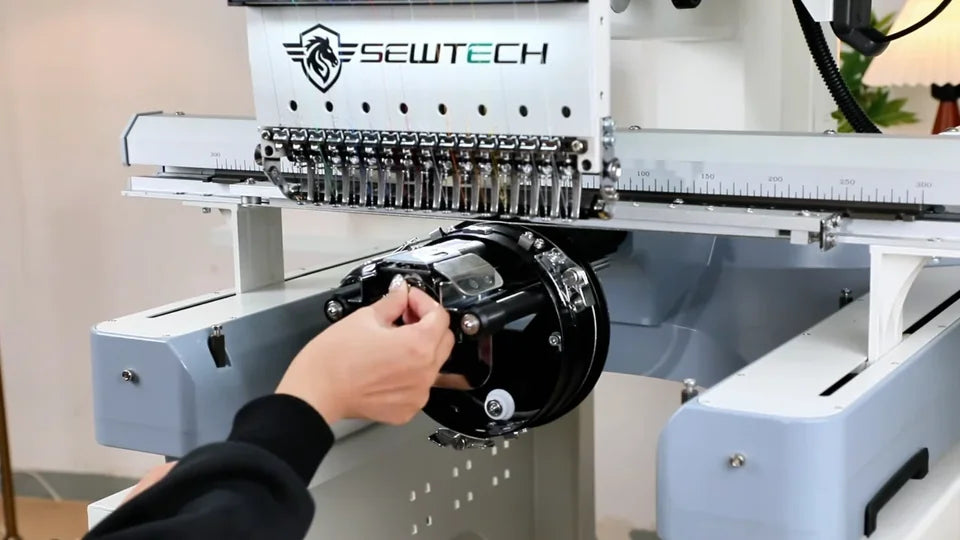
Loosen the two mounting screws on the driver's long bar. Support the driver with both hands, turn it into the middle under the needle head, then rotate the wheel bracket so its four wheels face up.
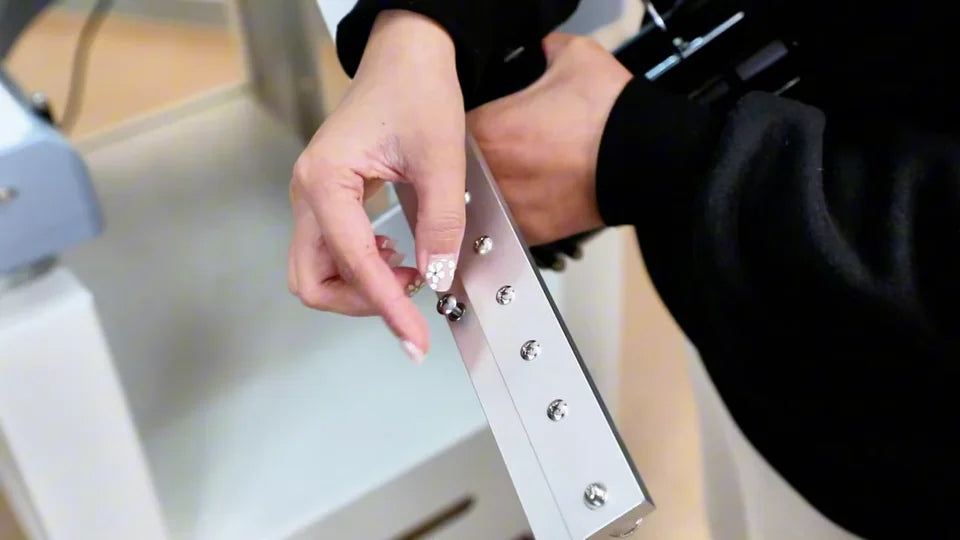
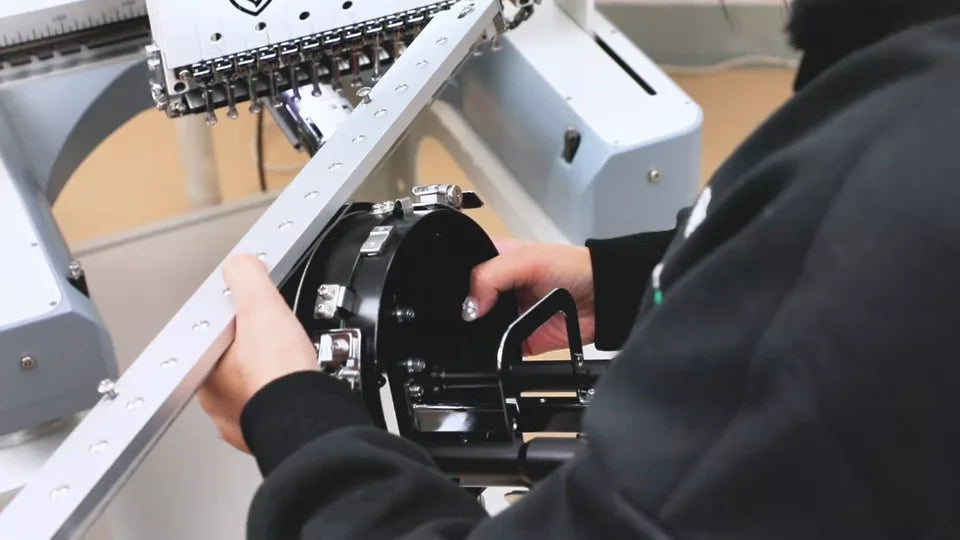
The close-up shows one of the fasteners on the driver's mounting bar.
Support the driver under the head as you turn it into position.
All four wheels on this bracket must face upward.

11. Seat all four wheels in the two rails

Watch at 08:44

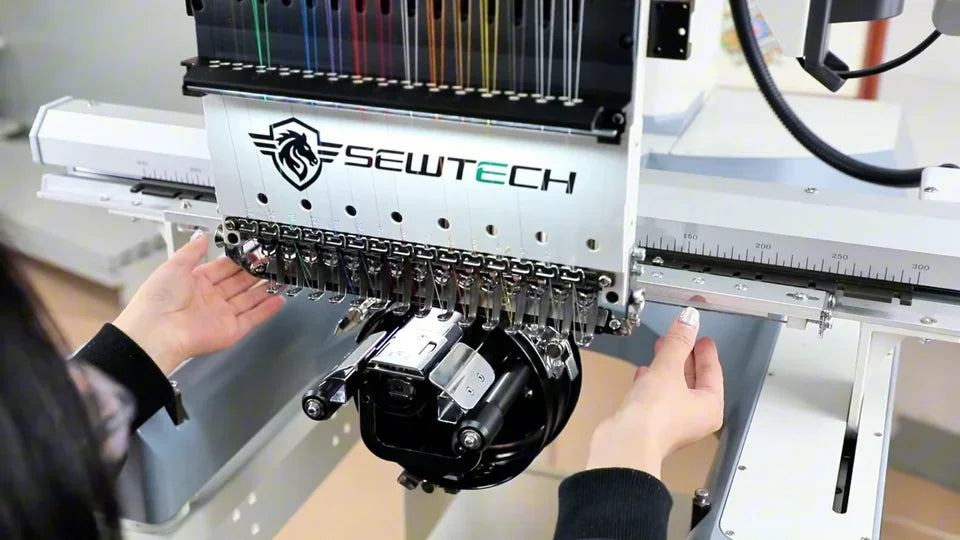
Bring the driver up to the machine arm so the wheels line up with the rails on both sides. Check that all four wheels enter the tracks, then push the driver into place.
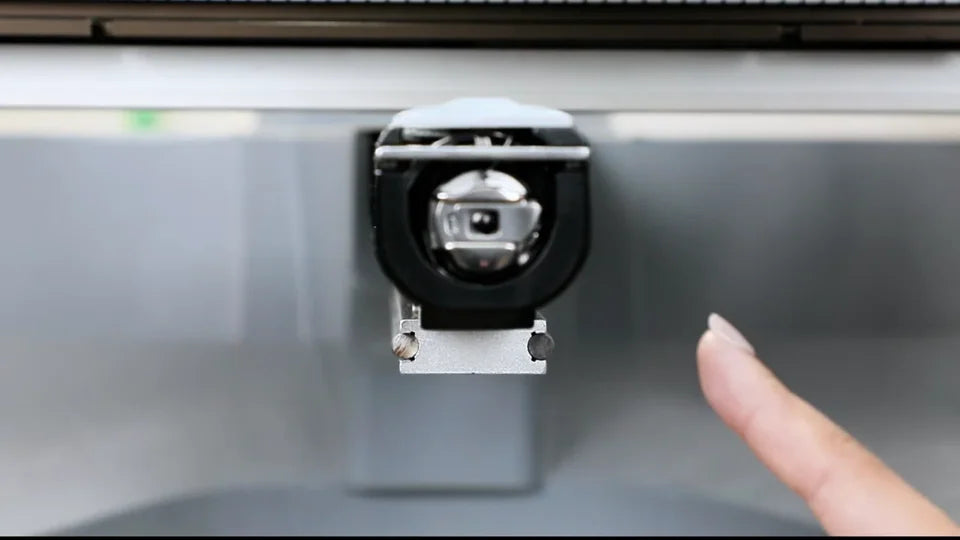
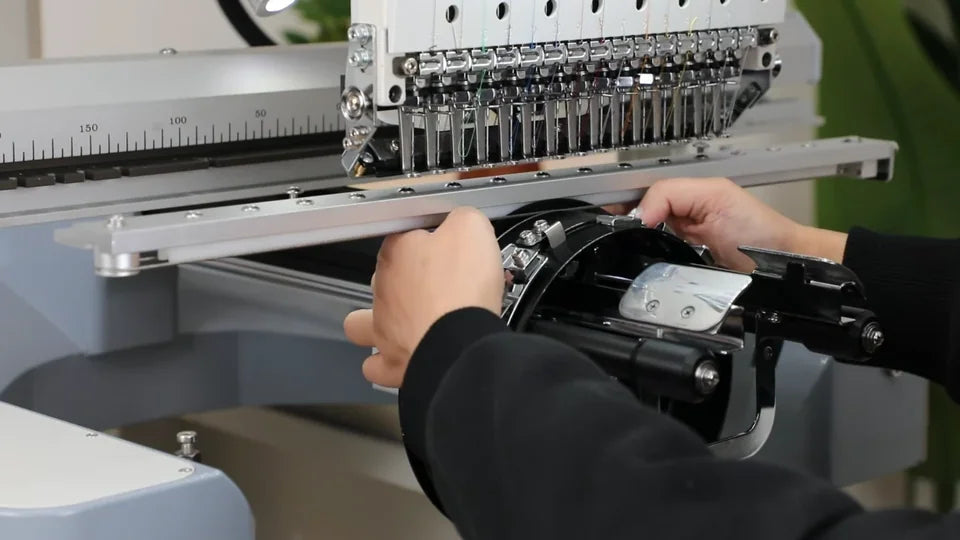
The end view shows where the rails sit beneath the arm.
Support both sides while sliding the driver in.
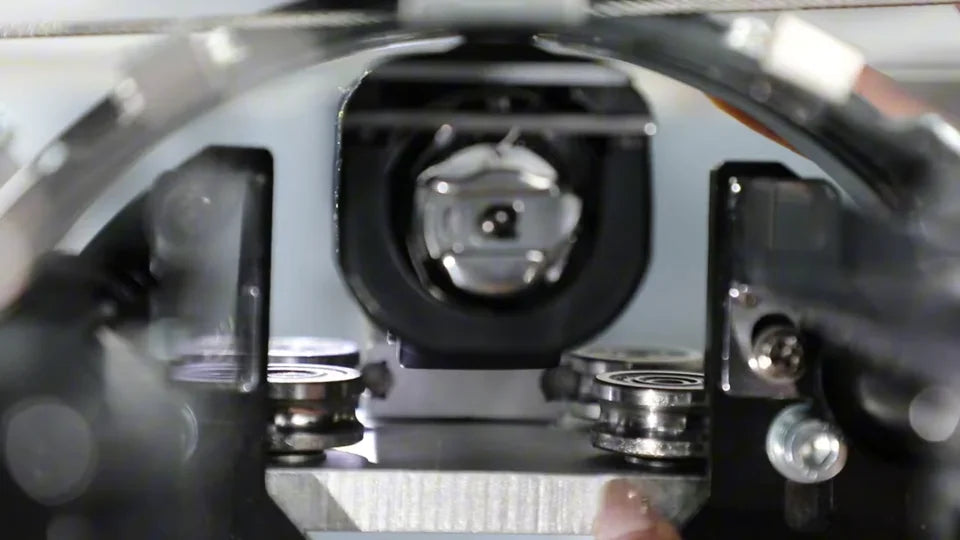
The end-on close-up shows the wheels engaging the guides on both sides.

12. Align the mounting plate and tighten both sides

Watch at 09:08

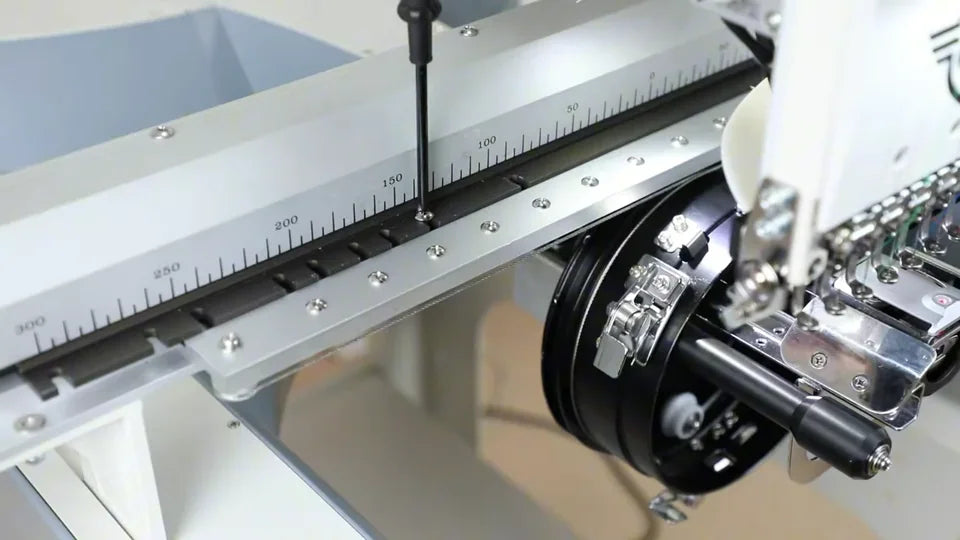
Locate the mounting hole on each side. The demonstration counts to hole 8 on the machine shown. Start both screws with a screwdriver and leave them slightly loose. Push the plate in squarely against the machine arm, check both sides are seated, then fully tighten both screws.
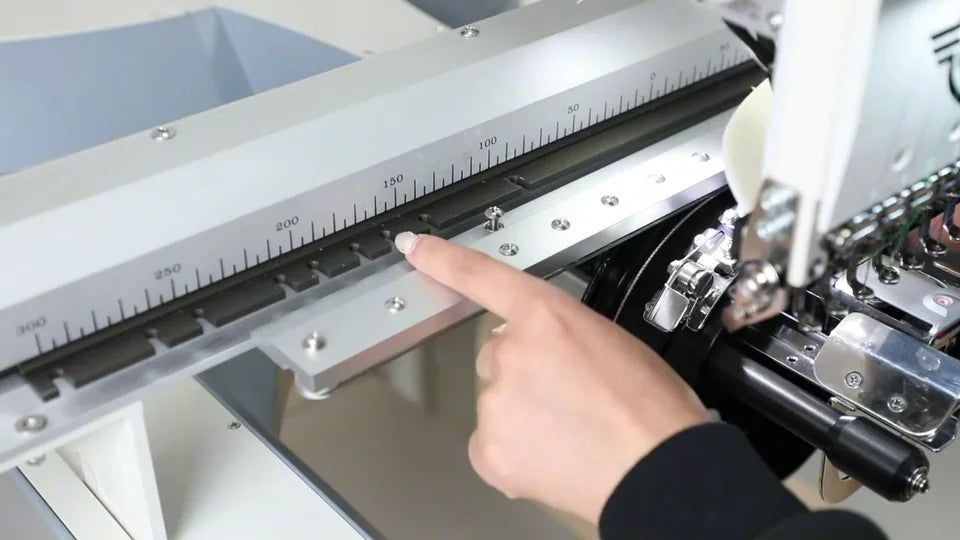
The demonstrator counts along the mounting row to the hole used in the video.
Start the screw on the first side and repeat on the opposite side.
Push both ends of the plate inward to align it before final tightening.
Tighten fully after checking the bar sits evenly on both sides.

13. Power on and reselect Cap Frame 270 × 70

Watch at 10:17

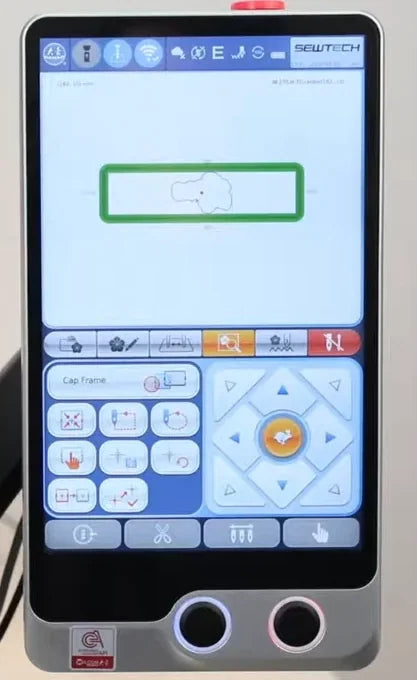
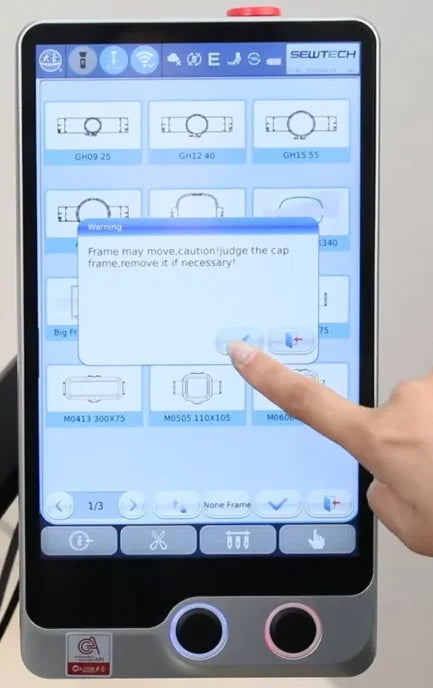
After the driver is secured, turn on the ST-1501. On the fourth touchscreen tab, open the frame selector above the trace buttons. Select Cap Frame 270 × 70 and tap the checkmark. The warning says the frame may move. Make sure the driver's path is clear, then confirm. Check that the preview changes to the long, narrow cap field and the selector reads Cap Frame.
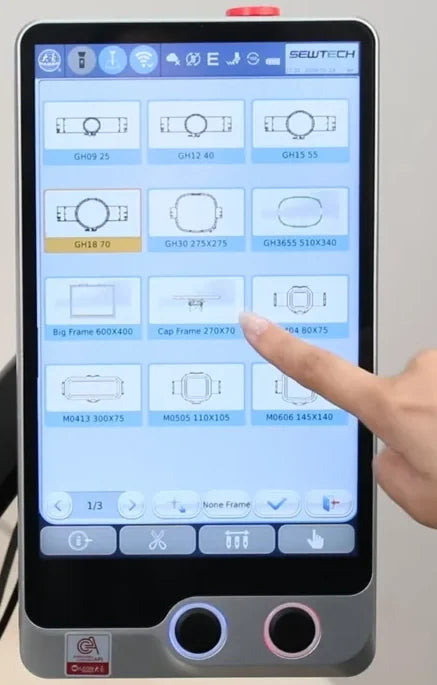
On the first page of frame choices, Cap Frame 270 × 70 is in the middle of the third row.
The warning appears before the frame moves. Check the area before confirming.
The long rectangular field and the Cap Frame label confirm the selection.

14. Check the bobbin before mounting the cap

Watch at 10:42

With the machine idle, check the bobbin in the case at the end of the machine arm, inside the driver opening. Replace a low bobbin before the cap hoop blocks access. The presenter shows a full bobbin, then puts the case back in.
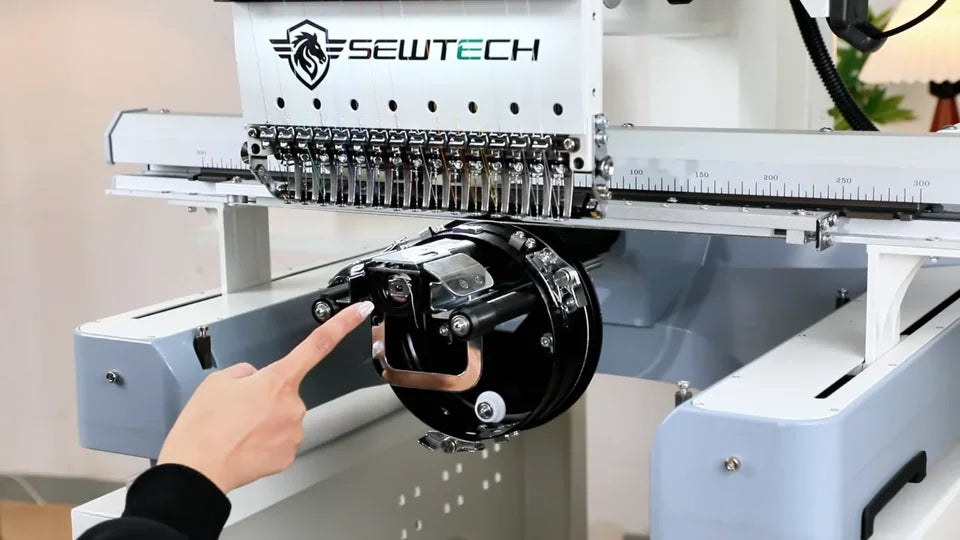
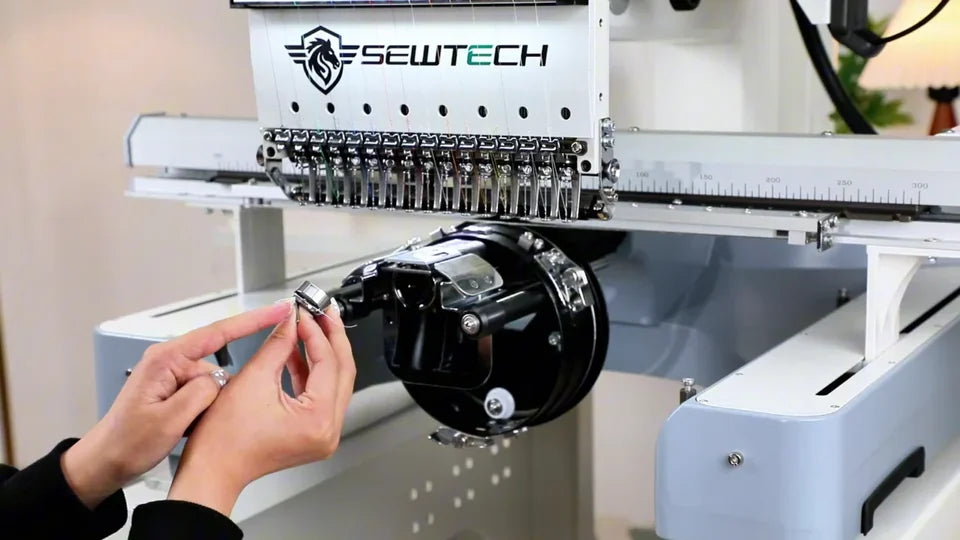
The bobbin case is accessible through the opening in the driver.
The presenter shows a full bobbin before reinstalling the case.
The case goes back into the end of the arm before the cap is fitted.

15. Mount the loaded hoop and check all three clips

Watch at 11:08

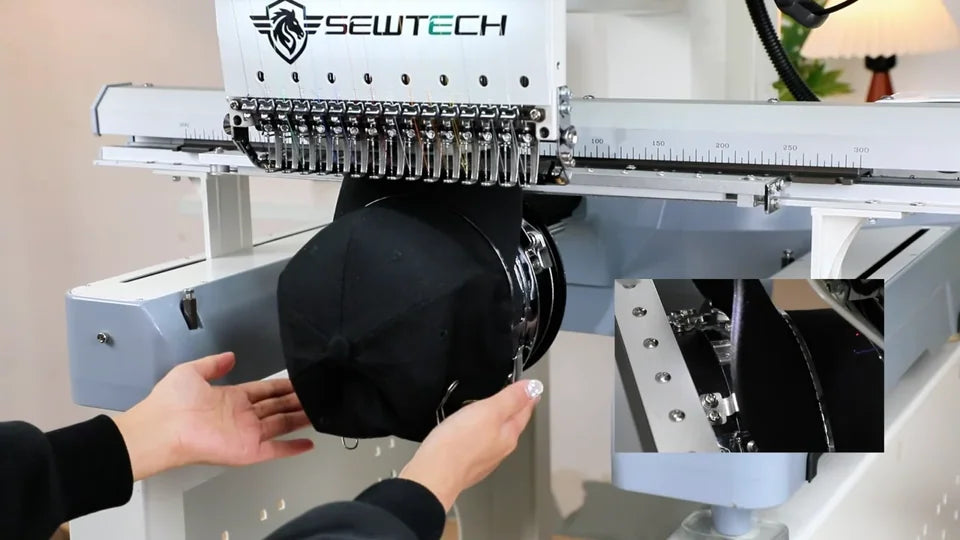
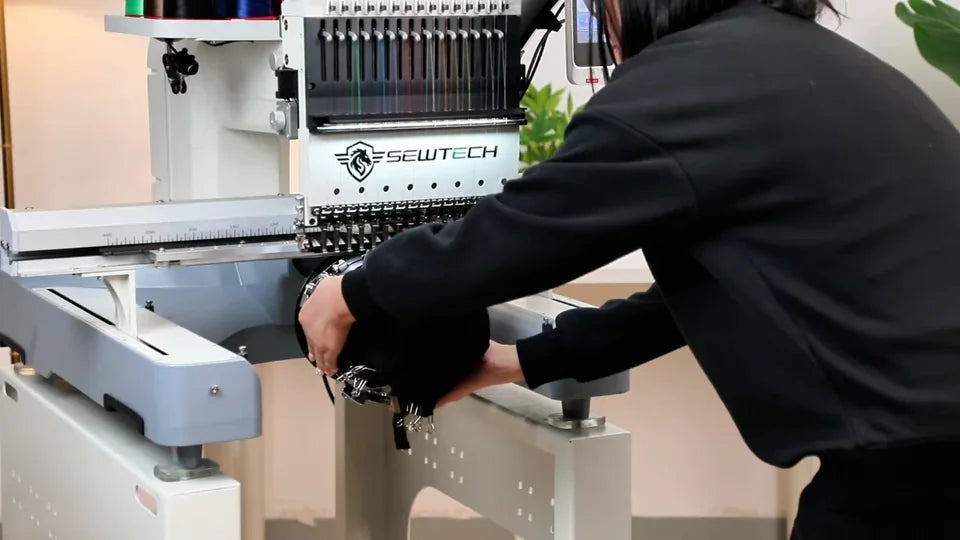
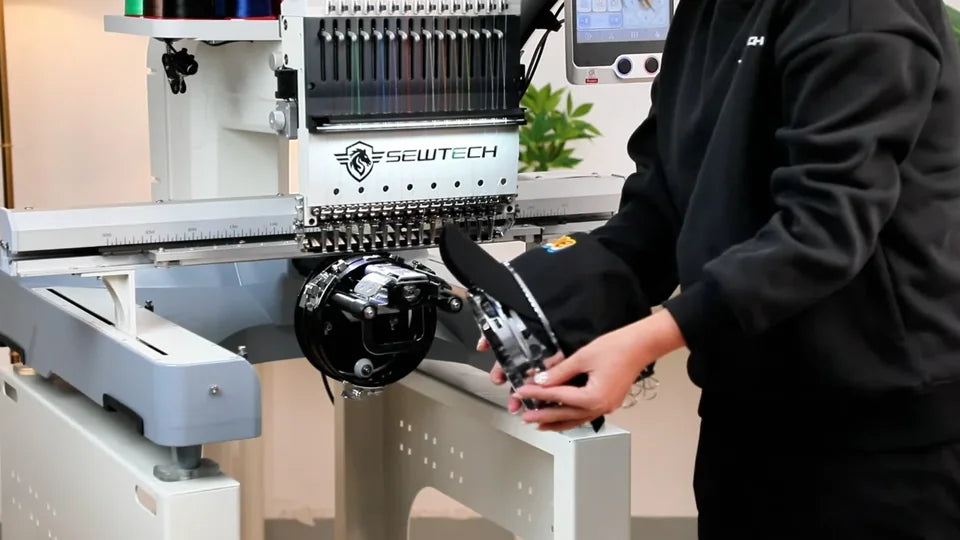
Rotate the loaded hoop sideways so the cap and brim can pass into the driver opening. Then turn the hoop into its stitching position and push both sides in together. Check that the hoop is fully seated and all three clips have locked before moving the frame.
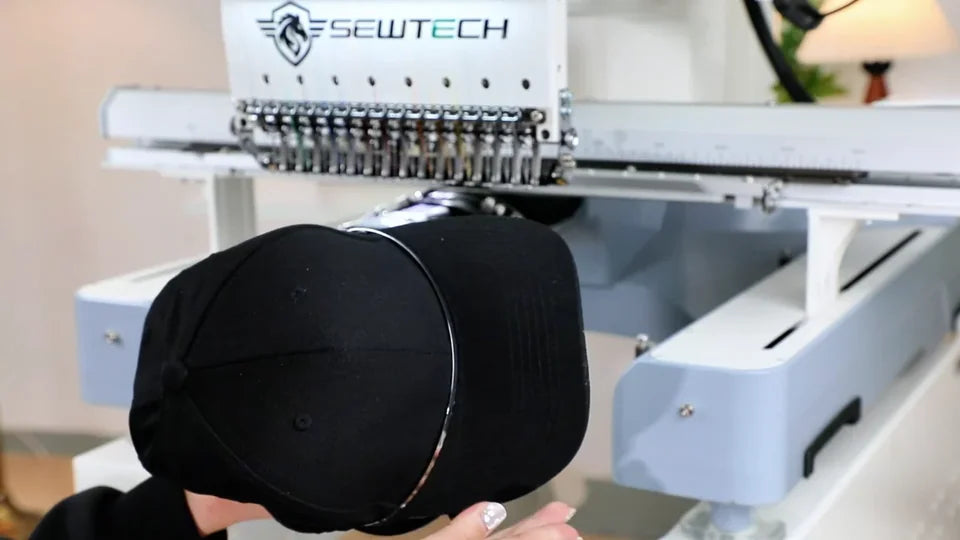
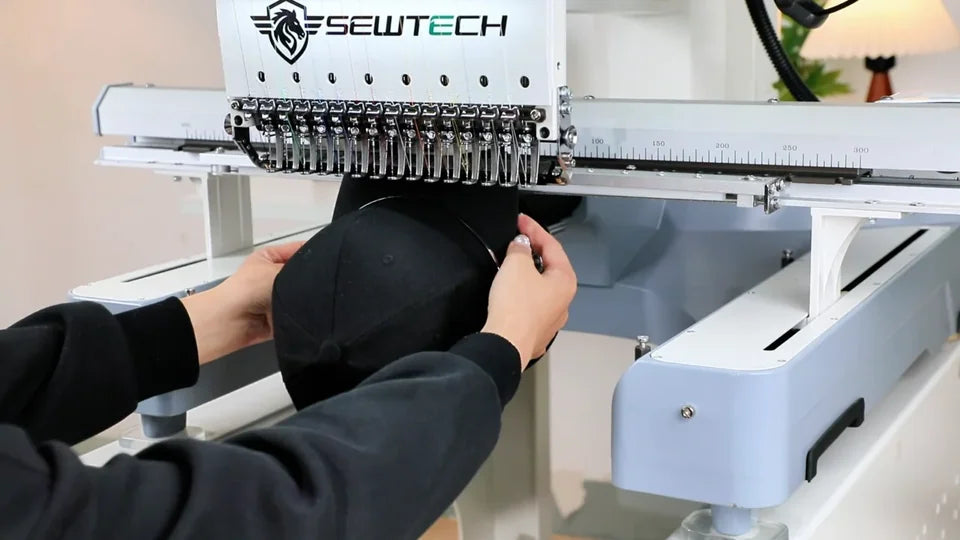
Start with the hoop turned sideways so the brim can clear the driver.
Turn the hoop into position and press both sides in together.
The inset shows the mating edge after the hoop is seated. Check all three locks.

16. Select the design from machine memory

Watch at 11:44

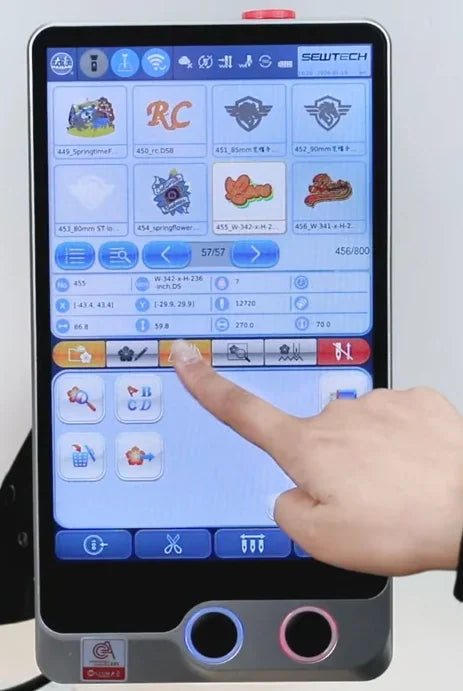
Open the leftmost design tab and tap the design thumbnail. The example uses pattern 455, the multicolor Love design in the second row. Check the selected number under the thumbnails before continuing.
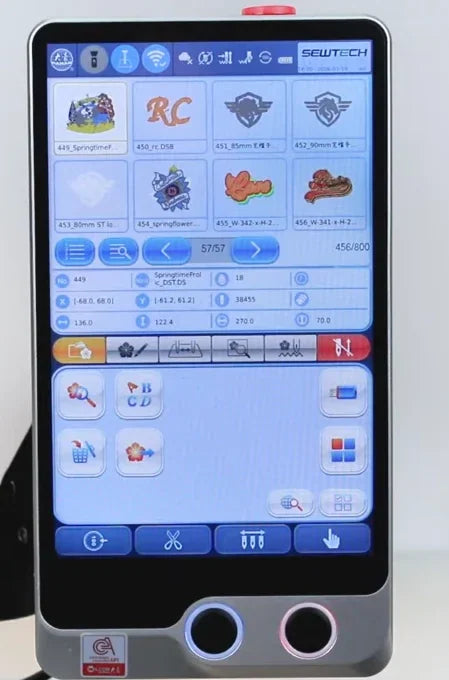
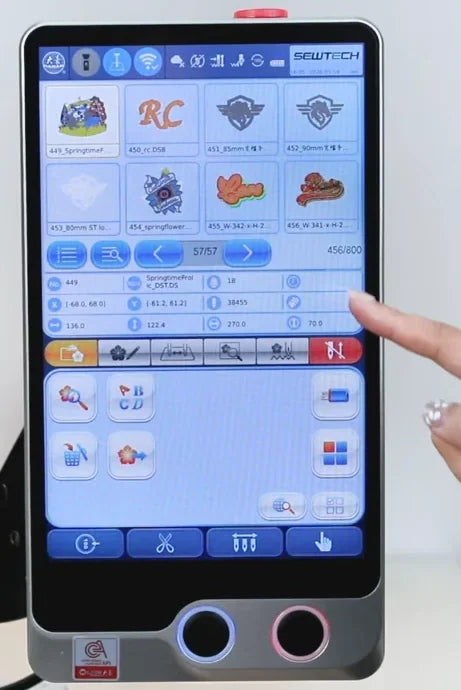
The library shows the design thumbnails on the first tab.
The highlighted Love tile and the No. 455 field identify the example design.

17. Assign the thread colors

Watch at 11:53

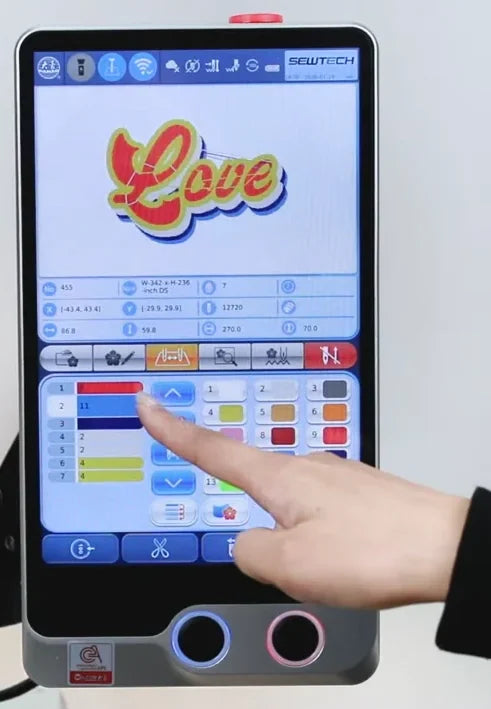
Open the third tab for color order. Select the first color block in the list on the left, then tap the numbered swatch for the needle carrying red thread on this machine. The first block and the Love preview turn red. The video leaves the remaining colors as shown. Match the on-screen assignments to the thread loaded on your own machine.
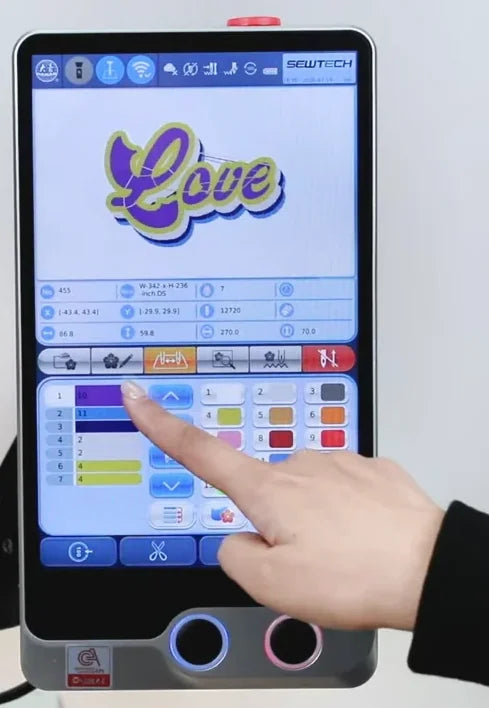
Tap the third tab to open the color-order settings.
The left column shows the design's color blocks. The numbered swatches on the right are needle assignments.
The first block and the lettering preview turn red after the change.

18. Move the design inside the cap field

Watch at 12:15

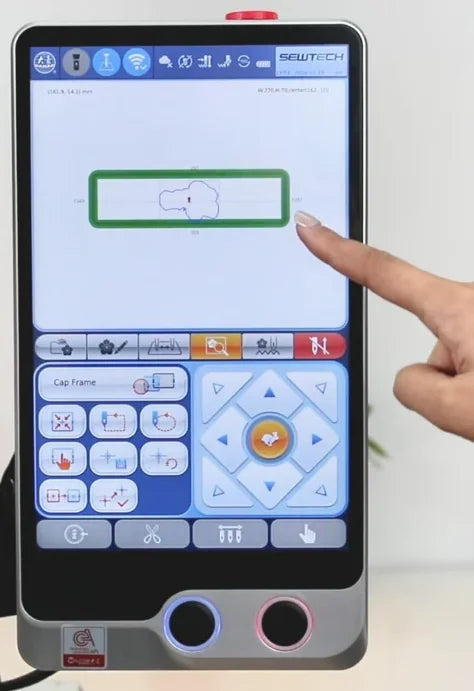
Open the fourth tab and use the arrows on the right to move the design toward the center of the cap field for a front placement. The screen fills the field pink-red and shows a warning when the design extends beyond the usable area. Move it back until the warning clears and the green frame outline has a clear interior. Then check the actual placement by tracing on the cap.
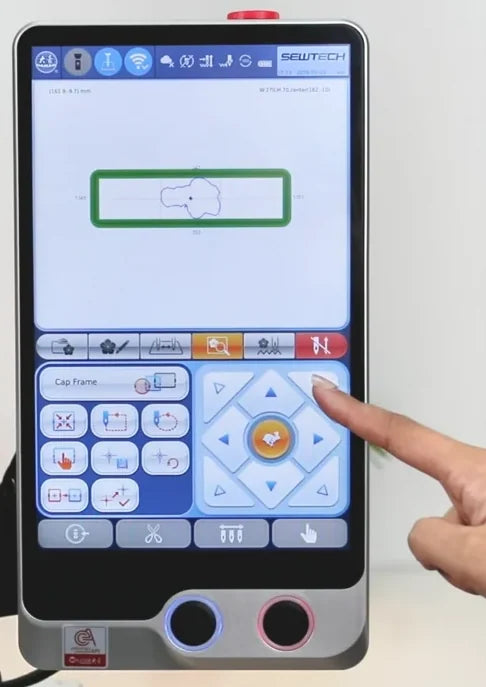
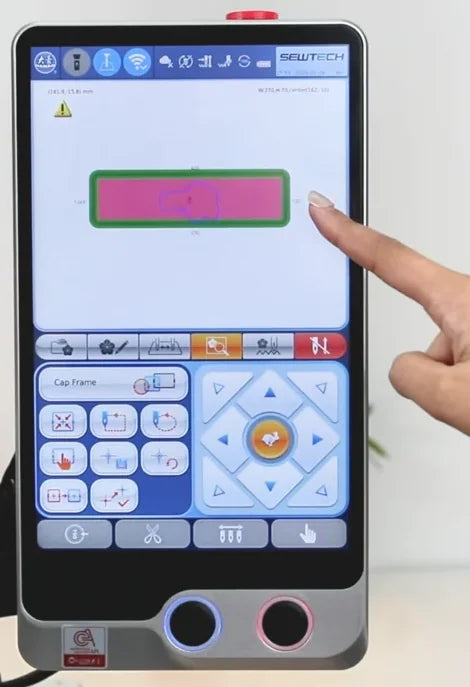
The arrow pad moves the design in the cap-frame preview.
A pink-red fill and warning triangle show that the current position is outside the usable area.
The clear field within the green outline shows the warning has cleared.

19. Switch the active needle to No. 1 before tracing

Watch at 13:07

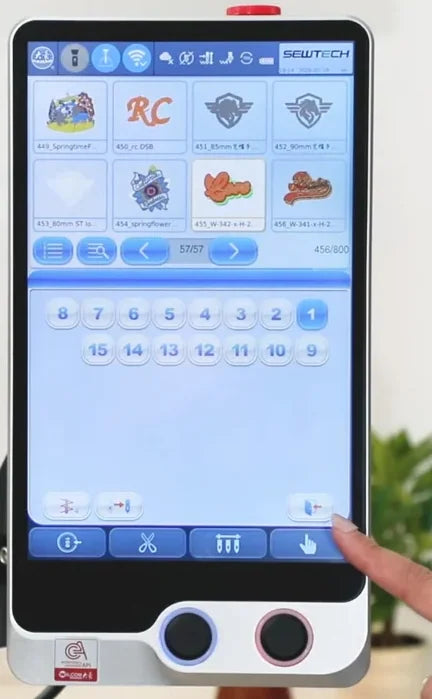
Open the needle-position controls using the needle icon in the bottom toolbar. The demonstration starts with No. 8 active. Tap No. 1 at the right end of the top row, wait for the head to shift to that needle, and use the lower-right return button to leave the needle screen. This selects the active needle for tracing. The earlier color assignments control the stitching sequence.
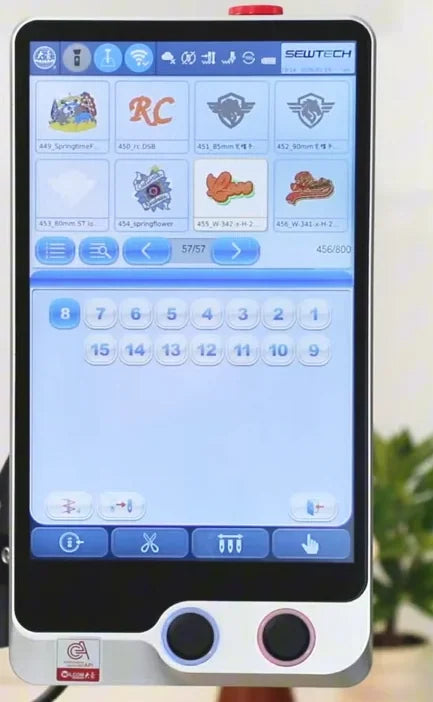
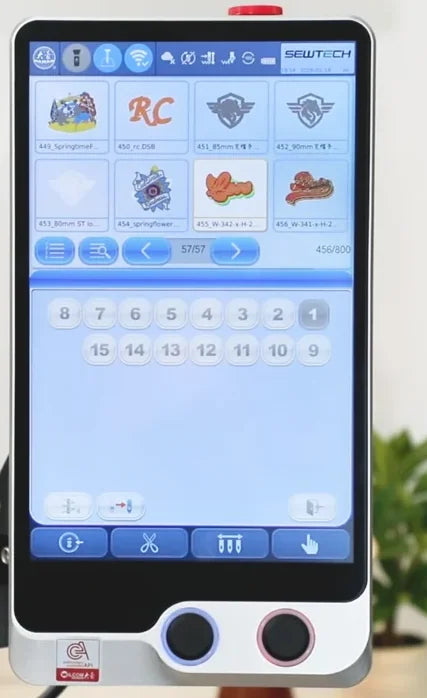
No. 8 is highlighted on the numbered needle panel before the change.
No. 1 is selected at the right end of the top row.
The return button is at the lower right of the needle panel.

20. Trace the outline with the actual needle position

Watch at 13:33

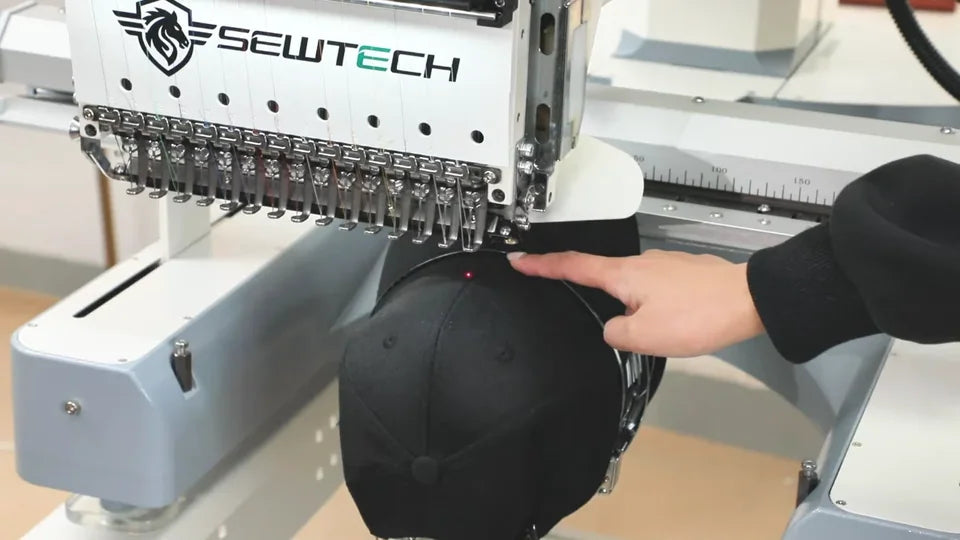
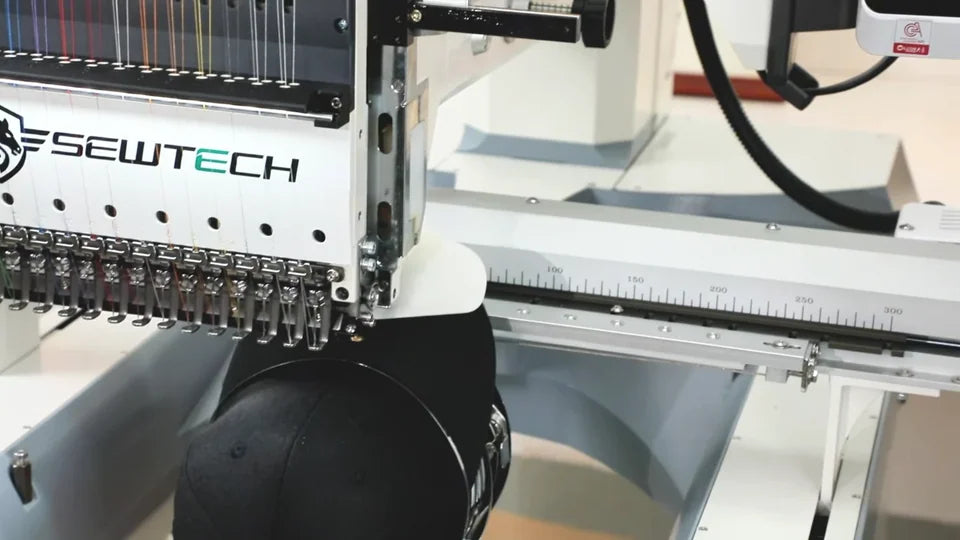
Return to the fourth tab and tap the rightmost button in the top row of trace tools, the needle with a dotted outline. Watch where No. 1 passes over the cap as the driver moves. At the end, the driver returns to the design center. Check that the needle lines up with the cap's center seam. If it is off-center, adjust with the arrows and run the trace again. Use the needle itself as the reference on the curved cap, even when a red laser dot is visible.
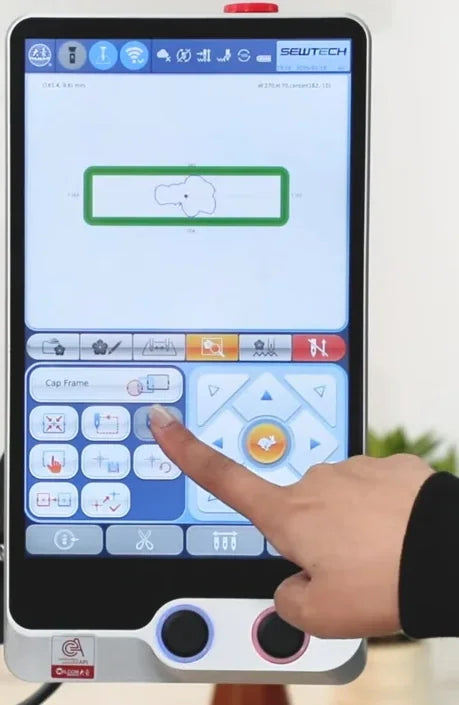
The presenter taps the trace icon with a dotted outline on the fourth tab.
Watch the path of the active needle over the moving cap.
After the trace, compare No. 1 with the center seam. The red dot in the frame is the laser.

21. Set the speed and confirm the design

Watch at 14:33

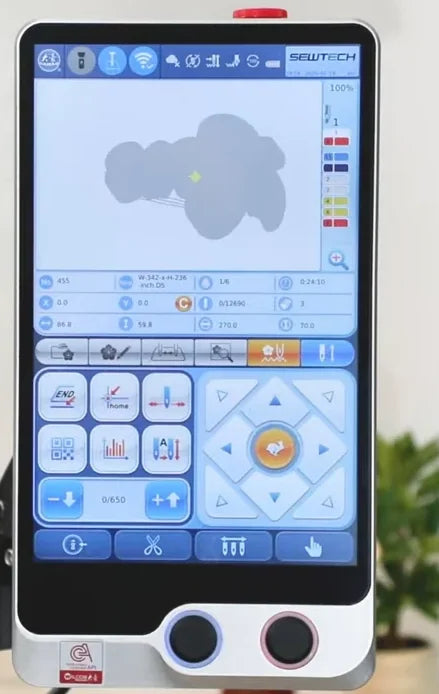
Open the fifth tab for embroidery controls. Use the minus and plus buttons below the controls to set the speed. The tutorial recommends 650 stitches per minute for the cap shown. Tap the far-right red icon to open Confirm EMB?, then tap the checkmark. Wait for the loading screen to clear and the embroidery progress preview to appear.
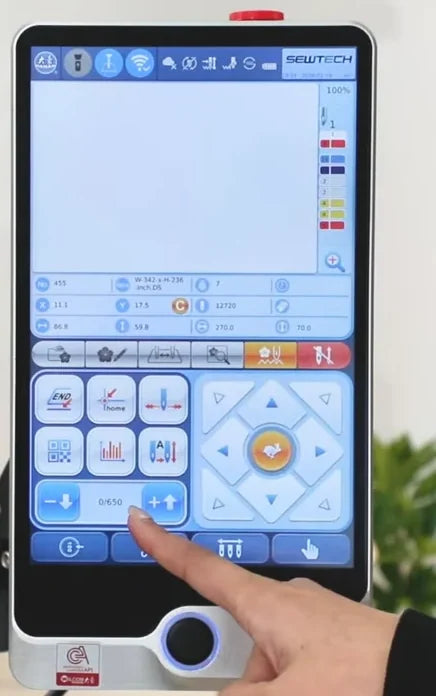
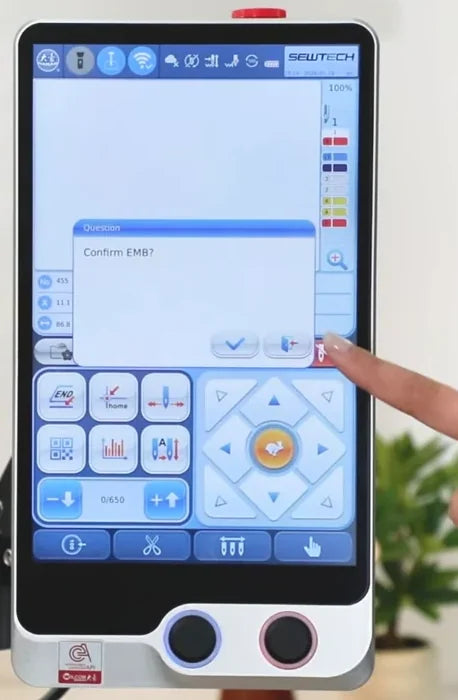
The speed field reads 0/650 while the machine is stopped.
The far-right red icon opens the Confirm EMB? prompt. Use the on-screen checkmark.
The stitch-progress preview appears once the design is confirmed.

22. Start stitching with the blue-ring button

Watch at 14:46

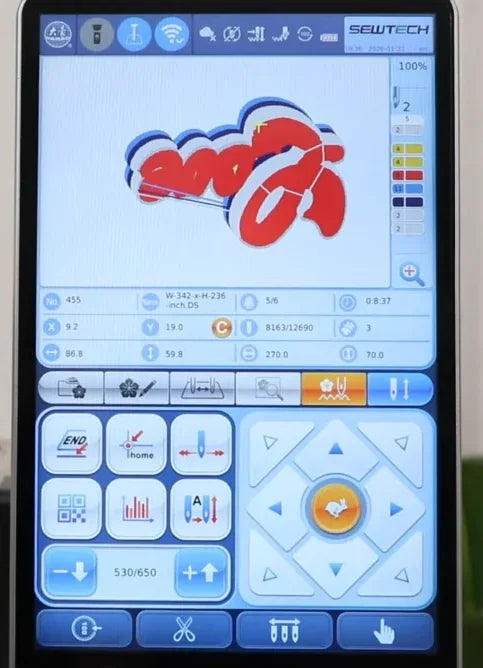
Keep hands clear of the needle and driver, then press the left physical button with the blue ring under the screen. Check that the needle starts stitching and the cap driver moves the loaded hoop. The first visible stitches in this sample are red. During sewing, the progress view shows the design upside down, matching the cap's orientation on the driver.
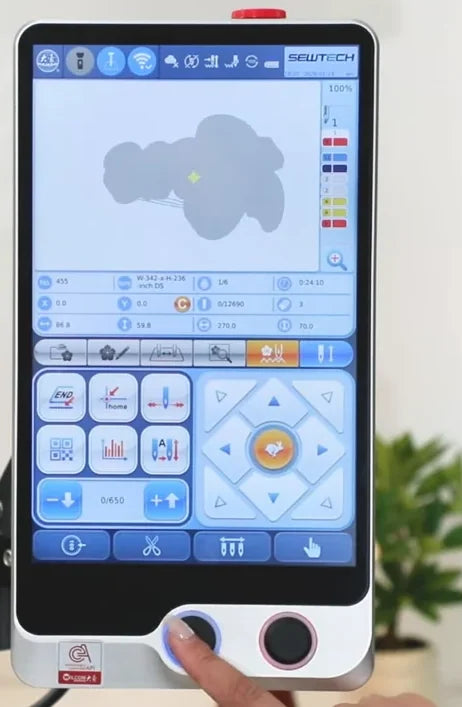
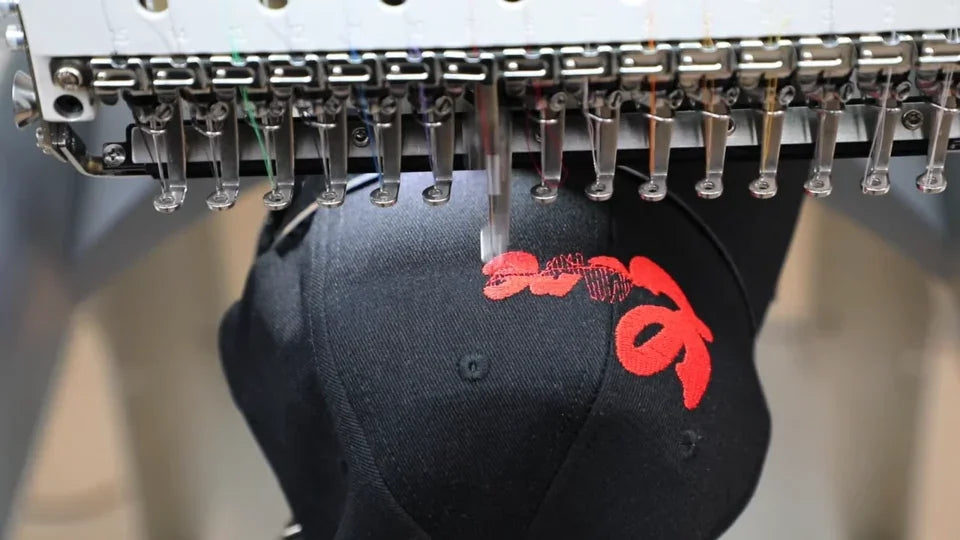
The blue-ring physical button under the touchscreen starts the machine.
Red stitches build up on the cap while the driver moves the hoop.
The progress screen shows the inverted preview and 530/650. The actual running speed is shown alongside the 650 setting.

23. Wait for stitching to finish and remove the hoop

Watch at 15:49

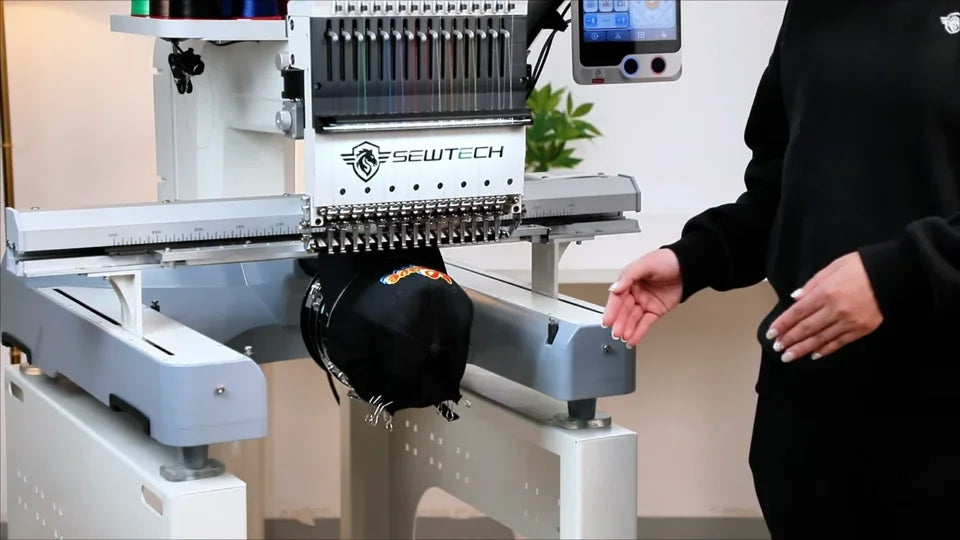
Wait for the Embroidery completed! message and make sure the needle and hoop have stopped. Support the hoop with both hands, press its three release clips together and slide the loaded hoop away from the driver. Check the finished design on the front panel against the cap's center seam. The video shows the finished cap after removal.
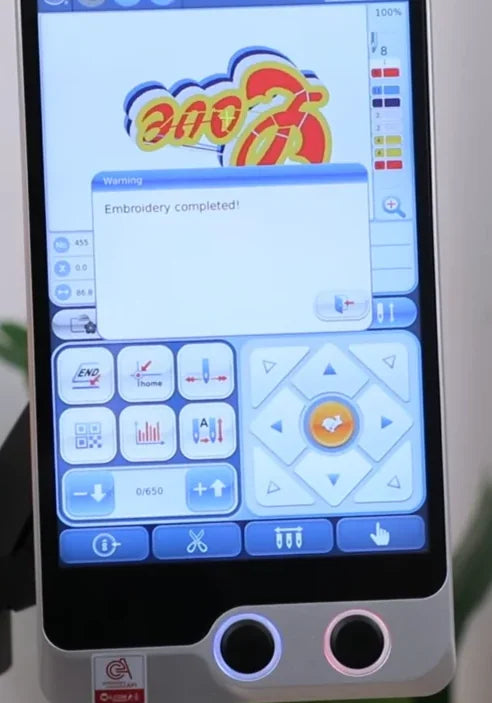
Embroidery completed! appears on the screen and the speed returns to 0/650.
The needle and hoop are stationary and the full multicolor design is visible.
Support the assembly as you release the three clips.
The cap and hoop slide off together.
The finished Love design is visible above the brim on the cap front.