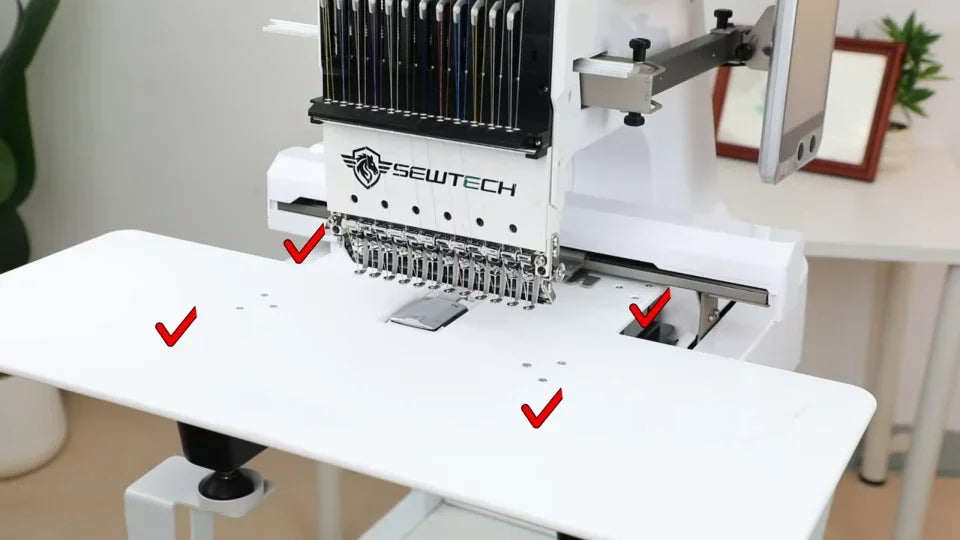
Install the Flat Table on the ST-1201 and SC-1501

Overview
This guide applies to the SEWTECH ST-1201 and SC-1501. The video demonstrates the ST-1201. Assemble the two brackets on the tabletop first, then secure the table to the machine at four mounting points. Check the tabletop height and stability before use.
Step-by-step guide
1. Lay out the parts and tools
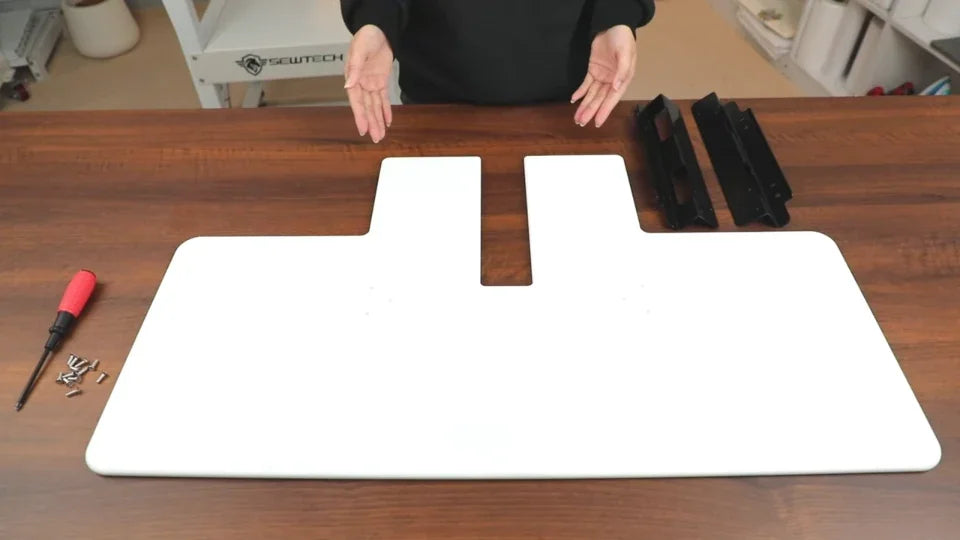
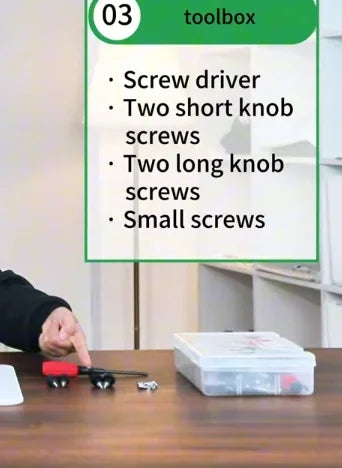
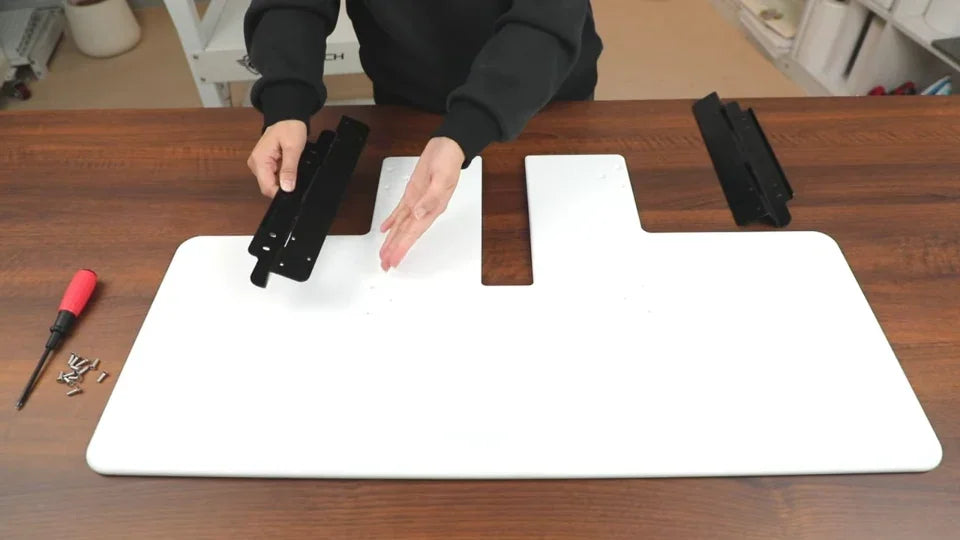
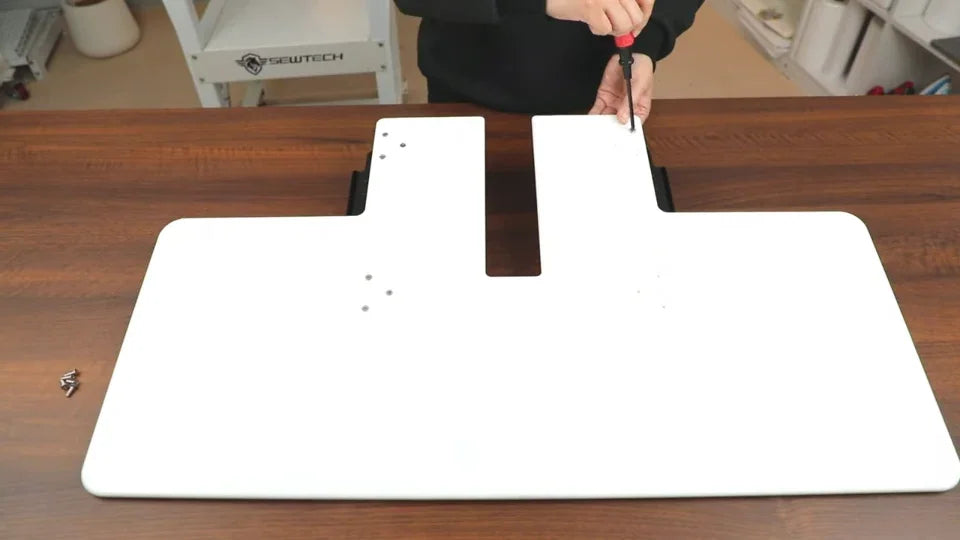
Watch at 00:17On a clear work surface, lay out the white tabletop, two black support brackets and the toolbox. Take out the screwdriver and all three sets of screws so you can tell them apart before assembly.
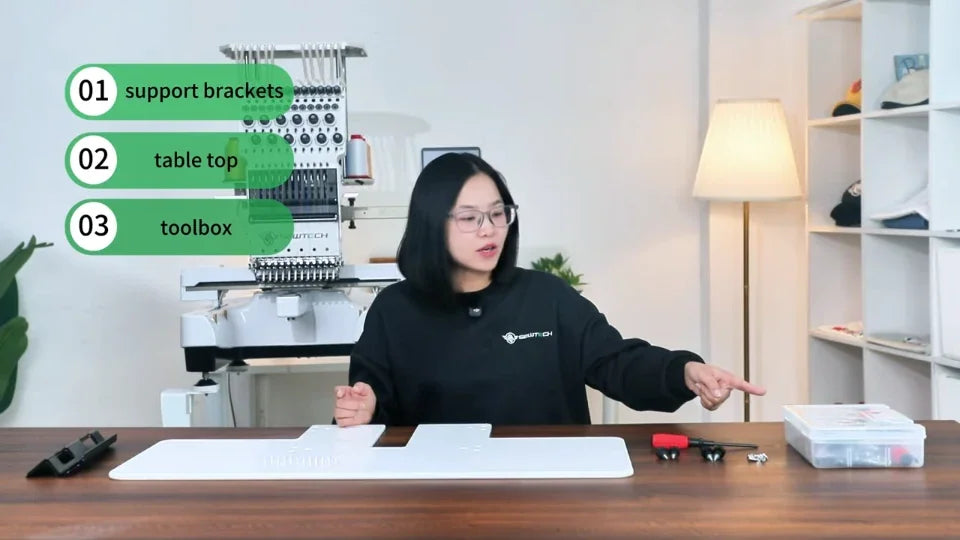
2. Sort the three screw types
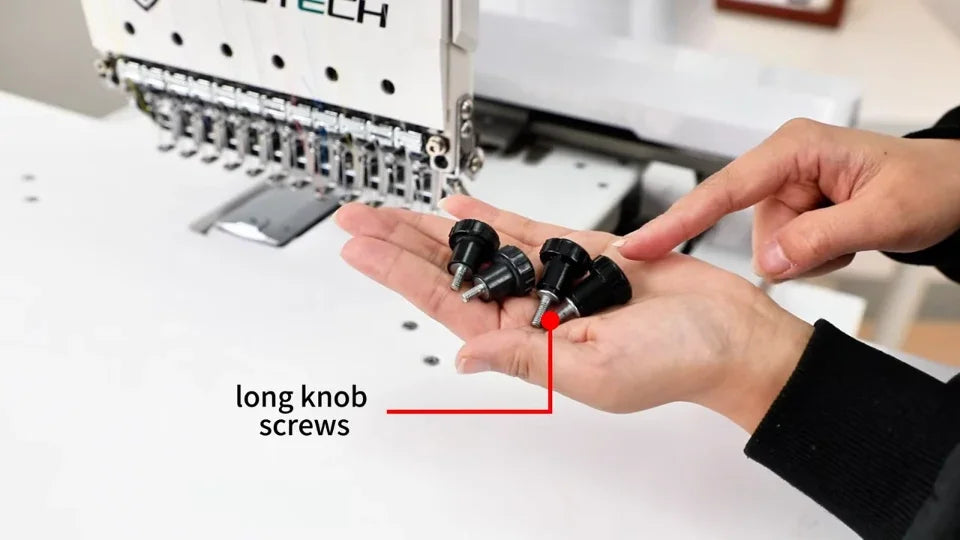
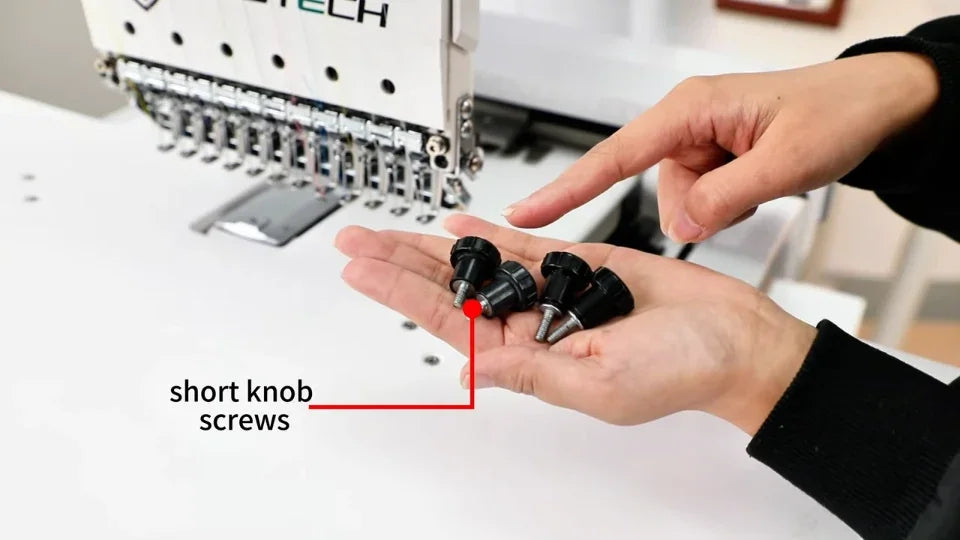
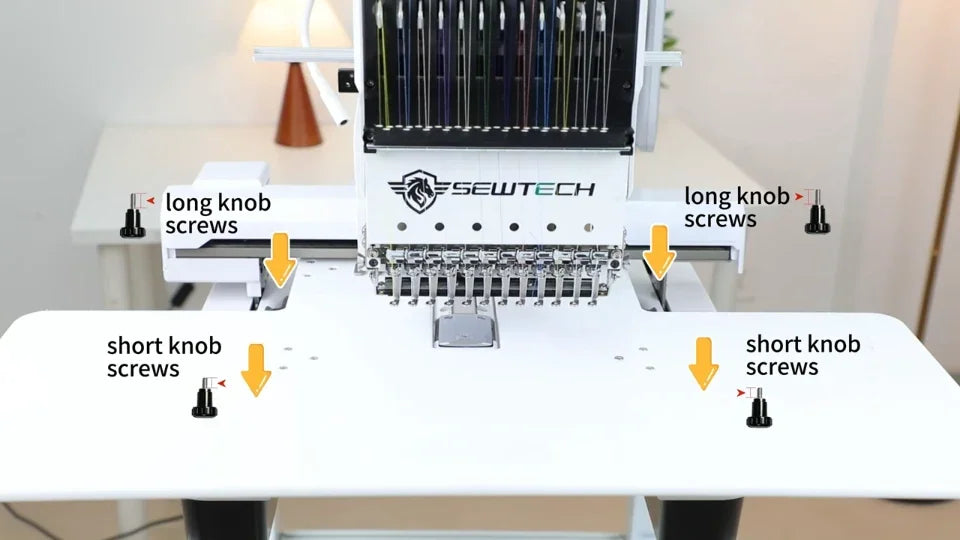
Watch at 00:28Keep the small screws with the screwdriver for joining the brackets to the tabletop. Set aside the four black knob screws in two pairs by shaft length. The long pair goes in the rear machine mounting holes and the short pair goes in the front holes.
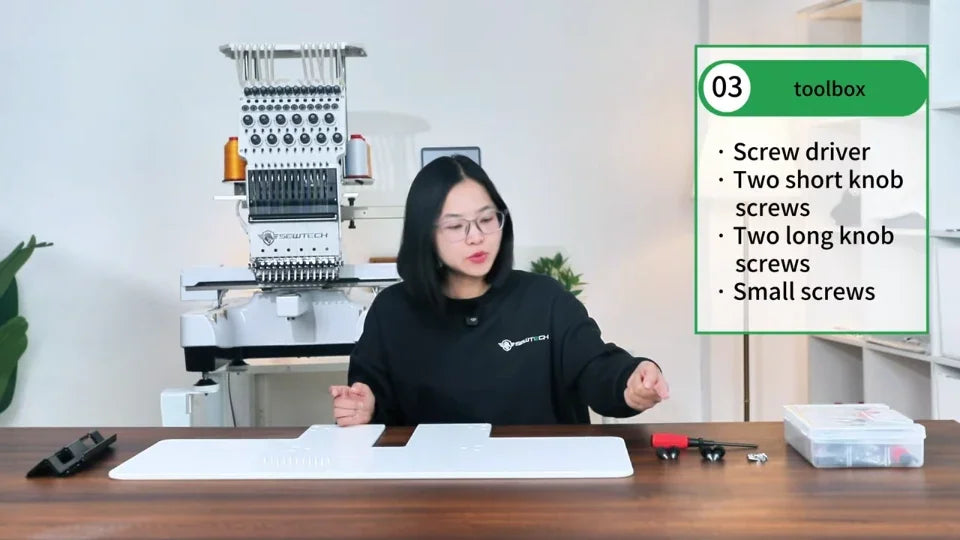
3. Match the brackets to the tabletop holes
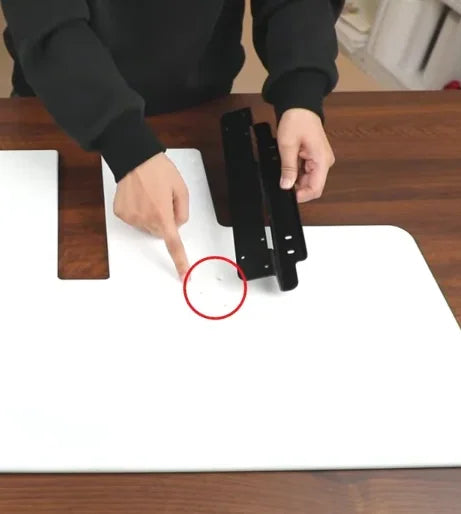
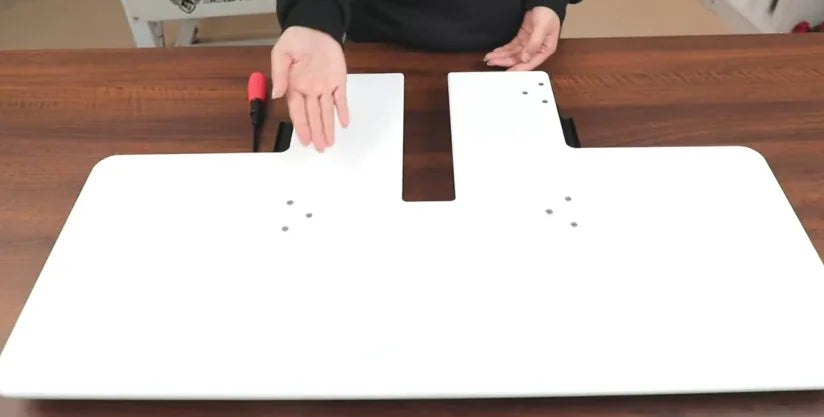
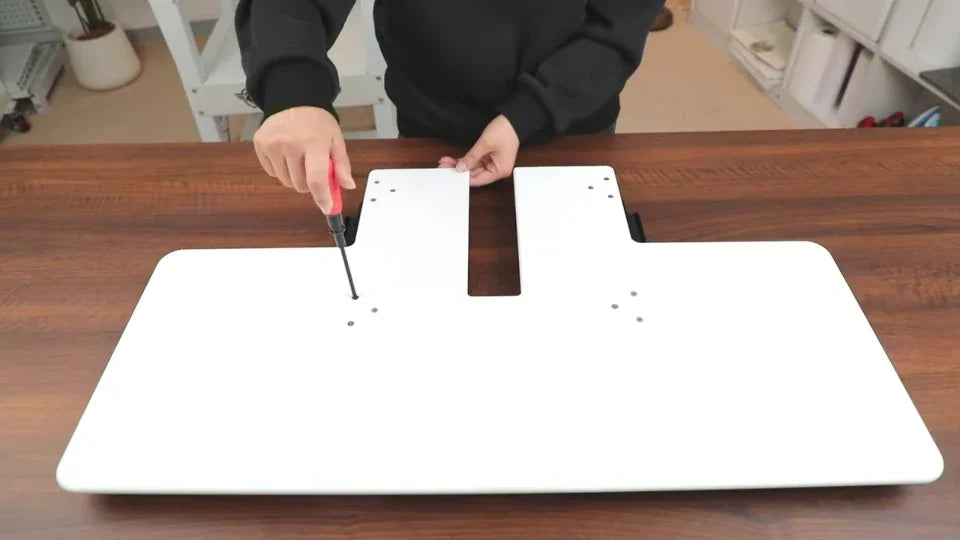
Watch at 00:46Find the 12 small mounting holes in the tabletop. Hold one bracket on each side of the center cutout and compare the small holes at both ends of each bracket with the hole groups in the tabletop. Use this dry fit to identify the matching positions before placing the brackets underneath.
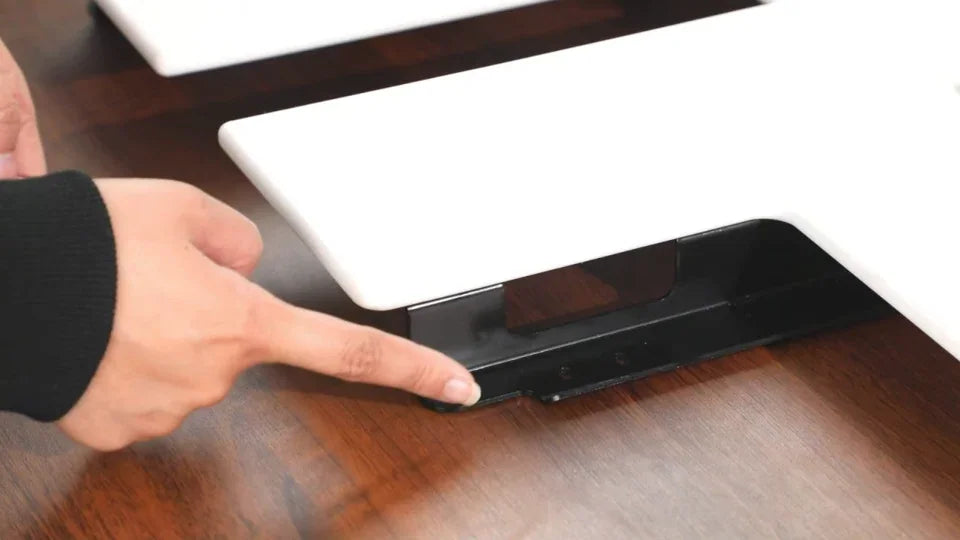
4. Place both brackets underneath with the lower flanges facing out
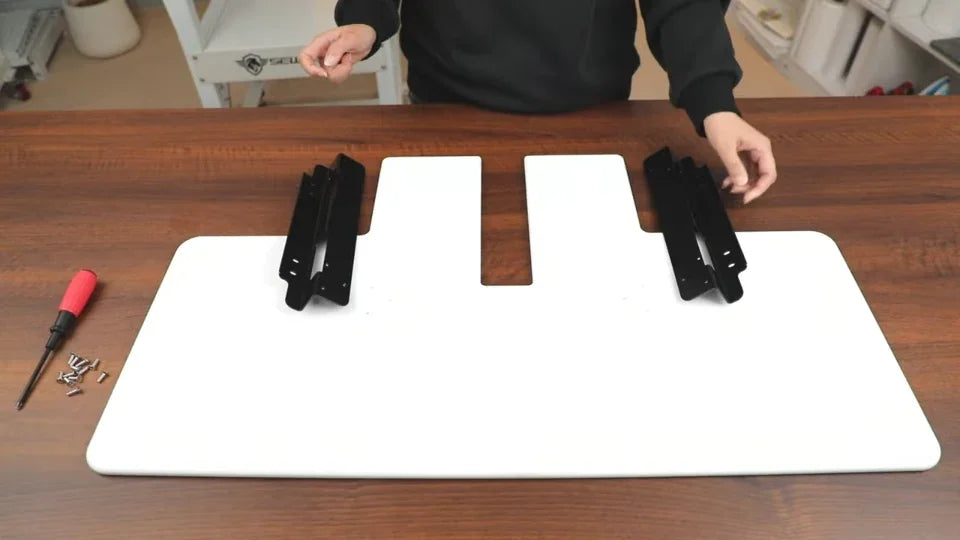
Watch at 01:10Place the matched brackets against the underside of the tabletop. Orient each bracket so the lower flange the presenter points to faces outward, away from the center cutout. Keep the bracket's small screw holes lined up with the tabletop holes as you hold it in place.
5. Start all the small screws loosely
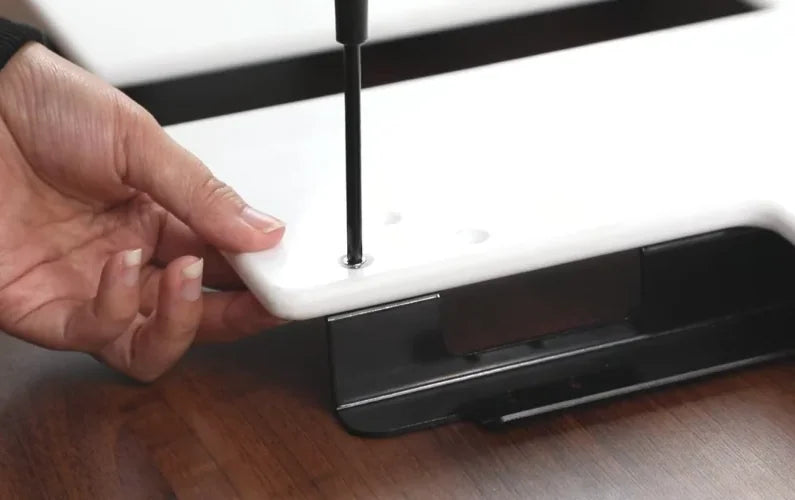
Watch at 01:17With the bracket held under the panel, insert the small screws from the top of the table and start them with the screwdriver. Work through the hole groups on both sides. Leave the screws loose enough to adjust the brackets until every screw has started cleanly.
6. Tighten the tabletop screws once all are seated
Watch at 01:43Check all four groups of small screws. Once every screw is seated correctly, go back with the screwdriver and fully tighten the screws on both brackets. This completes the tabletop assembly before it goes onto the machine.
7. Find the machine's four mounting points
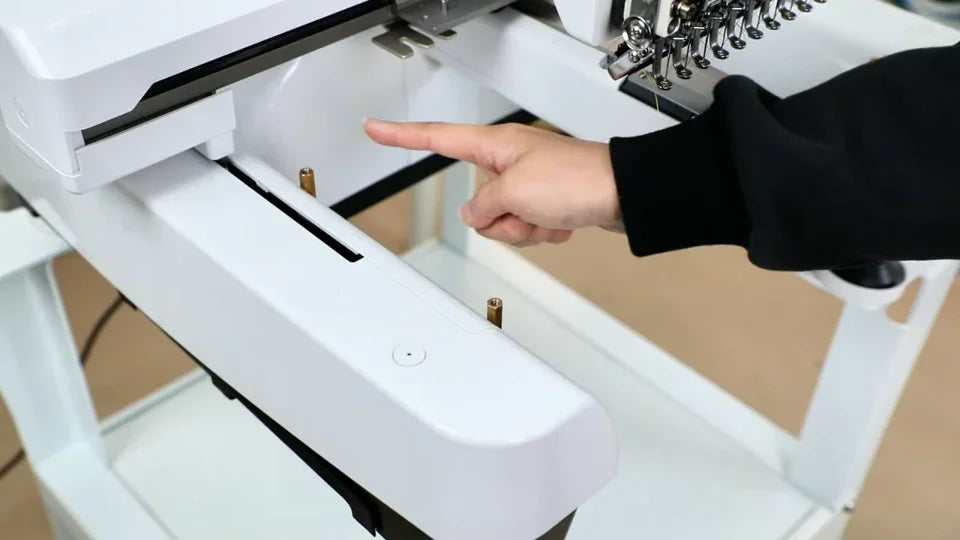
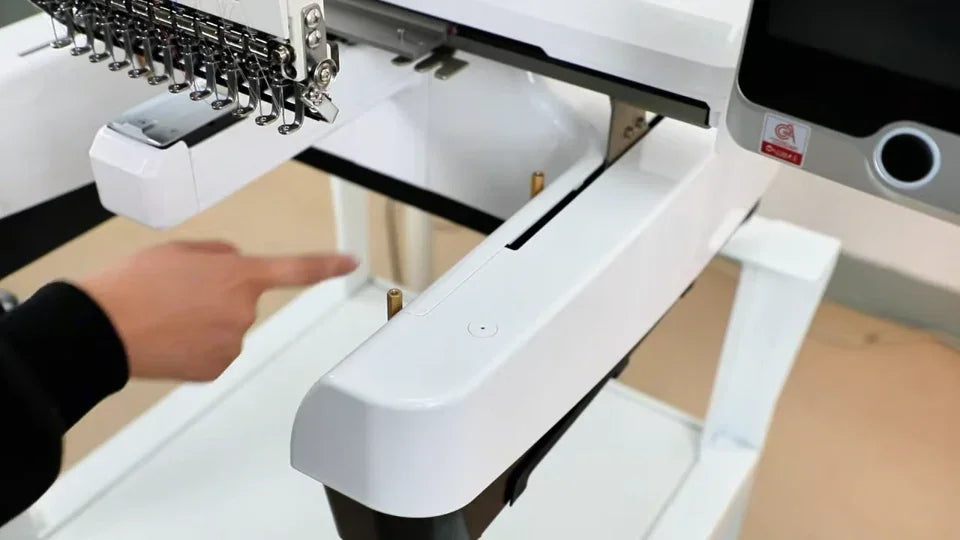
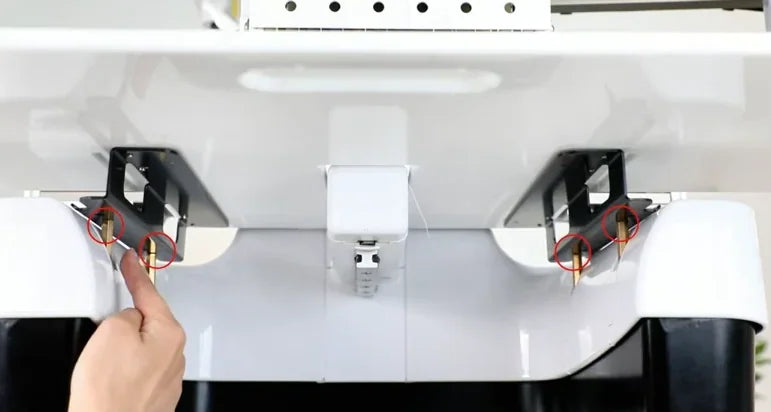
Watch at 01:59Stand at the front of the embroidery machine and look below the needle head. Locate the two mounting points along each side of the base, one toward the back of the machine and one toward the front. These four positions match the holes in the table brackets.
8. Slide the table in just below the metal plates
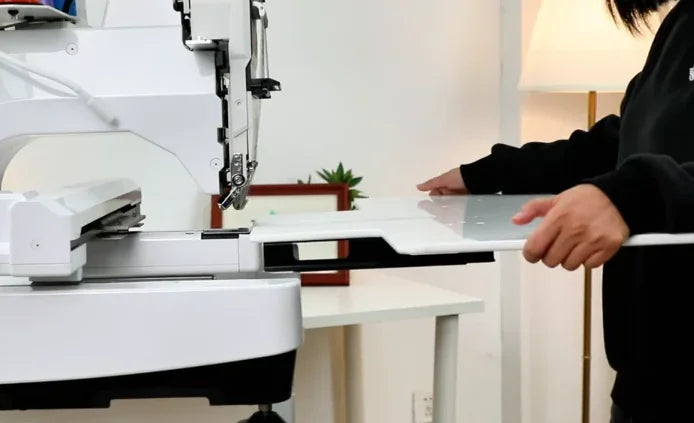
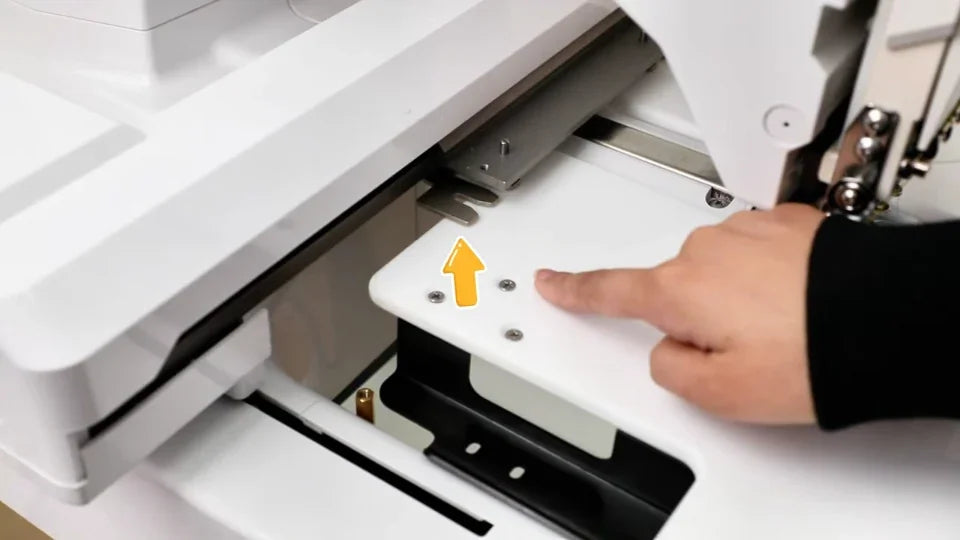
Watch at 02:07Support the assembled table with both hands and slide it toward the machine from the front. Let the center cutout pass around the lower embroidery arm. Look at the edges beside the needle head. The white tabletop should sit just below the adjacent metal plates, as shown in the close-up.
9. Line up both holes on each support bracket
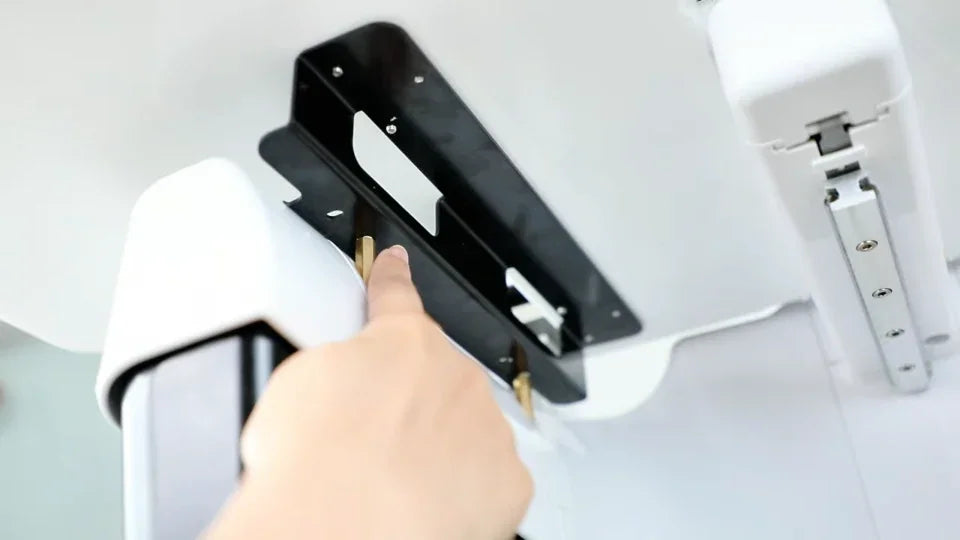
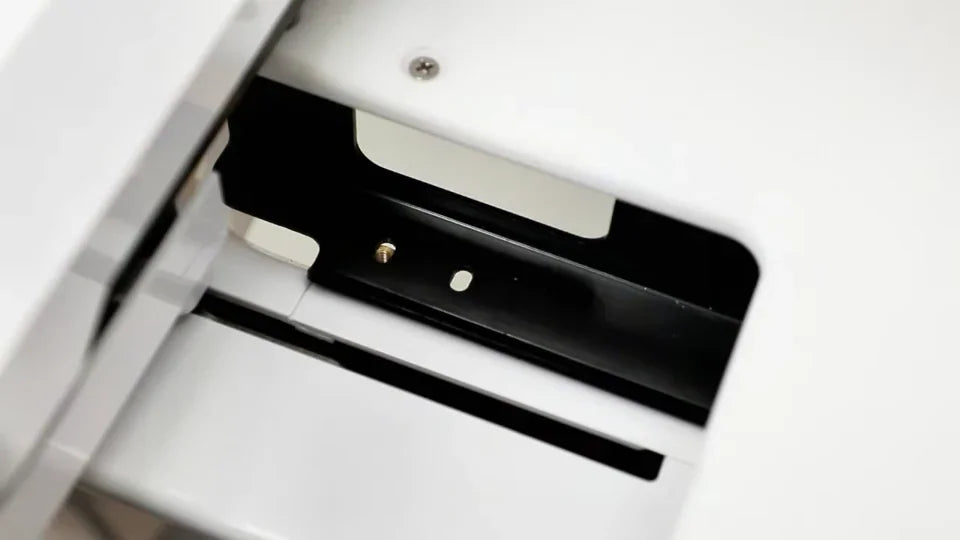
Watch at 02:24Look under the tabletop at the two black brackets. Each bracket has a front and a rear mounting hole. Shift the table slightly until both holes on each side line up with the corresponding machine mounting points. Check both sides before inserting any knob screws.
10. Use long knob screws at the rear and short ones at the front
Watch at 02:59Match the four black knob screws to the aligned holes. Put one long screw into the rear hole on each side, toward the machine body. Put one short screw into the front hole on each side, toward the operator. Follow the front and rear positions in the diagram.
11. Hand-tighten all four knob screws
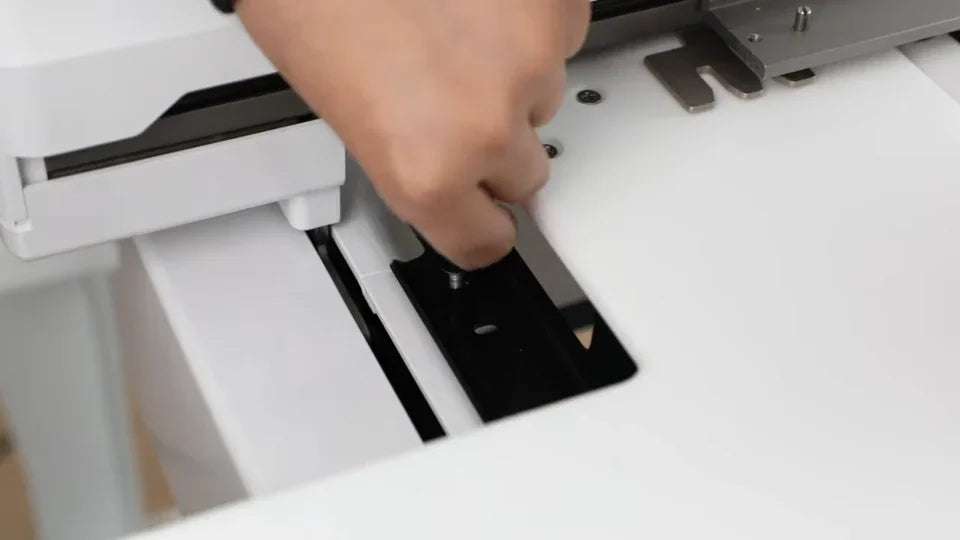
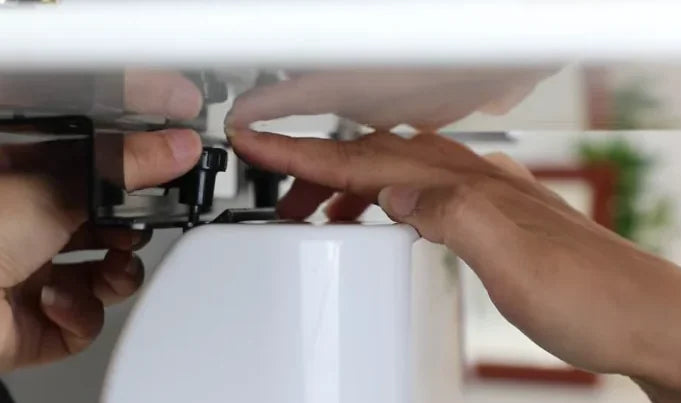
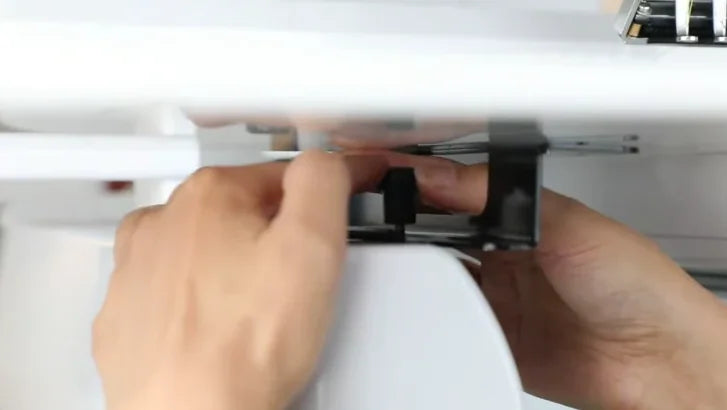
Watch at 03:21Reach through the tabletop openings to turn the two rear knobs. Reach into the gap beneath the front edge of the tabletop for the two front knobs. Hand-tighten both pairs, then check that all four mounting points are secure.

12. Check the installed table for movement
Watch at 03:33Before use, confirm that the four knobs are secure, the tabletop remains just below the metal plates, and the table does not rock when you gently check it by hand. If it moves, recheck the four mounting points and the bracket screws. The video ends with the fitted table and a stability reminder.