
Install and Adjust HoopSteady

Overview
Set both pairs of HoopSteady clamping blocks to match your machine’s cylinder arm. Use the measured width from your machine. The video uses a 50 mm example to show how to keep the blocks centered.
Step-by-step guide
1. Measure the cylinder arm
Watch at 00:28Take HoopSteady off the machine. Measure the cylinder arm with a caliper and note the actual width. Divide it in half to center the two clamping blocks.
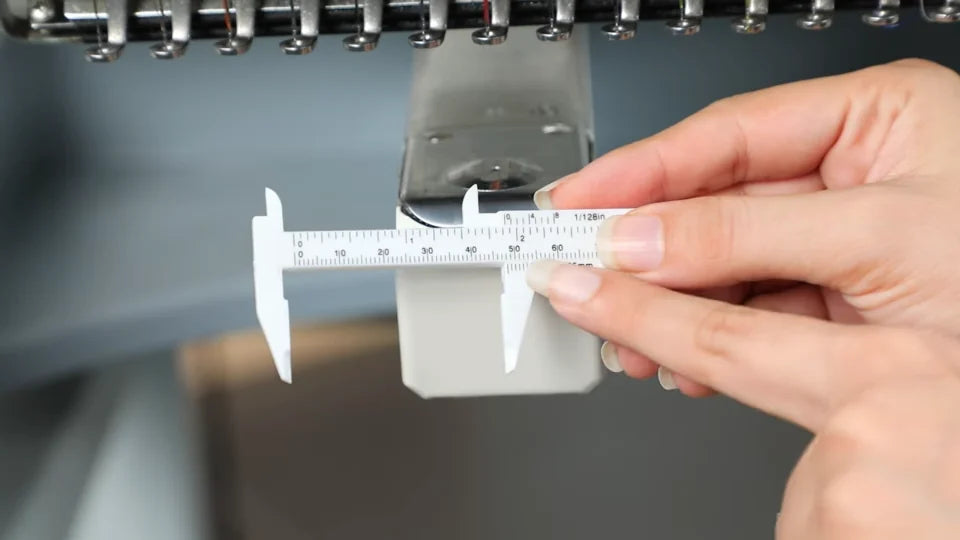
2. Adjust the first pair of clamping blocks
Watch at 00:50Center a ruler on the HoopSteady centerline. Adjust the screws so the blocks move equally on both sides. A 50 mm arm gives a target of 25 mm on each side of center.

3. Set the blocks on the extension slide
Watch at 01:42Pull out the extension slide to reach the adjustment holes. Turn the screws with the wrench, using the same width at the padded faces. Check that both sides remain even.

4. Slide HoopSteady on and check the fit
Watch at 02:19Pull the white handle to open the lower plate. Slide HoopSteady into position, release the handle, and gently check for play. If it is loose, adjust both sides by the same amount and check again before fitting the hoop.


