Fix a False Thread Break Alarm on the ST-1501

Overview
Use this guide when the SEWTECH ST-1501 stops with a thread-break alarm and the upper thread is intact. Check the upper thread path first, then the bobbin. Once the thread feeds correctly, return to the last completed stitches before restarting.
Before you start, keep the machine stopped and the fabric in the hoop. Have a full bobbin ready in case the one in the machine is empty.
Step-by-step guide
1. Identify the stop and the reported needle
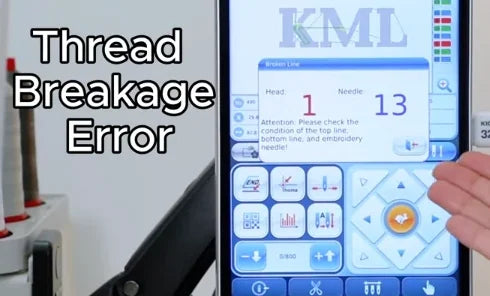
Watch at 00:13If the ST-1501 stops and shows a Broken Line message, read the head and needle numbers on the touchscreen. Follow the upper thread for that needle and confirm it is still intact before using this guide. The alarm in the video shows Head 1 and Needle 13 as an example.
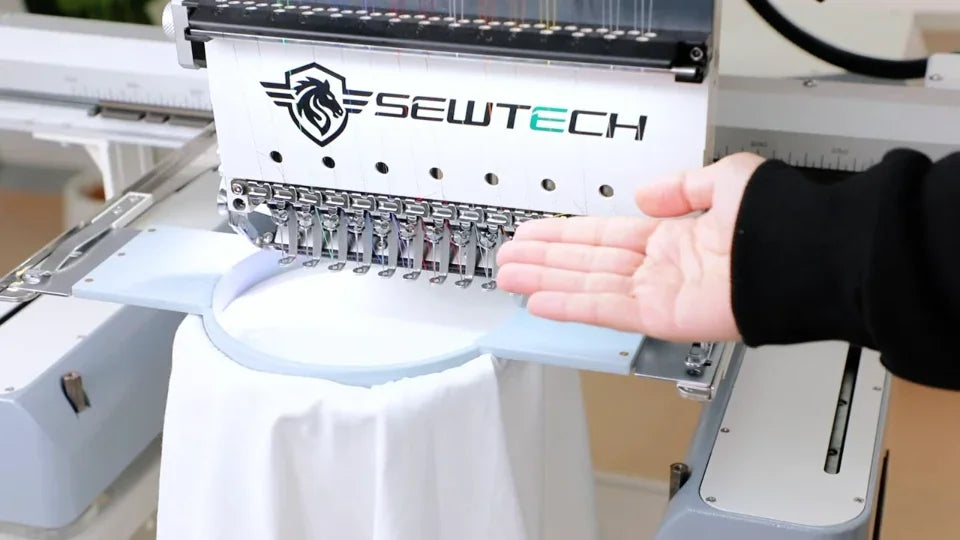
2. Trace the upper thread through every guide
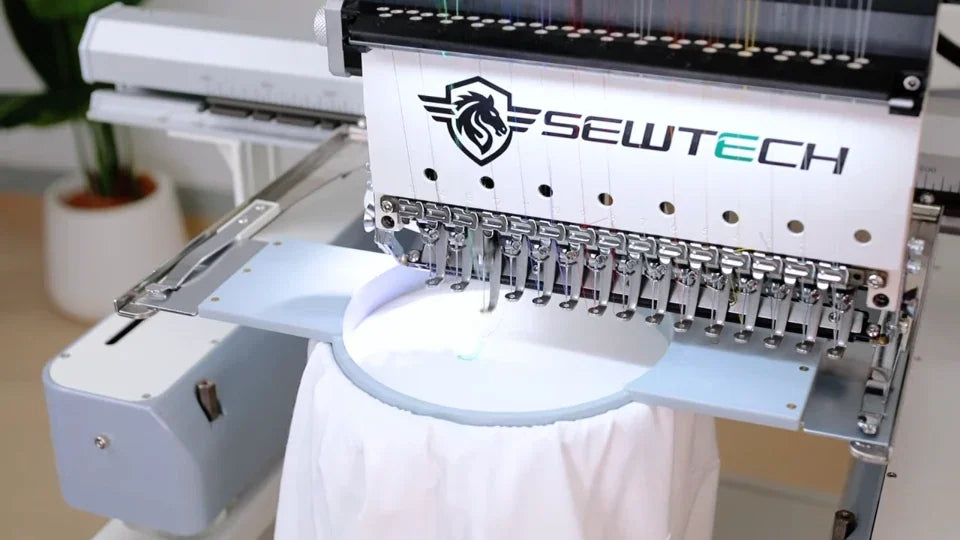
Watch at 00:27Follow that thread from the upper guide and feed tube across the front threading panel, through the take-up lever and lower guides, and down to the needle. Check that each guide carries the same thread along its own path.
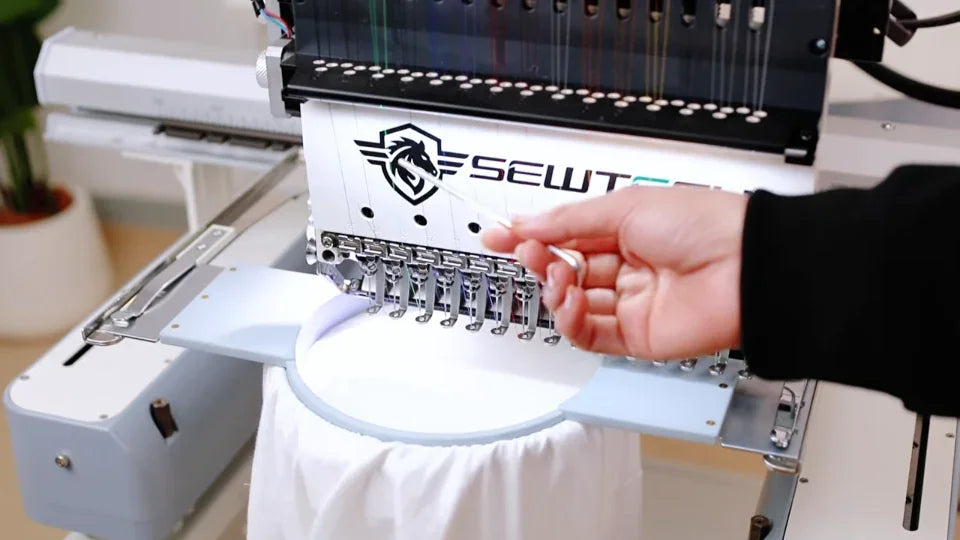
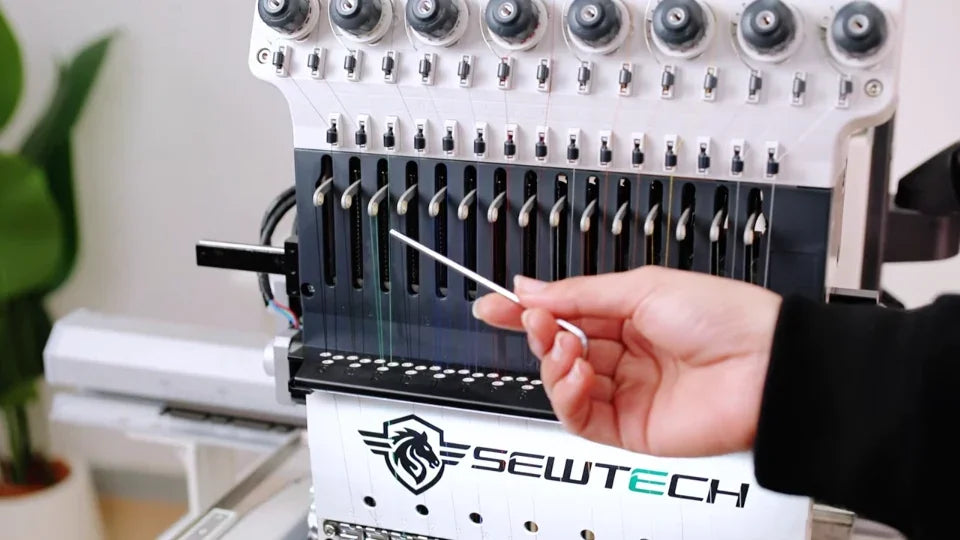
3. Check the one-and-a-half-turn wrap
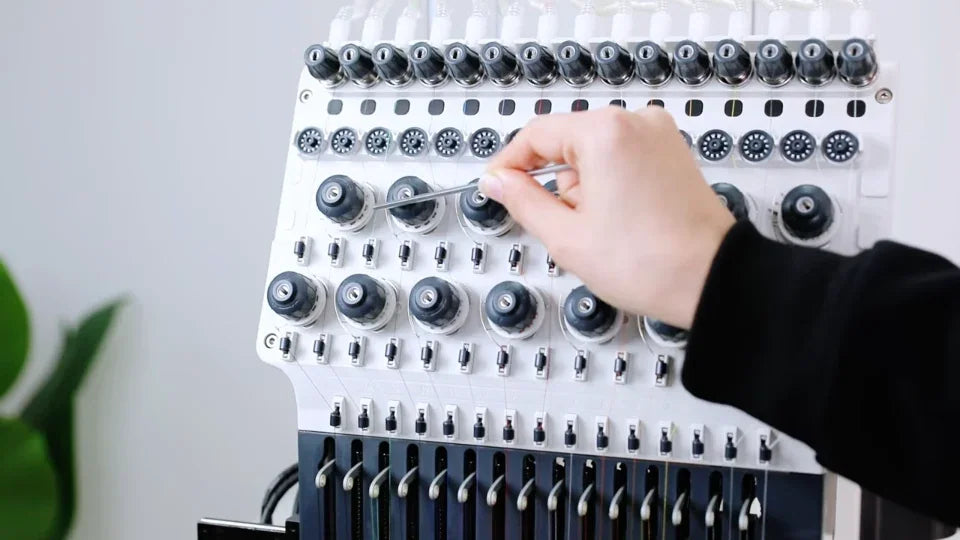
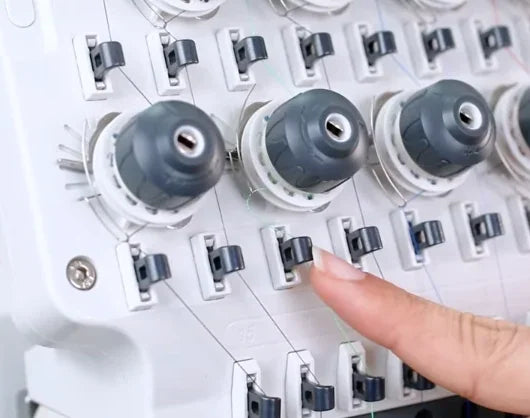
Watch at 00:34Locate the larger wheel the pointer indicates in the staggered rows on the front threading panel. On the path being checked, seat the thread around the indicated wheel for one full turn plus a half turn, as shown. Follow your needle's thread to identify the corresponding wheel.
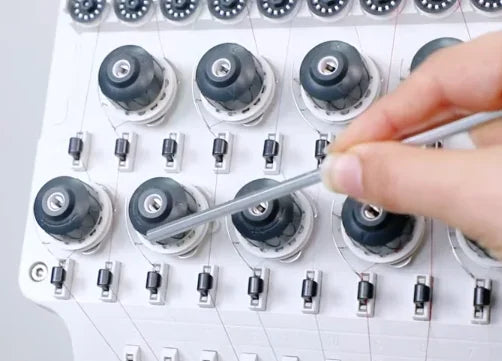
4. Seat the thread on the break sensor wheel
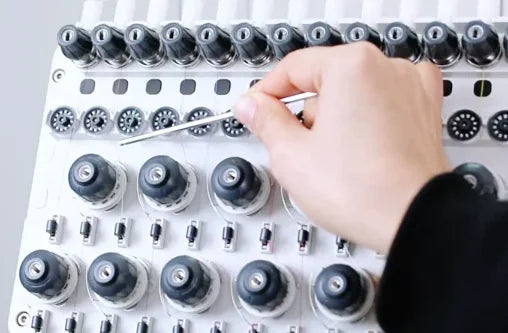
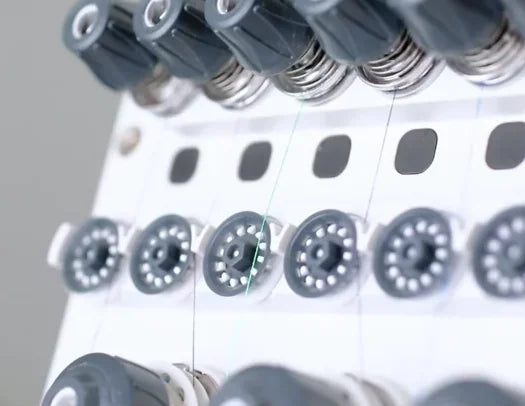
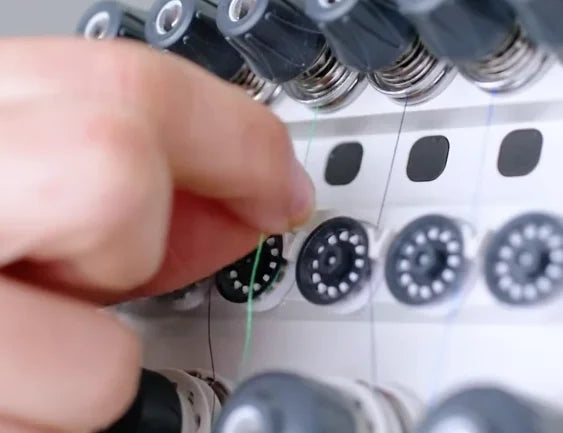
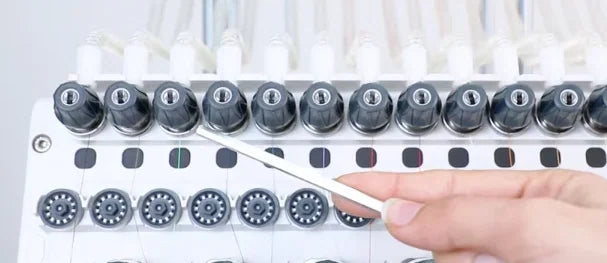
Watch at 00:40Find the separate row of small dotted wheels directly below the top row of tension knobs. Check that the upper thread passes around its thread-break sensor wheel. If it crosses the face or has slipped off, bring it around the rim and seat it in the wheel's groove as the green thread shows.
5. Check the top tension knob
Watch at 00:53Find the top-row knob for the same thread, directly above the sensor-wheel row. Check that the thread sits between the tension discs behind the knob and reseat it if it has slipped out.
6. Pull the upper thread gently
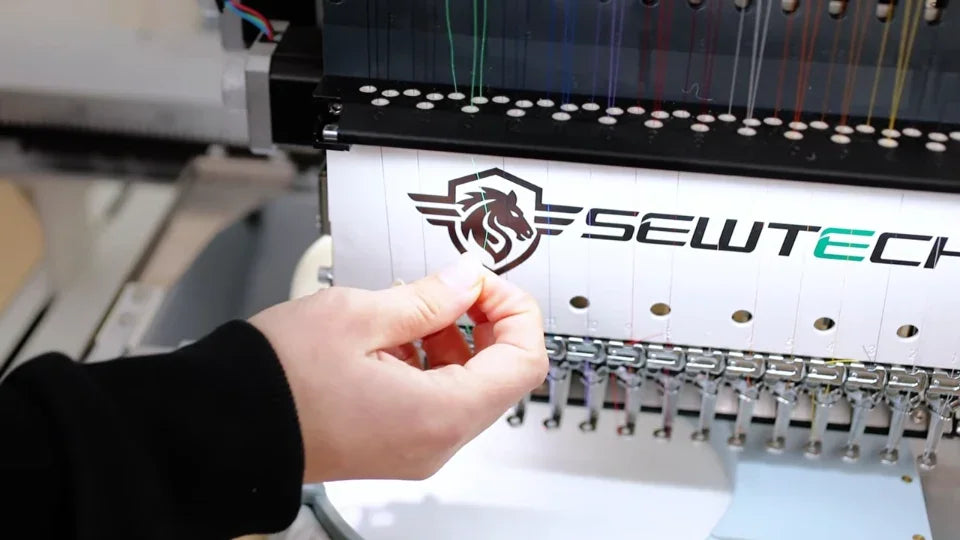
Watch at 01:03With the machine stopped, hold the thread near the needle area and draw it gently by hand. Smooth movement is the first check. If it feels tight or stops feeding, follow it back up the head to find where it catches.
7. Find and free a snag
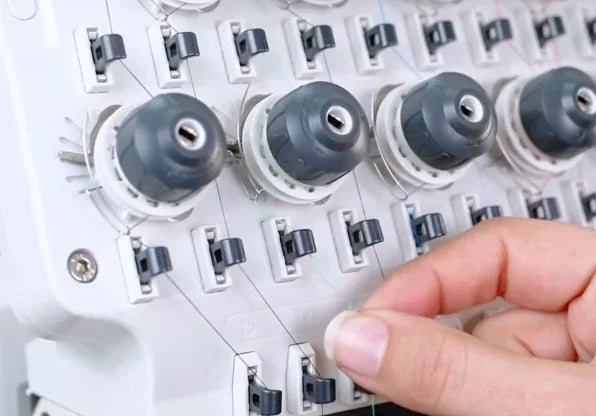
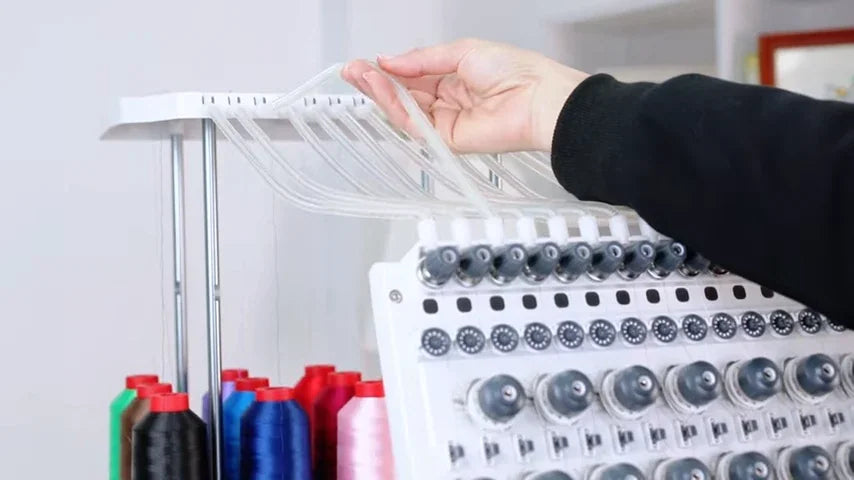
Watch at 01:13Trace the affected thread back past the take-up lever and the clips on the front threading panel. The demonstrator frees the green thread by hand near a lower guide, then continues the check up toward the tubes and top guide. Free the snag carefully and put the thread back through its proper guides.
8. Pull again and verify the upper path
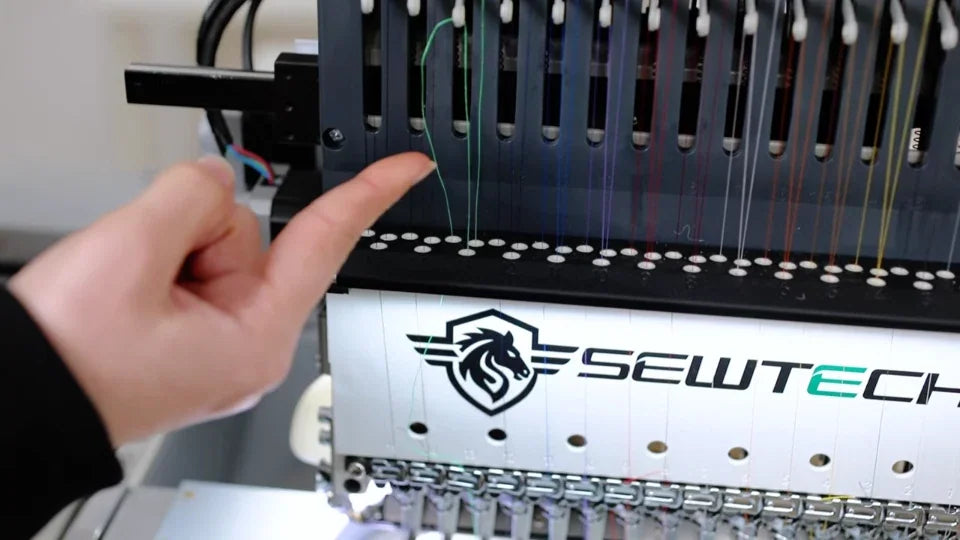
Watch at 01:33Gently pull the thread again at the needle area. It should feed freely after the snag is cleared. Confirm it still goes through every guide before moving on to the bobbin.
9. Open the bobbin area and remove the case
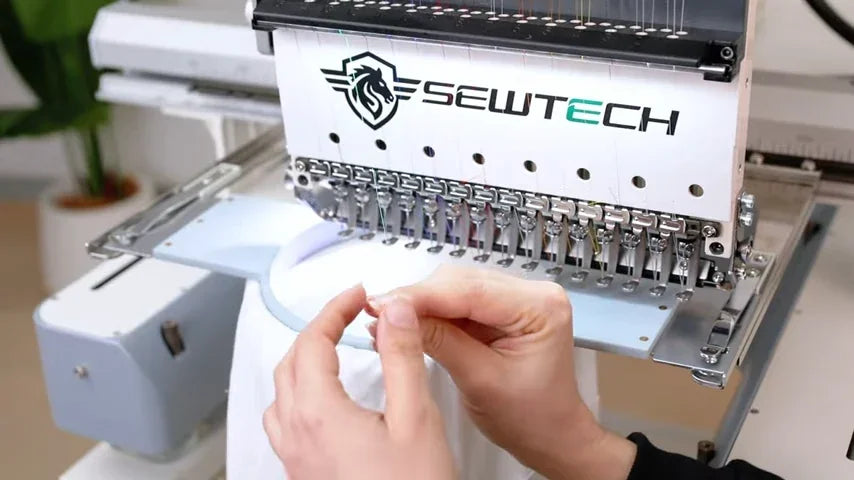
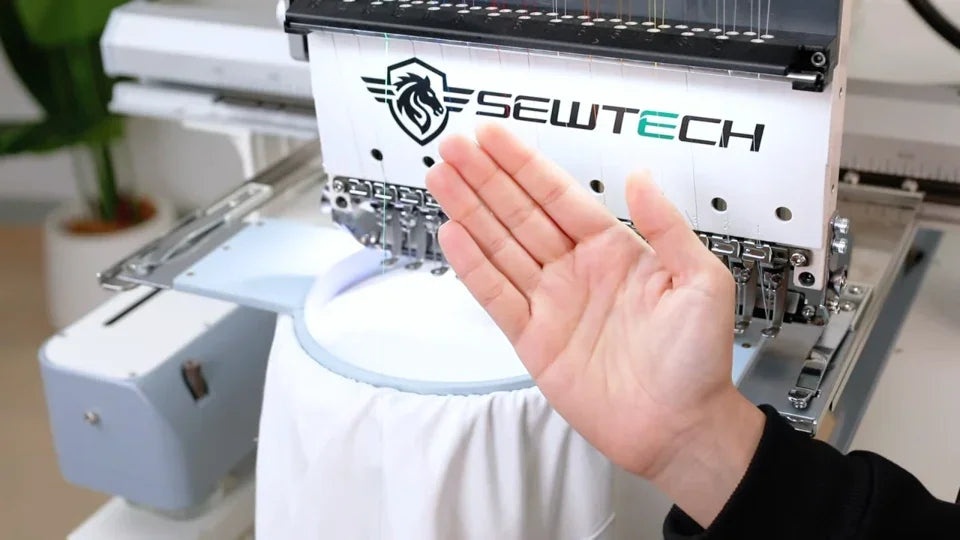
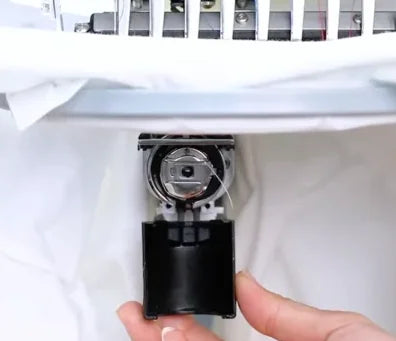
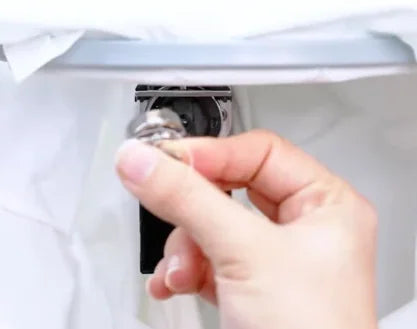
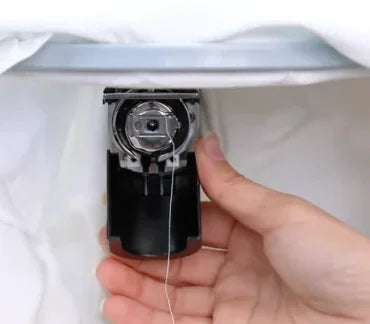
Watch at 01:46With the needle stopped, move the loose fabric edge aside to reach the compartment directly below the needle area. Open the small black cover downward and pull the bobbin case out by its center latch. Take the bobbin out to check how much thread is left.
10. Replace an empty bobbin
Watch at 01:56If the bobbin is empty, replace it with a full one. If there is still thread and it was failing to get picked up, use the same case-loading check in the next step.
11. Reload the bobbin and leave a tail
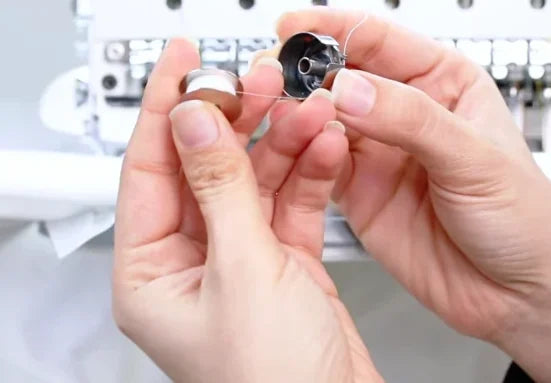
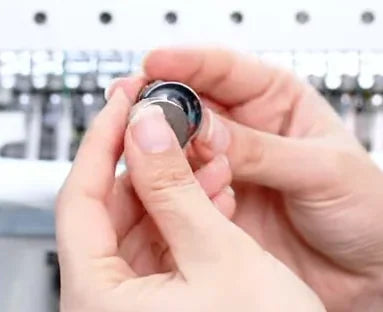
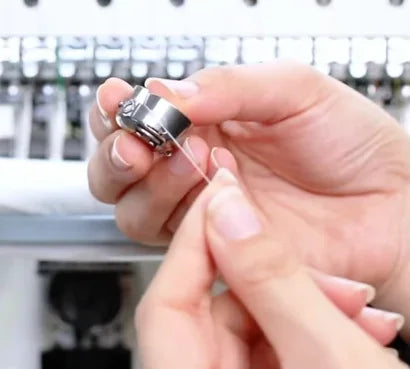
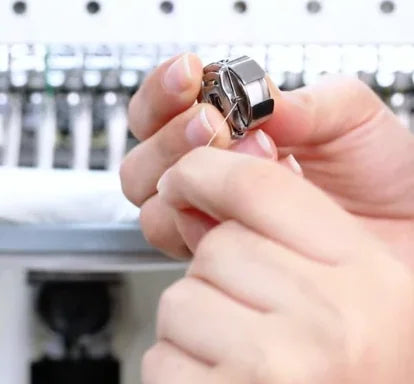
Watch at 02:07Place the bobbin back into the metal case and draw its thread through the slot at the side. Leave a little extra tail outside the case so it can be picked up. Refit the case under the needle area and make sure the tail is visible before closing the cover.
12. Back up to the last stitched point
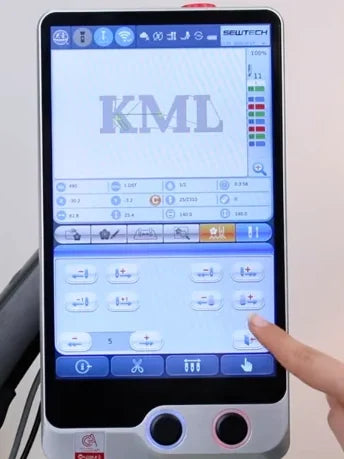
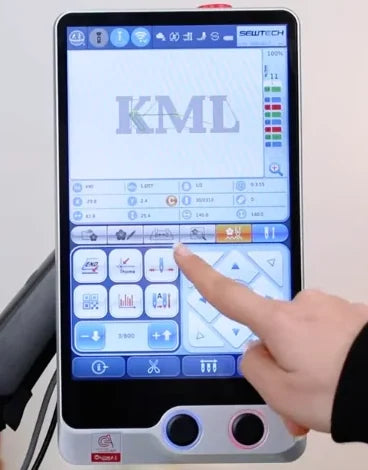
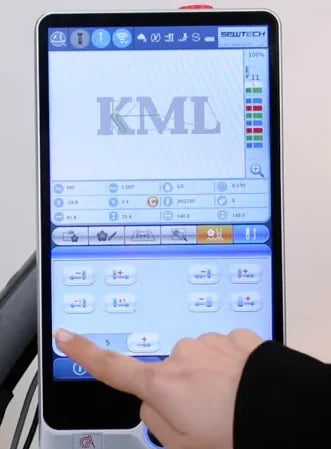
Watch at 02:20Open the stitch-position panel from the touchscreen toolbar below the design preview. In the panel, tap the lower-left minus/back control to move back a few stitches. Watch the design and check where the needle will enter against the last completed stitches. The panel in the video displays 5 as an example. Stop where your work needs to resume.
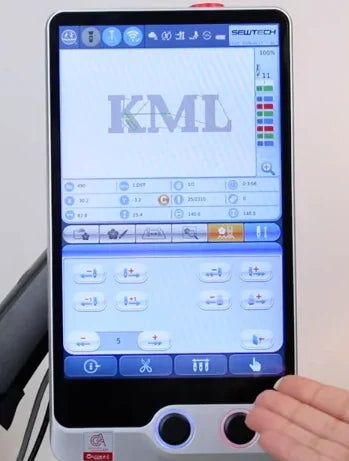
13. Close the panel and resume stitching
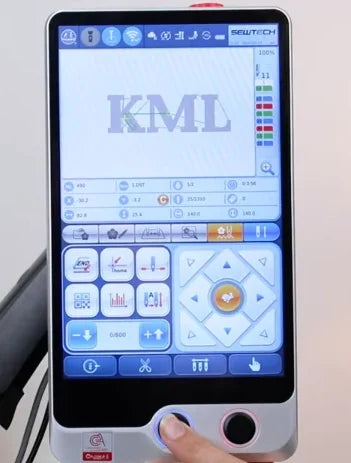
Watch at 02:26Tap the return icon at the lower right of the panel. Once the main screen is back and your hands are clear, press the blue-ringed physical button on the left below the touchscreen. Watch the first stitches at the restart point and check that they join the existing embroidery, that the bobbin thread is being picked up and that the alarm stays clear.