Routine Maintenance for the ST-1201 and SC-1501

Overview
Follow the ST-1201 demonstration for the ST-1201 and SC-1501. Keep the machine off for hands-on work. The video covers daily rotary-hook oiling when the machine is used daily, weekly oiling at the needle bars and actuating rod, grease every two weeks, cleaning, and the needle-position check after you power back on.
Step-by-step guide
1. Gather the supplies and switch off
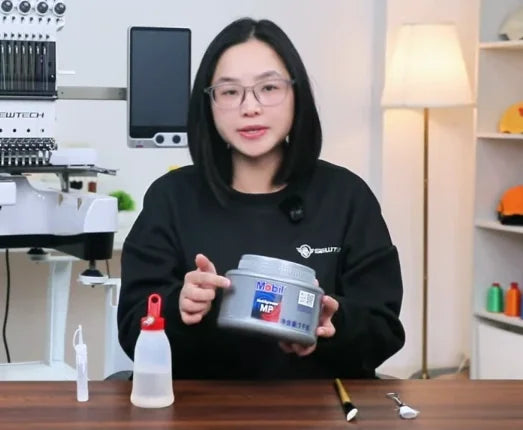
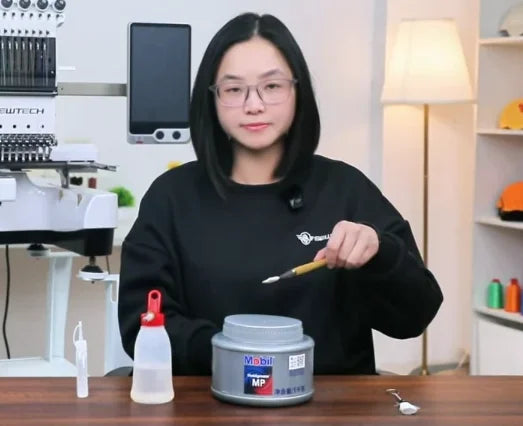
Watch at 00:23Prepare sewing machine oil, a fine-tip oiler, suitable grease, a brush for grease, a separate brush for lint, and the tool for the rotary hook cover screws. The presenter shows a small bottle of oil supplied with the ST-1201 and recommends Mobil grease. The fine-tip oiler and brushes are separate supplies. Switch the machine off before touching the needle area, rails or covers.

2. Oil the rotary hook
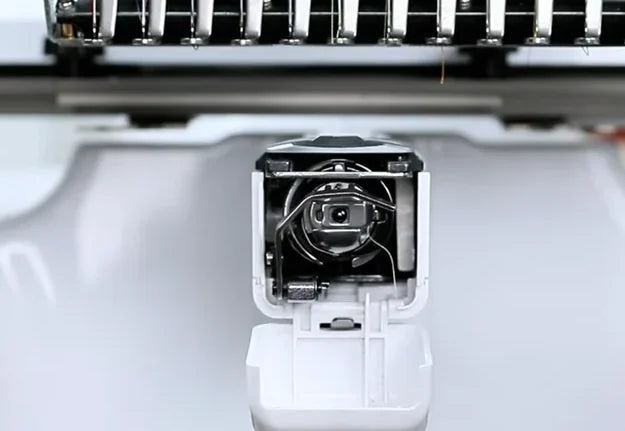
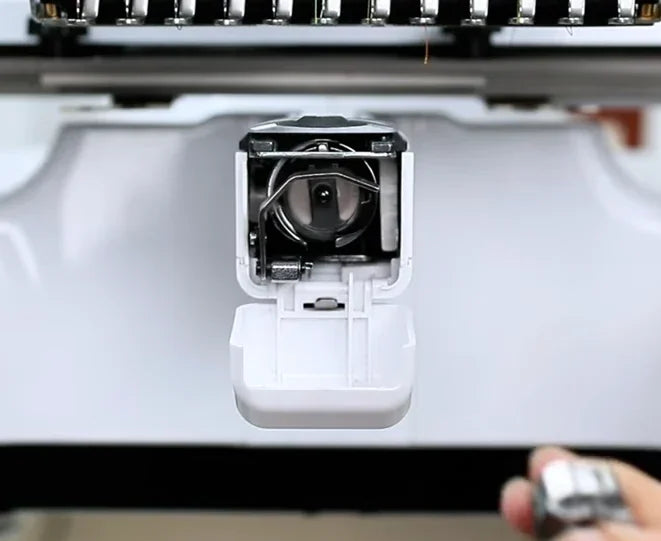
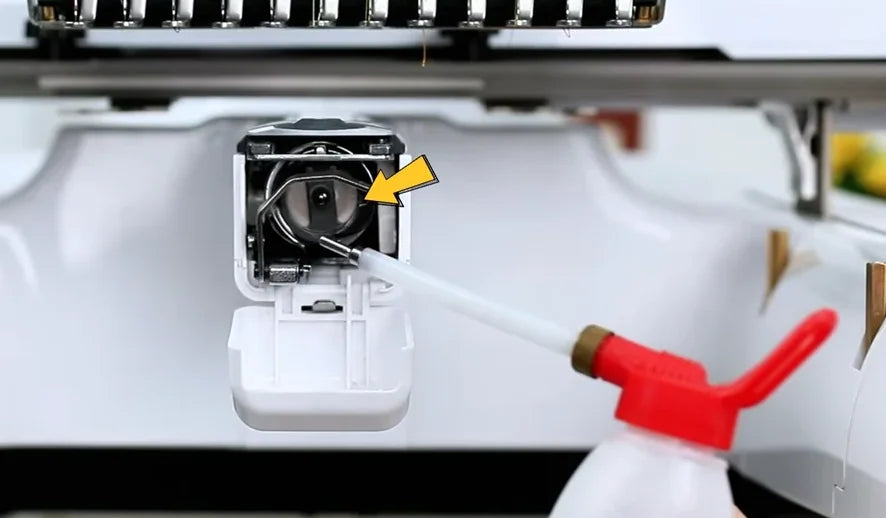
Watch at 01:39With power off, fold down the white bobbin door below the needles. Pull the bobbin case out by its latch. Brush away any loose thread or lint, then put 1–2 drops of sewing machine oil on the rotary hook at the yellow arrow. If you use the machine daily, oil the hook once a day, ideally after finishing work. Refit the bobbin case before sewing again.
3. Oil three needle-bar slots
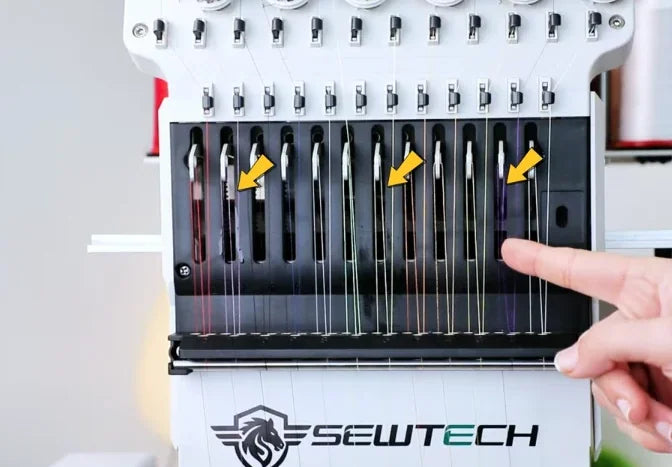
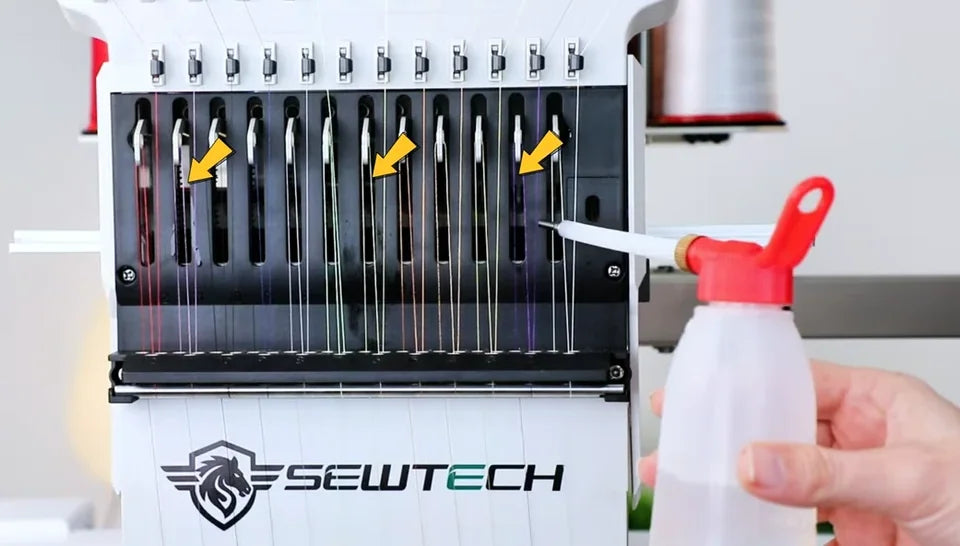
Watch at 02:09Find the vertical slots on the front face of the head. Choose any three slots. The video uses one toward the left, one near the middle and one toward the right. Put the fine tip into each selected slot and apply sewing machine oil once a week. The narration specifies two drops per slot. The on-screen label gives a range of 2–3 drops.
4. Oil the actuating rod
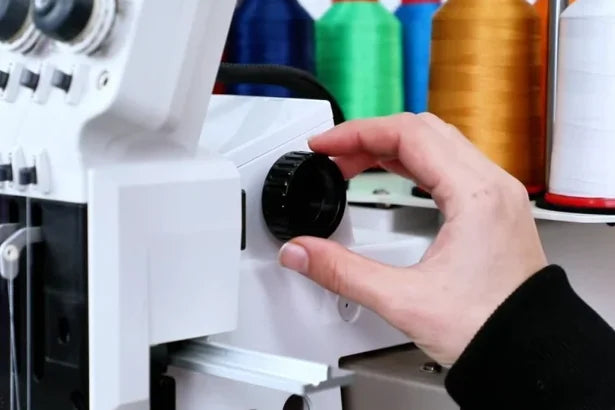
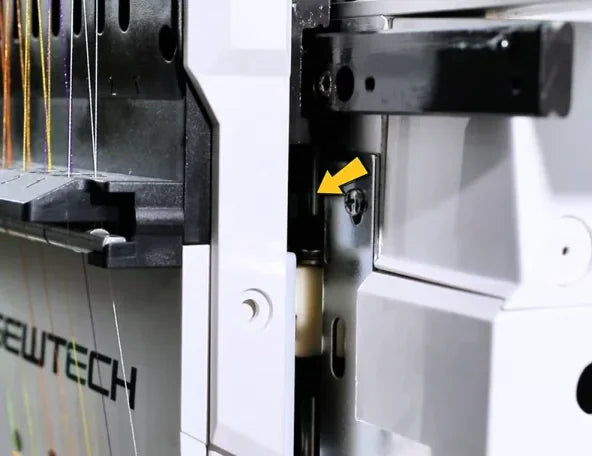
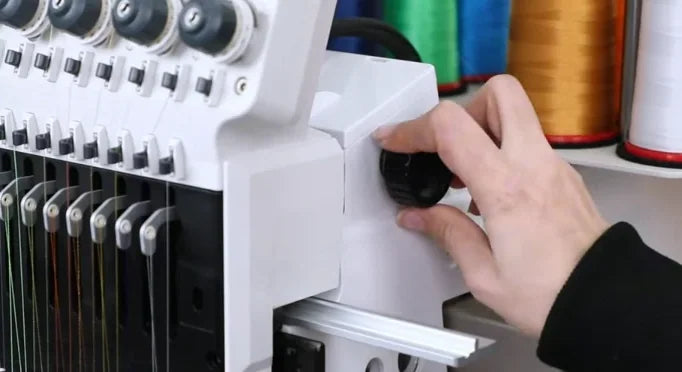
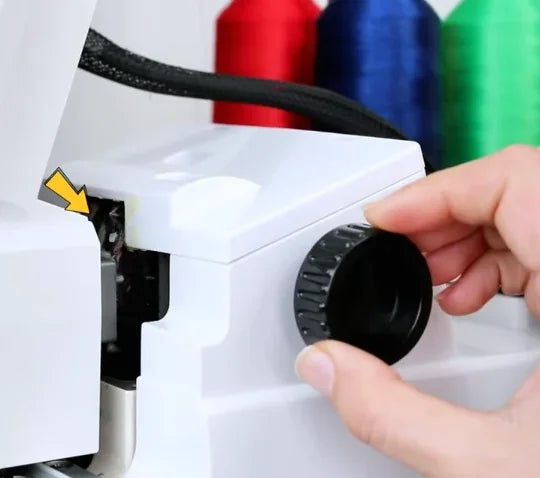
Watch at 02:42With power still off, turn the black knob beside the head clockwise. The head slides left and exposes the vertical metal actuating rod in the gap. Aim the oiler at the rod marked by the arrow. Oil it weekly. The narration specifies two drops at this point and the on-screen label gives 2–3 drops.

5. Grease both sides of the head travel rail
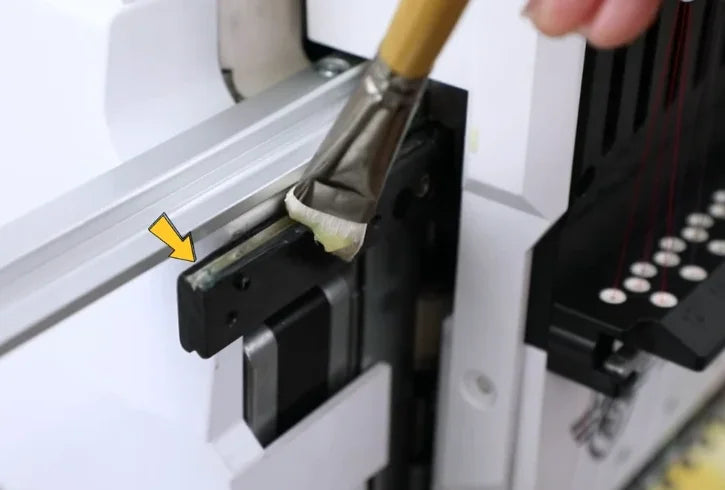
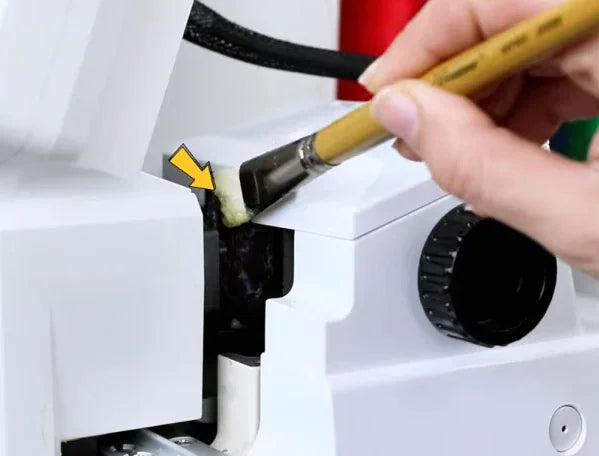
Watch at 03:17With the head left from the previous step, brush grease along the exposed head travel rail on the right at the arrow. Turn the same black knob counterclockwise so the head moves right. Brush the newly exposed rail on the other side. Cover both exposed sliding surfaces evenly. Repeat every two weeks.
6. Grease the color-change rollers on both sides
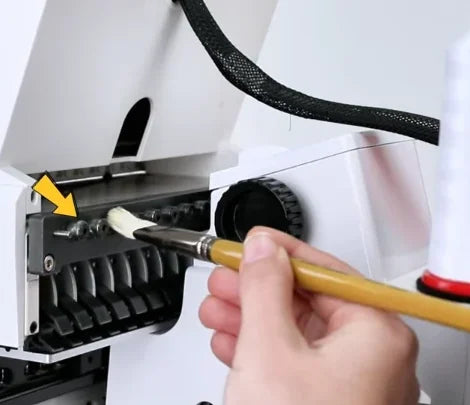
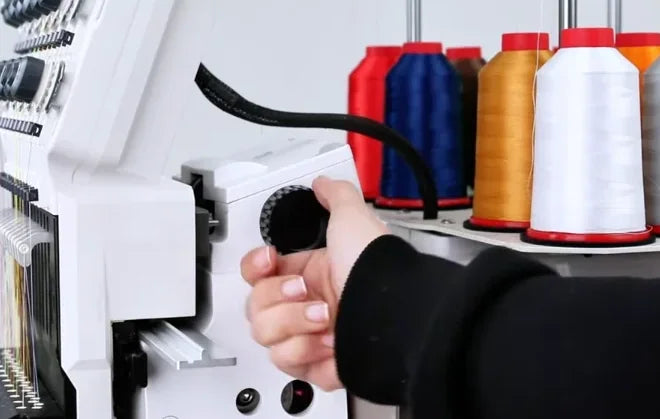
Watch at 03:44Find the row of small cam follower rollers beside the head and brush a thin coat onto each exposed roller. Turn the black knob clockwise to its stop to bring the opposite group into view. Apply a thin coat to those rollers as well. Repeat every two weeks.

7. Grease the cam wheel’s contact surface
Watch at 04:15After you coat both sets of rollers, find the cam wheel in the opening next to the black knob. Brush grease onto the surface where the wheel meets the rollers. Turn the knob a few times by hand to distribute the grease evenly. Repeat every two weeks.
8. Grease both cap-driver rails
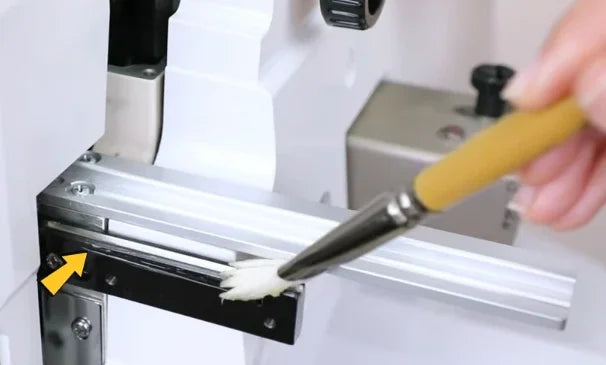
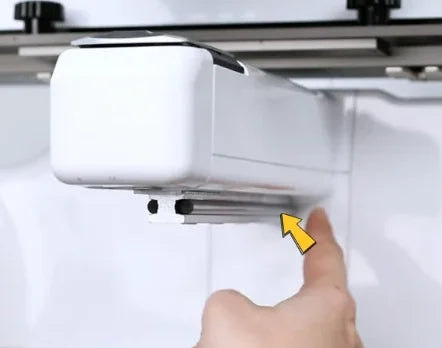
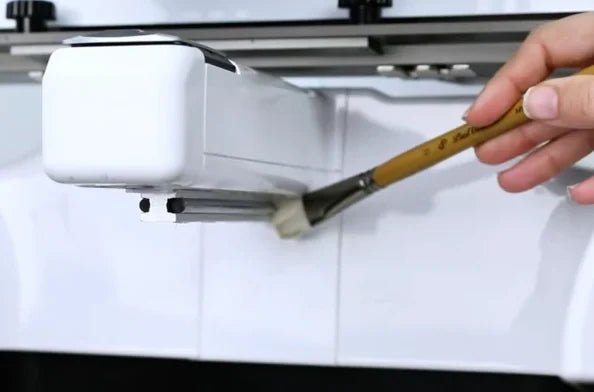
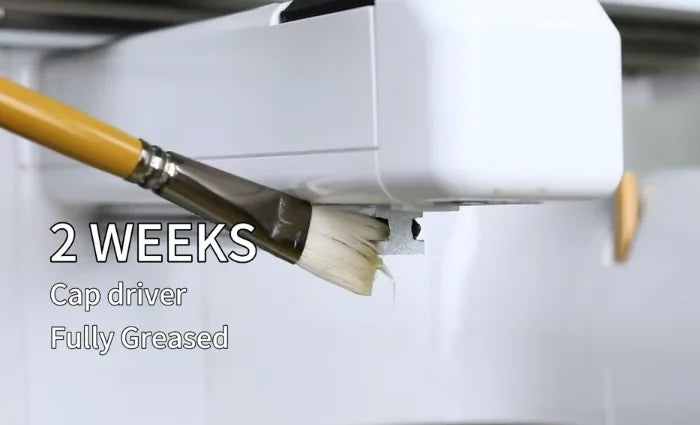
Watch at 04:41Find the two short sliding surfaces on the sides of the lower arm, just underneath the bobbin housing. The video starts with the right-hand surface and then shows the other side. Brush a thin, even coat along both rails. Repeat every two weeks.
9. Grease inside the cap driver
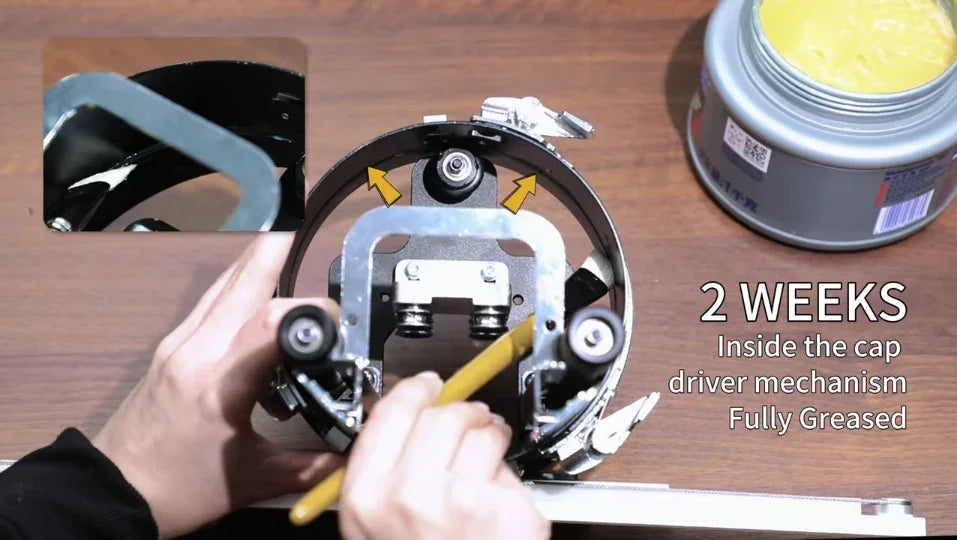
Watch at 05:08The video shows the cap driver off the machine on a bench. Brush grease along the inside curved groove in the ring, following the path marked by the arrows. Turn the mechanism by hand to spread the grease around the groove. Repeat every two weeks.

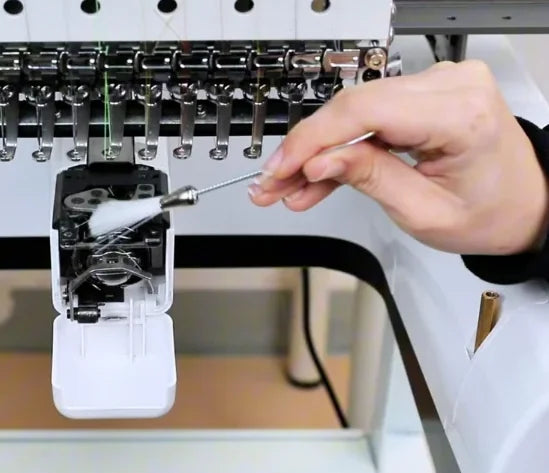
10. Clean under the rotary hook cover
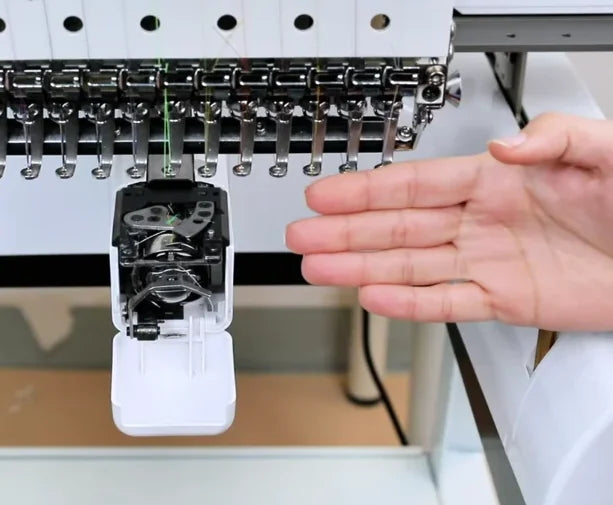
Watch at 05:32Keep the power off. Loosen the fasteners beside the small metal cover above the bobbin opening. Fold down the white door and lift off the metal cover to reach the area behind it. Use the cleaning brush to remove visible lint and stray threads. Seat the metal cover and secure its screws before closing up. The narration says weekly. The on-screen reminder and end chart say every two weeks. Follow the interval in your machine’s maintenance instructions.

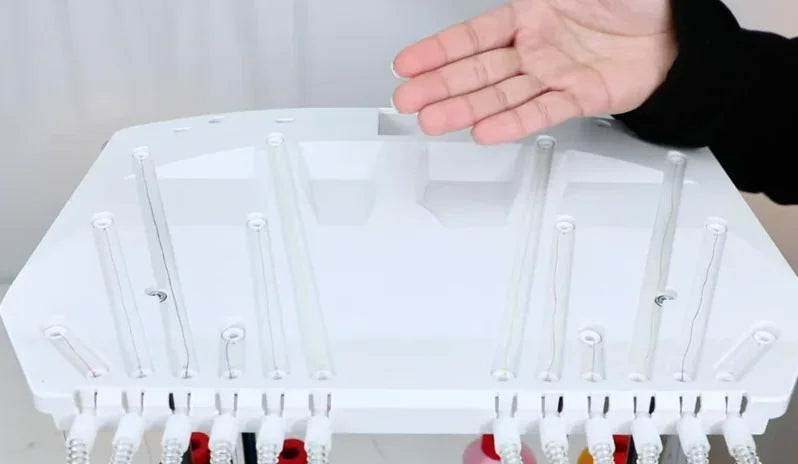
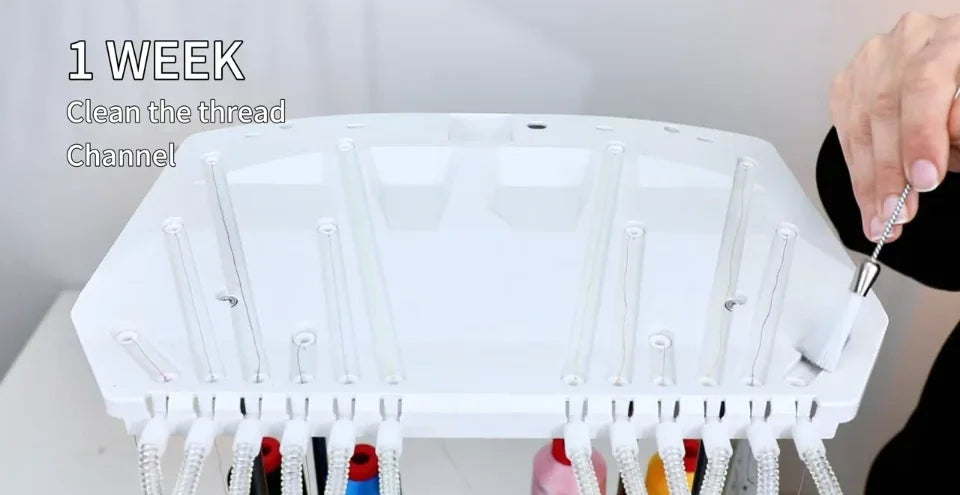
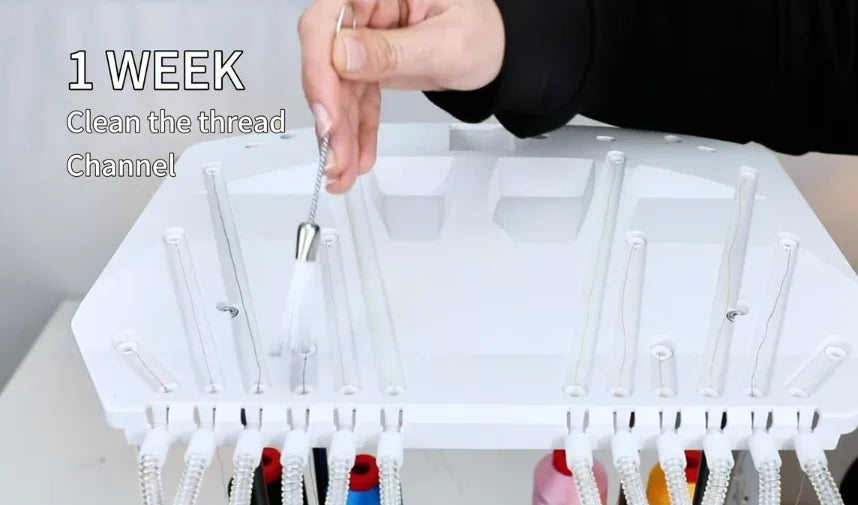
11. Brush out the upper thread channels
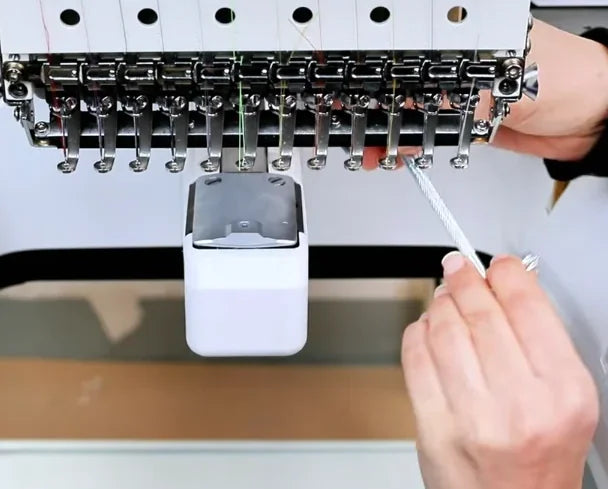
Watch at 06:34Check the white thread-guide plate above the thread cones. Use the clean brush to sweep lint, dust and loose thread out of the grooves and corners where the threads pass. The video shows brushing from the outer grooves toward the middle. Repeat weekly.
12. Check for a dull needle or skipped stitches
Watch at 07:05The presenter recommends replacing needles regularly. If stitches begin to skip or the needle feels dull, fit a fresh needle with the power off. This part of the video explains when to change it. Follow the needle replacement instructions for your machine to fit the new one.
13. Power on and open the needle-selection screen
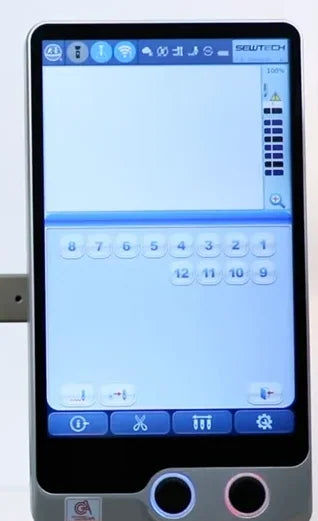
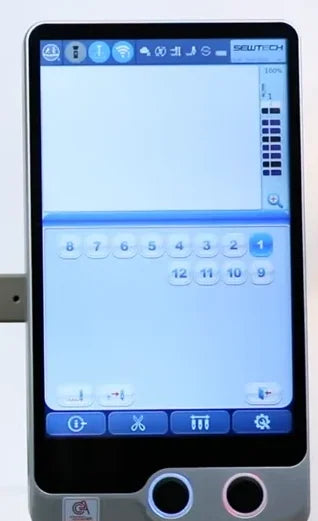
Watch at 07:22After reassembly, switch on the machine and wait for the controller to finish starting. On the A15-pro panel shown here, tap the orange icon just to the left of the red icon in the middle toolbar. Then tap the three-needle icon, third from the left on the bottom blue bar, to open the numbered needle buttons. Check the needle number and the warning indicator before sewing.



14. Restore the needle position if it reads zero
Watch at 07:36Turning the knob by hand during maintenance can leave the needle number at 0 with a warning visible. On the needle-selection screen, tap the small pale button second from the left just above the bottom blue bar, as shown. Tap it again as needed until a needle number turns blue and the warning clears. Needle 1 is highlighted in the example. Check both signs before resuming embroidery.