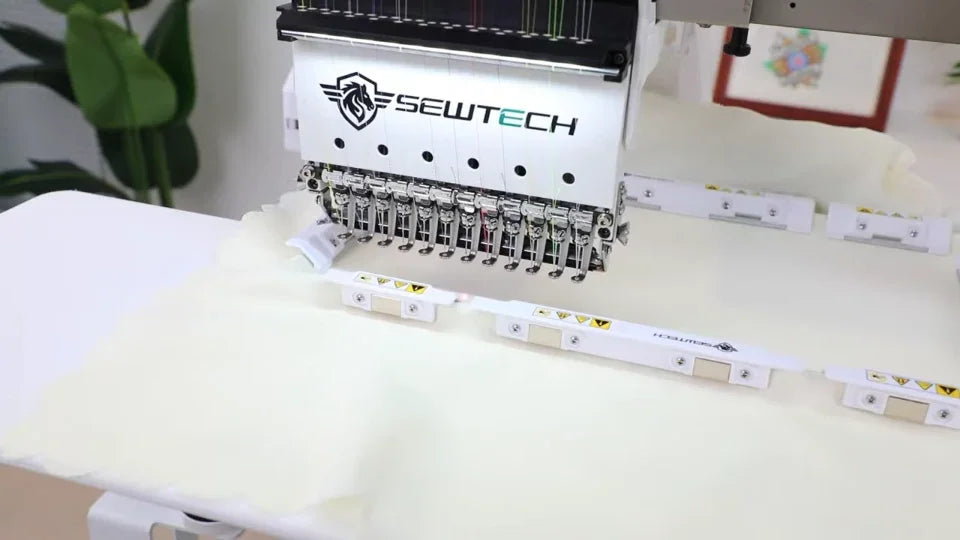
Use a Magnetic Sash Frame on the ST-1201 and SC-1501

Overview
Fit the flat table, hold the fabric with the sash frame magnets and confirm the design fits before stitching.
Step-by-step guide
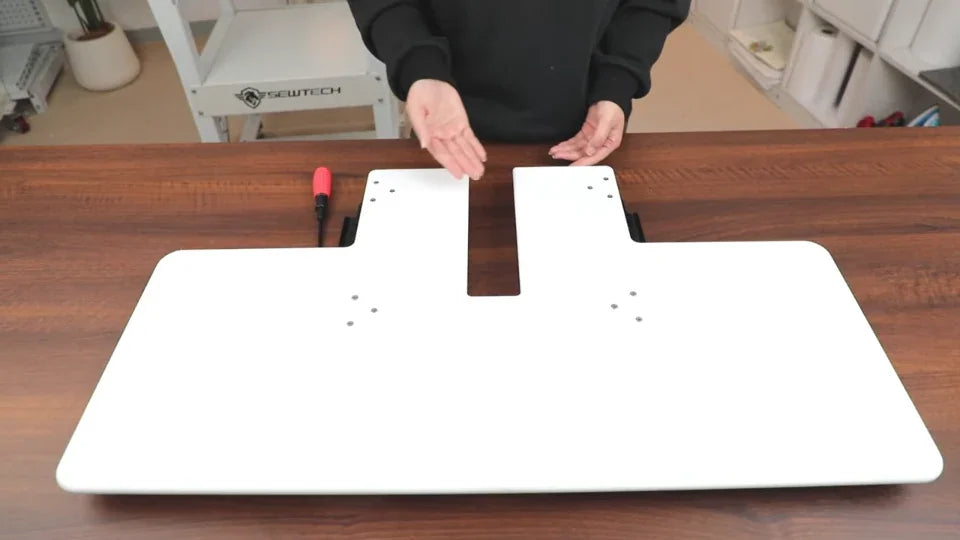
1. Prepare the flat table
Watch at 00:46Attach the table brackets and match the four machine mounting points. Check the table sits securely beneath the frame path.
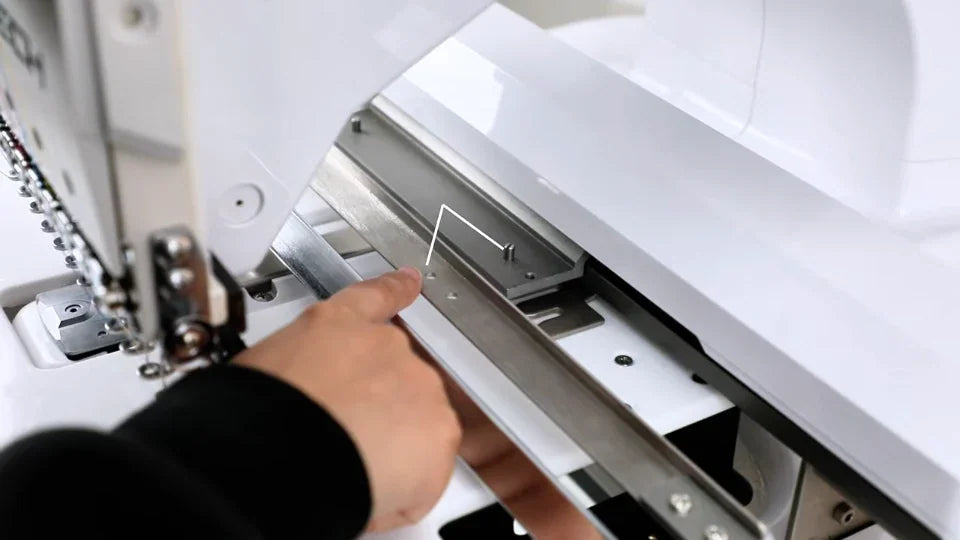
2. Secure fabric and mount the sash frame
Watch at 03:43Smooth fabric and backing and place the magnets as shown. Align the illustrated holes and pins while keeping the frame level.
3. Load the design and choose the frame
Watch at 05:38Import the desired design from USB and select the frame matching the mounted hardware. Check the needle colors.

4. Trace the design before stitching
Watch at 07:02Run the laser trace and check position and safe clearance. Confirm the settings before starting embroidery.