SEWTECHSupport Center 简体中文

Troubleshoot Thread Breaks on the ST-1201 and SC-1501

Applies to ST-1201 / SC-1501 Demonstrated on ST-1201

Watch on YouTube ↗

Overview

If the machine repeatedly stops with thread breaks, start with the bobbin, then check the needle and the upper thread path. The video demonstrates the checks on the ST-1201. Stop the machine before handling the bobbin, needle or thread. Have a wound spare bobbin, a small flat-blade screwdriver and a suitable replacement needle at hand.

Step-by-step guide

1. Open the bobbin cover and check for thread

Watch at 00:31

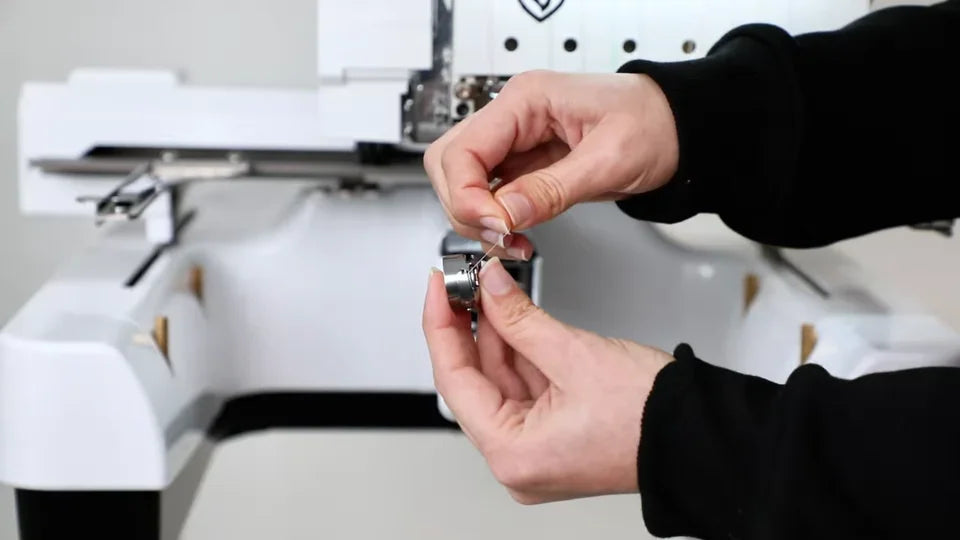
With the machine stopped, open the front cover directly below the needle plate and pull out the bobbin case. Take the bobbin out of the case to see whether it has thread left. If it is empty, put a fully wound bobbin into the case and draw the thread tail through the case slot and under the tension spring before testing.
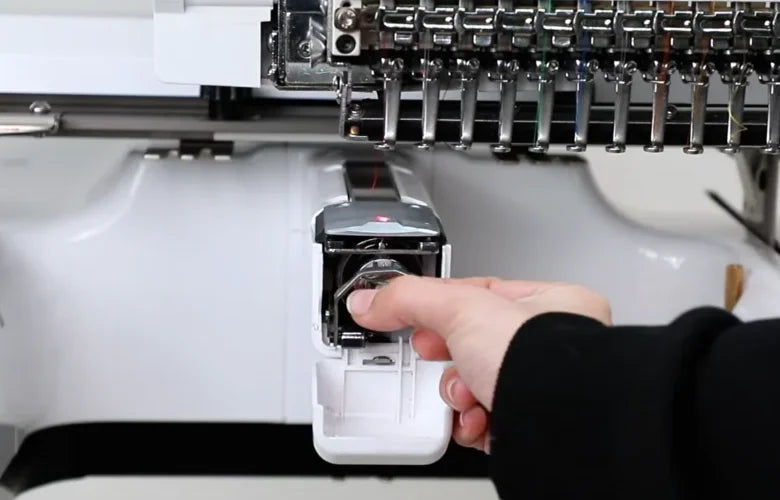
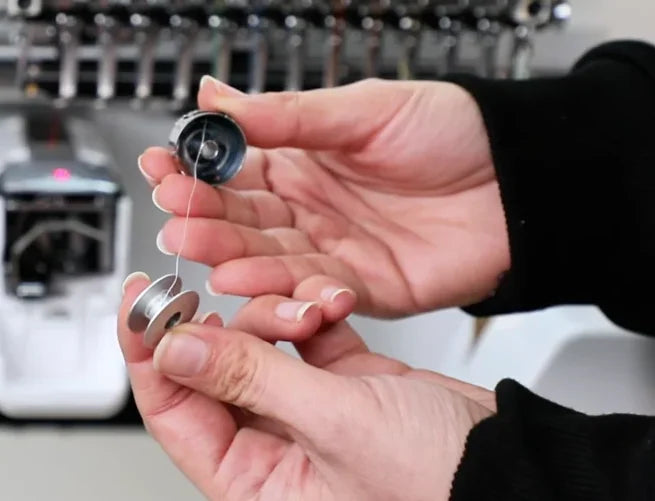
The front cover folds down to expose the bobbin case under the needle plate.
The bobbin is held below the empty case so you can see the remaining thread on the bobbin.
The thread tail comes out along the side of the case after the bobbin is seated.

2. Hang the case by the thread

Watch at 00:49

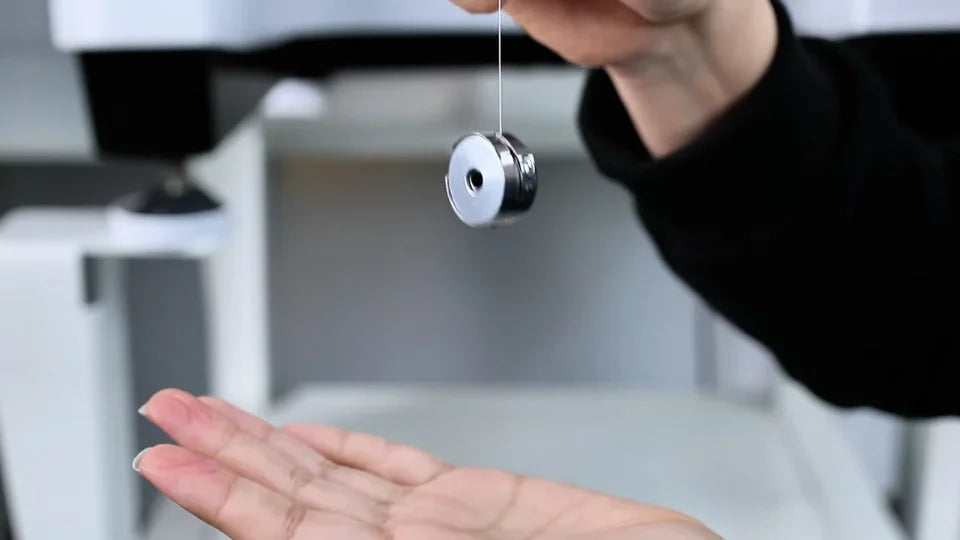
Pinch the loose thread end and let the loaded case hang freely. Keep your other hand underneath as a catch. A case that hardly drops, or descends only slowly even after a firmer shake, has too much bobbin tension.
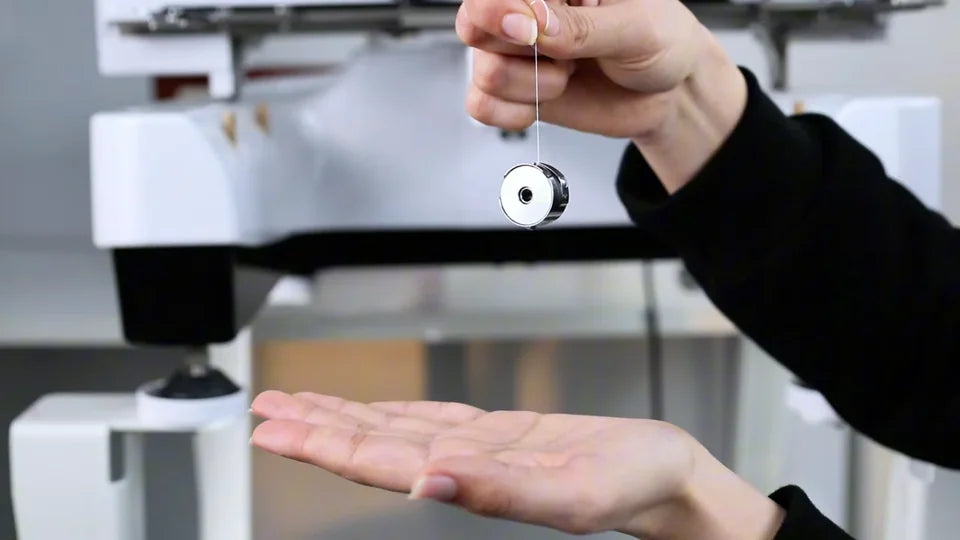
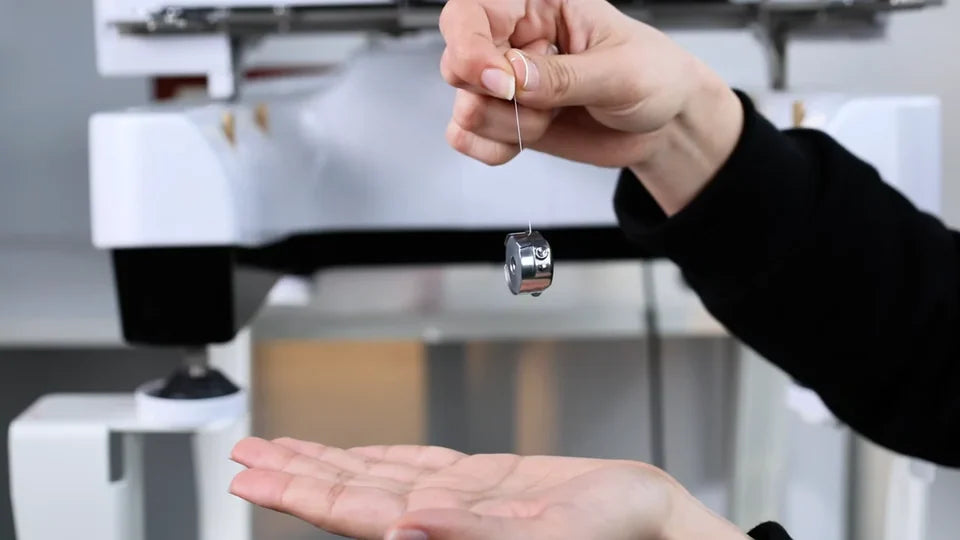
Hold the thread end above the case and keep the lower hand clear while the case hangs.
The case is still close to the held end of the thread after the shake in the tight example.

3. Loosen the larger screw in small steps

Watch at 01:05

On the side of the bobbin case, locate the larger slotted screw on the tension spring. With a small flat-blade screwdriver, turn it counterclockwise about 1/10 to 1/8 of a turn. Hang the case again after each adjustment and repeat only as needed.
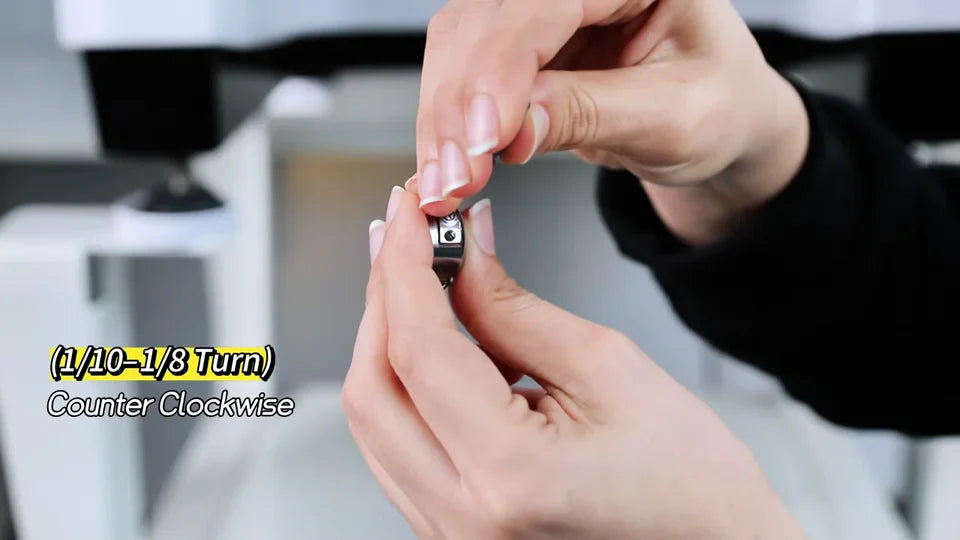
The driver is on the larger screw. The on-screen label shows the counterclockwise adjustment and its small range.
The demonstrator suspends the case again before deciding whether to adjust it further.

4. Retest for a short, smooth drop

Watch at 01:29

Give the hanging case a gentle flick of the wrist. The video's criterion is a smooth drop of about 3–5 cm (roughly 1–2 in), followed by a stop on its own. Watch the case relative to the thread pinched in your fingers and keep your lower hand beneath it.
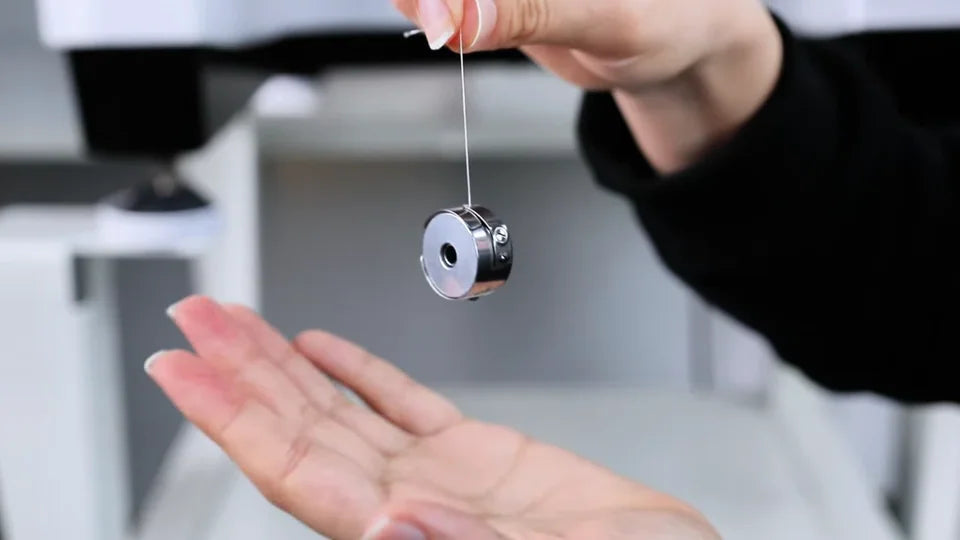
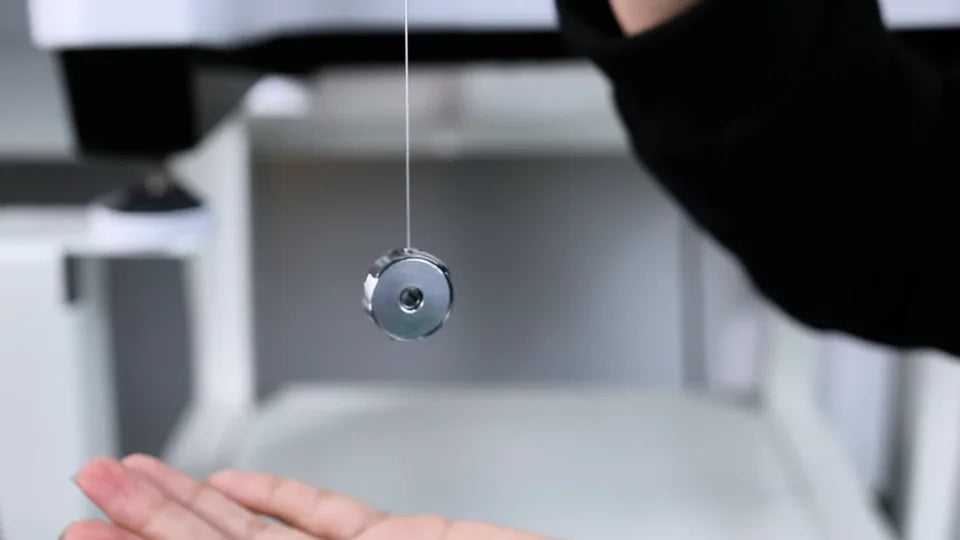
At the start of the final check, the case hangs below the pinched thread with the other hand ready underneath.
The case is farther down the thread in the next moment. The 3–5 cm target comes from the narration.

5. Reinstall the bobbin case

Watch at 01:32

Guide the loaded case straight back into the hook opening under the needle plate. Seat it fully, then close the front cover before moving on to the needle checks.
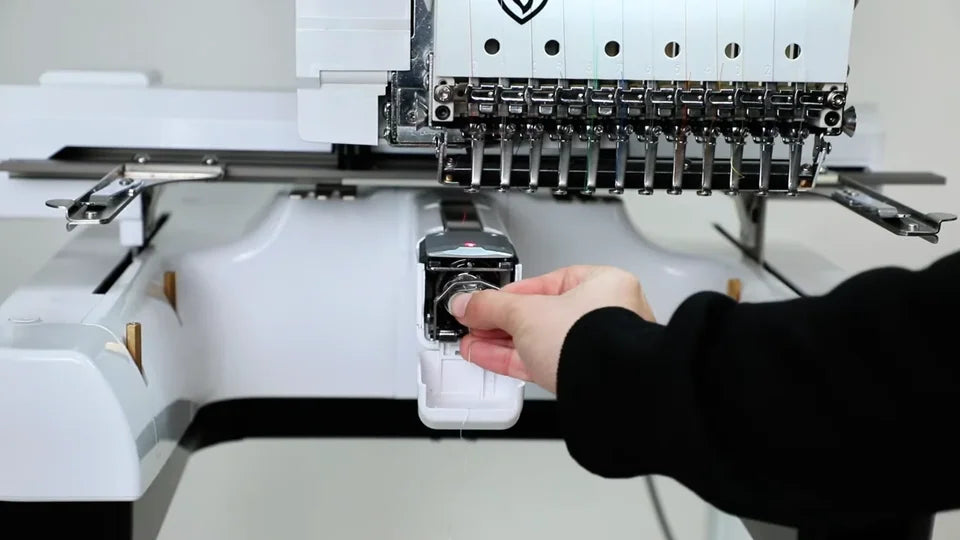
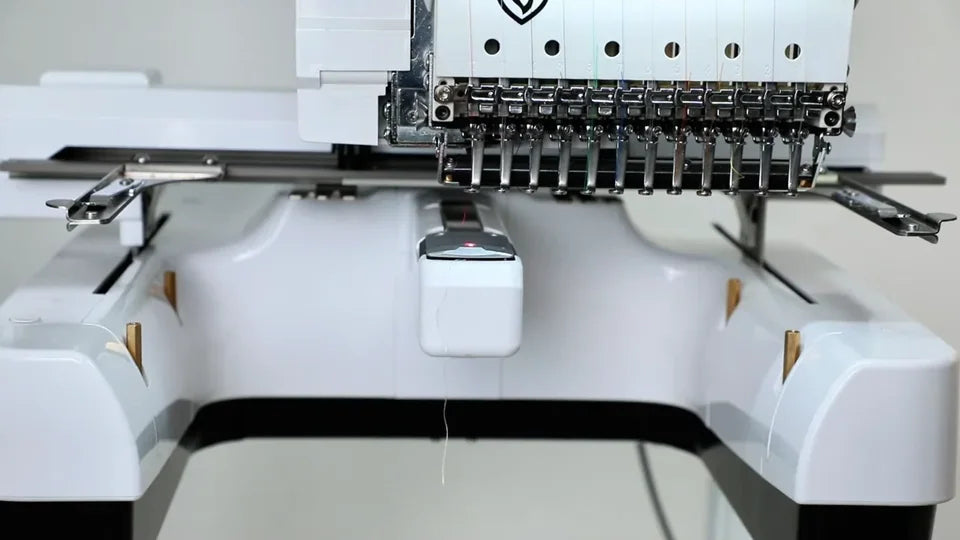
The case goes into the round opening behind the lowered cover.
The cover is closed again at the end of the bobbin section.

6. Identify the front and back of the needle

Watch at 01:41

At the front of the stationary needle head, inspect the needle fitted at the problem position. The long thread groove should face you. The scarf, the small recess just above the eye on the other side, should face the machine.
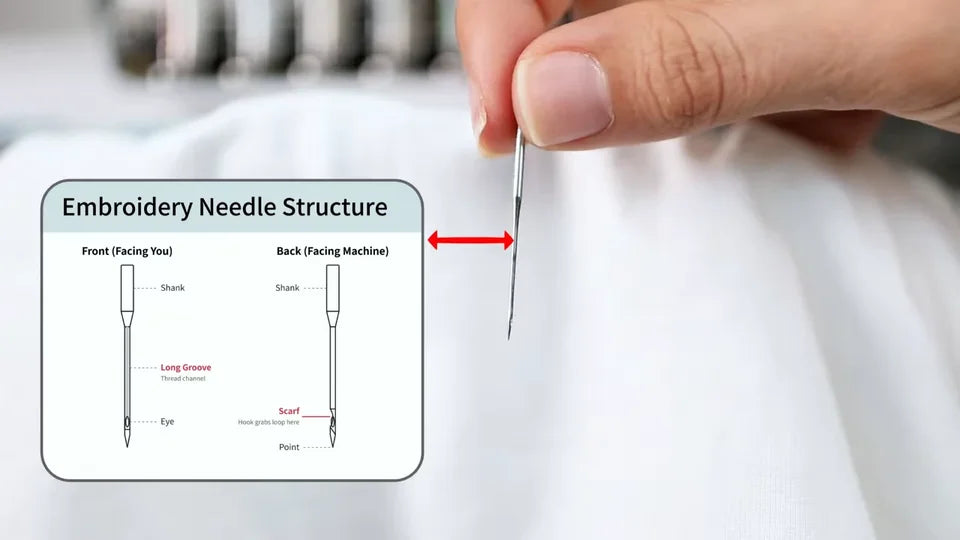
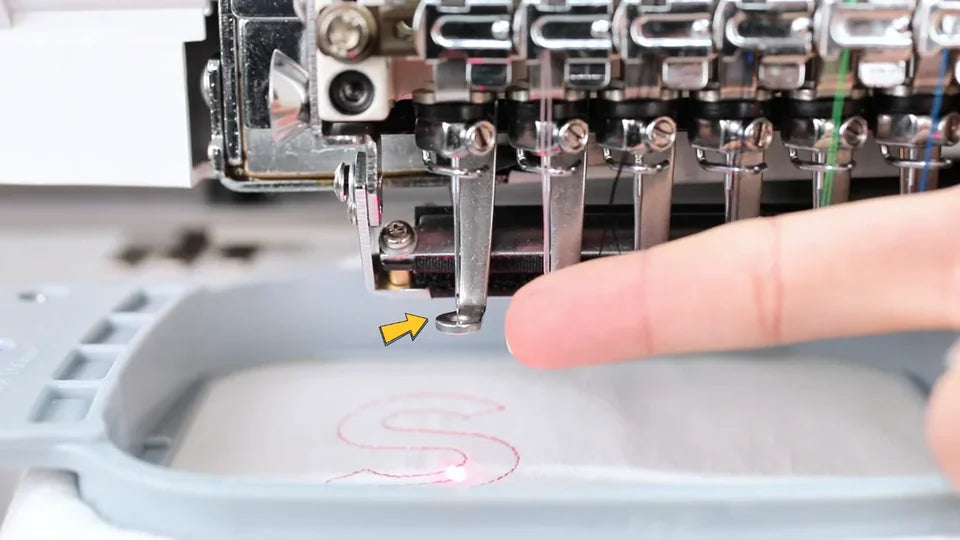
The diagram marks the long groove on the front and the scarf on the back near the needle eye.
The arrow identifies the needle position being checked at the front of the head.

7. Seat the needle fully and tighten its screw

Watch at 02:02

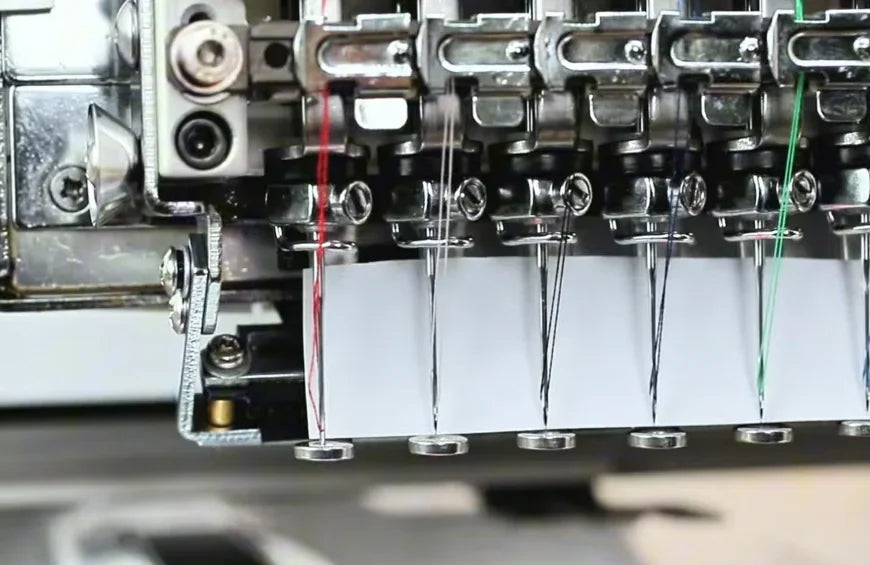
If the needle sits too low or is out of position, support it while loosening the clamp screw next to that needle shank. Keeping the long groove forward, push the needle up as far as it will go into the needle bar. Hold it there while tightening the screw. Check the seating of the other needles too.
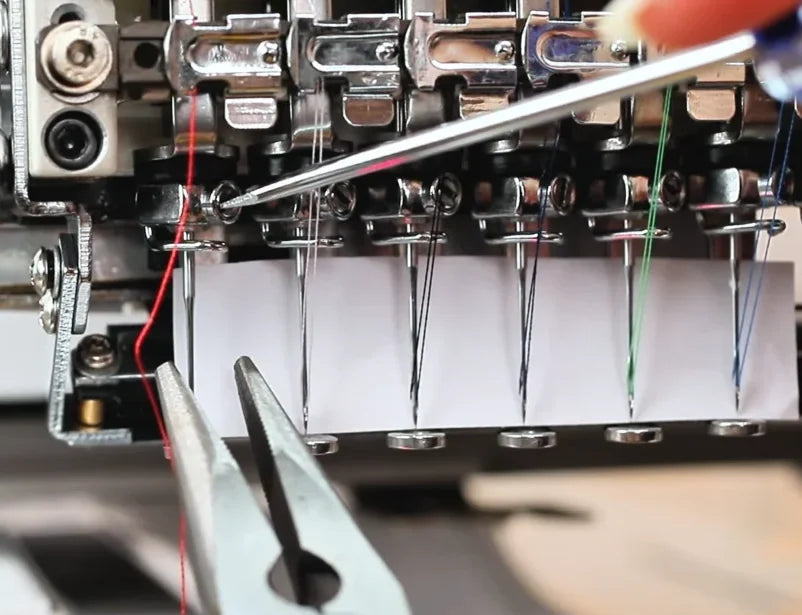
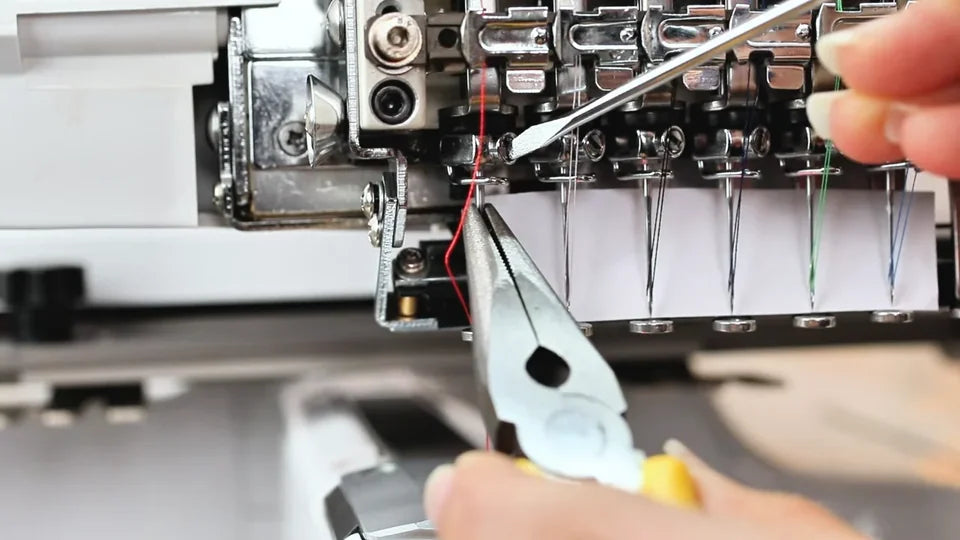
The screwdriver points to the clamp screw beside the red-threaded needle. Pliers support the needle from below in the demonstration.
Pliers steady the needle from below while the screwdriver is against the clamp screw.
This close-up shows the needles back in place after the adjustment.

8. Replace a worn needle

Watch at 02:13

If the needle has been in use for a long time and is worn, fit a new one suitable for your machine. Keep the same orientation, seat it fully and secure the clamp screw. A worn needle can contribute to thread breaks or needle breakage.
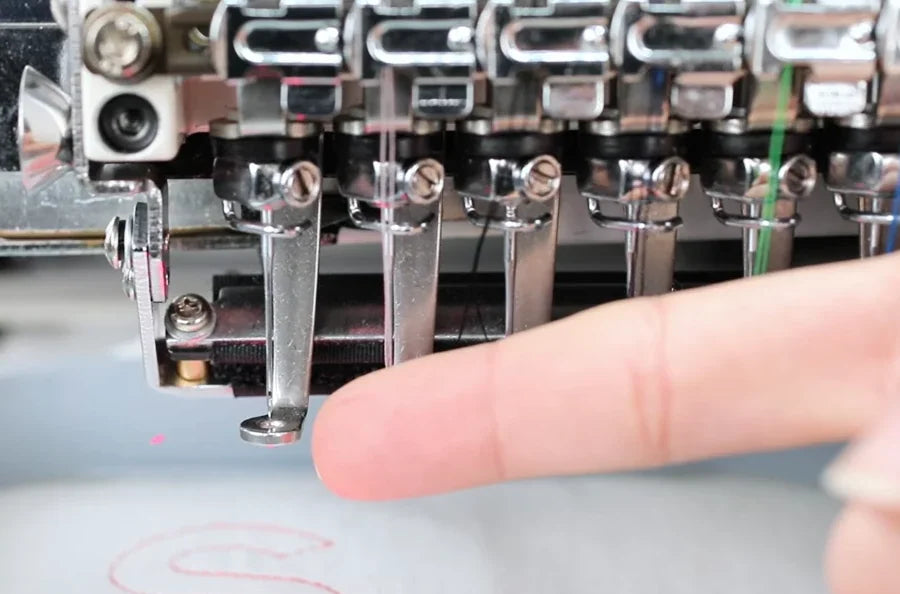
The presenter points to the working needle as she explains when to replace it.

9. Pull the upper thread gently to locate drag

Watch at 02:31

With the machine stopped, take the upper thread end for the problem needle and pull it gently by hand. If it is unusually hard to pull or catches, trace that thread from its spool to the needle to find where it binds or leaves its intended path.
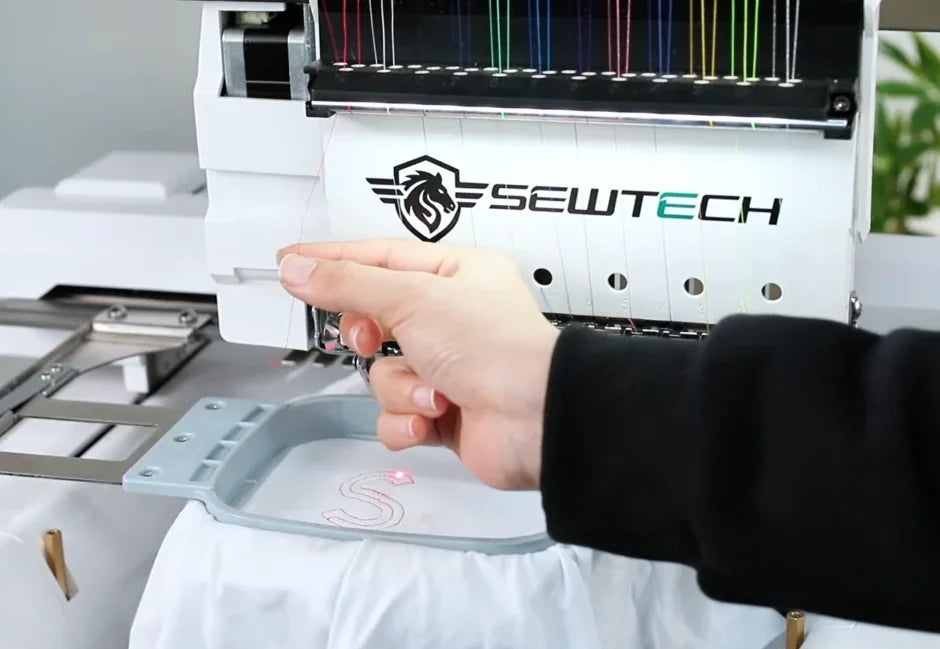
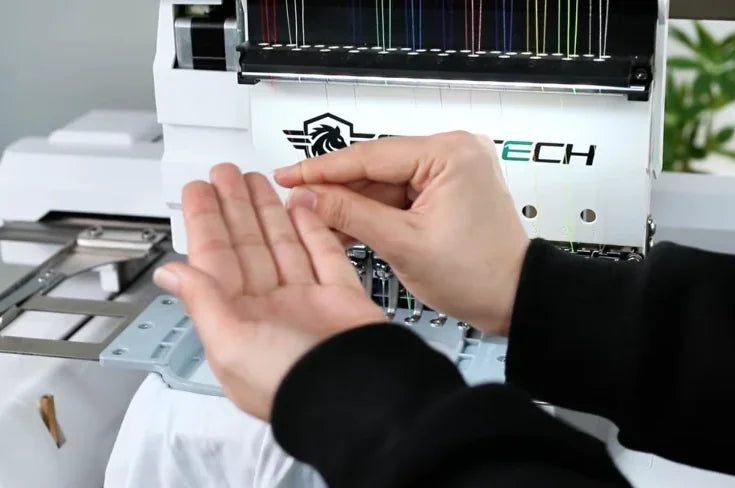
The demonstrator pulls the selected thread by hand at the needle end.
The hand behind the thread makes the strand easier to see before tracing it back to the spool.

10. Free thread trapped at the spool cap

Watch at 02:50

Find the same thread's cone on the spool stand. Lift the cone and check around its holder and cap. Free any trapped strand, return the cone to its holder and rethread it so it can feed freely into the overhead guide.
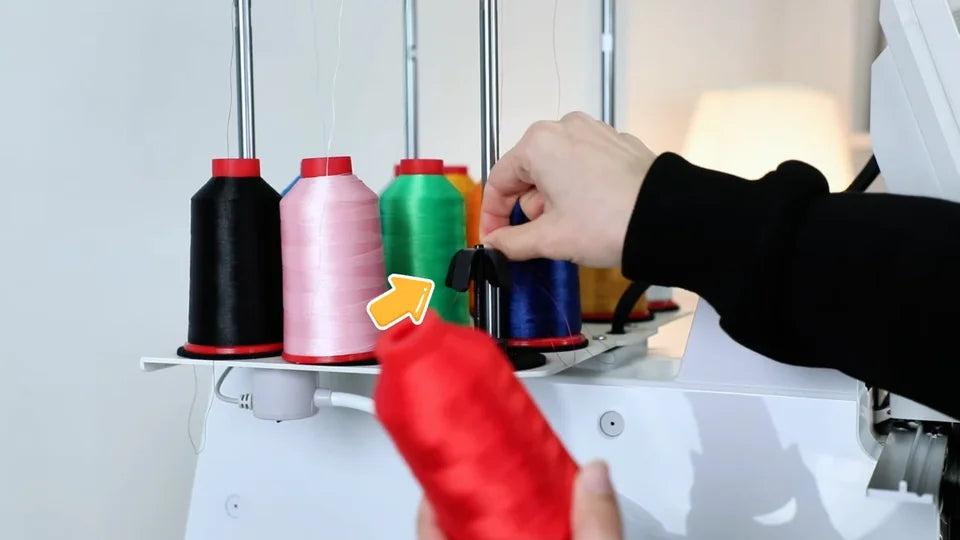
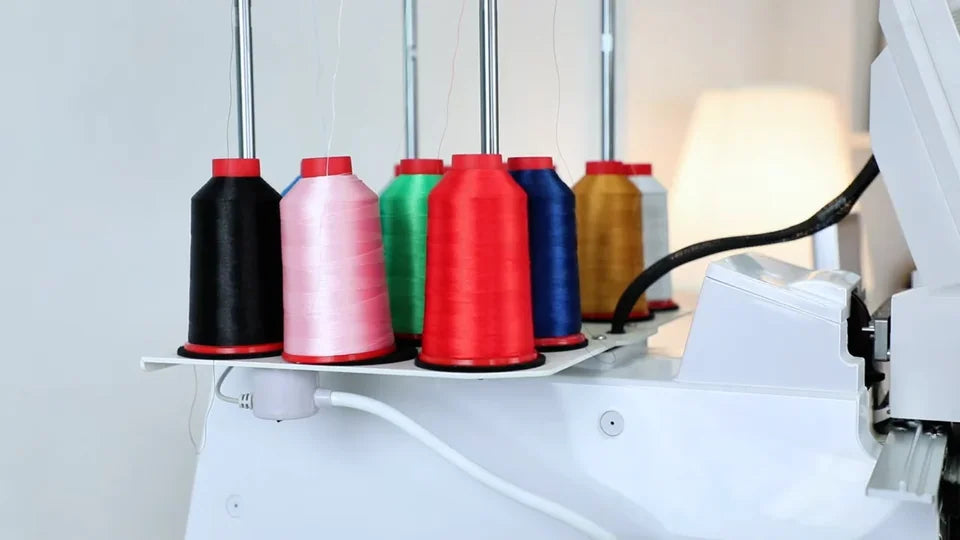
With the red cone lifted away, the arrow shows the black cap on its spool holder.
The red cone is back on the stand after its thread is freed.

11. Follow the guide tube into the tension discs

Watch at 03:01

Follow the thread up to the guide rack and through the matching clear tube. At the top of the thread panel, check that it enters between the tension discs for the same needle and feeds through them smoothly.
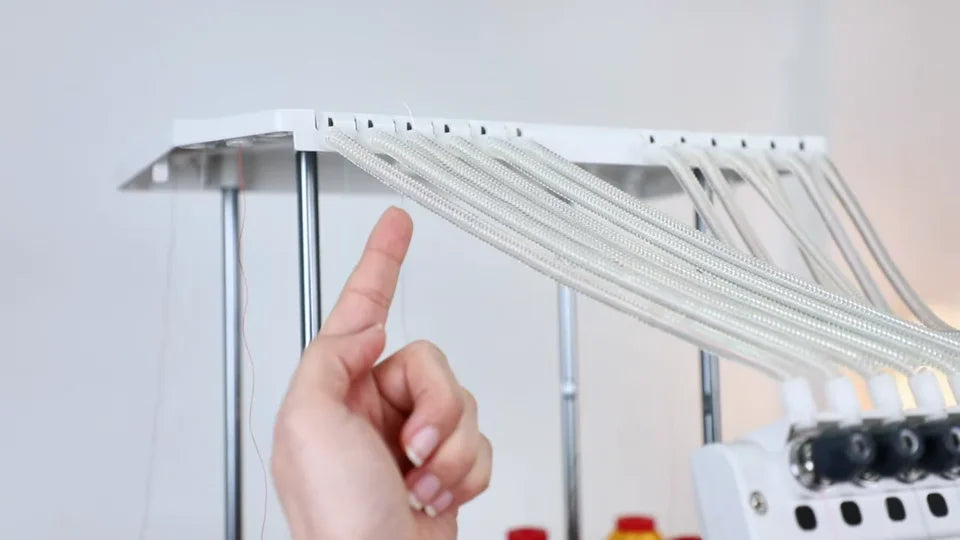
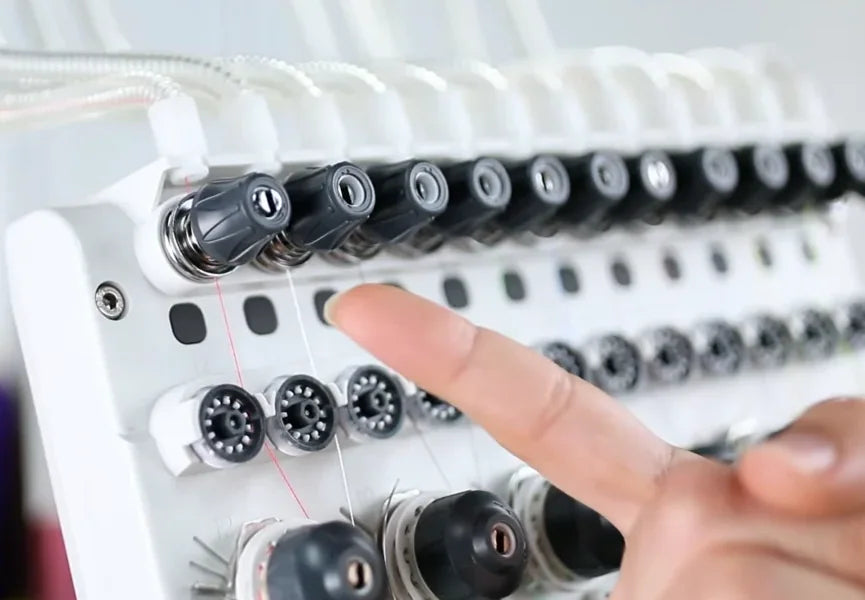
The guide rack directs the thread into the clear tube for its needle.
The red thread leaves the tube and passes between the metal discs behind the top-row knob.

12. Adjust the top-row knob slightly if needed

Watch at 03:15

If the thread is routed correctly but still pulls with the wrong tension, use the top-row knob for that needle. Turn it a little clockwise to tighten or counterclockwise to loosen. Pull the thread again to judge the change before making another adjustment.
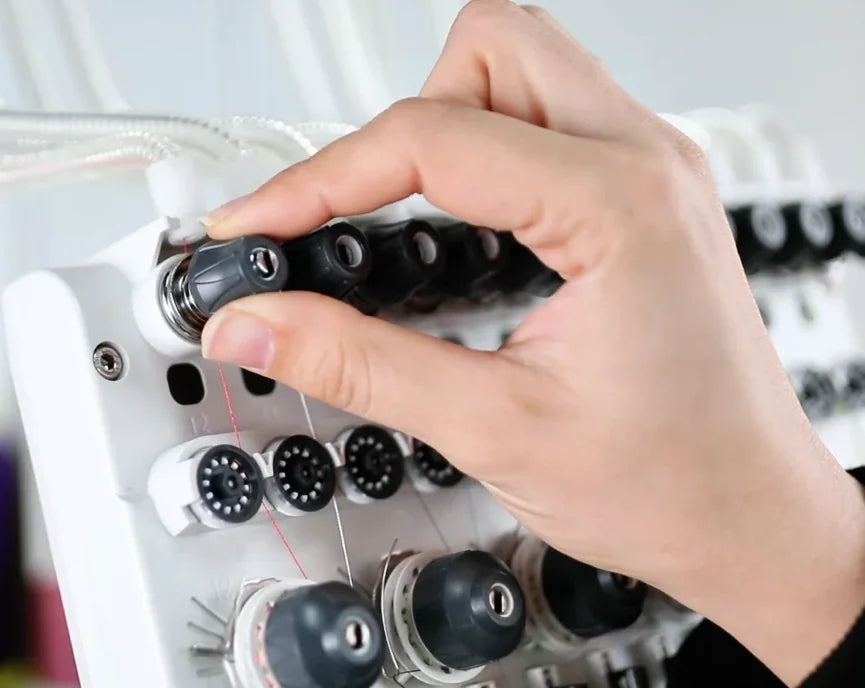
The demonstrator turns the dark tension knob just below the clear tubes.

13. Wrap the large wheel one and a half turns

Watch at 03:23

Farther down the panel, follow the thread around its large black wheel with the light-colored rim in the two staggered rows. Check for one full turn plus a half turn before the thread continues down through the next guide.
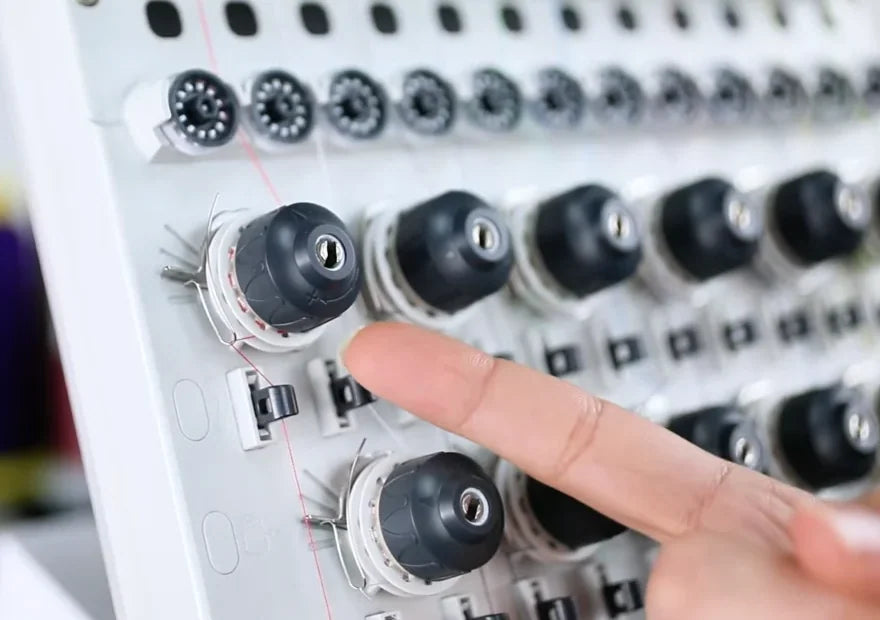
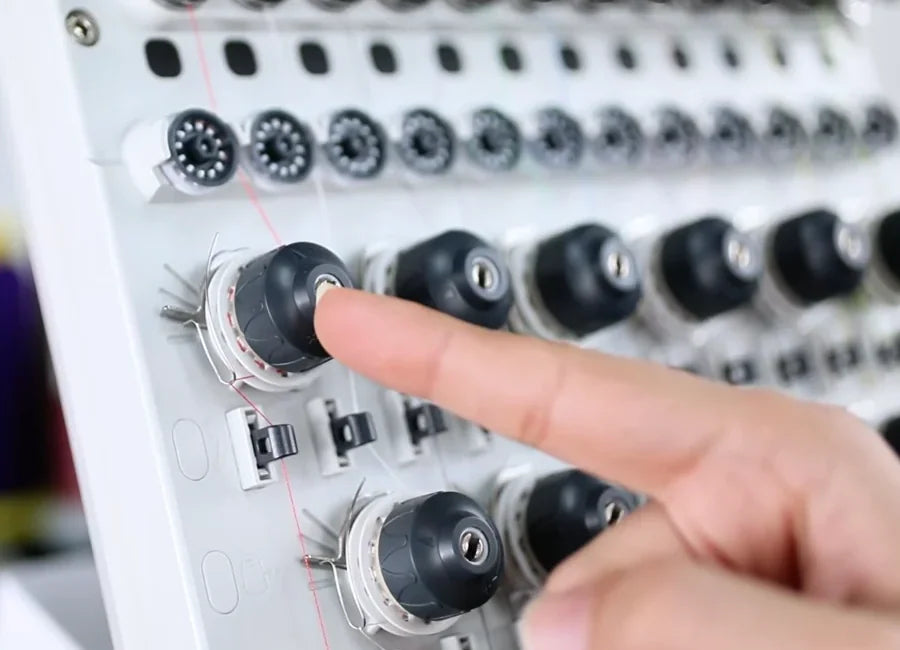
The finger points beside the large wheels. The red thread is visible around the pale rim of the leftmost large wheel.
The large wheel has a pale rim and sits below the row of smaller, dotted wheels.

14. Follow every lower guide and hole

Watch at 03:30

Continue down the same thread path. Check that the thread stays in its guides, passes through its take-up lever and lower eyelets, and continues to the needle eye. Follow each point in order so the thread cannot bypass a guide or catch on the way down.
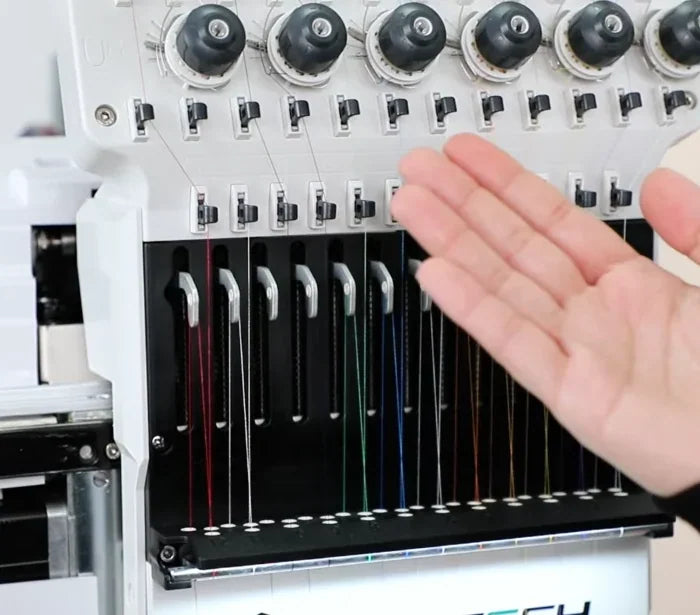
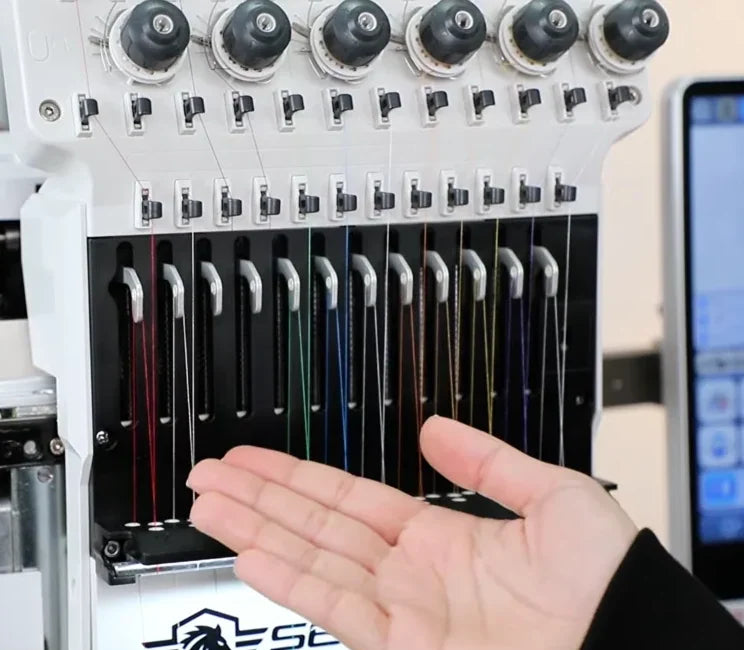
The upper guide points are directly beneath the large wheels.
The silver take-up levers and the lower row of eyelets are visible on the black panel.
From the lower guides, follow the same strand down to the needle area.

15. Pull again to confirm smooth feeding

Watch at 03:42

Return to the same needle end and gently pull the thread by hand again. It should draw through the full route smoothly, without sticking or suddenly tightening. If it still catches, find and clear the tight point before sewing.
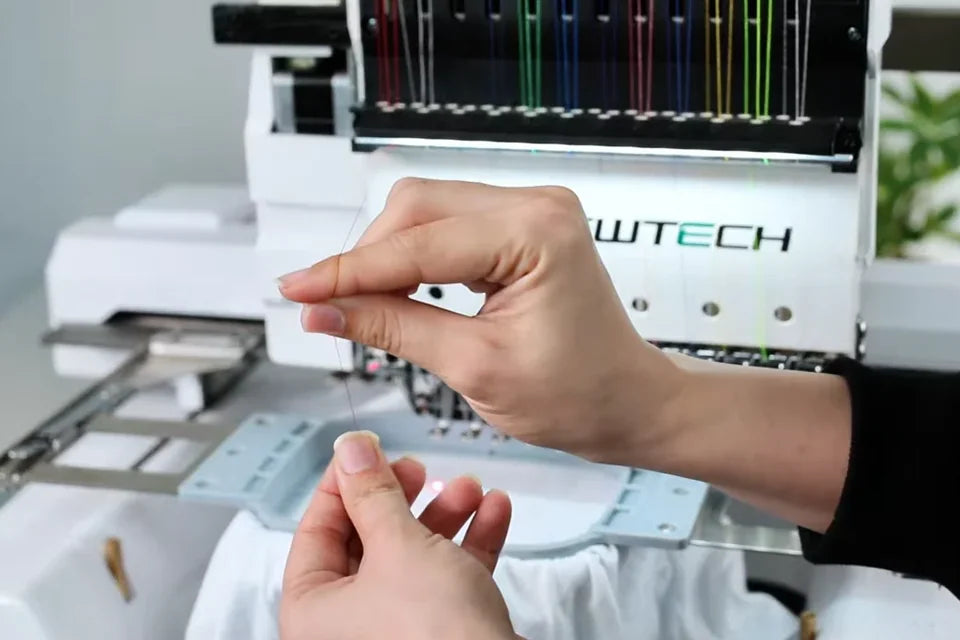
The demonstrator checks the rethreaded strand by drawing it through at the needle end.

16. Run a short test stitch

Watch at 03:50

Keep hands clear of the head and run a short test on hooped material. Watch for continuous thread feeding and a section of stitches that forms without another thread-break stop. The clip shows a red S on white fabric as the test example.
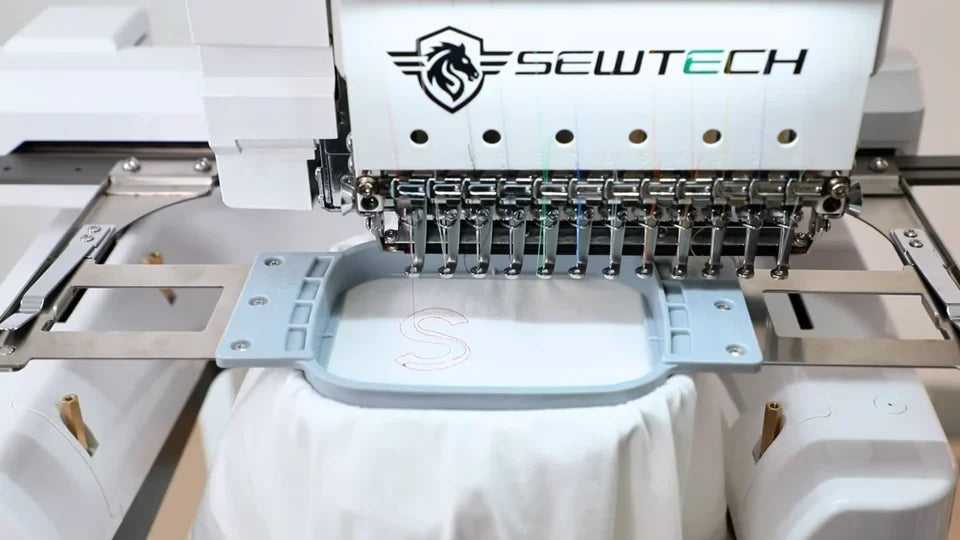
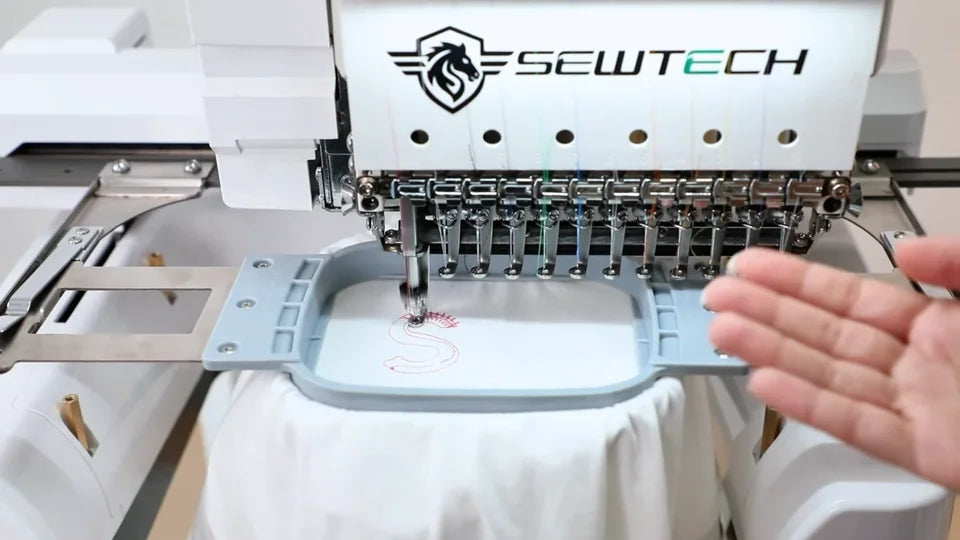
The red S provides a visible stitch sample under the head during the final machine check.
A later moment shows the working needle lowered close to the fabric as the test continues.