Embroider a Bag on the ST-1501

Overview
Embroider a centered design on a bag with the ST-1501. The video follows a round-hoop example from marking and hooping one panel to importing the design, fitting the arms, checking the laser trace and removing the finished bag.
Step-by-step guide
1. Gather the bag, design and supplies
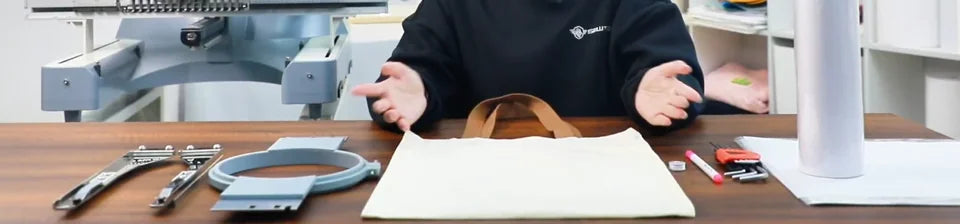
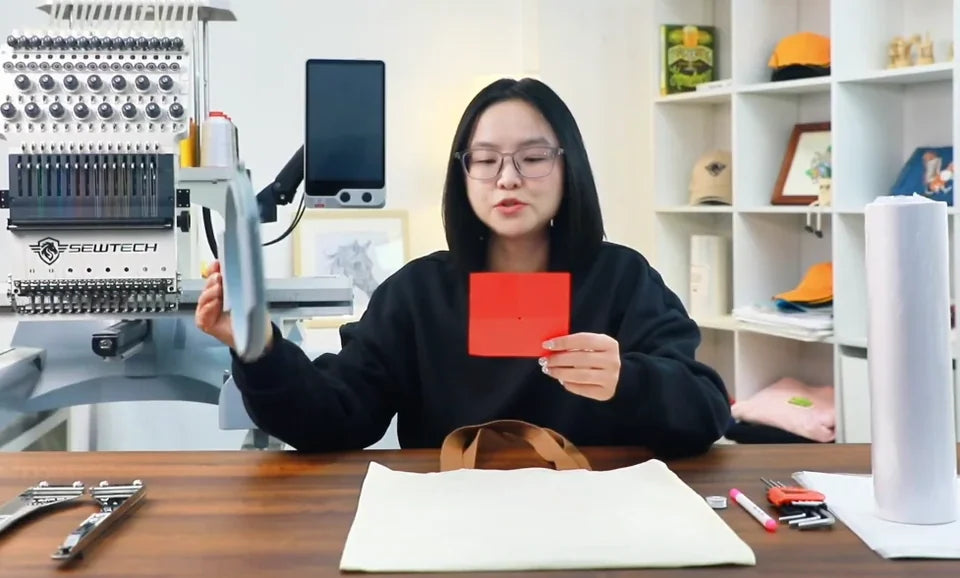
Watch at 00:14Have the bag, round hoop, left and right hoop arms, hex wrench, full bobbin, washable fabric pen and tear-away stabilizer ready. Keep the design file on a USB drive and have the placement template, tape and scissors nearby. Choose a hoop whose usable stitching area can contain the entire design.
2. Find and mark the center of the bag panel
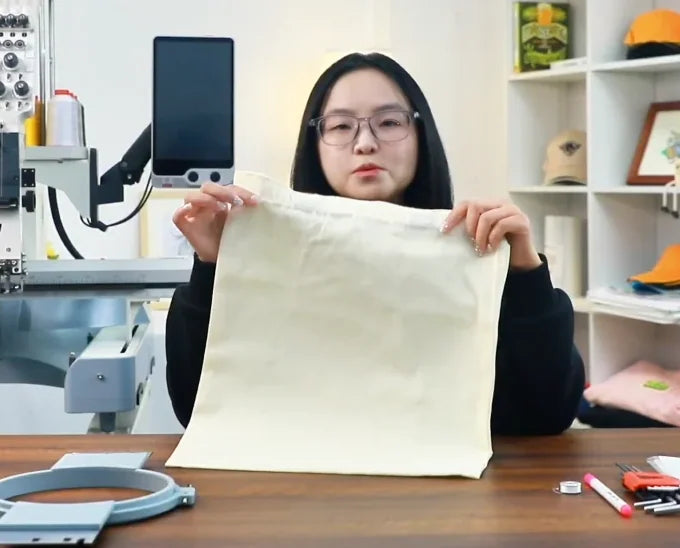
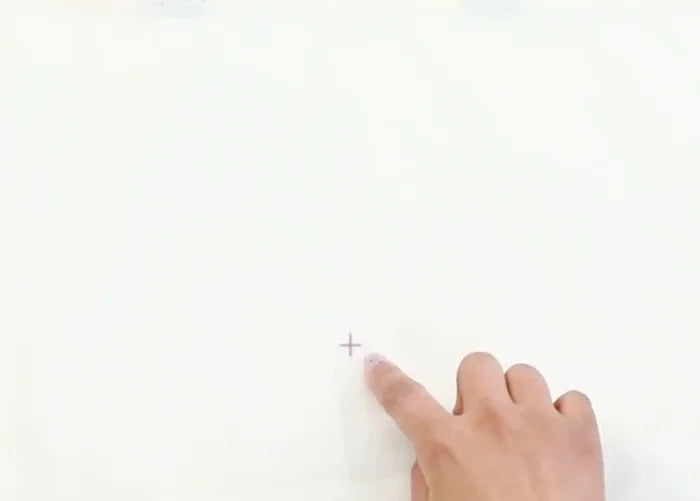
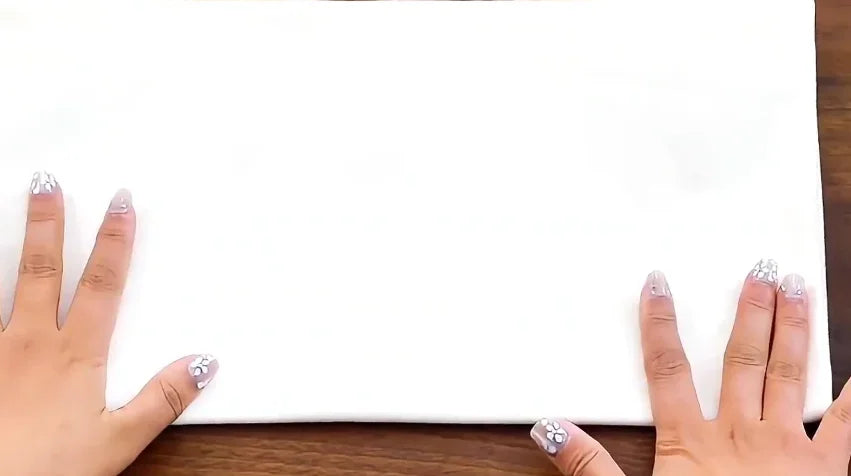
Watch at 00:53Lay the panel you want to embroider face up. The example uses the back of the bag and centers the design there. Lightly fold the bag along both axes to locate the intersection, or measure with a ruler. Mark that point with the washable pen.
3. Align and tape down the placement template
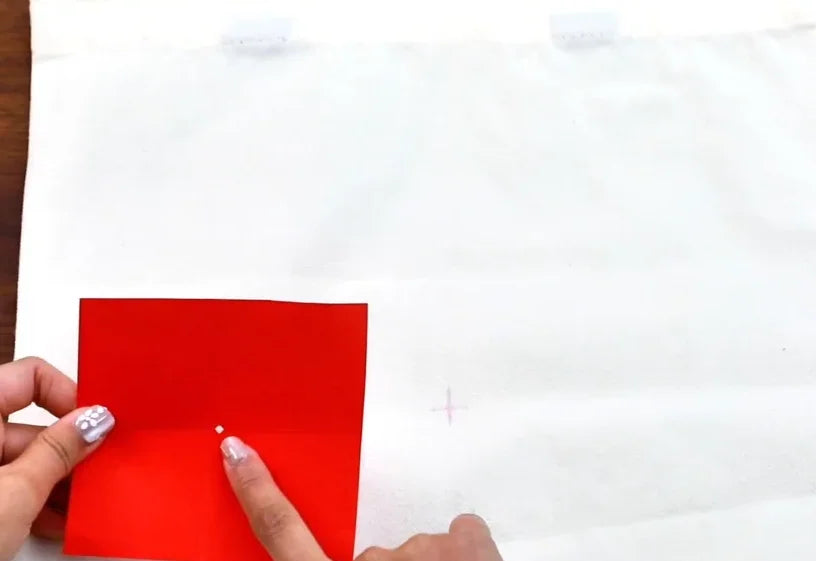
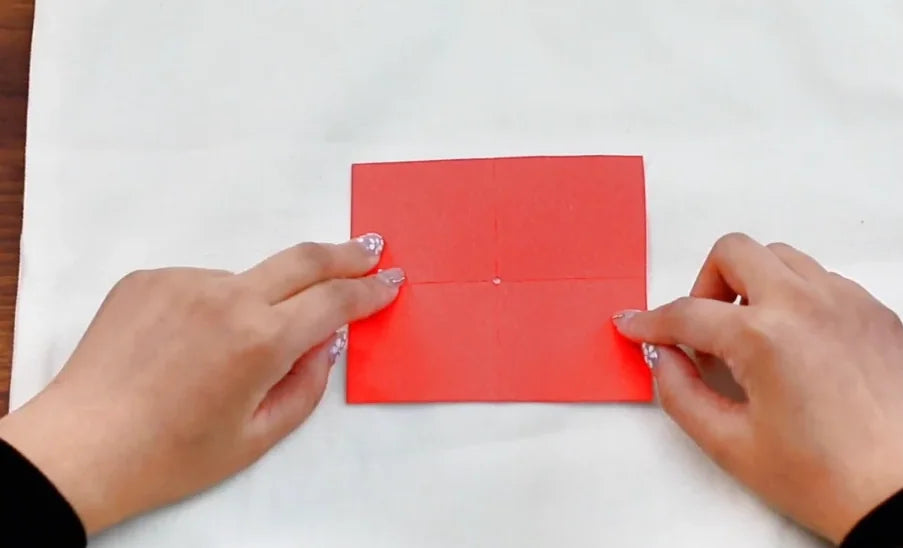
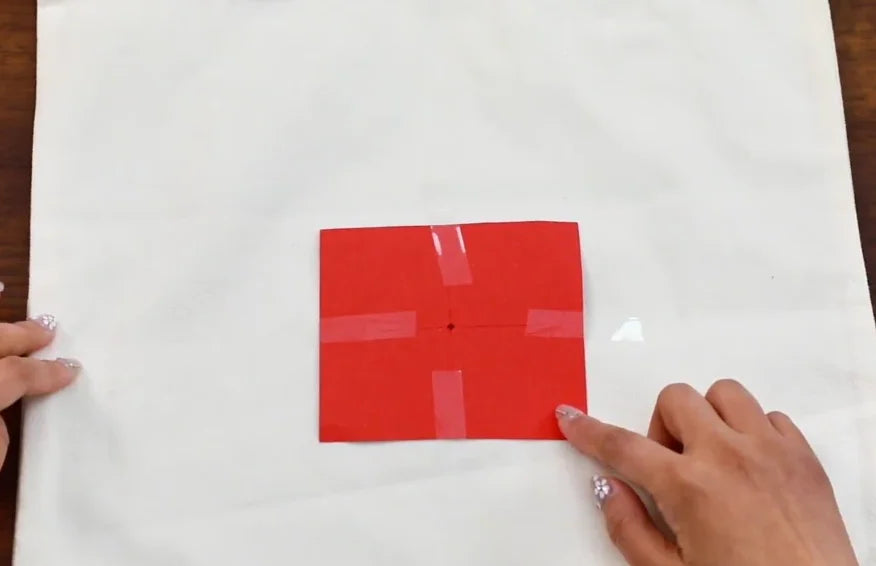
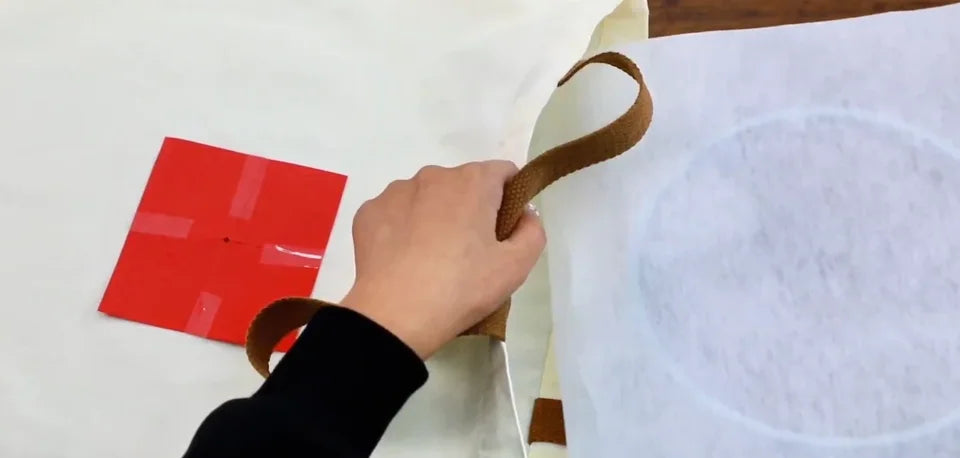
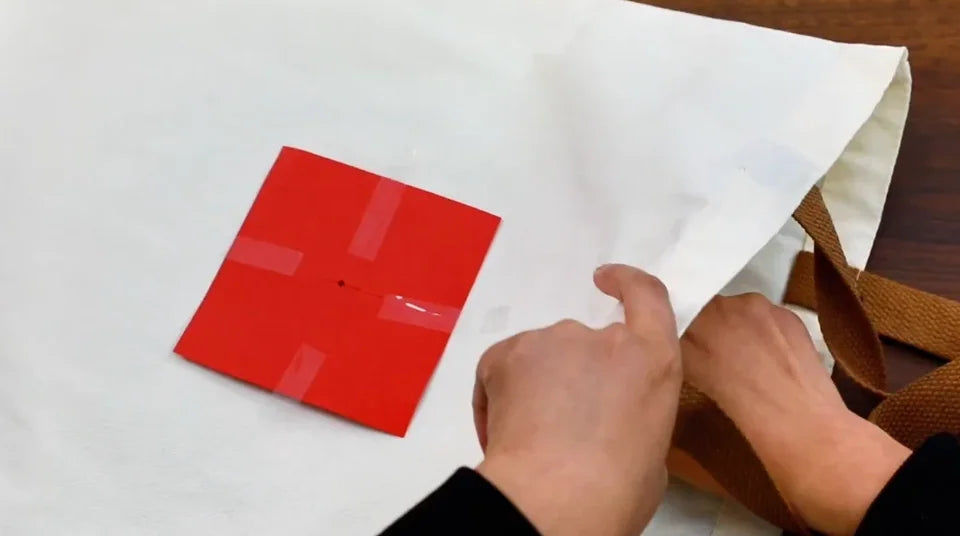
Watch at 01:37Lay the paper template on the marked panel. Match its center point to the cross and check the orientation with the handles as a reference. Tape the template edges so it stays in position as you hoop the bag.
4. Put tear-away backing inside the bag
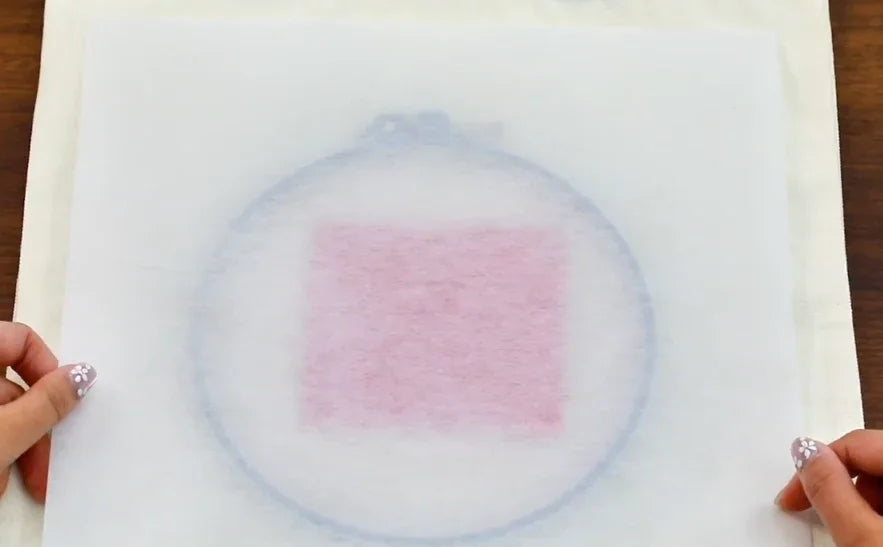
Watch at 02:17Cut a piece of tear-away stabilizer larger than the hoop. Lay it over the screw ring, then slide both inside the bag under the marked panel with the stabilizer directly against the back of that panel. Move the opposite wall and handles clear so only the marked layer and backing are held in the hoop.
5. Press the top ring into place
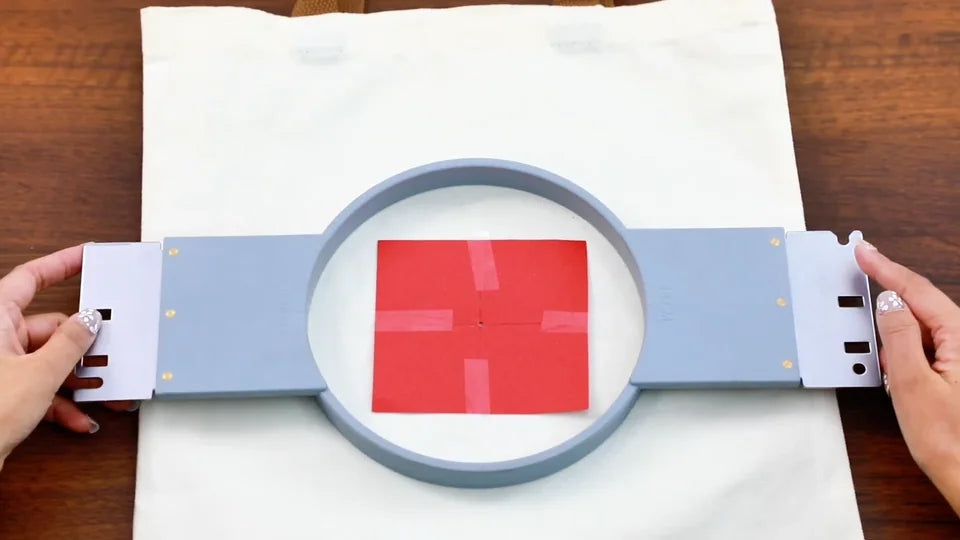
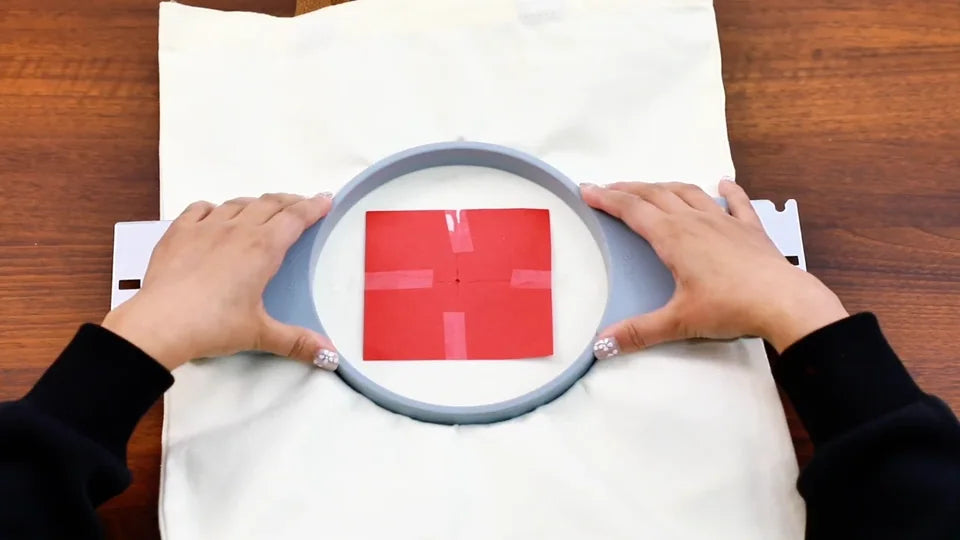
Watch at 03:05Hold the ring with the side brackets above the bag. With the intended embroidery face up, align the ring over the red template and the ring inside the bag. Press evenly with both hands to seat the two rings, then smooth the panel so the stitching area is flat and wrinkle-free.
6. Tighten the ring and remove the paper
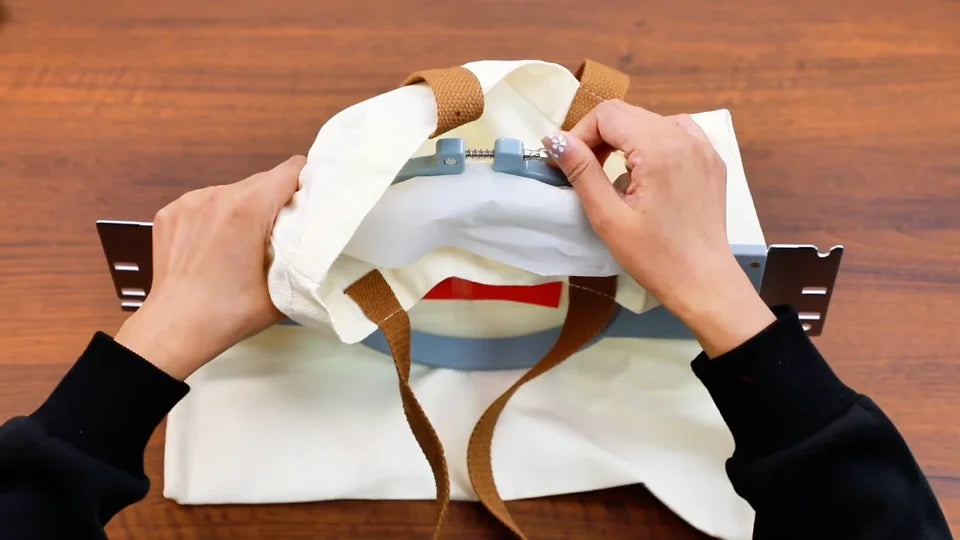
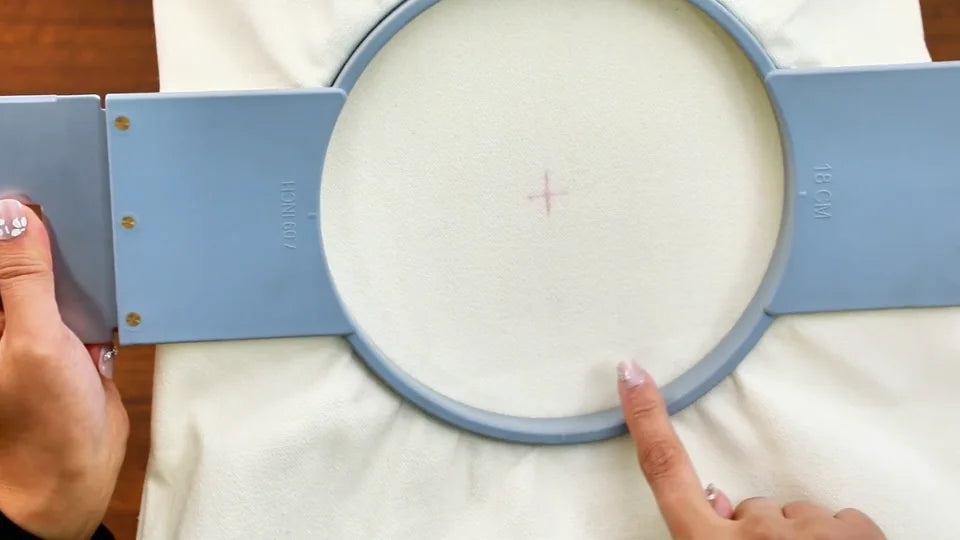
Watch at 03:22Reach through the bag opening to tighten the hoop screw on the lower ring. Lay the bag down again and peel away the tape and paper. Check that the washable cross is still visible and the panel is smooth and held firmly around the hoop.
7. Power on and insert the USB drive
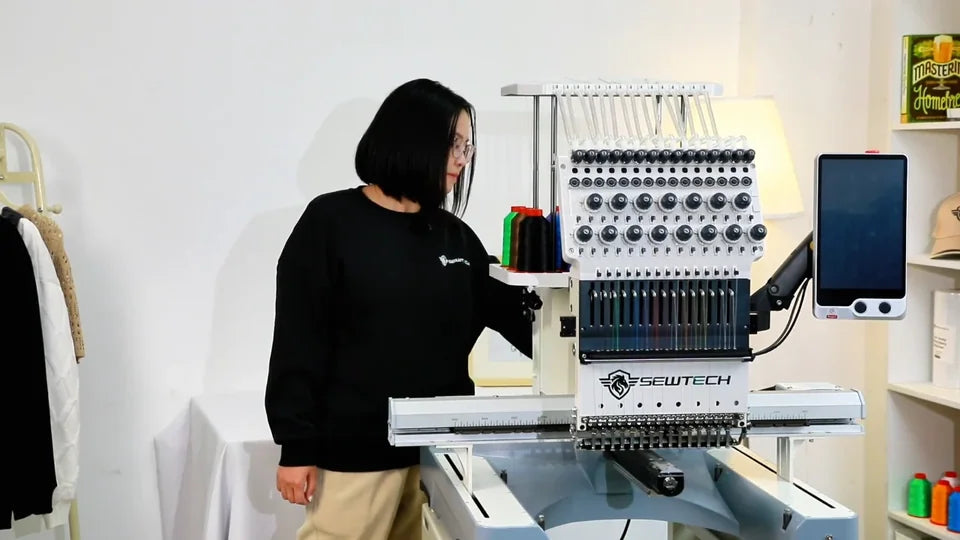
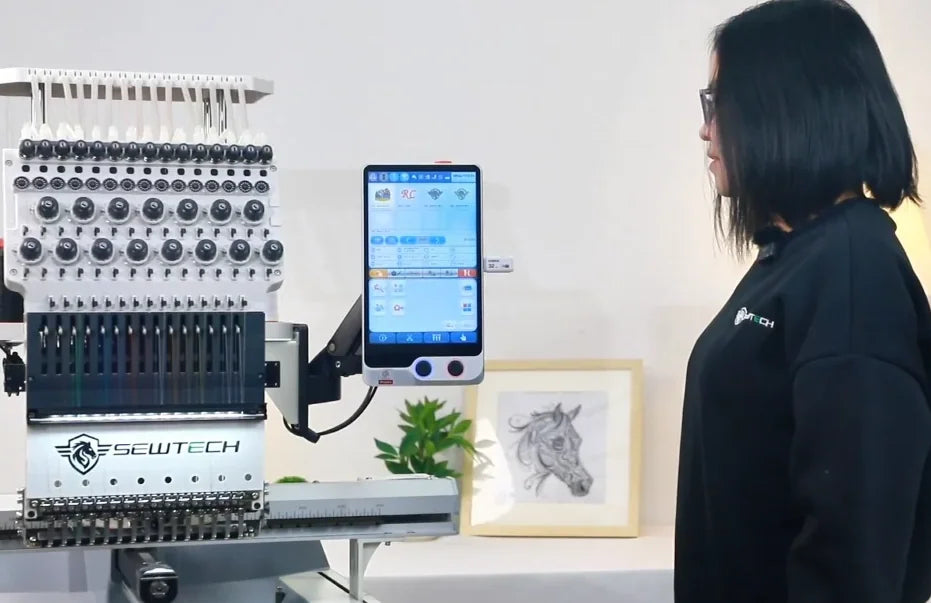
Watch at 03:50Turn on the ST-1501 and wait for the controller to load the design library. Insert the drive into the USB port on the right edge of the touch panel.
8. Import the design from USB
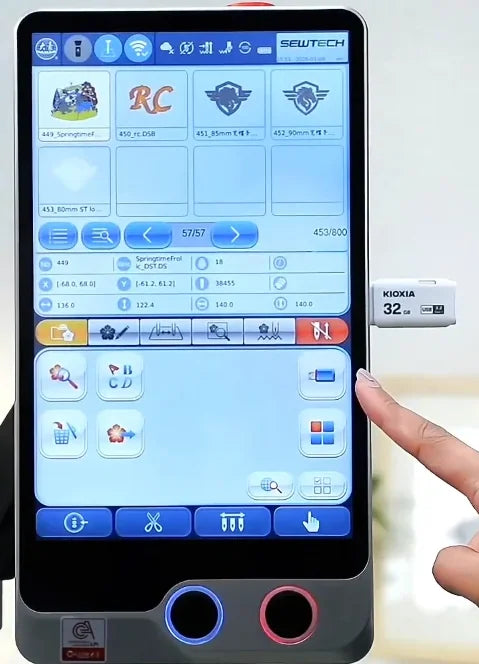
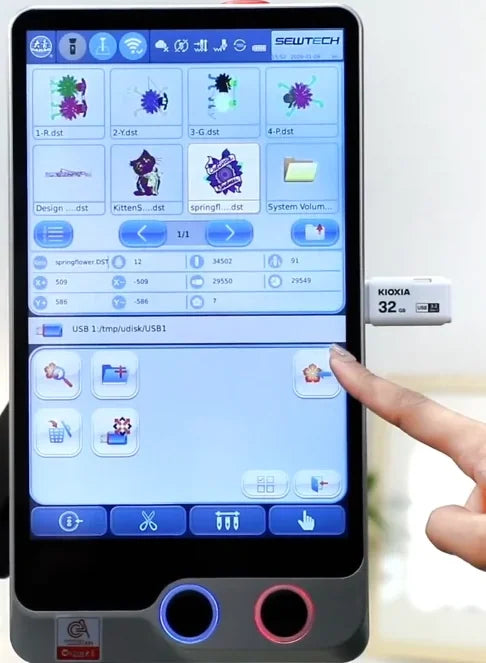
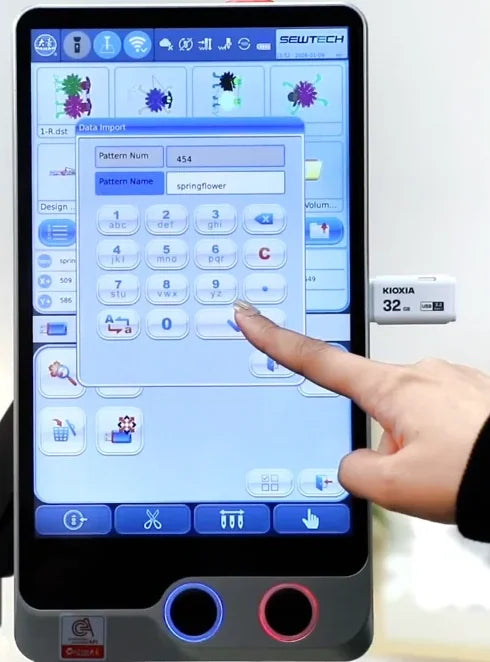
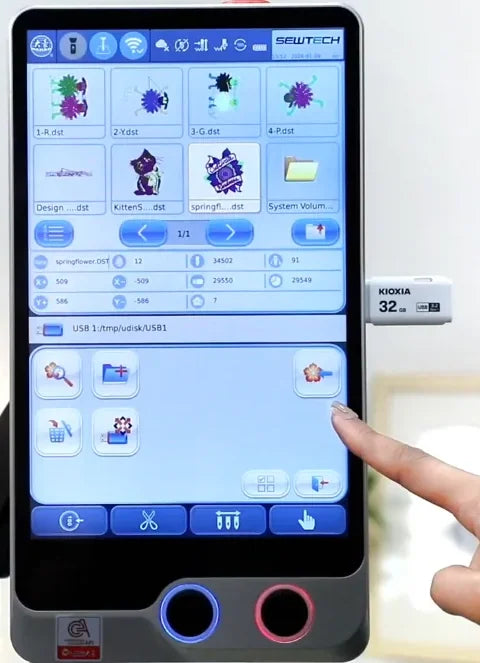
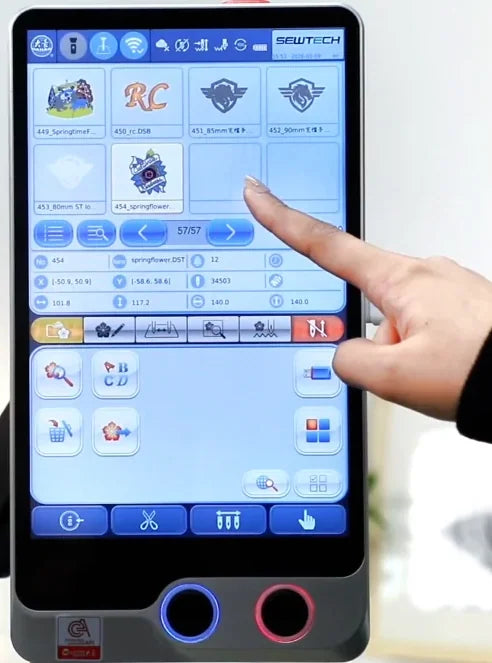
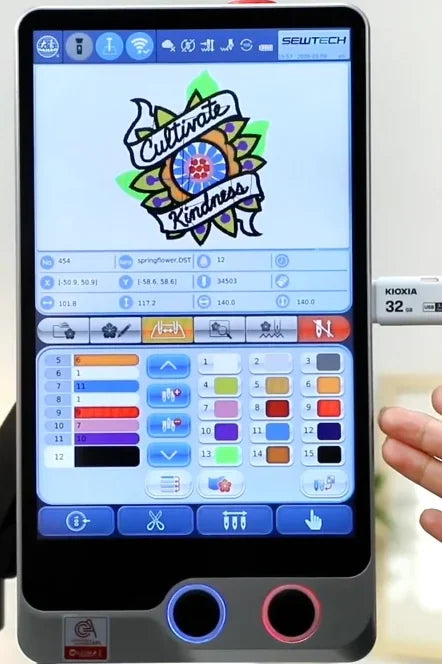
Watch at 04:12In the first tab, tap the USB icon on the right. Pick your file in the USB list and tap the flower-and-arrow import icon. In Data Import, check the name and tap the blue tick. Use the bottom-right return icon to go back to machine memory. The example appears there as No. 454, springflower.DST, with dimensions 101.8 × 117.2 mm.
9. Assign the thread colors by needle
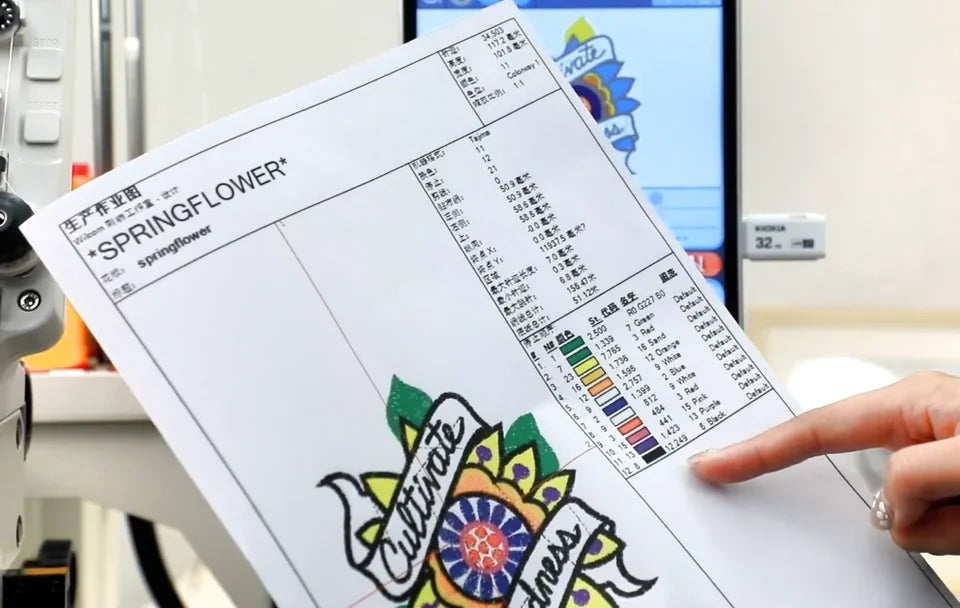
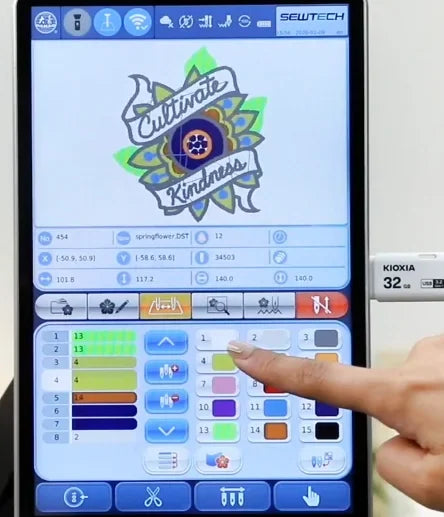
Watch at 05:00Open the third tab for color assignment. Read the digitizer's color chart in stitching order. For each color block in the list on the left, choose the needle on the right that actually carries that thread. The first two blocks use needle 13 in the example. Review the remaining blocks and compare the color preview with your chart.
10. Select the matching hoop on the controller
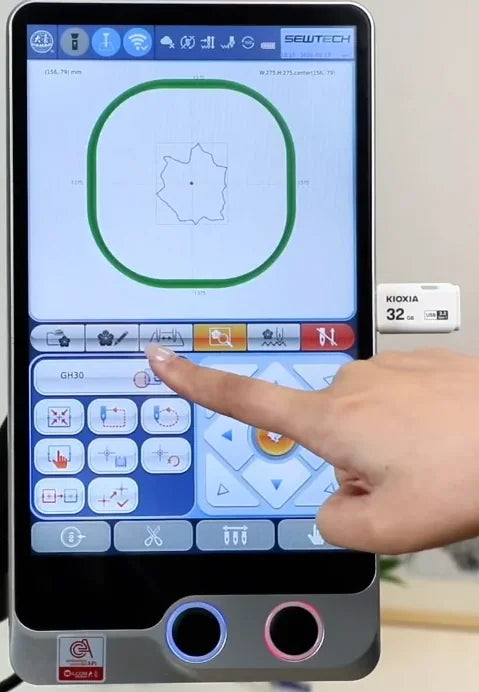
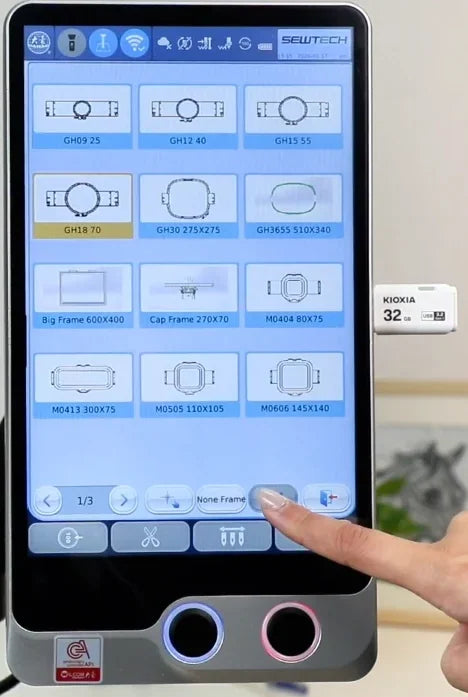
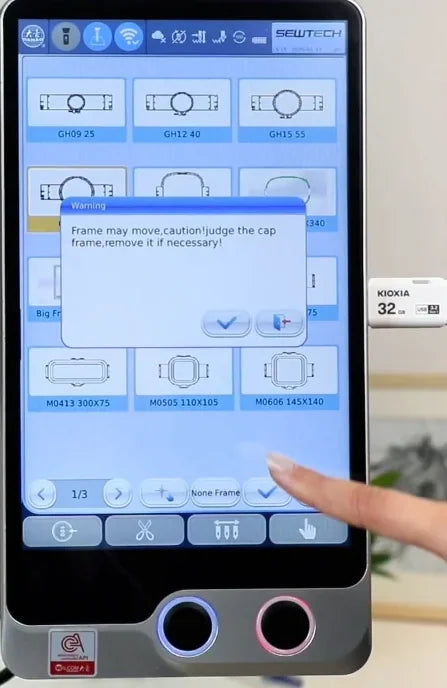
Watch at 05:42Open the fourth tab and tap the hoop field above the left-hand controls. Select the tile that matches the physical hoop and tap the bottom tick. For the round hoop shown here, choose GH18 70. The controller warns that the frame may move. Clear its travel area and confirm with the tick in that warning. Check that the field now reads GH18 and that the green boundary is round. In the video the old GH30 outline appears briefly before the new one is shown.
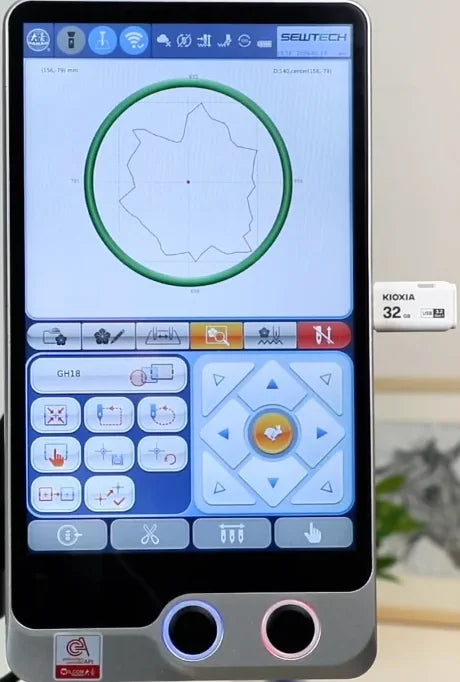
11. Loosen the hoop-arm screws
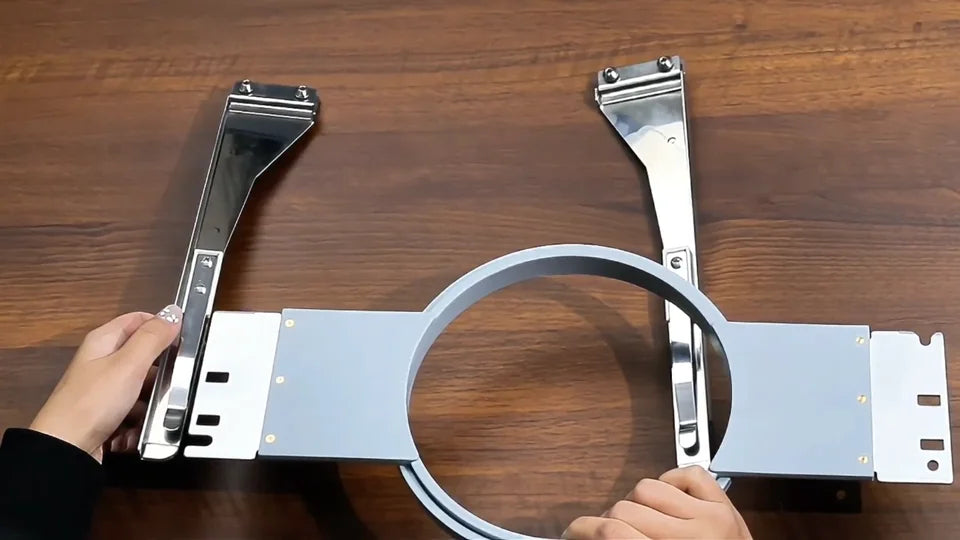
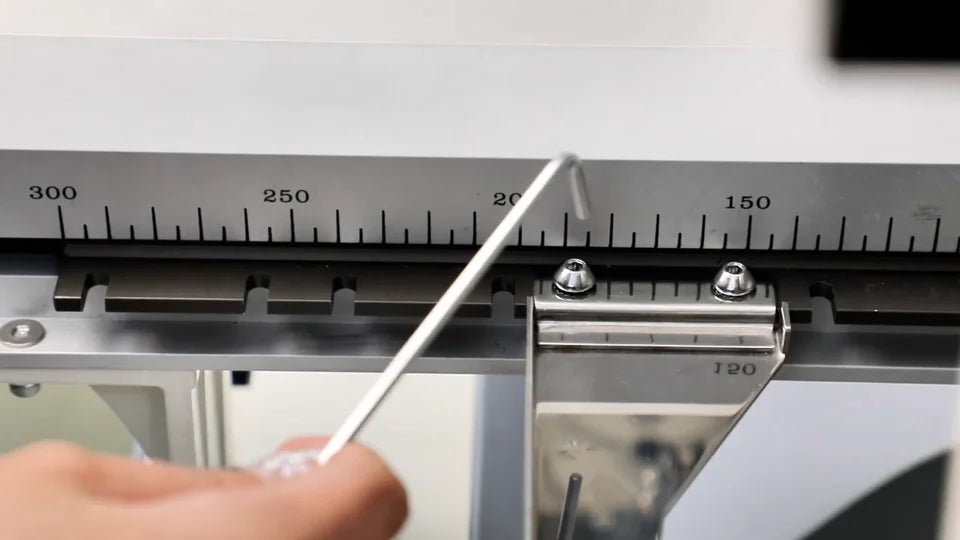
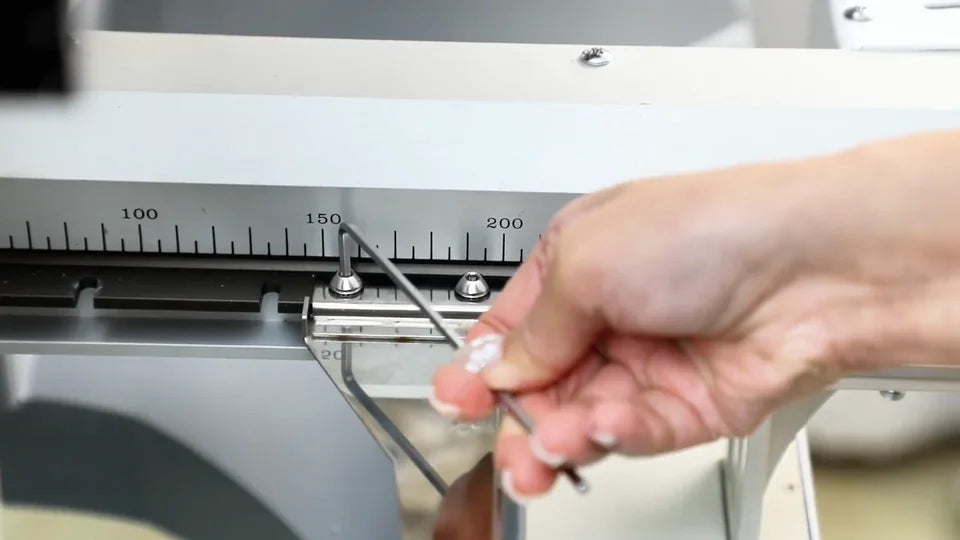
Watch at 06:12With the machine idle, lay out the left and right metal arms. Use the hex wrench to loosen the two screws at the wide end of each arm, then turn them a little farther by hand if needed. Keep all four screws in their holes.
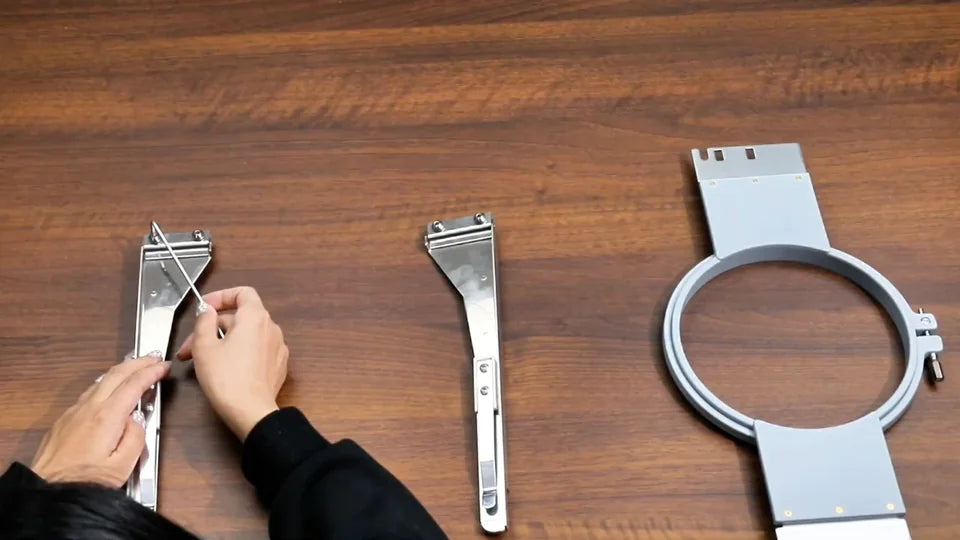
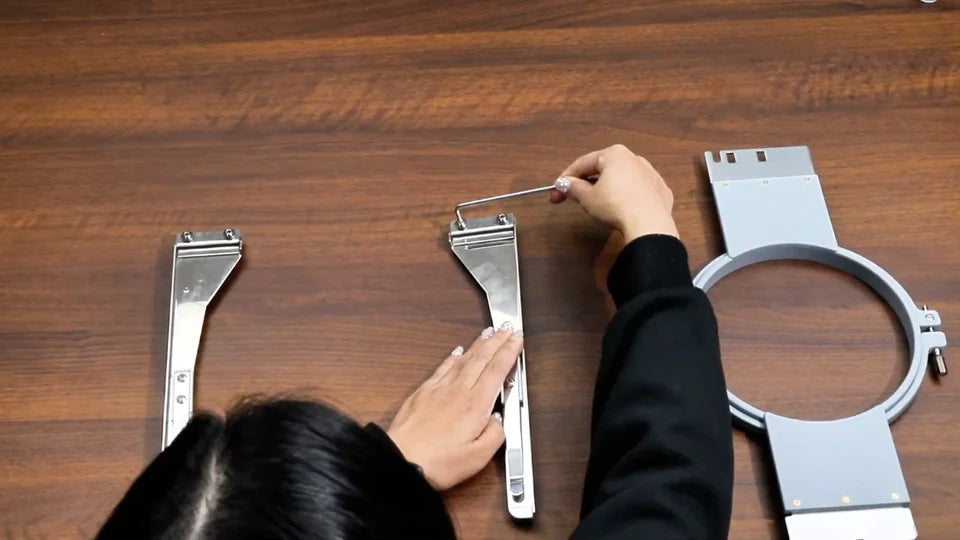
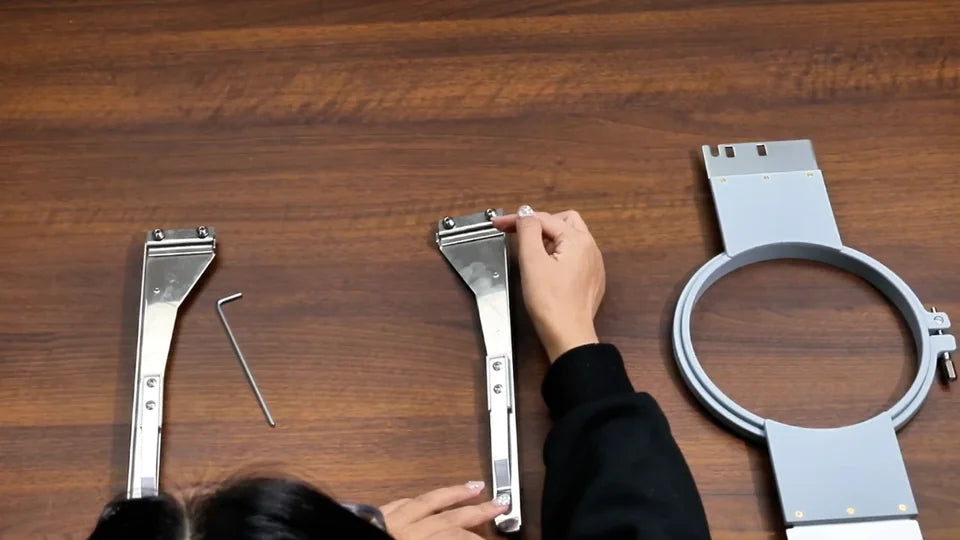
12. Set the arm spacing with an empty hoop
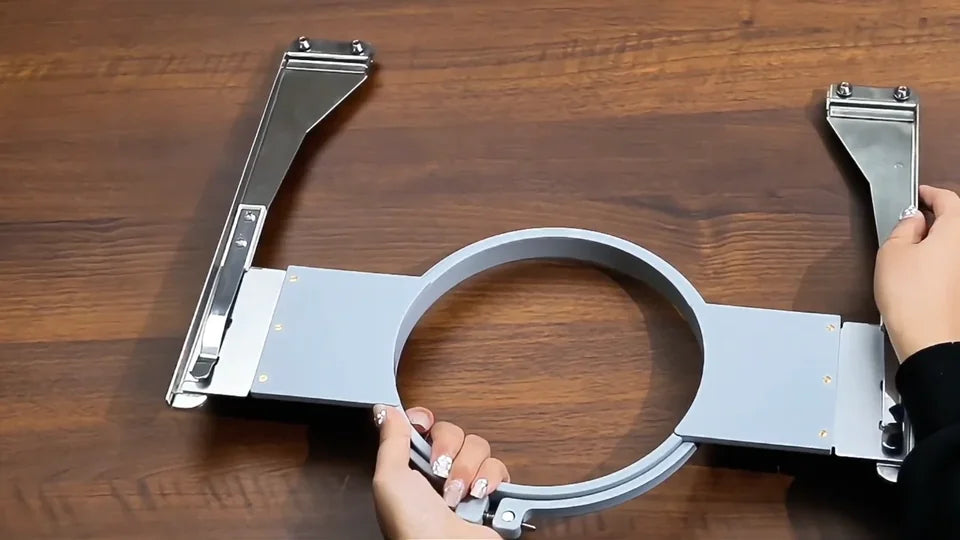
Watch at 06:58Clip an empty hoop into both arms on the table to hold them at the right spacing while you position them on the machine. The video also allows fitting the left and right arms separately. Match the rail positions on both sides whichever method you use.
13. Use matching rail slots and tighten both arms
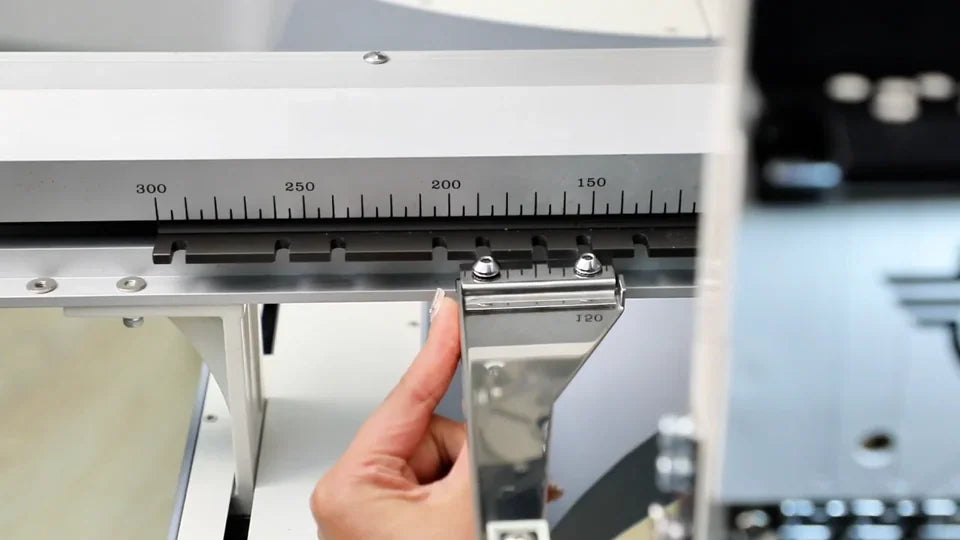
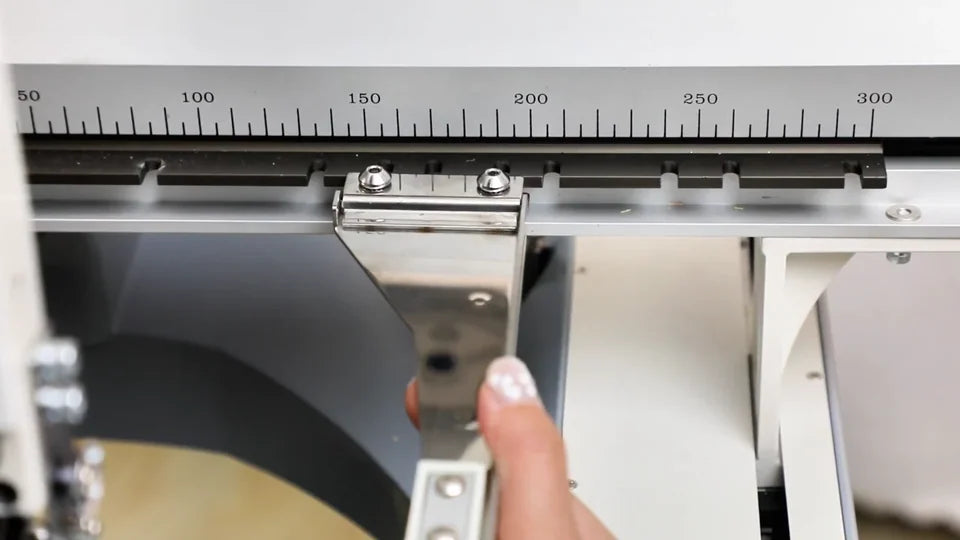
Watch at 07:34Position the wide ends against the notched rails on the carriage. Fit the arms at the same slot position on the left and right. The presenter counts to the fifth slot on each side for this hoop. Push the arms fully into place, tighten both screws on the left and then both on the right, and check that neither arm shifts. Remove the empty hoop before the bobbin check.
14. Check the bobbin and replace it if low
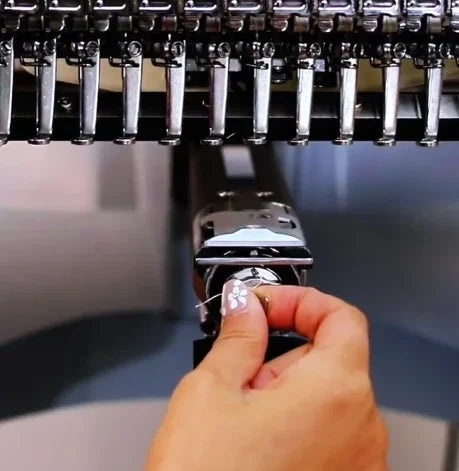
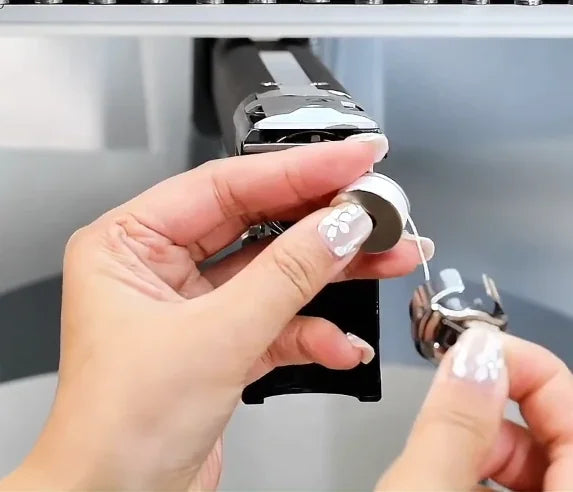
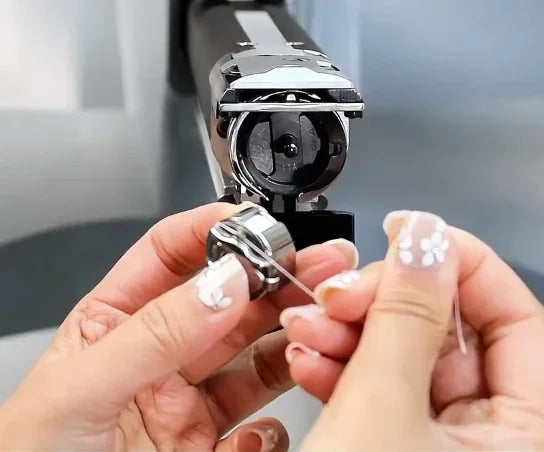
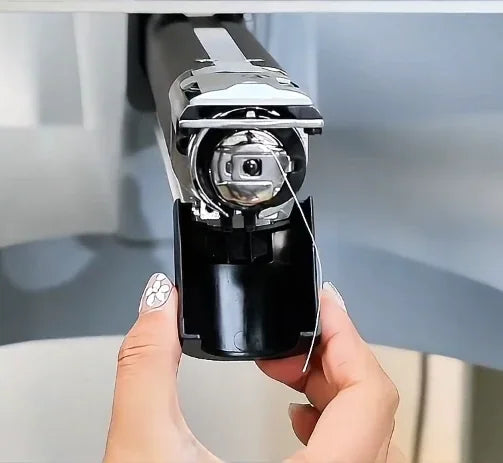
Watch at 08:51With the machine stationary, open the black cover at the tip of the free arm. Pull the bobbin case out by its latch and check the remaining thread. If it is nearly empty, fit a full bobbin so it unwinds clockwise as viewed from the open side of the case. Lead the thread through the case slot under the tension spring. Seat the case back in the hook and close the cover.
15. Guide the bag around the free arm
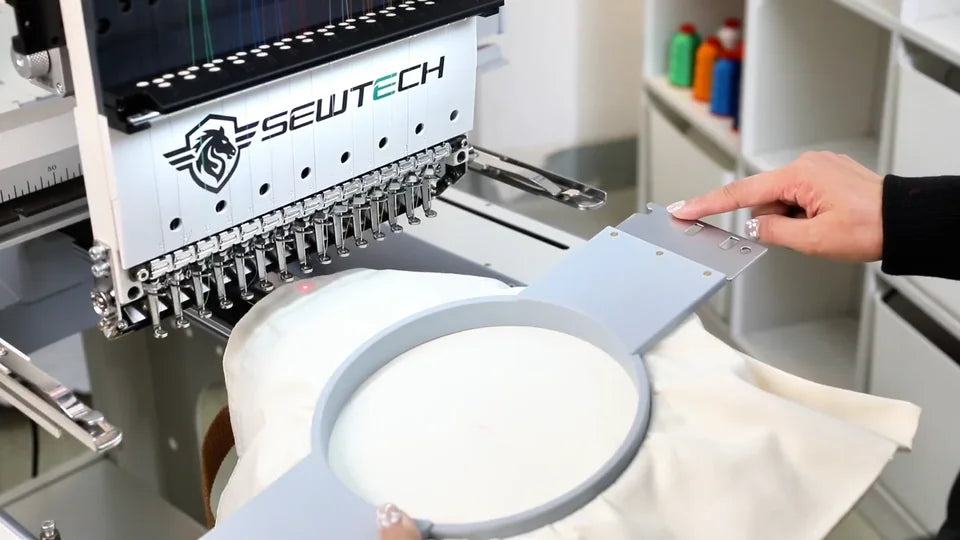
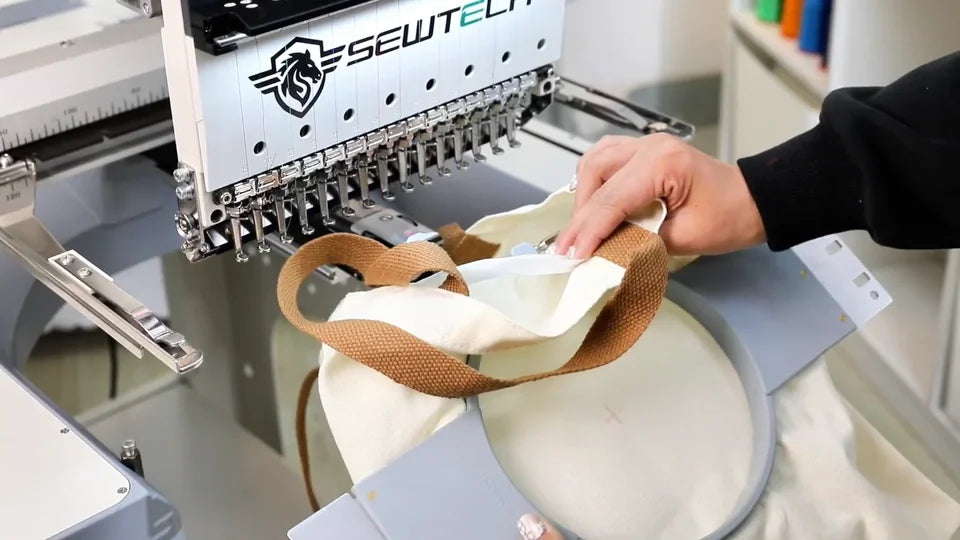
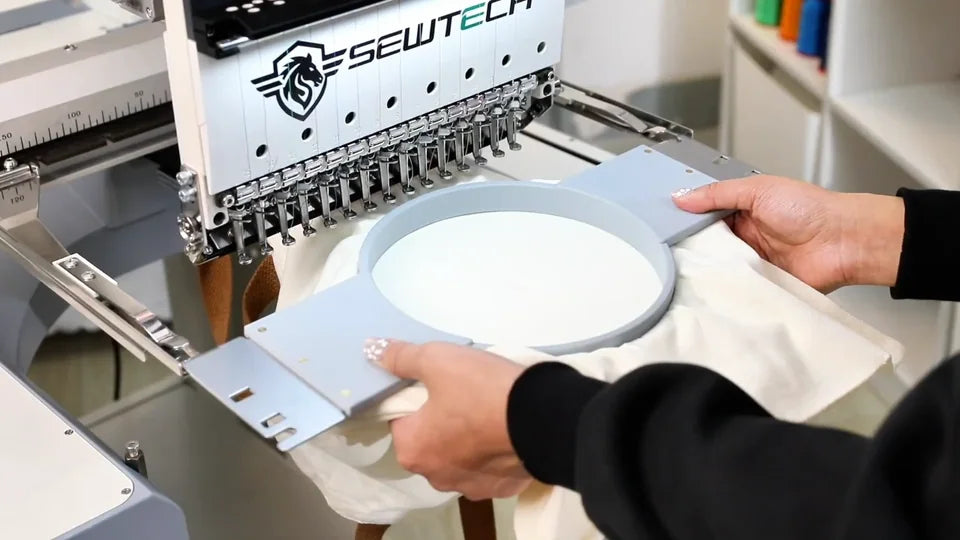
Watch at 09:55Hold the hoop with the marked face up. Match the side brackets to the machine arms, with the notched bracket shown on the operator's right. Open the bag and guide its body around the free arm at the bobbin area. Move the handles and loose fabric clear of the needle path and the rails.
16. Slide the hoop in and lock both brackets
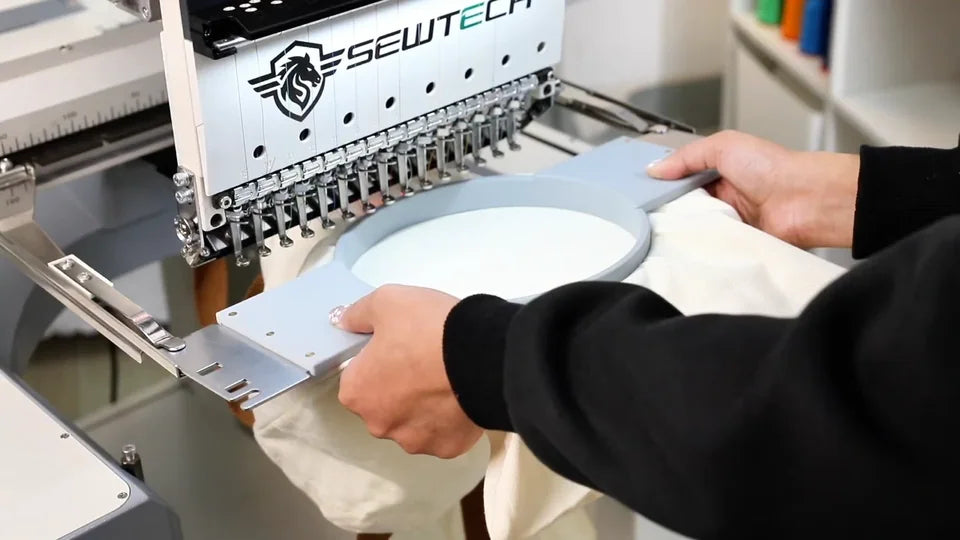
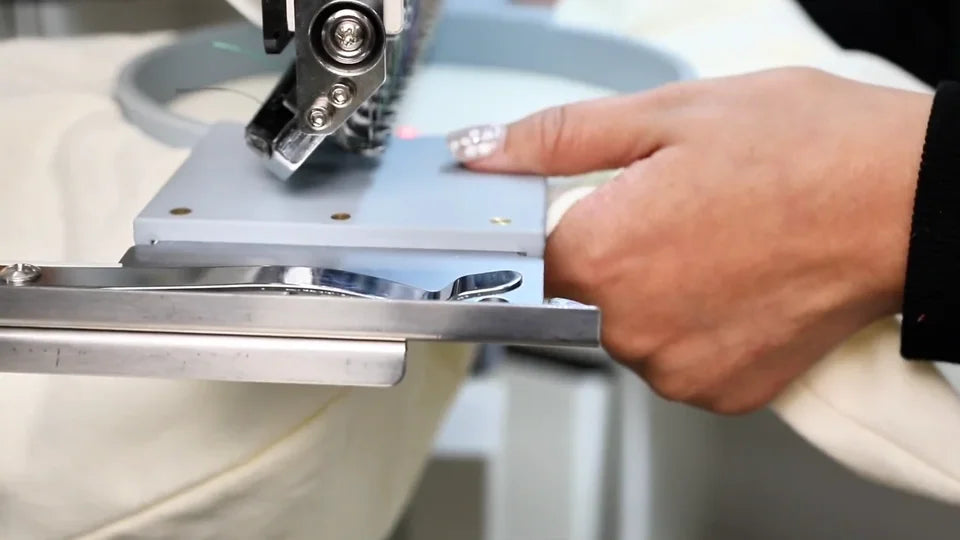
Watch at 10:25Line up the metal hoop brackets with the left and right arms. Slide the hoop in, lift the bracket slightly at the spring clip as shown, then push firmly until it locks. Check that both brackets are fully seated and that the bag can travel freely.
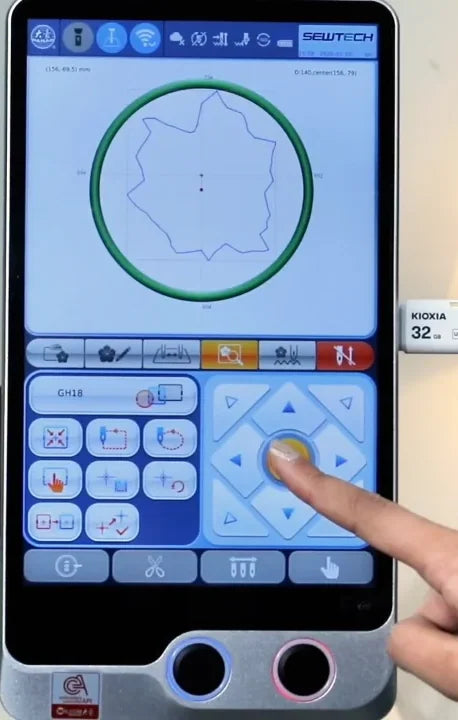
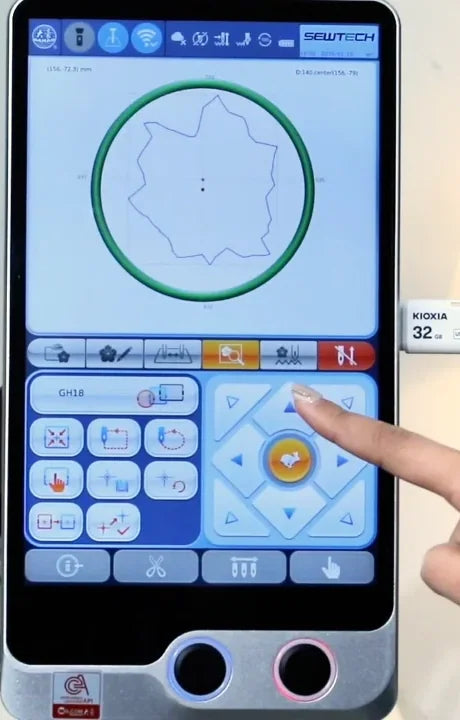
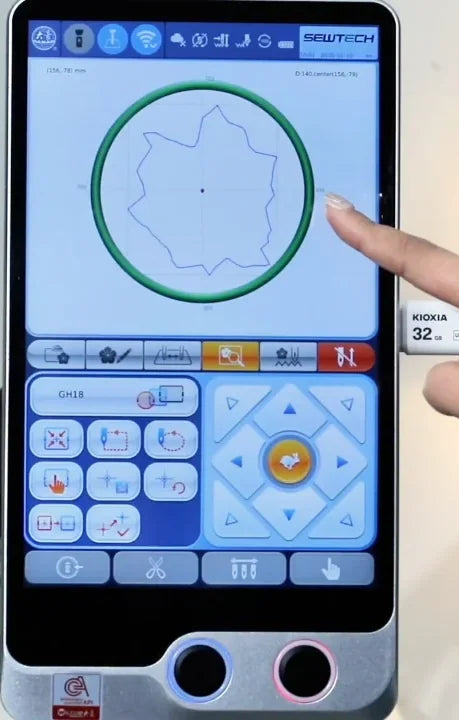
17. Center the design with the arrow pad
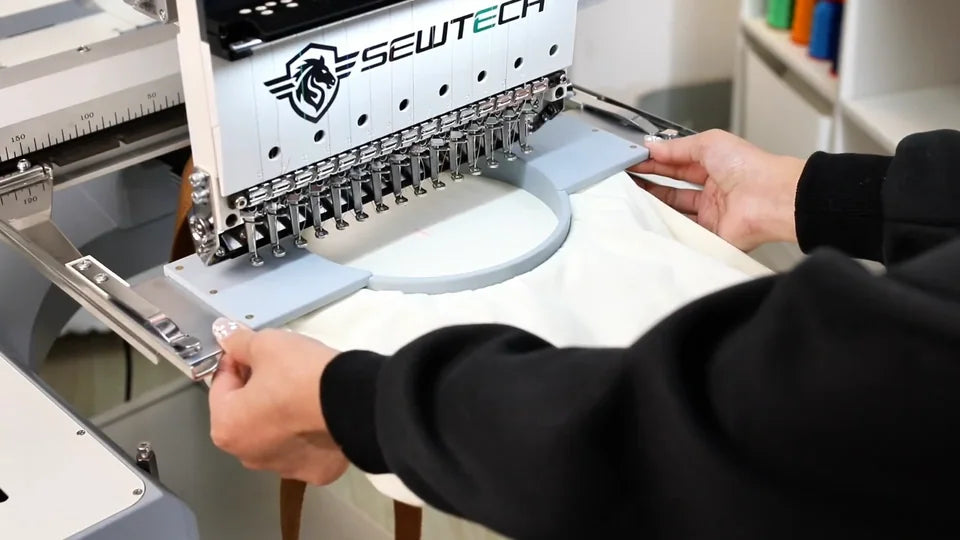
Watch at 10:53Return to the fourth tab. Use the arrow pad on the right to move the hoop relative to the design. Tap the animal icon in the middle to toggle speed. The rabbit moves quickly, and the turtle helps with fine adjustments. Bring the design center to the marked bag center and check that its outline sits within the green circle on screen.
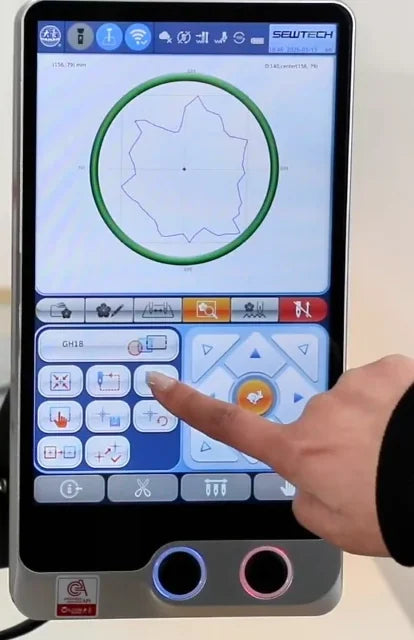
18. Trace the design outline with the laser
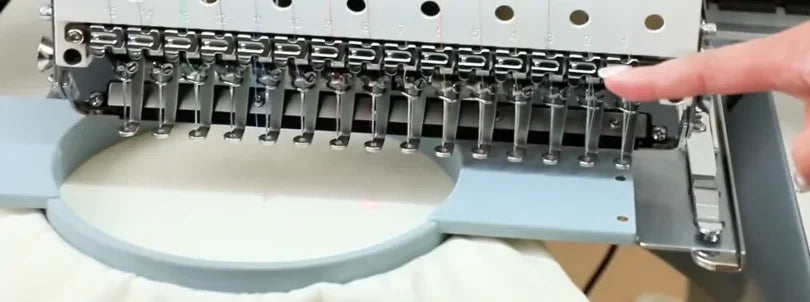
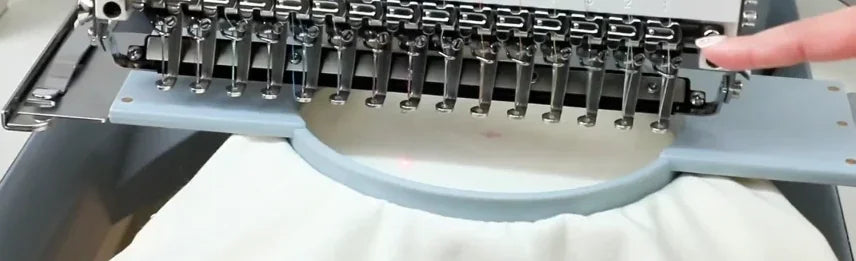
Watch at 11:44Tap the outline-trace icon with the dotted loop, at the right of the top row in the left-hand controls. Watch the red laser spot as the hoop moves. Verify throughout the trace that the path stays inside the physical hoop and clears the frame. If it comes too close, correct the placement and trace again before starting.
19. Confirm embroidery mode
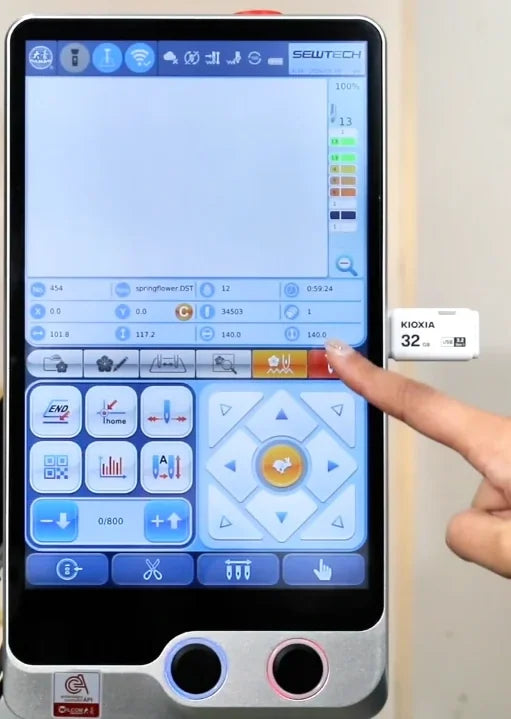
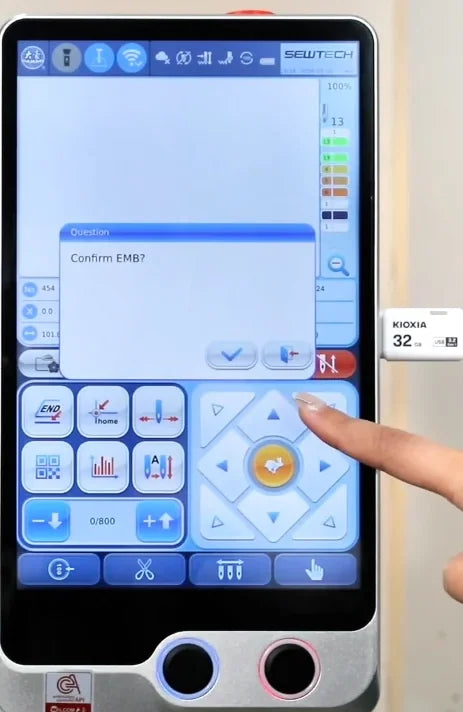
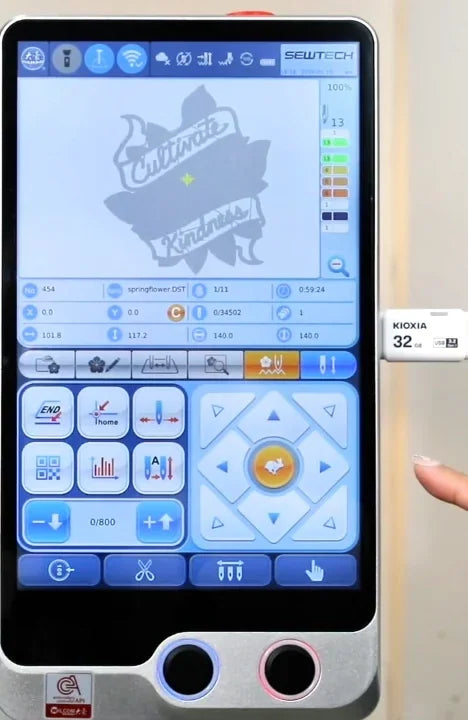
Watch at 12:06On the controller, open the fifth tab. Tap the far-right red mode button, then the blue tick in Confirm EMB?. Wait for the gray stitch preview to appear and the mode button to turn blue. The job is then ready to start.
20. Start and watch the first stitches
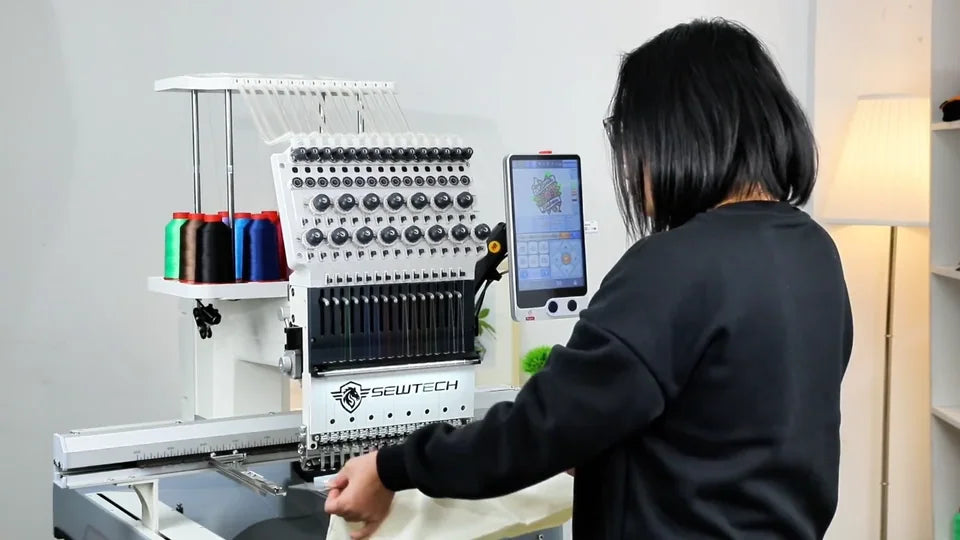
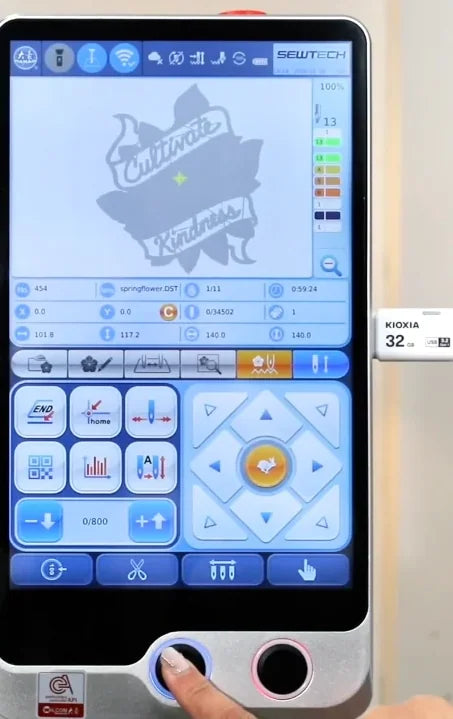
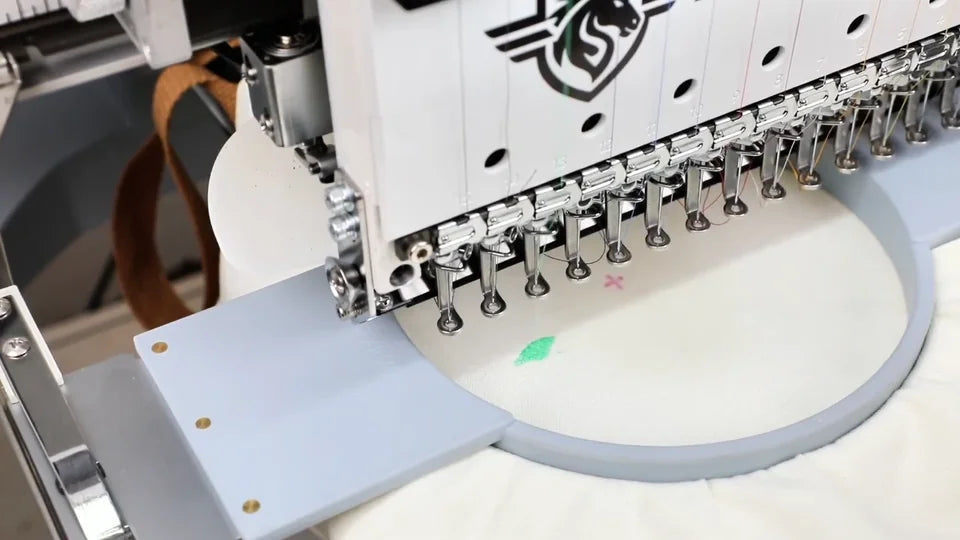
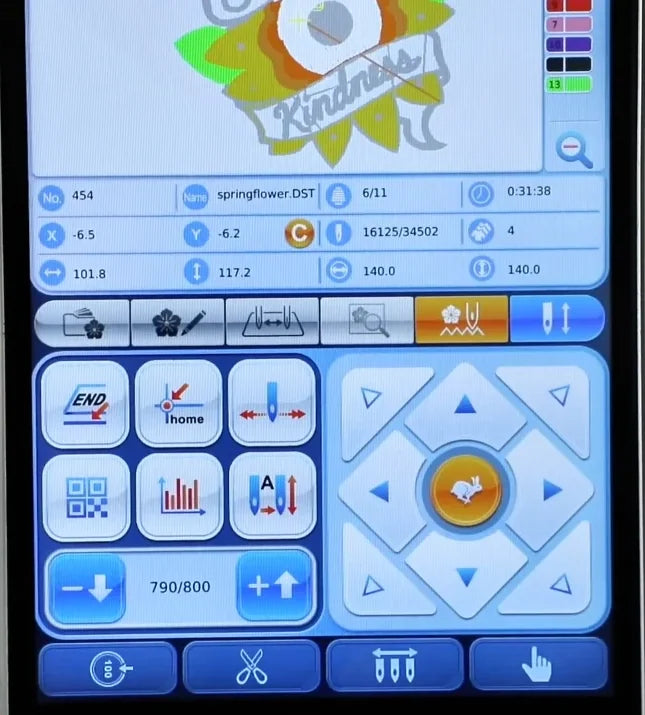
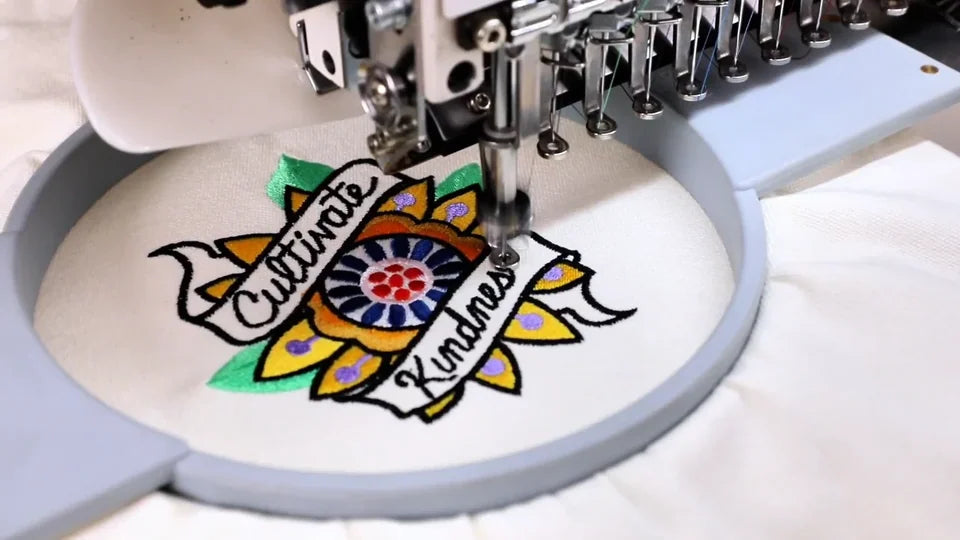
Watch at 12:21Keep hands and loose material clear. Press Start below the touch panel, using the blue-ring physical button, and watch the first stitches land on the marked panel. During the run, the progress display advances and the preview fills in as colors stitch. The video shows selected moments from the run.
21. Check completion and remove the bag
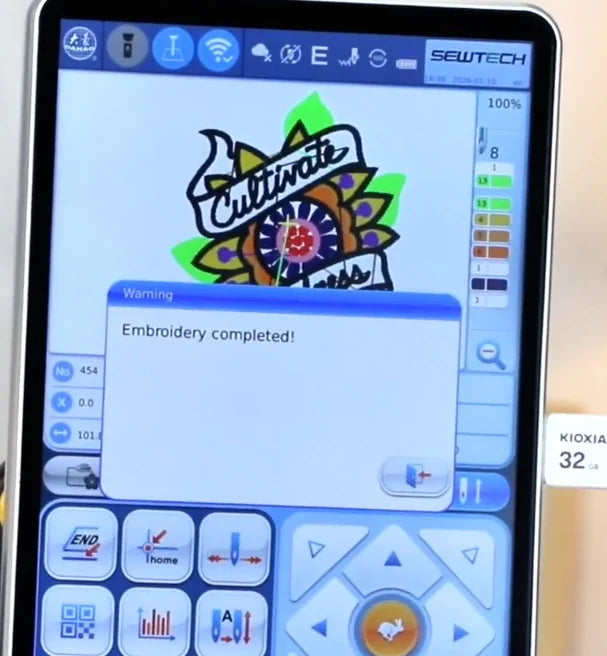
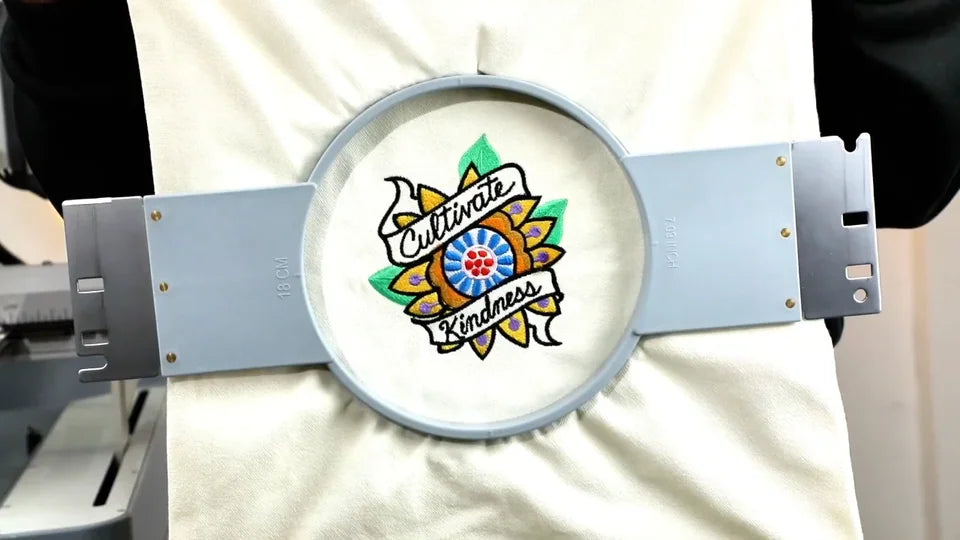
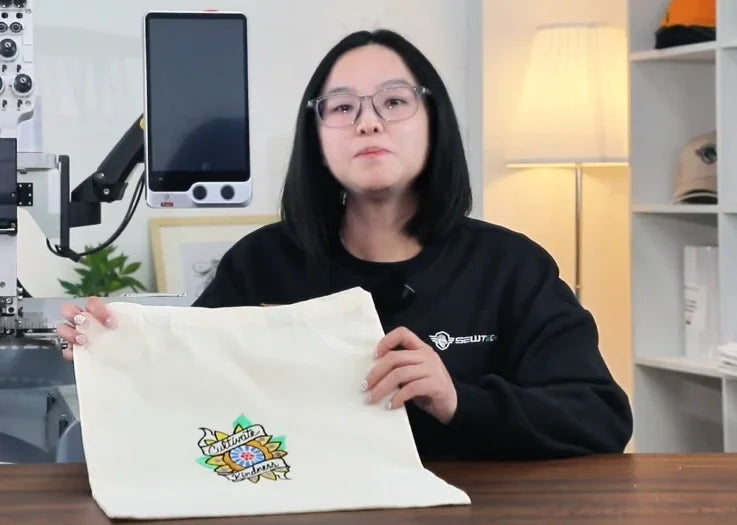
Watch at 13:01Wait for the machine to stop and look for the Embroidery completed! message on the controller. Lift the hoop slightly to release it from the arm clips, slide it out, and guide the bag off the free arm. Check that the complete design sits where you marked it. The final shot shows the finished panel out of the hoop.