Use and Reset the ST-1501 Emergency Stop

Overview
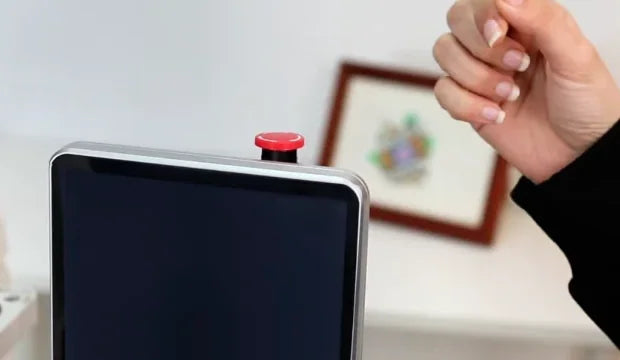
Follow the SEWTECH ST-1501 demonstration from plugging in and powering on through engaging the emergency stop, resetting it, and shutting down. The main rocker is on the back of the machine base. The red emergency stop sits just behind the top of the touchscreen.
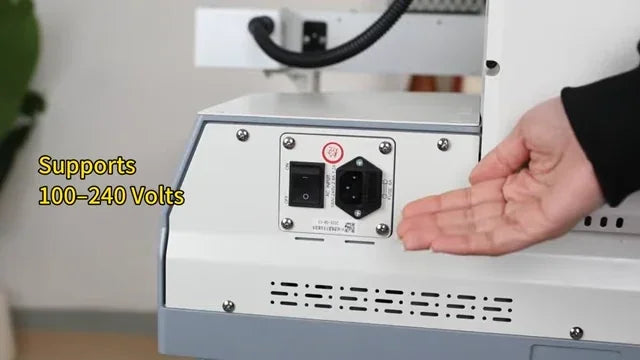
The video calls out 100–240 V. The ST-1501 product specifications list AC 110–230 V. Before connecting power, follow the input rating on your own machine’s nameplate and the instructions supplied with it.
Step-by-step guide
1. Locate the rear power inlet and switch
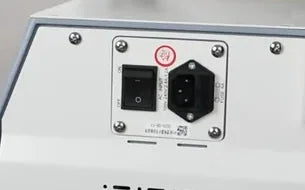
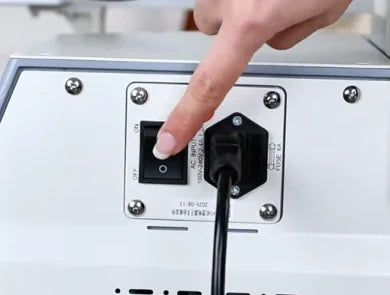
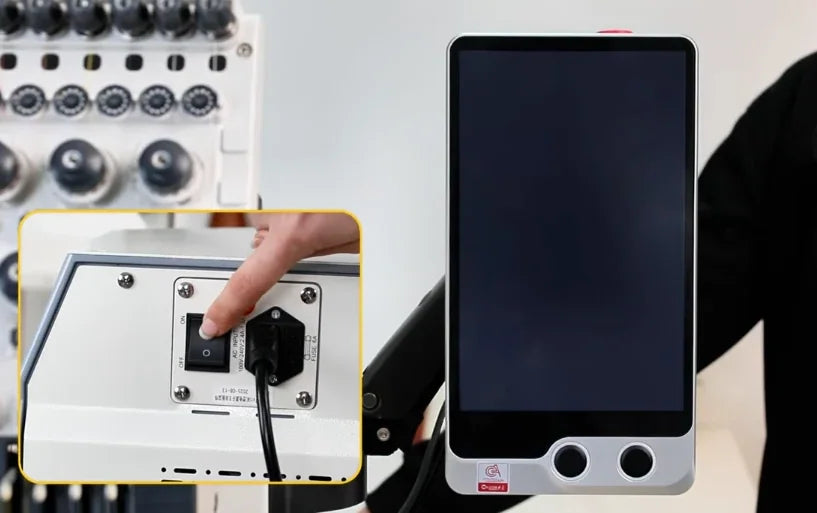
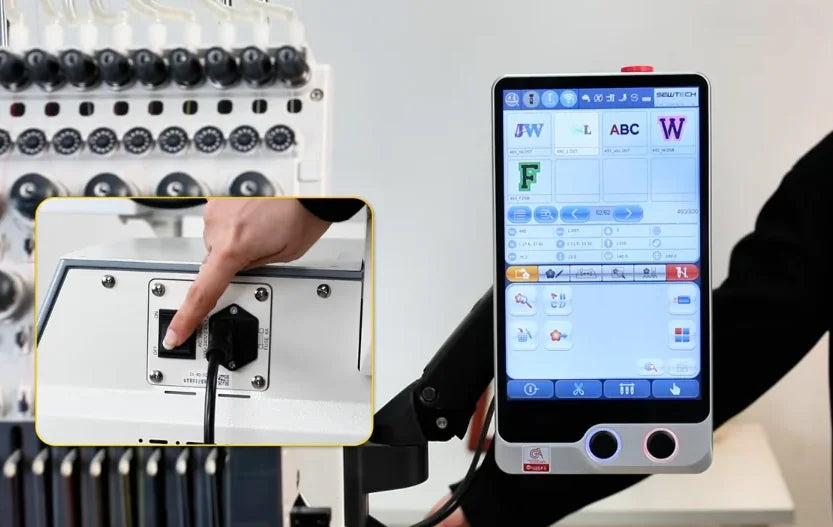
Watch at 00:11With the cord disconnected, find the power panel on the back of the machine base. The black rocker switch is on the left and the power inlet is on the right. Set the rocker to O (off) and have the machine’s power cord ready.
2. Connect the power cord
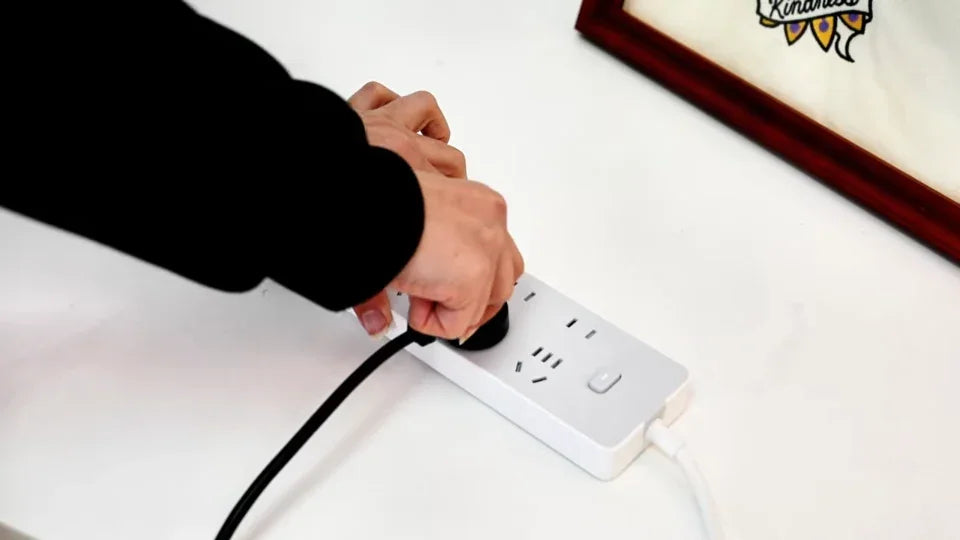
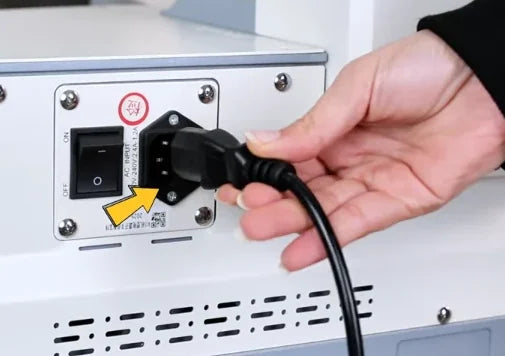
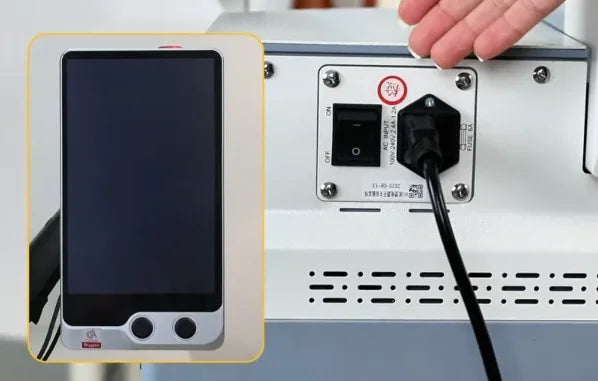
Watch at 00:27With the rear switch still at O, seat the machine end of the cord in the rear inlet. Then plug the other end into a grounded outlet that matches the machine’s input rating. The video shows the wall-plug end going into a power strip.
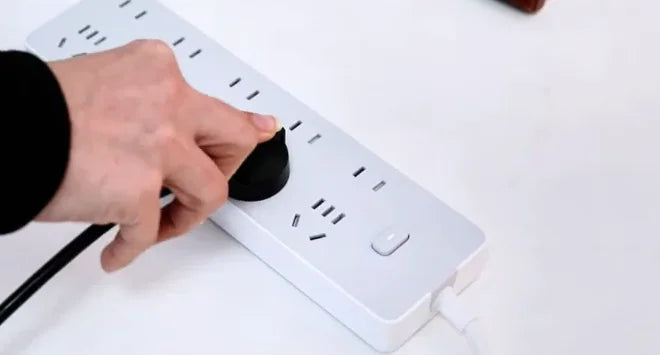
3. Turn on the rear switch and wait for startup
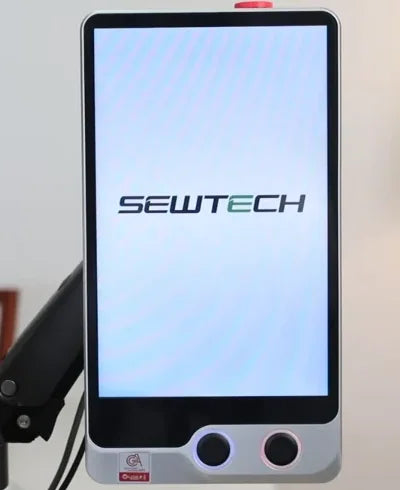
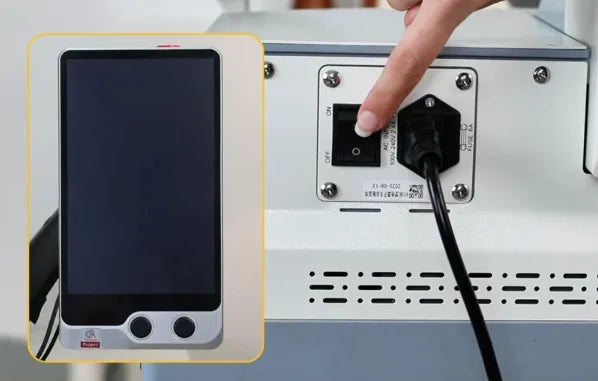
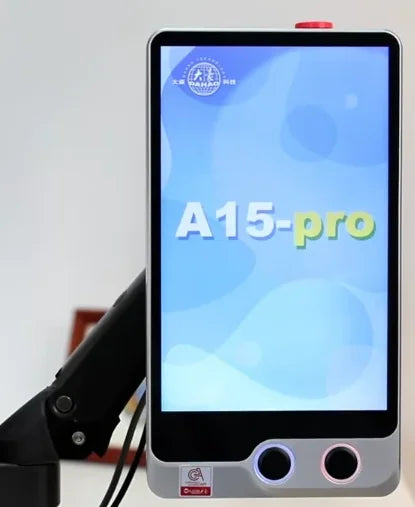
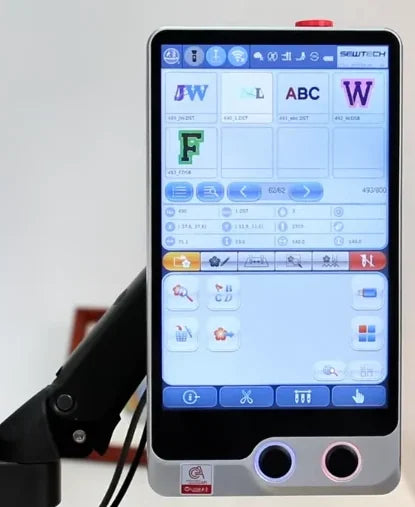
Watch at 00:42Press the I (on) side of the rear rocker beside the connected cord. The touchscreen lights up and shows the startup screens. Wait for the design screen with pattern thumbnails to confirm that the controller has finished starting.
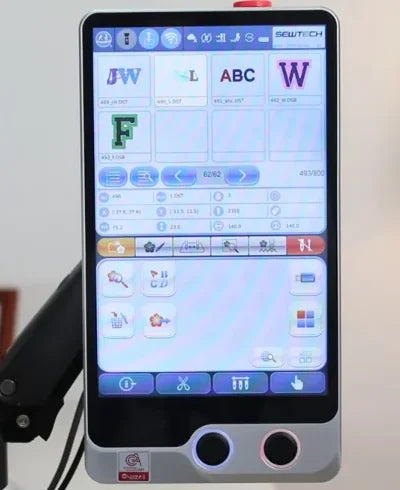
4. Find the red emergency stop
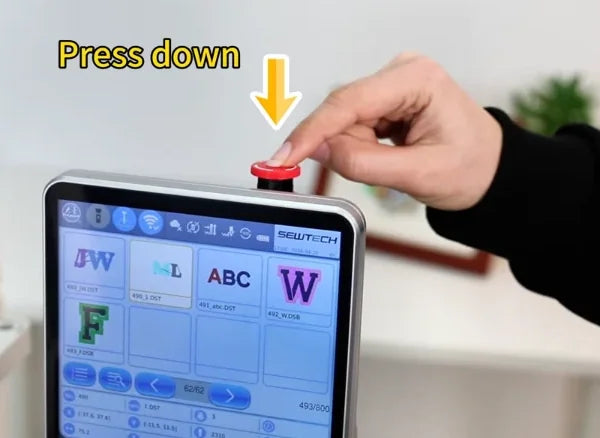
Watch at 00:49Look just behind the top edge of the touchscreen for the small red physical button. From the front you can see its red cap above the controller.

5. Press straight down in an emergency
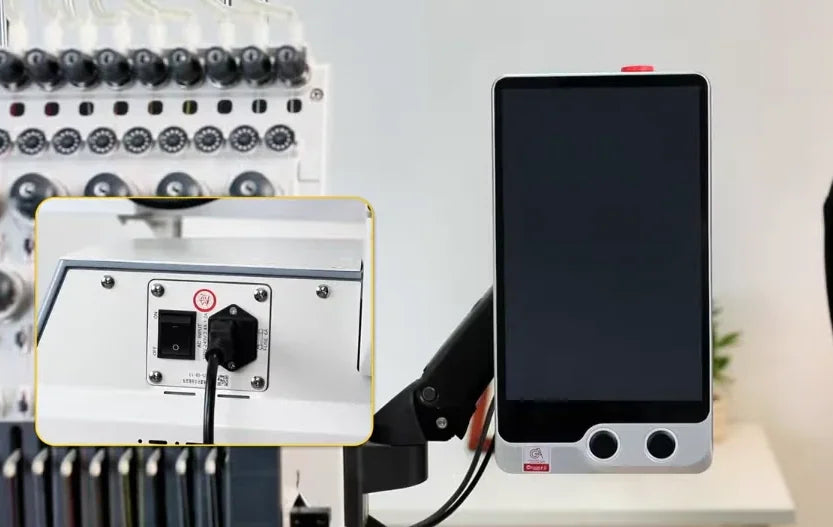
Watch at 01:00Press the red button straight down immediately when you need to stop machine movement. It stays latched down after you remove your hand. On the unit shown, the touchscreen goes dark after the press.

6. Recognize a startup blocked by the emergency stop
Watch at 01:13If the machine stays off after you use the rear switch, check whether the red emergency stop is still latched down. In the video, the power cord remains connected and the rear switch is pressed, but the touchscreen stays dark while the stop is engaged.
7. Release the stop by turning it clockwise
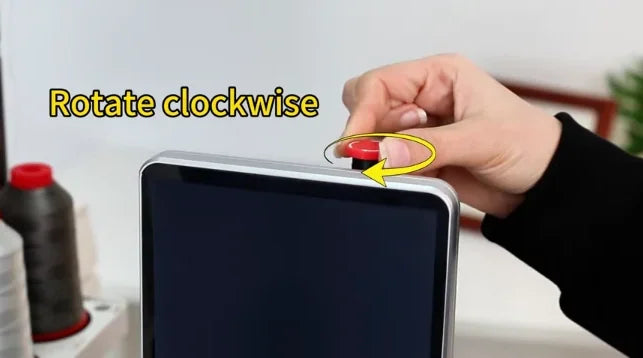
Watch at 01:27Once the cause of the stop has been addressed and the machine area is clear, turn the red cap clockwise until it pops up. Check that the cap stays raised when you let go. In the video, the screen stays dark at this point.
8. Power back on and confirm the design screen
Watch at 01:37Press I on the rear rocker again. In the video, the controller shows the A15-pro startup screen and returns to the design thumbnails. Use that return as the startup check. Before continuing embroidery, confirm the area is safe and check the job on your machine.
9. Turn off the machine at the rear switch
Watch at 01:51When embroidery is finished and the machine has stopped, press the O (off) side of the rear rocker. Check that the touchscreen goes dark before unplugging the cord.
10. Unplug at the outlet
Watch at 01:55After switching off, grasp the plug body at the outlet and pull the plug out. Check that it is fully clear of the socket.