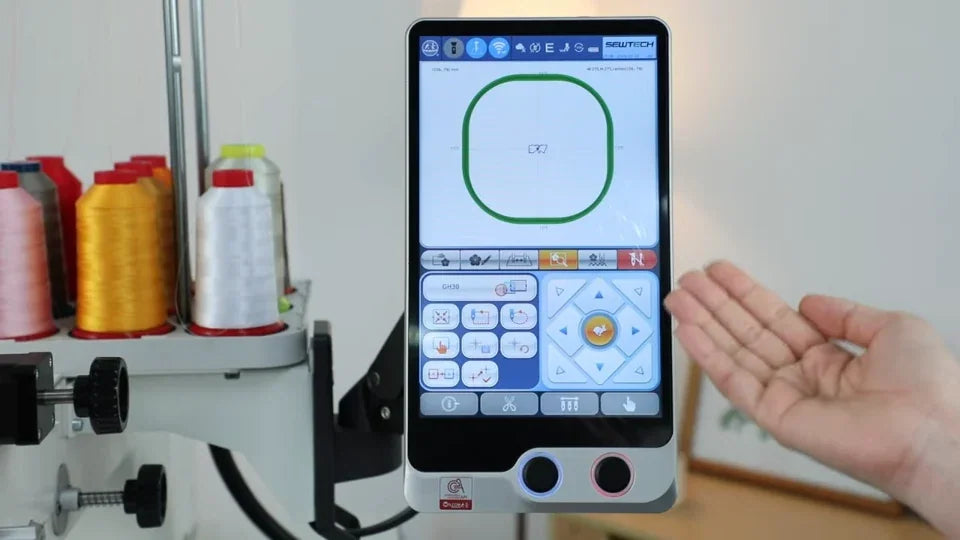
Add a New Hoop Size on the ST-1501

Overview
Mark the physical center, enter a safe embroidery area and use the laser to verify the saved hoop center.
Step-by-step guide
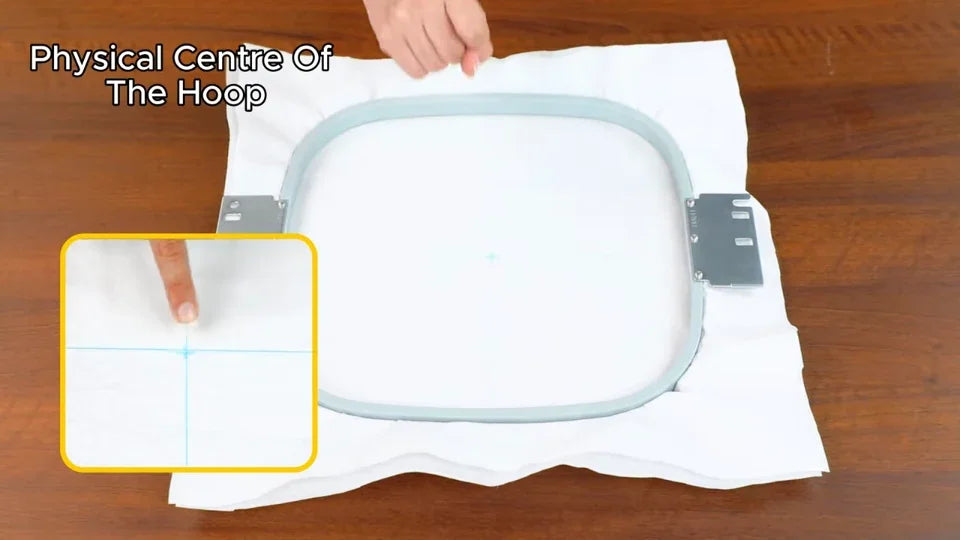
1. Mark the physical center
Watch at 00:11Hoop a piece of stabilizer and mark the center using crossed length and width midlines. Align the laser with its needle plate reference before mounting the hoop.
2. Enter the embroidery area with clearance
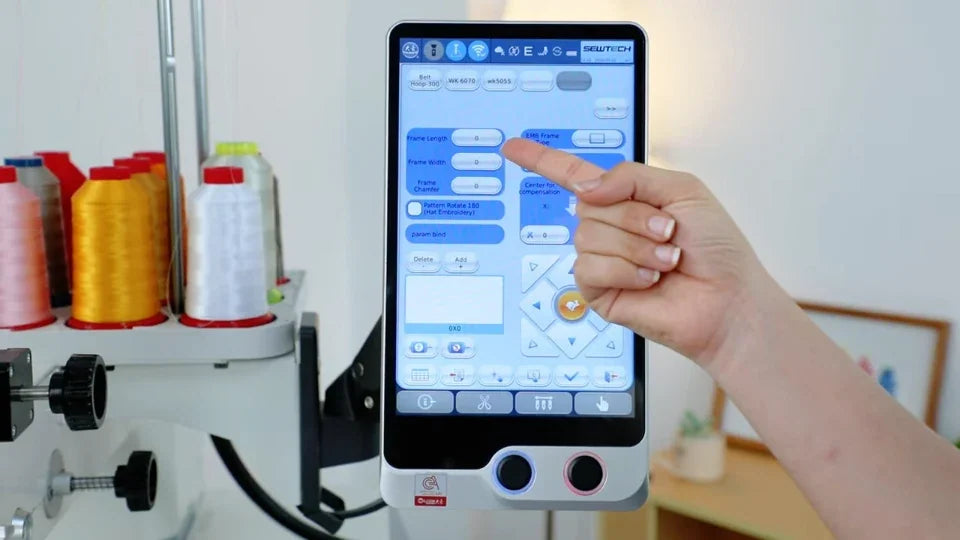
Watch at 01:36Add a hoop from the frame parameter menu. The example uses 275 by 275 mm for a physical 300 by 300 mm hoop. Enter the shape and clearance appropriate to your actual hoop.
3. Find and save the X/Y center
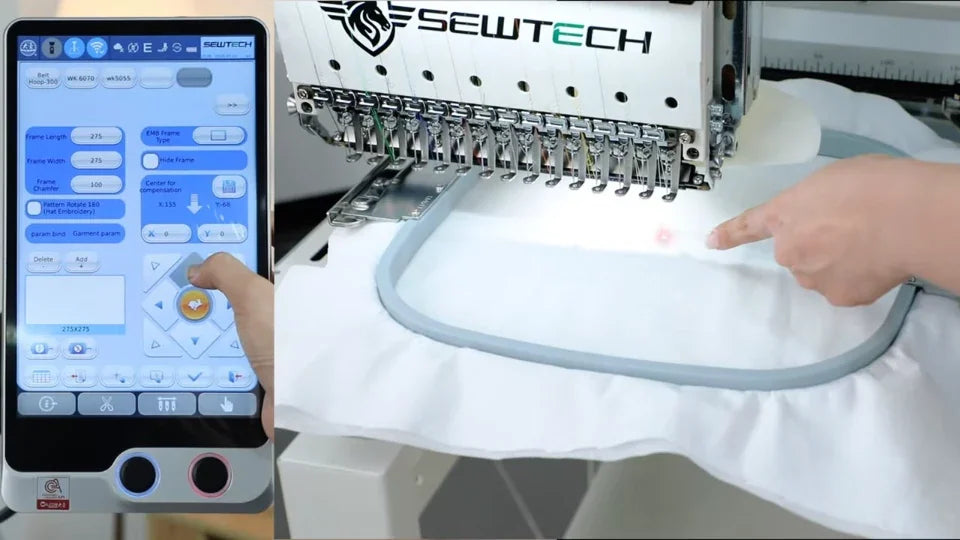
Watch at 02:25Start from the shown zero position and use the arrows to align the laser and center mark. Verify the X/Y values and save.
4. Select the new hoop and verify movement
Watch at 03:14Select the newly added hoop and use the center command. Compare the laser with the pen mark and check the safe embroidery area before stitching.