SEWTECHSupport Center 简体中文

Clear Trimmer Errors 26 and 40 on the ST-1501

Applies to ST-1501

Watch on YouTube ↗

Overview

On the SEWTECH ST-1501, EC40 means the trim cycle timed out. EC26 means the trimmer failed to return to its home position. The video shows how one thread nest can lead to both errors, then demonstrates how to clear the blockage, reset the moving knife and verify a clean trim.

Have small scissors, the Z-wrench shown in the video and a small cleaning brush ready. Stop the machine before reaching into the needle or bobbin area. Keep hands and tools clear whenever you operate the controls.

Step-by-step guide

1. Read the EC40 message

Watch at 00:14

Read the dialog on the touchscreen. In the demonstration it displays “Err No = 40:cutLine TimeOut.” The upper-thread trimmer timed out before it completed its motion.
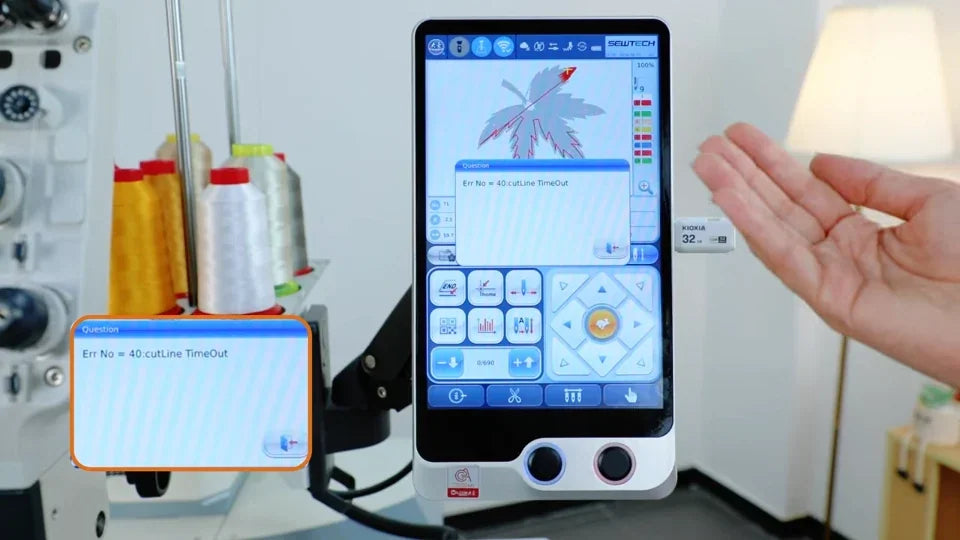
The touchscreen and the inset show the EC40 trim timeout.
The inset enlarges the exact error text.

2. Look for a thread nest under the hoop

Watch at 00:28

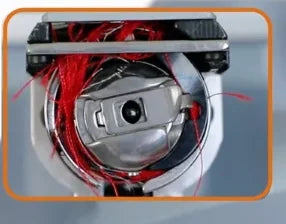
With the machine stopped, look under the hooped fabric and around the bobbin case below the needle plate. In the video, red thread has collected in both places. A nest in the knife path can keep the machine from cutting the thread or finishing the cycle.
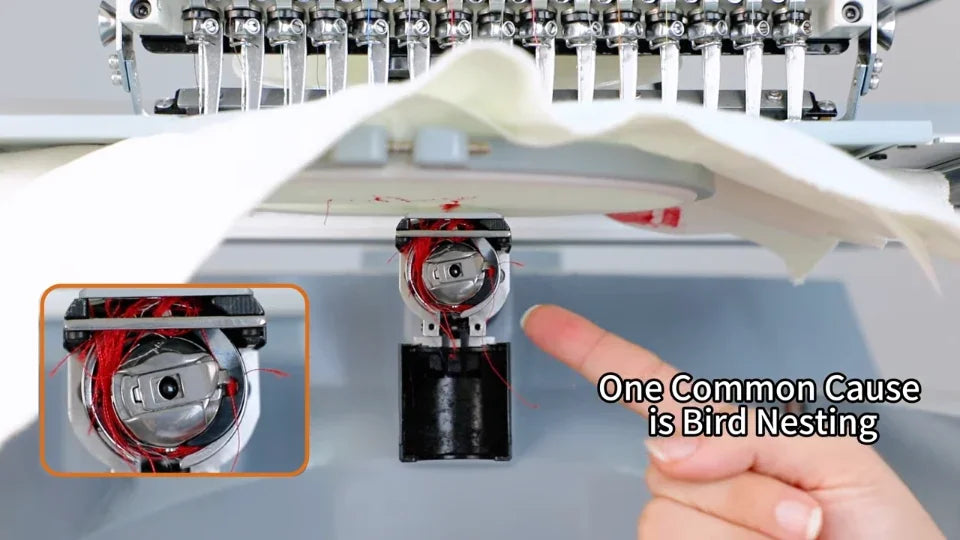
The presenter points to the bobbin area beneath the raised fabric.
The enlarged inset shows red thread wound around the bobbin case.

3. Stop retrying the Trim command

Watch at 00:44

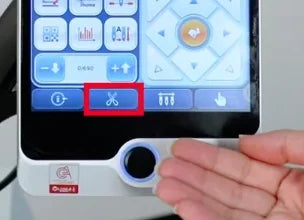
The video shows the trimming mechanism hanging near the needle with the thread still attached. Leave the scissors icon on the touchscreen’s bottom row alone while the mechanism is blocked. Each press tries another trim and can produce an unusual sound.
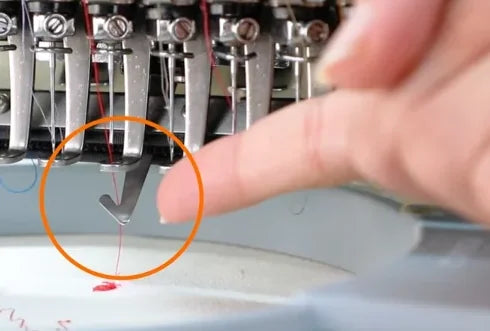
The orange circle marks the part left down near the needle.
The red box marks the Trim icon, second from the left on the bottom row.

4. Recognize EC26 after a failed return

Watch at 01:02

The same obstruction can also produce “Err No = 26:Trimming not in position,” as shown on the touchscreen. The cycle may time out first and then report that the trimmer failed to return. Clear the trapped thread before attempting the reset.
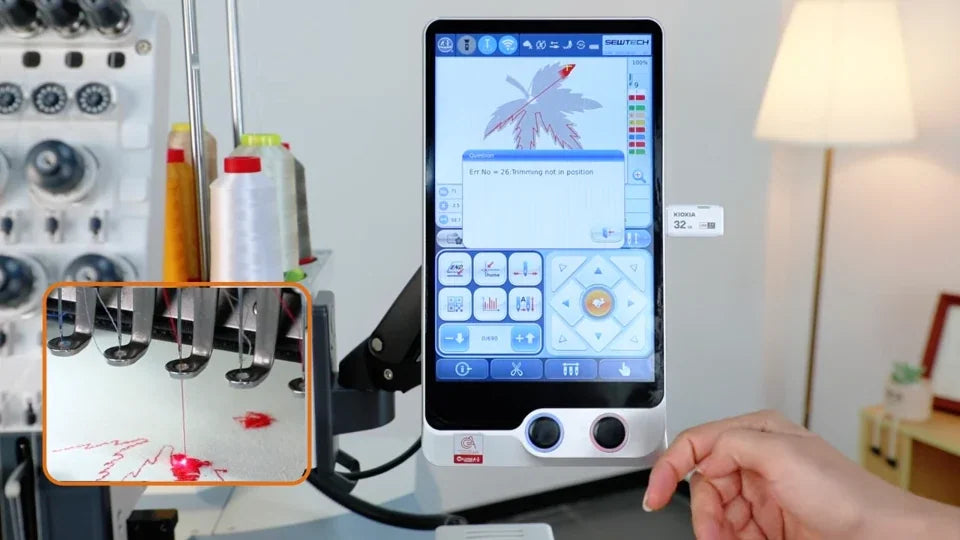
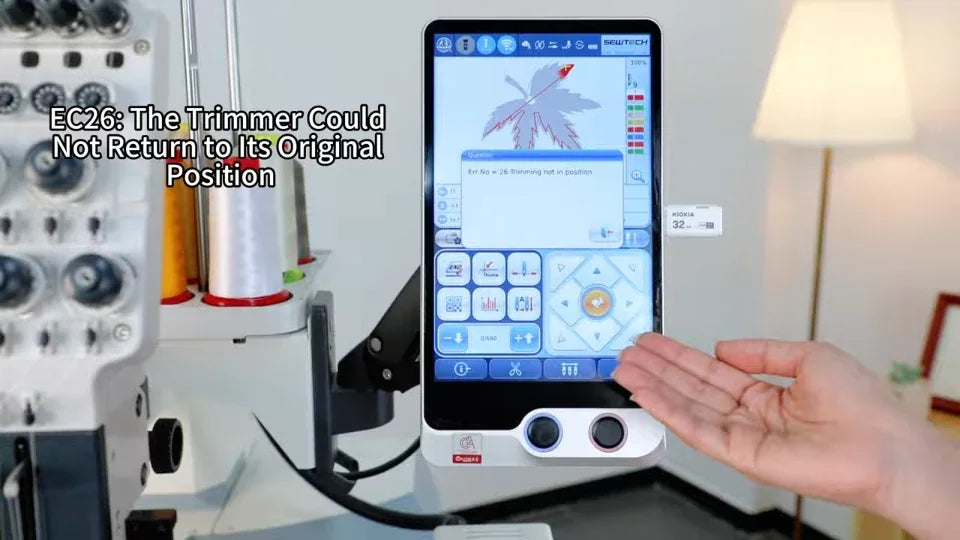
The error dialog reports EC26 while the inset shows thread still attached.
The on-screen explanation identifies EC26 as failure to return to the original position.

5. Snip the threads holding the fabric

Watch at 01:31

Use small scissors to snip the tangled threads between the underside of the fabric and the bobbin area. Free the fabric before moving the hoop so the thread cannot pull on the trimmer.
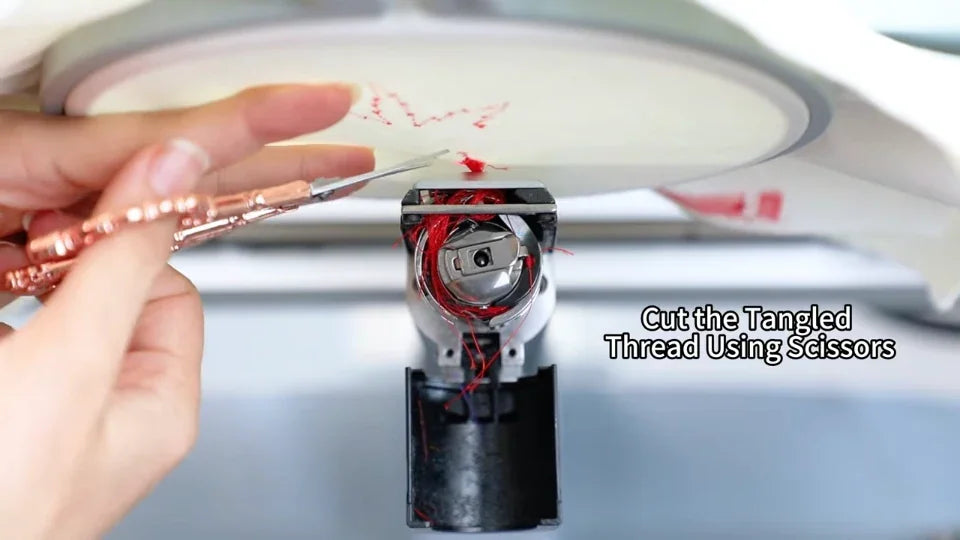
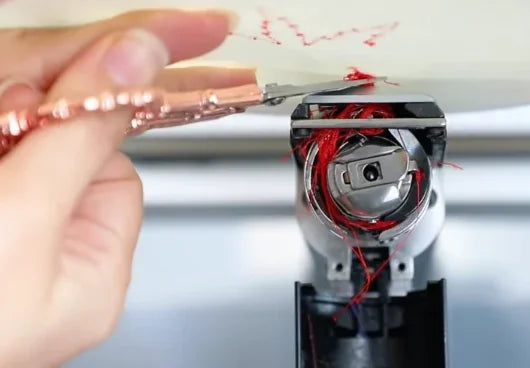
The scissor tips are brought up to the red thread beneath the hoop.
The cut is made close to the thread nest above the bobbin case.

6. Remove the embroidery hoop

Watch at 01:36

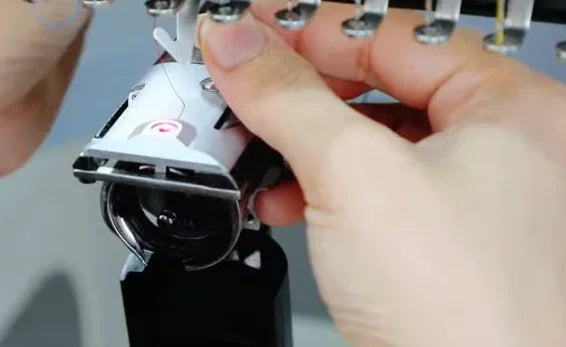
Support the hoop by its sides and free it from the mounting arms. Move the hoop and fabric clear of the needle head without catching them on the protruding trimmer.
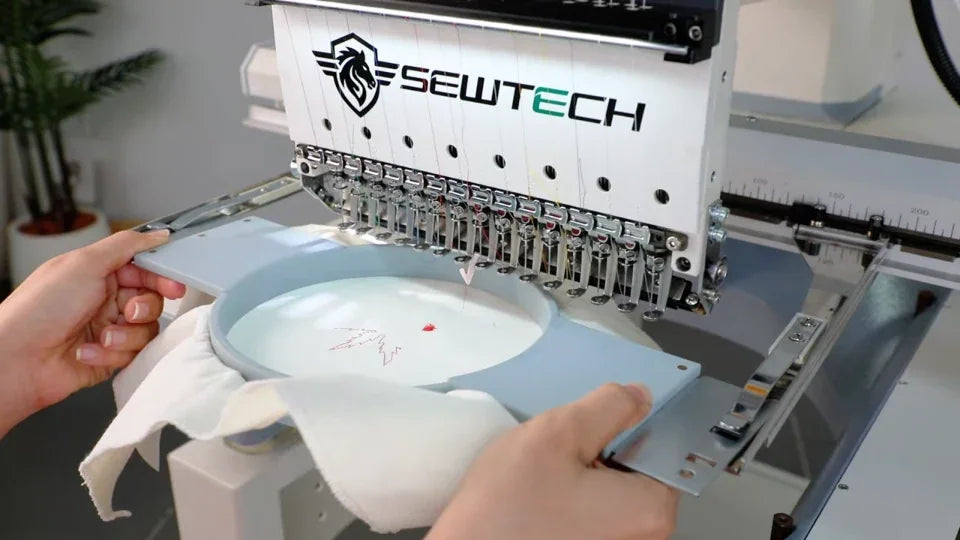
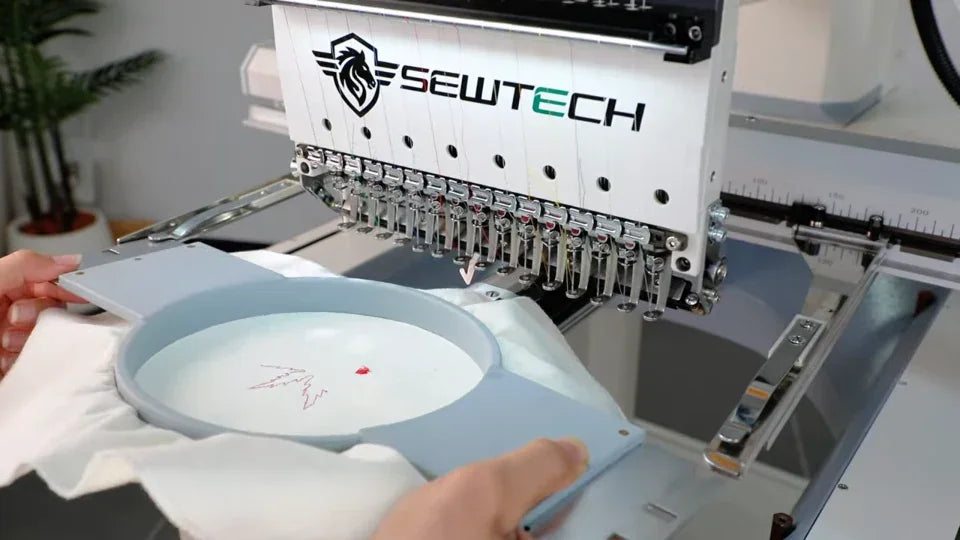
Both hands support the hoop at its side mounts.
The hoop and fabric slide clear of the needle head and mounting arms.

7. Take out the bobbin case and lift away loose thread

Watch at 01:42

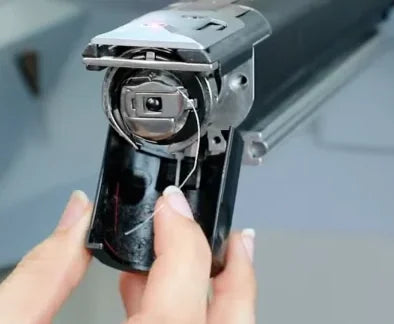
Reach the bobbin case from the front beneath the needle plate. Hold its center latch and pull the case out. Gently lift the remaining loose or tangled threads out of the opening.

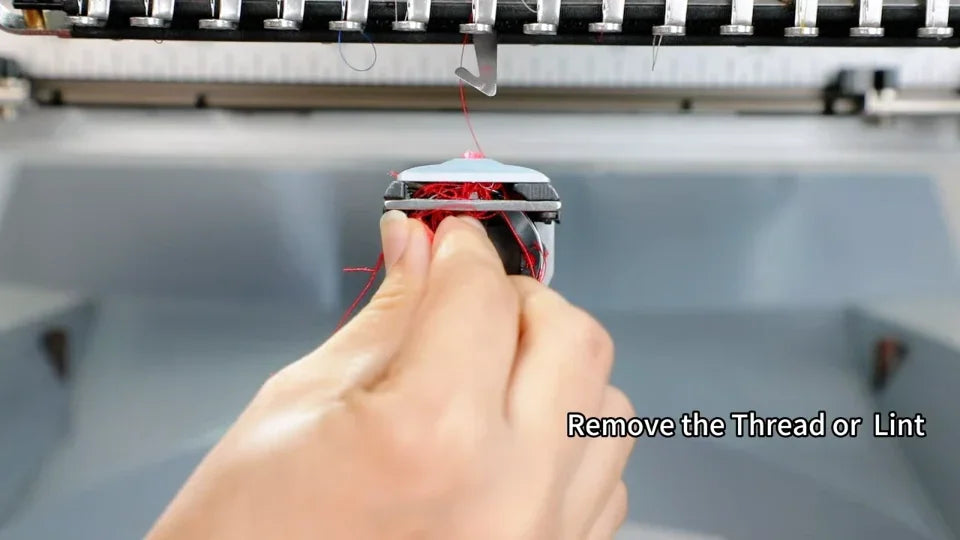
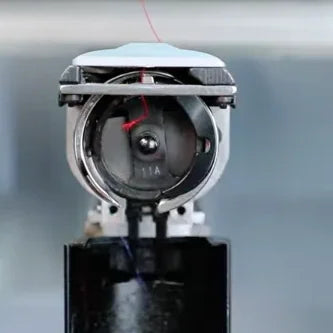
The case is pulled forward by its latch, exposing the thread nest behind it.
With the case out, loose red thread can be lifted from the opening.
The opening after the visible thread nest has been removed.

8. Remove the needle plate with the Z-wrench

Watch at 01:50

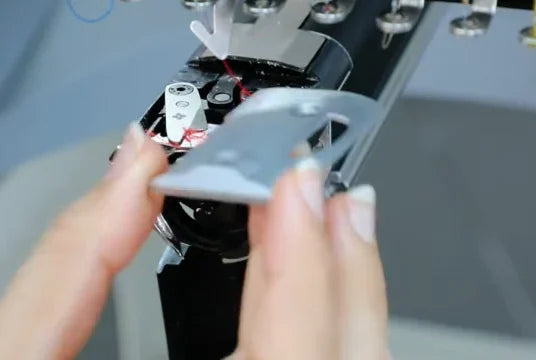
The needle plate is the metal cover directly above the bobbin opening. Use the Z-wrench shown in the video to loosen its retaining screws, then lift the plate off to expose the knives.
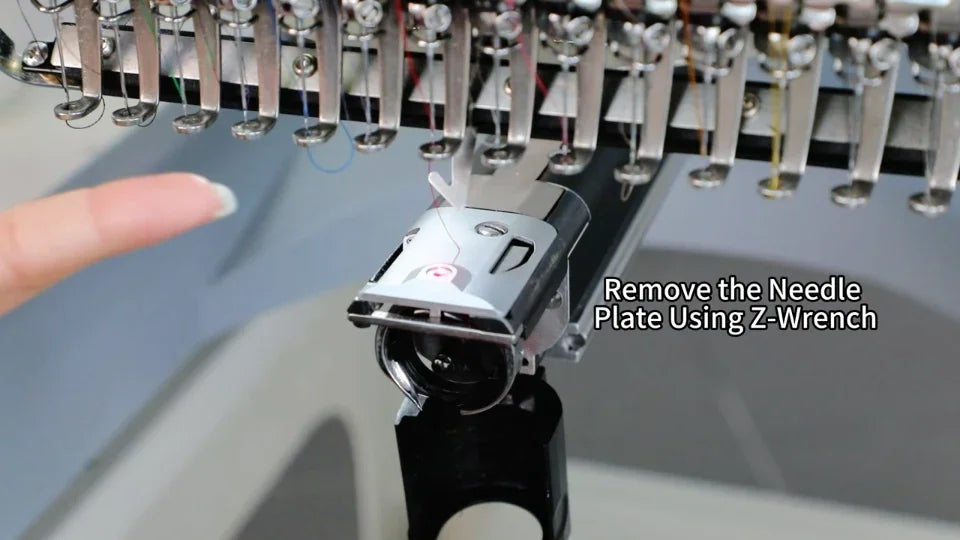
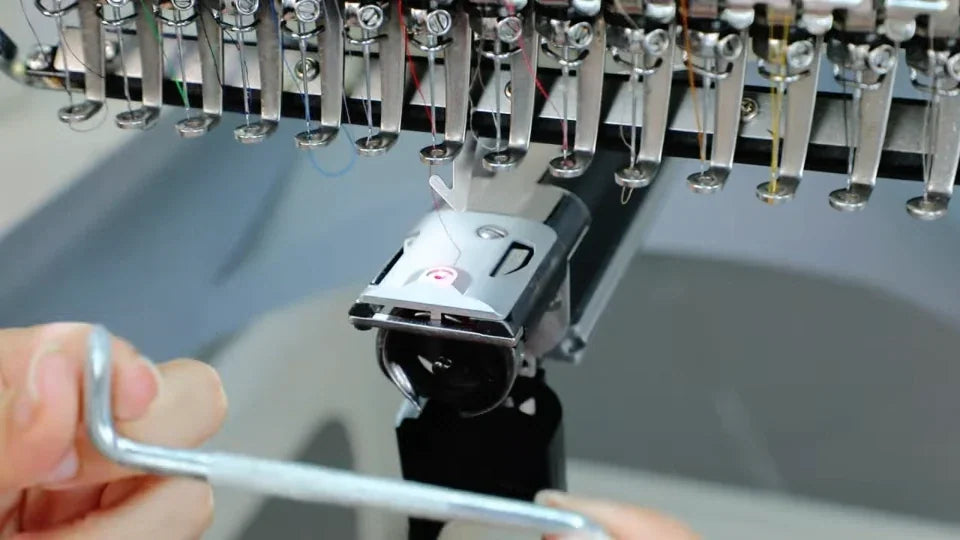
The overlay identifies the needle plate and the Z-wrench used to remove it.
The Z-wrench has an offset end for reaching the plate fasteners under the needle head.
The wrench is applied to the plate fastener below the needles.
The plate comes forward, revealing the cutters over the bobbin opening.

9. Brush out lint and thread scraps

Watch at 01:58

Use a small brush on the exposed cutting area above the bobbin opening. Brush away remaining strands, lint and fabric scraps from around the knives before resetting the mechanism.
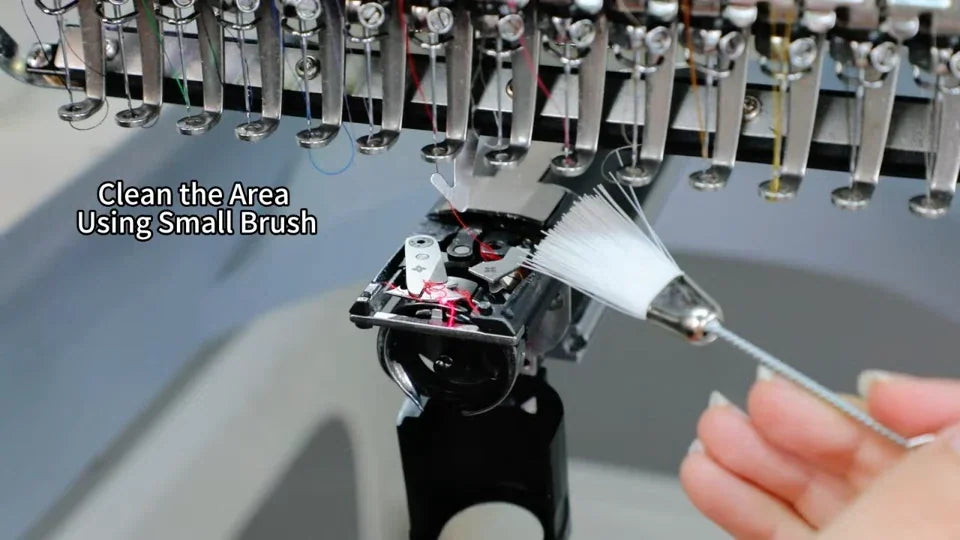
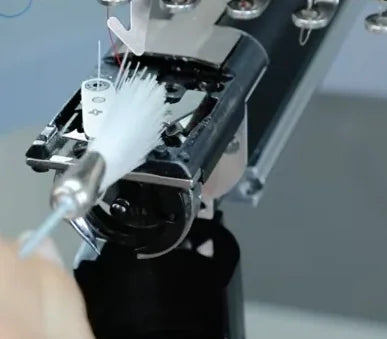
The brush reaches the loose red strands on top of the exposed cutter.
Sweep remaining debris from around the blades.

10. Compare the moving knife with its home position

Watch at 02:05

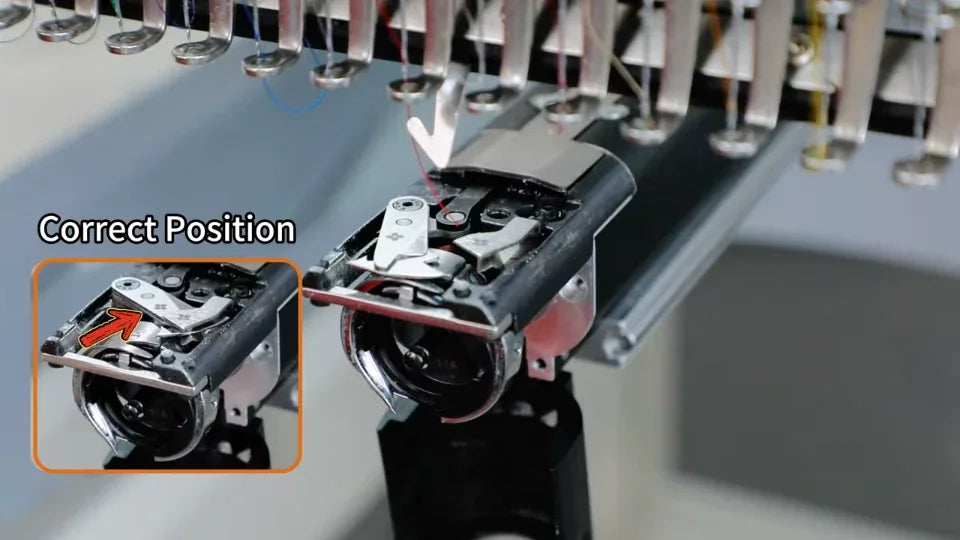
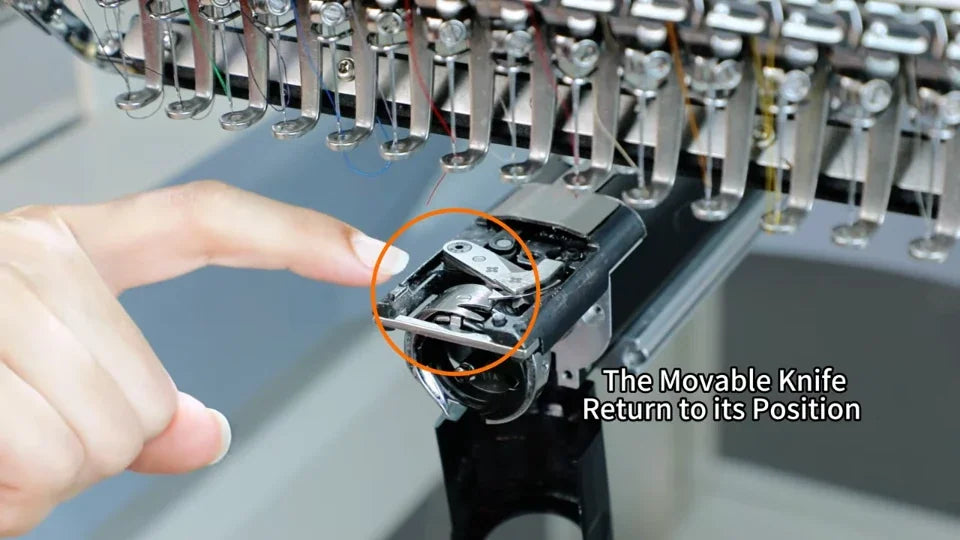
Locate the fixed and moving knives below the needle plate. The presenter points to the fixed knife first and then the moving knife. Compare the stuck position with the inset labeled “Correct Position” before using the reset control.
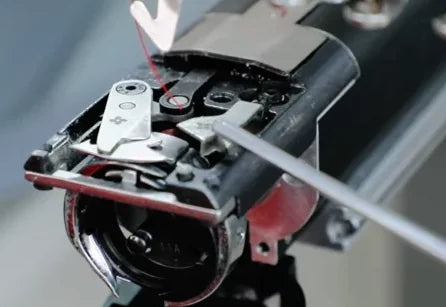
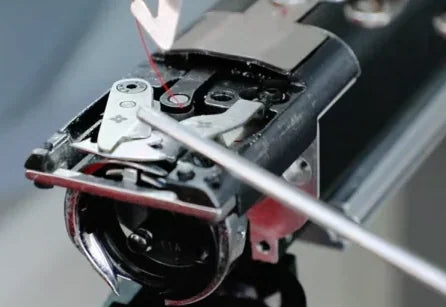
The pointer indicates the fixed knife first.
The pointer then indicates the moving knife while it is still out of position.
The left inset shows the correct position for comparison with the exposed mechanism on the right.

11. Use the 100° button and watch the knife return

Watch at 02:17

With the obstruction cleared and hands and tools away, tap the 100° button at the far left of the touchscreen’s bottom row. In the video, a progress dialog appears briefly as the mechanism moves. Watch the trimmer retract near the needle and confirm that the exposed moving knife has returned to its home position.
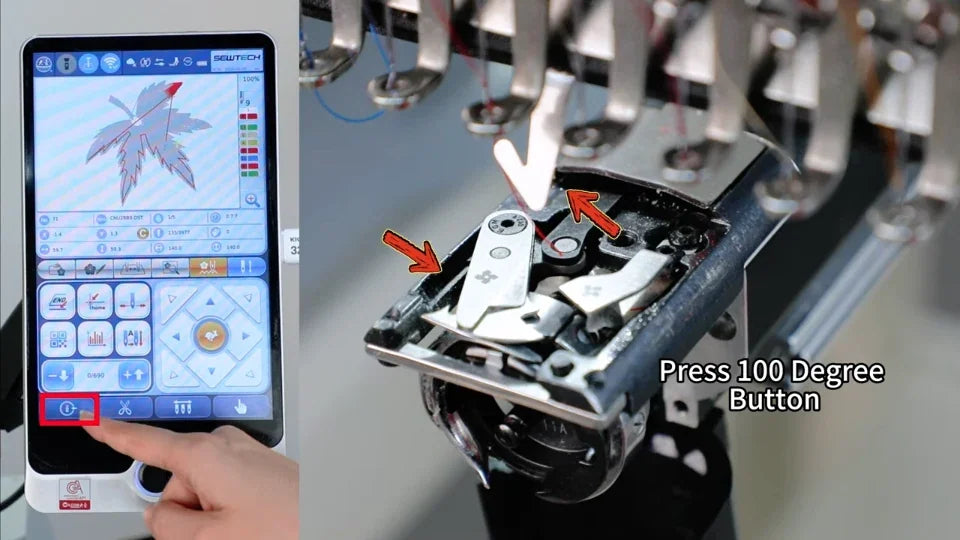
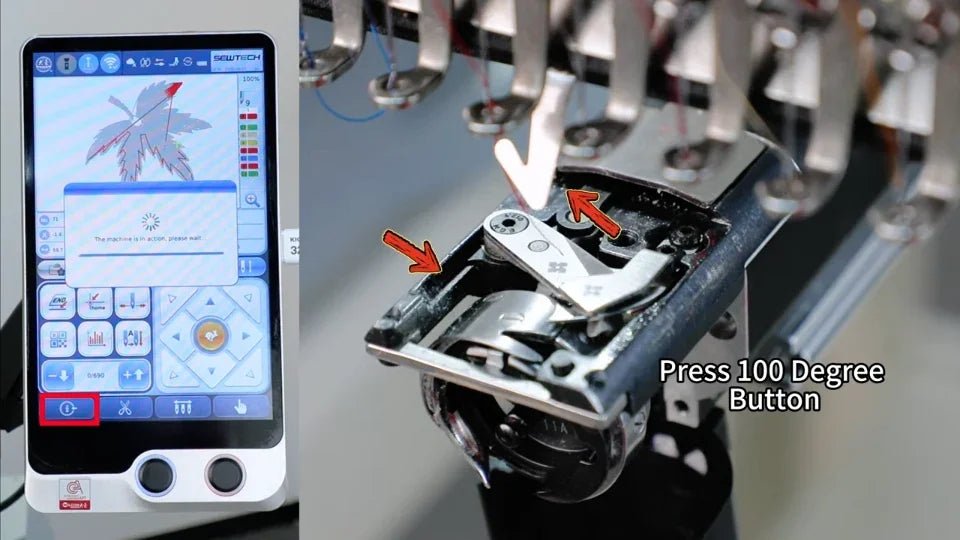
The red box marks the 100° button at the bottom left, beside Trim.
The display briefly shows a progress dialog as the moving knife changes position.
The circle shows the moving knife back in its home position.

12. Refit the needle plate and bobbin case

Watch at 02:30

Once the movement has stopped and the knife is home, set the needle plate back over the cutting area and tighten the screws with the wrench. Then seat the bobbin case in its opening beneath the plate and close the cover.
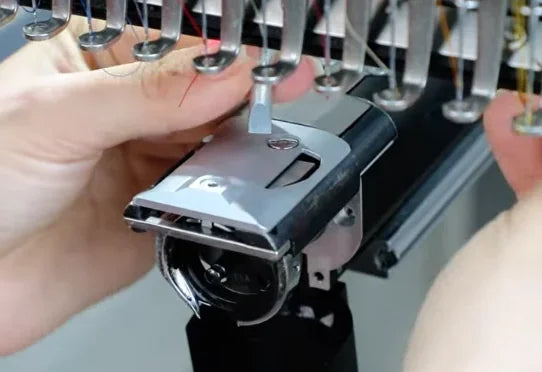
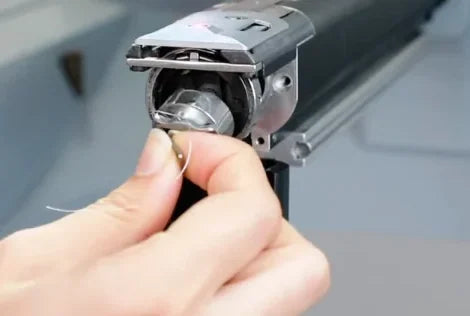
The wrench tightens the screws after the needle plate is seated.
The bobbin case goes back below the needle plate.
The presenter lifts the cover after reseating the case.

13. Run a short embroidery test

Watch at 02:40

Refit the hoop for a short test. In the video, the presenter starts stitching with the blue-ringed physical button below the touchscreen. Keep the needle and hoop area clear as the machine runs.
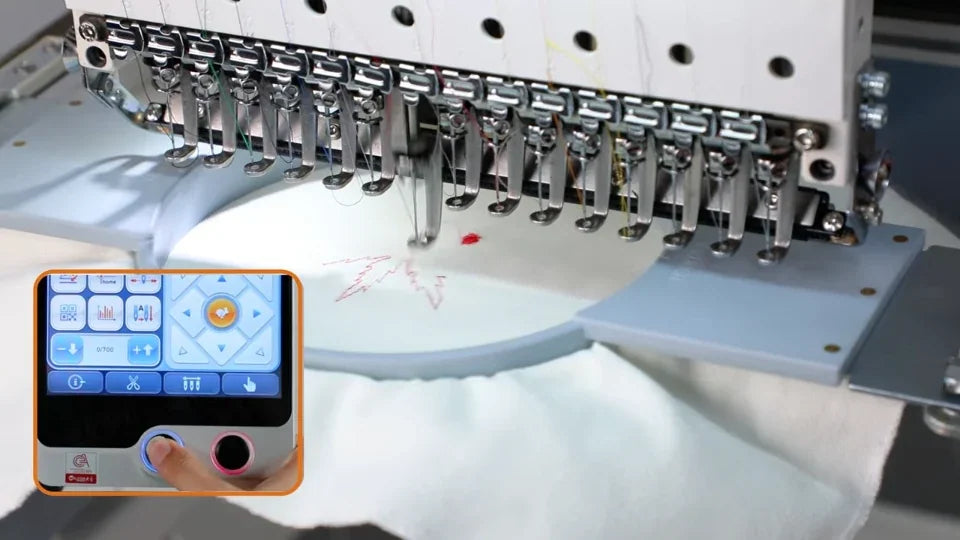
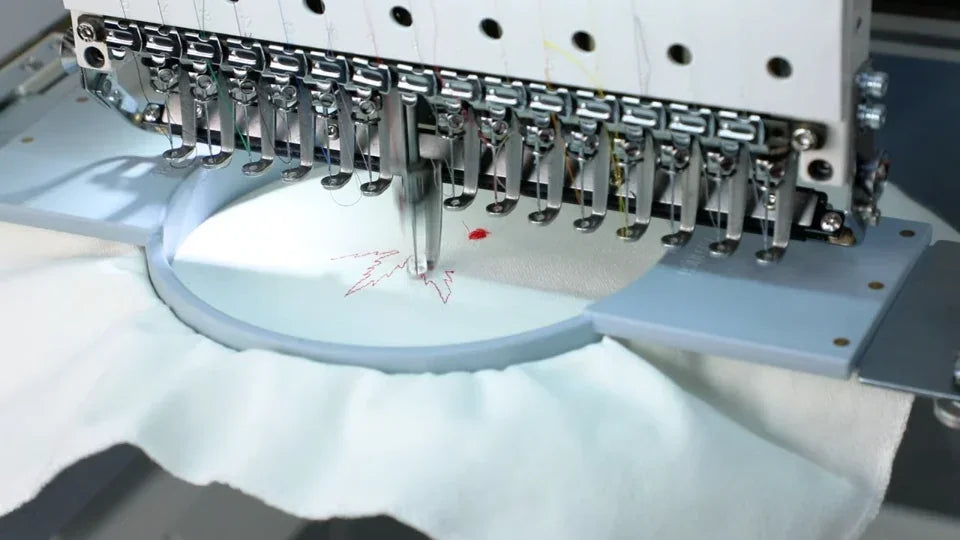
The inset shows the blue-ringed start button while the needle begins stitching.
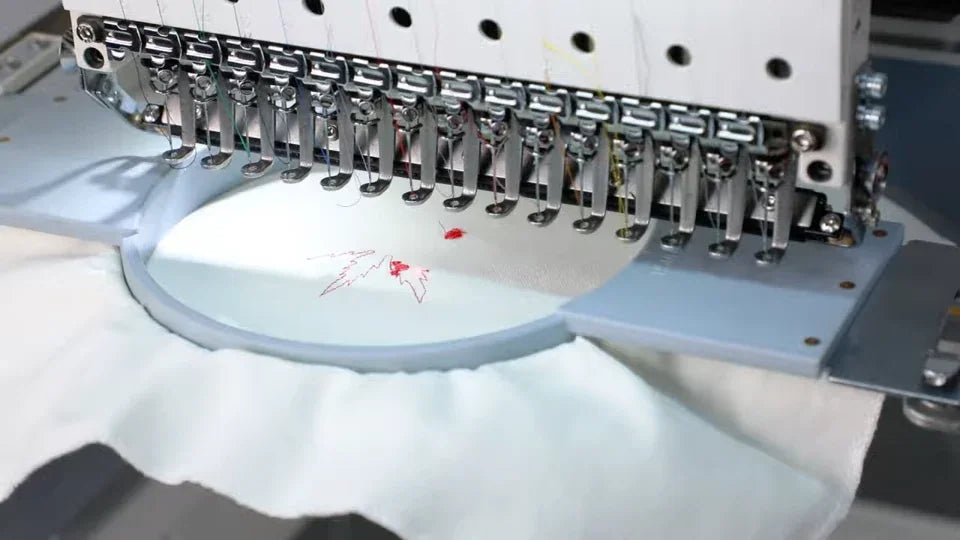
The machine stitches on the reinstalled hoop before the trim check.

14. Verify a clean cut and a smooth return

Watch at 02:48

Try Trim once after the short stitch run, as shown by the scissors icon in the video. Check that the thread cuts cleanly, the trimmer returns fully to its home position and neither EC26 nor EC40 appears on the touchscreen. If it stays out of position or either code returns, stop the test and consult the machine manual or SEWTECH support.
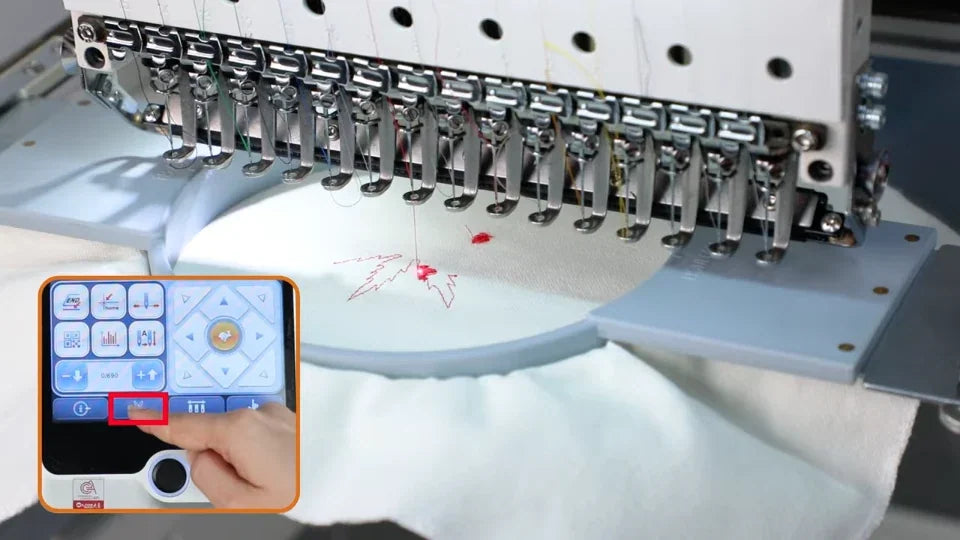
The presenter taps the scissors icon once for the test trim.
The video shows the needle area after the test trim. Check the touchscreen on your machine for both error codes.