Fix Error 9 at the Start of an Embroidery Design

Overview
This guide covers Error 9 when the controller is asked to back up before the first stitch. On the ST-1501 shown, clear the message, exit stitch controls and leave the design at stitch 0 until you are ready to start.
Step-by-step guide
1. Enter embroidery mode
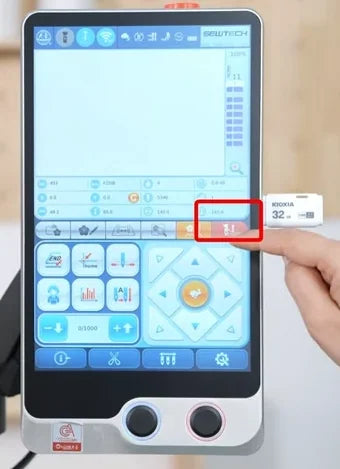
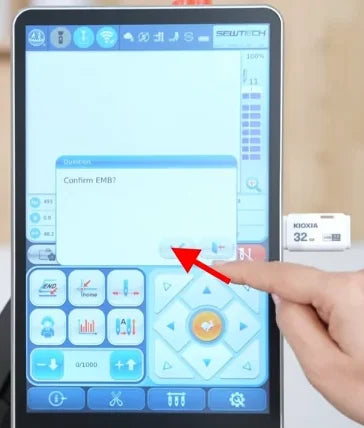
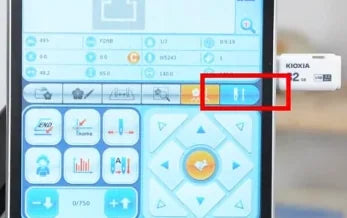
Watch at 00:12With the design selected and the machine idle, tap the red embroidery-mode button at the far right of the strip below the design area. In the “Confirm EMB?” dialog, tap the check mark. Wait for loading to finish. On this controller the button turns blue and the design preview appears. Proceed to the stitch count with the machine still idle.
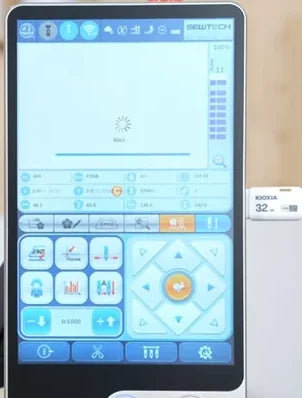

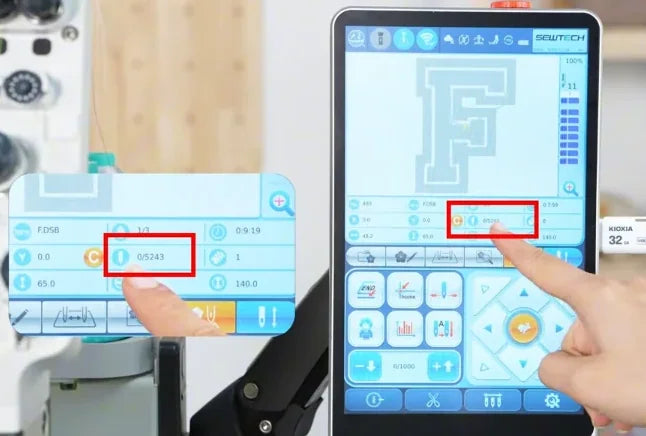
2. Read the stitch counter below the preview
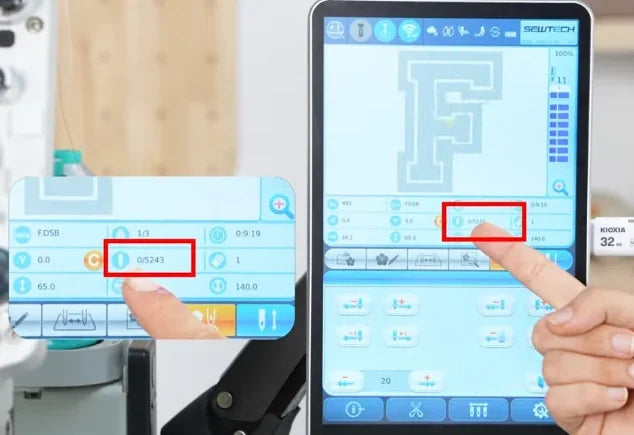
Watch at 00:19Check the current/total stitch count in the status fields directly below the preview. The display reads 0/5243 for the example design. The first number is the current position. If it is 0, the design is already at its starting point.
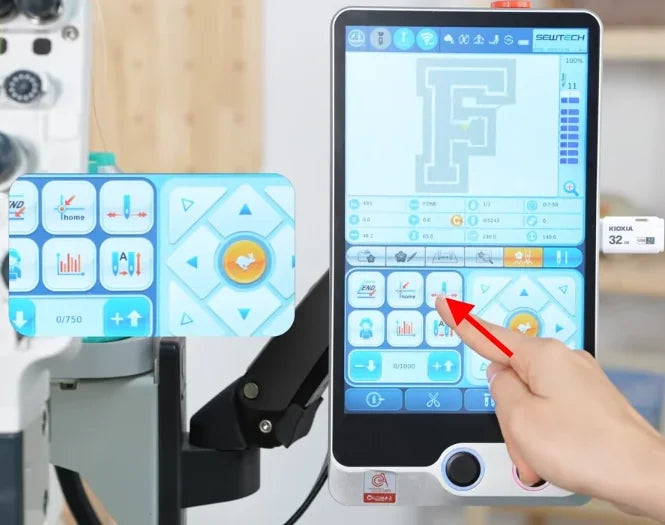
3. Locate the stitch controls
Watch at 00:27For reference, the video opens stitch controls with the needle icon flanked by left and right arrows. It is the upper-right button in the six-button cluster to the left of the directional pad. The lower part of the display changes to the stitch controls and the design preview stays above it. If the Error 9 dialog is already open, go to the dismissal step.
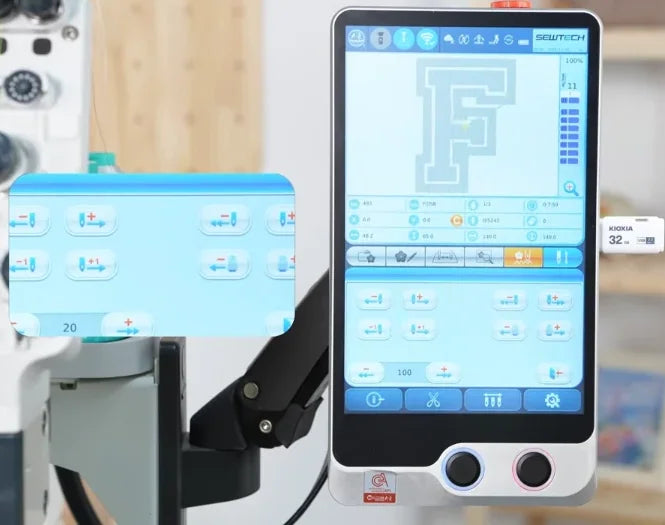
4. Match the Error 9 message
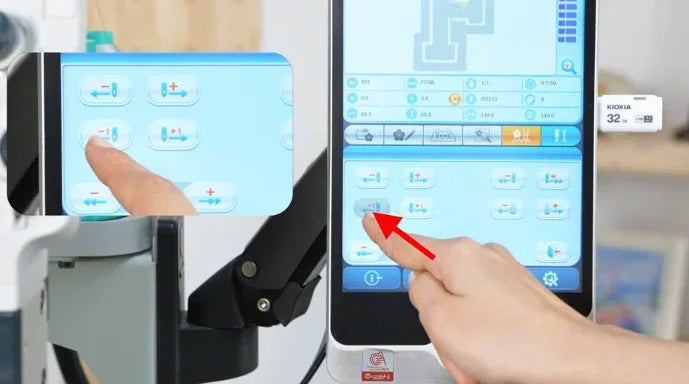
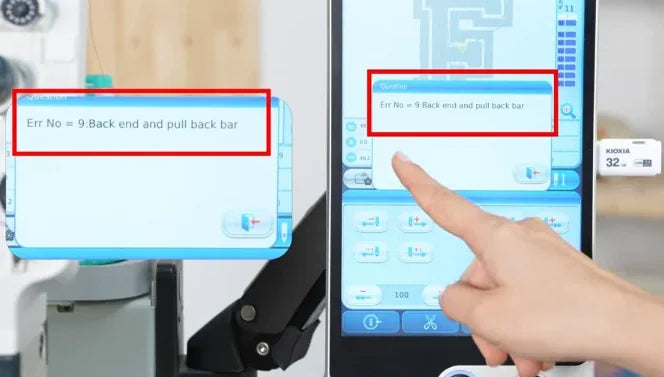
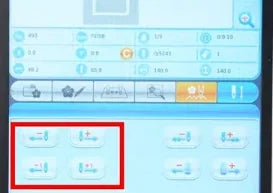
Watch at 00:29The video reproduces the fault by tapping −1 (the left button in the second row of stitch controls) at stitch 0. The dialog reads “Err No = 9:Back end and pull back bar”. The controller has no earlier stitch to move to. If this matches your screen, clear the dialog and continue from the current position.
5. Dismiss the error dialog
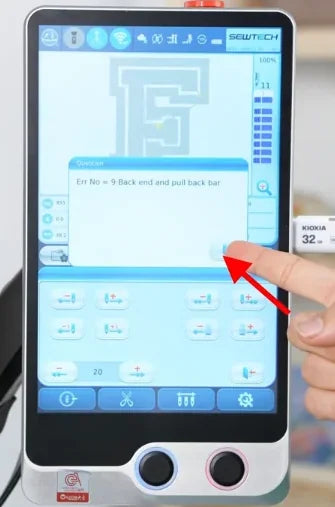
Watch at 00:35Tap the return icon at the bottom right inside the Error 9 dialog. Check that the pop-up disappears. The stitch controls below the design are still open, so use their own Exit button in the next step.
6. Exit the stitch controls
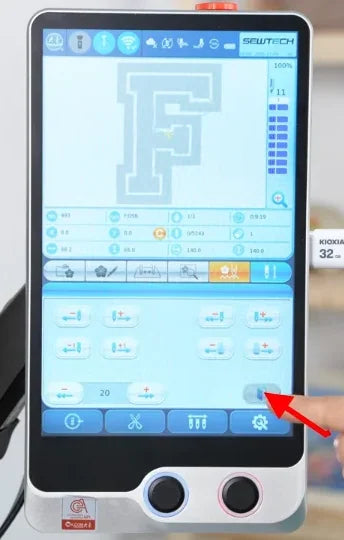
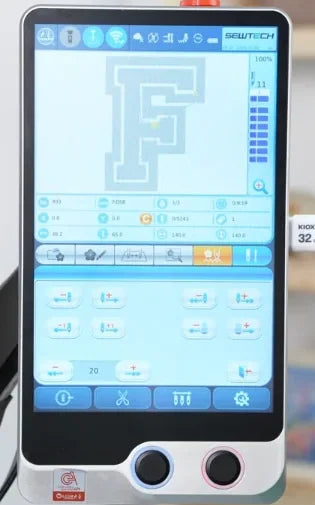
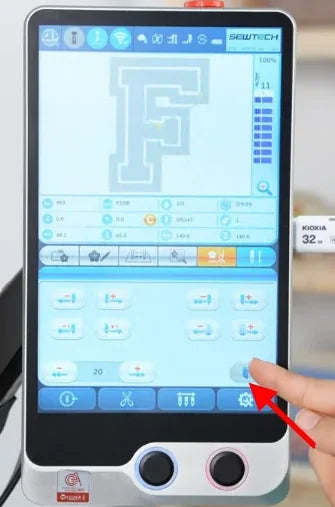
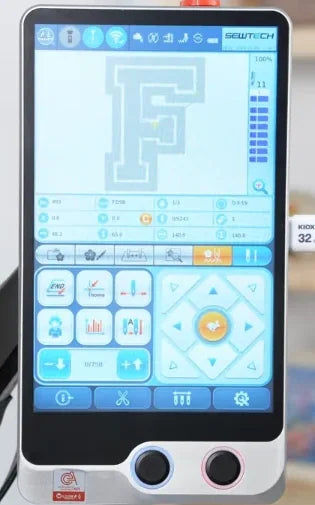
Watch at 00:42Tap the exit icon in the lower-right corner of the pale stitch-control panel, directly above the blue gear button. The main embroidery screen returns with the directional pad and six-button cluster. The blue embroidery-mode button stays visible.
7. Check the setup before starting
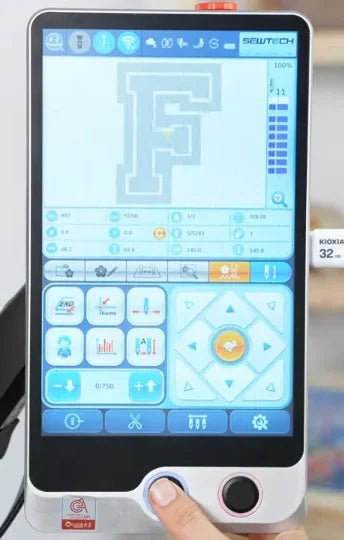
Watch at 00:48On the main screen, check that the intended design is displayed, the controller is in embroidery mode and the current stitch is still 0. Before pressing Start, make sure the hoop is secure, the fabric and stabilizer are seated, the machine is threaded and the hoop path is clear. The video calls for a setup check and keeps the camera on the controller.
8. Leave the design at stitch 0
Watch at 00:55The video reopens the stitch controls to show what to avoid. When the first number in the current/total counter is 0, leave the position there and use the panel’s Exit icon if it is open.
9. Press Start and check the first stitches
Watch at 01:07Once the main screen is back and the setup is ready, press the physical Start button with the blue ring below the left side of the touchscreen. On your machine, verify that stitching starts, the stitch count advances from 0 and the Error 9 prompt stays closed. The clip shows the button press and then cuts to the presenter.