Embroider a T-shirt on the ST-1201 and SC-1501

Overview
Follow the left-chest logo project demonstrated on the ST-1201, from marking and hooping the shirt through USB import, arm setup, a laser trace and a finished stitch-out. The 100 × 100 mm hoop, the right-arm hole and the needle numbers are the setup used in this demonstration.
Step-by-step guide
1. Gather the materials and choose a hoop
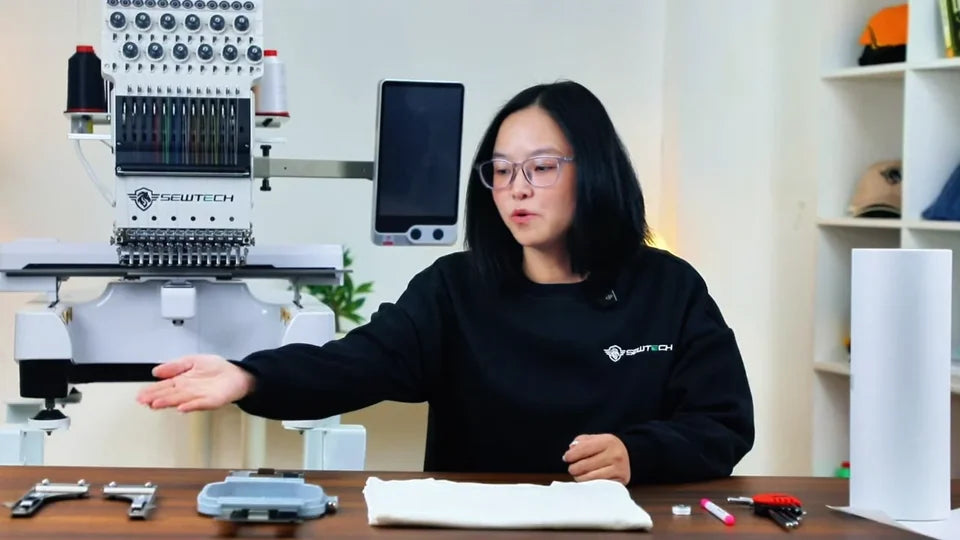
Watch at 00:22Set out the shirt, the hoop and its two mounting arms, a full bobbin, a washable fabric pen, a wrench set and stabilizer. Have scissors, tape, a placement template and a USB drive with the design ready for the later steps. Compare the design with the hoop opening and choose a hoop that is larger than the design.
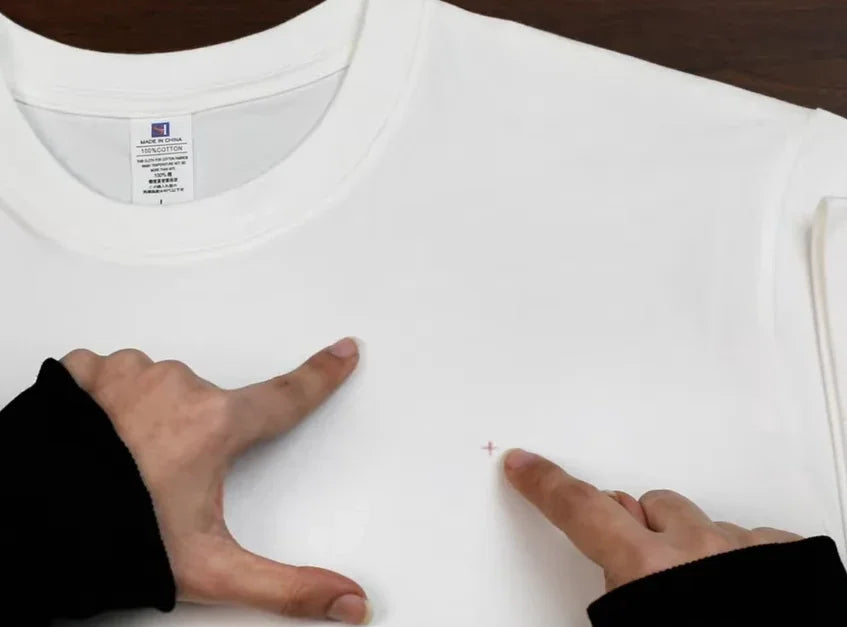
2. Mark and tape the left-chest placement
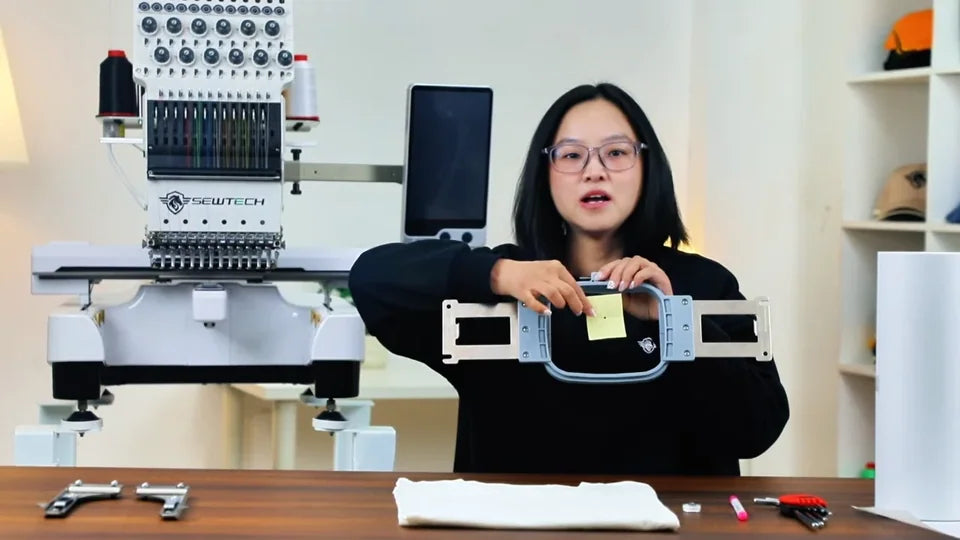
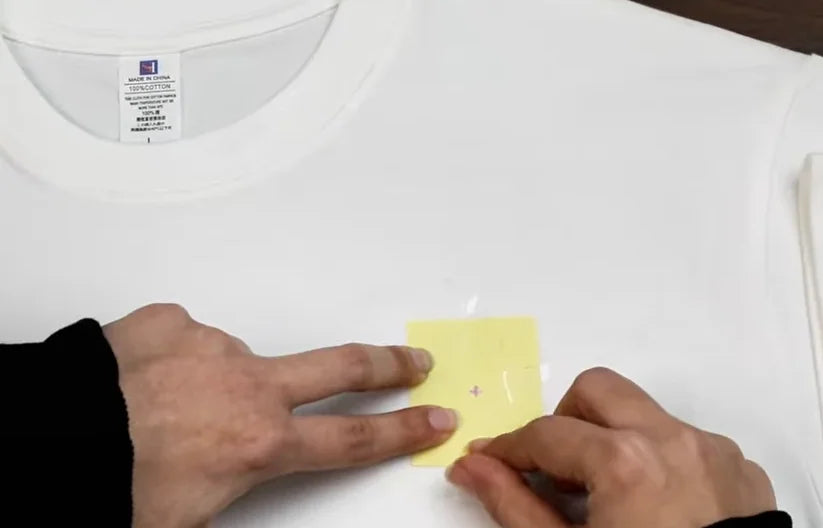
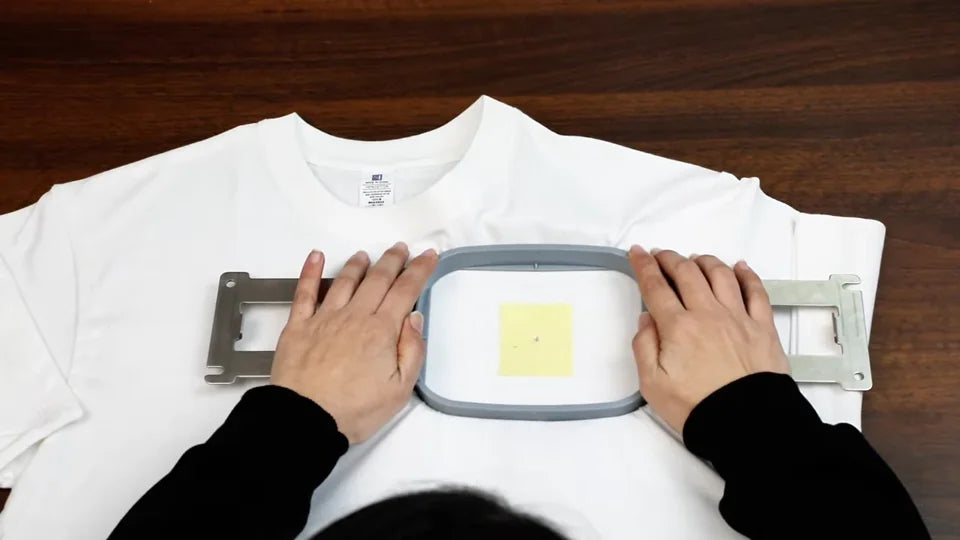
Watch at 00:58Lay the shirt front up. Mark the desired logo center on the wearer’s left chest with the washable pen. The presenter starts with the center already marked. Match the center hole in the yellow template to that mark, then tape the template to the shirt so it stays in place while hooping.
3. Cut the stabilizer larger than the hoop
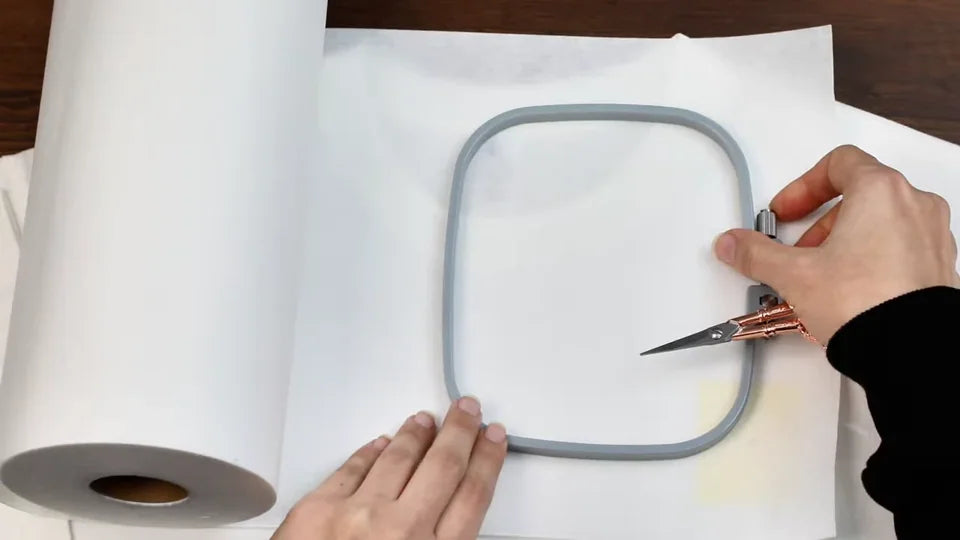
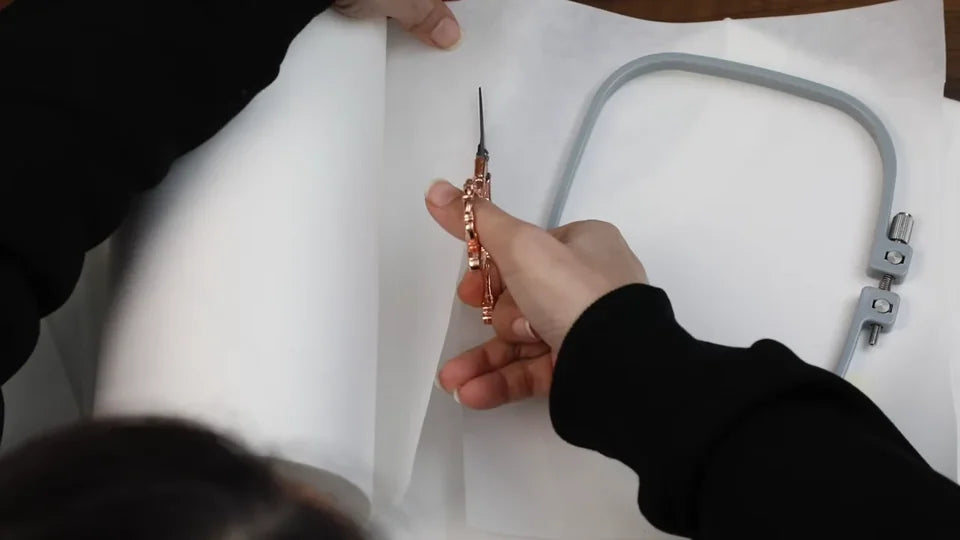
Watch at 02:10The video uses cut-away stabilizer for this shirt. Lay the lower hoop ring on the sheet as a size guide. Cut with scissors, leaving stabilizer beyond the hoop on every side so it can be caught between the rings.
4. Hoop the shirt front and hand-tighten
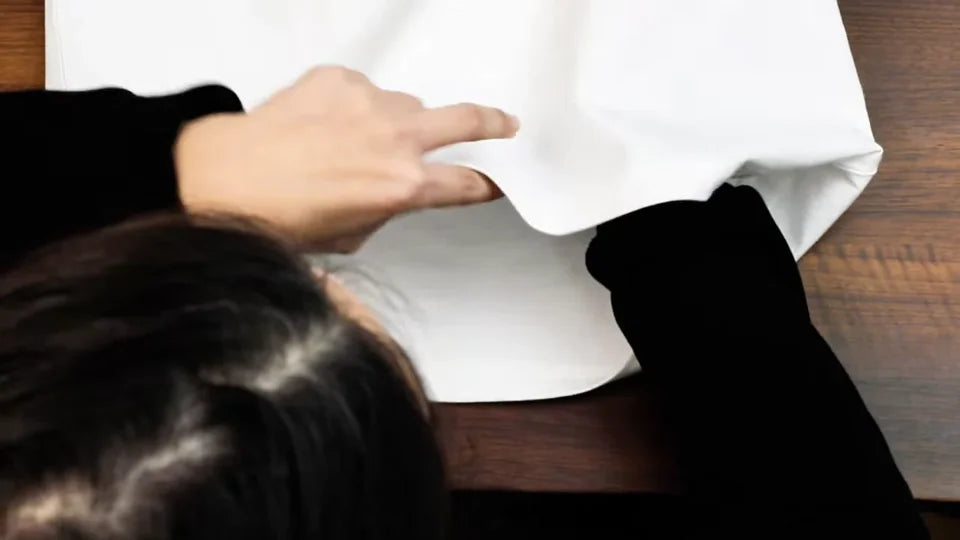
Watch at 02:48Loosen the adjusting screw on the lower ring slightly. Lay the cut-away over the ring and slide both up inside the shirt, directly behind the marked front panel. Center the template in the ring and smooth the knit without stretching it. Press the upper ring down evenly. Lift the loose garment edge to reach the adjustment screw and tighten it by hand. Check that the template is centered and the fabric inside the hoop is flat.


5. Import the design from USB
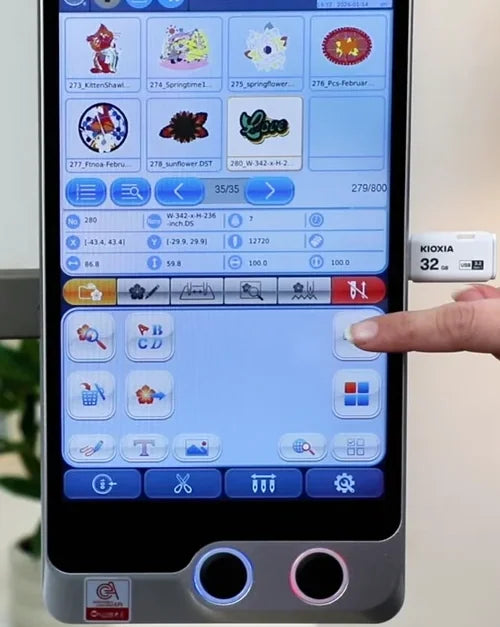
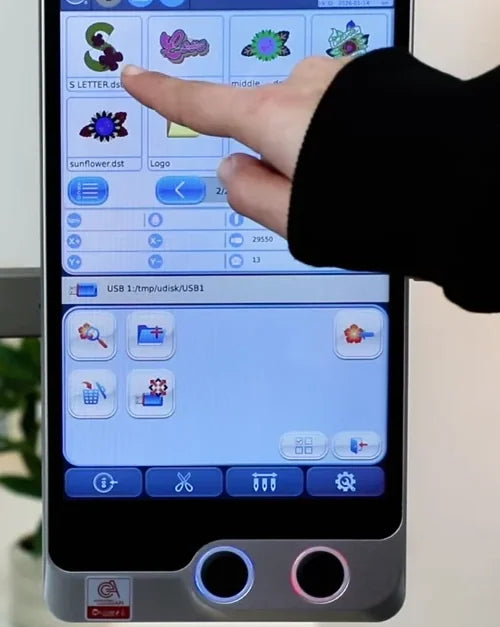
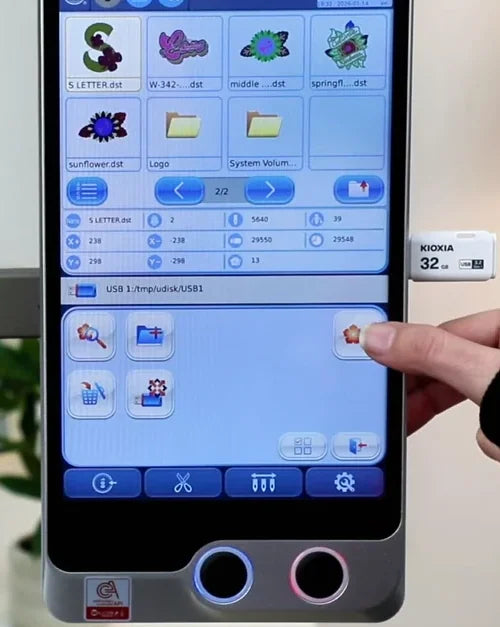
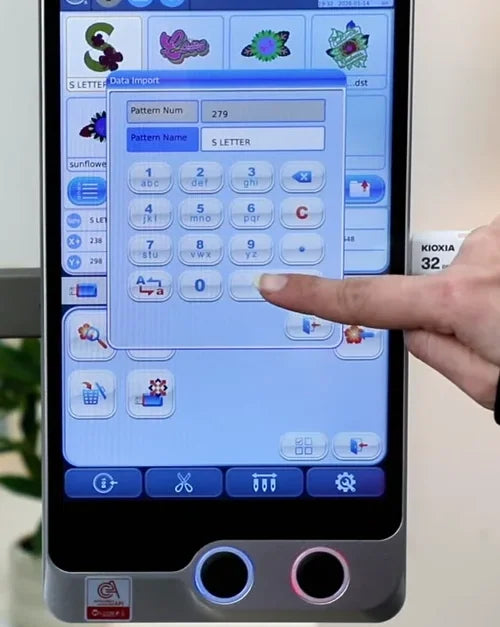
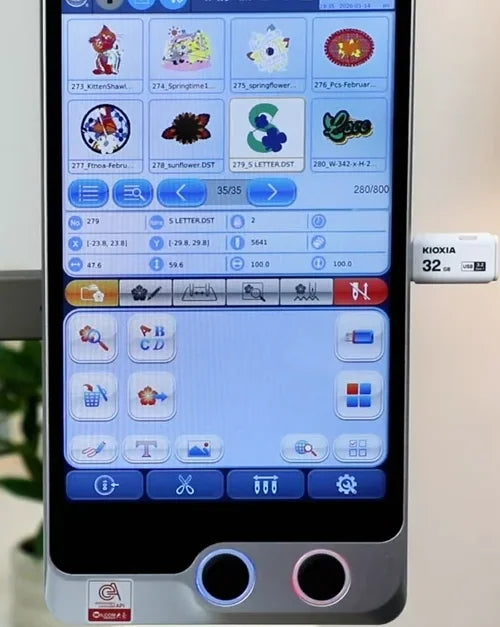
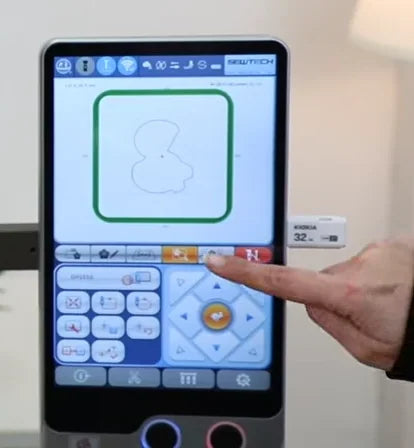
Watch at 04:05Turn on the machine and insert the USB drive into the right edge of the touchscreen. Tap the USB icon on the right side of the design list and wait for the drive thumbnails. Tap the intended design, tap the orange import icon on the right, then tap the check mark in the dialog. Use the lower-right return button and check that the new thumbnail is in the machine’s design list.
6. Assign the thread colors in stitch order
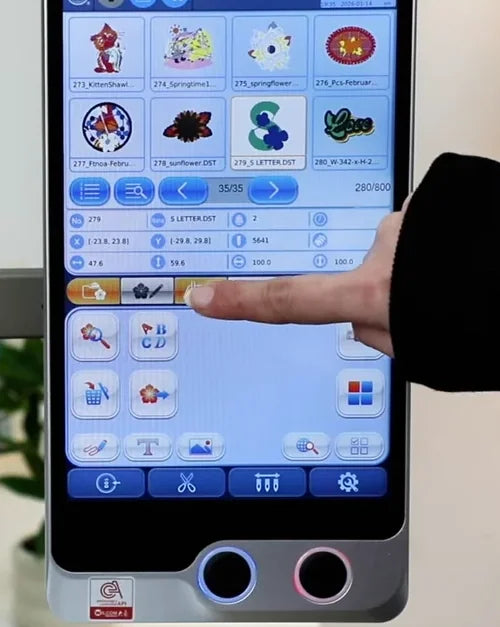
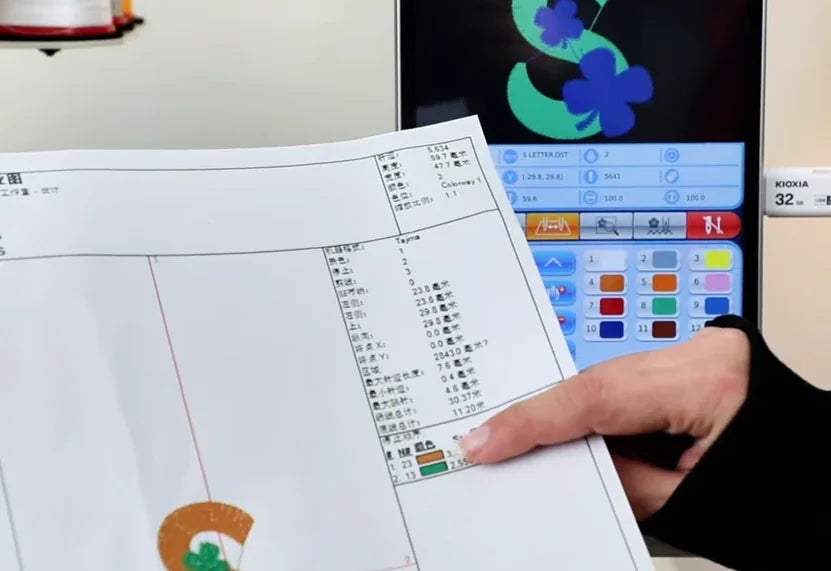
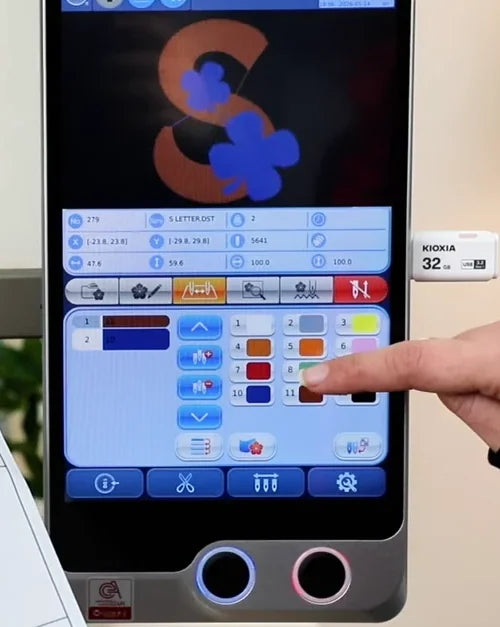
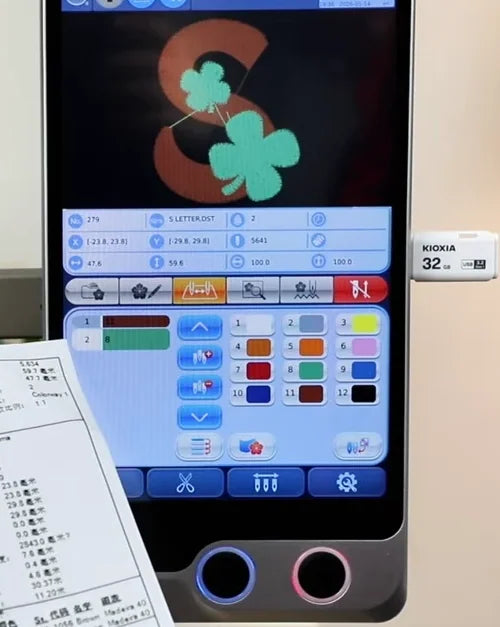
Watch at 05:14Open the thread-color tab in the middle row of the screen. Follow the digitizer’s color chart and choose the needle carrying the required thread for each color stop. The demo uses brown on needle 11 first and green on needle 8 second. Check both rows and the brown-and-green preview on your screen. Use your own threaded needle positions for other designs or setups.

7. Select the actual hoop on the controller
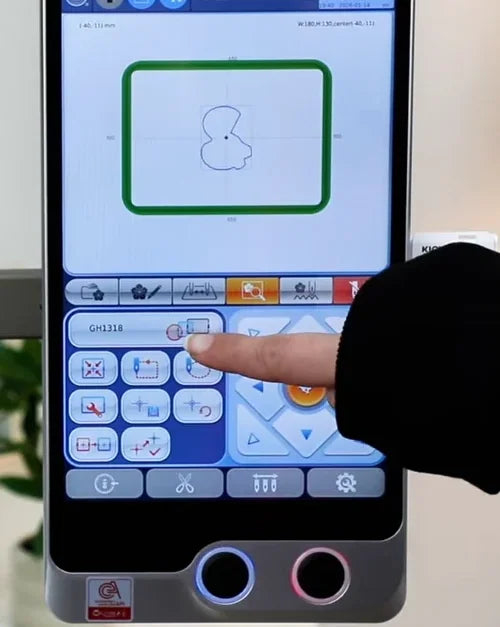
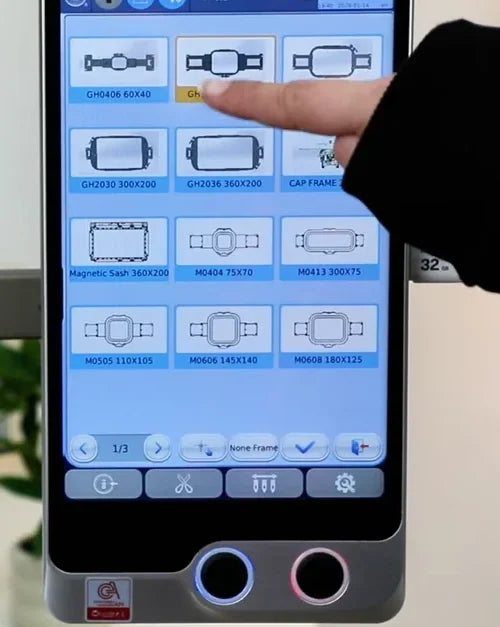
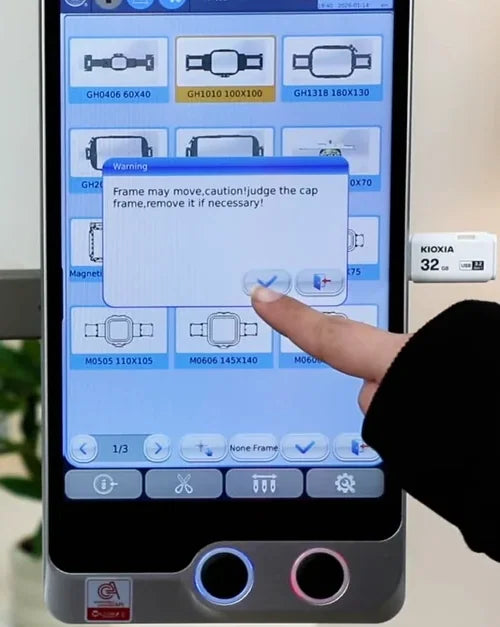
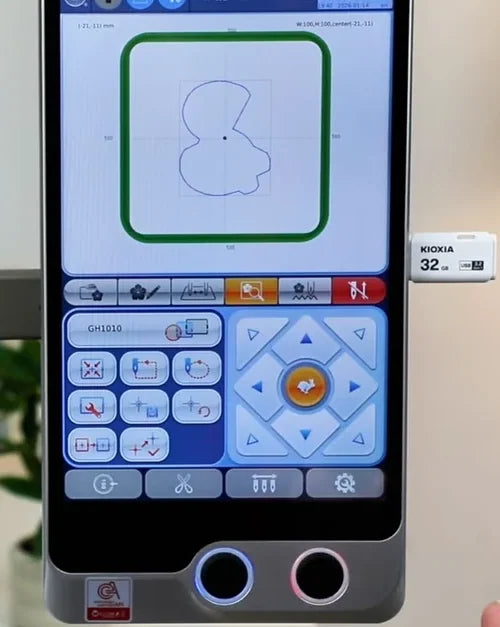
Watch at 06:14Open the positioning tab just to the right of the color tab. Tap the hoop selector in the left control group. Choose the physical hoop you are using. The video selects 100 × 100 mm, the top-middle tile. Tap the lower check mark, read the frame-motion prompt and tap its check mark with the area clear. The preview returns with the new green hoop boundary around the design.
8. Prepare the hoop-arm mounting screws
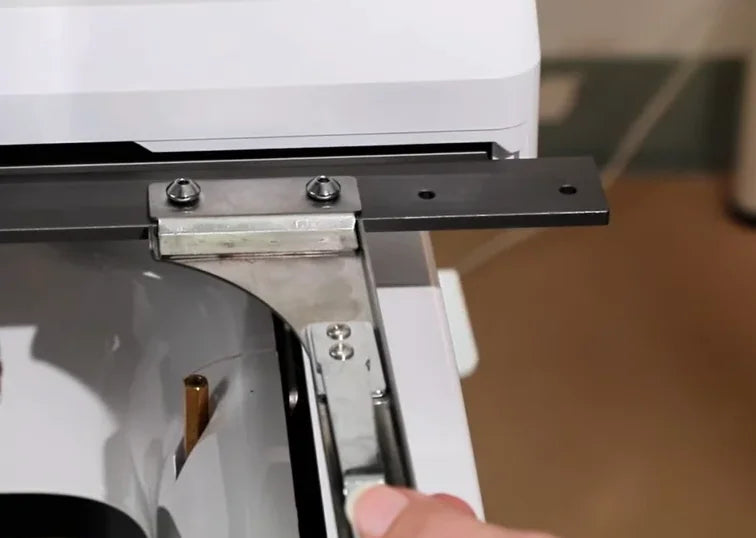
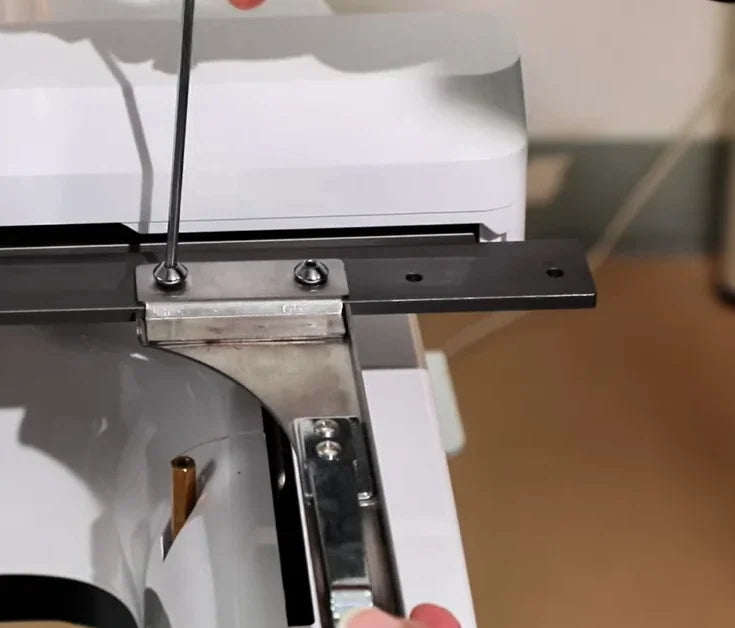
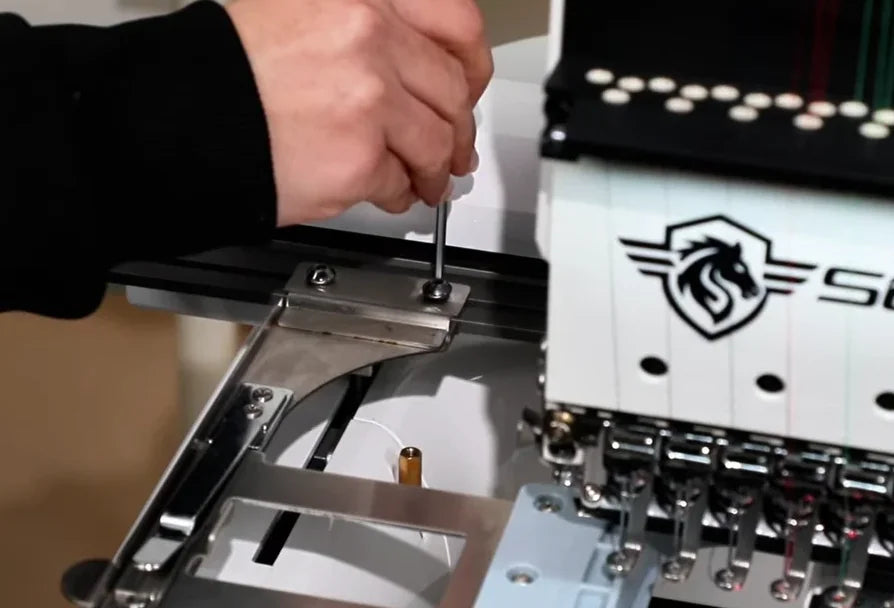
Watch at 06:56With the machine stopped, get the left and right hoop arms. Use the wrench to loosen the screws on the arm mounting plates. Once loose, remove them by hand and keep them for refitting.


9. Fasten the right arm at the demonstrated hole
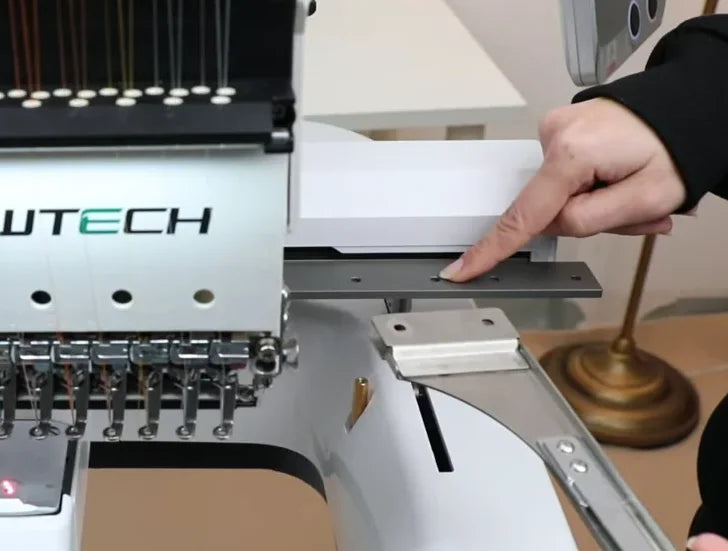
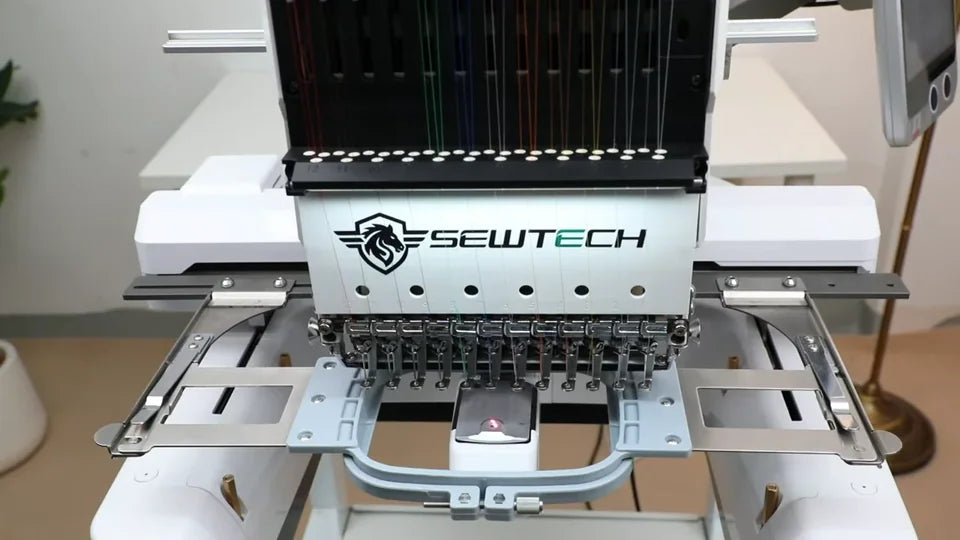
Watch at 07:24Face the machine and position the right arm against the right carriage rail. In this setup the indicated mounting hole lines up with machine hole No. 3. Start both screws by hand, then use the wrench to tighten both. The No. 3 position is the example for this hoop and setup.
10. Set the left-arm width with an empty hoop
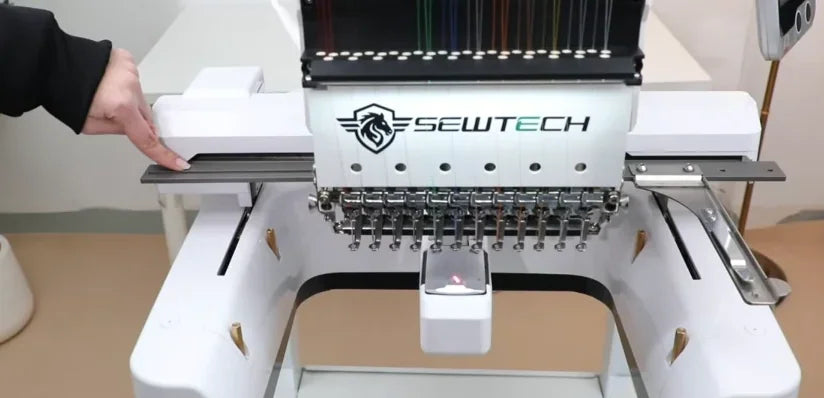
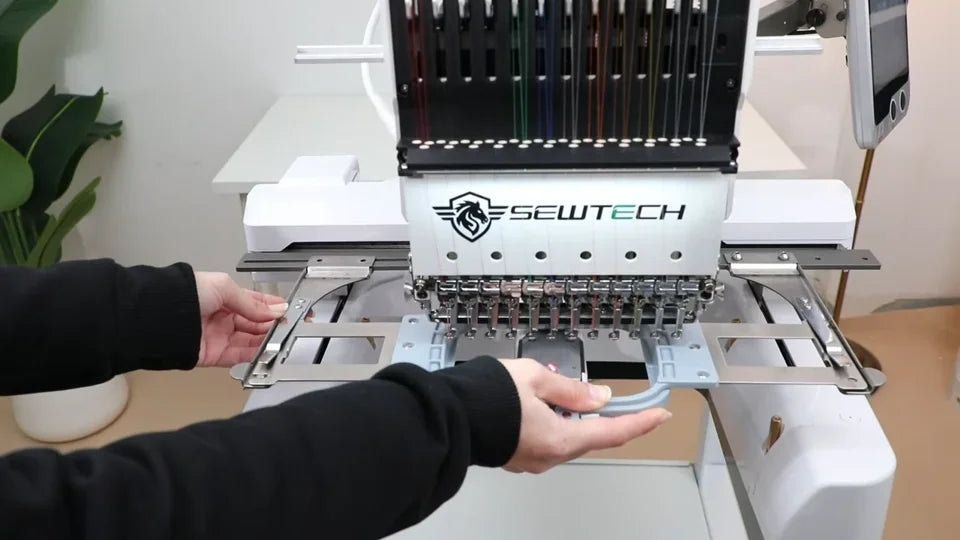
Watch at 08:21The left carriage side has a slot. Fit an empty hoop of the same size and slide the left arm until the hoop sits straight and centered between the two arms. Hold the left arm still, start its two screws and tighten them with the wrench. Check both sides and gently check for wobble. Remove the empty hoop before loading the shirt.
11. Check the bobbin before loading the shirt
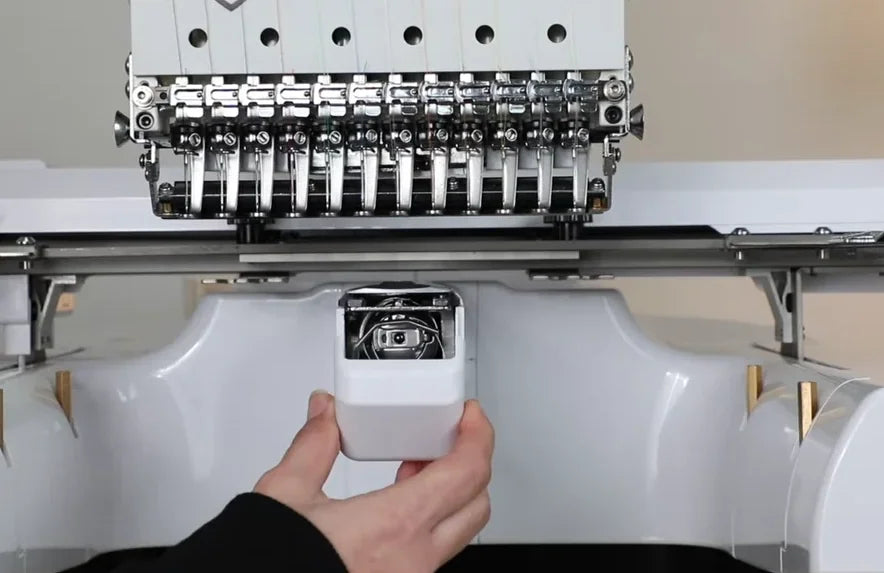
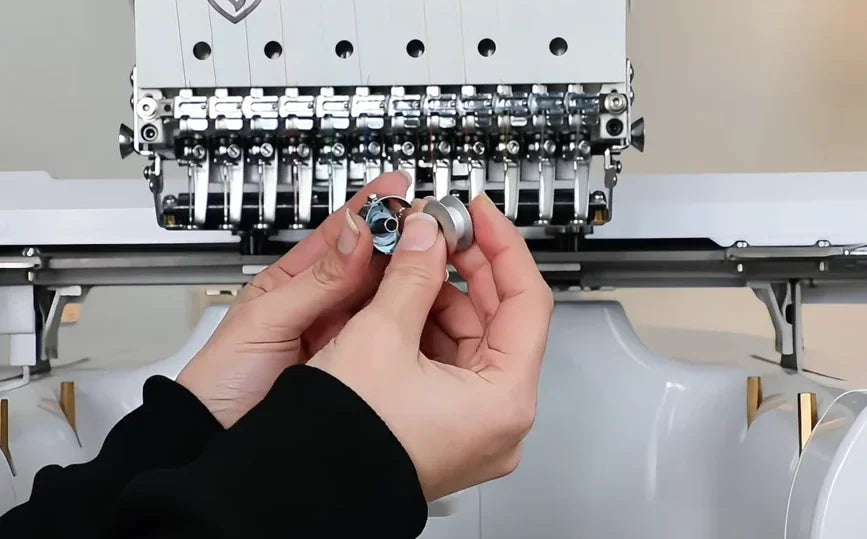
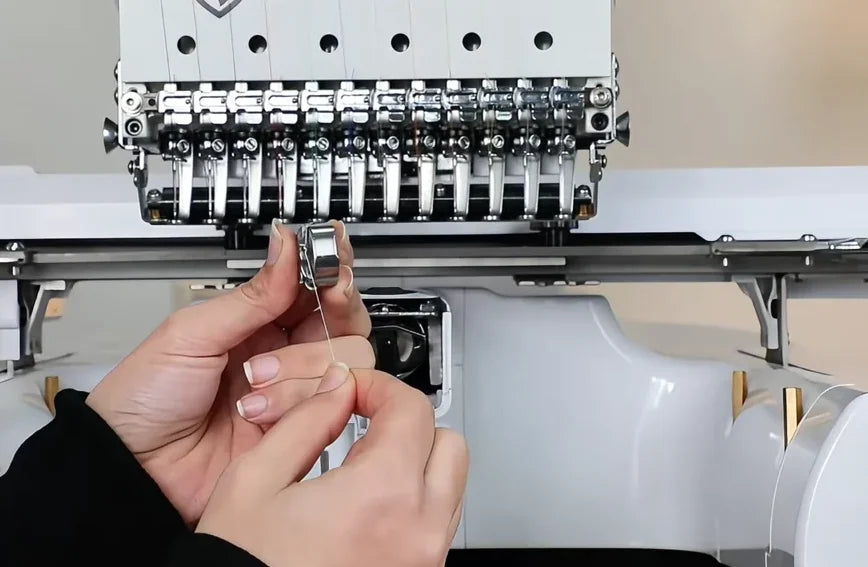
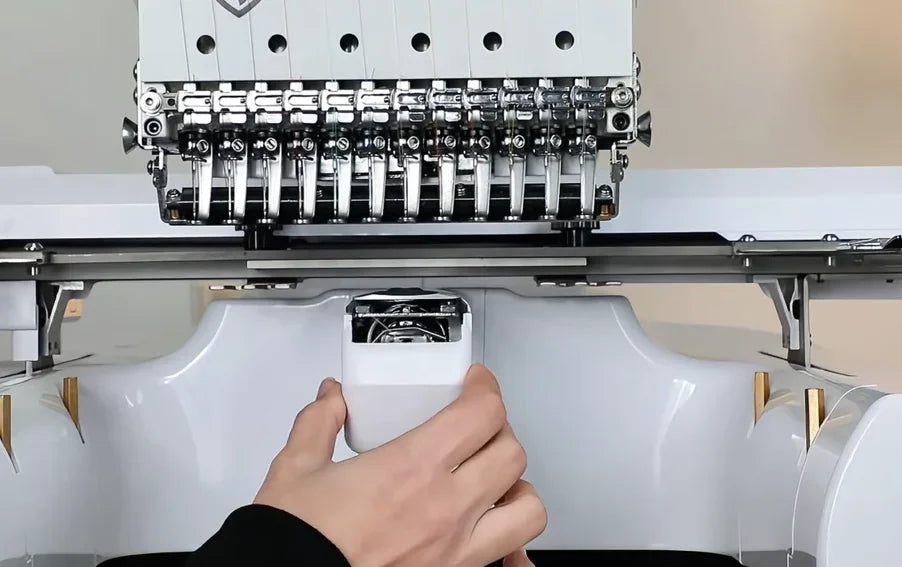
Watch at 09:43Open the bobbin cover under the needle area and pull out the bobbin case. Check how much thread remains. If it is nearly empty, replace the bobbin with a full one as shown. Refit the bobbin case and close the cover before the shirt goes onto the machine.
12. Slide the shirt hoop into both arms
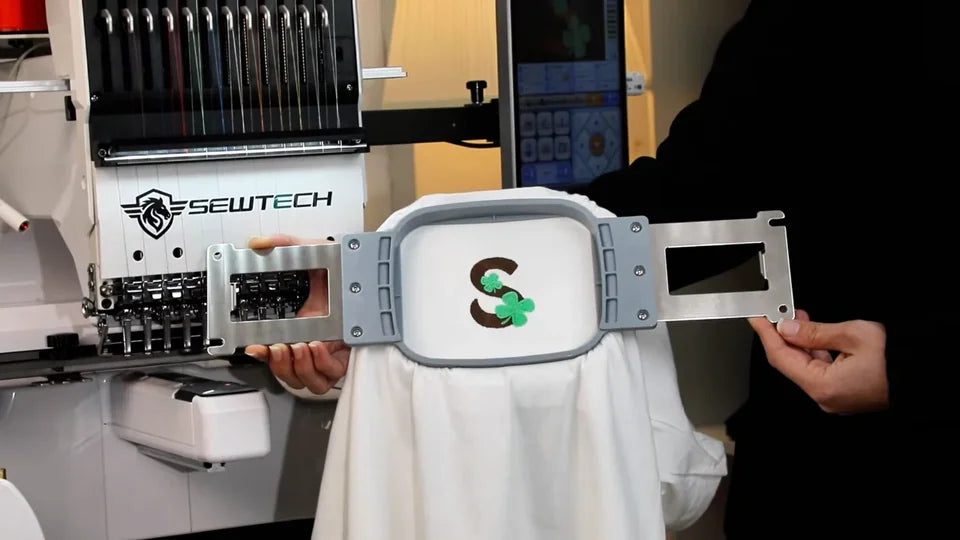
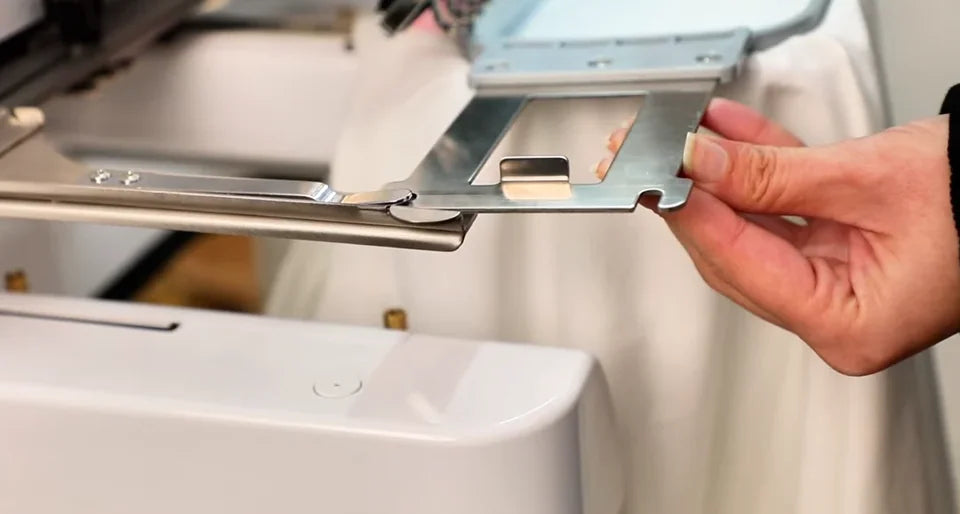
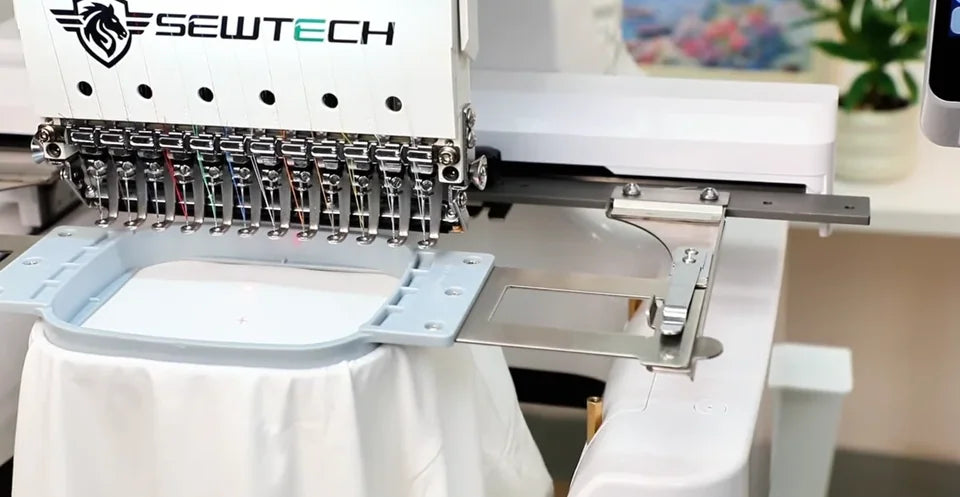
Watch at 10:29Guide the shirt around the bobbin area so the hooped front is over the needle plate and the loose back and hem hang clear. Feed both metal hoop tabs into the arms, slide them inward, lift the bracket slightly as shown and press the hoop in until it clicks. Check that both sides are fully seated. The yellow placement template is already gone in this shot. Use the washable mark for alignment and remove the paper and tape before stitching.

13. Move the design to the placement mark
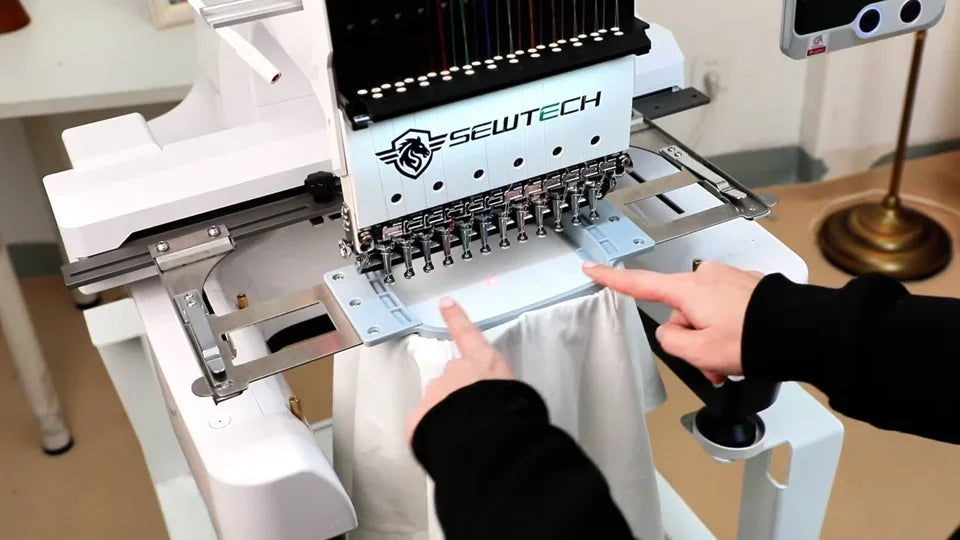
Watch at 10:55On the positioning screen, use the directional pad to move the frame and align the design center with the mark on the shirt. Tap the animal icon in the middle of the arrows to switch movement speed. The turtle makes smaller, slower moves and the rabbit moves faster. Check that the design still lies entirely inside the green hoop outline.
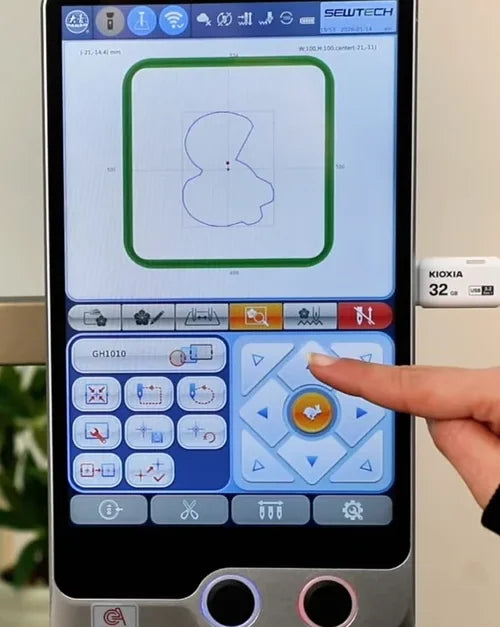

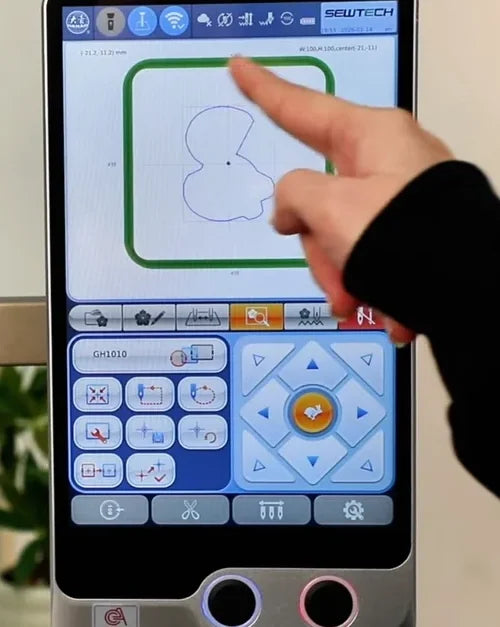
14. Trace the design and verify clearance
Watch at 11:44Tap the trace icon in the left control group and confirm the movement prompt with its check mark. Watch the red laser point as the hoop moves along the design outline. Check the full path against the actual hoop edge. If the path approaches the frame or runs outside it, reposition the design and run the trace again before starting.
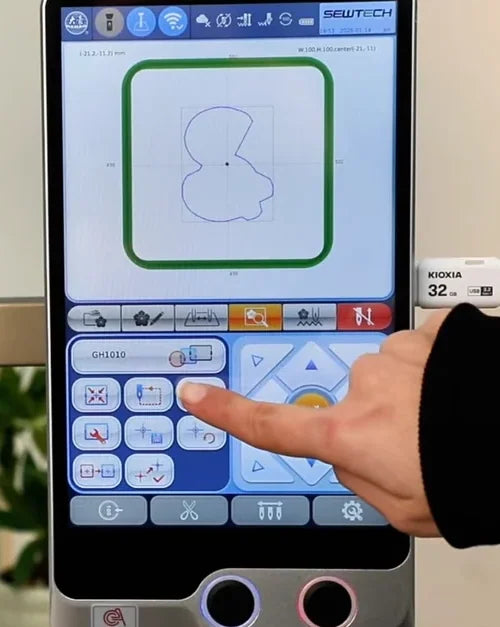
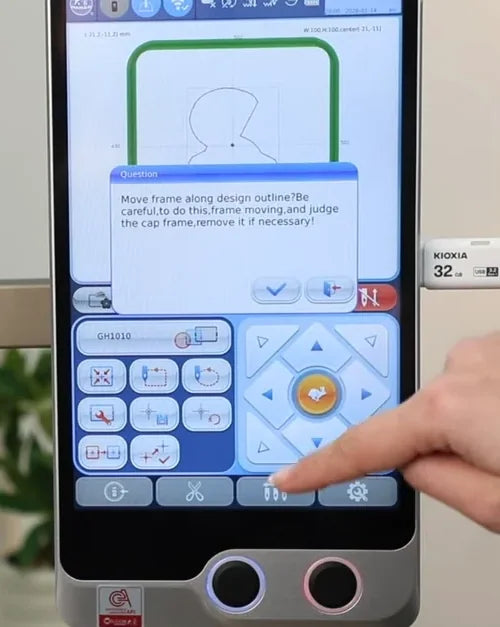
15. Confirm embroidery and press Start
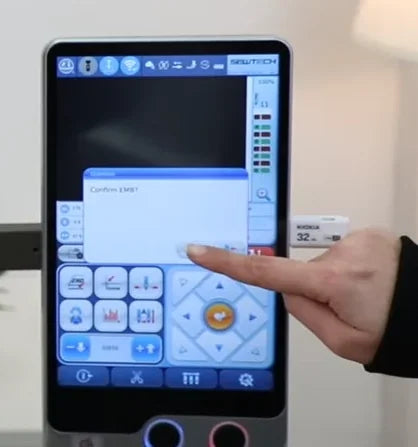
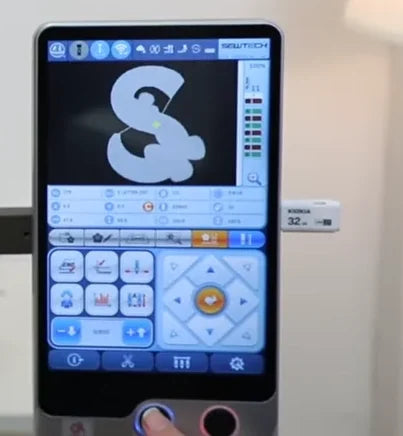
Watch at 12:07After the trace clears the frame, tap the red embroidery control on the right of the middle bar. Tap the same area again as shown to bring up the confirmation, then confirm on screen. When the design reappears with the color sequence on the right, press the blue-ring physical Start button below the screen. Observe the first stitches and keep the loose garment clear as the hoop moves.
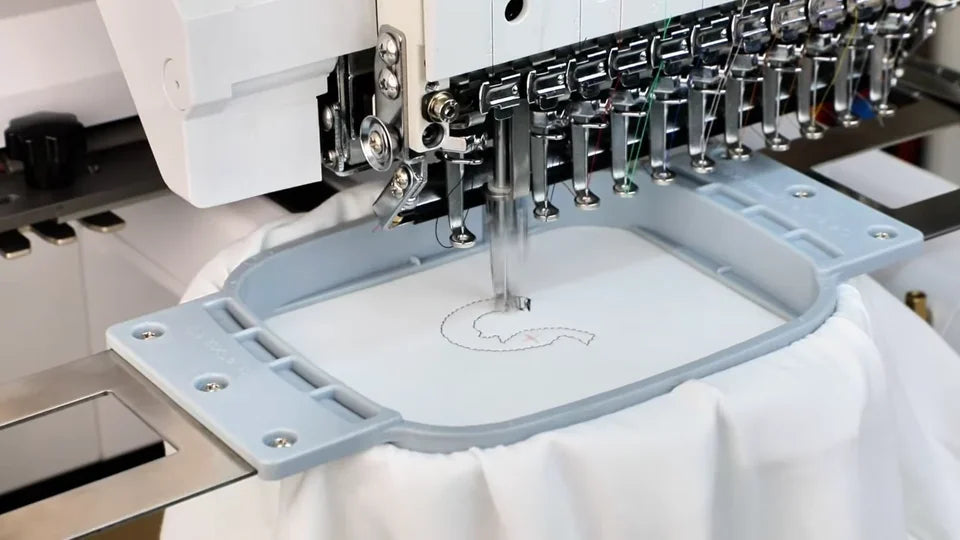
16. Wait for completion, then remove the hoop
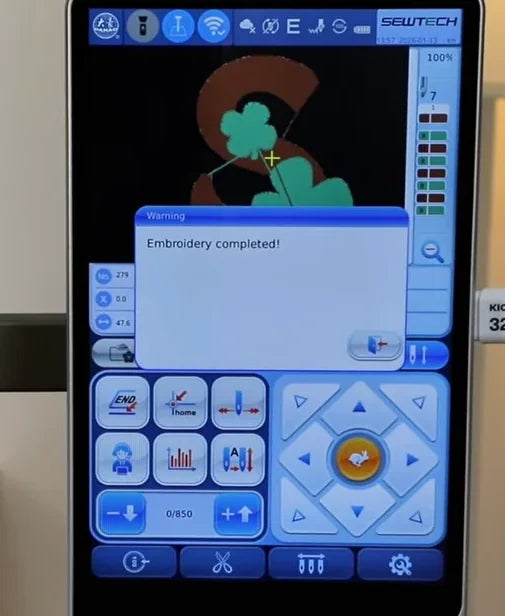
Watch at 12:46Wait for the machine to stop and the “Embroidery completed!” message to appear. Support both sides of the hoop, lift to release it and draw it out as shown. Check the finished logo against the left-chest placement and the planned brown and green sequence. The video shows the shirt out of the hoop at the end and skips the backing cleanup.