Embroider a Bag on the ST-1501

Overview
Follow the bag project from marking its panel to mounting the hoop, aligning the design and checking the finished stitching.
Step-by-step guide
1. Mark the panel and choose a hoop
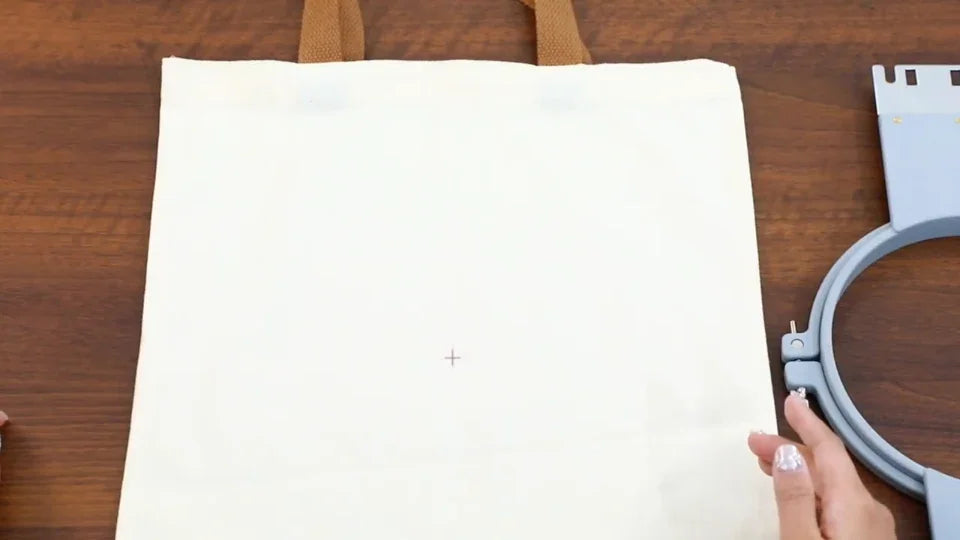
Watch at 00:55Mark the center of the panel that will be embroidered. Compare the design dimensions with the chosen hoop before setting the fabric.
2. Position stabilizer behind the embroidery area
Watch at 02:25Place stabilizer larger than the hoop behind the panel, line up the center mark, and clamp the fabric without trapping unintended layers.

3. Import the bag design
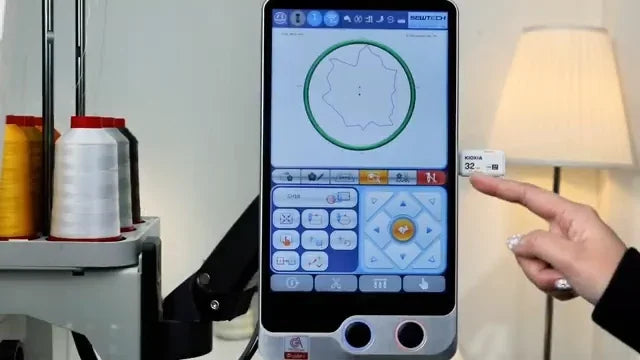
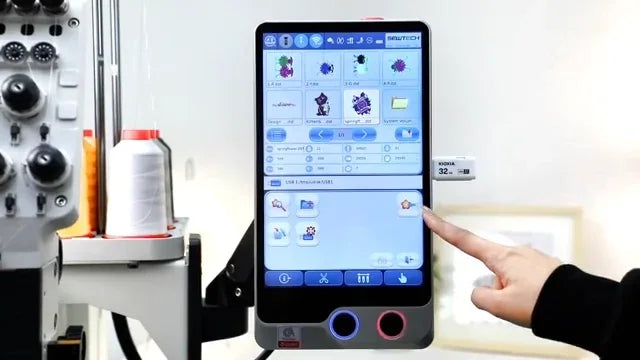
Watch at 04:18Select and import the pattern from the USB file list. Check the controller preview and prepare the hoop and spool settings for the chosen pattern.
4. Seat the frame and align the pattern
Watch at 10:25Secure both frame arms and check bag clearance around the machine. Use the positioning arrows and the trace to check the center and edges before embroidering.