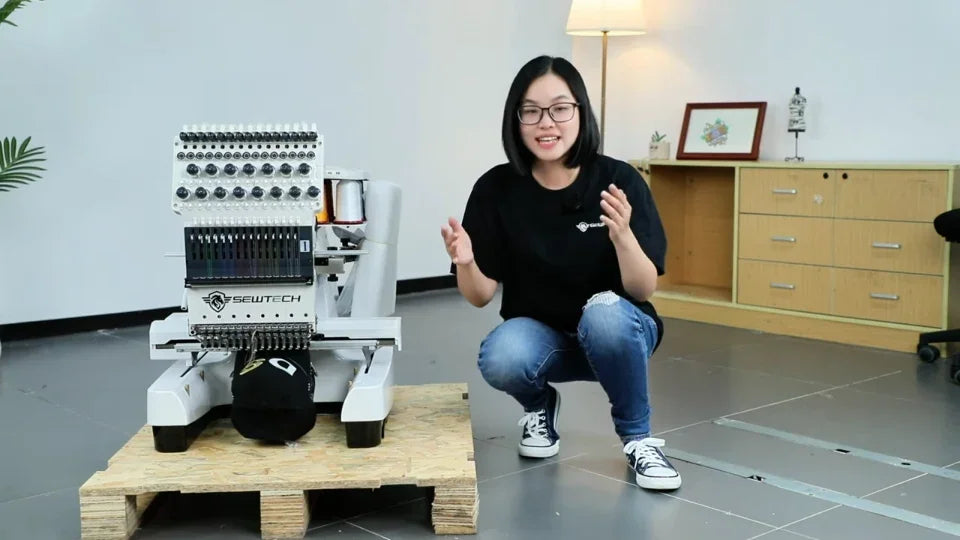
Unbox the SEWTECH SC-1501

Overview
Open the SC-1501 shipping crate, set aside the packed accessories, and unwrap the machine on its pallet. Inspect the crate for damage, clear space for the panels and boxes, and have a helper ready. Keep the machine unpowered. Follow the SC-1501 manual or SEWTECH support for lifting it off the pallet, assembly, and first power-on.
Step-by-step guide
1. Identify the crate clips and put on gloves
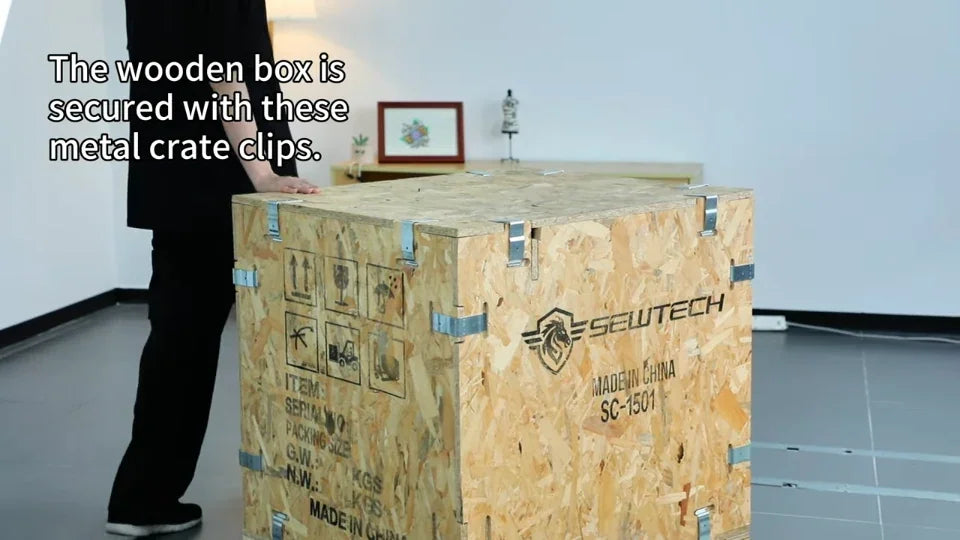
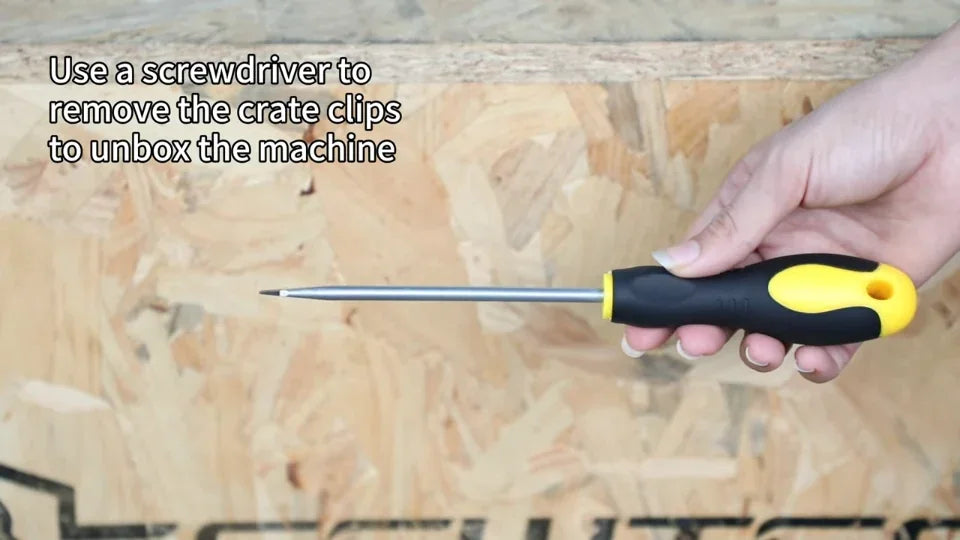
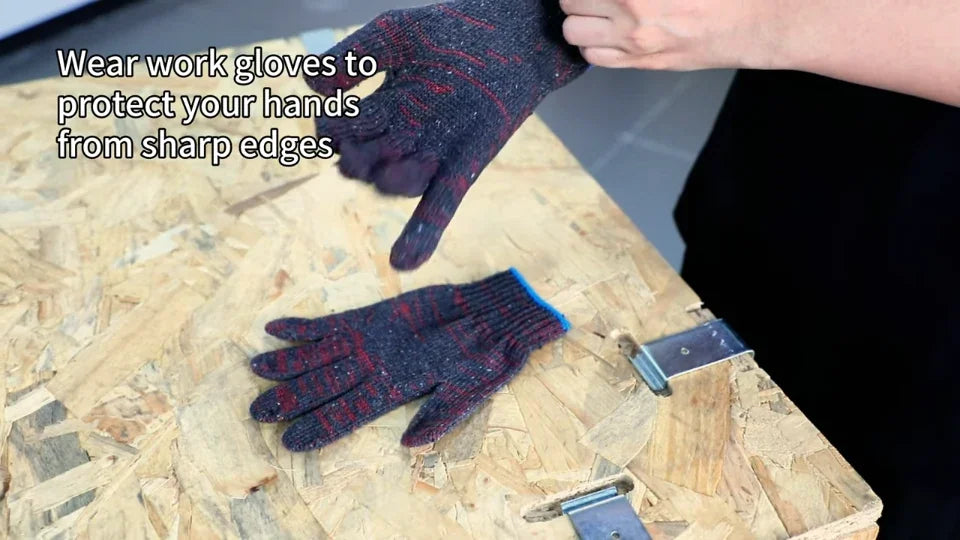
Watch at 00:10Find the metal clips along the lid, the vertical panel seams and the lower edge of the crate. Have a screwdriver ready for levering the clips out of their slots. Put on work gloves before handling the clips or raw panel edges.
2. Release the clips around the lid
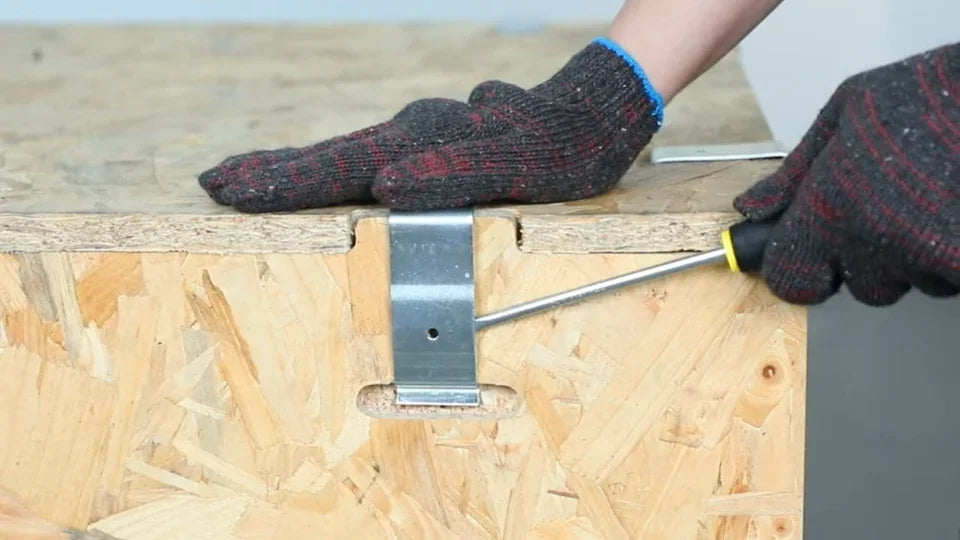
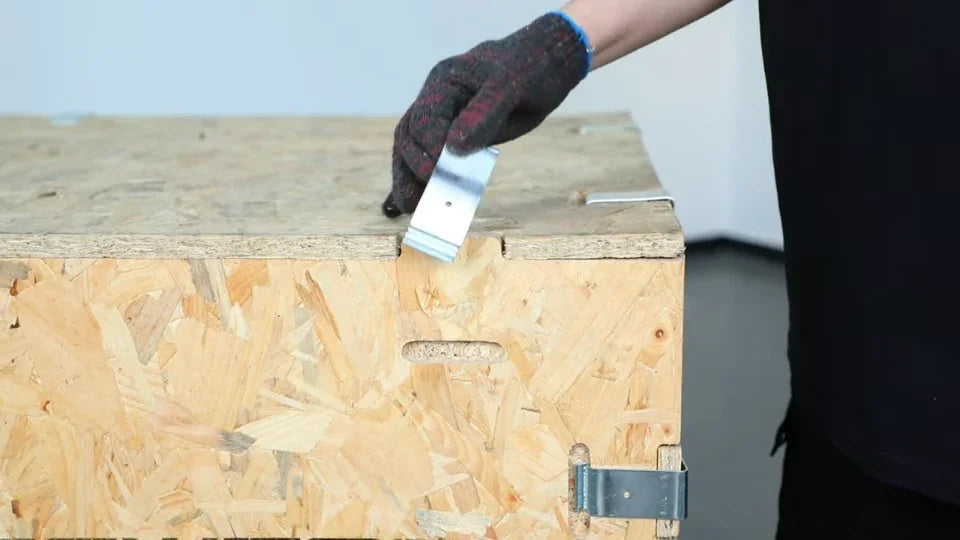
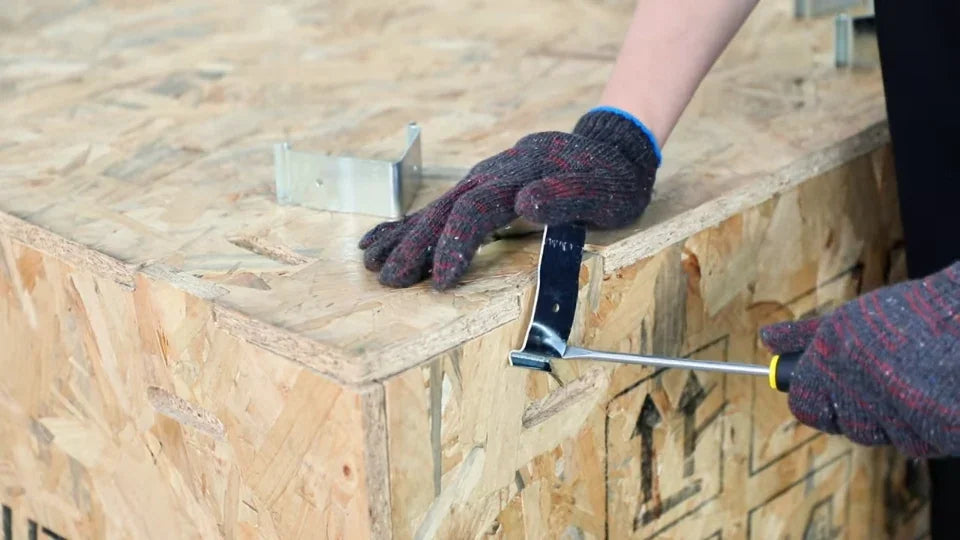
Watch at 00:30Steady the lid with one gloved hand. Slip the screwdriver tip behind the exposed lip of a metal clip and lever it out of the slot in the wood. Lift off the freed clip. Work around all edges of the lid and check that the slots are clear before lifting the panel.
3. Separate and lift the wooden lid
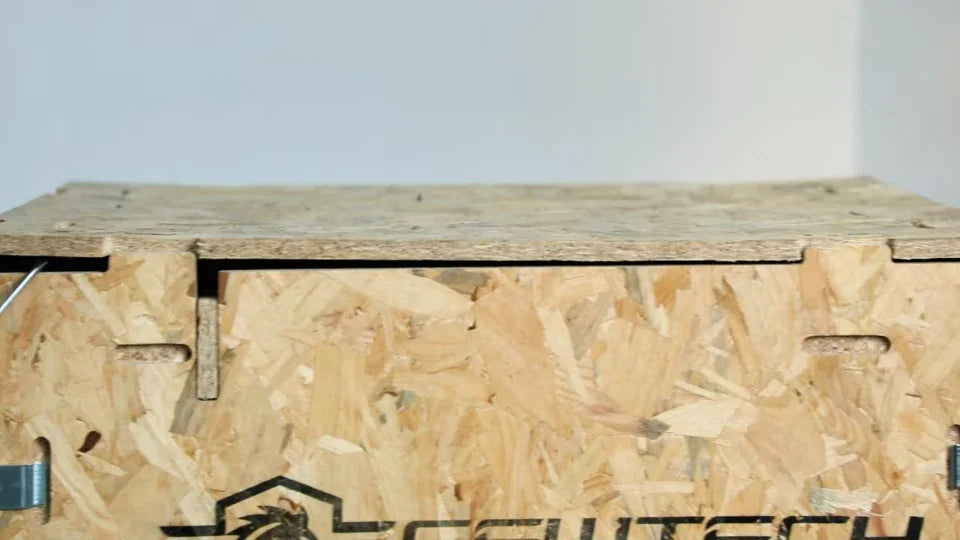
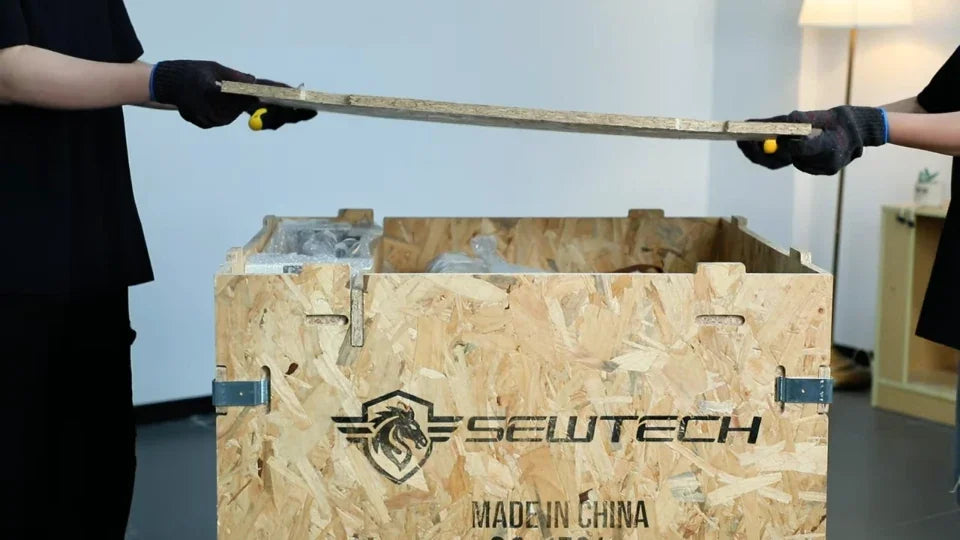
Watch at 01:05After releasing the lid clips, lever gently at the seam with a screwdriver until a gap opens. The two people in the video take opposite ends and lift the cover clear together. Set the lid down clear of the crate and walking area.
4. Take out the packages accessible from above
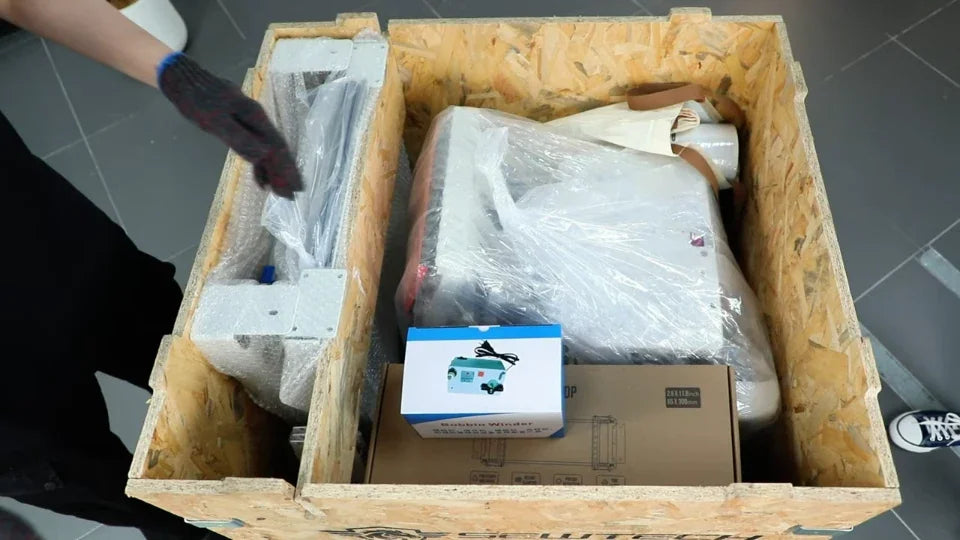
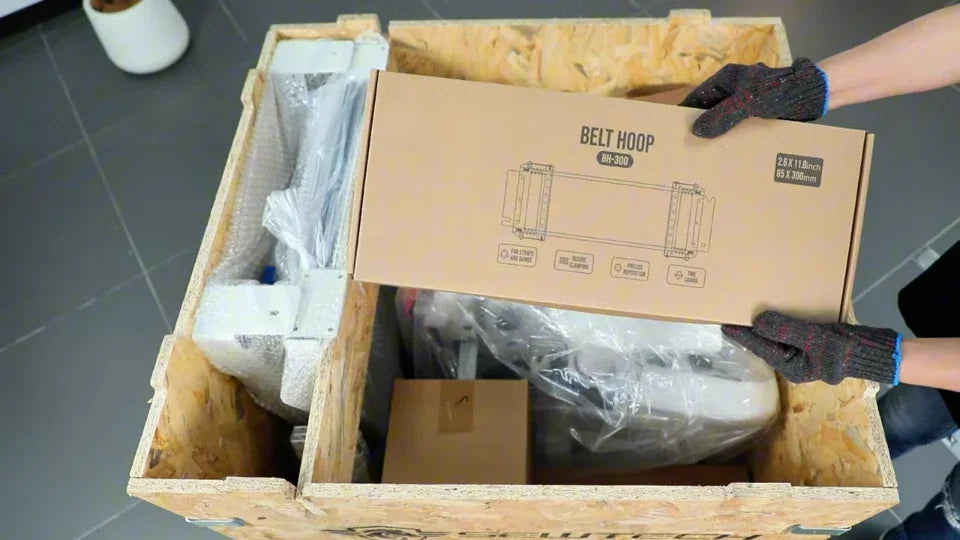
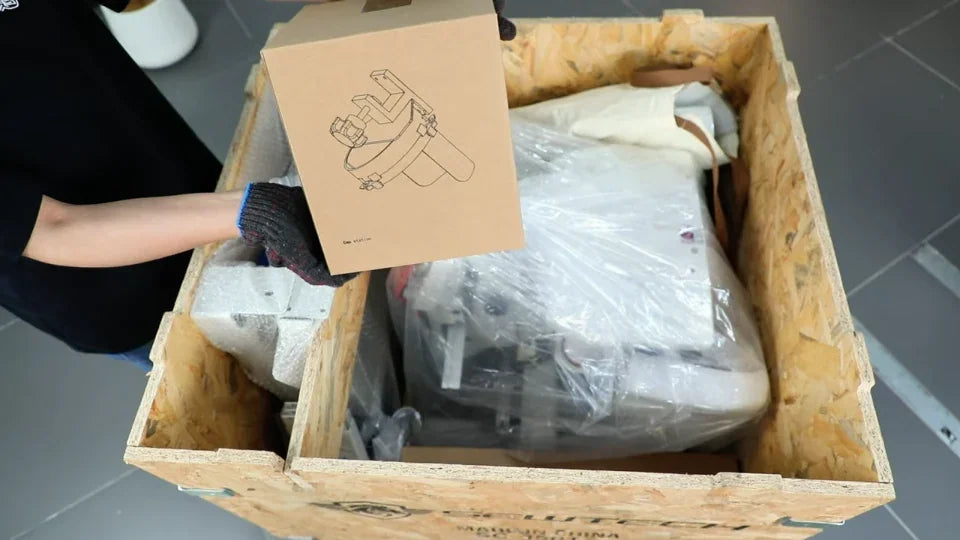
Watch at 01:16Lift out the loose packages you can reach from above. The video shows a small illustrated box, a carton marked Belt Hoop, another illustrated accessory carton and a loose packing sheet. Set them aside together and compare the items with the packing list for your shipment. Keep the machine seated on the pallet.
5. Free the front panel at the corners and base
Watch at 01:28Find the panel with the SEWTECH and SC-1501 markings. Use the screwdriver to release the metal clips on both vertical corner seams, then the clips joining the front panel to the pallet. Hold each clip with a gloved hand as you free it and check both lower corners before trying to lift the panel.

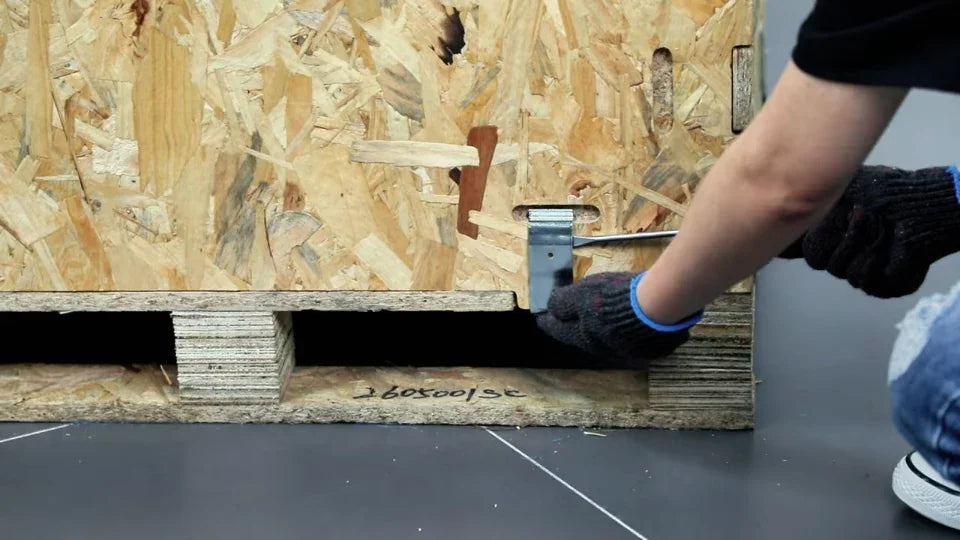
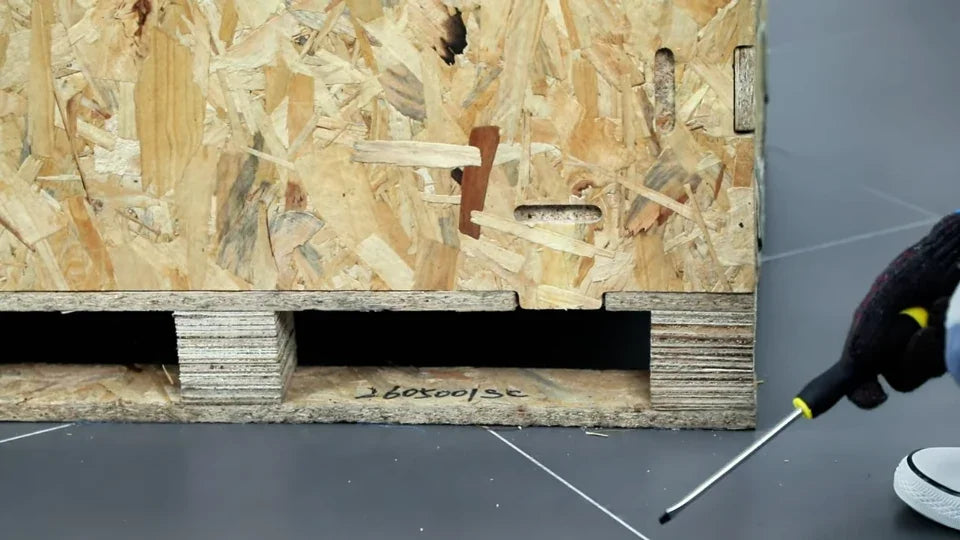
6. Lift away the front panel and foam insert
Watch at 01:53With the clips clear, grip the front panel from both sides and lift it away with a helper. Lift the shaped white foam insert out of the opening. The opening should now give you access to the cartons and wrapped pieces in front of the machine.
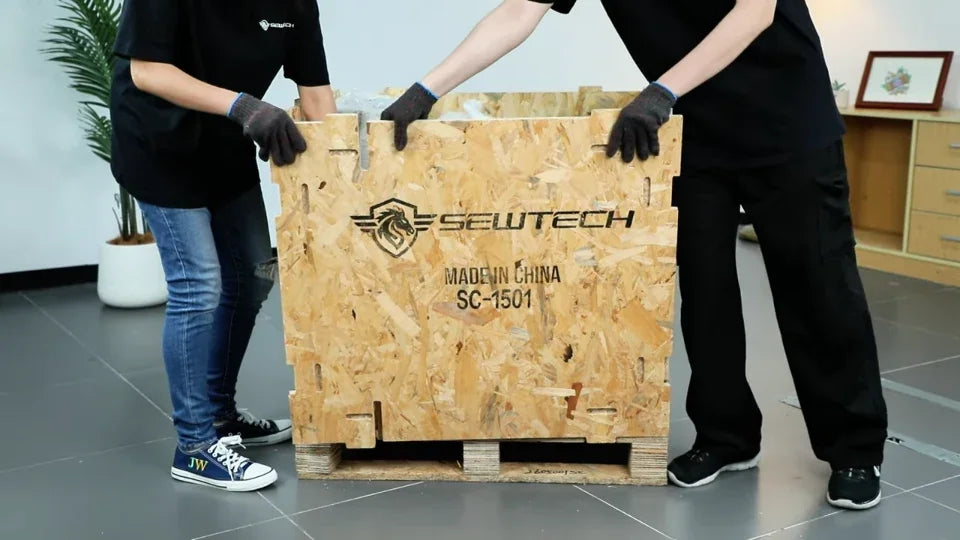
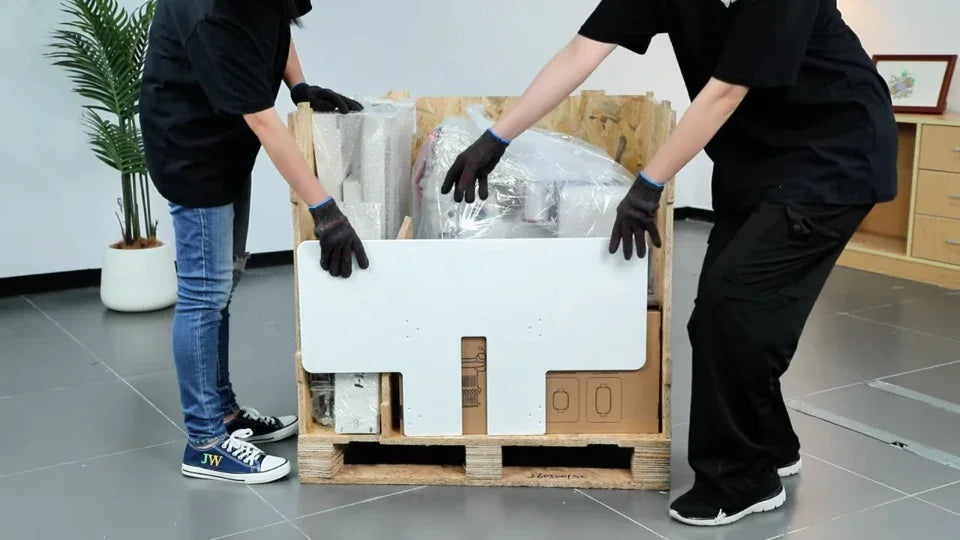
7. Clear the remaining packages from the front
Watch at 01:59Remove the narrow wrapped pieces and the larger cartons now accessible through the front. Reach down for the items tucked into the narrow compartment. After these loose pieces are out, the wrapped machine and upright packing beside it are visible and the machine is still on the pallet.
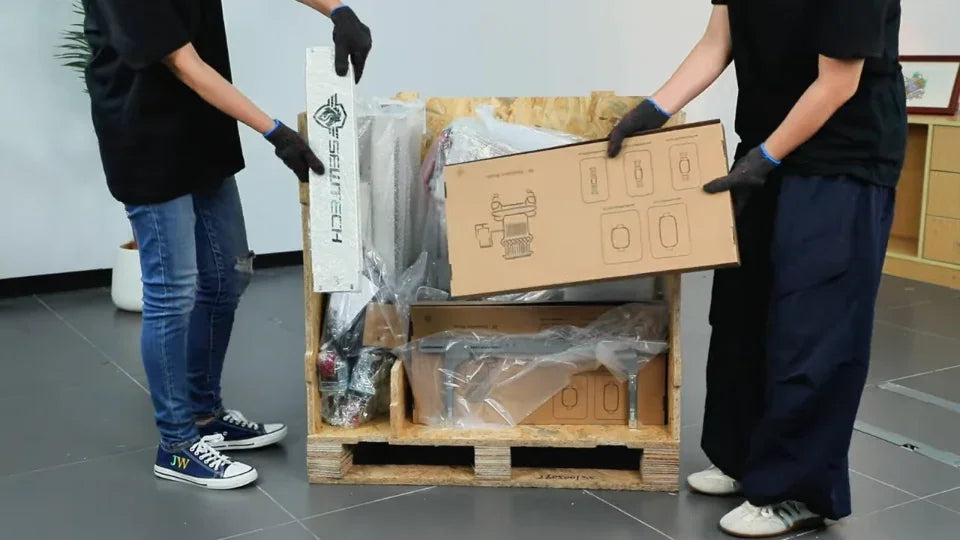
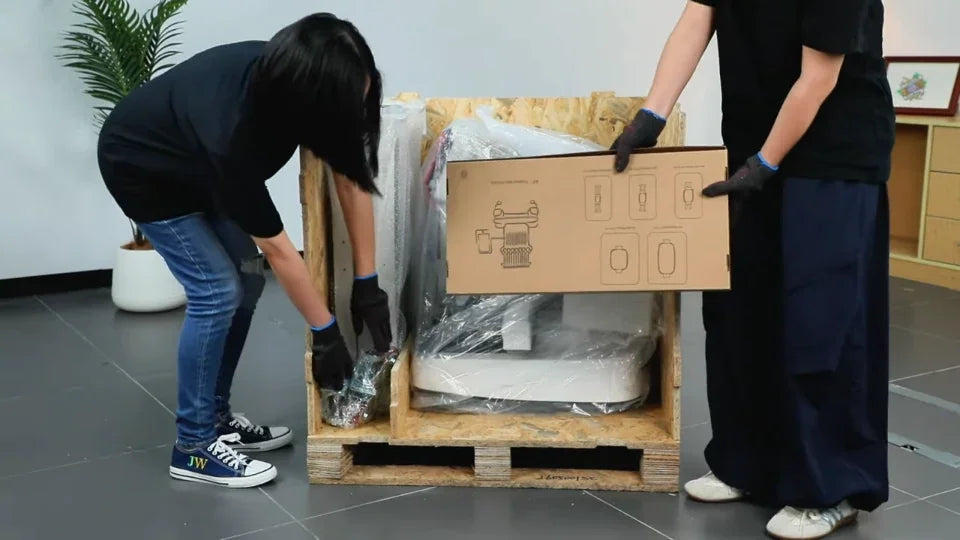
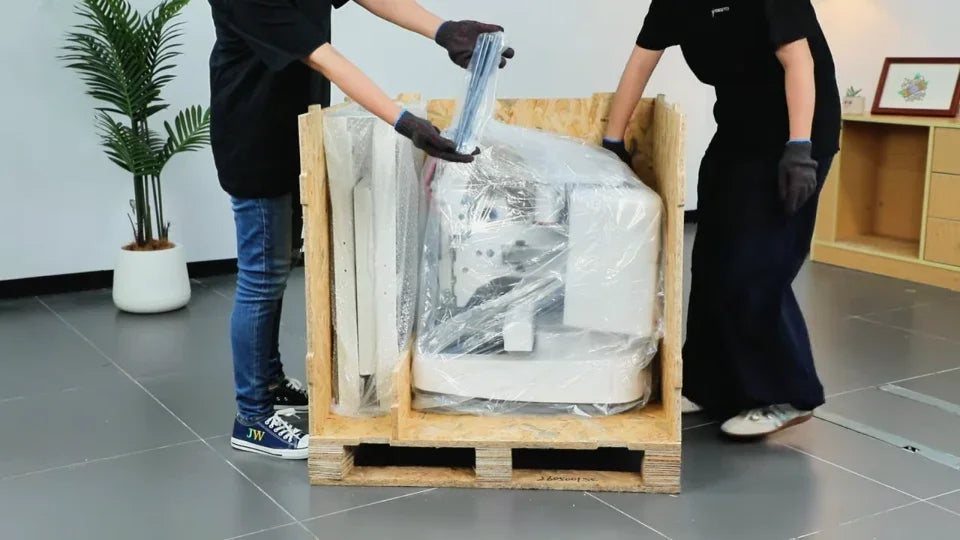
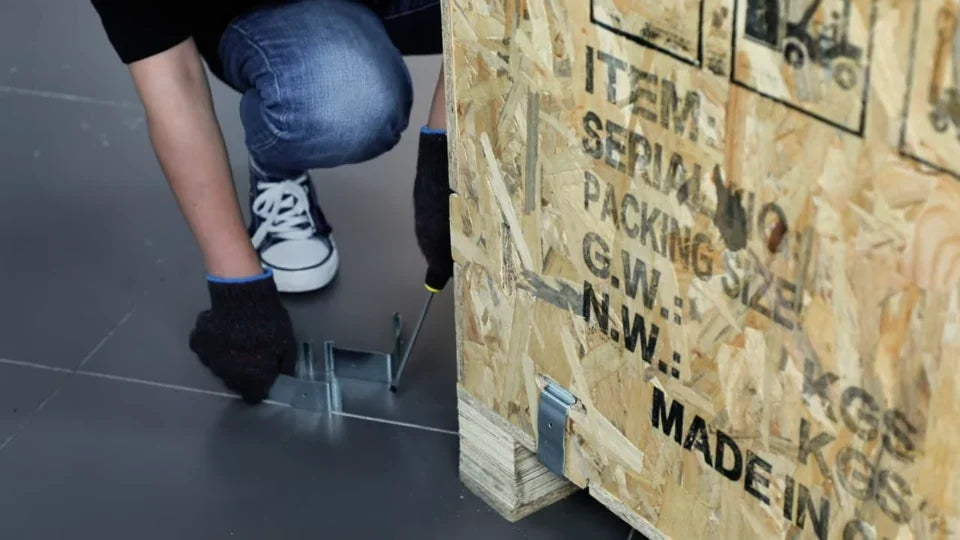
8. Release and lift away the first side panel
Watch at 02:11Move to the side with the printed shipping symbols. Work down the vertical seam and along the pallet edge with the screwdriver to release the clips. Once the panel is free, lift it away with your helper. The upright wrapped components behind the panel become visible.
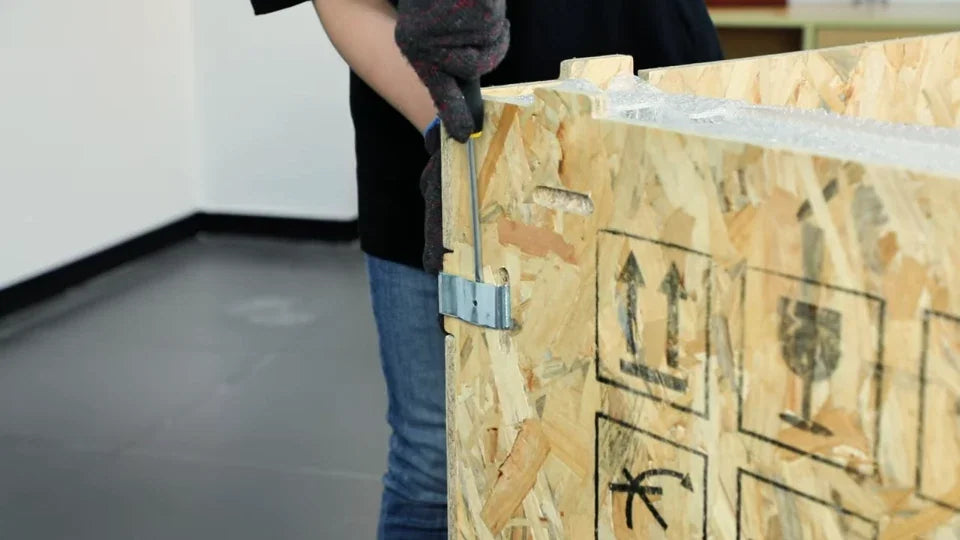
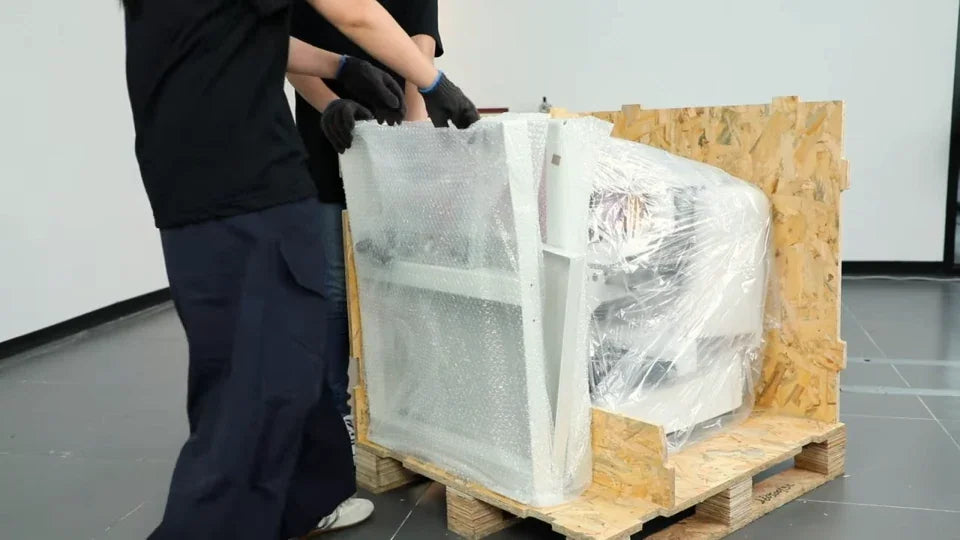
9. Set aside the tool kit and upright parts
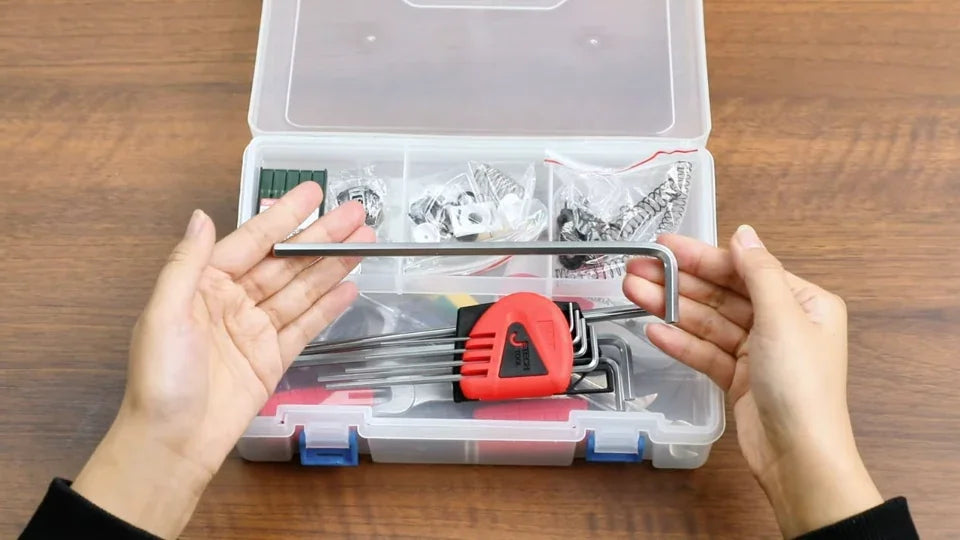
Watch at 02:22Set aside the clear tool case. Take out the large wrapped components standing beside the machine, one at a time, and lift away the narrow wooden packing divider. Keep the tool case handy for the hex key used on the pallet fasteners later.
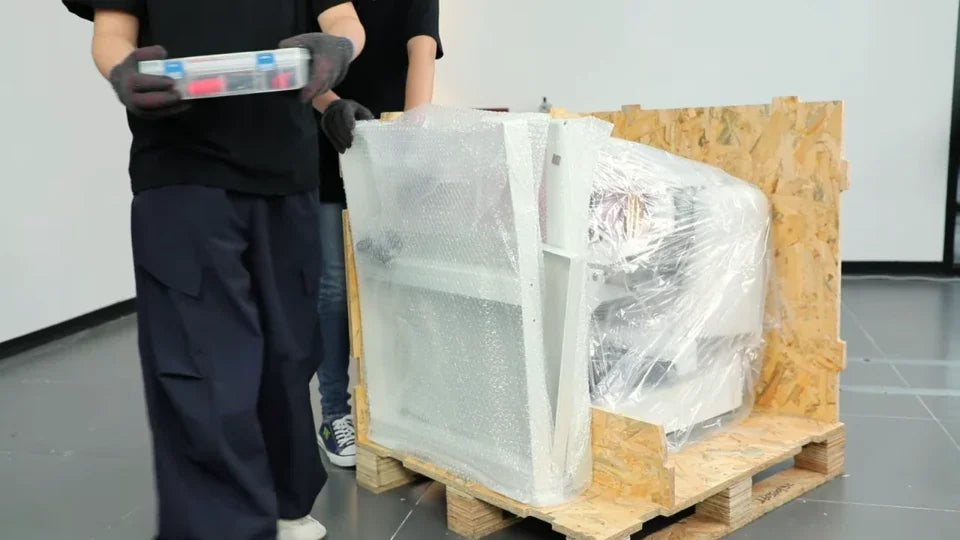
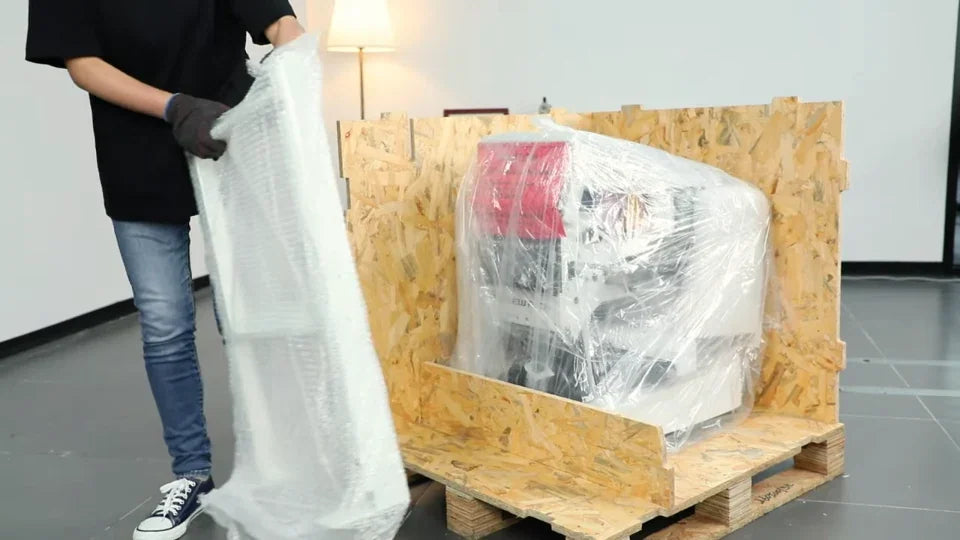
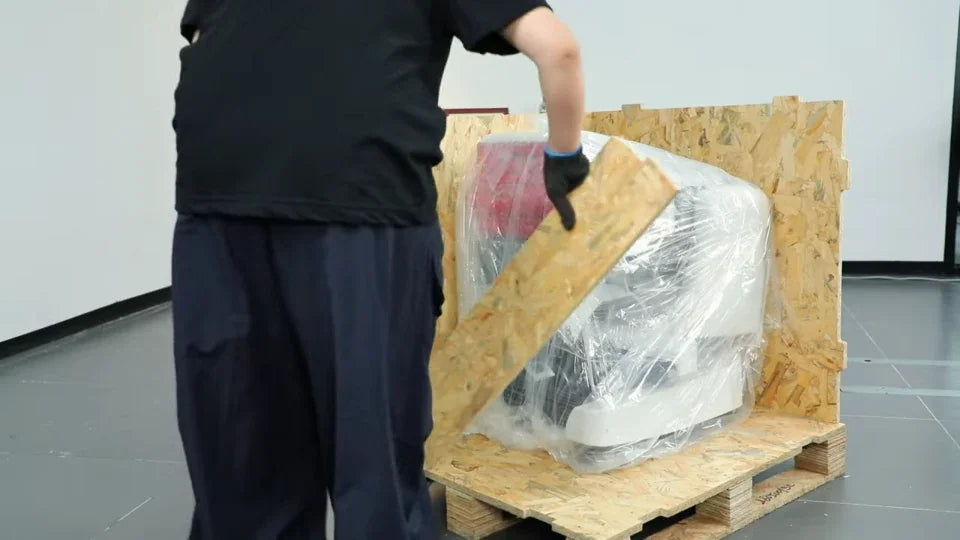
10. Remove the remaining side and rear panels
Watch at 02:33Work around the remaining walls, releasing clips at the pallet and at the upright seams. Support each loose panel as it comes away. The video shows one panel being carried out and then close-ups of the clips along the bottom of the last wall. All the wooden walls should be clear before you move to the transport screws beneath the pallet.
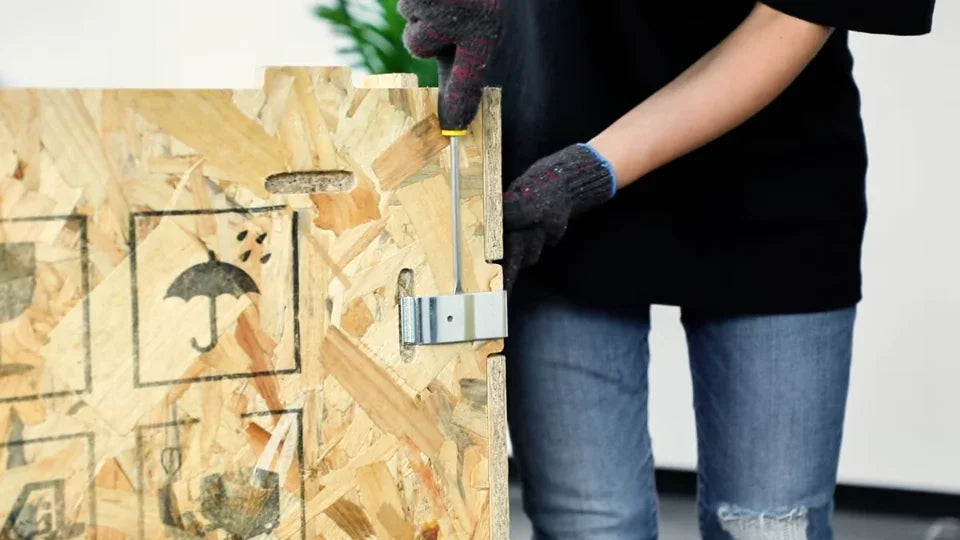

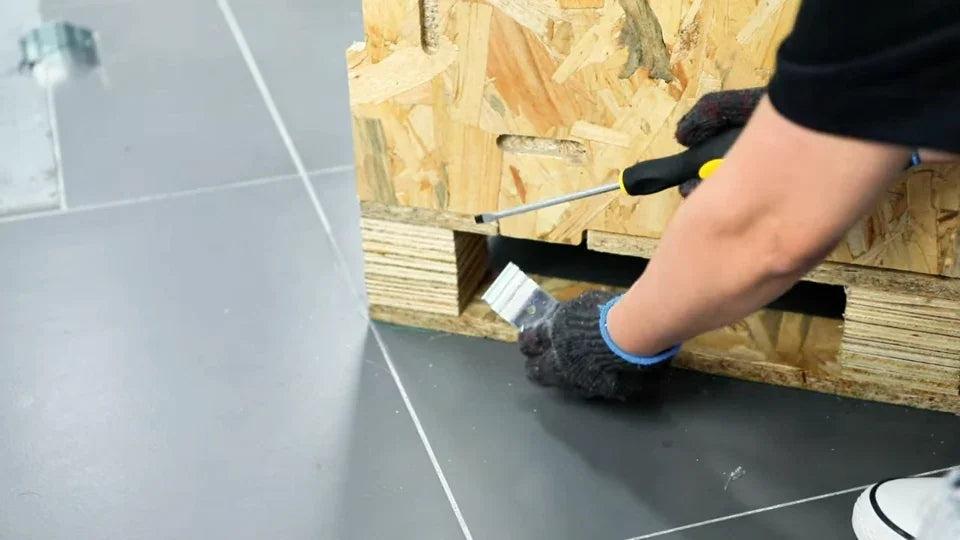
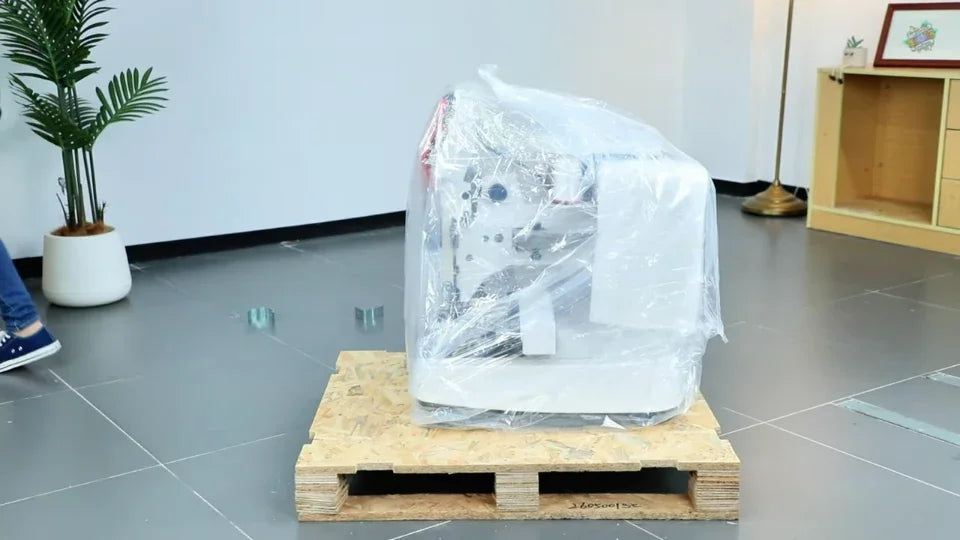
11. Remove the bottom transport screws and washers
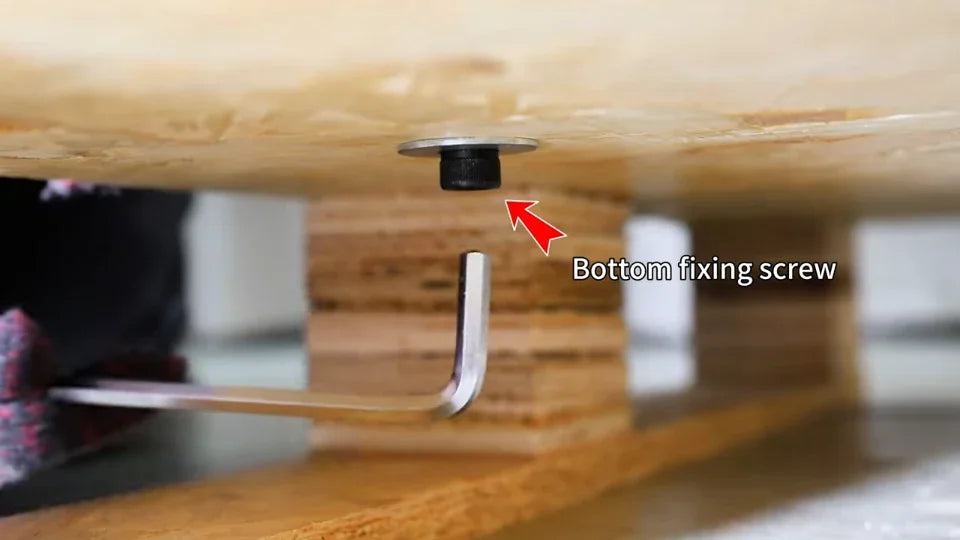
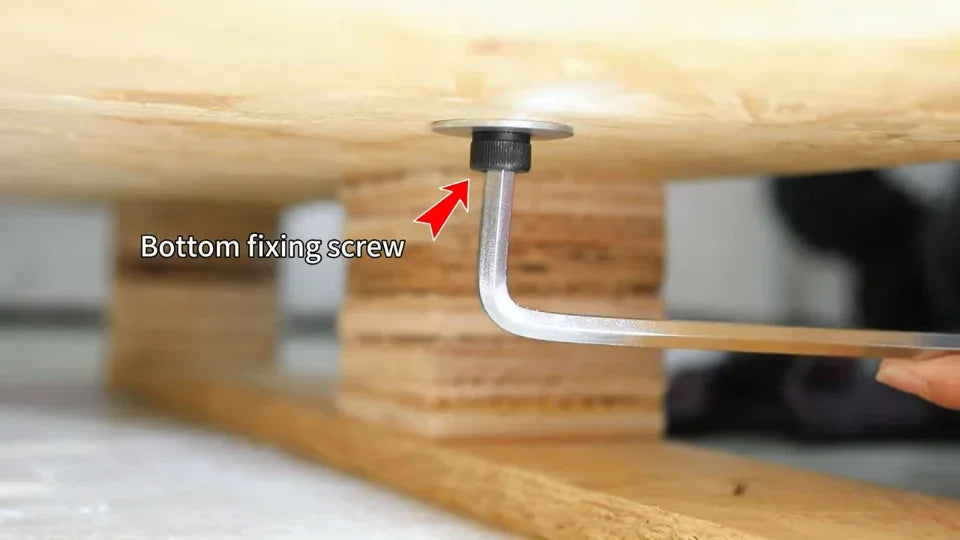
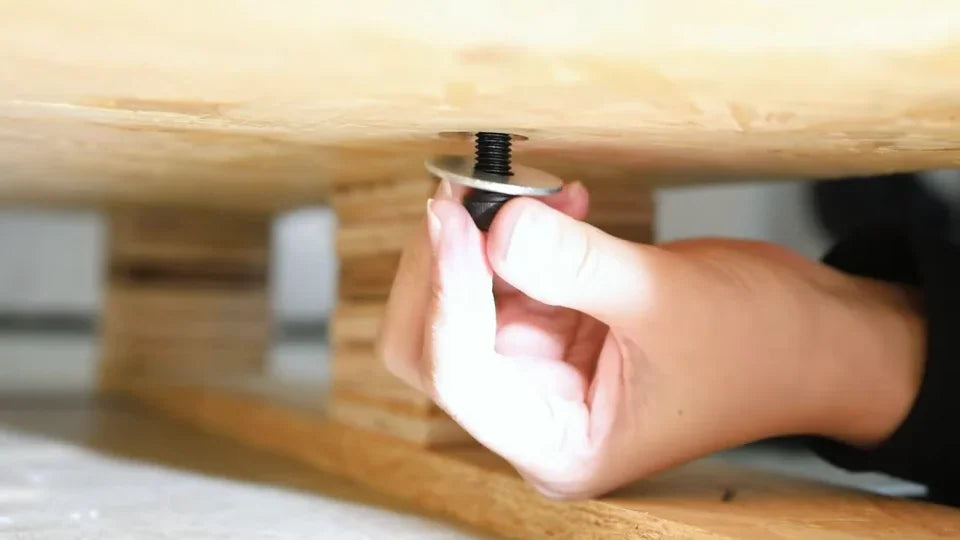
Watch at 02:56Open the clear tool case and find the long L-shaped hex key. Look up through the pallet openings for the black transport screw heads and their flat washers. Fit the short end of the hex key into a screw from below, loosen it, then turn it out by hand and save the screw and washer. Use the manual to confirm every fixing point on your machine before lifting.
12. Peel away the outer bag and clinging film
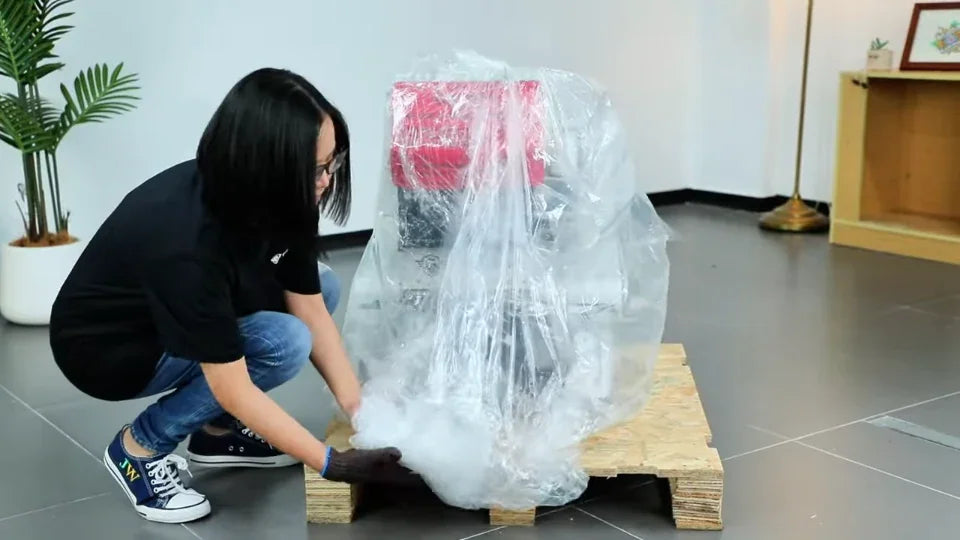
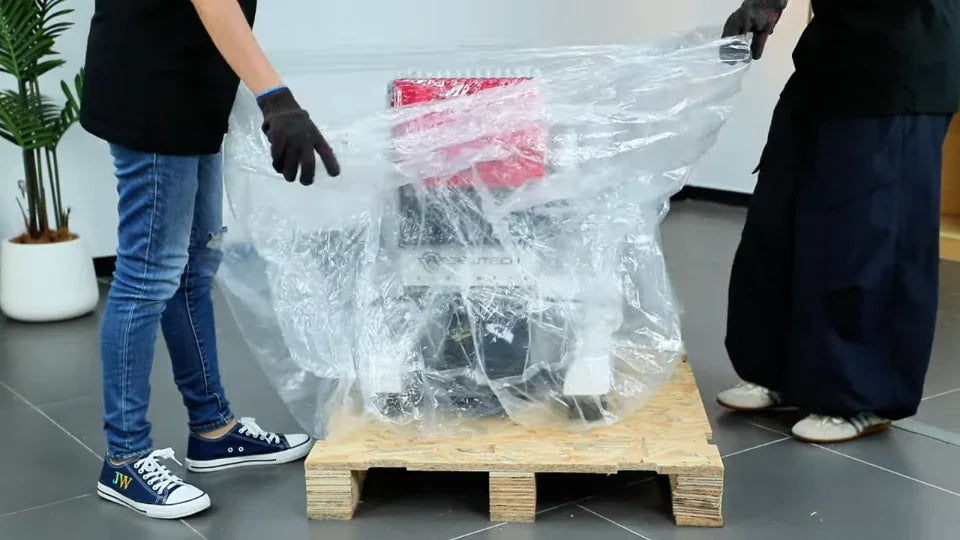
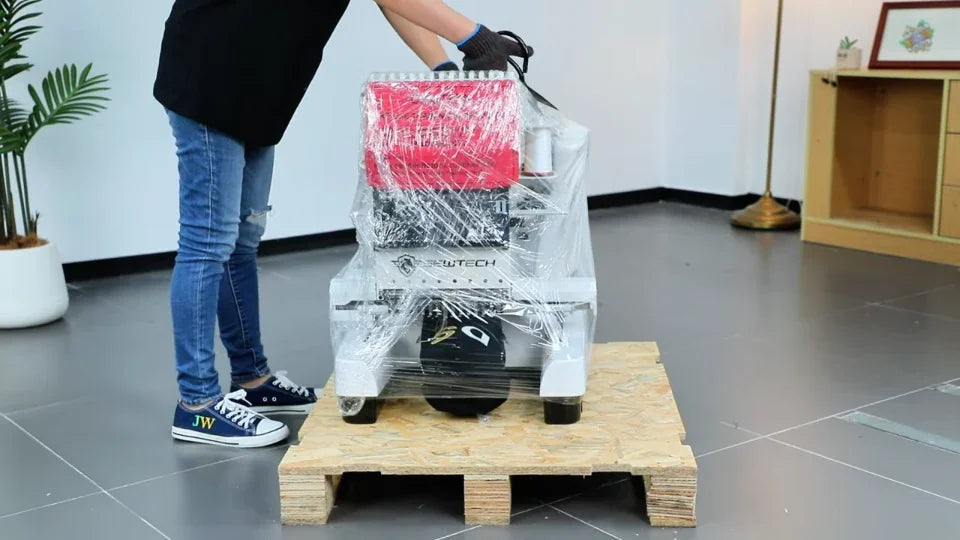
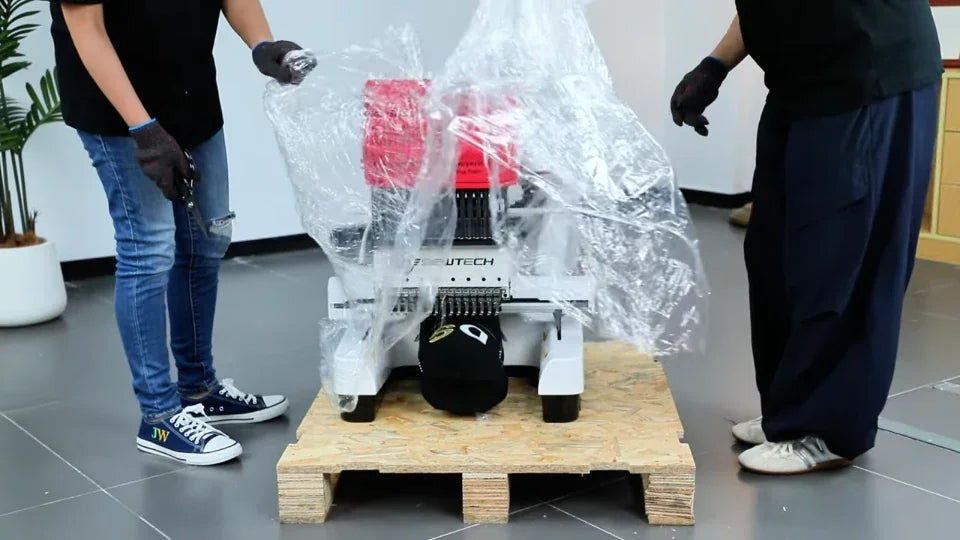
Watch at 03:16With the machine still on the pallet, free the loose plastic around the feet and peel away the outer bag with your helper. The video then shows scissors used on the tighter film around the head. Pull film away from the machine before cutting, then gather it clear of the head and base.
13. Check the unpacked machine before setup
Watch at 03:34In the final shot the uncovered SC-1501 stands upright on its wooden pallet. Check that loose film and crate parts are clear, and set the accessories and transport hardware aside. Use the manual or SEWTECH support for lifting, assembly, and commissioning.