SEWTECHSupport Center 简体中文

Change the Upper Thread on the ST-1201 and SC-1501

Applies to ST-1201 / SC-1501 Demonstrated on ST-1201

Watch on YouTube ↗

Overview

Use the old upper thread as a leader when changing colors or replacing a cone. With the machine stopped, have the new cone and a pair of thread snips ready. Start with the old thread still running through its guides. The demonstration is on the ST-1201, with the same knot method for the SC-1501.

Step-by-step guide

1. Cut the old thread at the cone

Watch at 00:19

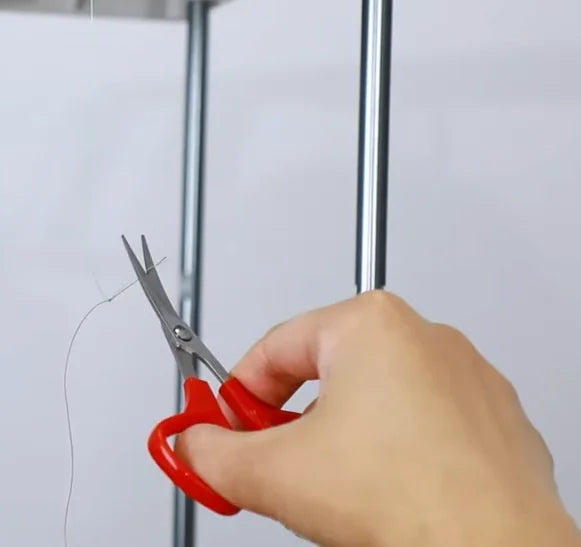
With the machine stopped, identify the cone and needle path you want to change. Cut the old thread above that cone, below the overhead guide plate. Hold onto the end that still runs up into the guide so it is available for tying.
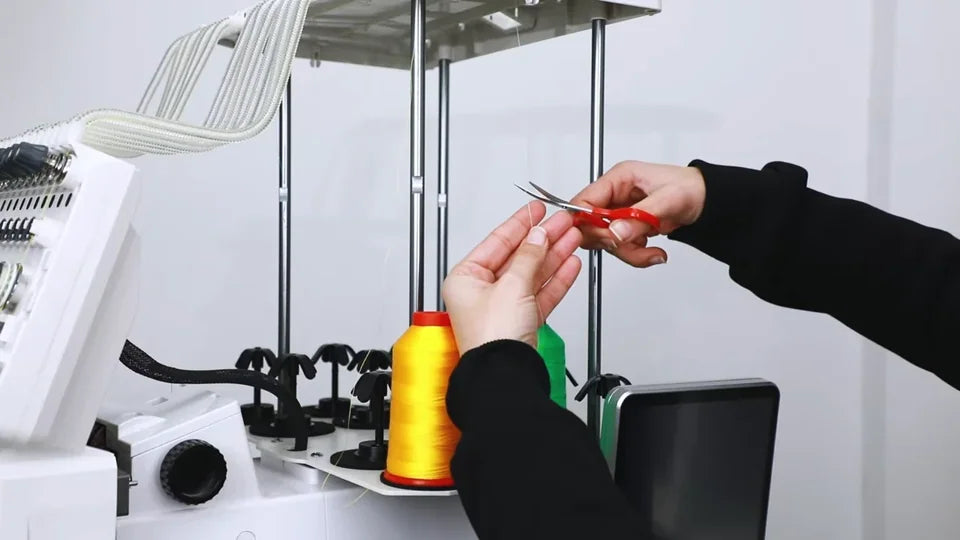
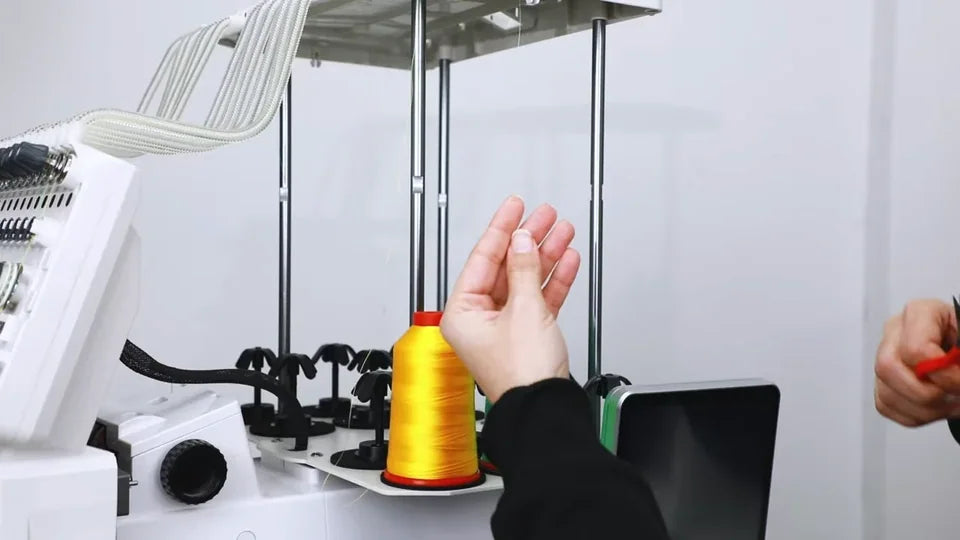
The scissors cut the green thread between the cone and the overhead guide.
Keep the loose end that still leads upward to the guide.

2. Fit the replacement cone

Watch at 00:27

Lift the old cone off its stand and seat the new cone in the same spot. Bring its free end up to meet the old thread below the guide plate. The video changes from green to red.
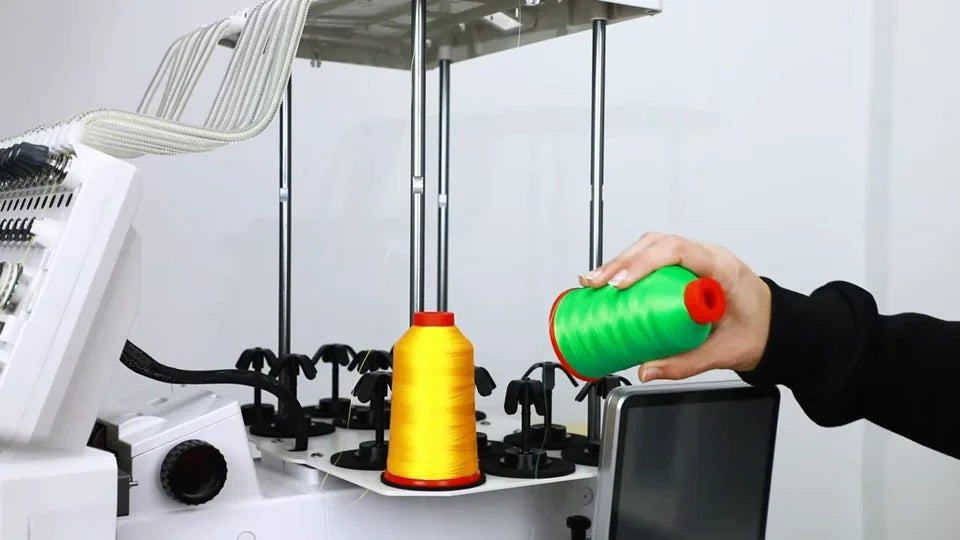
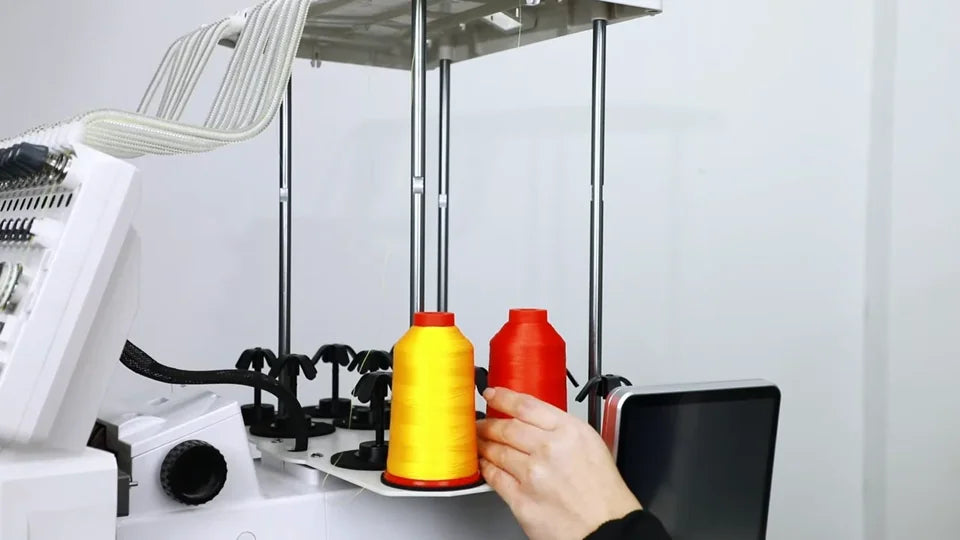
The green cone lifts off the stand beside the yellow cone.
The red cone goes on the stand the green cone came from.

3. Tie a small joining knot

Watch at 00:38

At the spool stand, tie the new thread to the machine-side end of the old thread with a small, snug knot. The close-up shows the two colors meeting below the guide plate. Trim the loose ends next to the knot, leaving the joined line intact.
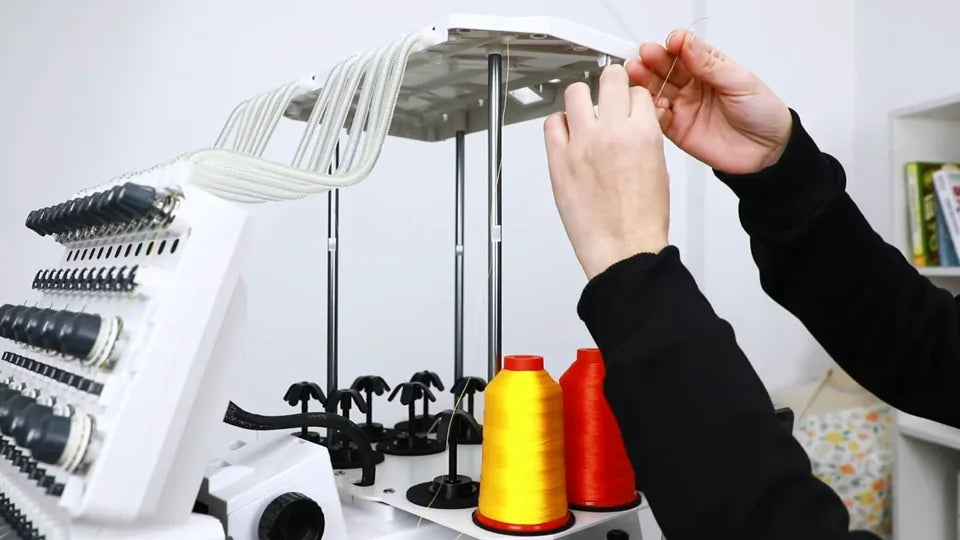
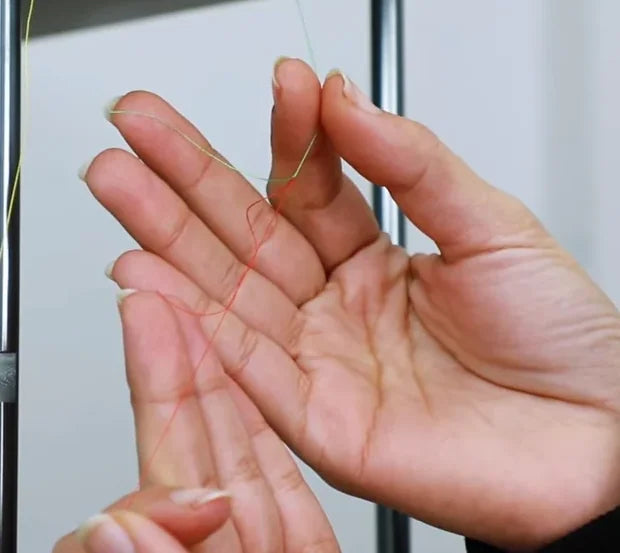
Bring both ends together by hand just below the overhead plate.
The green and red threads meet at the small knot against the hand.
The scissors are beside a short tail at the join.

4. Slip the old thread out of the needle eye

Watch at 00:57

At the front of the head, find the needle fed by the old thread. Slip its thread tail back out of the needle eye and keep hold of the free end. The narrator calls out this step to protect the needle when the knot is pulled through the rest of the path.
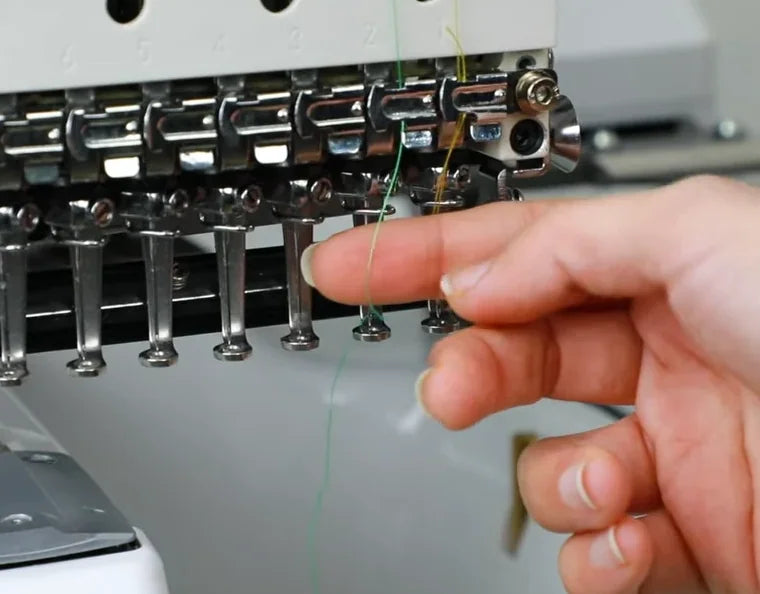
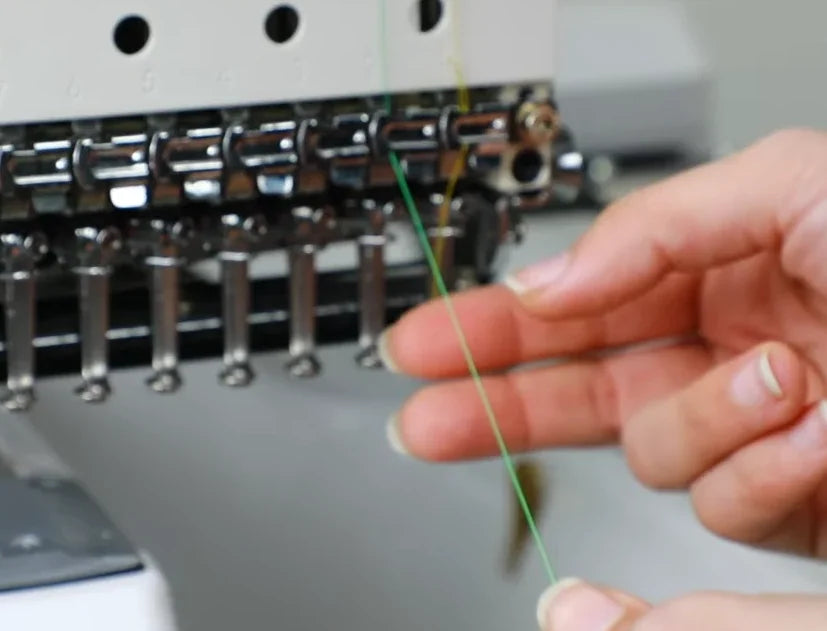
The presenter points to the green thread at its needle.
The freed green end is held by hand in front of the needle row.

5. Draw the knot through the guide tube

Watch at 01:05

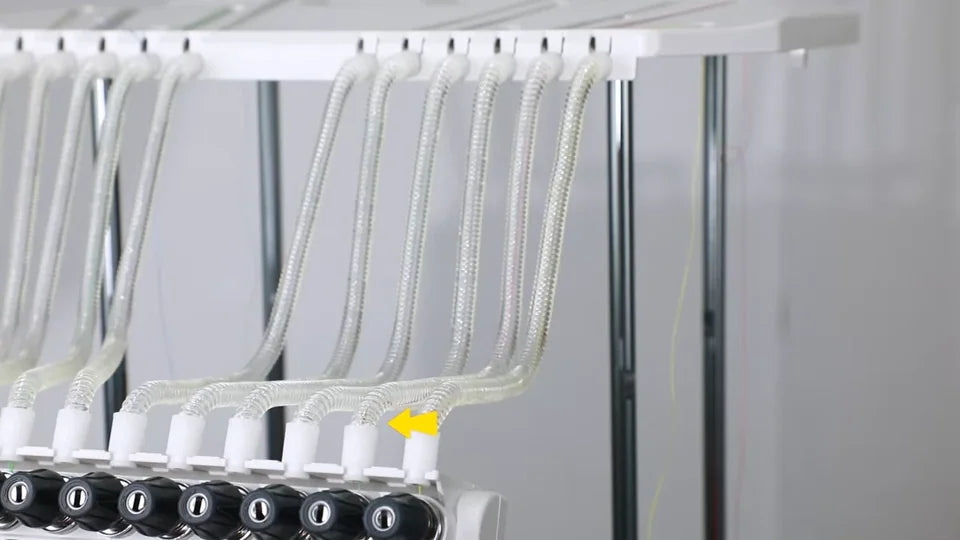
Pull slowly by hand on the old thread at the needle end. The knot should rise from the cone stand into the overhead guide plate and follow the same clear tube to the front of the head. Follow the yellow arrow in the video to see where the join is moving.
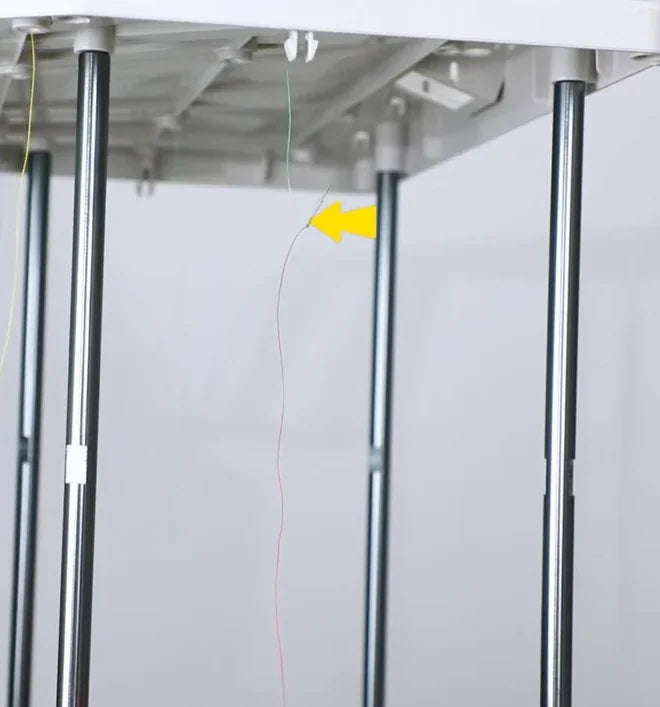
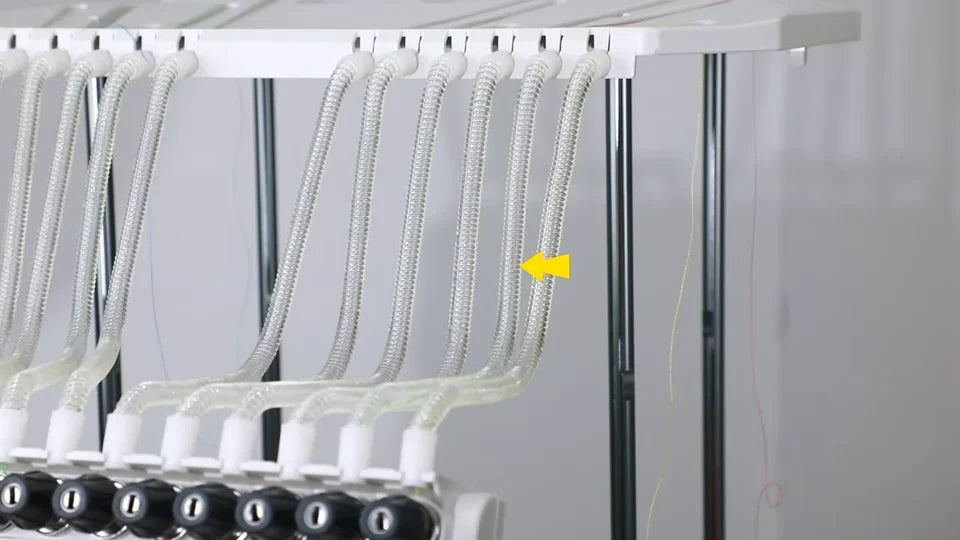
The arrow tracks the join as it rises toward the guide plate.
The arrow follows the thread down its clear tube.
The join reaches the tube outlet above the front tensioner panel.

6. Follow the existing path down the head

Watch at 01:20

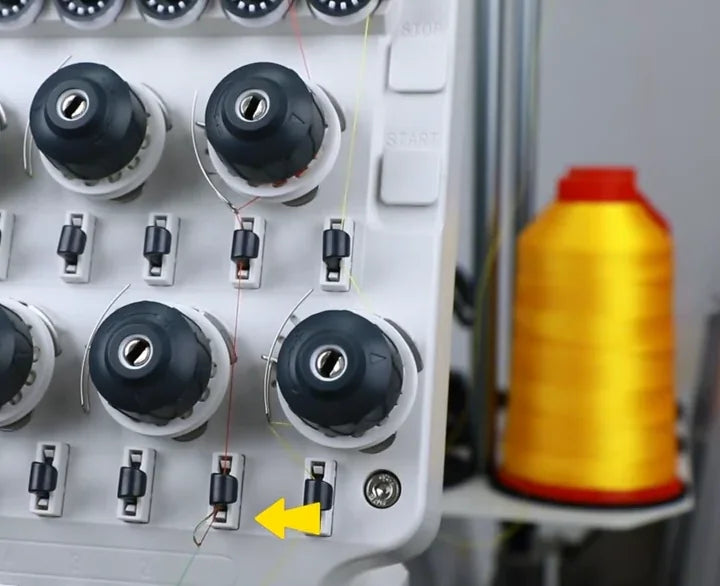
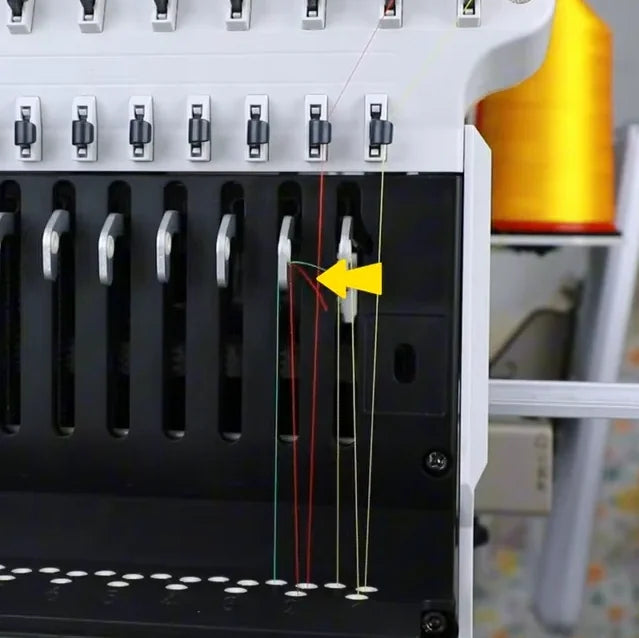
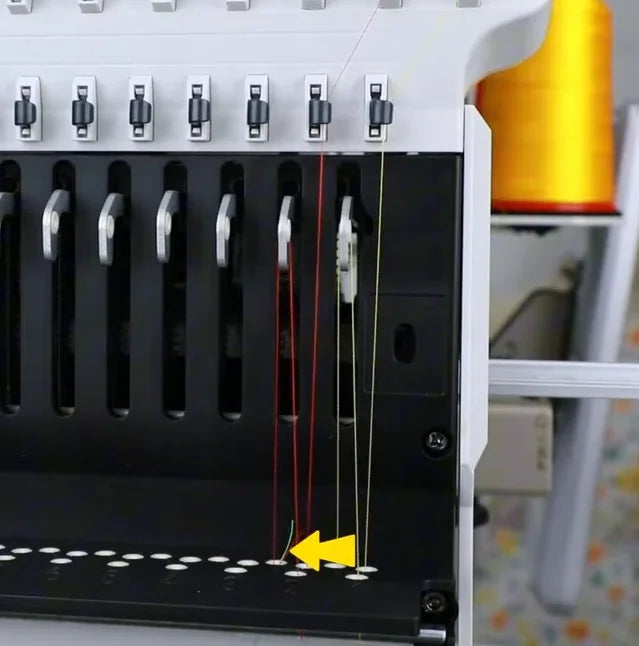
Keep pulling slowly from the same free end at the needle side. Watch the new color follow the old route past the small thread-break detection wheel, around the corresponding tension wheel and through the lower guides. In the black take-up area, the arrow shows the thread going up to its take-up lever and back down toward the needles. This is one thread path.
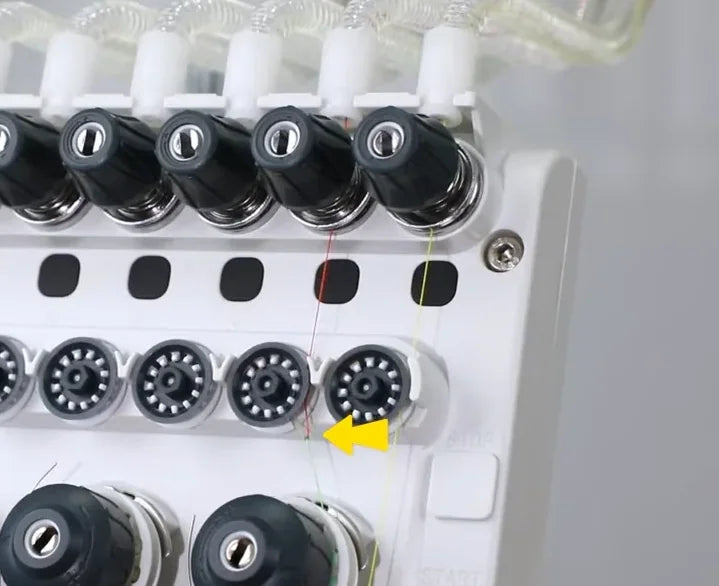
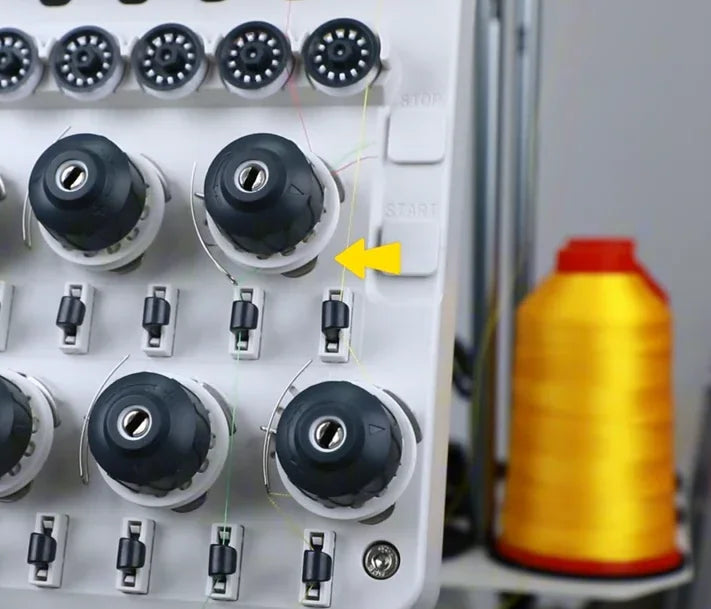
Watch the arrow at the edge of the small dotted detection wheel.
The arrow follows the line at the matching large tension wheel.
The line continues through the guide below the tension wheels.
The join rises toward the take-up lever in the black slot.
The new thread comes back down to the lower edge of the take-up area.

7. Pull the knot clear and cut it off

Watch at 01:45

Pull until the join reaches the needle area and enough of the new color has emerged to thread by hand. Cut on the new-thread side of the join to remove the knot and the remaining old thread together. Keep a workable tail of the new thread below the head.
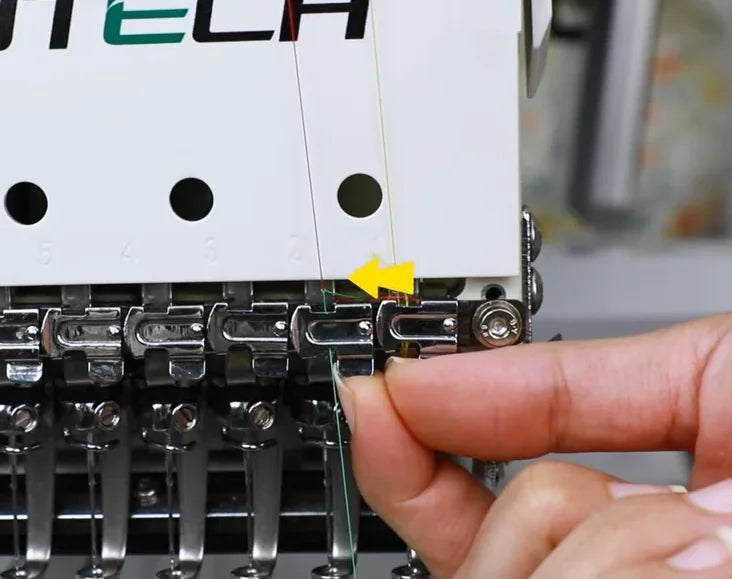
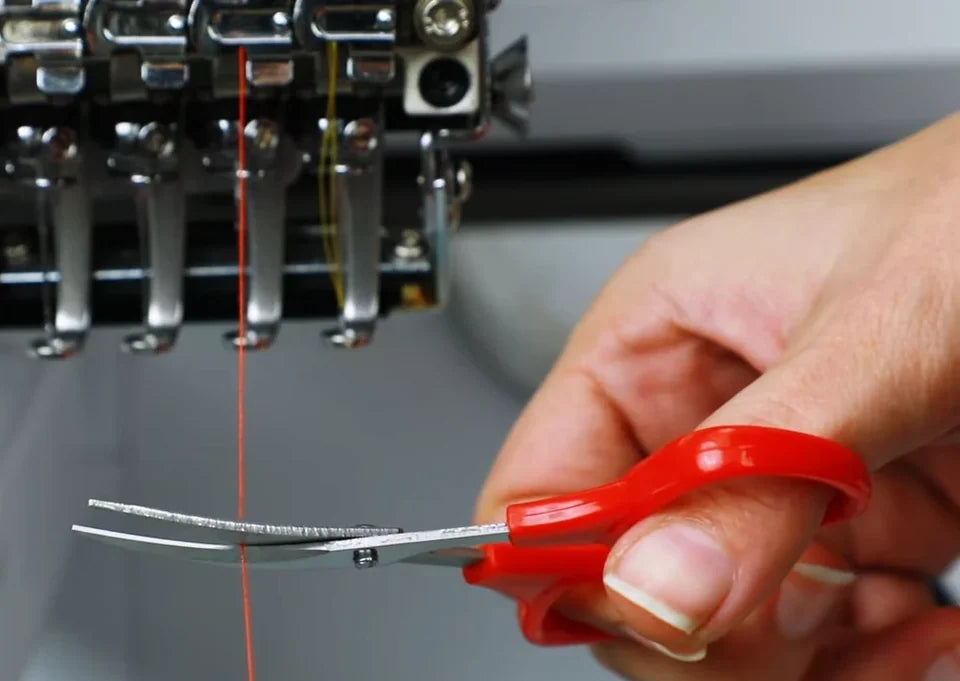
Near the needles, the arrow marks the join coming down the last guide.
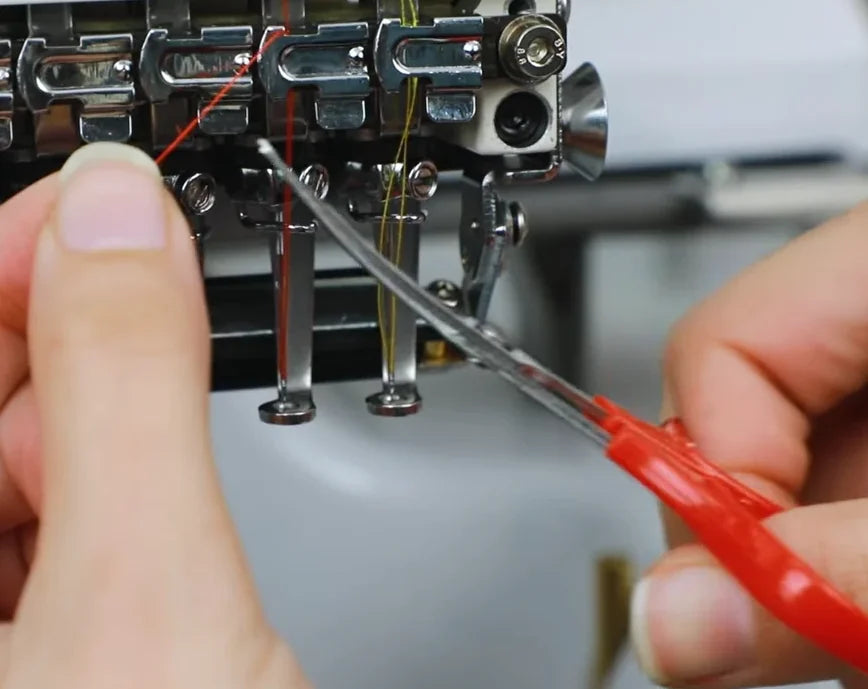
The scissors cut the red thread once there is a usable length below the head.

8. Thread the needle from front to back

Watch at 01:53

Hold the clean end of the new thread and bring it to the front of the needle eye. Feed it through by hand toward the rear of the machine. Catch the end as it emerges and draw a short working tail through the eye.
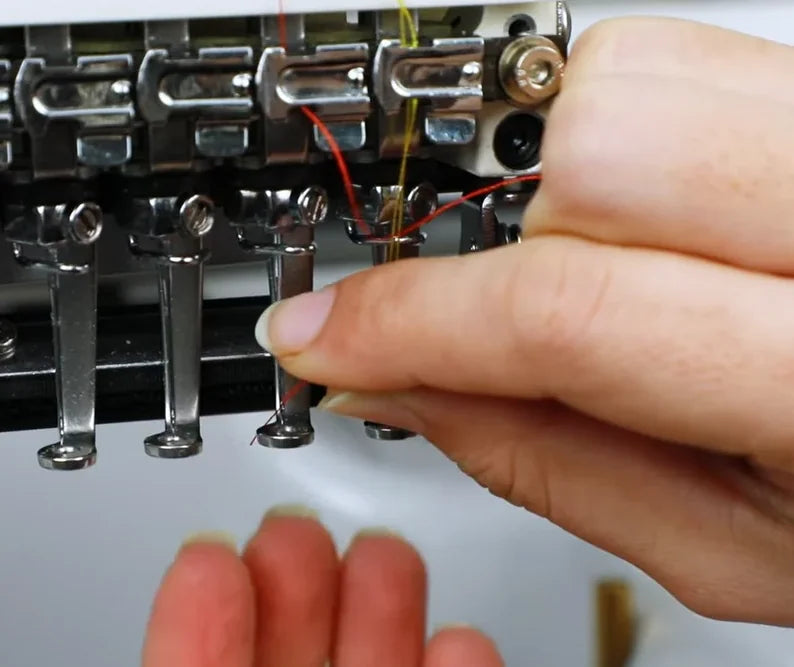
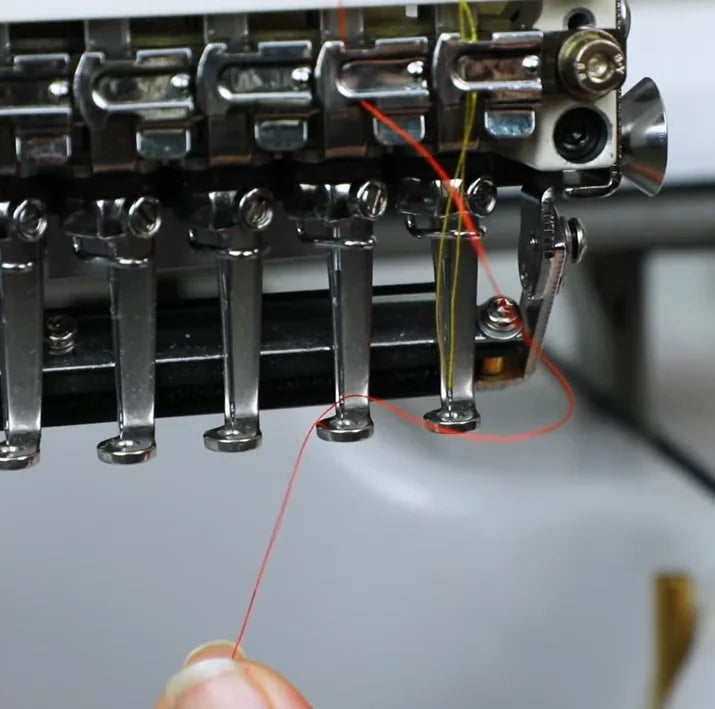
The new red thread is fed into the eye by hand at the same needle position.
Pull the red end through the eye so there is a tail to guide under the presser foot.

9. Guide the tail under the presser foot and trim

Watch at 02:06

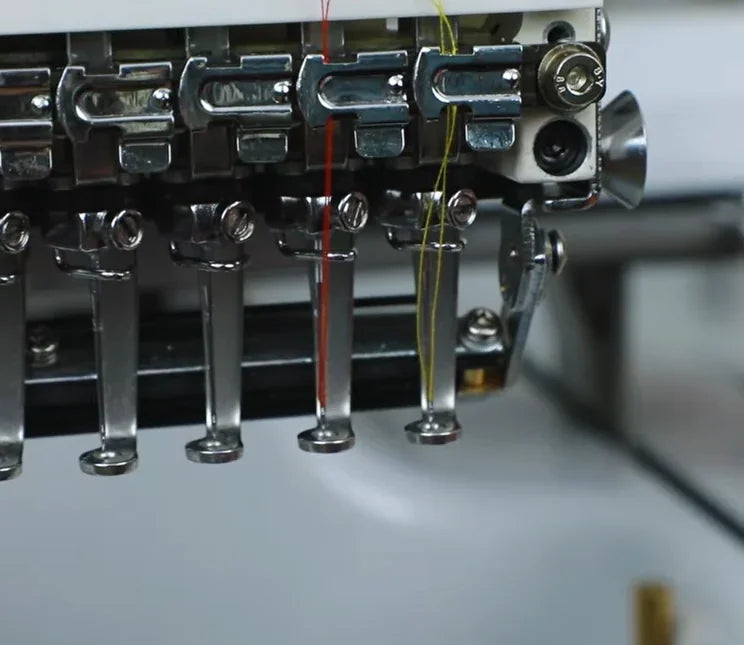
Bring the tail beneath the presser foot at that needle, then lift it to the small metal thread clip above the needle row as shown. Hold the tail in the clip and trim the excess. The final close-up shows the new red thread through the same needle with the tail secured. Check those two points before returning to stitching.
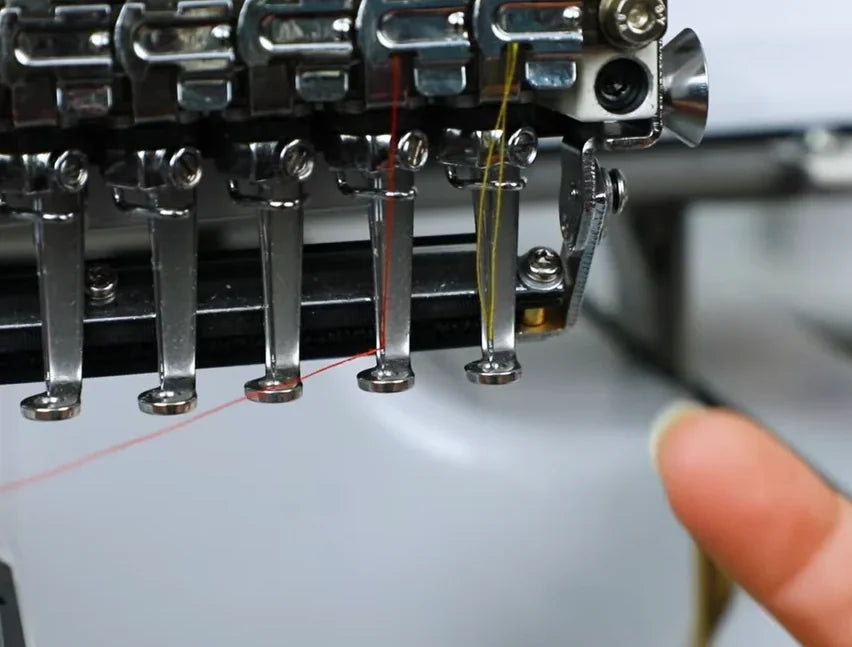
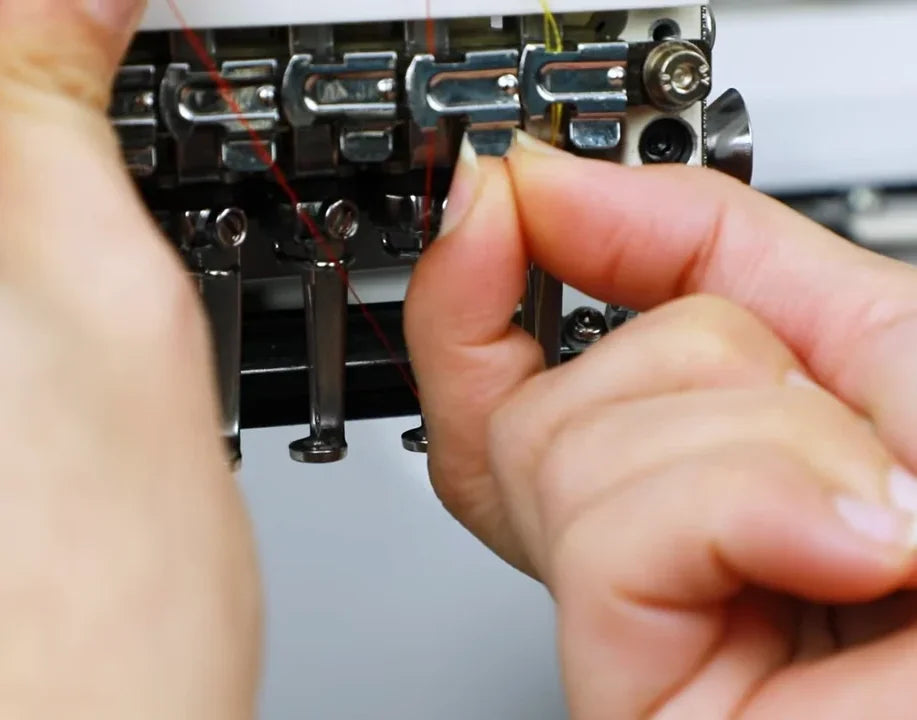
Draw the loose end across the underside of the presser foot.
Lift the tail to the metal thread clip above that needle.
Trim the excess after securing the tail at the clip.
The red thread is in place at the same needle and the trimmed tail is secured.