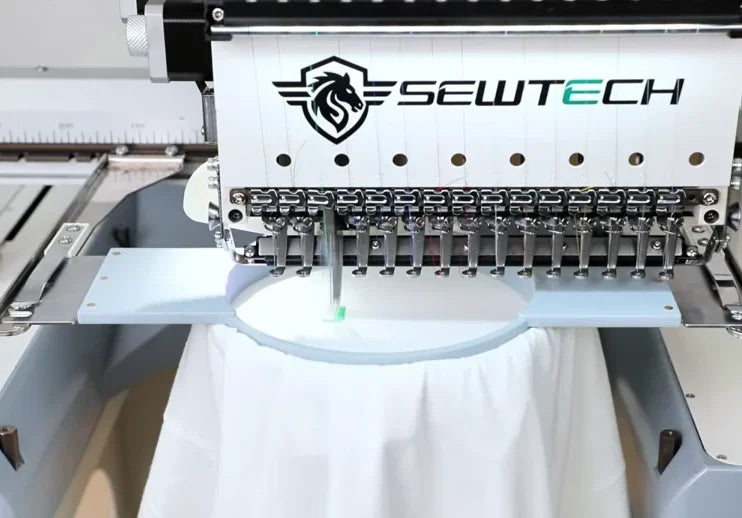
Troubleshoot Thread Breaks on the ST-1501

Overview
Use this guide when the thread has actually broken on the SEWTECH ST-1501. Work from the bobbin and needle to the full upper-thread path, then check the feed at the needle before resuming.
Have a wound bobbin and a small flat-blade screwdriver ready if you need to adjust the bobbin case.
Step-by-step guide
1. Check how much bobbin thread is left
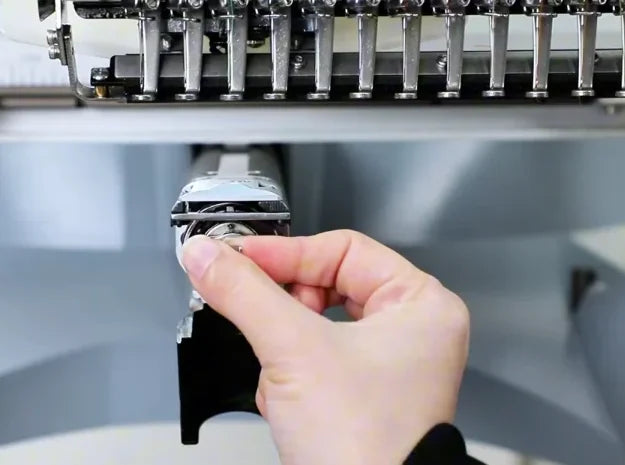
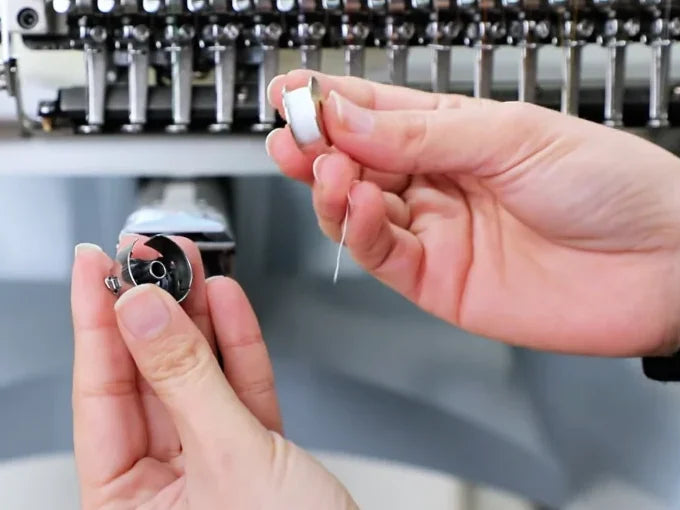
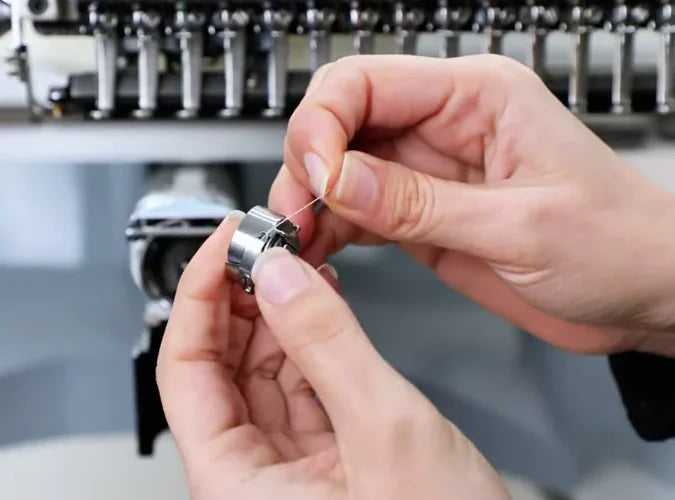
Watch at 00:31Stop the ST-1501 before working near the needles or hook. The bobbin case sits in the hook opening beneath the needle row. Flip down the cover, pull the case out by its latch and check the bobbin. If it is empty, replace it with the fully wound bobbin, then bring the thread out through the case as shown.
2. Hang the bobbin case for a drop test
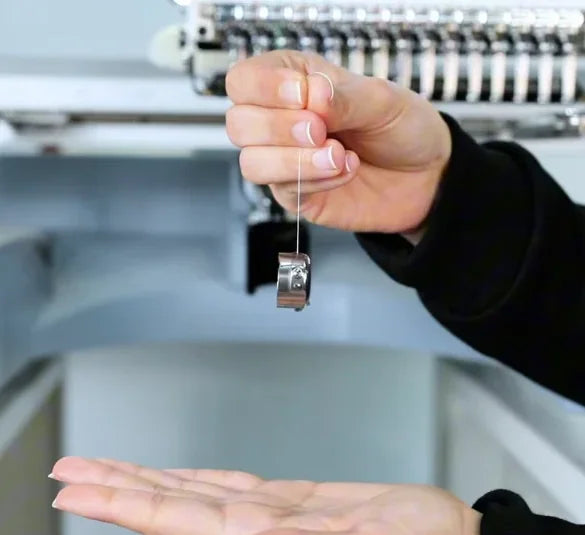
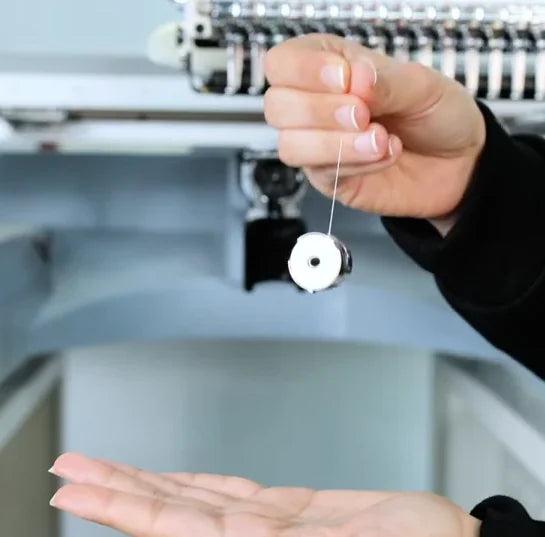
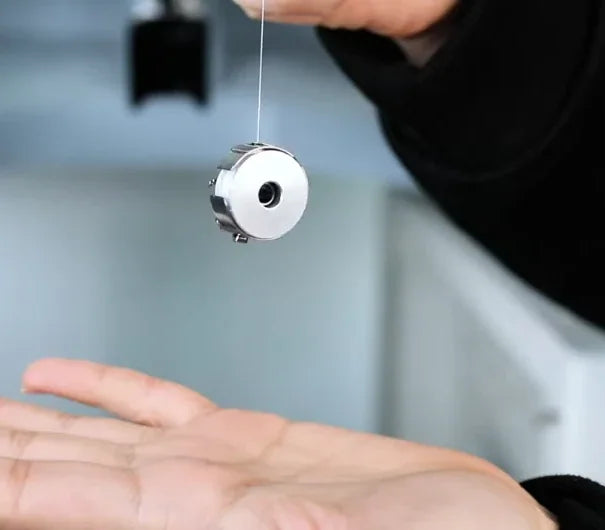
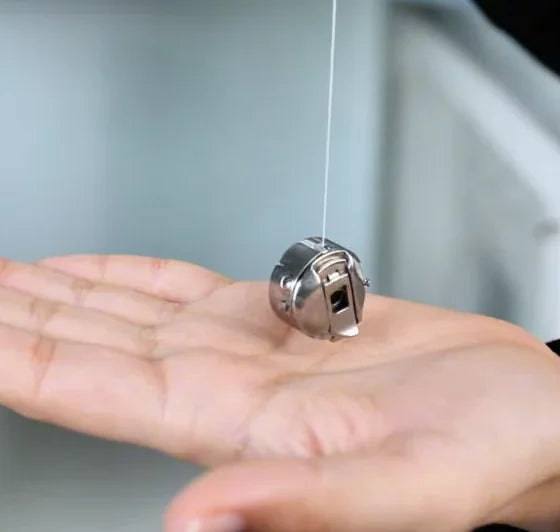
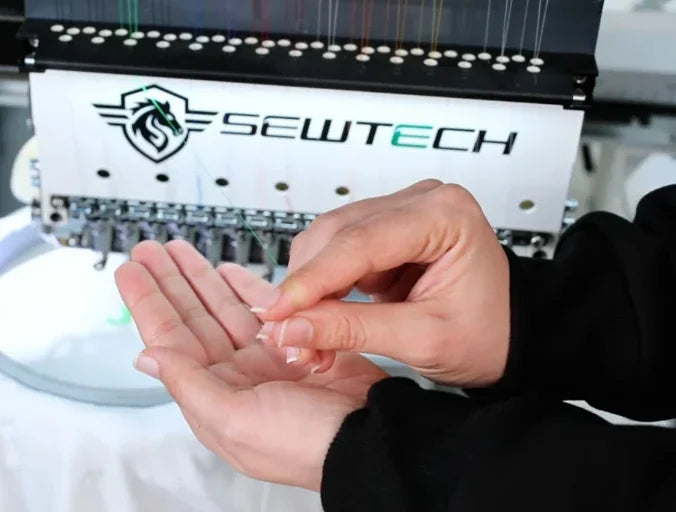
Watch at 00:50Hold the exposed bobbin thread between your fingers so the loaded case hangs freely. Keep your other palm underneath to catch it and give the thread a short flick. If the case stays in place or only creeps down even with a firmer shake, the bobbin tension is too tight.
3. Loosen the larger screw a little at a time
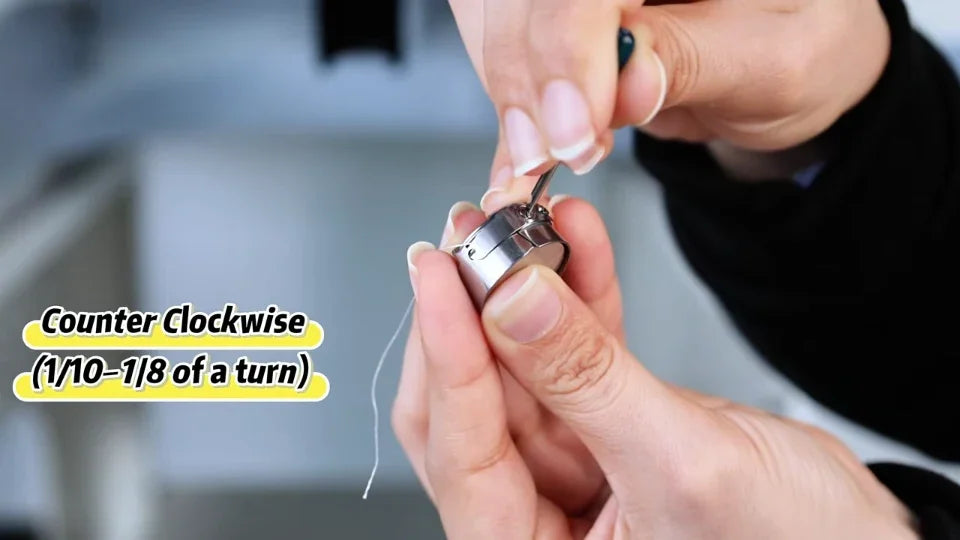
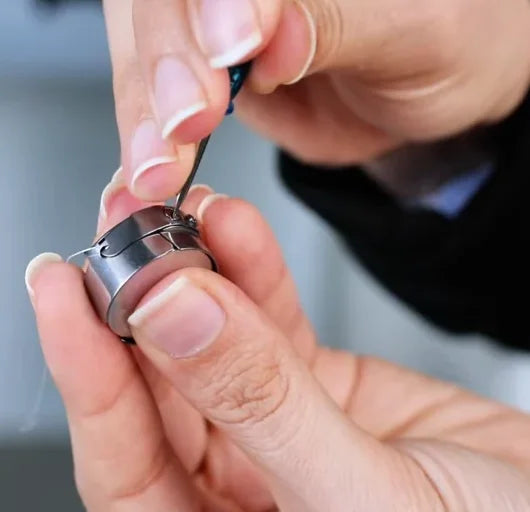
Watch at 00:58If the drop test shows excessive tension, hold the bobbin case out of the machine. Place the screwdriver in the larger tension screw on the side of the case and turn it counterclockwise about 1/10 to 1/8 of a turn. Test again after each adjustment and repeat in small increments if needed.
4. Retest for a short, controlled drop
Watch at 01:20Suspend the case again and use a gentle wrist flick. The video's target is a smooth drop of about 3–5 cm (roughly 1–2 in), followed by the case stopping by itself. Leave enough clearance above your catching hand to see whether the case stops on its own. Refit the loaded case before returning to stitching.
5. Turn the long groove toward you
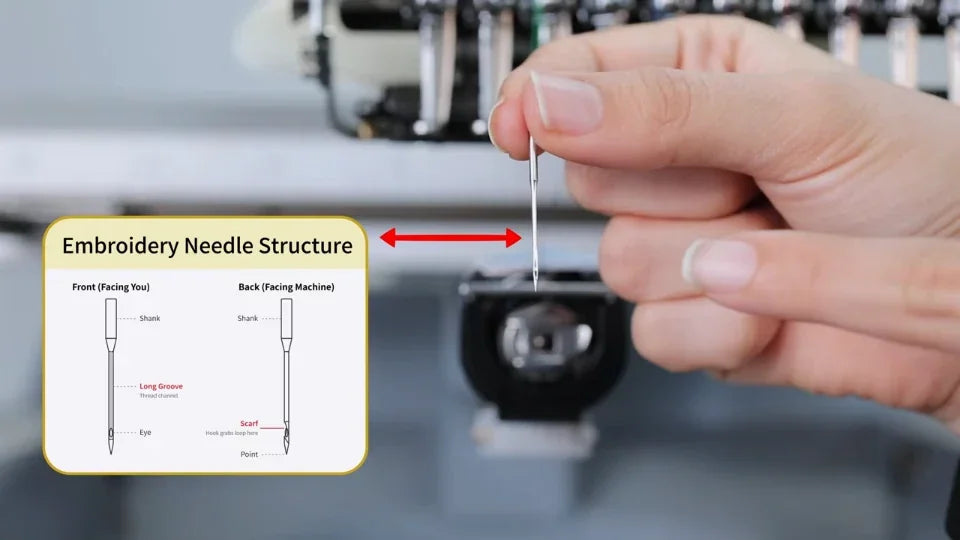
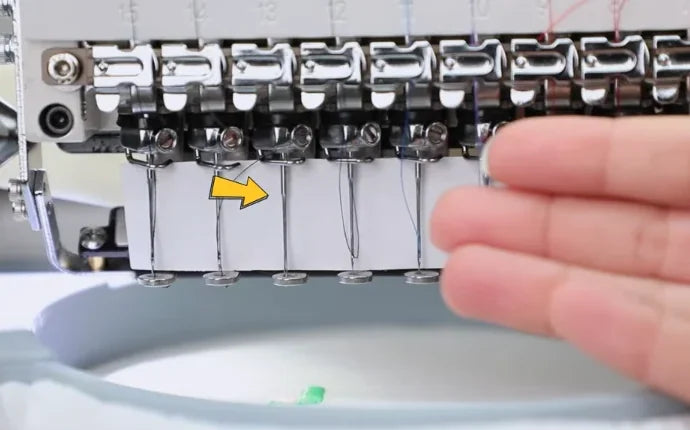
Watch at 01:33Examine the needle at the front of the needle row. The long groove faces forward, toward you. The scarf, the shallow recess near the eye, faces the back, toward the machine. Use the front and back views in the video to identify the two sides before seating the needle.
6. Seat the needle all the way up
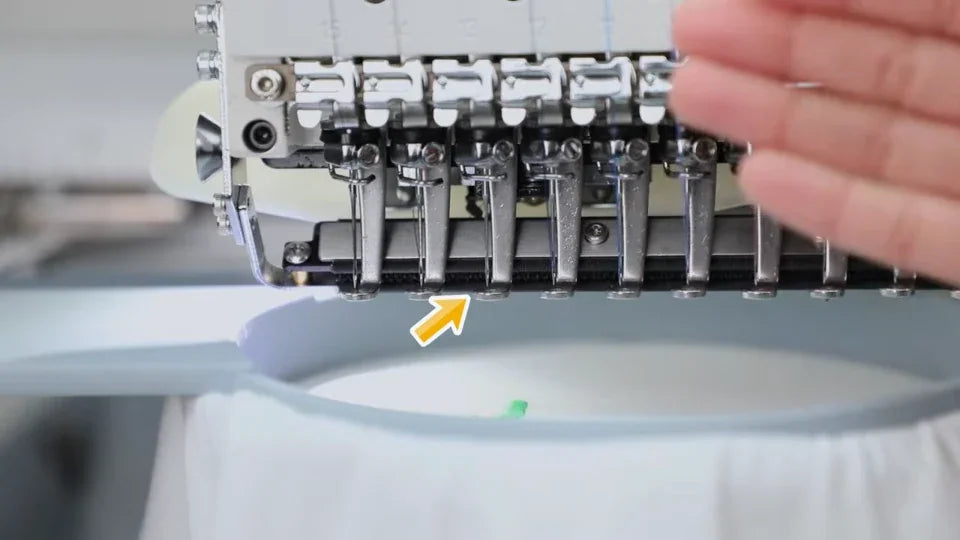
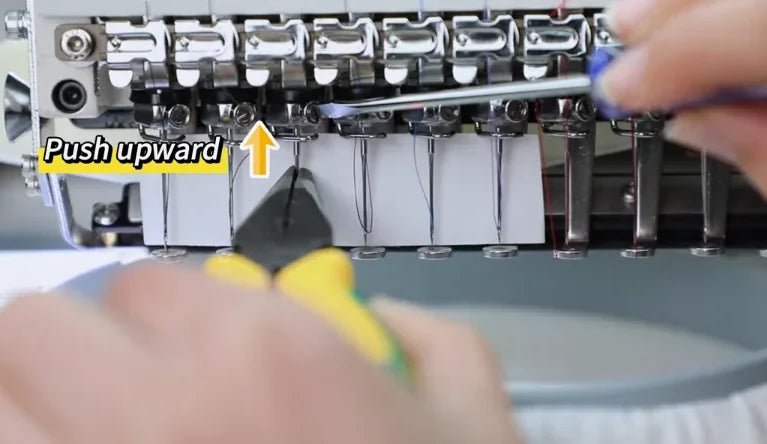
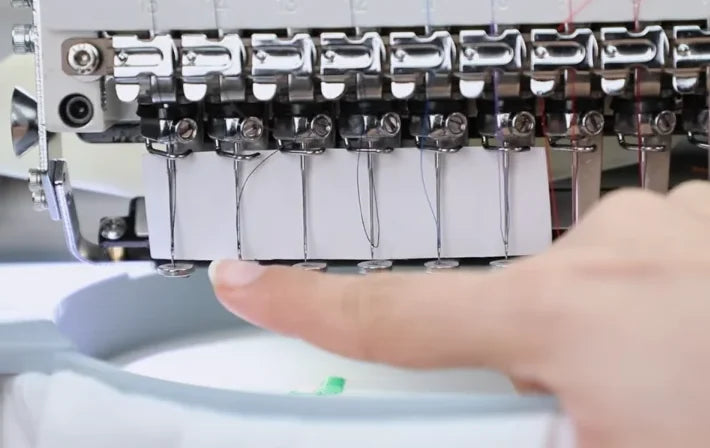
Watch at 01:53With the needle facing the correct way, slide its shank straight up into the needle bar until fully seated. Hold it in that position and tighten the needle clamp screw. Before embroidering, check that the needles are correctly seated and oriented. The upward arrow identifies the direction of insertion.
7. Pull the upper thread gently to feel for a snag
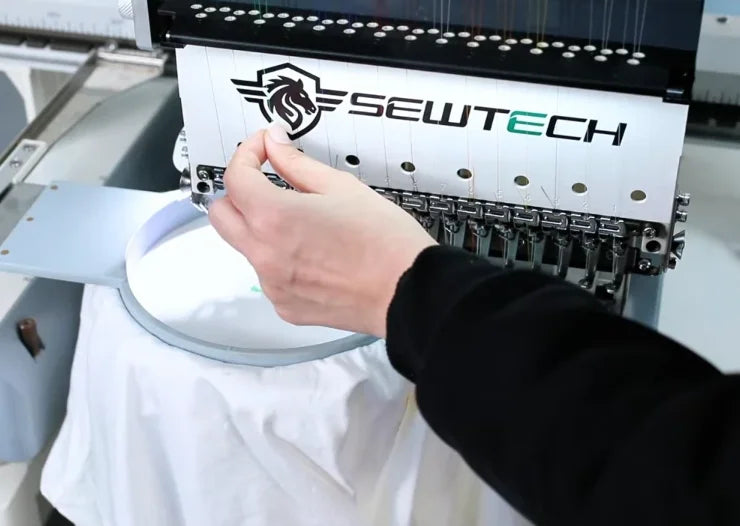
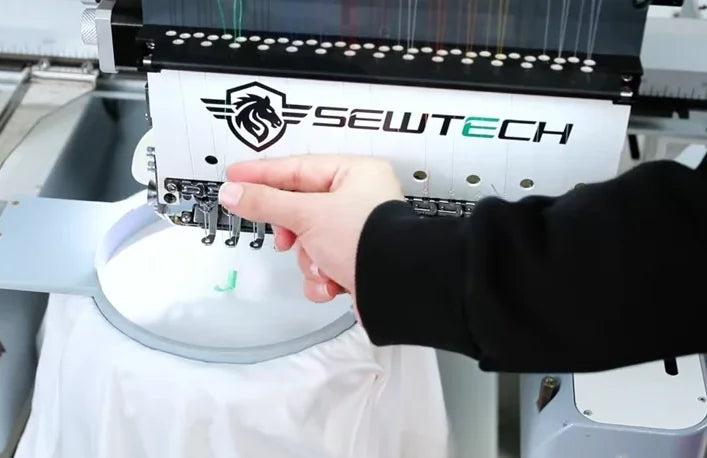
Watch at 02:18With the machine stopped, take the upper-thread tail at the needle end and pull it gently by hand. If it feels tight, catches repeatedly or will not feed smoothly, follow the same thread back from the needle to the spool to find the snag or routing error.
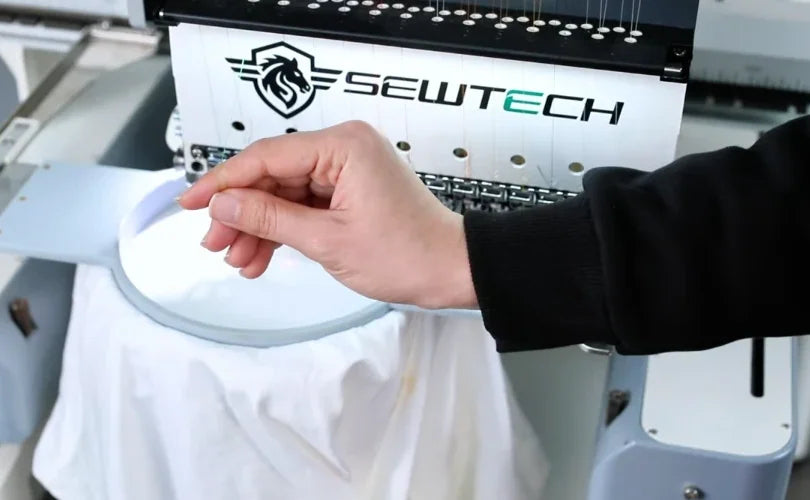
8. Check under the spool cap
Watch at 02:40At the thread stand, lift the cone and inspect the cap or holder beneath it. Free any thread caught around or under it. Put the cone back on its stand and guide the strand upward to its own guide before continuing along the same path.
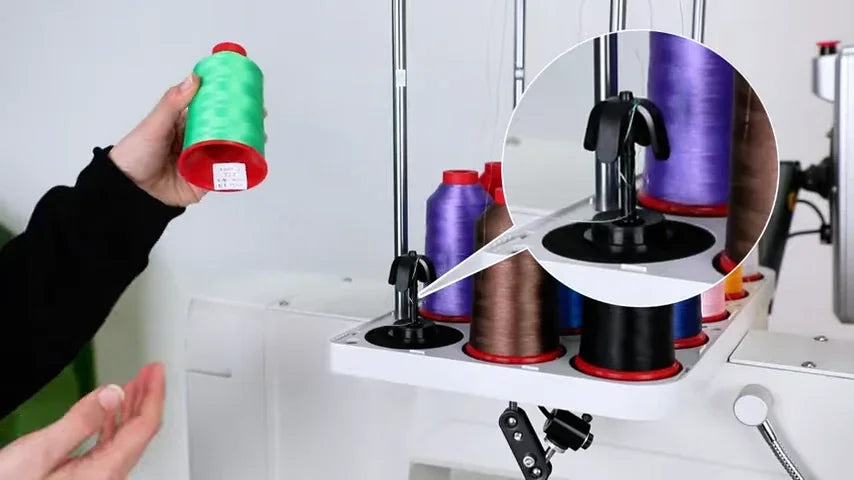
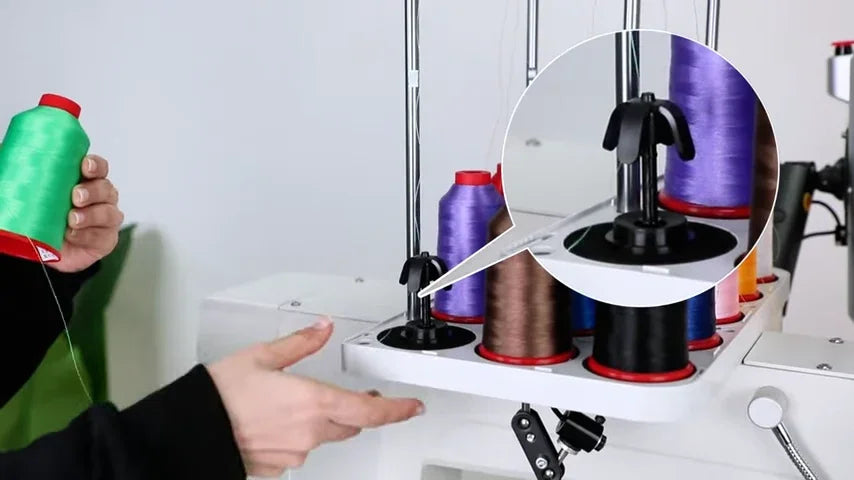
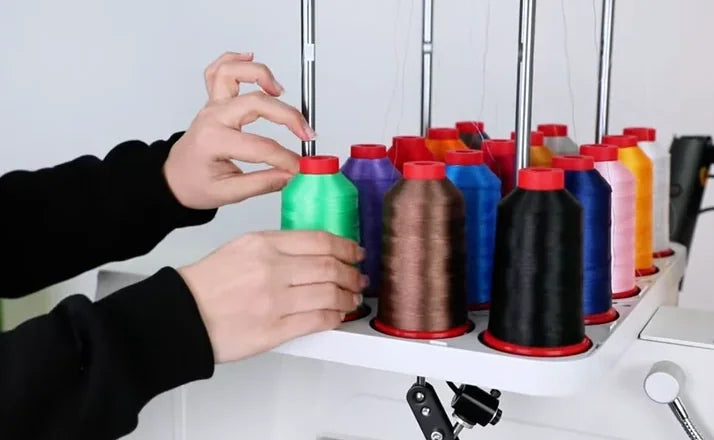
9. Trace the thread through the overhead guide
Watch at 02:52Follow the same strand up from the cone to its hole in the white guide rail above the spool rack. Trace the matching clear guide tube across to the top of the machine head. Check that the strand can feed freely at the entry and along that path.
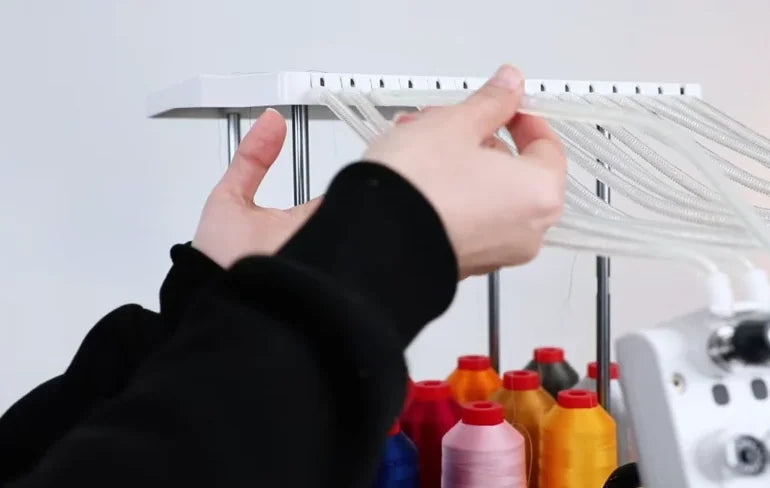
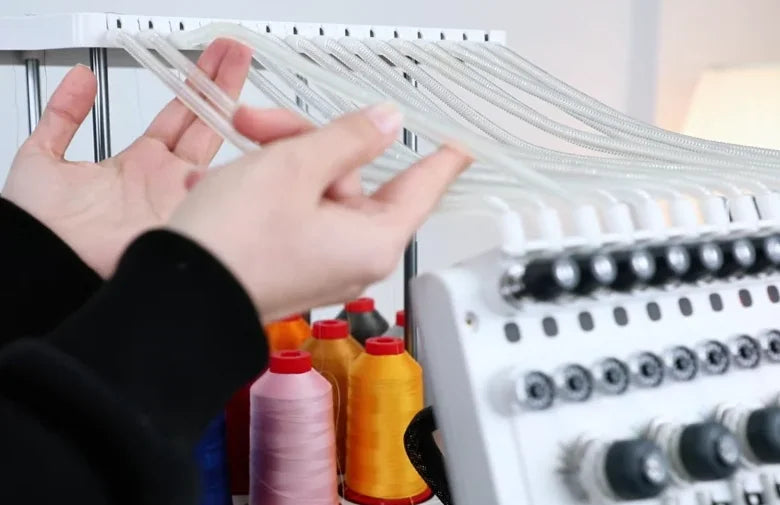
10. Seat the thread in the top tension discs
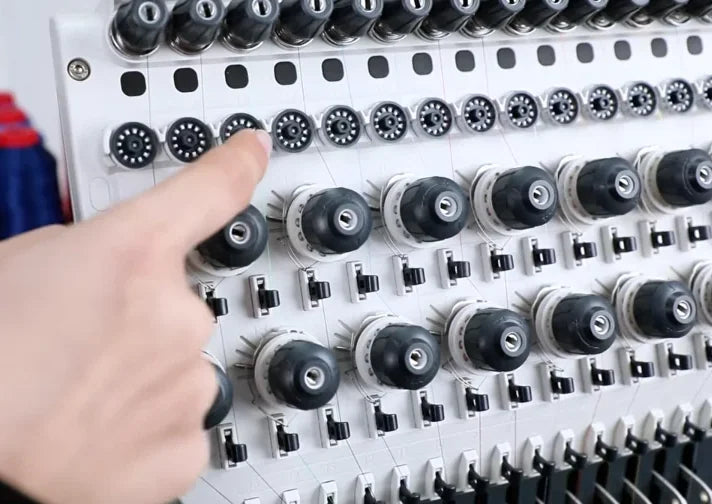
Watch at 02:59On the front thread panel, find the small tension knob for this strand in the very top row, just below the clear tube outlet. Check that the thread sits between the tension discs behind the knob. If a small adjustment is needed after the thread is seated, turn the knob clockwise to tighten or counterclockwise to loosen. Pull the thread again to check the change.
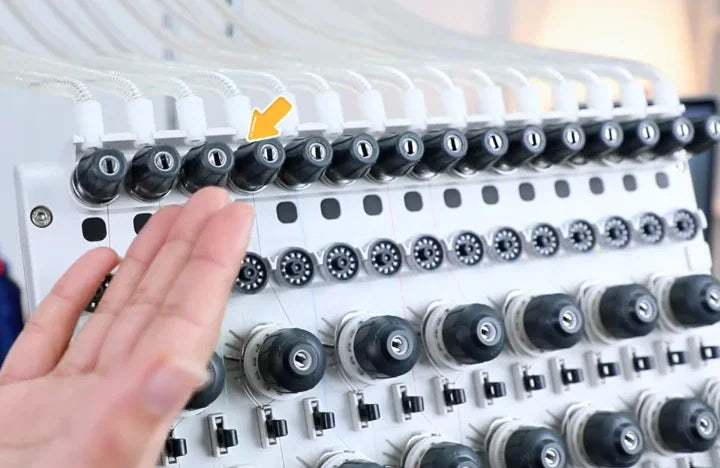
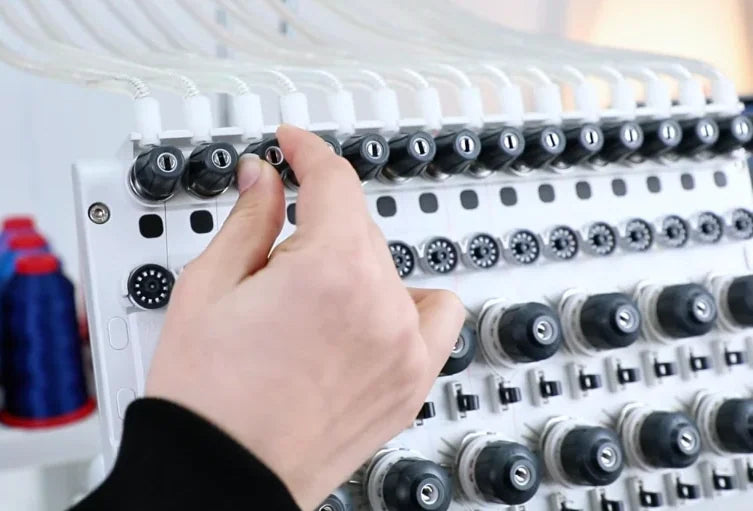
11. Check the wheel and its thread wrap
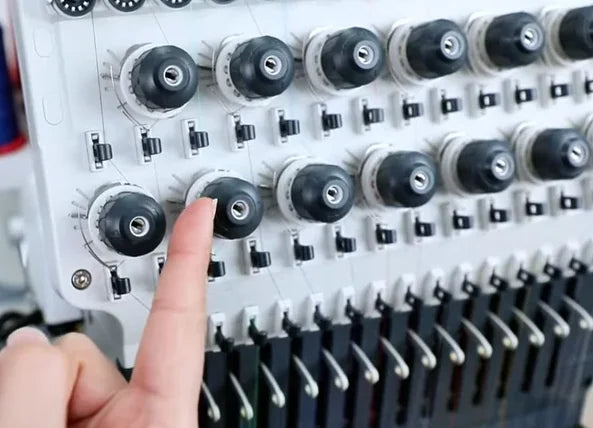
Watch at 03:18Trace the strand past its small dotted detector wheel to the matching large grooved wheel in the staggered rows below. At the large wheel, the video calls for one full turn plus half a turn. Use the wheel for your needle, keeping the thread seated in its groove.
12. Follow every guide down to the needle
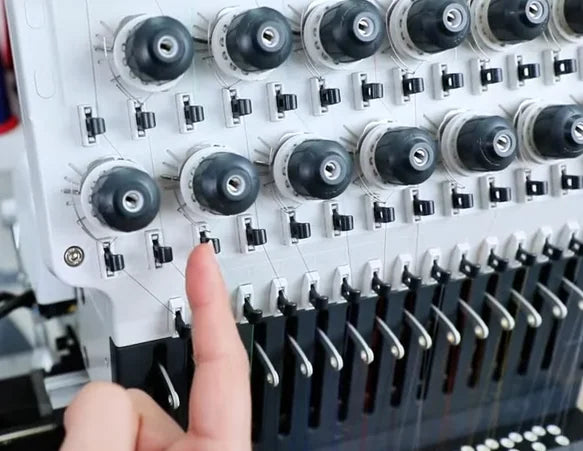
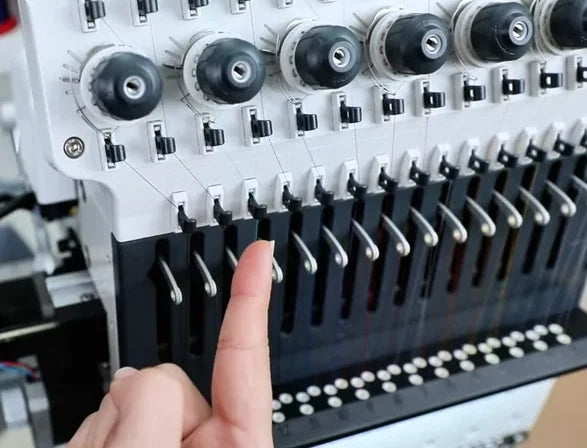
Watch at 03:28Continue down the same needle's path. Check the small spring guides under the large wheels, the take-up lever in the black slotted panel and the remaining guides down to the needle eye. Rethread any opening the thread has missed and free any trapped segment along the route.
13. Pull again to confirm smooth feed
Watch at 03:37Return to the needle and draw the upper thread gently by hand again. Look for a continuous, even feed as it passes through the guides. If the thread still catches, follow that strand back to the point of resistance before resuming.
14. Check the first stitches after restarting
Watch at 03:49Once the bobbin case and needle are secure and the thread feeds smoothly, clear your hands from the needle and hoop area before resuming. Watch a short run of stitches and check that the repaired thread keeps feeding without another break. The video shows a brief stitch-out on the hooped fabric.