Fix Error 8 and Load an Embroidery Design

Overview
If Start brings up Error 8, check the on-screen embroidery status and confirm the current design in steps 1–5. If a different design was selected but the main preview still shows the previous one, follow steps 6–9 to exit the active session and confirm the new design. The ST-1501 demonstration uses KM and JW as example designs.
Step-by-step guide
1. Identify and close the Error 8 message
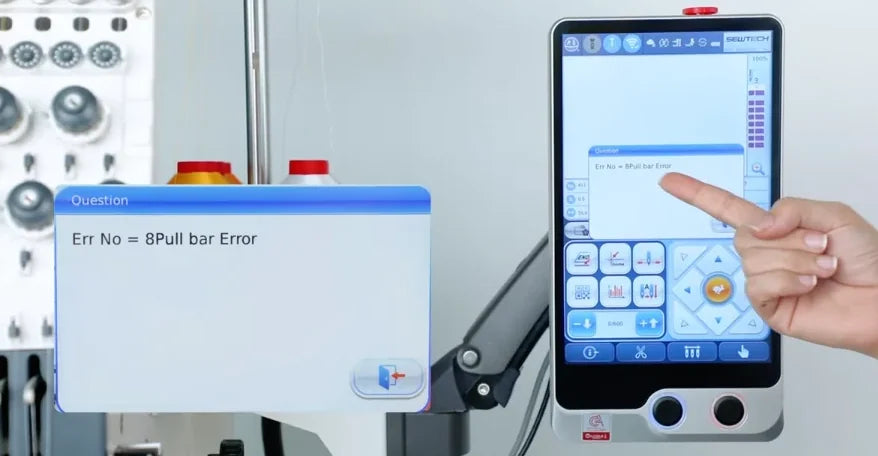
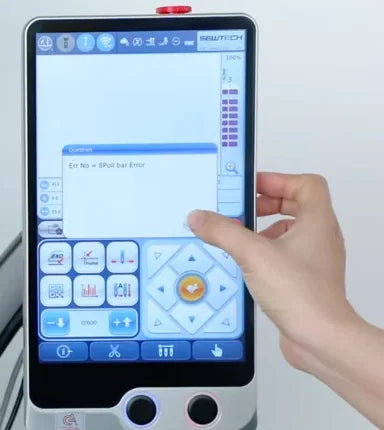
Watch at 00:10If the touchscreen shows Error 8 (Pull Bar Error) after you press the left physical Start button, tap the exit icon at the lower right of the dialog. This returns you to the controller so you can check whether the current design has been confirmed.
2. Read the red embroidery status
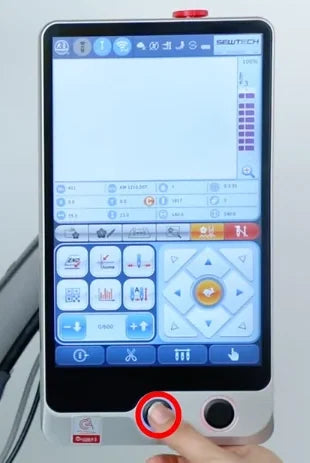
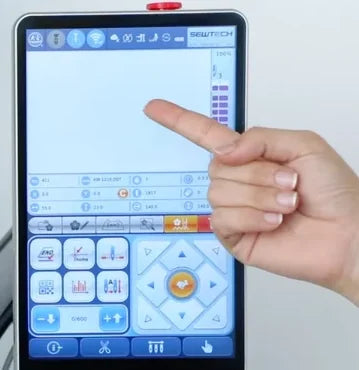
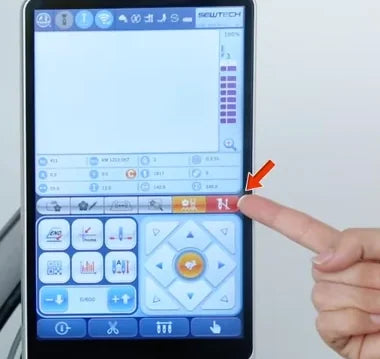
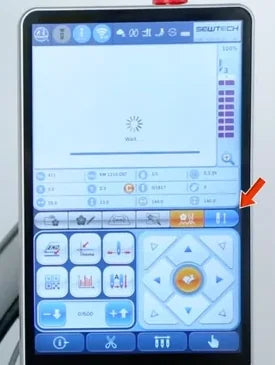
Watch at 00:21Check the large preview at the top and the embroidery button at the far right of the tab row below it. In this demonstration, the preview is empty and the tab is red. Red means stitch mode is off, so verify the setup and confirm the design before pressing Start again.
3. Check design position, colors and hoop
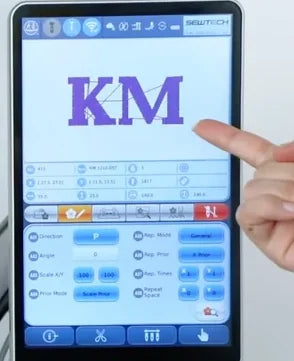
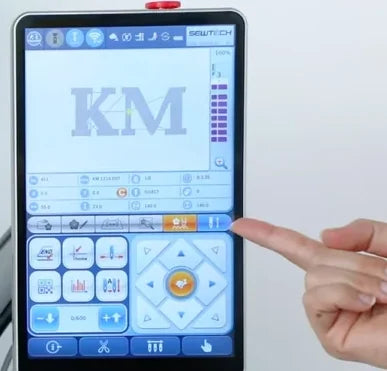
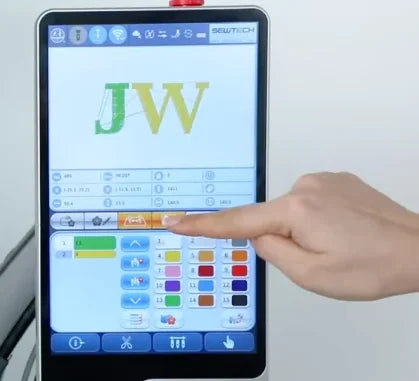
Watch at 00:35Use the tabs below the preview to review the intended design and its position, check the color sequence, and check that the selected hoop size matches the hoop installed on the machine. In the video the second tab shows the KM design, the third opens the color panel, and the fourth shows the design inside the hoop outline. The round hoop shown is the example used for this job.
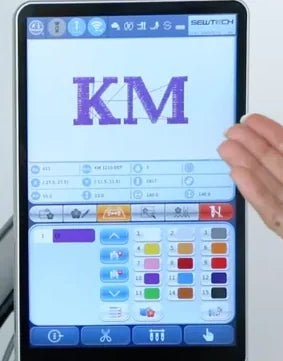
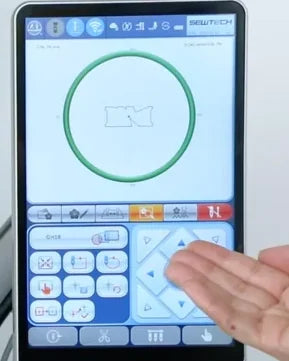
4. Confirm embroidery and wait for blue
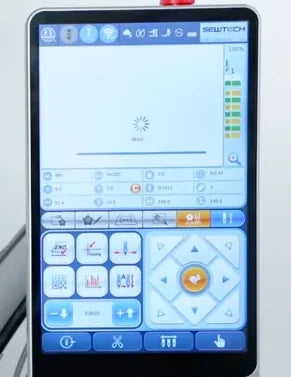
Watch at 00:49After checking the setup, tap the red embroidery button at the right end of the tab row. In the Confirm EMB? dialog, tap the checkmark near the lower right. Wait for the loading indicator to disappear and check that the button turns blue and the intended design appears in the main preview. This shows stitch mode is on for that design.
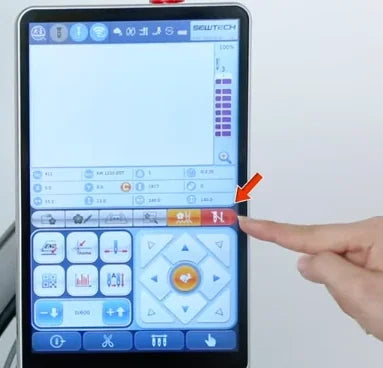
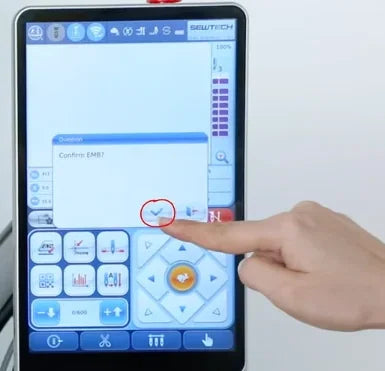
5. Press Start and confirm stitching begins
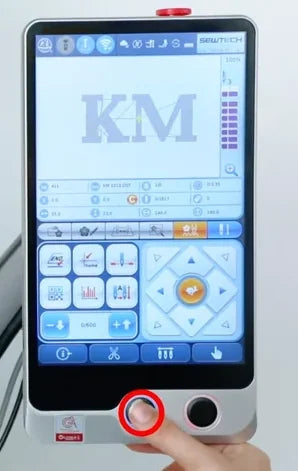
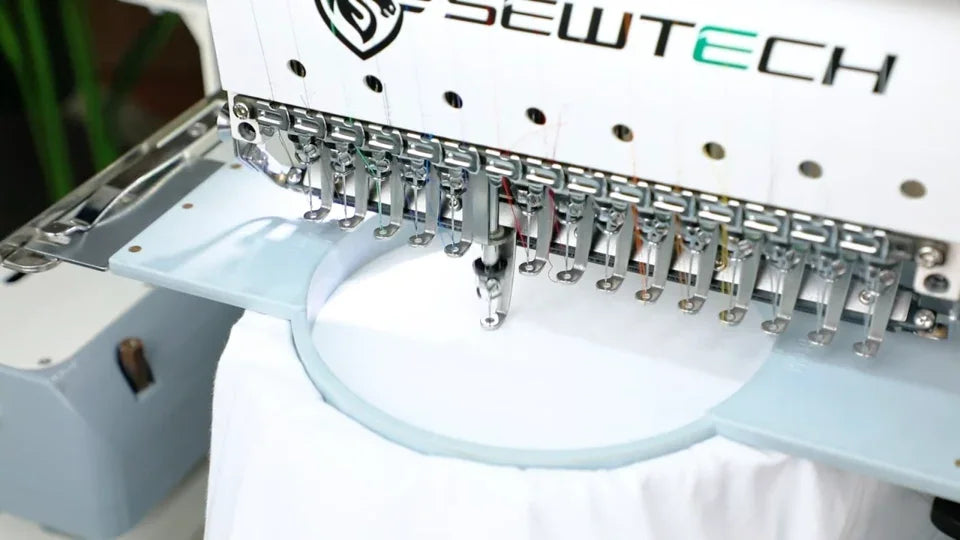
Watch at 01:01With the intended design in the main preview and the embroidery button blue, press the left physical Start button below the touchscreen. Check that stitching begins and Error 8 does not return. The video cuts from the Start press to the needle working over material in the round hoop.
6. Check whether the previous design is still active
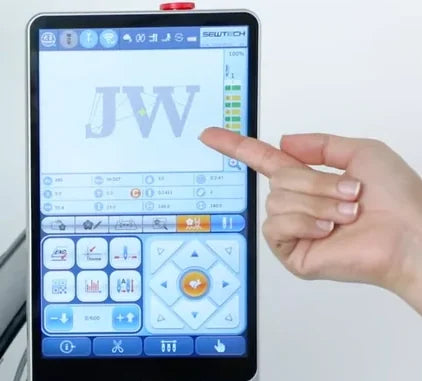
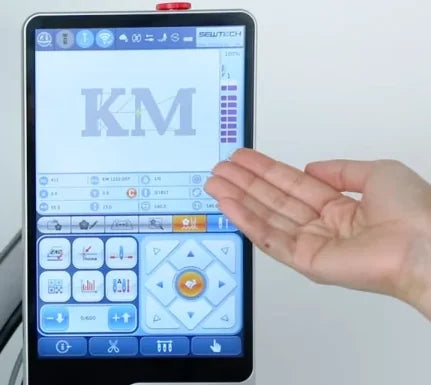
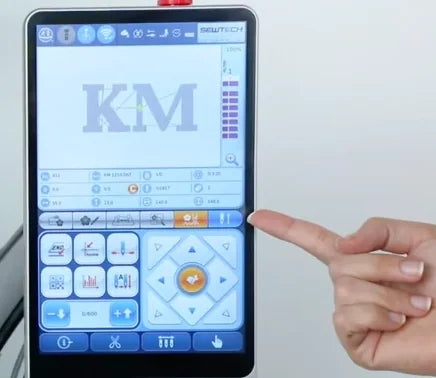
Watch at 01:09If you selected a new design, return to the main embroidery view and check which design is shown there. In the example, JW appears in the settings view, but the main view still shows KM. The embroidery button at the right end of the tab row is blue, so the previous embroidery session is still active. Exit that session before confirming the selected design.
7. Exit the previous embroidery session
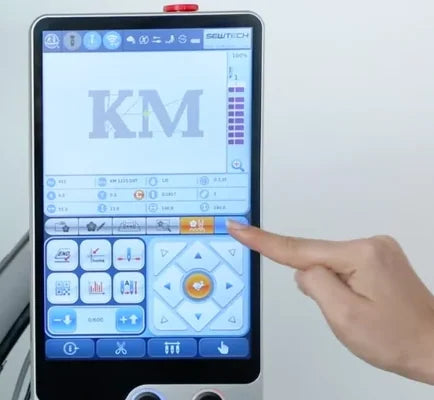
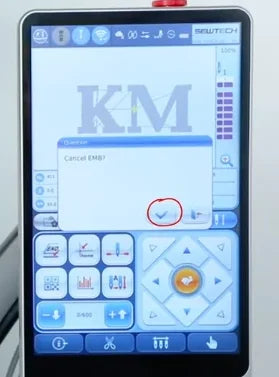
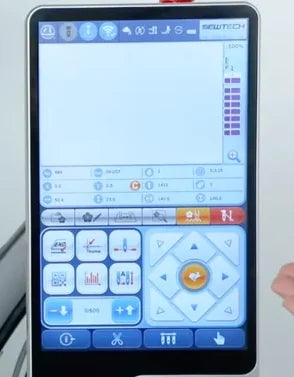
Watch at 01:36When ready to leave the previous job, tap the blue embroidery button. On the Cancel EMB? dialog, tap the checkmark. Verify that the old design clears from the main preview and the embroidery button returns to red before continuing.
8. Confirm the selected new design
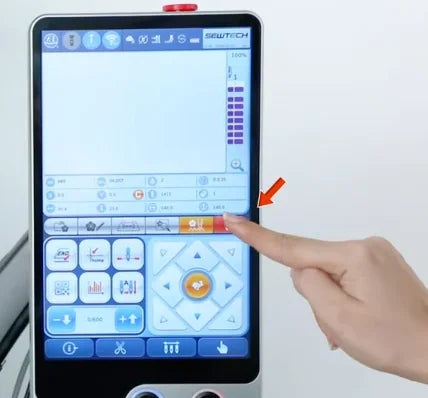
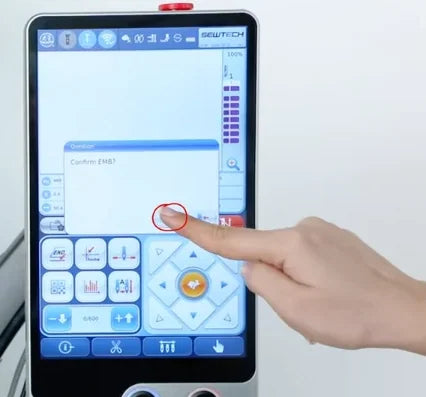
Watch at 01:53With the previous session closed, make sure your intended new design is selected and its setup is correct. The example already has JW selected. Tap the red embroidery button in the same location, then tap the checkmark on Confirm EMB? to apply the selection.
9. Verify the new design in the main preview
Watch at 01:58Wait for the progress indicator to disappear. The newly selected design should be in the large main preview and the embroidery button should be blue. In this example, JW replaces KM. The video ends this part at the preview check. When you are ready to stitch the new design, verify its setup and use the Start procedure above.